Introduction
When it comes to capturing high-quality audio for your videos, having a reliable microphone is essential. Whether you’re recording interviews, vlogs, or any other type of content, a microphone can significantly enhance the audio clarity and overall production value of your videos. One popular method for improving audio quality is by attaching a microphone directly to your camcorder. This allows you to capture clear and crisp sound that complements the visual aspect of your recordings.
In this guide, we’ll explore the process of attaching a microphone to a camcorder, providing step-by-step instructions and valuable insights to help you achieve professional-level audio quality in your videos. We’ll discuss the different microphone options available, the methods for attaching a microphone to your camcorder, and the necessary steps for testing and adjusting the microphone to ensure optimal performance. By the end of this guide, you’ll have a comprehensive understanding of how to effectively integrate a microphone with your camcorder, empowering you to create captivating videos with exceptional audio.
Understanding Different Microphone Options
Before delving into the process of attaching a microphone to your camcorder, it’s important to understand the various microphone options available. Different microphones are designed to capture audio in specific ways, and choosing the right type can significantly impact the quality of your recordings.
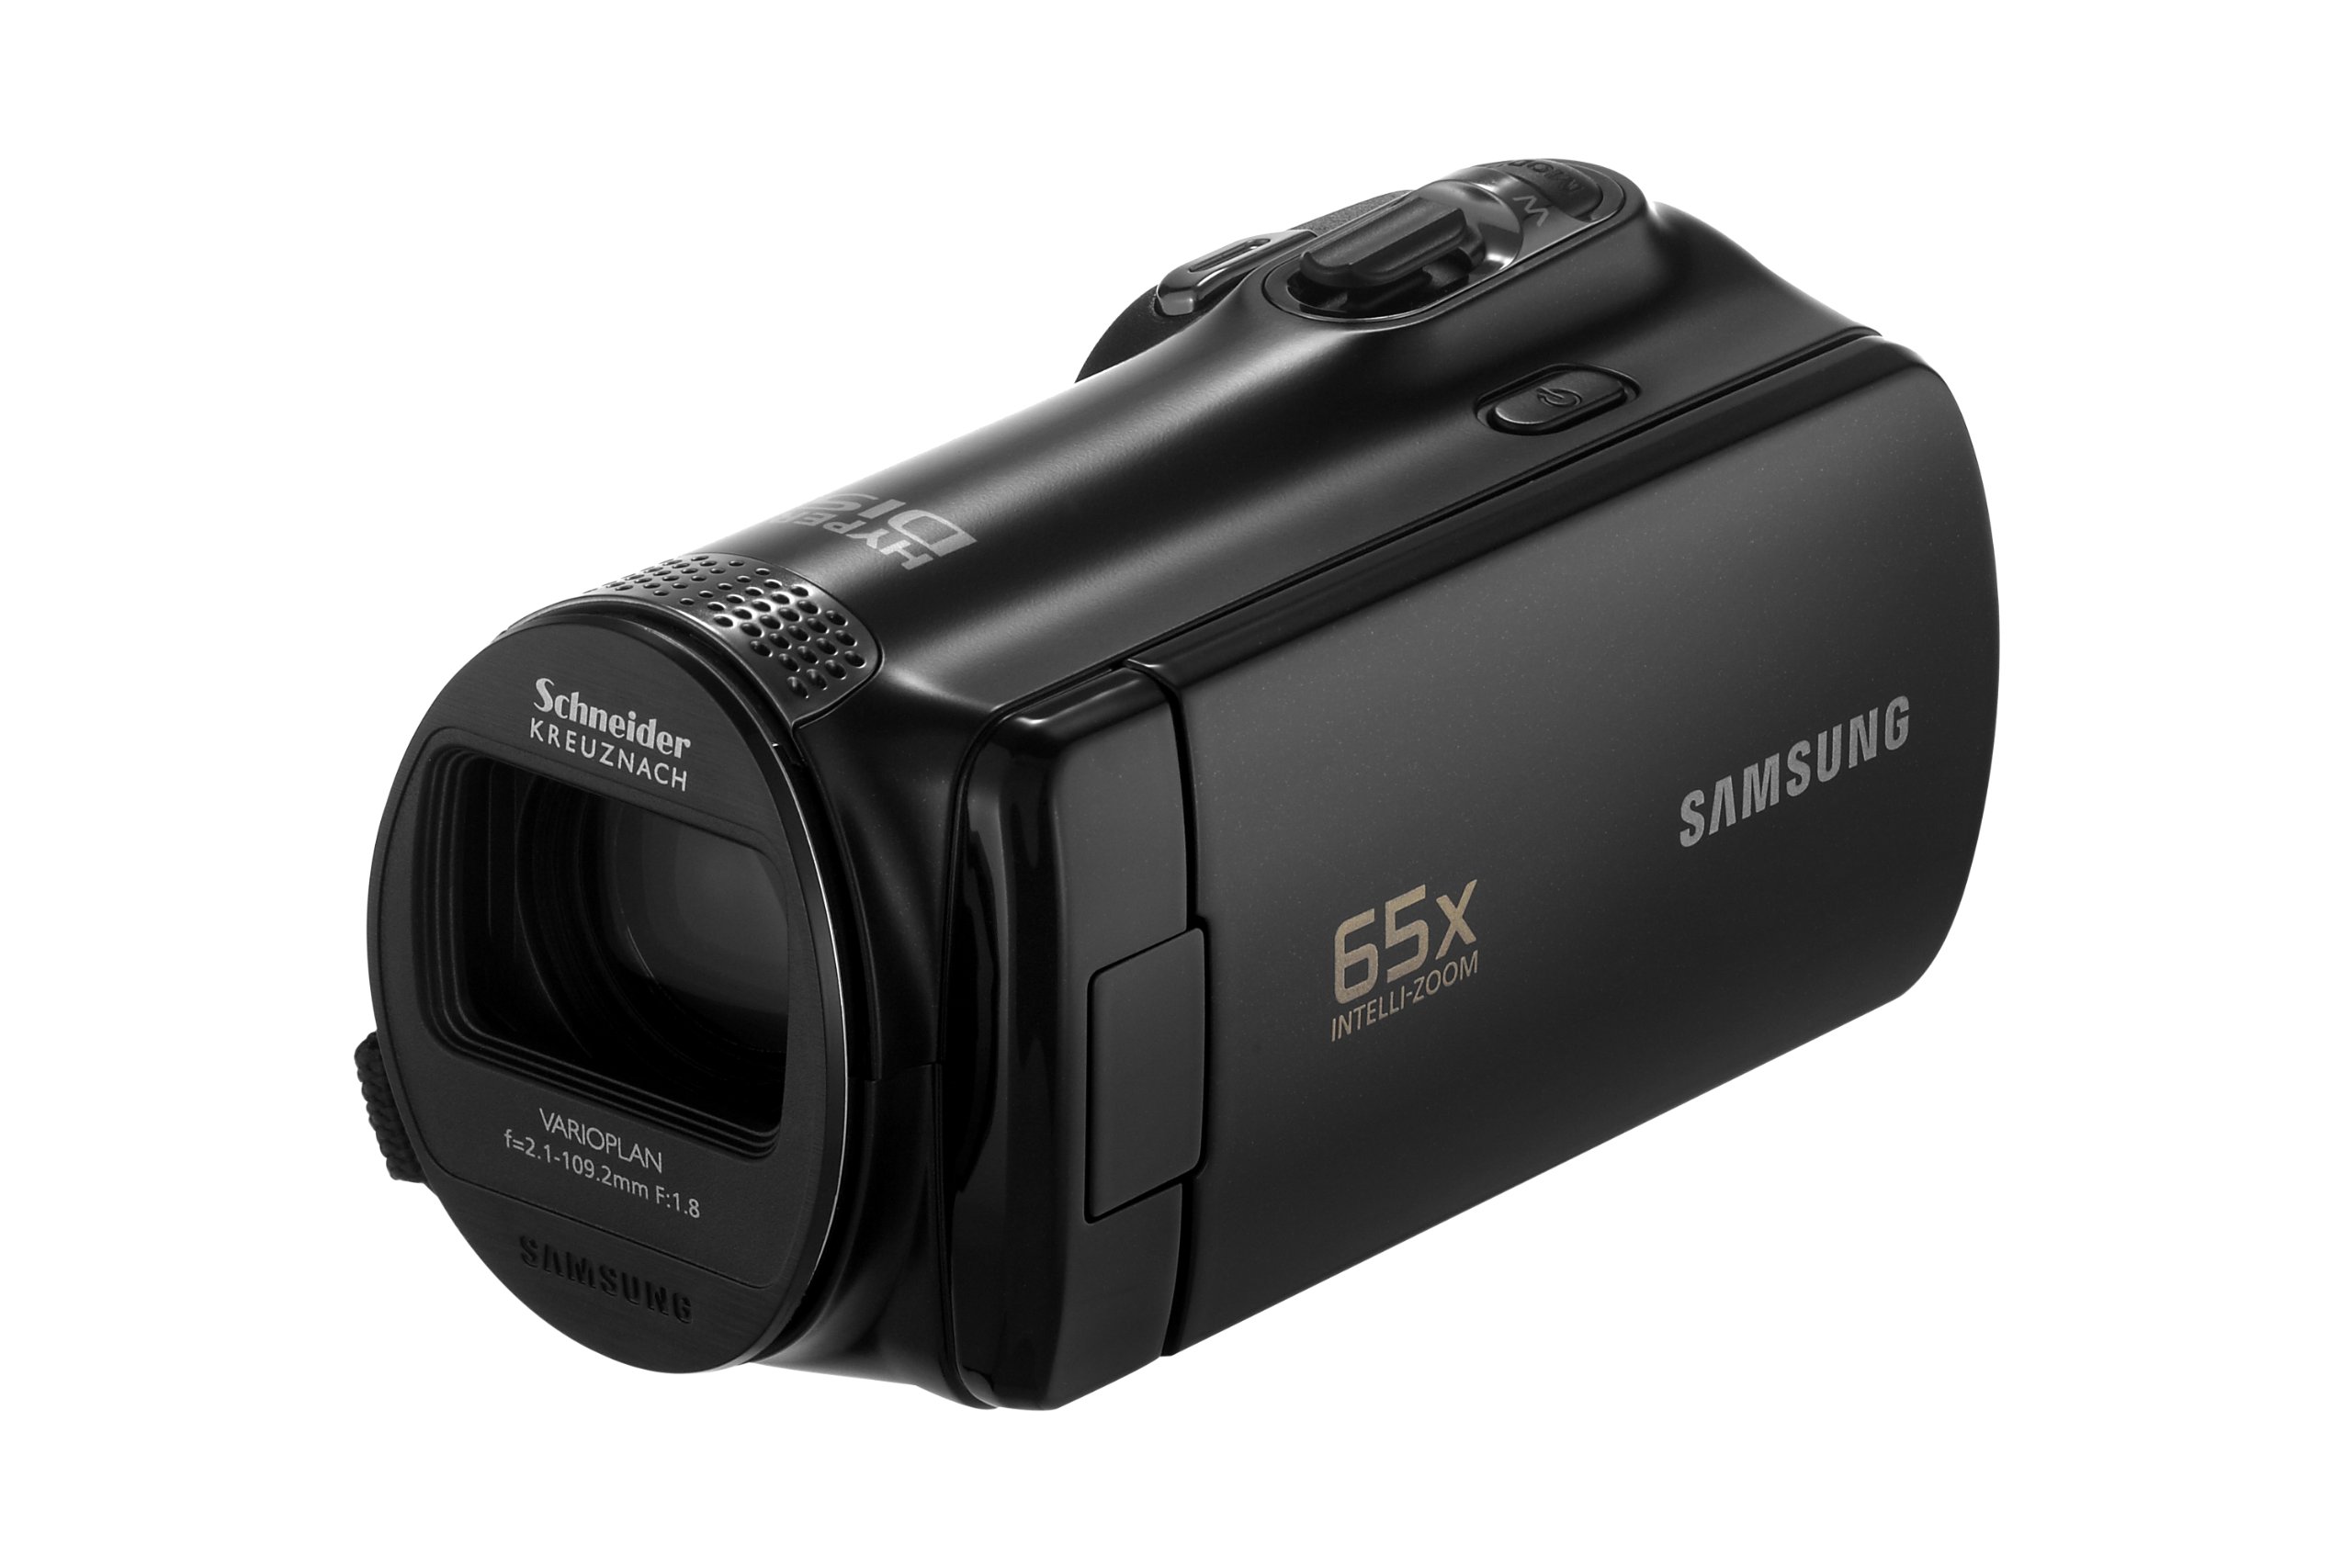
1. Built-in Microphones: Many camcorders come equipped with built-in microphones. While these microphones are convenient, they often capture a wide range of ambient noise and may not provide the level of audio quality desired for professional-looking videos.
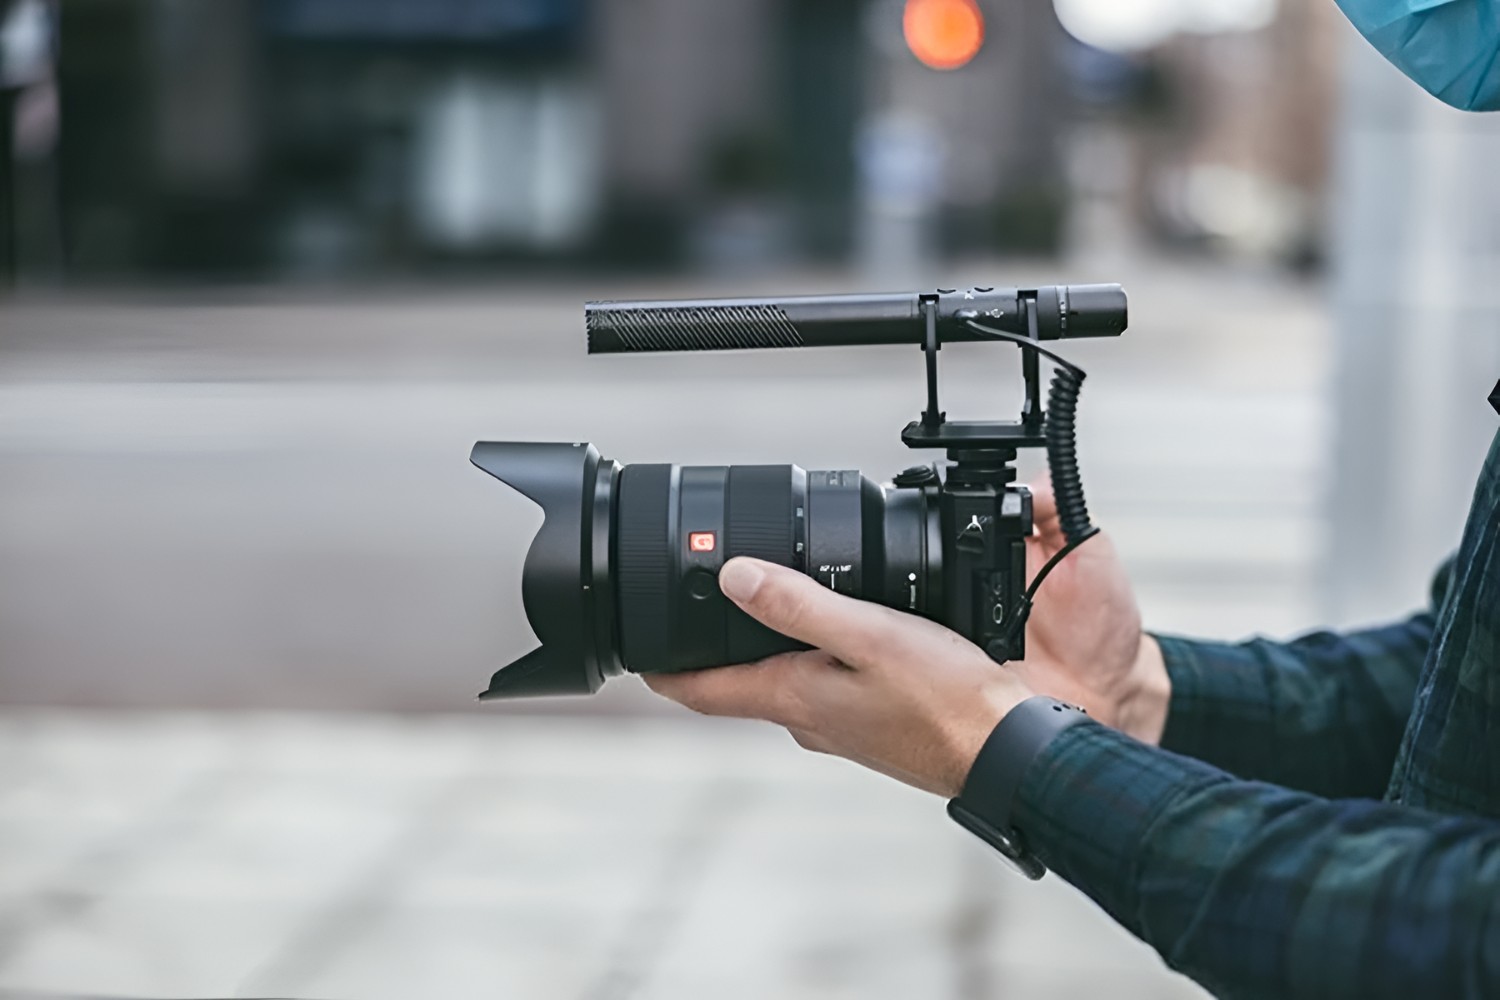
2. Shotgun Microphones: Shotgun microphones are a popular choice for video production. These highly directional microphones capture sound from a narrow angle, effectively isolating the audio source in front of the camera while minimizing background noise.
3. Lavalier Microphones: Lavalier, or lapel, microphones are small, discreet microphones that can be clipped onto clothing near the speaker’s mouth. They are ideal for interviews and on-camera presentations, providing clear and consistent audio without being visually obtrusive.
4. Wireless Microphone Systems: Wireless microphones offer the freedom of movement, making them ideal for capturing audio in dynamic environments. They consist of a transmitter, which is typically worn by the speaker, and a receiver that connects to the camcorder.
When selecting a microphone for your camcorder, consider the specific requirements of your recording environment and the type of content you’ll be producing. Each microphone option has its own advantages and limitations, and choosing the right one can make a significant difference in the overall audio quality of your videos.
Attaching a Microphone to the Camcorder
Once you’ve chosen the appropriate microphone for your recording needs, the next step is to properly attach it to your camcorder. The method of attachment may vary depending on the type of microphone you’re using, but the following general guidelines will help you ensure a secure and reliable connection.
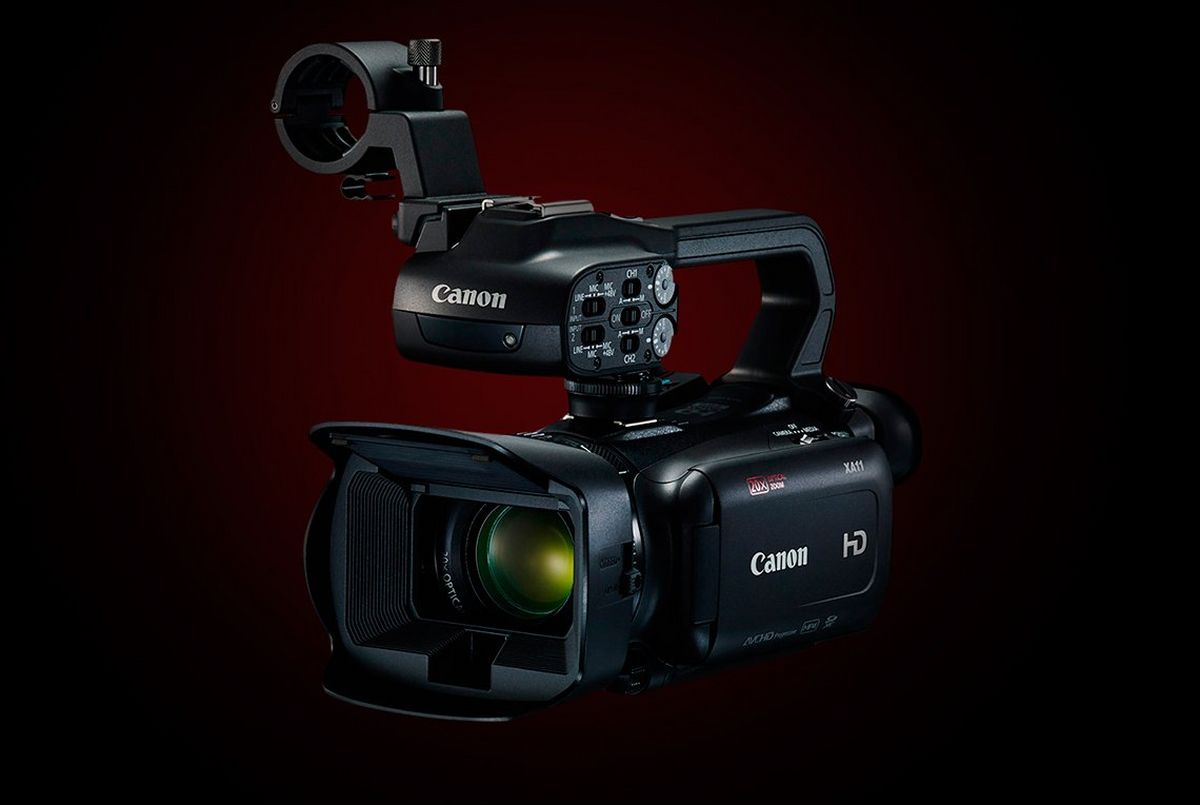
1. Identify the Mounting Point: Most camcorders are equipped with a dedicated mounting point for external microphones. This may be located on the top of the camcorder or on the side, depending on the model. Locate the mounting point and familiarize yourself with its design.
2. Select the Mounting Method: Depending on the microphone type, you may use a hot shoe mount, a cold shoe mount, or a microphone clamp to attach the microphone to the camcorder. Ensure that the mounting method is compatible with both the microphone and the camcorder to prevent any compatibility issues.
3. Secure the Connection: Once you’ve chosen the appropriate mounting method, carefully attach the microphone to the designated mounting point on the camcorder. Ensure that the connection is secure to prevent any movement or accidental dislodging during recording.
4. Connect the Audio Cable: If your microphone requires an audio cable to connect to the camcorder, carefully plug it into the designated audio input on the camcorder. Ensure that the connection is snug to prevent any audio interference or signal loss during recording.
5. Adjust the Microphone Position: Depending on the microphone type and the desired audio capture, you may need to adjust the position and angle of the microphone. Take the time to experiment with different positions to achieve the best audio quality for your specific recording environment.
By following these steps, you can effectively attach a microphone to your camcorder, setting the stage for enhanced audio capture and improved overall video production quality. With the microphone securely in place, you’ll be ready to record crisp, clear audio that complements the visual elements of your videos.
Testing and Adjusting the Microphone
Once the microphone is securely attached to your camcorder, it’s essential to test and adjust its settings to ensure optimal audio performance. This process involves verifying the audio levels, minimizing background noise, and making any necessary adjustments to achieve the best sound quality for your recordings.
1. Audio Level Testing: Start by conducting a test recording with the microphone attached to the camcorder. Monitor the audio levels on the camcorder’s display or through headphones to ensure that the sound is being captured at an appropriate volume. Avoid peaking, which occurs when the audio levels exceed the maximum capacity, resulting in distortion.
2. Background Noise Reduction: Assess the recording environment for any potential sources of background noise, such as air conditioning units, traffic, or other ambient sounds. If possible, minimize or eliminate these distractions to improve the overall audio quality captured by the microphone.
3. Microphone Sensitivity Adjustment: Depending on the microphone type, you may have the option to adjust its sensitivity or directional settings. Experiment with these adjustments to optimize the microphone’s performance based on the specific audio capture requirements of your recording.
4. Wind and Handling Noise Prevention: If you’re recording outdoors or in a location with potential wind interference, consider using a windscreen or dead cat cover to minimize wind noise. Additionally, handle the camcorder and microphone with care to prevent any unwanted handling noise from being captured during recording.
5. Audio Monitoring: Utilize headphones to monitor the audio quality in real-time while recording. This allows you to identify any issues or anomalies and make immediate adjustments to ensure that the captured audio meets your desired standards.
By thoroughly testing and adjusting the microphone settings, you can fine-tune the audio capture process, resulting in clear, professional-quality sound for your videos. Taking the time to optimize the microphone’s performance will ultimately enhance the overall impact of your video productions and elevate the viewing experience for your audience.
Conclusion
Mastering the art of integrating a microphone with your camcorder is a valuable skill that can significantly elevate the quality of your video productions. By understanding the different microphone options available and learning how to effectively attach, test, and adjust a microphone, you can enhance the audio clarity and overall impact of your recordings.
When selecting a microphone, consider the specific needs of your recording environment and the type of content you’ll be producing. Whether you opt for a shotgun microphone for directional capture, a lavalier microphone for on-camera presentations, or a wireless microphone system for dynamic recording scenarios, choosing the right microphone is crucial for achieving professional-level audio quality.
Attaching a microphone to your camcorder requires careful consideration of the mounting point, the appropriate mounting method, and the secure connection of the audio cable. By following these steps, you can ensure that the microphone is effectively integrated with the camcorder, setting the stage for superior audio capture.
Testing and adjusting the microphone settings is a critical step in the process, allowing you to fine-tune the audio levels, minimize background noise, and optimize the microphone’s performance based on the specific requirements of your recording. By conducting thorough audio level testing, reducing background noise, and monitoring the audio quality in real-time, you can achieve clear, professional-grade sound for your videos.
By mastering the process of integrating a microphone with your camcorder, you have the power to create captivating videos with exceptional audio that engages and resonates with your audience. The seamless integration of high-quality audio with compelling visuals will elevate the overall production value of your videos, leaving a lasting impression on your viewers.
With the knowledge and skills gained from this guide, you are well-equipped to harness the full potential of your camcorder and microphone, bringing your creative vision to life with stunning audio-visual content.