Introduction
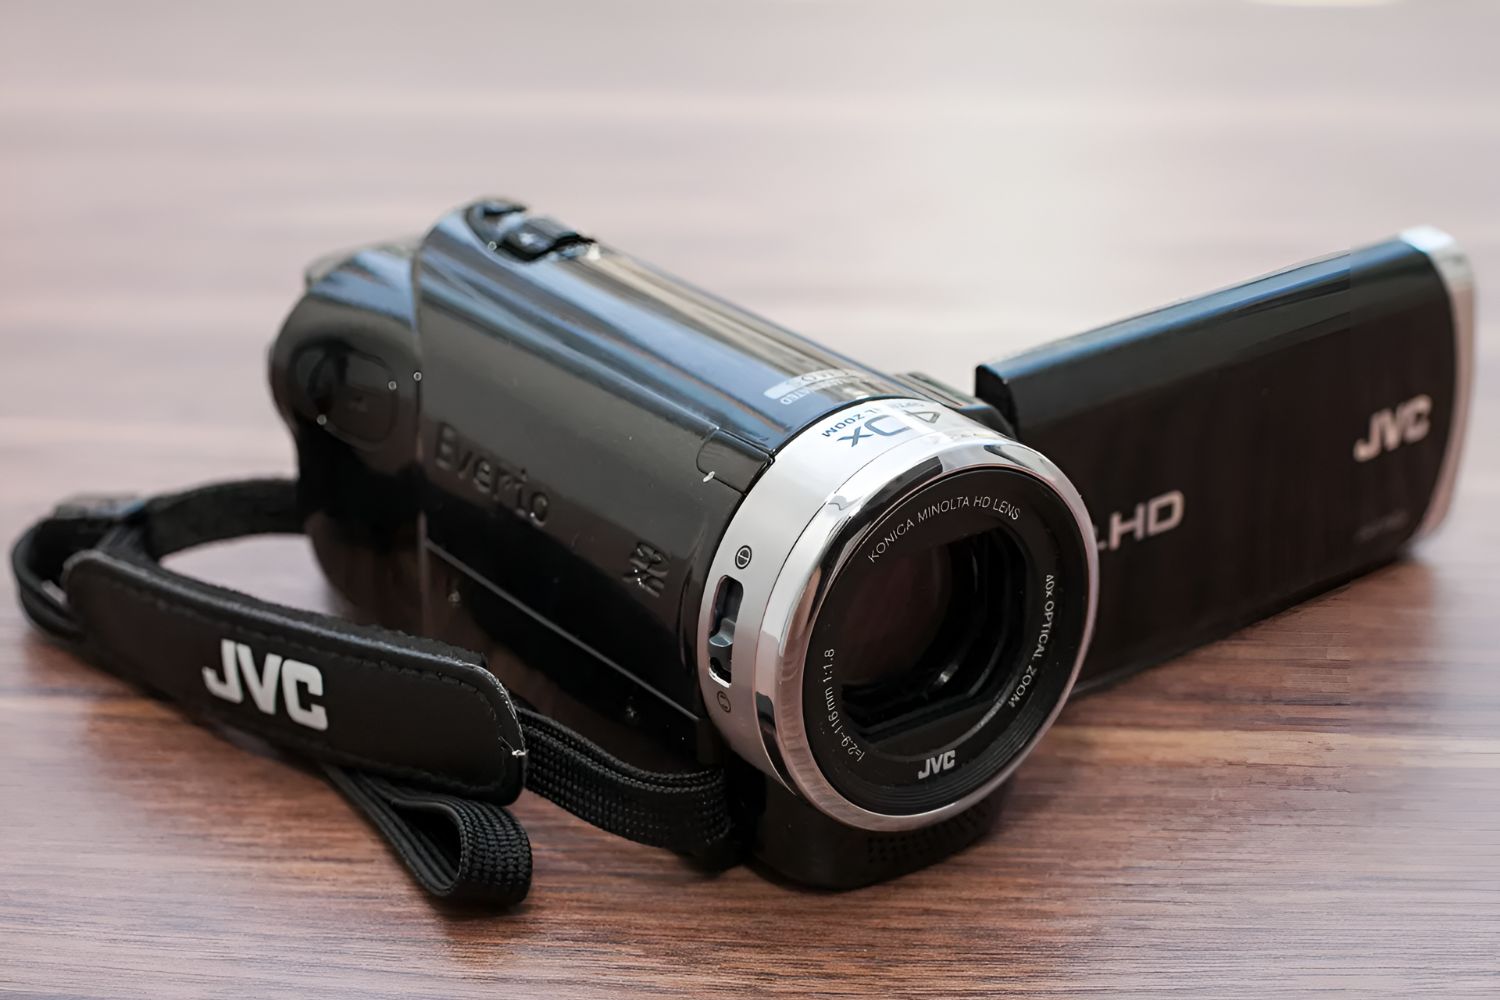
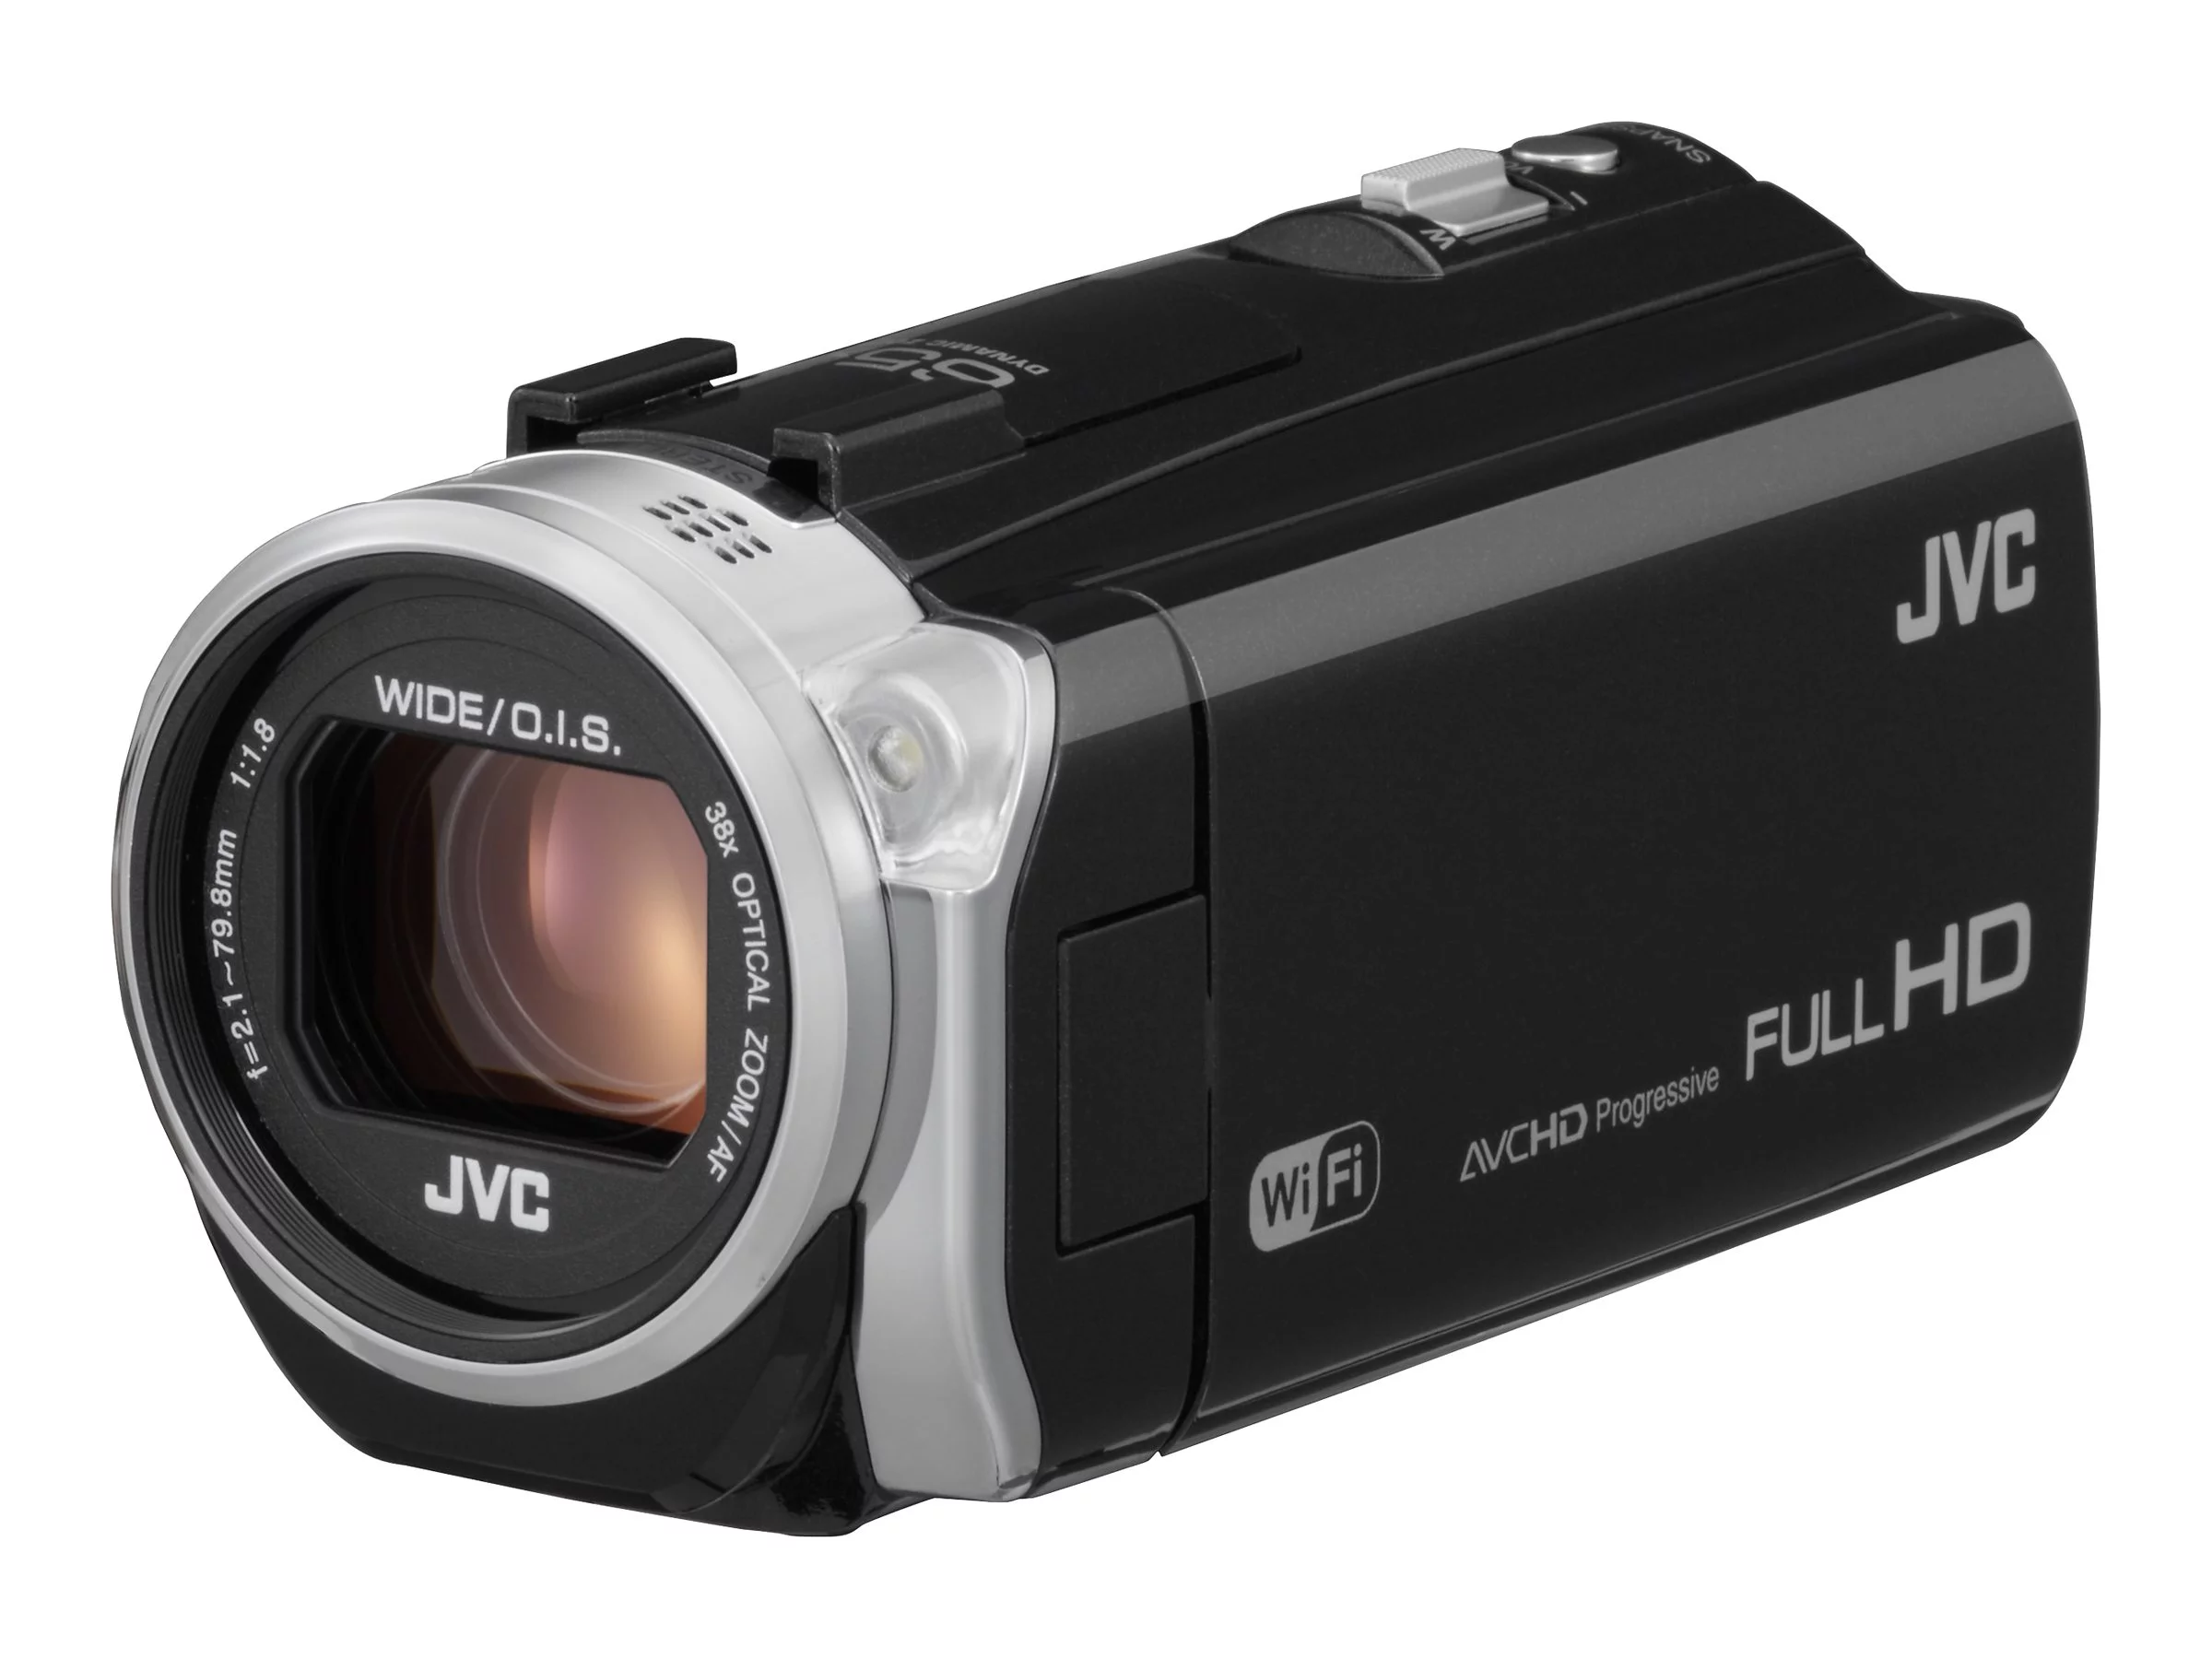
Are you looking to elevate your video conferencing and live streaming experience? The JVC Everio camcorder offers a high-quality solution for capturing and sharing moments, and with the right setup, it can also serve as a reliable webcam. By following a few simple steps, you can harness the power of your JVC Everio camcorder to enhance your virtual interactions and create professional-looking video content.
Whether you're a content creator, a business professional, or simply want to improve the visual quality of your video calls, utilizing your JVC Everio camcorder as a webcam can make a significant difference. With its advanced optics and superior image stabilization, the camcorder provides a level of clarity and detail that surpasses many built-in webcams. This means that your audience will enjoy sharper, more vibrant video feeds, allowing you to make a lasting impression during virtual meetings, live streams, or online presentations.
In this guide, we will walk you through the process of setting up your JVC Everio camcorder as a webcam, unlocking its full potential for online communication and content creation. From checking compatibility and installing the necessary software to connecting the camcorder to your computer and adjusting the settings, each step is designed to help you seamlessly integrate your camcorder into your virtual setup. By the end of this tutorial, you will be ready to harness the power of your JVC Everio camcorder as a high-definition webcam, bringing your video calls and live streams to life with unparalleled visual fidelity. Let's dive into the steps and unlock the full potential of your JVC Everio camcorder.
Step 1: Check Compatibility
Before proceeding with the setup, it’s essential to ensure that your JVC Everio camcorder is compatible with your computer and the software required to use it as a webcam. Start by checking the specifications of your camcorder to determine if it supports webcam functionality. Most modern JVC Everio camcorders are equipped with USB or HDMI connectivity options, enabling them to function as webcams when connected to a computer.
Additionally, verify the compatibility of your computer with the camcorder. Ensure that your computer’s operating system supports the use of external cameras as webcams and that it has the necessary ports to connect the camcorder. Most computers running Windows 10 or macOS have built-in support for external cameras, making them compatible with a wide range of camcorders, including JVC Everio models.
Next, identify the software or drivers required to facilitate the use of your JVC Everio camcorder as a webcam. Visit the official JVC website or refer to the documentation that came with your camcorder to find the recommended software for webcam functionality. In some cases, third-party software or drivers may be necessary to establish the connection between the camcorder and your computer. Ensure that you have the required software installed and updated to guarantee seamless integration.
By confirming the compatibility of your JVC Everio camcorder with your computer and the essential software, you can proceed with confidence to the next steps of setting up your camcorder as a webcam. This initial check ensures that you have the necessary hardware and software components in place, laying the groundwork for a successful integration of your camcorder into your virtual communication and content creation setup.
Step 2: Install Necessary Software
Once you have confirmed the compatibility of your JVC Everio camcorder with your computer, the next step is to install the required software or drivers to enable its functionality as a webcam. Depending on the specific model of your camcorder and your computer’s operating system, you may need to download and install the designated software from the official JVC website or use the installation disc that accompanied your camcorder.
Visit the JVC support or downloads section of the official website and locate the appropriate software for using your JVC Everio camcorder as a webcam. Ensure that you select the software version that corresponds to your operating system, whether it’s Windows, macOS, or other compatible platforms. Download the software and follow the installation instructions provided by JVC to set up the necessary drivers and utilities on your computer.
If the official JVC software is not available or does not fully support webcam functionality for your camcorder model, consider exploring third-party software solutions that can bridge the connection between your JVC Everio camcorder and your computer. There are various webcam software options available, some of which offer advanced features and customization settings to enhance your webcam experience with the camcorder.
After installing the required software, ensure that it is up to date by checking for any available updates or patches. Keeping the software current is essential for optimal performance and compatibility with your computer’s operating system. Once the software installation is complete and updated, your JVC Everio camcorder will be equipped with the necessary tools to function as a high-quality webcam, ready to deliver impressive video quality for your virtual interactions and content creation endeavors.
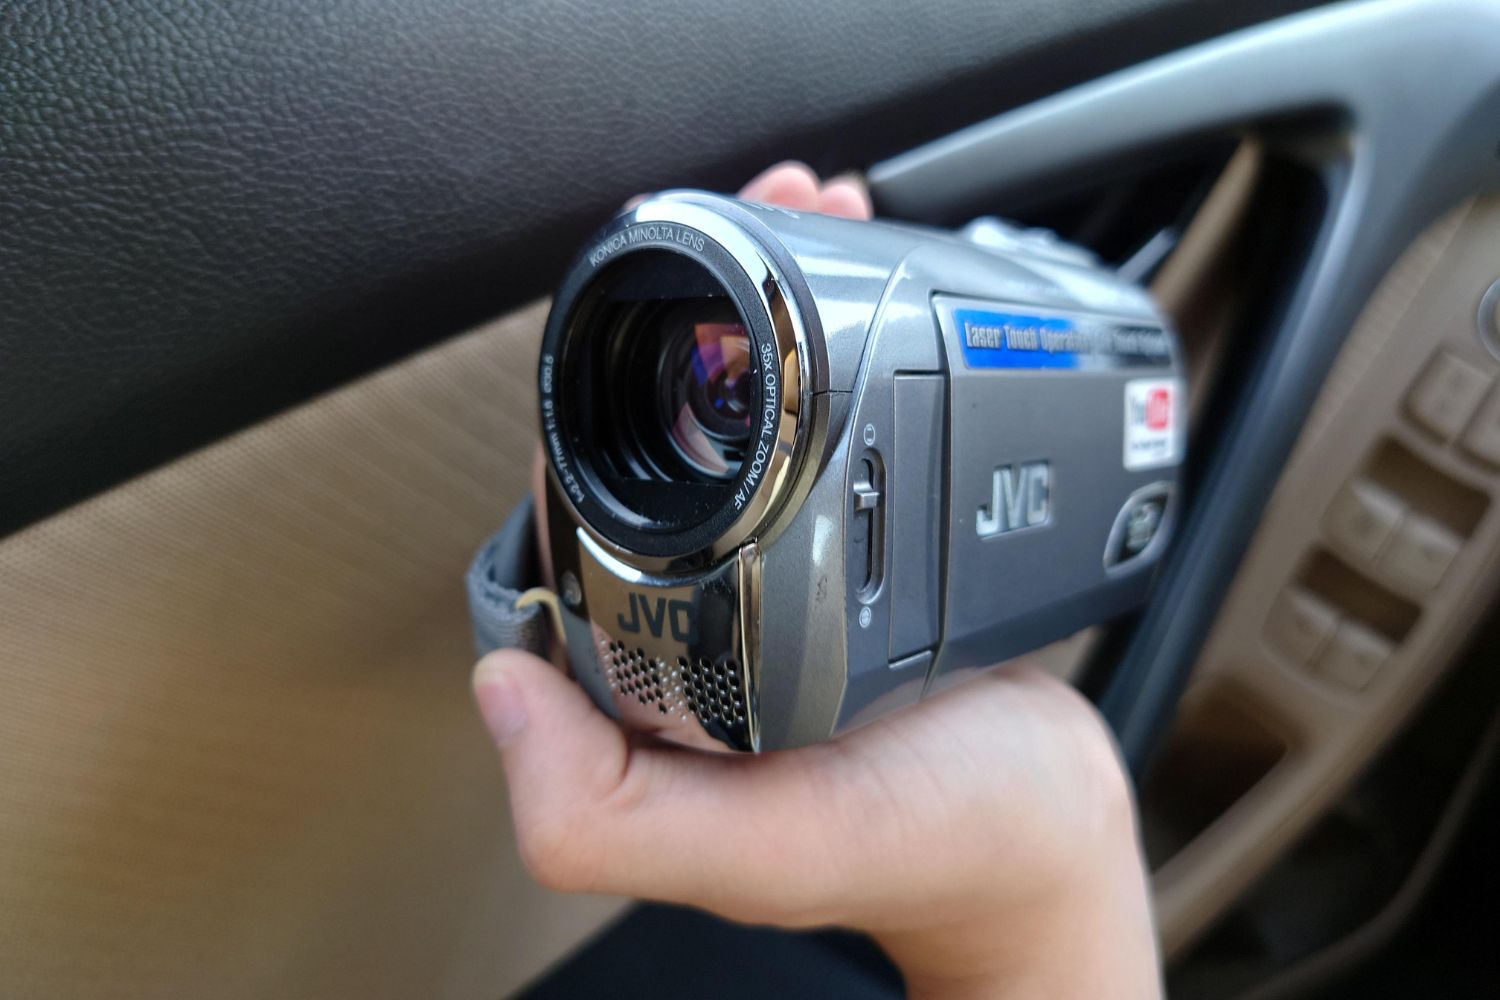
Step 3: Connect the Camcorder to Your Computer
With the necessary software or drivers installed on your computer, the next crucial step is to establish a physical connection between your JVC Everio camcorder and your computer. Depending on the available connectivity options on your camcorder and your computer, you can choose between USB and HDMI connections to facilitate the integration of the camcorder as a webcam.
If your JVC Everio camcorder features a USB port, use a compatible USB cable to connect the camcorder to an available USB port on your computer. Ensure that the USB cable is securely plugged into both the camcorder and the computer, establishing a stable connection for data transfer and webcam functionality. Many modern camcorders support USB video class (UVC) or USB audio video class (UAC), enabling them to be recognized as webcams by compatible software without the need for additional drivers.
Alternatively, if your camcorder offers an HDMI output, you can utilize an HDMI capture device to connect the camcorder to your computer. HDMI capture devices, also known as video capture cards or HDMI capture cards, enable you to input the video signal from the camcorder into your computer via a USB interface. This method allows for high-quality video transmission from the camcorder to the computer, leveraging the superior imaging capabilities of the JVC Everio camcorder for webcam use.
Once the physical connection between your JVC Everio camcorder and your computer is established, power on the camcorder and ensure that it is set to the appropriate mode for webcam functionality. Some camcorders have a dedicated webcam mode or setting that needs to be activated to enable the transmission of video and audio data to the computer. Refer to the user manual or documentation provided with your camcorder to configure the necessary settings for webcam use.
By connecting your JVC Everio camcorder to your computer via USB or HDMI, you are one step closer to harnessing its impressive imaging capabilities for video calls, live streams, and other virtual interactions. The physical link between the camcorder and the computer sets the stage for utilizing the camcorder as a high-definition webcam, delivering exceptional visual quality to your virtual audience.
Step 4: Set Up the Camcorder as a Webcam
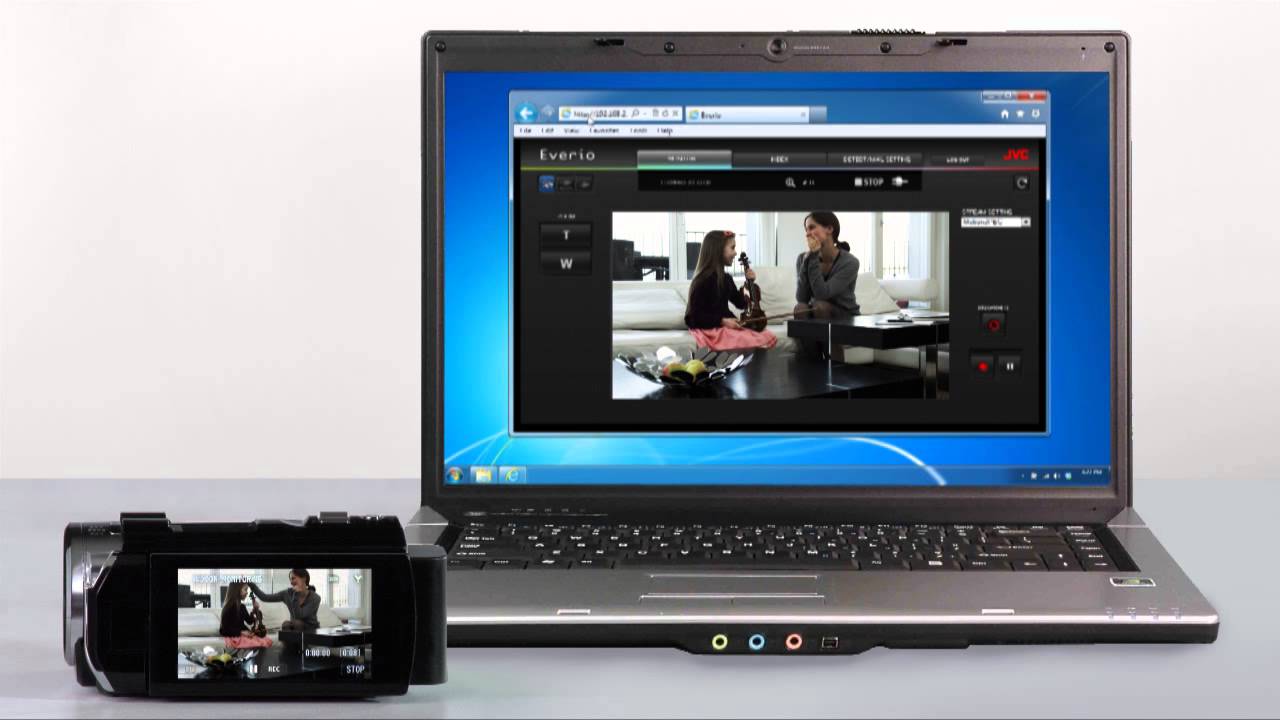
Once the physical connection between your JVC Everio camcorder and your computer is established, it’s time to configure the camcorder to function as a webcam. Depending on the software you’ve installed and the specific requirements of your chosen video conferencing or live streaming platform, the setup process may vary. However, the general steps for setting up the camcorder as a webcam involve selecting it as the video input device and adjusting the settings for optimal performance.
Open the video conferencing or live streaming software on your computer and navigate to the settings or preferences menu. Look for the video or camera settings within the software and locate the option to choose the video input device. In this menu, you should be able to select your JVC Everio camcorder as the primary video source, effectively configuring it to function as the webcam for your virtual interactions.
After selecting the camcorder as the video input device, you may have the opportunity to adjust additional settings to optimize the video quality and audio input. Depending on the capabilities of your camcorder and the software, you can fine-tune parameters such as resolution, frame rate, exposure, white balance, and audio levels to ensure that the webcam output meets your desired specifications.
It’s essential to test the webcam setup within the software to confirm that the camcorder is transmitting video and audio correctly. Initiate a test call or start a local video recording to observe the output from the camcorder and make any necessary adjustments to the settings. Pay attention to the framing, clarity, and overall visual quality of the webcam feed to ensure that it aligns with your expectations.
Additionally, consider the placement and stabilization of the camcorder to achieve the desired composition for your video calls or live streams. Utilize the camcorder’s built-in stabilization features or external mounting options to ensure a steady and professional-looking video feed, enhancing the overall visual experience for your audience.
By setting up your JVC Everio camcorder as a webcam and customizing the relevant settings within the software, you can leverage its advanced imaging capabilities to elevate your virtual interactions and content creation endeavors. The seamless integration of the camcorder as a high-definition webcam opens up new possibilities for delivering impactful visual content and engaging with others in a compelling and professional manner.
Step 5: Adjust Settings and Test the Webcam
After setting up your JVC Everio camcorder as a webcam and configuring it within the video conferencing or live streaming software, the next step is to fine-tune the settings and thoroughly test the webcam to ensure optimal performance. By adjusting the settings and conducting comprehensive testing, you can refine the visual and audio output of the camcorder, delivering a professional and engaging experience for your virtual audience.
Begin by accessing the advanced settings or preferences within the video conferencing or live streaming software. Explore the options available for video and audio adjustments, including resolution, frame rate, exposure, focus, white balance, audio levels, and any additional features offered by the software. By customizing these settings, you can tailor the webcam output to meet your specific requirements, whether it’s delivering high-definition video for professional meetings or producing captivating live streams.
Pay particular attention to the visual quality of the webcam feed during the settings adjustment phase. Ensure that the video output from your JVC Everio camcorder exhibits clarity, vibrant colors, and optimal exposure, creating an immersive viewing experience for your audience. Fine-tune the settings to achieve the desired balance between image sharpness, color accuracy, and overall visual fidelity.
In addition to video adjustments, consider the audio input from the camcorder and its integration with the webcam setup. Verify that the audio levels are balanced and clear, allowing your voice to be captured accurately without distortion or background noise. If your camcorder supports external microphones or audio input options, explore the settings to enhance the audio quality for your virtual interactions.
Once you have adjusted the settings to your satisfaction, proceed to conduct thorough testing of the webcam within the software. Initiate test calls, local video recordings, or live stream simulations to observe the performance of the camcorder in real-time. Pay close attention to the visual and audio aspects of the webcam feed, ensuring that the adjustments result in a polished and professional presentation.
During the testing phase, evaluate the framing, stability, and overall presentation of the webcam feed to confirm that it aligns with your expectations. Make any necessary refinements to the settings based on the observations from the testing process, striving to achieve an exceptional webcam experience that showcases the capabilities of your JVC Everio camcorder.
By adjusting the settings and conducting rigorous testing of your JVC Everio camcorder as a webcam, you can optimize its performance for various virtual scenarios, from video conferencing and online presentations to live streaming and content creation. The meticulous refinement of settings and thorough testing are essential steps in harnessing the full potential of the camcorder as a high-quality webcam, ensuring that your virtual interactions leave a lasting impression on your audience.
Conclusion
Congratulations! By following the comprehensive steps outlined in this guide, you have successfully transformed your JVC Everio camcorder into a versatile and powerful webcam, ready to elevate your virtual interactions and content creation endeavors. The process of setting up and utilizing your camcorder as a webcam opens up a world of possibilities, allowing you to deliver professional-quality video and audio for video conferencing, live streaming, online presentations, and more.
Through careful consideration of compatibility, installation of necessary software, physical connection to your computer, configuration within video conferencing or live streaming software, and meticulous adjustment and testing of settings, you have harnessed the advanced imaging capabilities of your JVC Everio camcorder to create a compelling and engaging webcam experience. The seamless integration of the camcorder as a high-definition webcam enables you to captivate your audience with vibrant visuals and clear audio, setting a new standard for virtual communication and content creation.
As you continue to explore the capabilities of your JVC Everio camcorder as a webcam, consider the creative opportunities it presents for delivering impactful visual content and engaging with others in a professional and immersive manner. Whether you are conducting virtual meetings, hosting live streams, or sharing captivating video content, the enhanced visual fidelity and stability offered by your camcorder can make a significant difference in leaving a lasting impression on your audience.
Embrace the flexibility and creativity that your JVC Everio camcorder brings to your virtual endeavors, and continue to explore the potential for leveraging its advanced features to enrich your online interactions. By maximizing the capabilities of your camcorder as a webcam, you are poised to stand out in virtual environments and deliver compelling content that resonates with your audience, making every interaction a memorable and engaging experience.
With your JVC Everio camcorder now seamlessly integrated as a high-quality webcam, you are well-equipped to make a lasting impact in the digital realm, bringing your unique perspective and creativity to life through the power of exceptional visual and audio presentation. Embrace the possibilities, unleash your creativity, and make every virtual interaction an extraordinary experience with your JVC Everio camcorder as a reliable and professional webcam.