Introduction
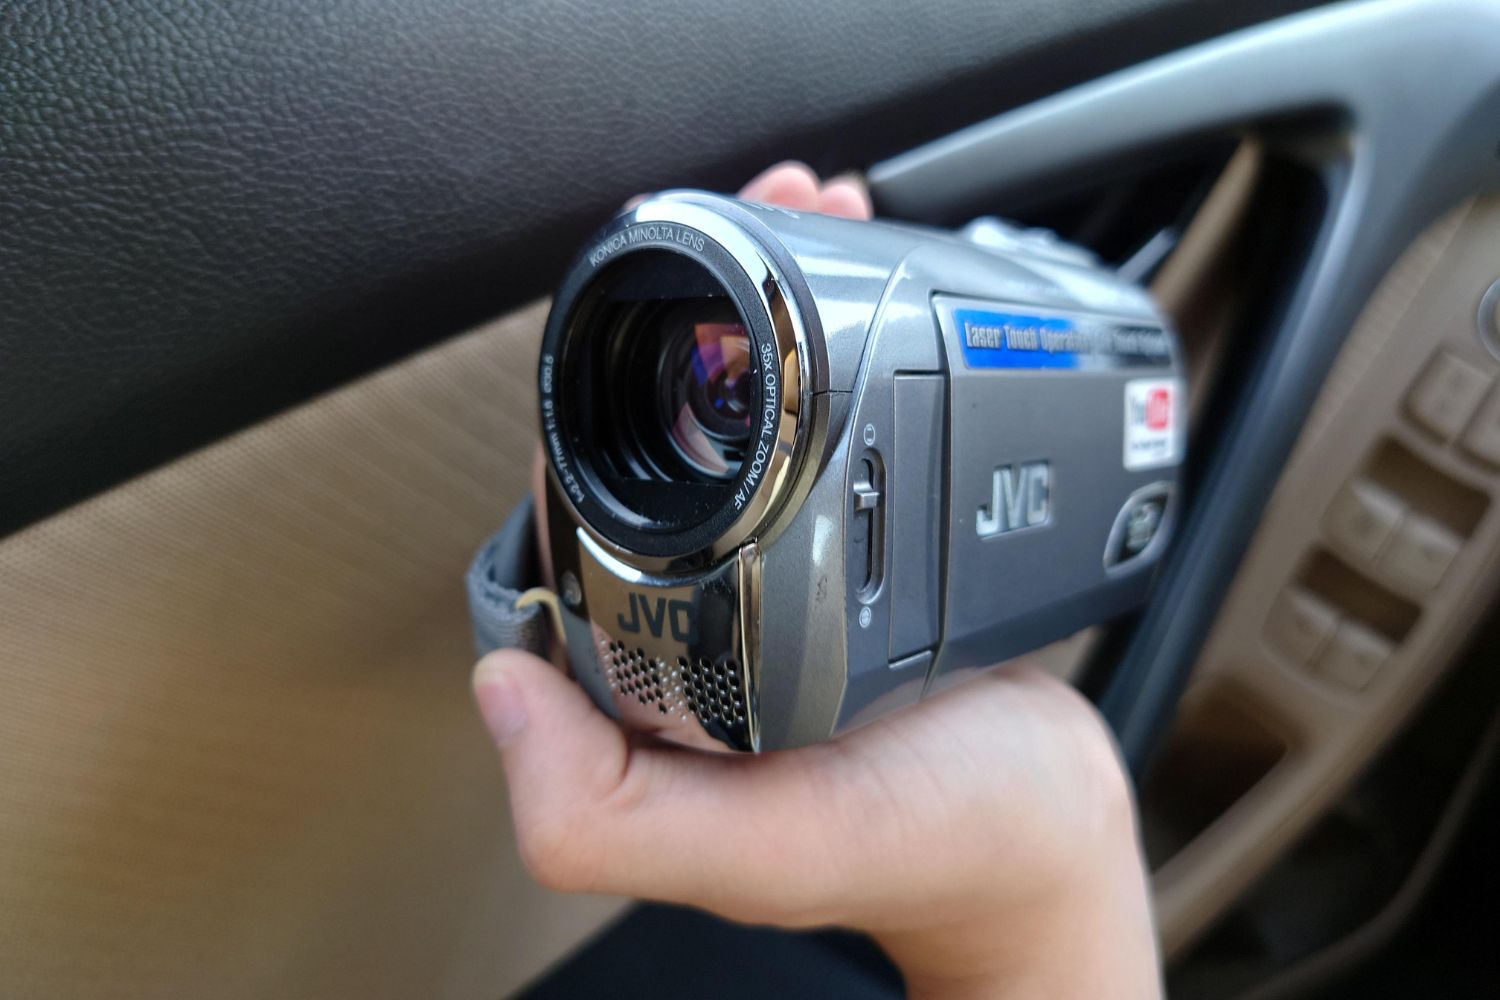
So, you've captured some fantastic moments with your JVC Everio camcorder, and now you're eager to relive those memories on your PC. Whether it's a family vacation, a special event, or just some everyday fun, the JVC Everio camcorder allows you to record these precious moments with ease. However, you may be wondering how to transfer and play these recorded videos on your PC. Fortunately, the process is straightforward, and with a few simple steps, you'll be able to enjoy your videos on a larger screen and even save them for future viewing.
In this guide, we'll walk you through the process of connecting your JVC Everio camcorder to your PC, transferring the recorded videos, playing them on your computer, and saving them for safekeeping. By following these steps, you'll be able to seamlessly integrate your JVC Everio videos into your digital library, making them easily accessible for sharing, editing, and enjoying whenever you desire.
So, let's dive into the world of JVC Everio camcorders and discover how to bring your recorded videos to life on your PC. With a few simple techniques, you'll be able to unlock the full potential of your camcorder and relive your cherished moments with ease. Let's get started!
Connecting JVC Everio Camcorder to PC
Before you can begin transferring and playing your recorded videos from your JVC Everio camcorder on your PC, you’ll need to establish a physical connection between the two devices. Here’s how to do it:
- Check Your Camcorder: Ensure that your JVC Everio camcorder is powered on and in good working condition. It’s also a good idea to check that the battery is sufficiently charged or connect the camcorder to a power source to prevent any interruptions during the transfer process.
- Locate the USB Cable: Most JVC Everio camcorders come with a USB cable for connecting to a computer. If you have the USB cable that came with your camcorder, locate it and ensure it’s in good condition.
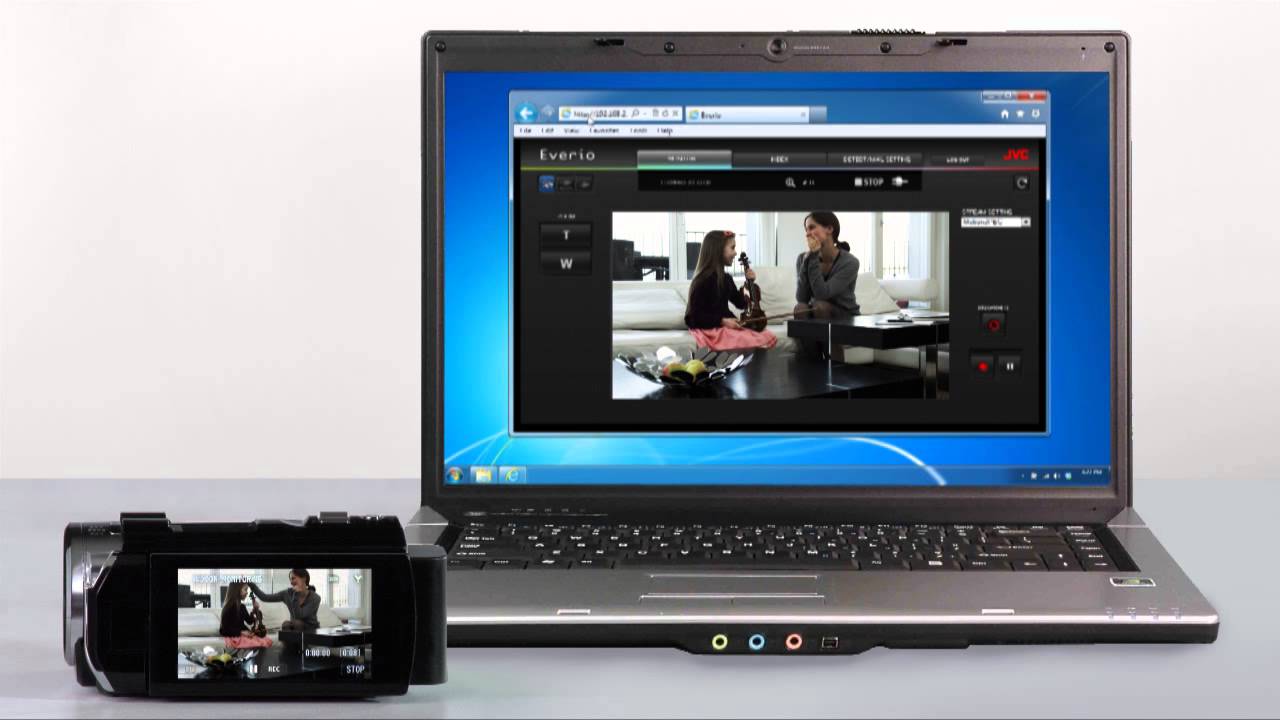
- Connect the Camcorder to Your PC: Using the USB cable, connect your JVC Everio camcorder to your PC. Depending on the model of your camcorder, you may find the USB port under a protective cover on the camcorder’s body. Once connected, your PC should recognize the camcorder as a removable storage device.
- Install Necessary Drivers (if applicable): In some cases, your PC may require specific drivers to recognize and interact with your JVC Everio camcorder. If prompted, follow the on-screen instructions to install the necessary drivers to ensure seamless communication between the devices.
Once you’ve successfully connected your JVC Everio camcorder to your PC, you’re ready to move on to the next step: transferring the recorded videos to your computer. This initial connection is the crucial first step in the process, allowing you to establish a bridge between your camcorder and your PC for data transfer.
Transferring Recorded Videos to PC
Now that your JVC Everio camcorder is successfully connected to your PC, it’s time to transfer the recorded videos from the camcorder to your computer. This process allows you to create a digital backup of your videos and provides the convenience of accessing and organizing them on your PC. Follow these steps to transfer your recorded videos:
- Access the Removable Storage: Once your JVC Everio camcorder is connected to your PC, navigate to the file explorer to access the removable storage device representing your camcorder. Depending on your operating system, the camcorder may appear as a removable disk or storage device.
- Locate the Video Files: Within the removable storage, locate the folder or directory containing your recorded videos. JVC Everio camcorders typically store recorded videos in a designated folder, often labeled “Videos” or “Recordings.”
- Copy the Videos to Your PC: Select the recorded videos you wish to transfer and copy them to a location on your PC, such as a specific folder or your desktop. You can do this by right-clicking on the selected videos and choosing the “Copy” option, then navigating to your desired destination and selecting “Paste.”
- Monitor the Transfer Process: Depending on the size of the video files and the transfer speed, the copying process may take some time. Keep an eye on the transfer progress to ensure that all selected videos are successfully copied to your PC.
Once the transfer is complete, you’ll have a digital copy of your recorded videos on your PC, allowing for easy access and playback. This step ensures that your cherished moments are securely stored on your computer, ready to be viewed and shared with others. With the videos now residing on your PC, you’re ready to proceed to the next stage: playing the recorded videos on your computer.
Playing Recorded Videos on PC
With the recorded videos safely transferred to your PC, it’s time to enjoy them on a larger screen. Playing your JVC Everio camcorder videos on your computer allows for a more immersive viewing experience and provides the opportunity to relive your captured moments in high resolution. Here’s how you can play your recorded videos on your PC:
- Choose a Media Player: Your PC likely has a default media player, such as Windows Media Player or VLC Media Player. Alternatively, you may have installed a preferred media player of your choice. Open the media player that you wish to use for playing your recorded videos.
- Locate the Video Files: Navigate to the location on your PC where you transferred the recorded videos. This could be a specific folder, the desktop, or any other directory where you chose to store the videos.
- Open the Video File: Double-click on the video file you wish to play. The selected media player should launch and begin playing the video. Alternatively, you can open the media player first and use its interface to locate and play the video file.
- Adjust Playback Settings: Depending on your preferences, you can adjust various playback settings, such as volume, playback speed, and screen size. Most media players offer options to customize the viewing experience according to your preferences.
By following these straightforward steps, you can easily play your recorded videos from your JVC Everio camcorder on your PC. Whether it’s a family celebration, a scenic adventure, or a creative project, viewing your videos on a larger screen provides a more immersive experience and allows you to appreciate the details captured by your camcorder. Now that you’re able to play your recorded videos on your PC, let’s move on to the final step: saving the videos for future enjoyment and safekeeping.
Saving Recorded Videos on PC
Once you’ve enjoyed playing your recorded videos on your PC, it’s essential to ensure that they are safely stored for future viewing and safekeeping. Saving your videos on your computer allows you to create a digital archive of your cherished moments, ensuring that they are readily accessible whenever you wish to revisit them. Follow these steps to save your recorded videos on your PC:
- Create a Dedicated Folder: To keep your recorded videos organized, consider creating a dedicated folder on your PC specifically for storing these videos. This will make it easier to locate and manage your videos in the future.
- Copy the Videos to the Folder: Navigate to the location where your recorded videos are stored and copy them to the dedicated folder you created. This step ensures that all your videos are consolidated in one easily accessible location.
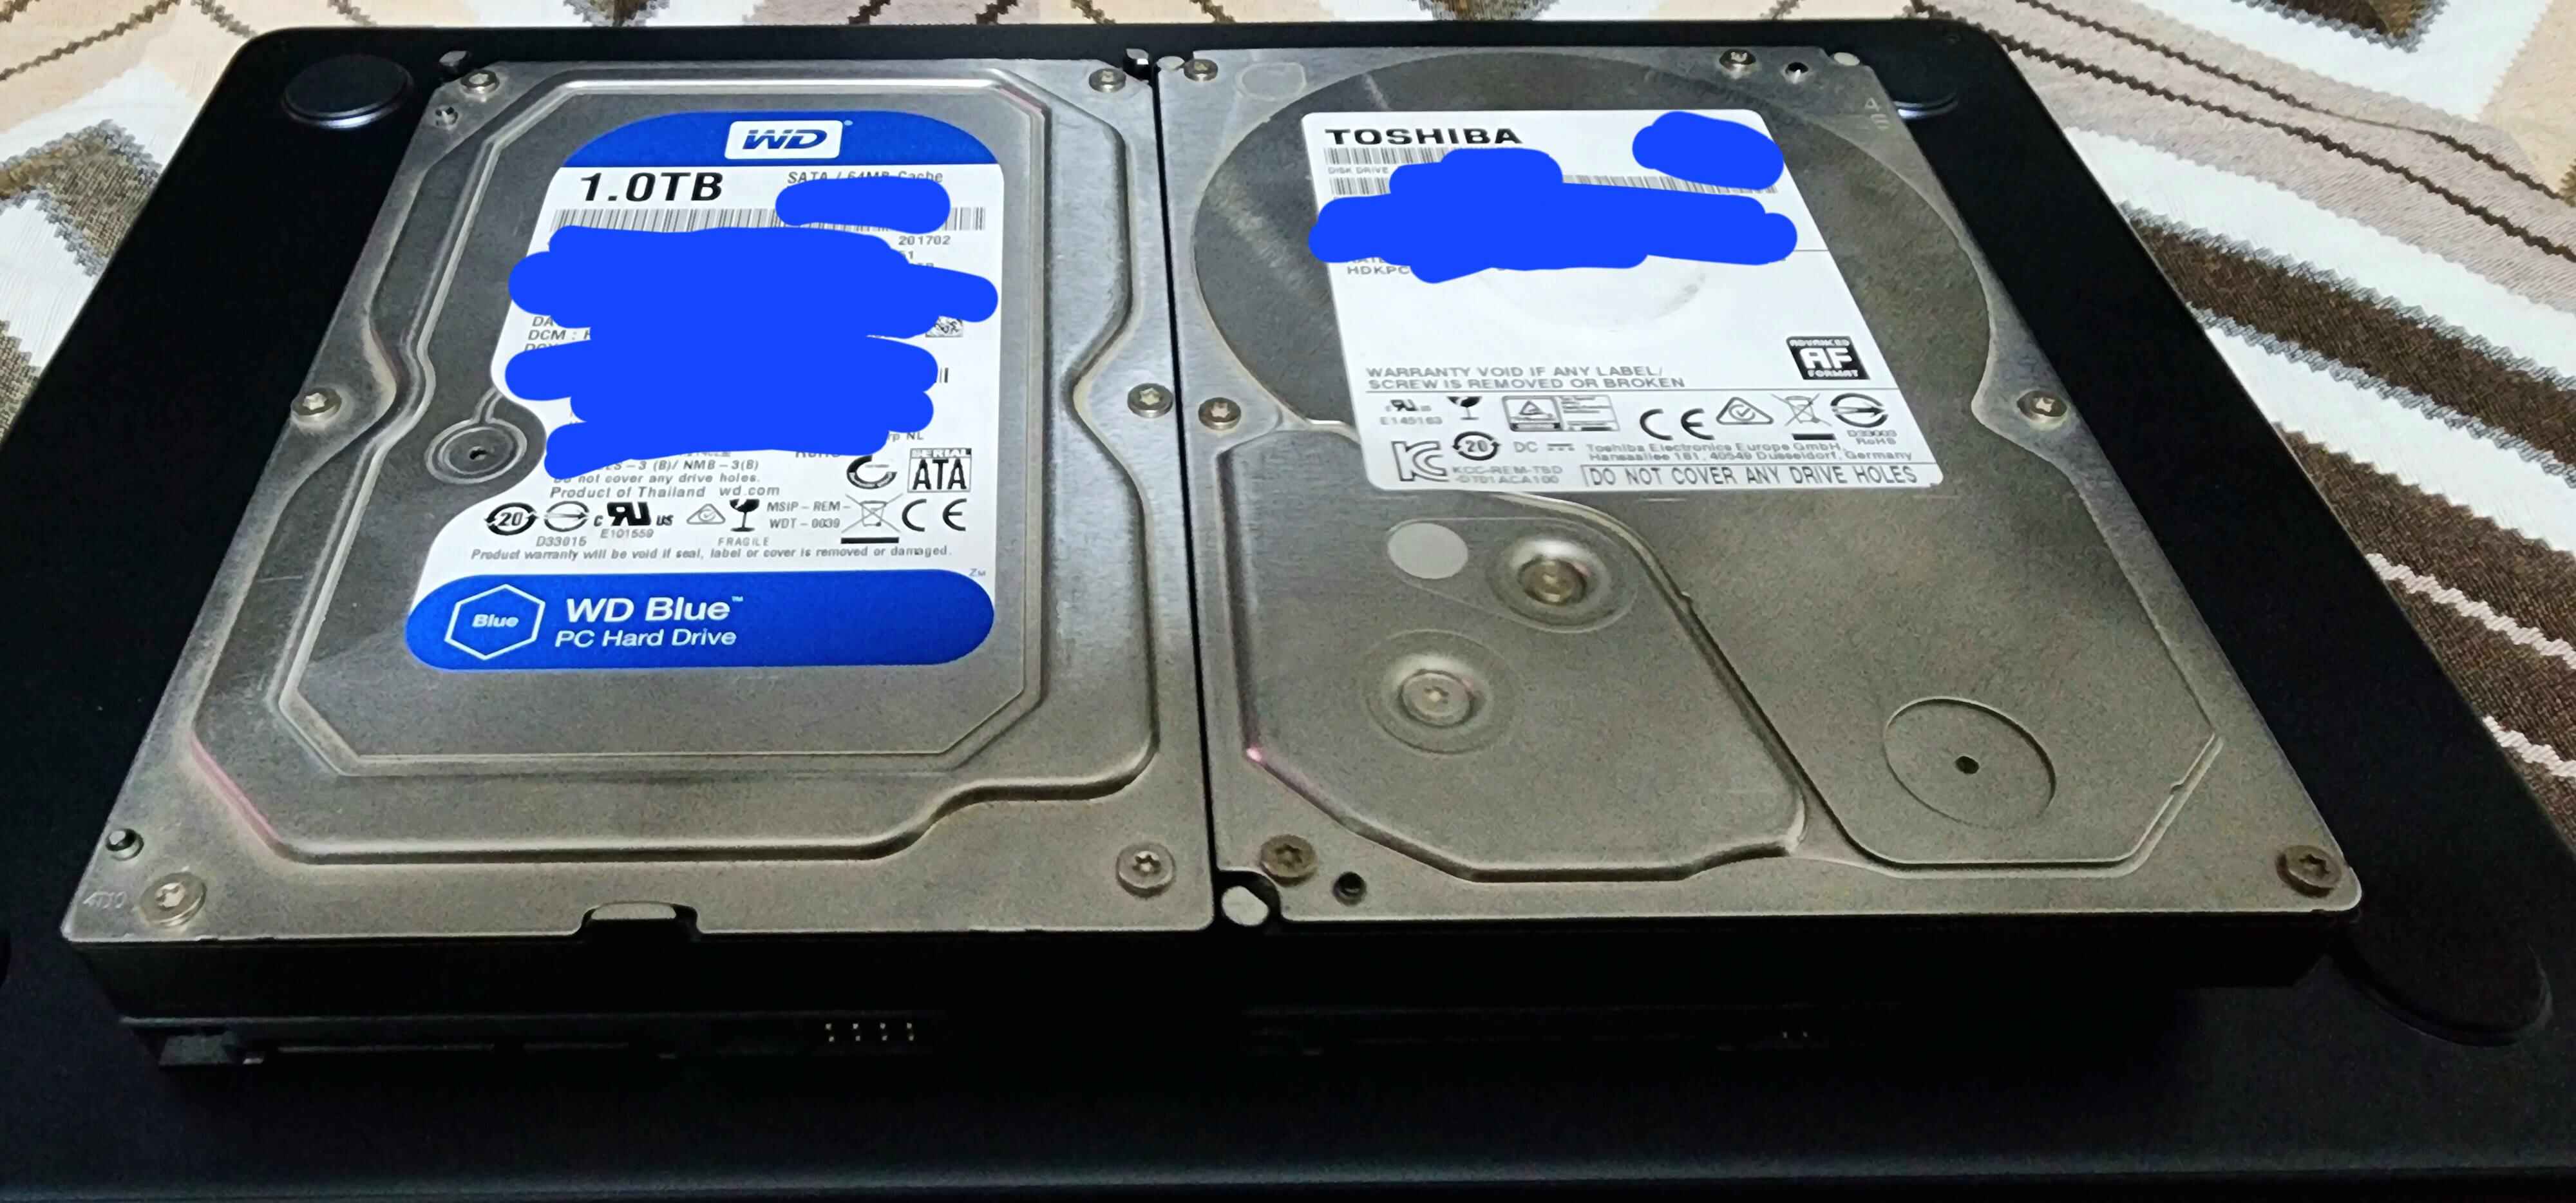
- Backup Your Videos: Consider creating a backup of your videos on an external storage device, such as a USB drive or an external hard drive. This redundancy provides an additional layer of protection for your videos in case of unforeseen data loss on your PC.
- Organize and Label Your Videos: To enhance the accessibility of your videos, consider organizing them by categories, dates, or events. Additionally, labeling your videos with descriptive titles can make it easier to identify and locate specific recordings.
By saving your recorded videos on your PC and implementing these organizational strategies, you can ensure that your cherished moments are securely stored and easily accessible for future enjoyment. Whether it’s a collection of family milestones, travel adventures, or creative projects, having your videos safely saved on your PC provides peace of mind and the convenience of reliving these moments at any time.


