Introduction
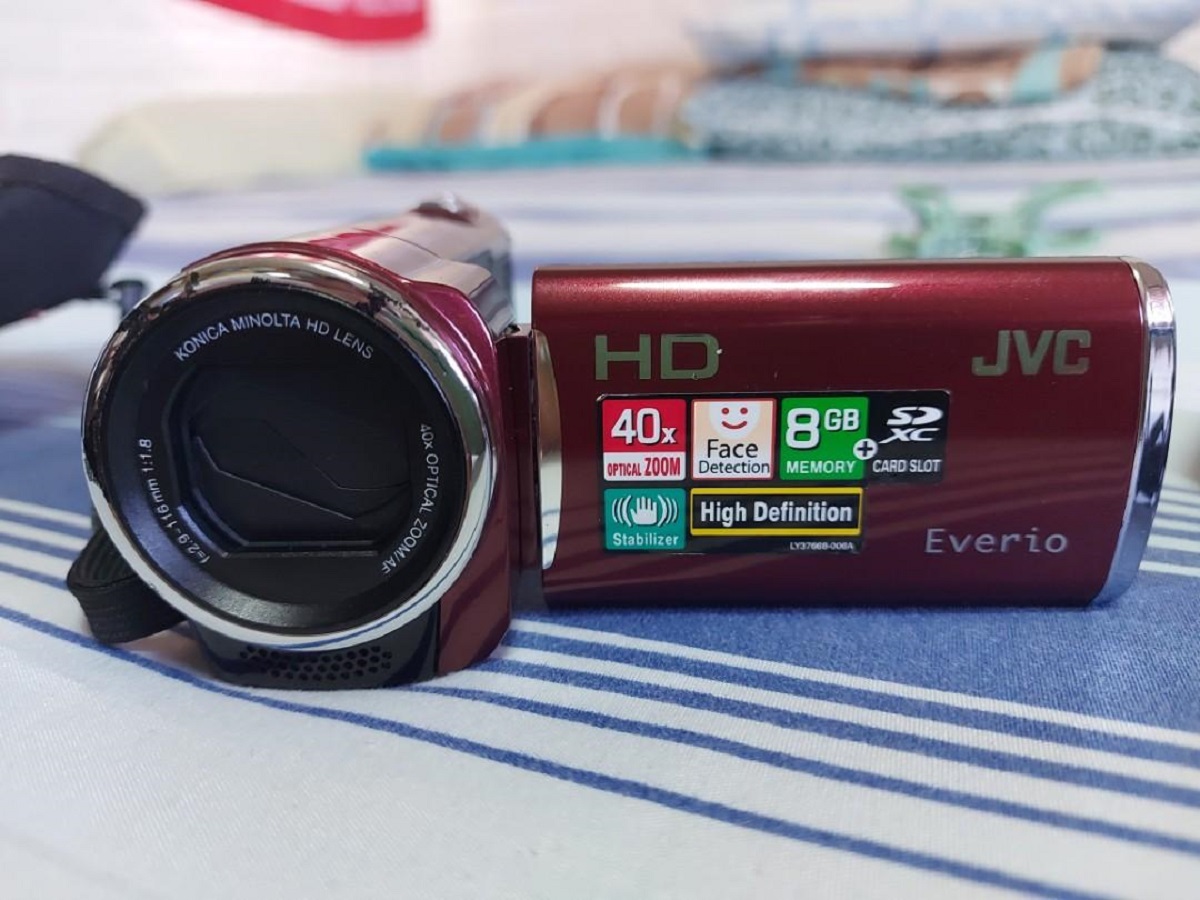
Welcome to the exciting world of video communication! In this guide, you'll learn how to connect your JVC GZ-EX515Bu camcorder to Skype, enabling you to elevate your video calls with high-quality visuals. Whether you're using Skype for personal or professional purposes, integrating your camcorder can significantly enhance the overall communication experience.
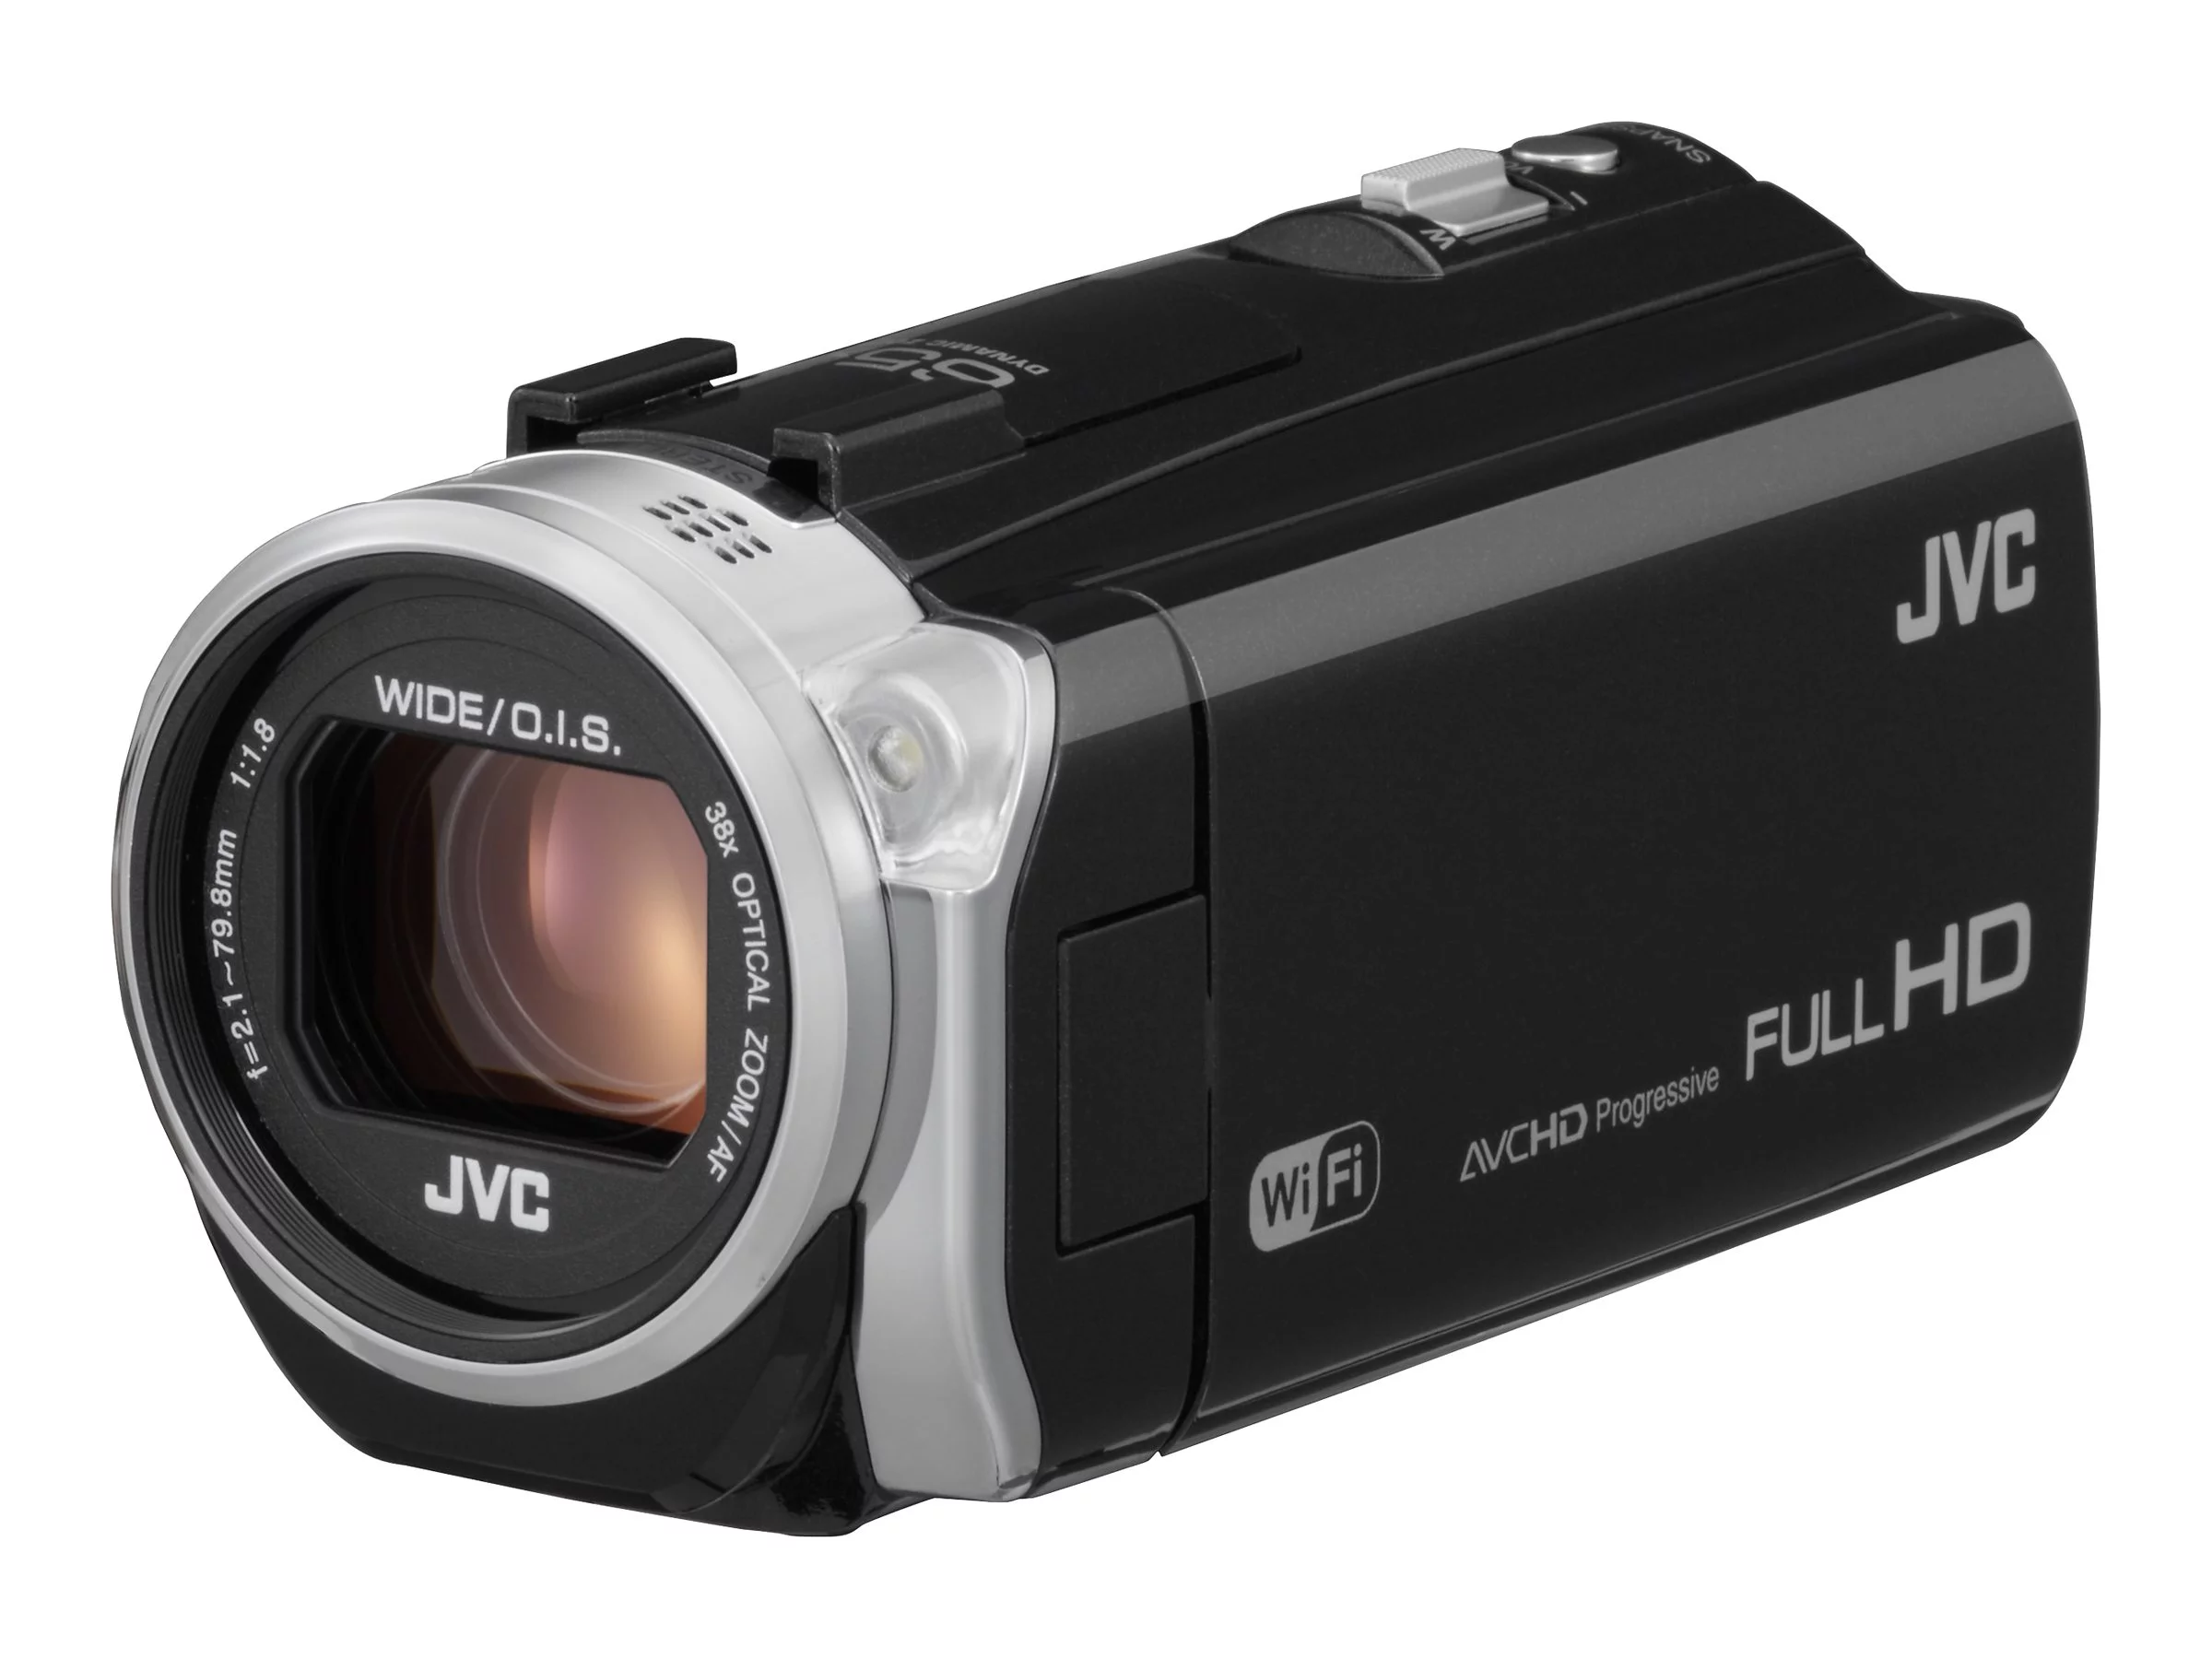
The JVC GZ-EX515Bu camcorder is a versatile device that offers superior video recording capabilities, and by connecting it to Skype, you can take advantage of its advanced features during video calls. This setup allows you to leverage the camcorder's high-resolution video output, superior audio quality, and other functionalities that can greatly enrich your Skype conversations.
By following the step-by-step instructions in this guide, you'll be able to seamlessly integrate your JVC GZ-EX515Bu camcorder with Skype, transforming your video calls into immersive and engaging experiences. Whether you're connecting with friends, family, colleagues, or clients, the enhanced visual and audio quality provided by your camcorder can make a significant difference in how you communicate and connect with others through Skype.
So, if you're ready to elevate your video calls and make a lasting impression with crystal-clear video and audio, let's dive into the process of connecting your JVC GZ-EX515Bu camcorder to Skype. Get ready to unlock the full potential of your camcorder and take your video communication to the next level. Let's get started!
Step 1: Setting up the JVC GZ-EX515Bu Camcorder
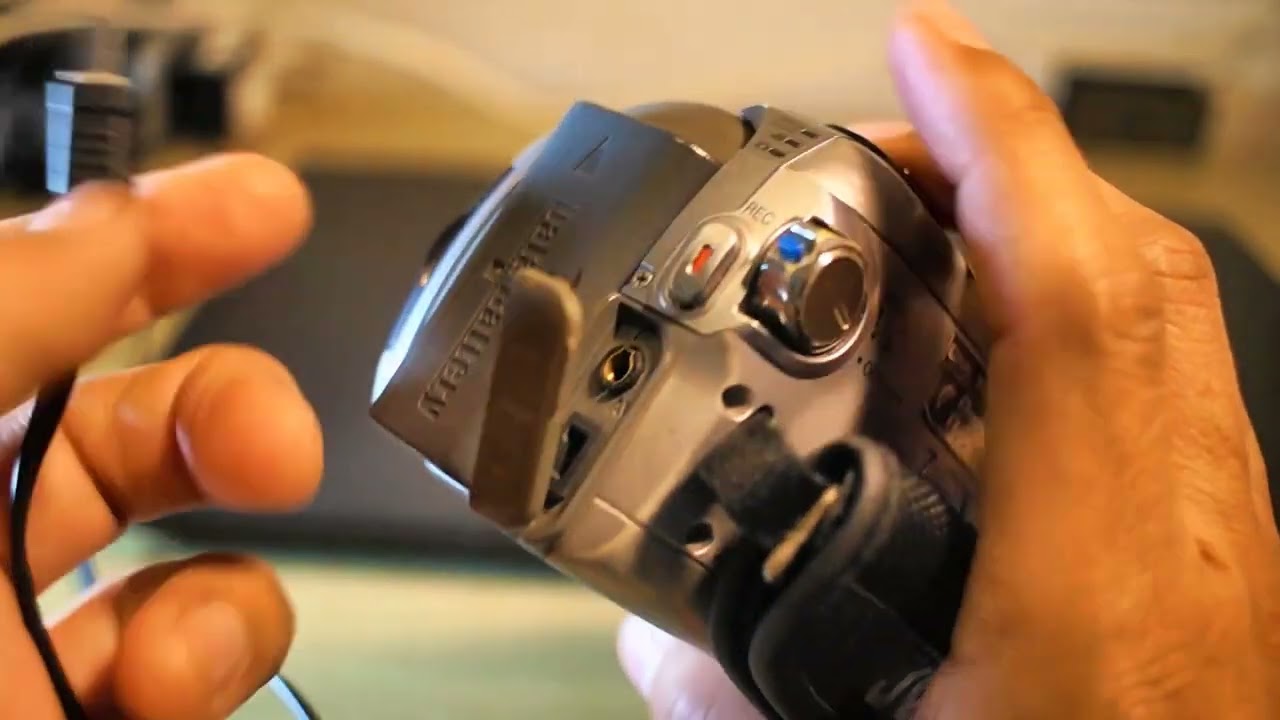
Before you can connect your JVC GZ-EX515Bu camcorder to Skype, it’s essential to ensure that the camcorder is properly set up and ready for use. Follow these steps to prepare your camcorder for seamless integration with Skype:
- Charge the Camcorder: Begin by ensuring that your JVC GZ-EX515Bu camcorder is fully charged or connected to a power source. This ensures uninterrupted operation during your Skype calls and prevents any disruptions due to low battery levels.
- Insert Memory Card: If you plan to use the camcorder to capture and share video content during your Skype calls, insert a compatible memory card into the camcorder. This will allow you to record video footage directly onto the memory card for later use or sharing.
- Adjust Camera Settings: Access the settings menu on the camcorder to configure the video resolution, frame rate, and other relevant parameters. Setting the camcorder to the desired video quality ensures that your Skype calls will feature clear and high-definition video output.
- Test Recording: Before proceeding to connect the camcorder to Skype, perform a test recording to ensure that the video and audio outputs meet your expectations. Playback the recorded footage on the camcorder to verify the quality and make any necessary adjustments to the settings.
By completing these preparatory steps, you’ll have your JVC GZ-EX515Bu camcorder primed and ready for seamless integration with Skype. Once the camcorder is set up and functioning optimally, you can proceed to the next steps to establish the connection with Skype and begin enjoying enhanced video communication.
Step 2: Connecting the Camcorder to Your Computer
After preparing your JVC GZ-EX515Bu camcorder, the next step involves establishing a physical connection between the camcorder and your computer. This connection allows your computer to recognize the camcorder as a video input device, enabling Skype to access the high-quality video and audio feeds from the camcorder. Follow these steps to connect the camcorder to your computer:
- USB Connection: Use a compatible USB cable to connect the JVC GZ-EX515Bu camcorder to an available USB port on your computer. Ensure that the USB cable is securely plugged into both the camcorder and the computer to establish a stable connection.
- Camcorder Recognition: Once the camcorder is connected via USB, your computer should recognize the device and may prompt you to install any necessary drivers or software for proper functionality. Follow the on-screen instructions to complete the installation process if required.
- Camera Mode Selection: On the JVC GZ-EX515Bu camcorder, navigate to the mode selection menu and choose the appropriate camera mode for video communication. Selecting the correct mode ensures that the camcorder operates as a webcam, allowing Skype to access the live video feed from the device.
- Verify Connection: After configuring the camcorder for webcam functionality, verify that your computer recognizes the camcorder as a video input device. You can do this by accessing your computer’s device manager or checking the list of connected devices to ensure the camcorder is detected.
By successfully connecting your JVC GZ-EX515Bu camcorder to your computer and configuring it for use as a webcam, you’re one step closer to harnessing the full potential of your camcorder during Skype calls. Once the physical connection is established, you can proceed to configure the Skype settings to enable the camcorder as the primary video input device for your video calls.
Step 3: Configuring Skype Settings
With your JVC GZ-EX515Bu camcorder connected to your computer, the next crucial step involves configuring the settings within Skype to recognize and utilize the camcorder as the primary video input device. By adjusting the Skype settings, you can ensure that your video calls benefit from the superior video and audio quality offered by your camcorder. Follow these steps to configure Skype settings for optimal integration with your camcorder:
- Access Skype Settings: Launch the Skype application on your computer and navigate to the settings or preferences menu. Look for the video and audio settings section within Skype, where you can customize the input and output devices for your calls.
- Select Video Input: Within the video settings, locate the option to choose the video input device. Select your JVC GZ-EX515Bu camcorder from the list of available devices to set it as the primary video input for Skype calls. This ensures that Skype utilizes the high-quality video feed from your camcorder during video calls.
- Adjust Video Quality: Depending on your preferences and the capabilities of your camcorder, you may have the option to adjust the video quality settings within Skype. Optimize the video resolution and frame rate to match the capabilities of your camcorder, allowing for clear and smooth video output during calls.
- Test Call: To verify that Skype recognizes and effectively utilizes your camcorder as the video input device, initiate a test call with a friend or colleague. During the call, confirm that the video feed from your camcorder is displayed and that the audio input is also sourced from the camcorder, ensuring a comprehensive test of the setup.
By configuring the Skype settings to integrate seamlessly with your JVC GZ-EX515Bu camcorder, you can harness the full potential of your device during video calls. The adjustments made within Skype ensure that your calls benefit from the superior video and audio quality provided by the camcorder, enhancing the overall communication experience for both you and your call participants.
Step 4: Testing the Connection
Before engaging in actual Skype calls using your JVC GZ-EX515Bu camcorder, it’s essential to conduct thorough testing to ensure that the connection and integration between the camcorder and Skype are functioning seamlessly. Testing the connection allows you to verify the video and audio quality, as well as the overall performance of the setup. Follow these steps to conduct a comprehensive test of the camcorder’s connection to Skype:
- Initiate a Test Call: Begin by initiating a test call within Skype, either with a trusted contact or utilizing the Skype test call service. This allows you to verify that the video feed from your camcorder is being transmitted effectively and that the audio input is sourced from the camcorder’s microphone, ensuring a comprehensive test of the setup.
- Assess Video and Audio Quality: During the test call, pay close attention to the video and audio quality being transmitted from your JVC GZ-EX515Bu camcorder. Verify that the video output is clear, high-resolution, and free from any visual artifacts, while also ensuring that the audio input is crisp and accurately captures your voice.
- Check for Lag or Latency: While on the test call, observe for any noticeable lag or latency in the video and audio transmission. A smooth and synchronous communication experience is crucial, and identifying and addressing any delays or disruptions is essential for ensuring a seamless video calling experience.
- Adjust Settings if Necessary: If you encounter any issues or inconsistencies during the test call, consider revisiting the settings within Skype and on the camcorder to make any necessary adjustments. This may involve fine-tuning the video and audio settings to optimize the performance of the camcorder during Skype calls.
By conducting thorough testing of the connection between your JVC GZ-EX515Bu camcorder and Skype, you can confidently ensure that the integration is successful and that your video calls will benefit from the enhanced visual and audio quality provided by the camcorder. Addressing any potential issues during the testing phase allows you to fine-tune the setup and guarantee a seamless and professional video communication experience.
Conclusion
Congratulations! You’ve successfully navigated the process of connecting your JVC GZ-EX515Bu camcorder to Skype, unlocking the full potential of your video communication experience. By following the steps outlined in this guide, you’ve taken a significant stride toward elevating the quality of your Skype calls and enhancing the way you connect with others through video communication.
From setting up the camcorder to configuring Skype settings and conducting thorough testing, you’ve diligently ensured that your JVC GZ-EX515Bu camcorder seamlessly integrates with Skype, allowing you to leverage its superior video and audio capabilities during calls. The high-resolution video output, enhanced audio quality, and advanced features of the camcorder now contribute to a more immersive and engaging video communication experience.
As you venture into using your camcorder-enhanced Skype setup, remember to leverage the full range of features and capabilities offered by your device. Whether you’re connecting with friends, family, colleagues, or clients, the enhanced visual and audio quality provided by your camcorder can make a significant difference in how you communicate and connect with others through Skype.
With the successful integration of your JVC GZ-EX515Bu camcorder with Skype, you’re well-equipped to embark on a new era of video communication, characterized by clarity, professionalism, and a heightened level of engagement. Embrace the enhanced capabilities of your camcorder and enjoy the enriched video calling experience that it brings to your Skype conversations.
So, go ahead, connect with confidence, and let your JVC GZ-EX515Bu camcorder amplify the impact of your video calls on Skype. Elevate your communication, express yourself with clarity, and make lasting impressions through the power of high-quality video and audio. Your enhanced Skype experience awaits!