Introduction
Welcome to the exciting world of videography with your JVC camcorder! Whether you’re a novice or a seasoned enthusiast, this comprehensive guide will equip you with the knowledge and skills to maximize the potential of your JVC camcorder. From mastering the basic operations to exploring advanced shooting techniques and post-production editing, this guide will walk you through every step of the process. By the end, you’ll feel confident in capturing stunning footage and unleashing your creativity through the lens of your JVC camcorder.
As technology continues to evolve, the capabilities of JVC camcorders have expanded to offer an array of features and settings, providing users with endless possibilities for capturing high-quality videos. With this guide, you’ll gain a deeper understanding of your camcorder’s functionalities, allowing you to harness its full potential and elevate the quality of your video projects.
Whether you’re documenting precious family moments, creating compelling visual content for your vlog, or capturing breathtaking landscapes, your JVC camcorder is a powerful tool that can bring your vision to life. Throughout this guide, you’ll uncover valuable tips and tricks to enhance your shooting techniques, navigate the menu and settings with ease, and troubleshoot common issues that may arise during your filming endeavors.
So, grab your JVC camcorder, unleash your creativity, and embark on this enriching journey to master the art of videography. Let’s dive in and discover the endless possibilities that await you with your JVC camcorder!
Getting to Know Your JVC Camcorder
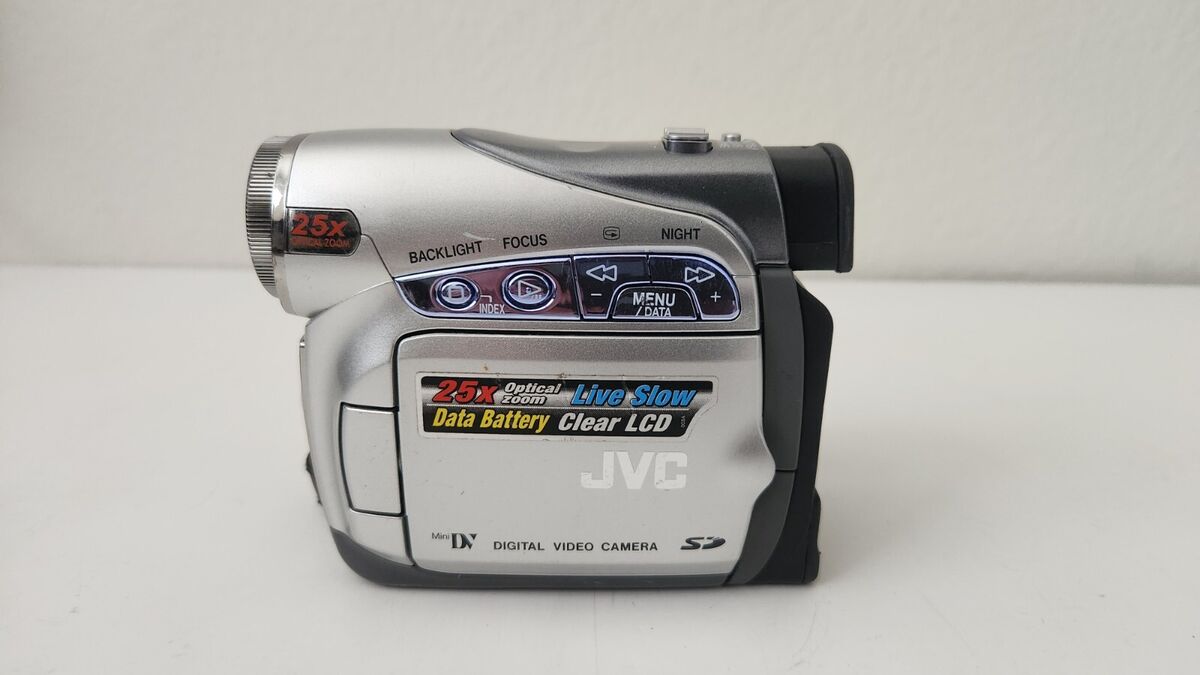
Before embarking on your videography adventures, it’s essential to familiarize yourself with the key components and functionalities of your JVC camcorder. Understanding the layout and features of your device will enable you to operate it with confidence and precision, setting the stage for seamless video capture.
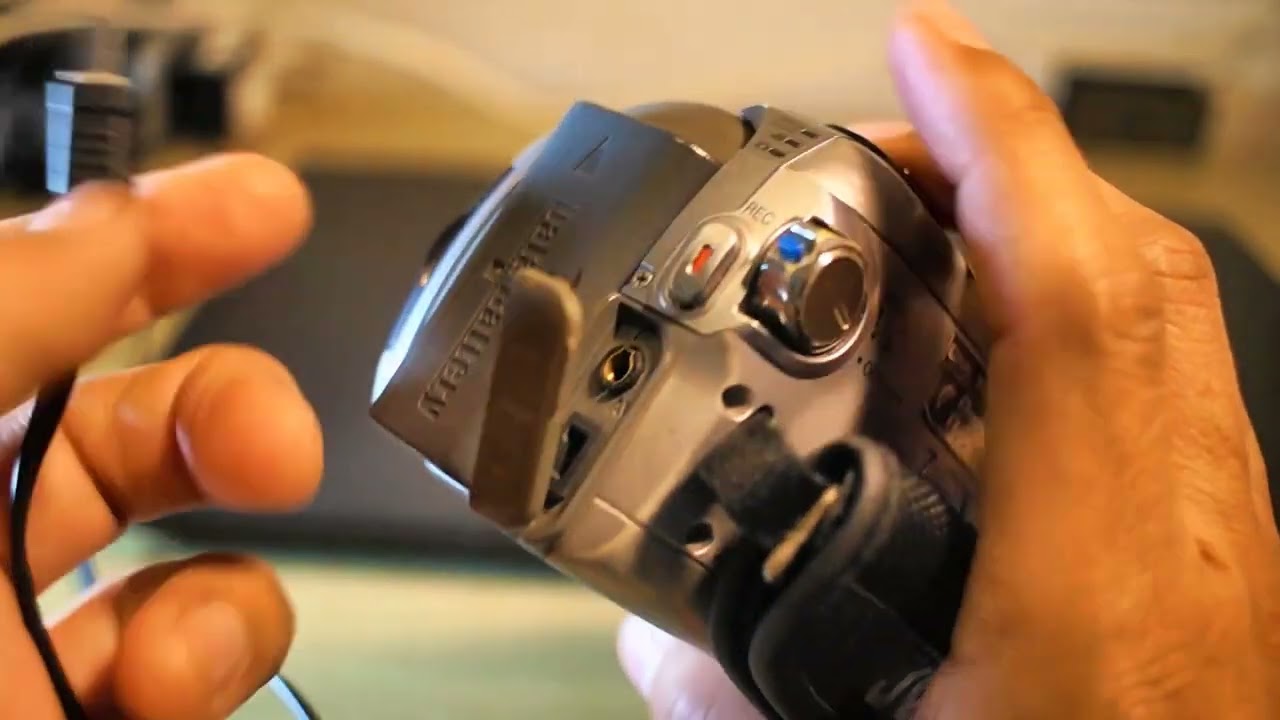
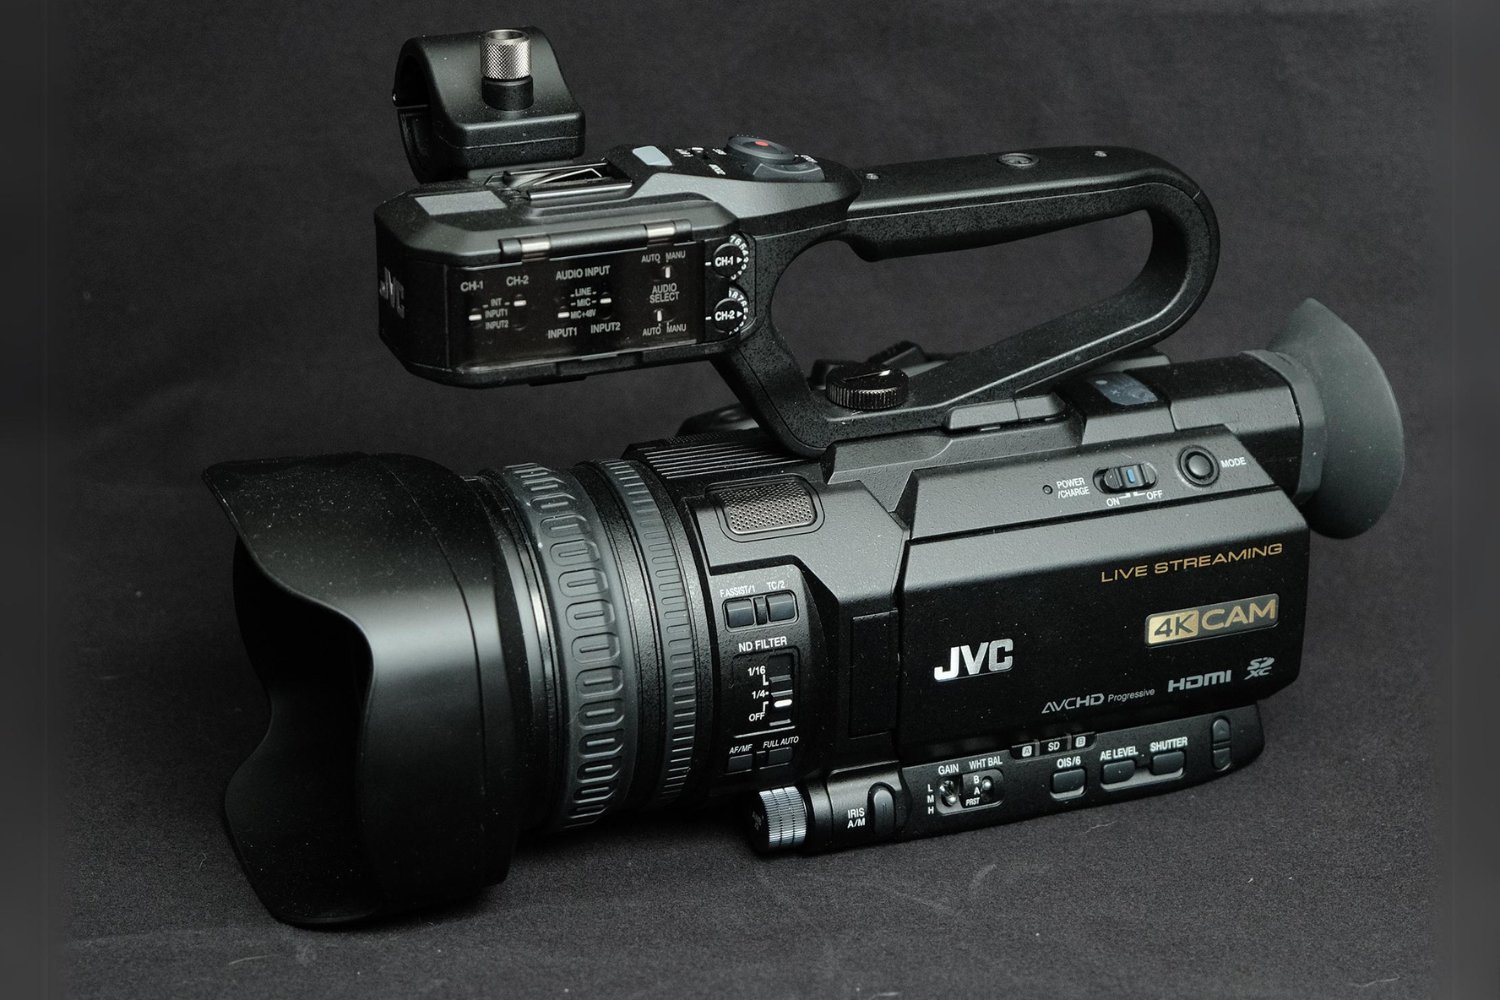
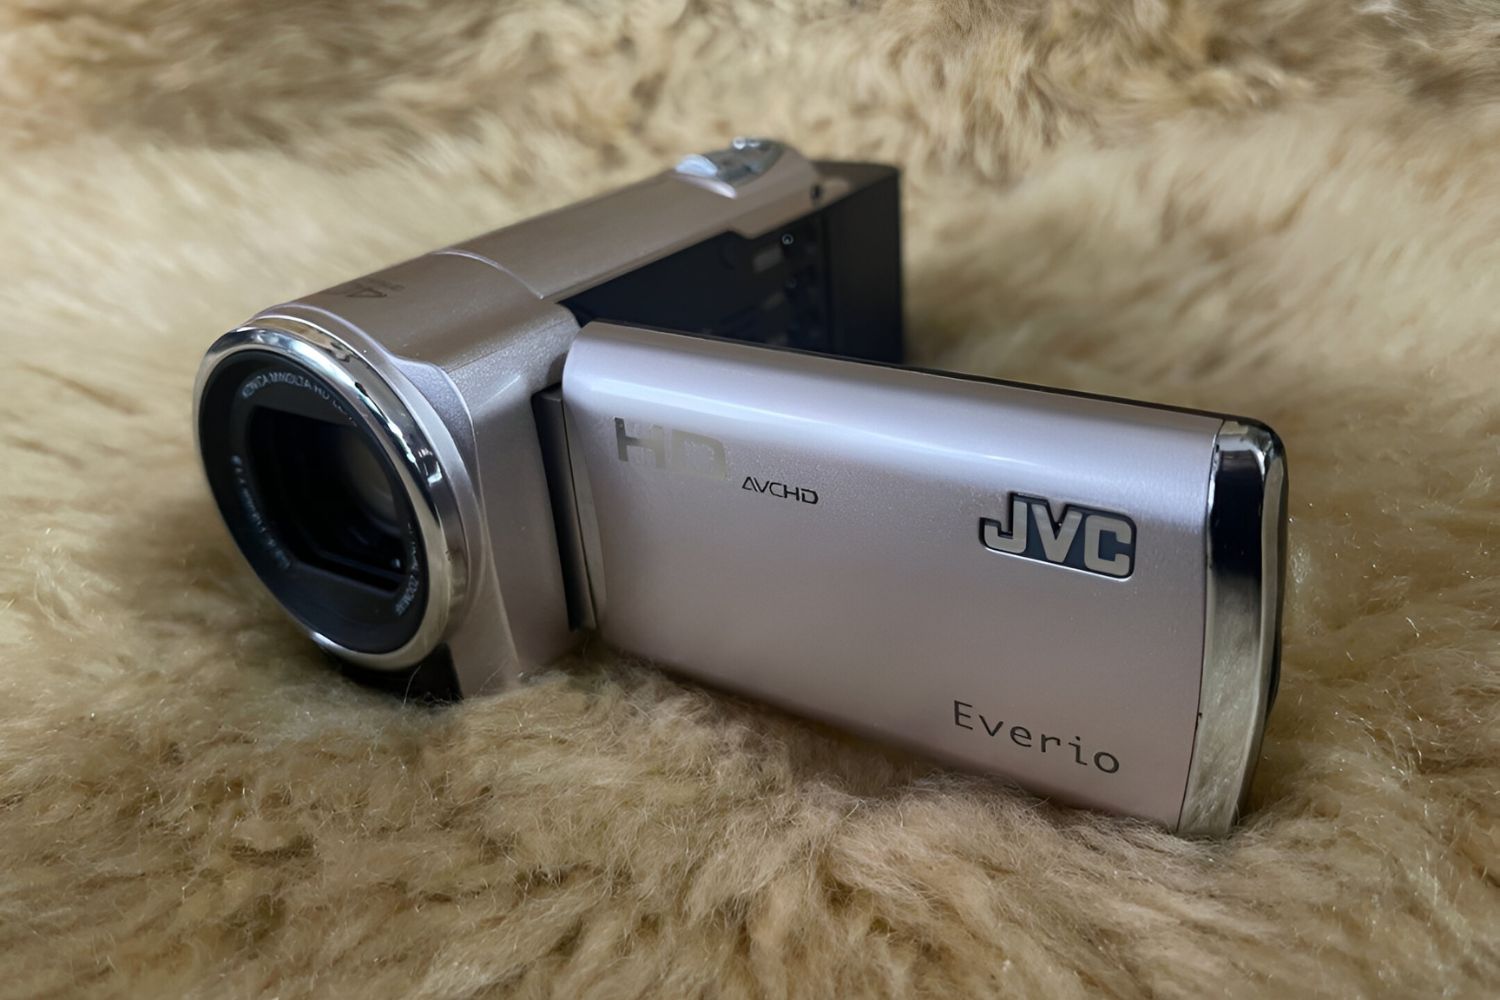
First and foremost, take a moment to explore the physical attributes of your JVC camcorder. From the lens and viewfinder to the control buttons and LCD screen, each element plays a crucial role in shaping your filming experience. Familiarize yourself with the location of the power button, zoom controls, and record button, as these will be your primary tools for capturing footage.
Furthermore, delve into the menu system of your JVC camcorder, where a wealth of settings and options await your exploration. From adjusting exposure and white balance to selecting recording formats and frame rates, the menu serves as the control center for customizing your filming preferences. Take the time to navigate through the menu and familiarize yourself with the various sub-menus and options available, empowering you to tailor your camcorder’s settings to suit different shooting scenarios.
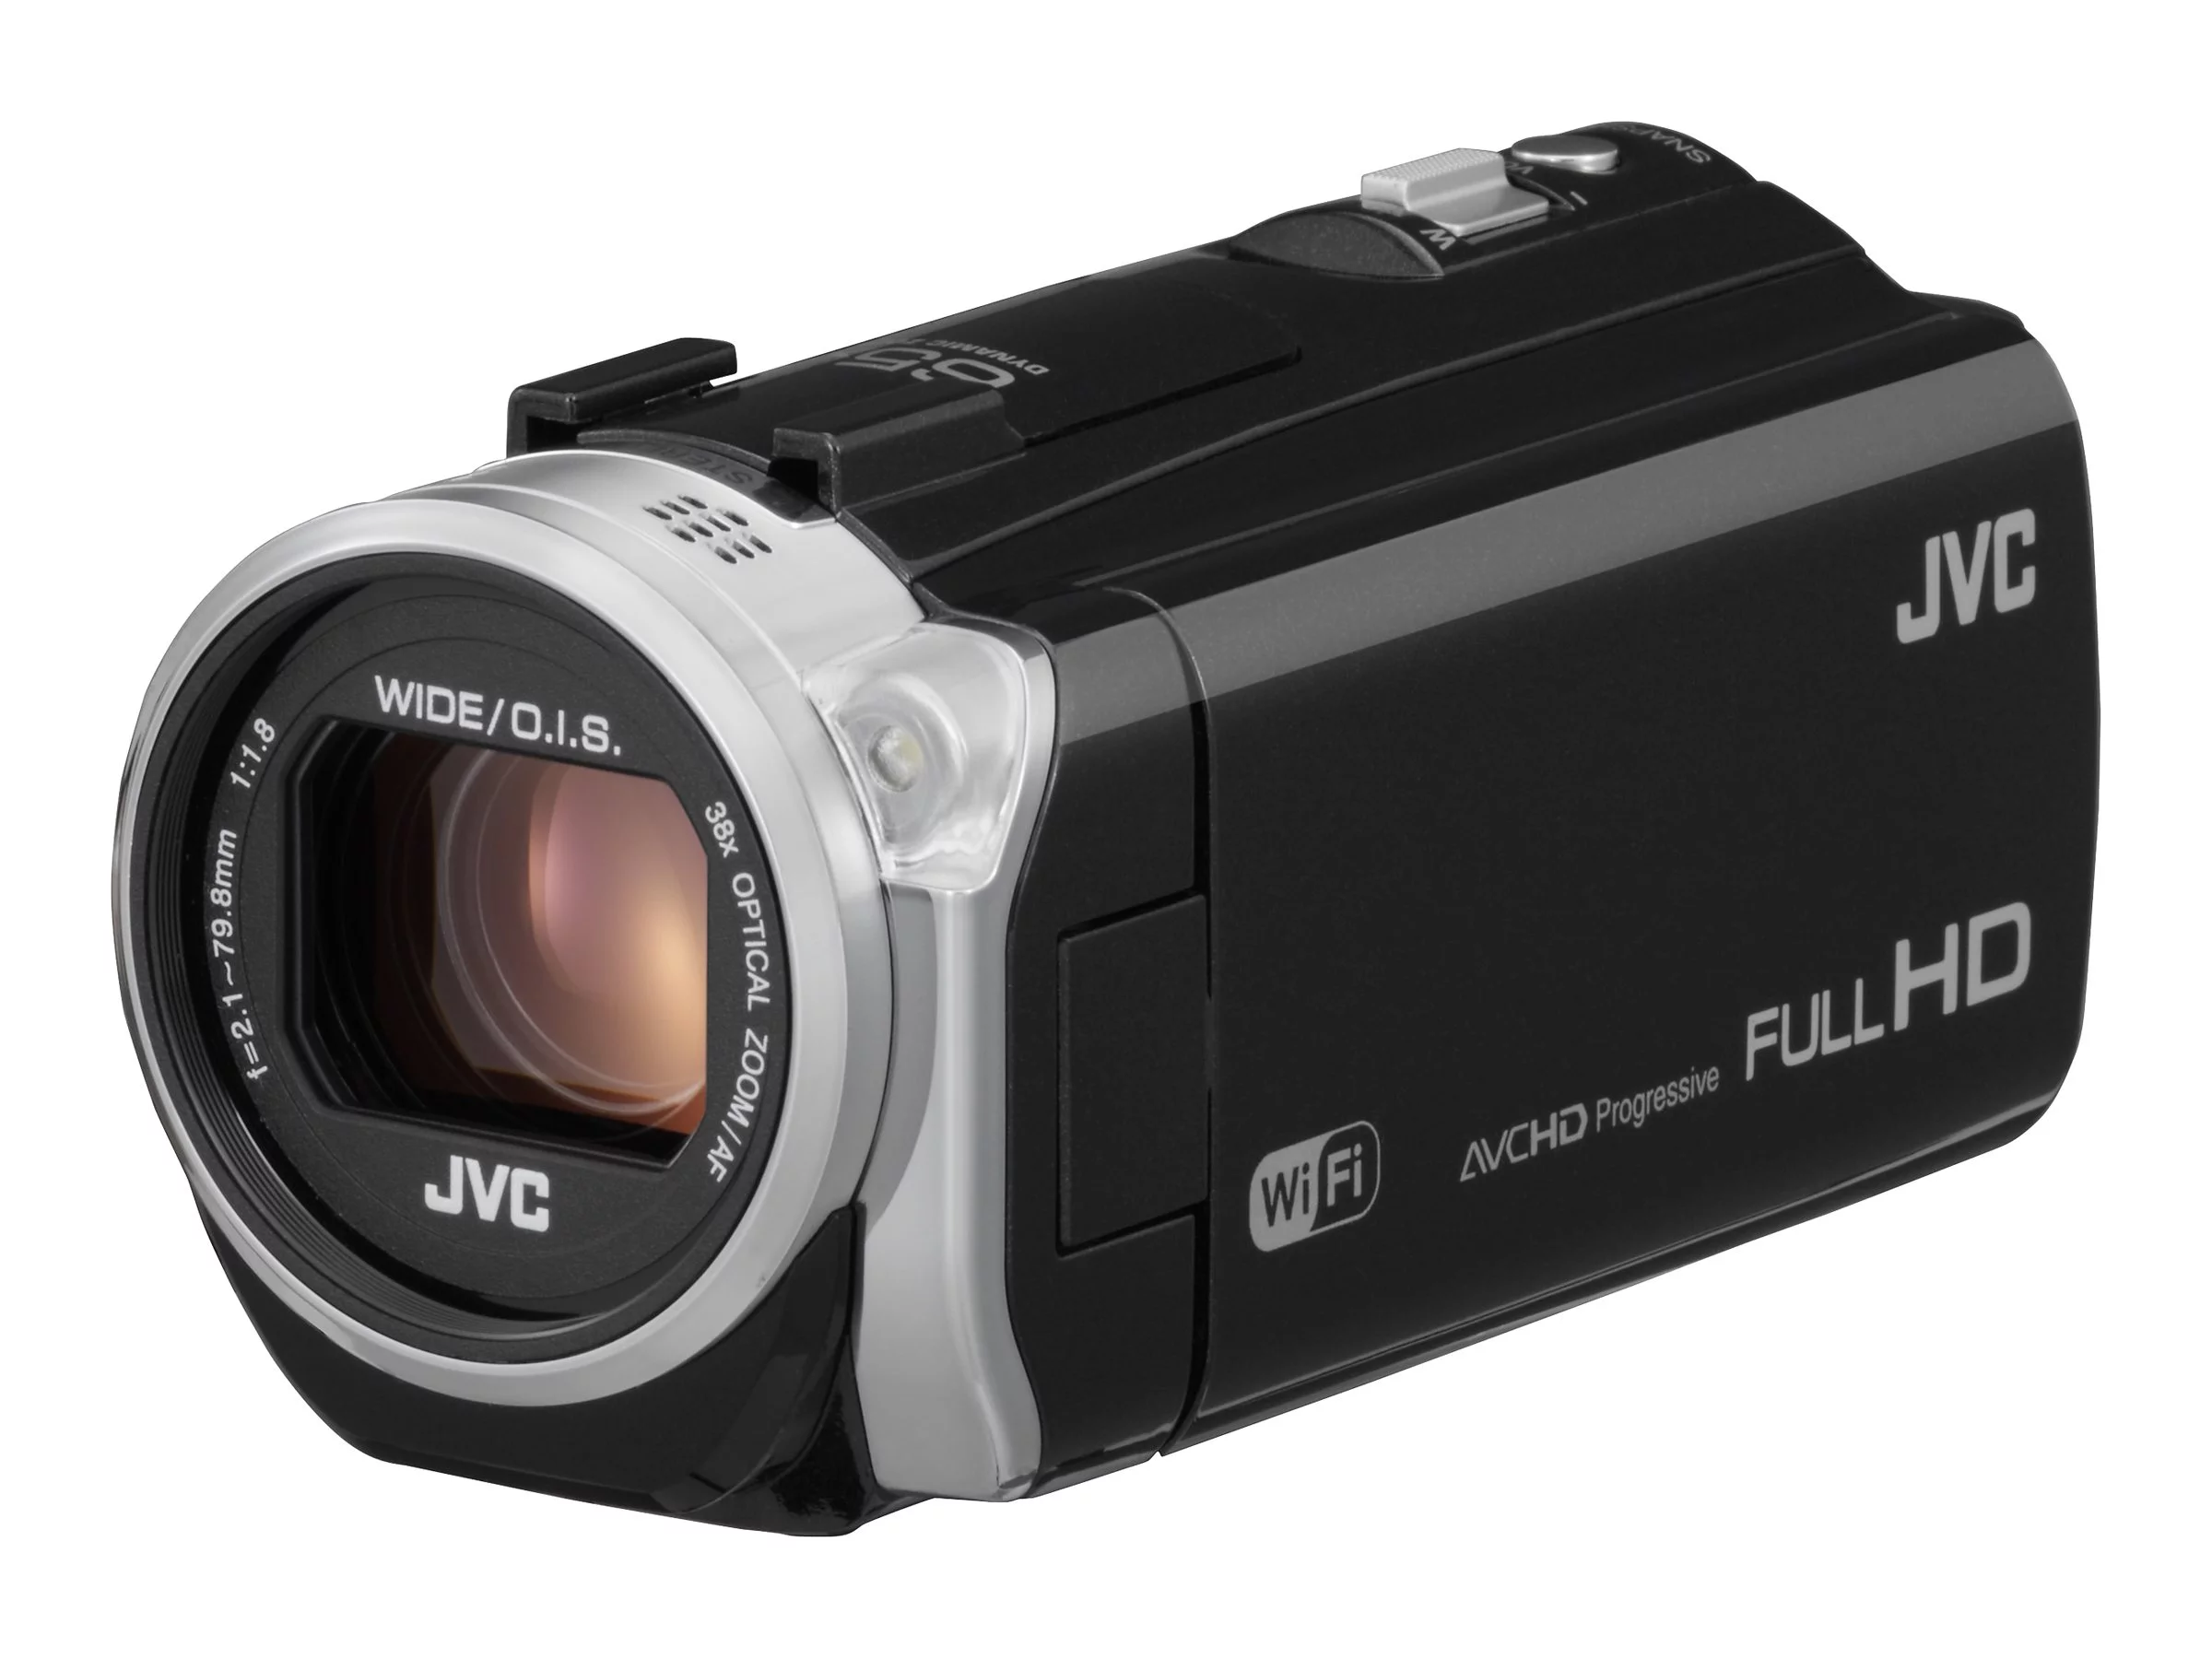
Understanding the capabilities of your JVC camcorder’s imaging sensor and optical zoom will also enhance your ability to capture stunning visuals. Whether you’re aiming to achieve close-up shots with shallow depth of field or expansive wide-angle compositions, knowing how to leverage the camera’s optical features will elevate the quality of your footage.
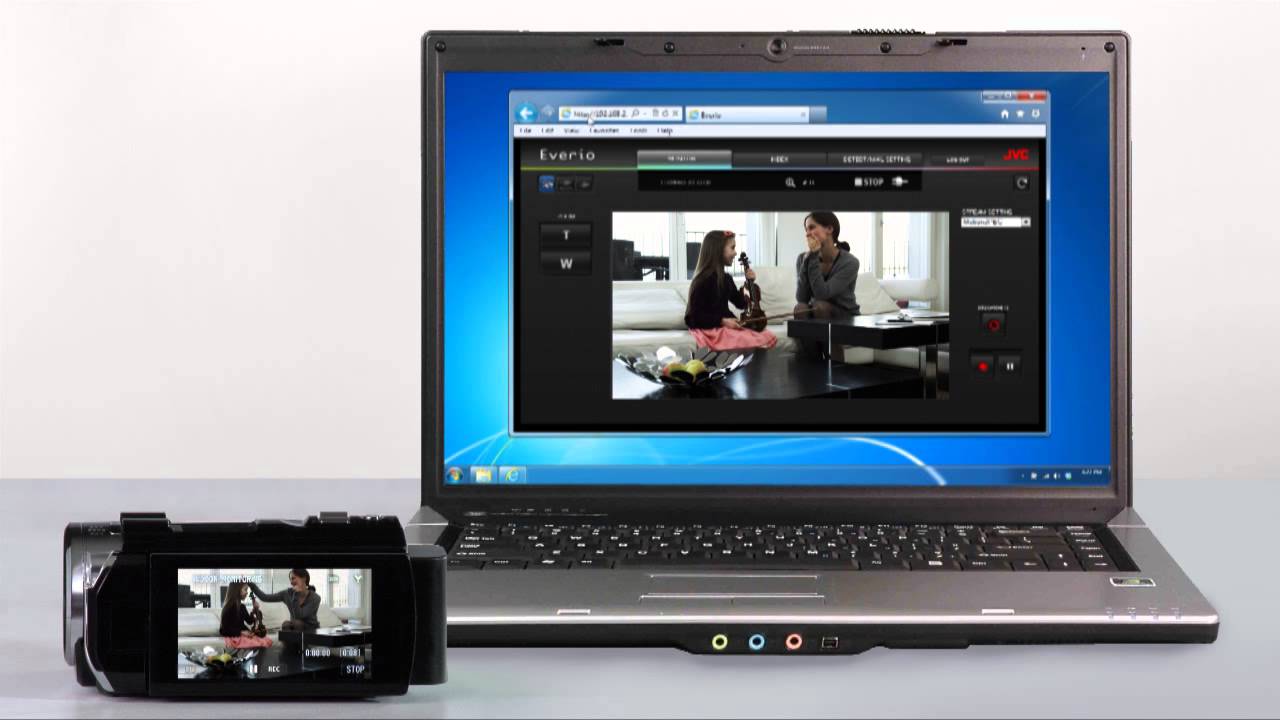
Finally, acquaint yourself with the connectivity options of your JVC camcorder, such as USB and HDMI ports, which facilitate seamless transfer of footage to external devices for editing and sharing. Additionally, explore any wireless connectivity features that may be available, enabling you to remotely control the camcorder or transfer files to compatible devices.
By delving into the intricacies of your JVC camcorder’s design, controls, menu system, imaging capabilities, and connectivity options, you’ll lay a strong foundation for harnessing the full potential of your device. Armed with this knowledge, you’re ready to progress to the next stage of setting up your JVC camcorder for optimal performance and creative expression.
Setting Up Your JVC Camcorder
Now that you’ve familiarized yourself with the physical and functional aspects of your JVC camcorder, it’s time to ensure that it’s configured for optimal performance. Proper setup not only enhances the quality of your footage but also streamlines your filming process, allowing you to focus on capturing captivating visuals without technical distractions.
Begin by ensuring that your camcorder’s battery is fully charged, or if you’re using an AC adapter, confirm that it’s securely connected to a power source. A reliable power supply is essential for uninterrupted filming sessions, especially when capturing extended footage or embarking on outdoor shooting excursions.
Next, consider the storage media for your camcorder, whether it’s internal memory, SD cards, or other storage devices. Verify that the storage media has sufficient capacity to accommodate your intended recording duration and that it’s properly inserted and recognized by the camcorder. Familiarize yourself with the process of formatting or initializing the storage media if needed, ensuring that it’s ready to capture and store your footage seamlessly.
Depending on your shooting environment and creative preferences, you may need to adjust the physical settings of the camcorder, such as the lens aperture, focus mode, and image stabilization. These adjustments can significantly impact the visual aesthetics of your footage, allowing you to achieve desired depth of field, sharpness, and stability in varying shooting conditions.
Furthermore, explore the audio settings of your JVC camcorder, including microphone input options, audio levels, and built-in audio processing features. Understanding and configuring the audio settings will enable you to capture clear and immersive sound to complement your video content, enhancing the overall viewing experience for your audience.
Lastly, familiarize yourself with any additional accessories or attachments that can augment the functionality of your JVC camcorder, such as external microphones, lighting equipment, and stabilizing rigs. Integrating these accessories into your setup can expand your creative capabilities and elevate the production value of your videos.
By meticulously setting up your JVC camcorder, you’ll establish a reliable and tailored configuration that aligns with your creative vision and technical requirements. With the groundwork laid for optimal performance, you’re poised to embark on your filming endeavors with confidence and precision.
Basic Shooting Techniques
Mastering fundamental shooting techniques is essential for capturing compelling and visually engaging footage with your JVC camcorder. Whether you’re documenting everyday moments or embarking on creative projects, these techniques form the cornerstone of effective videography, allowing you to convey stories and emotions through the lens of your camcorder.
One of the fundamental aspects of videography is achieving stable and smooth footage. Utilize the built-in stabilization features of your JVC camcorder, such as optical or electronic image stabilization, to minimize unwanted camera shake and ensure that your footage appears steady and professional. Additionally, consider using a tripod or stabilizing rig for stationary or controlled motion shots, further enhancing the stability of your videos.
Understanding the principles of composition is crucial for framing visually compelling shots. Explore the rule of thirds, leading lines, and varied perspectives to add depth and visual interest to your footage. Experiment with different framing techniques, such as wide shots to establish context, medium shots for interpersonal interactions, and close-ups to convey emotions and details.
Lighting plays a pivotal role in shaping the mood and atmosphere of your videos. Whether you’re shooting indoors or outdoors, pay attention to the quality and direction of light. Utilize natural light to your advantage, positioning your subjects to achieve flattering illumination. In low-light conditions, consider using the camcorder’s manual exposure settings to maintain image clarity while adjusting sensitivity and aperture to optimize the available light.
When capturing audio alongside your video footage, focus on minimizing background noise and capturing clear, intelligible sound. Position the microphone appropriately to capture the desired audio source, whether it’s ambient sounds, dialogue, or music. Experiment with microphone placement and levels to achieve balanced and immersive audio that complements your visuals.
Lastly, familiarize yourself with the basic principles of camera movement, such as panning, tilting, and tracking. These movements can add dynamism and visual interest to your videos, guiding the viewer’s attention and creating a sense of cinematic fluidity. Practice smooth and deliberate camera movements to enhance the storytelling aspect of your footage.
By honing these basic shooting techniques, you’ll elevate the quality and impact of your video content, effectively communicating your narrative and creative vision through the lens of your JVC camcorder. These foundational skills serve as the building blocks for your videography journey, empowering you to capture captivating moments and convey compelling stories with confidence and artistry.
Advanced Shooting Techniques
As you continue to explore the capabilities of your JVC camcorder, delving into advanced shooting techniques will expand your creative repertoire and elevate the visual impact of your video content. From mastering complex camera movements to harnessing advanced exposure and focus controls, these techniques enable you to unleash your artistic vision and capture cinematic footage that captivates and inspires.
One advanced technique that can add a cinematic flair to your videos is the use of depth of field to selectively focus on subjects while creating a beautifully blurred background. Experiment with aperture settings to control depth of field, emphasizing your subject against a soft, defocused backdrop, adding a sense of dimension and visual allure to your footage.
Exploring dynamic camera movements, such as dolly shots and crane movements, can infuse your videos with a sense of fluidity and visual sophistication. Utilize stabilizing equipment, such as sliders and gimbals, to achieve smooth and controlled camera motions that enhance the storytelling aspect of your footage, guiding the viewer’s gaze with cinematic finesse.
Another advanced technique to master is the manipulation of exposure and white balance to achieve desired tonal and color aesthetics. Experiment with manual exposure settings to control the brightness and contrast of your footage, allowing you to adapt to challenging lighting conditions and achieve a desired cinematic look. Similarly, fine-tune white balance settings to ensure accurate color reproduction, especially in mixed lighting environments.
When capturing audio for advanced video projects, consider utilizing external microphones and audio recording devices to achieve professional-grade sound quality. Employing techniques such as multi-channel audio recording and sound mixing can enhance the spatial and immersive quality of your audio, elevating the overall production value of your videos.
Exploring the integration of visual effects and post-production techniques can further elevate the creative potential of your videos. Experiment with color grading, compositing, and visual enhancements to imbue your footage with a distinct visual style, adding depth and impact to your storytelling.
By embracing these advanced shooting techniques, you’ll transcend the boundaries of traditional videography, unlocking the potential to create visually stunning and emotionally resonant videos with your JVC camcorder. These techniques empower you to craft cinematic narratives, harnessing the full spectrum of technical and artistic tools at your disposal to bring your creative vision to life on screen.
Using the Menu and Settings
The menu and settings of your JVC camcorder serve as the control center for customizing and optimizing the various parameters that shape your video capture experience. Navigating through the menu and harnessing the diverse settings empowers you to tailor the functionality of your camcorder to suit specific shooting scenarios and creative preferences, ensuring that you can unleash the full potential of your device.
Begin by familiarizing yourself with the primary menu categories and sub-menus of your JVC camcorder, which may include options for video recording formats, resolution settings, frame rates, exposure controls, white balance adjustments, and audio configurations. Understanding the organization of the menu system allows for efficient navigation and quick access to essential settings during filming.
Explore the video recording formats supported by your JVC camcorder, such as high-definition (HD) and 4K resolutions, as well as standard and high frame rate options. Each format offers distinct visual characteristics and file size considerations, providing flexibility to adapt to different project requirements and delivery platforms.
Delve into exposure controls within the menu system to manipulate shutter speed, aperture, and ISO sensitivity, enabling precise management of light and motion in your footage. Understanding these settings empowers you to adapt to varying lighting conditions and achieve desired visual aesthetics, whether it’s capturing fast-paced action or creating evocative slow-motion sequences.
White balance adjustments play a crucial role in ensuring accurate color reproduction, particularly in mixed or challenging lighting environments. Familiarize yourself with the white balance settings available in the menu, allowing you to maintain natural and true-to-life colors in your videos, enhancing the overall visual appeal of your footage.
Audio settings within the menu system enable you to control microphone input levels, select recording modes, and apply audio processing features to enhance the quality and clarity of your sound capture. Understanding and customizing these settings empowers you to capture immersive and high-fidelity audio that complements your visual content.
Lastly, explore any additional creative and convenience features available in the menu and settings, such as special effects, custom picture profiles, time-lapse recording, and wireless connectivity options. These features expand your creative toolkit and streamline your filming process, offering a range of possibilities to enhance the storytelling and production value of your videos.
By mastering the menu and settings of your JVC camcorder, you’ll harness the full potential of your device, tailoring its functionalities to suit your creative vision and technical requirements. Navigating through the menu system with confidence and precision empowers you to adapt to diverse shooting scenarios and unleash your creativity with every frame you capture.
Transferring and Editing Footage
Once you’ve captured compelling footage with your JVC camcorder, the process of transferring and editing your videos is essential for refining your visual storytelling and bringing your creative vision to fruition. From seamless file transfer to the art of post-production editing, mastering these aspects empowers you to transform raw footage into polished and impactful video content.
When it comes to transferring your footage from the camcorder to external devices for editing and sharing, explore the connectivity options available on your JVC camcorder. Utilize USB or HDMI connections to transfer files to your computer or external storage devices, ensuring that the transfer process is efficient and reliable. Additionally, consider leveraging wireless transfer capabilities, if available, to streamline the file transfer workflow, providing flexibility and convenience in managing your video assets.
Upon transferring your footage to a computer or editing workstation, engage in the post-production process to refine and enhance your videos. Utilize video editing software to assemble your footage, trim and arrange clips, apply transitions, add visual effects, and incorporate audio elements to craft a cohesive and engaging narrative. Familiarize yourself with the editing tools and features of your chosen software, allowing you to unleash your creativity and bring your vision to life through the editing process.
Experiment with color grading and correction to fine-tune the visual aesthetics of your footage, adjusting contrast, saturation, and color balance to achieve a desired cinematic look. Additionally, explore the application of audio enhancements and mixing to ensure that your videos are accompanied by clear, balanced, and immersive sound that elevates the overall viewing experience.
As you delve into the editing process, consider the narrative and pacing of your videos, leveraging storytelling techniques to engage and captivate your audience. Utilize the power of editing to construct compelling sequences, build emotional resonance, and convey impactful messages, ensuring that each frame contributes to the cohesive and evocative storytelling of your videos.
Once the editing process is complete, explore the various output options available within your editing software, such as rendering your videos in different formats and resolutions to suit specific delivery platforms and viewing experiences. Whether you’re preparing your videos for online sharing, broadcast, or cinematic screenings, tailoring the output settings ensures that your visual content is presented in its best possible form.
By mastering the art of transferring and editing footage, you’ll not only refine the technical aspects of your videos but also unleash your creative potential, transforming raw footage into captivating visual narratives that resonate with your audience. The seamless integration of filming, transferring, and editing processes allows you to express your artistic vision with precision and impact, ensuring that your videos leave a lasting impression on viewers.
Troubleshooting Common Issues
While using your JVC camcorder, encountering technical challenges is not uncommon. Understanding how to troubleshoot common issues empowers you to address potential setbacks swiftly, ensuring that your filming endeavors proceed smoothly and that the quality of your footage remains uncompromised. By familiarizing yourself with troubleshooting techniques, you can mitigate disruptions and maintain a seamless videography experience.
One common issue that may arise is related to battery performance. If you encounter rapid battery depletion or unexpected power shutdowns, ensure that the battery is fully charged or consider using a spare battery as a backup. Additionally, inspect the battery contacts and the integrity of the power connection to the camcorder to rule out potential connectivity issues.
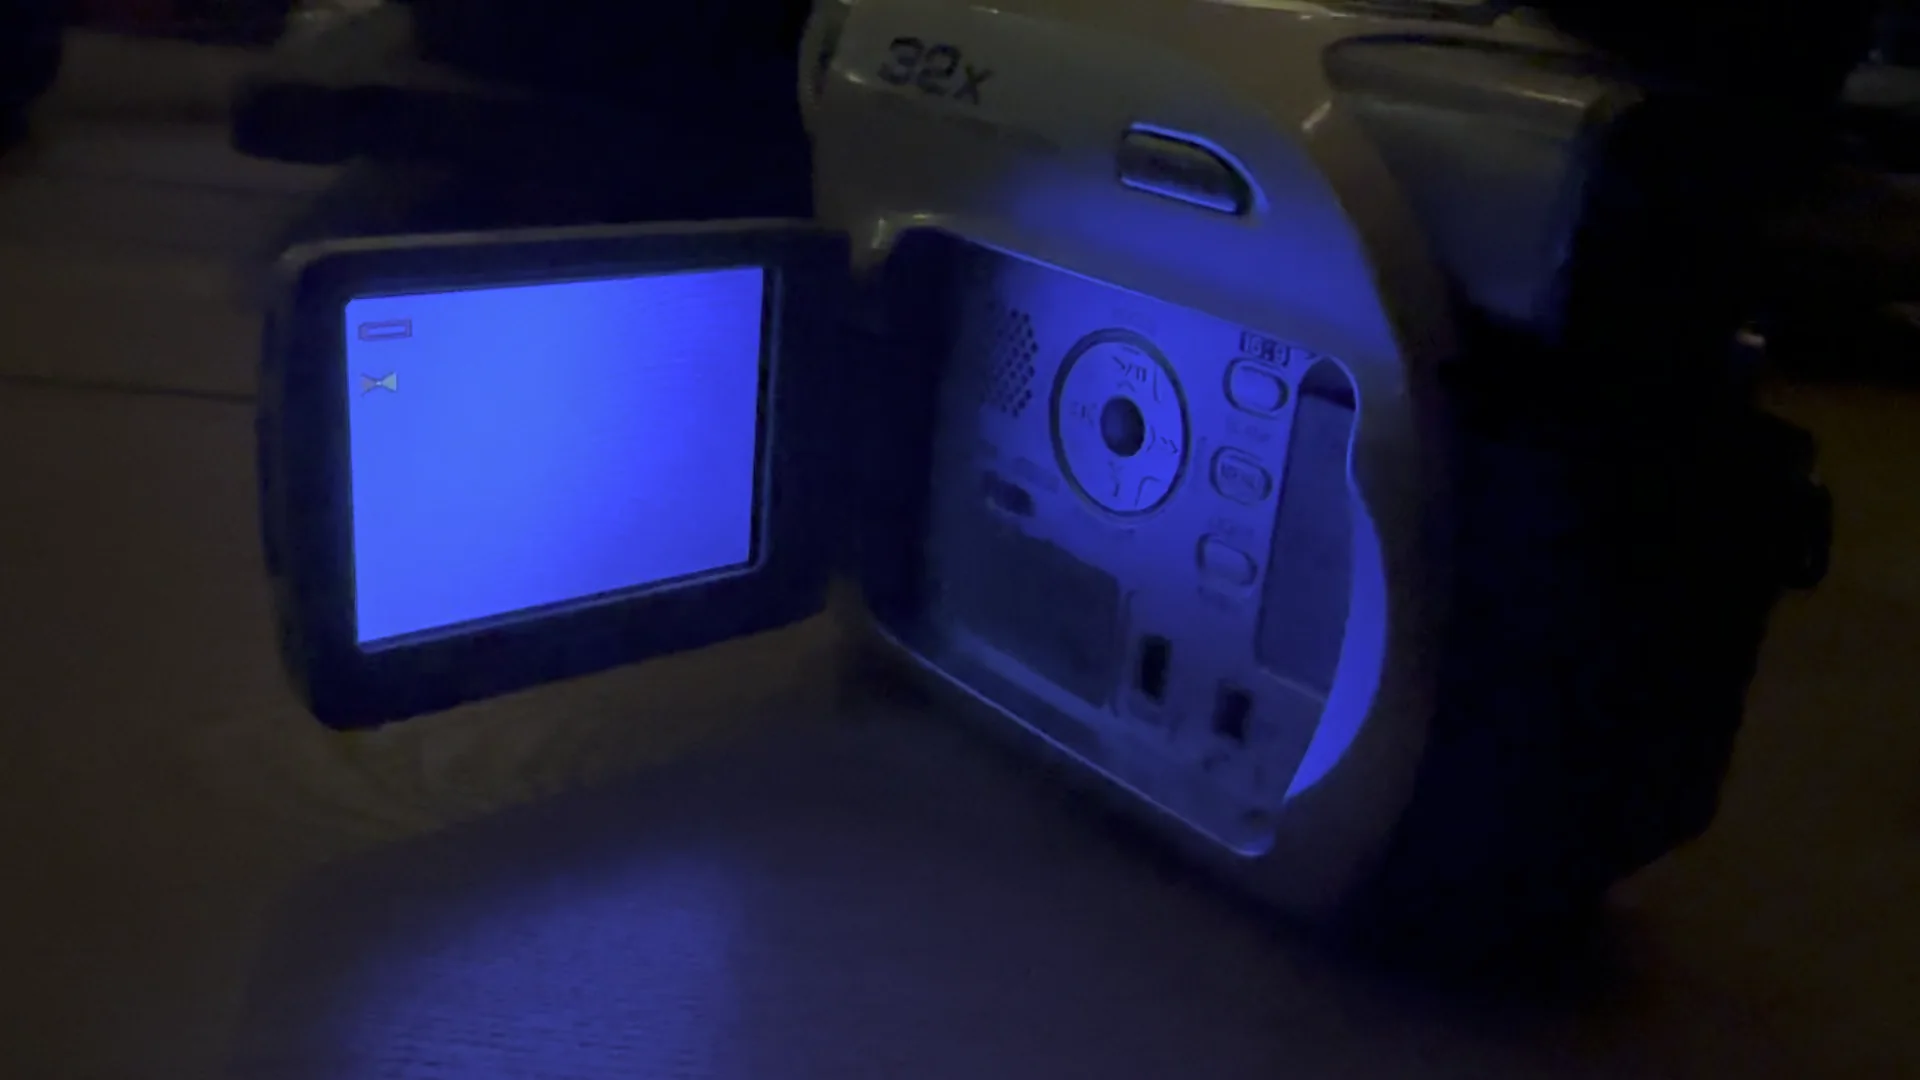
In situations where the camcorder’s display or viewfinder malfunctions, verify that the display settings are configured correctly and that the viewfinder is free from obstructions. Adjust the brightness and contrast settings to optimize visibility, and if the issue persists, consider resetting the display settings to default or consulting the user manual for specific troubleshooting guidance.
Audio-related issues, such as distorted sound, muffled audio, or unexpected noise, can impact the overall quality of your footage. Ensure that the microphone input is securely connected, and the microphone settings are configured appropriately within the menu system. Experiment with different microphone placements and levels to identify and mitigate the source of the audio issue.
When encountering difficulties with file transfer or playback, verify the compatibility of the file formats and codecs used by your camcorder with your computer or playback devices. If playback issues persist, consider using alternative media players or video editing software to assess the compatibility and integrity of the video files.
Occasional focus or exposure inconsistencies may affect the visual quality of your footage. If you notice persistent focus hunting or exposure fluctuations, consider cleaning the lens and sensor surfaces to ensure optimal performance. Additionally, familiarize yourself with the manual focus and exposure controls, allowing you to intervene and adjust these settings manually to achieve desired visual clarity.
If you encounter persistent technical issues that cannot be resolved through basic troubleshooting, consider consulting the user manual for your JVC camcorder or reaching out to the manufacturer’s customer support for specialized assistance. By proactively addressing and resolving common technical issues, you’ll maintain the reliability and performance of your camcorder, ensuring that your videography endeavors unfold seamlessly and without interruptions.
Conclusion
Congratulations on embarking on a comprehensive journey to master the art of videography with your JVC camcorder. Throughout this guide, you’ve delved into every facet of utilizing your camcorder to capture stunning footage, from mastering basic and advanced shooting techniques to navigating the menu and settings with confidence and precision. By understanding the nuances of transferring and editing footage, as well as troubleshooting common issues, you’ve equipped yourself with the knowledge and skills to harness the full potential of your device.
As you continue to explore and refine your videography skills, remember that creativity is at the heart of every captivating video. Your JVC camcorder is not merely a tool for recording; it’s a conduit for expressing your unique perspective and storytelling prowess. Whether you’re documenting cherished moments, creating compelling visual narratives, or exploring the art of cinematography, your camcorder is a versatile companion that empowers you to bring your creative vision to life.
Embrace the technical knowledge you’ve gained and pair it with your artistic intuition to produce videos that resonate with your audience and leave a lasting impression. Experiment with different shooting techniques, explore new editing styles, and push the boundaries of your storytelling capabilities. Videography is a dynamic and ever-evolving art form, and your journey with your JVC camcorder is an opportunity to continuously grow and refine your craft.
Remember that the most impactful videos are often the result of passion, dedication, and a willingness to push beyond the familiar. Embrace the challenges and triumphs that come with videography, and let your JVC camcorder be the instrument through which you share your unique perspective with the world.
As you venture forth with your JVC camcorder in hand, may each frame you capture be a testament to your creativity, vision, and unwavering commitment to the art of videography. Your journey has only just begun, and the possibilities that await you with your JVC camcorder are as limitless as your imagination.