Introduction
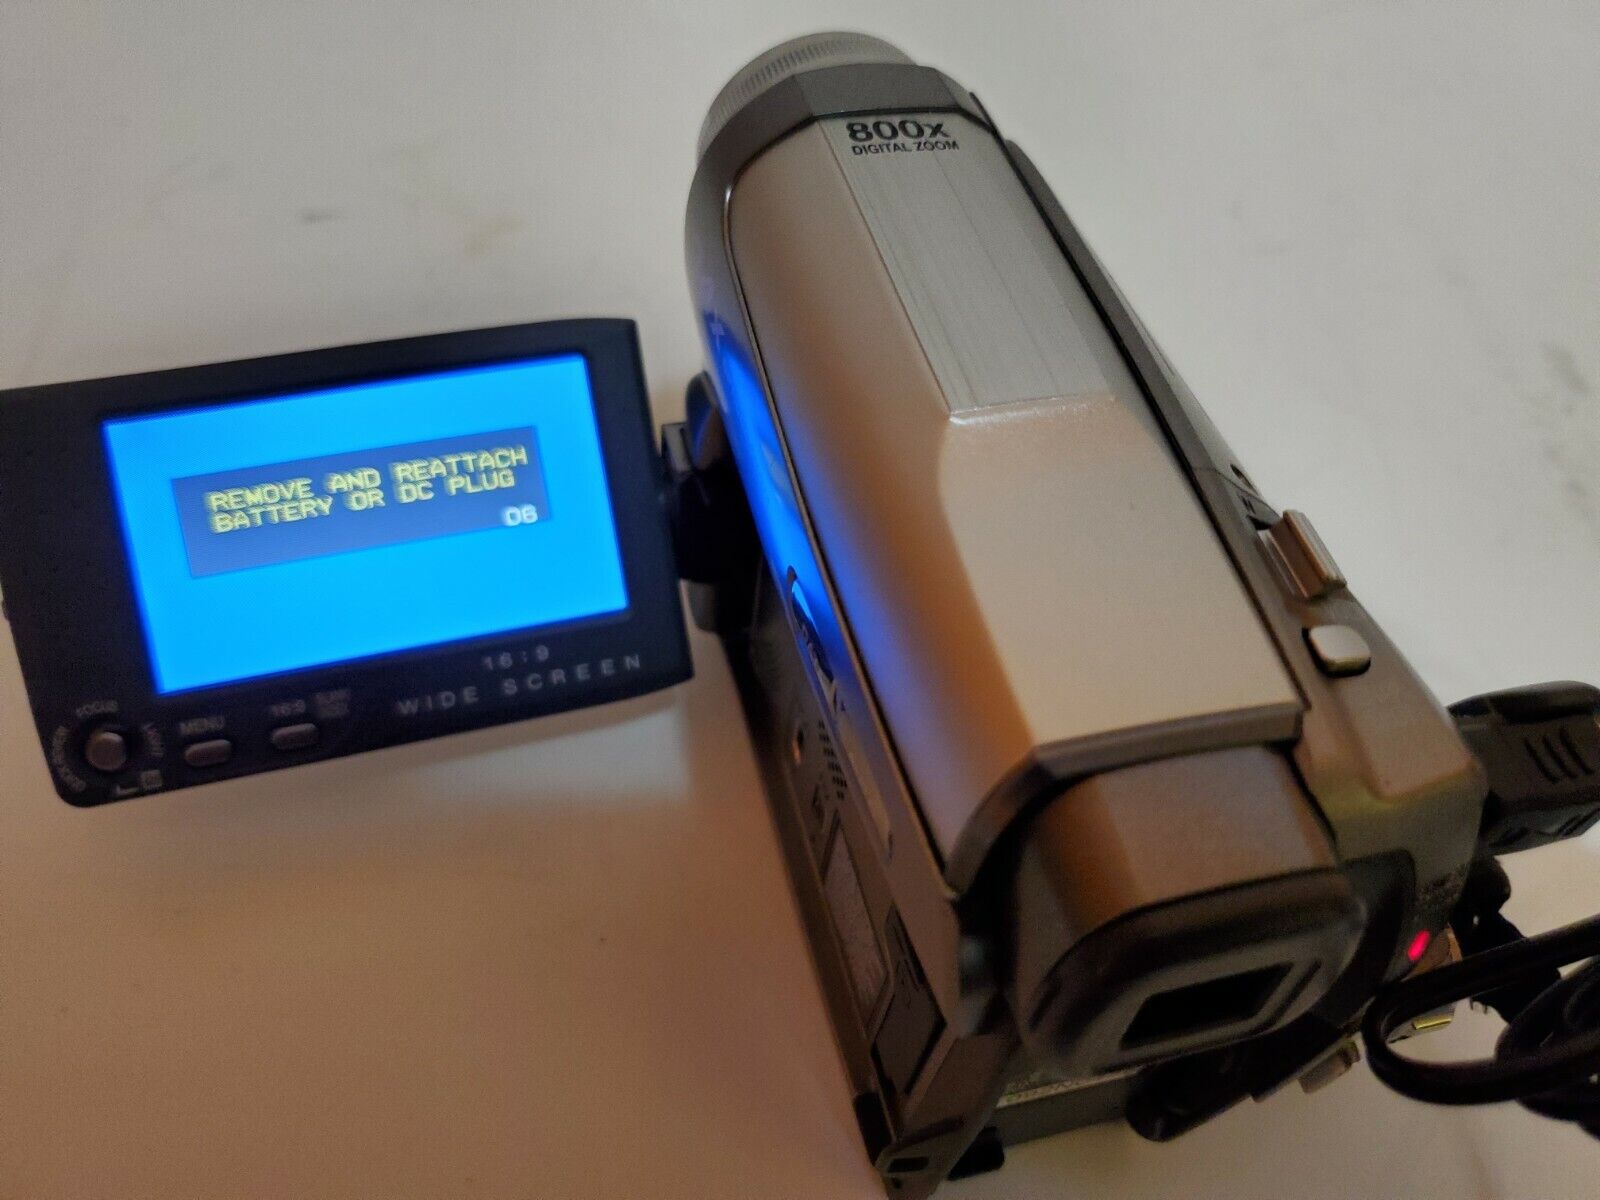
Welcome to the world of JVC camcorders! These handy devices are perfect for capturing life’s most precious moments, from family gatherings to outdoor adventures. However, like any electronic device, there may be times when your JVC camcorder encounters technical issues or malfunctions. One common troubleshooting method is to perform a reset, which can help resolve various issues and restore the camcorder to its default settings.
In this guide, we will walk you through the process of resetting your JVC camcorder. Whether you’re experiencing frozen screens, unresponsive controls, or other performance issues, a reset can often provide a quick and effective solution. We will cover essential steps such as checking the battery, removing and reinserting the battery, and utilizing the reset button. By following these instructions, you can troubleshoot your JVC camcorder and get back to capturing life’s memorable moments.
Before we proceed with the troubleshooting steps, it’s essential to ensure that your camcorder’s battery is in good condition. A low or depleted battery can sometimes cause operational issues that may be mistaken for technical malfunctions. By verifying the battery status, you can rule out potential power-related issues before attempting a reset.
Checking the Battery
Before initiating the reset process for your JVC camcorder, it’s crucial to assess the battery’s condition. A low or depleted battery can lead to various operational issues, often mimicking more severe technical malfunctions. To ensure that the battery is not the culprit behind the camcorder’s erratic behavior, follow these steps to check its status:
- Power Indicator: Start by examining the camcorder’s power indicator. If the indicator is flashing or displaying a low battery warning, the issue may indeed be related to the battery. However, if the power indicator appears normal, you can proceed to the next step.
- Battery Level: Access the camcorder’s menu or settings to view the current battery level. If the battery level is significantly low, consider recharging the battery before proceeding further. In some cases, a depleted battery may cause the camcorder to malfunction or become unresponsive.
- Battery Contacts: Inspect the battery contacts within the camcorder’s battery compartment. Over time, these contacts may accumulate dirt or debris, hindering the flow of power. Use a clean, dry cloth to gently wipe the contacts, ensuring a clean connection with the battery.
- Alternate Power Source: If available, try using an alternate, fully charged battery to power the camcorder. This can help determine whether the original battery is the source of the issue. If the camcorder operates normally with a different battery, it may be time to replace the original one.
By carefully assessing the battery’s status and addressing any potential issues, you can eliminate power-related factors before proceeding with the reset process. In some instances, resolving a simple battery-related issue may alleviate the need for a reset, saving you time and effort in troubleshooting your JVC camcorder.
Removing and Reinserting the Battery
If you’ve determined that the battery may be contributing to the issues with your JVC camcorder, performing a simple removal and reinsertion can sometimes resolve minor connectivity or power-related issues. Follow these steps to safely remove and reinsert the battery:
- Power Off: Ensure that the camcorder is powered off before attempting to remove the battery. This prevents potential data loss or damage to the camcorder’s internal components.
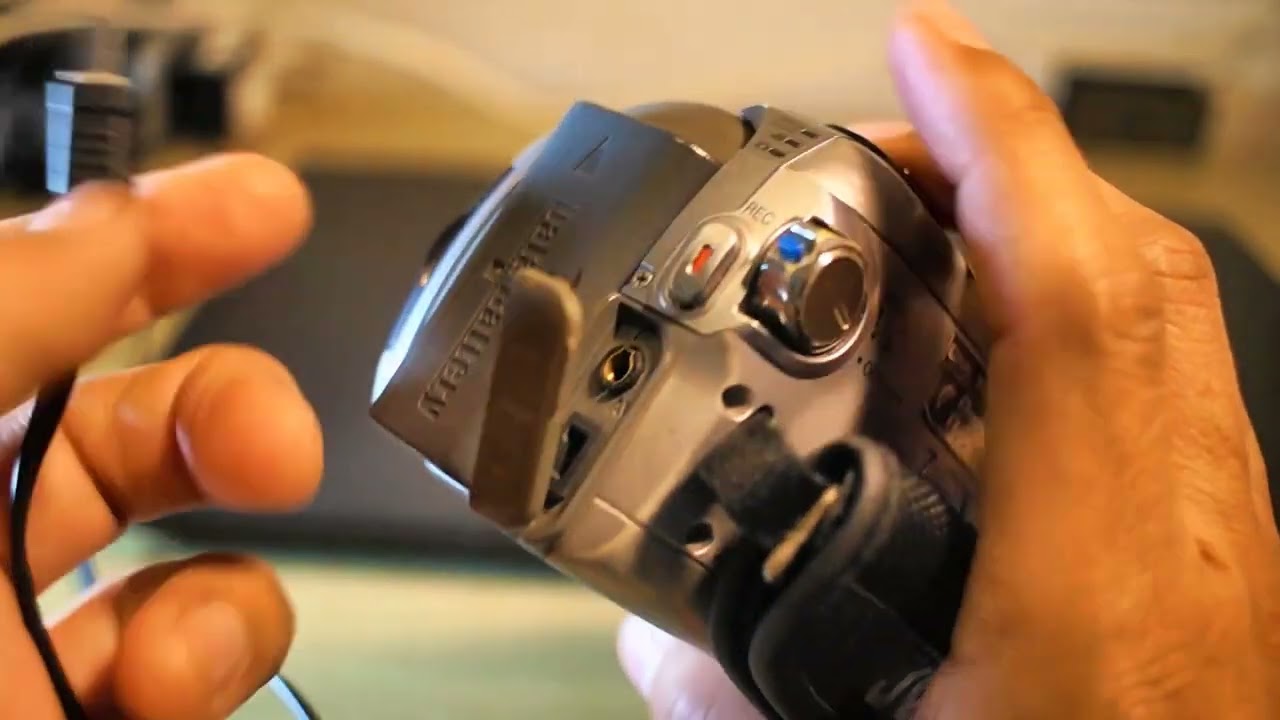
- Battery Release: Locate the battery release mechanism on the camcorder. This may involve pressing a release button or sliding a latch, depending on the model of your JVC camcorder. Carefully disengage the battery from the compartment, taking care not to force or damage the battery or the camcorder.
- Inspect the Battery: Once the battery is removed, take a moment to inspect it for any signs of damage, corrosion, or irregularities. If the battery appears damaged or shows signs of wear, it may need to be replaced to ensure optimal performance.
- Reinsert the Battery: Align the battery with the compartment and gently slide it back into place, ensuring a secure fit. Take care to insert the battery in the correct orientation, following any indicated markings or polarity indicators.
- Power On: After reinserting the battery, power on the camcorder and observe its behavior. If the issues persist, proceed to the next troubleshooting steps. However, if the camcorder operates normally, the removal and reinsertion of the battery may have resolved the underlying issue.
By removing and reinserting the battery, you are essentially resetting the power connection and ensuring a secure, reliable electrical connection within the camcorder. This simple procedure can often rectify minor power-related issues and restore the camcorder to a functional state, potentially eliminating the need for more extensive troubleshooting measures.
Using the Reset Button
If your JVC camcorder continues to exhibit persistent issues despite checking and addressing the battery-related factors, utilizing the reset button may provide a viable solution. The reset button is designed to restore the camcorder to its default settings, effectively clearing any temporary glitches or irregularities that may be affecting its performance. Follow these steps to access and utilize the reset button on your JVC camcorder:
- Locate the Reset Button: Refer to the camcorder’s user manual or documentation to identify the location of the reset button. In most cases, the reset button is a small, recessed button that may require a pointed object, such as a paperclip or pen tip, to press.
- Prepare the Camcorder: Ensure that the camcorder is powered on and in a stable, stationary position. If there is an option to remove the battery, consider doing so as a precautionary measure before proceeding with the reset process.
- Press the Reset Button: Carefully press and hold the reset button using a suitable tool, such as a paperclip. Depending on the model, you may need to hold the button for a specified duration, typically ranging from a few seconds to half a minute.
- Observe the Camcorder: After releasing the reset button, observe the camcorder’s response. It may power off and then restart, indicating that the reset process has been initiated. Allow the camcorder to complete the reset procedure before attempting to use it again.
- Test the Camcorder: Once the reset process is complete, test the camcorder’s functions and observe its performance. Check for the presence of the previously encountered issues and assess whether the reset has effectively resolved them. If the problems persist, consider contacting JVC support for further assistance.
By utilizing the reset button, you can effectively restore your JVC camcorder to its default settings, potentially resolving persistent issues that may have arisen from temporary software or operational irregularities. It is important to exercise caution when using the reset button and to follow the manufacturer’s guidelines to ensure a safe and effective reset process.
Contacting JVC Support
If the troubleshooting steps, including checking the battery, removing and reinserting the battery, and utilizing the reset button, have not effectively resolved the issues with your JVC camcorder, it may be time to seek assistance from JVC’s dedicated support team. Contacting JVC support can provide you with access to expert guidance and technical assistance, helping to address more complex or persistent problems that may require specialized attention.
When reaching out to JVC support, consider the following options for initiating contact:
- Online Support Portal: Visit JVC’s official website to access their online support portal. Many manufacturers offer comprehensive resources, including troubleshooting guides, FAQs, and user forums, which can provide valuable insights and solutions for common issues.
- Customer Service Hotline: JVC’s customer service hotline can connect you with knowledgeable representatives who can offer personalized assistance. Be prepared to provide specific details about your camcorder model, the nature of the issues you’re experiencing, and the steps you’ve already taken to troubleshoot the problem.
- Email Support: Sending an email to JVC’s support team allows you to articulate the details of the issues you’re facing and provide any relevant documentation or error messages. This method can be particularly useful for documenting the troubleshooting process and maintaining a record of communication with the support team.
- Authorized Service Centers: If the issues with your JVC camcorder require physical inspection or repairs, JVC’s authorized service centers can provide professional diagnostics and maintenance services. These centers are equipped to handle a wide range of technical issues and can offer comprehensive solutions for restoring your camcorder’s functionality.
When contacting JVC support, it’s important to convey the details of your troubleshooting efforts and the specific symptoms or error messages encountered. Providing a clear and concise overview of the issues can facilitate a more efficient and targeted response from the support team, potentially expediting the resolution process.
By leveraging JVC’s support resources, you can access the expertise and assistance needed to address complex technical challenges and ensure that your JVC camcorder operates reliably and effectively. Whether through online resources, direct communication, or professional service, JVC’s support ecosystem is designed to empower users with the tools and guidance necessary to maintain and troubleshoot their camcorders effectively.