Introduction
Welcome to the guide on how to eject a tape from your JVC camcorder. JVC camcorders have been a popular choice for capturing precious memories and recording special moments for decades. However, at times, you may encounter the need to remove the tape from your camcorder, whether it's to review footage, replace the tape, or address a technical issue. Understanding the process of ejecting the tape from your JVC camcorder is essential for ensuring the smooth operation of your device.
In this comprehensive guide, we will walk you through the step-by-step process of safely ejecting the tape from your JVC camcorder. Whether you are a novice user or a seasoned videographer, this guide will provide you with clear instructions and valuable insights to help you navigate this essential task with confidence.
So, if you find yourself in a situation where you need to remove the tape from your JVC camcorder, fret not. By following the instructions outlined in this guide, you will be able to effortlessly eject the tape and continue capturing life's precious moments with your JVC camcorder. Let's dive into the step-by-step process and get you well-equipped to handle this task seamlessly.
Step 1: Power Off the Camcorder
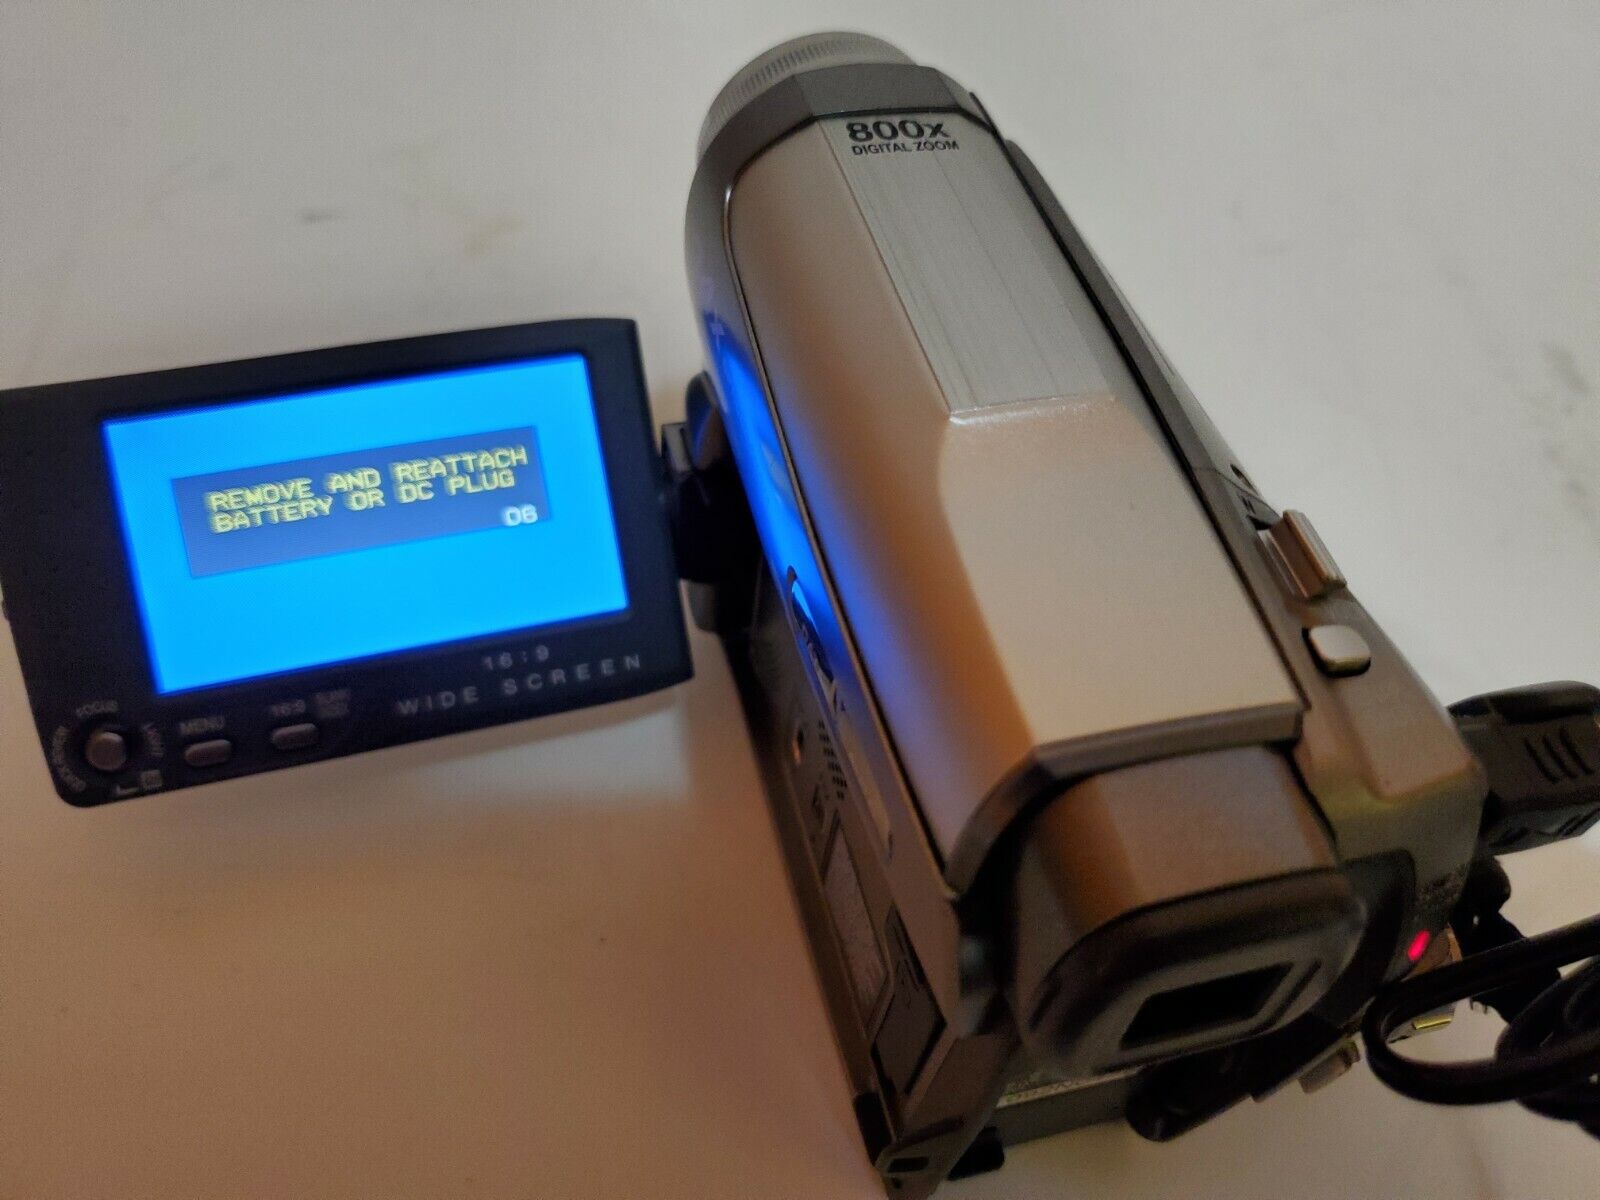
Before you begin the process of ejecting the tape from your JVC camcorder, it is crucial to ensure that the device is powered off. This step is essential for the safety of the tape and the proper functioning of the camcorder. By powering off the camcorder, you minimize the risk of damaging the tape or encountering any technical issues during the ejection process.
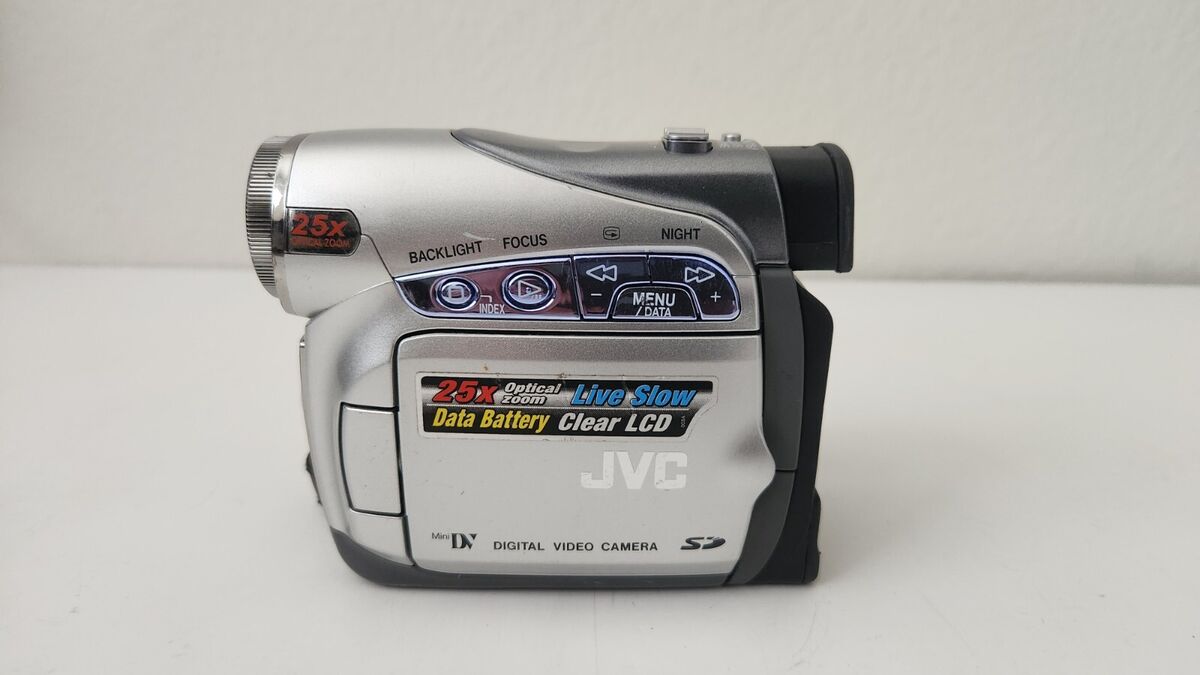
To power off your JVC camcorder, locate the power button, typically situated on the side or the back of the device. Press and hold the power button until the camcorder shuts down completely. It is important to wait for the device to power off entirely before proceeding to the next step.
Powering off the camcorder not only ensures the safety of the tape but also allows the internal mechanisms of the device to reset, preparing it for the tape ejection process. This simple yet crucial step sets the stage for a smooth and hassle-free tape removal experience.
By following this initial step and powering off your JVC camcorder, you demonstrate a proactive approach to maintaining the integrity of your equipment and safeguarding the contents of the tape. With the camcorder powered off, you are now ready to proceed to the next step and continue with the tape ejection process.
Step 2: Locate the Eject Button
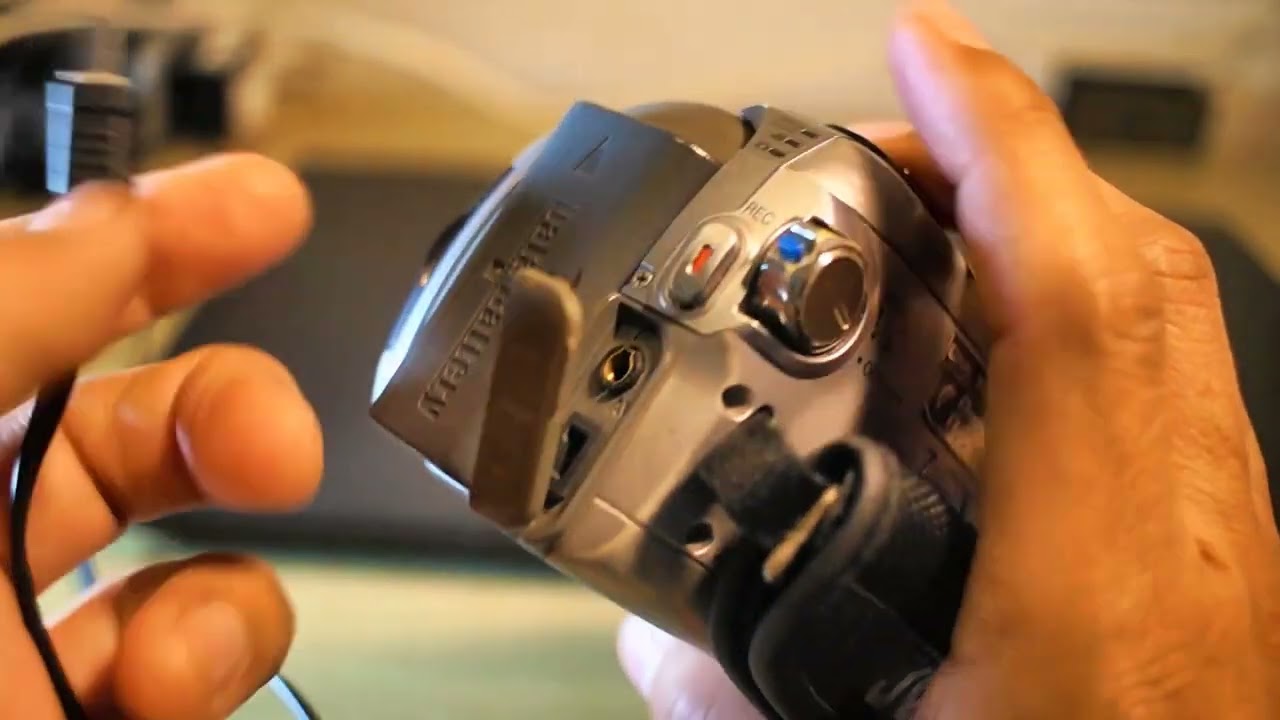
After ensuring that your JVC camcorder is powered off, the next step in the tape ejection process is to locate the eject button. The eject button is a vital component of the camcorder that facilitates the safe removal of the tape from the device. It is strategically positioned to provide easy access while ensuring the proper handling of the tape.
The location of the eject button may vary depending on the model of your JVC camcorder. Typically, the eject button is situated near the tape compartment or on the side of the camcorder. Refer to the user manual or familiarize yourself with the specific design of your camcorder to pinpoint the exact location of the eject button.
When identifying the eject button, take note of its size, shape, and any accompanying symbols or markings that distinguish it from other controls on the camcorder. Manufacturers often design the eject button to be easily recognizable, allowing users to initiate the tape ejection process with confidence and precision.
Locating the eject button sets the stage for the subsequent steps in the tape ejection process. By familiarizing yourself with the position and characteristics of the eject button, you are well-prepared to proceed to the next phase and execute the tape ejection process seamlessly.
Step 3: Press the Eject Button
With the eject button located, you are now ready to initiate the tape ejection process. Pressing the eject button is a crucial step that triggers the mechanism responsible for safely releasing the tape from your JVC camcorder. This action must be performed with care and precision to ensure the smooth ejection of the tape.
When pressing the eject button, apply gentle and even pressure to activate the mechanism. Avoid using excessive force or abrupt movements, as this may lead to complications in the ejection process. The design of the eject button is intended to facilitate a seamless and controlled release of the tape, safeguarding the contents and integrity of the recording.
Upon pressing the eject button, listen for any audible cues or mechanical sounds that indicate the initiation of the ejection process. Depending on the model of your JVC camcorder, the device may emit a subtle click or whirring noise as the tape compartment prepares to release the tape. These auditory signals provide valuable feedback, confirming that the ejection mechanism has been activated.
It is important to exercise patience and attentiveness while pressing the eject button, allowing the camcorder to execute the ejection process at its own pace. Rushing this step may compromise the integrity of the tape or result in technical issues. By approaching this action with deliberation and care, you set the stage for a successful and seamless tape ejection experience.
Step 4: Remove the Tape
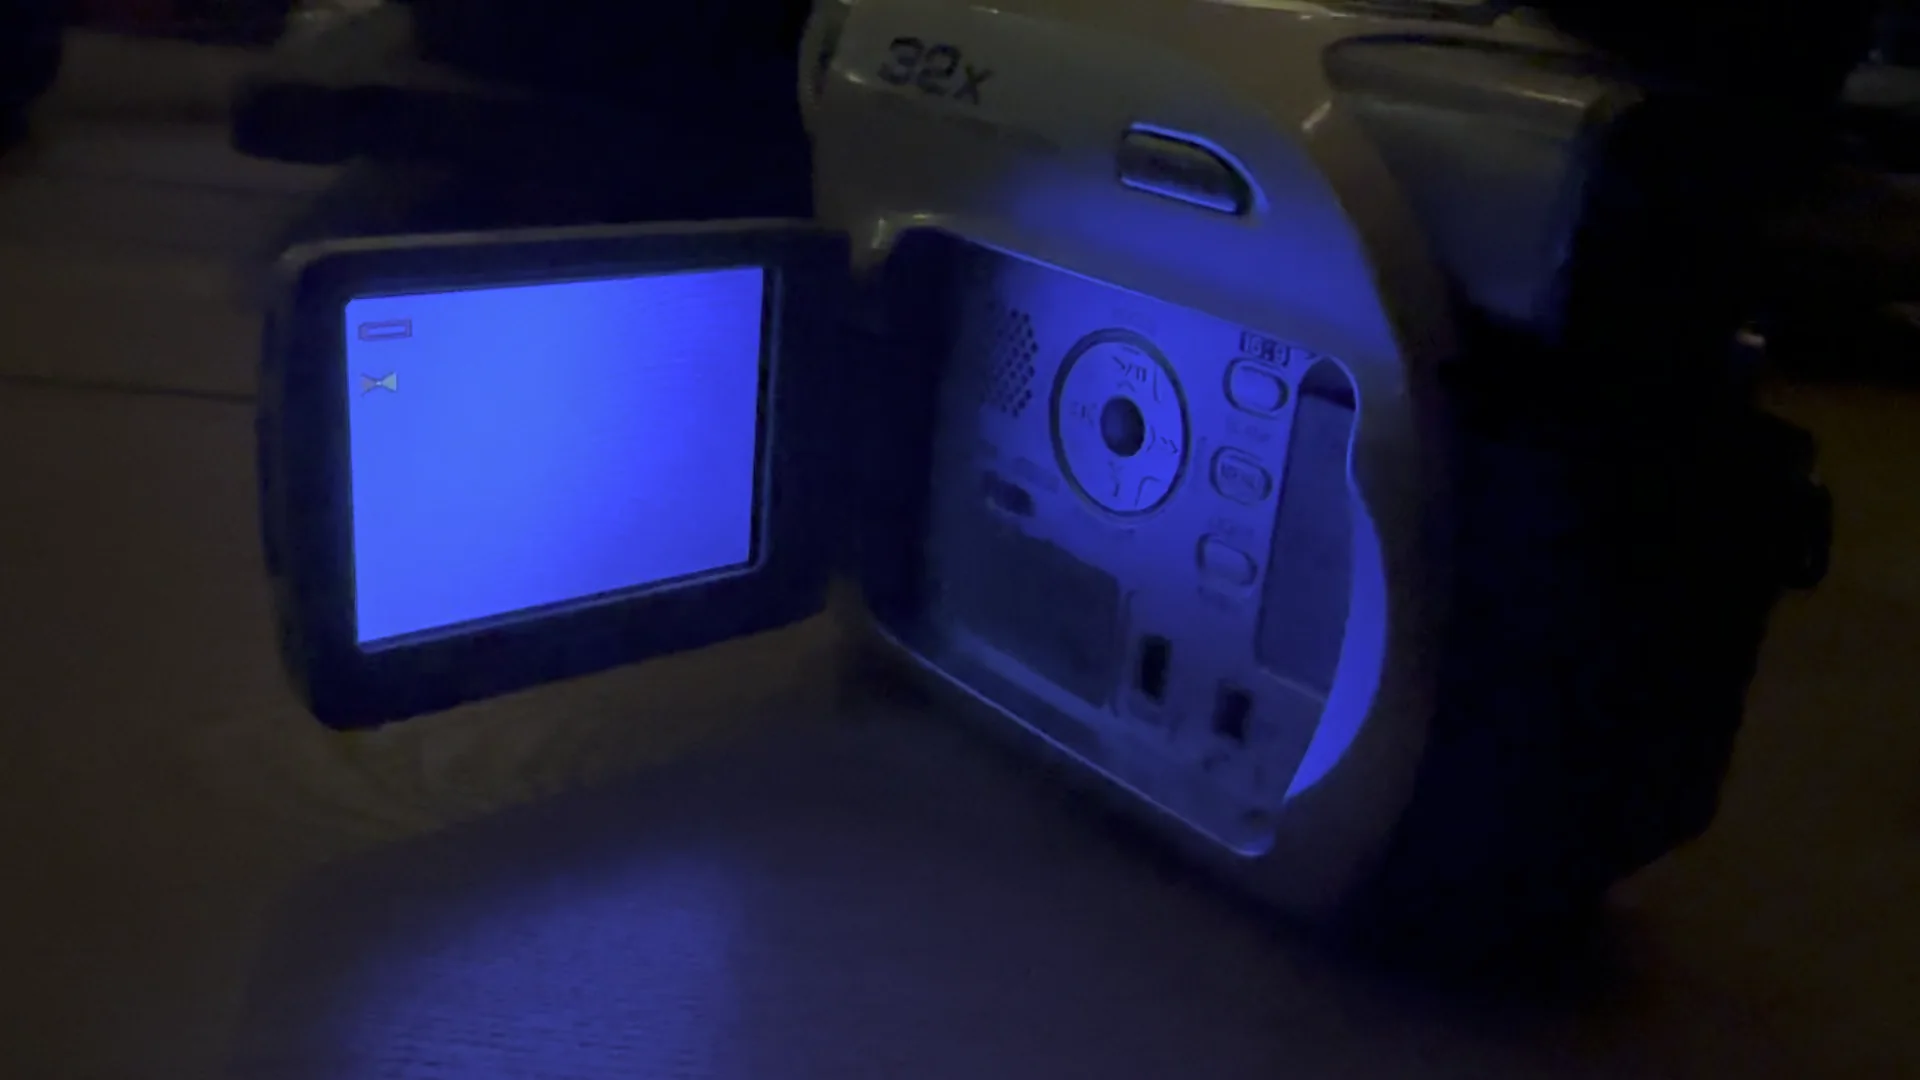
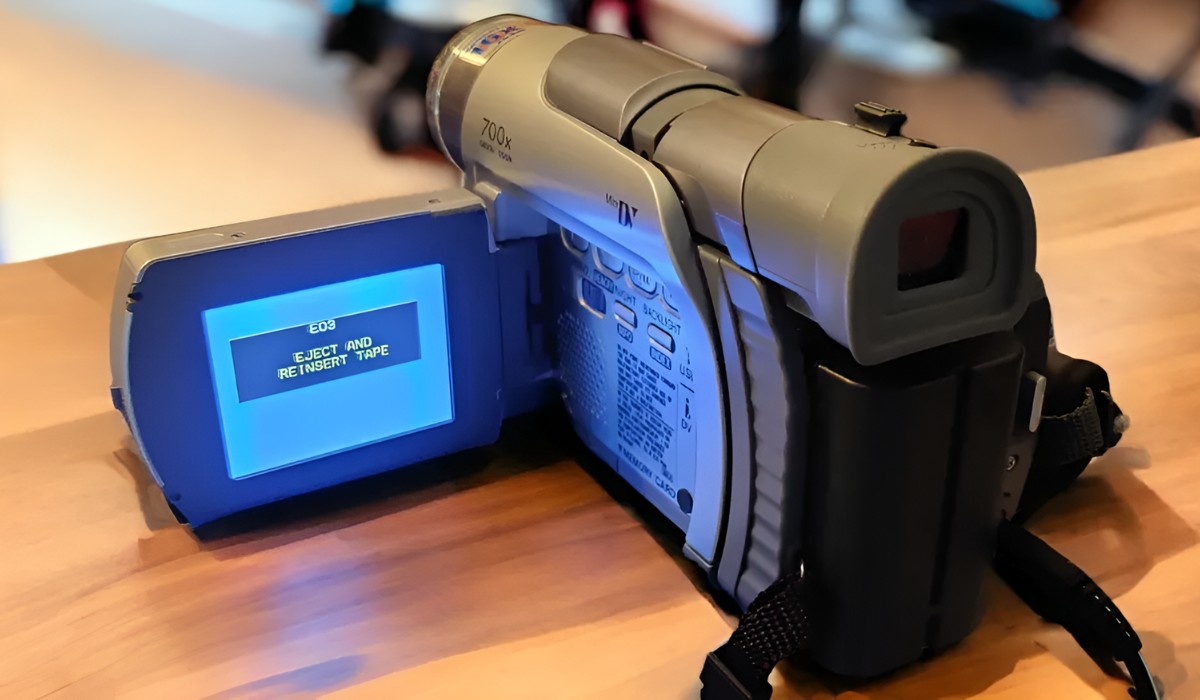
After pressing the eject button and initiating the ejection process, the next step is to carefully remove the tape from your JVC camcorder. This crucial phase requires attentiveness and precision to ensure the safe extraction of the tape without causing damage to its contents or the camcorder’s internal mechanisms.
Upon activating the ejection mechanism, observe the tape compartment as it prepares to release the tape. Depending on the model of your JVC camcorder, the tape compartment may gently open, presenting the tape for removal. Exercise caution and patience as the compartment completes the ejection process, ensuring that the tape is fully accessible for extraction.
When removing the tape, handle it with care and avoid touching the exposed tape or any sensitive components. Grasp the tape firmly but gently, using your fingers to support the edges and guide it out of the compartment. Refrain from pulling or tugging forcefully, as this may lead to tape misalignment or other issues.
As you extract the tape from the camcorder, maintain a steady and controlled motion, allowing the tape to glide smoothly out of the compartment. Take note of any resistance or unusual sensations, as these may indicate potential obstructions or misalignments that require attention before proceeding further.
Once the tape is successfully removed, inspect it for any signs of damage or irregularities. Verify that the tape is securely wound and free from tangles or creases. Additionally, assess the tape compartment and ensure that it is clear of any debris or obstructions that may impede future use.
By approaching the tape removal process with diligence and care, you demonstrate a commitment to preserving the integrity of both the tape and your JVC camcorder. With the tape safely in your hands, you have completed the essential task of ejecting the tape from your camcorder, setting the stage for continued use and future recording endeavors.
Conclusion
Congratulations! You have successfully learned the step-by-step process of ejecting a tape from your JVC camcorder. By following the instructions outlined in this guide, you have gained valuable insights into safely removing the tape from your device, ensuring the smooth operation and preservation of your recordings.
Mastering the art of tape ejection empowers you to navigate technical tasks with confidence, allowing you to make the most of your JVC camcorder’s capabilities. Whether you are a videography enthusiast or a casual user, understanding the intricacies of tape ejection is an essential skill that enhances your overall camcorder experience.
Remember to approach each step with patience and attentiveness, prioritizing the safety of the tape and the proper functioning of your JVC camcorder. By powering off the device, locating the eject button, pressing it with care, and removing the tape diligently, you have demonstrated a proactive approach to maintaining your equipment.
As you continue to explore the possibilities of your JVC camcorder, keep this guide in mind as a valuable resource for handling tape ejection with ease and precision. Your newfound knowledge equips you to address technical tasks confidently, ensuring that you can capture life’s precious moments without hesitation.
With the tape safely ejected from your JVC camcorder, you are poised to embark on new recording ventures, knowing that you have the expertise to handle essential maintenance tasks with finesse. Embrace the confidence that comes with mastering the tape ejection process, and continue to unleash your creativity through the lens of your JVC camcorder.