Introduction
Are you eager to immortalize your cherished memories captured on your JVC camcorder by creating a timeless DVD? Transforming your video footage into a DVD not only preserves those special moments but also allows for convenient sharing and long-term safekeeping. With the right tools and a straightforward process, you can seamlessly transfer your videos from your JVC camcorder to a DVD for lasting enjoyment.
In this comprehensive guide, we will walk you through the step-by-step process of creating a DVD from your JVC camcorder footage. From connecting your camcorder to your computer to customizing your DVD menu, we will cover each essential stage in detail, ensuring that you can effortlessly navigate the entire process.
By following this guide, you will gain a clear understanding of the necessary tools and software required to transfer and author your video footage into a professional-looking DVD. With our expert tips and insights, you will be well-equipped to bring your videos to life in a tangible and enduring format.
Let's embark on this exciting journey to transform your digital memories into a physical keepsake that can be enjoyed for years to come. Whether you are a novice or an experienced enthusiast, this guide will equip you with the knowledge and confidence to create your own DVDs from your JVC camcorder footage.
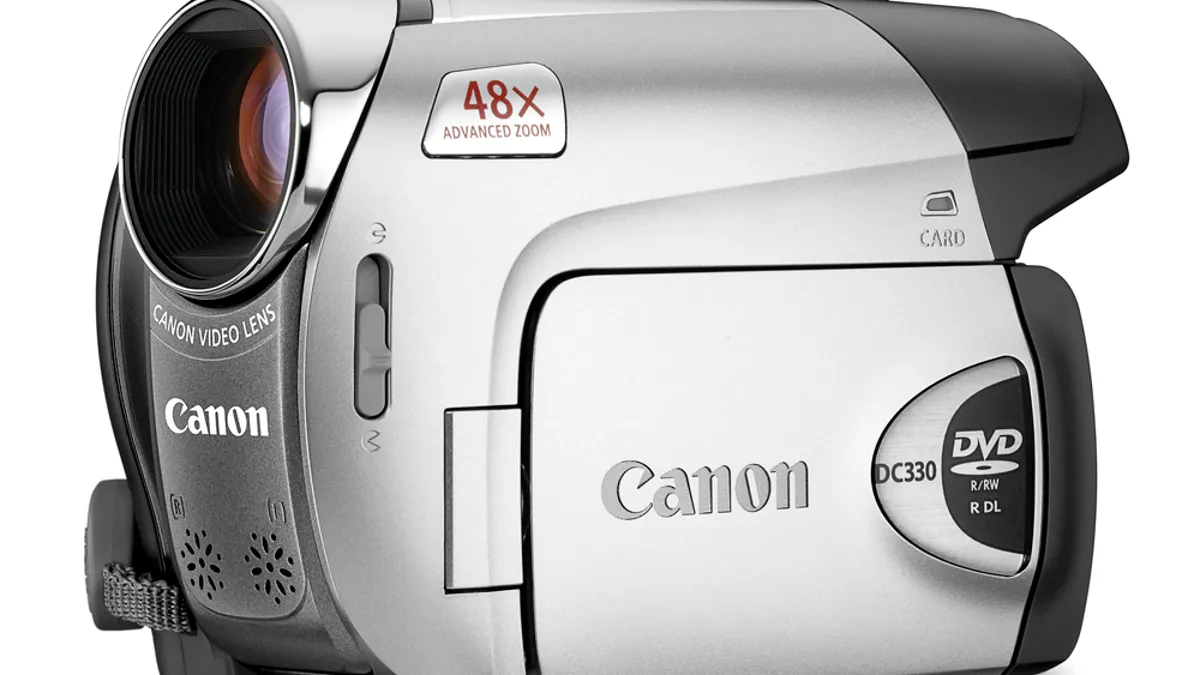
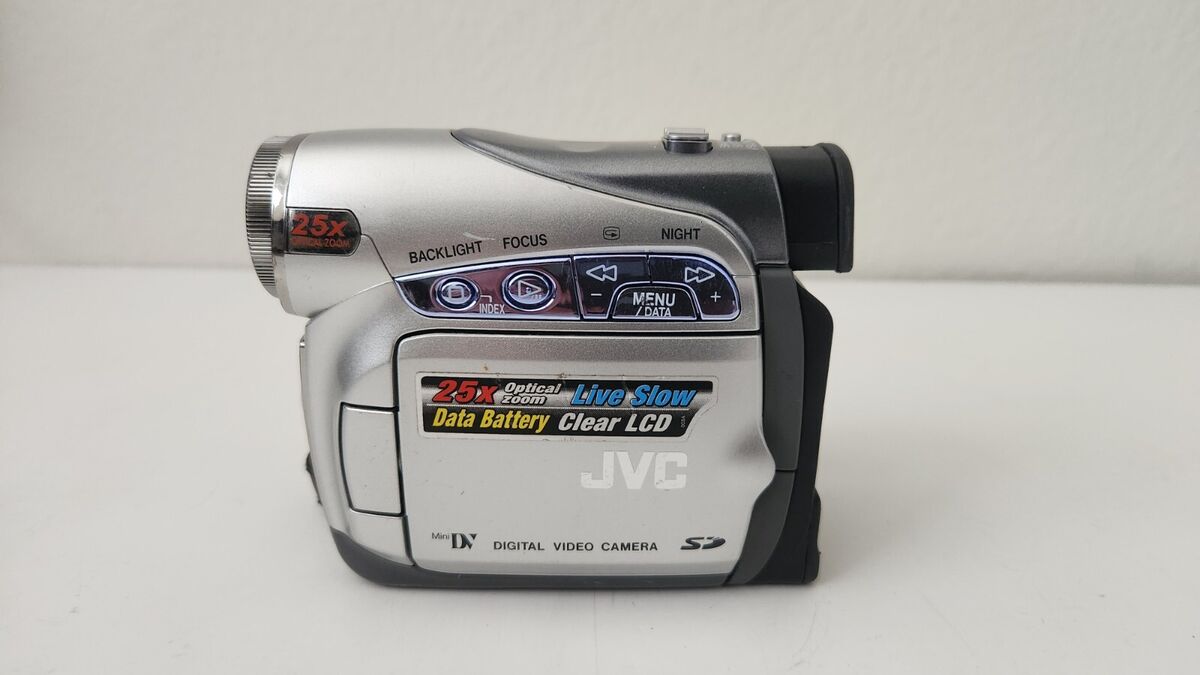
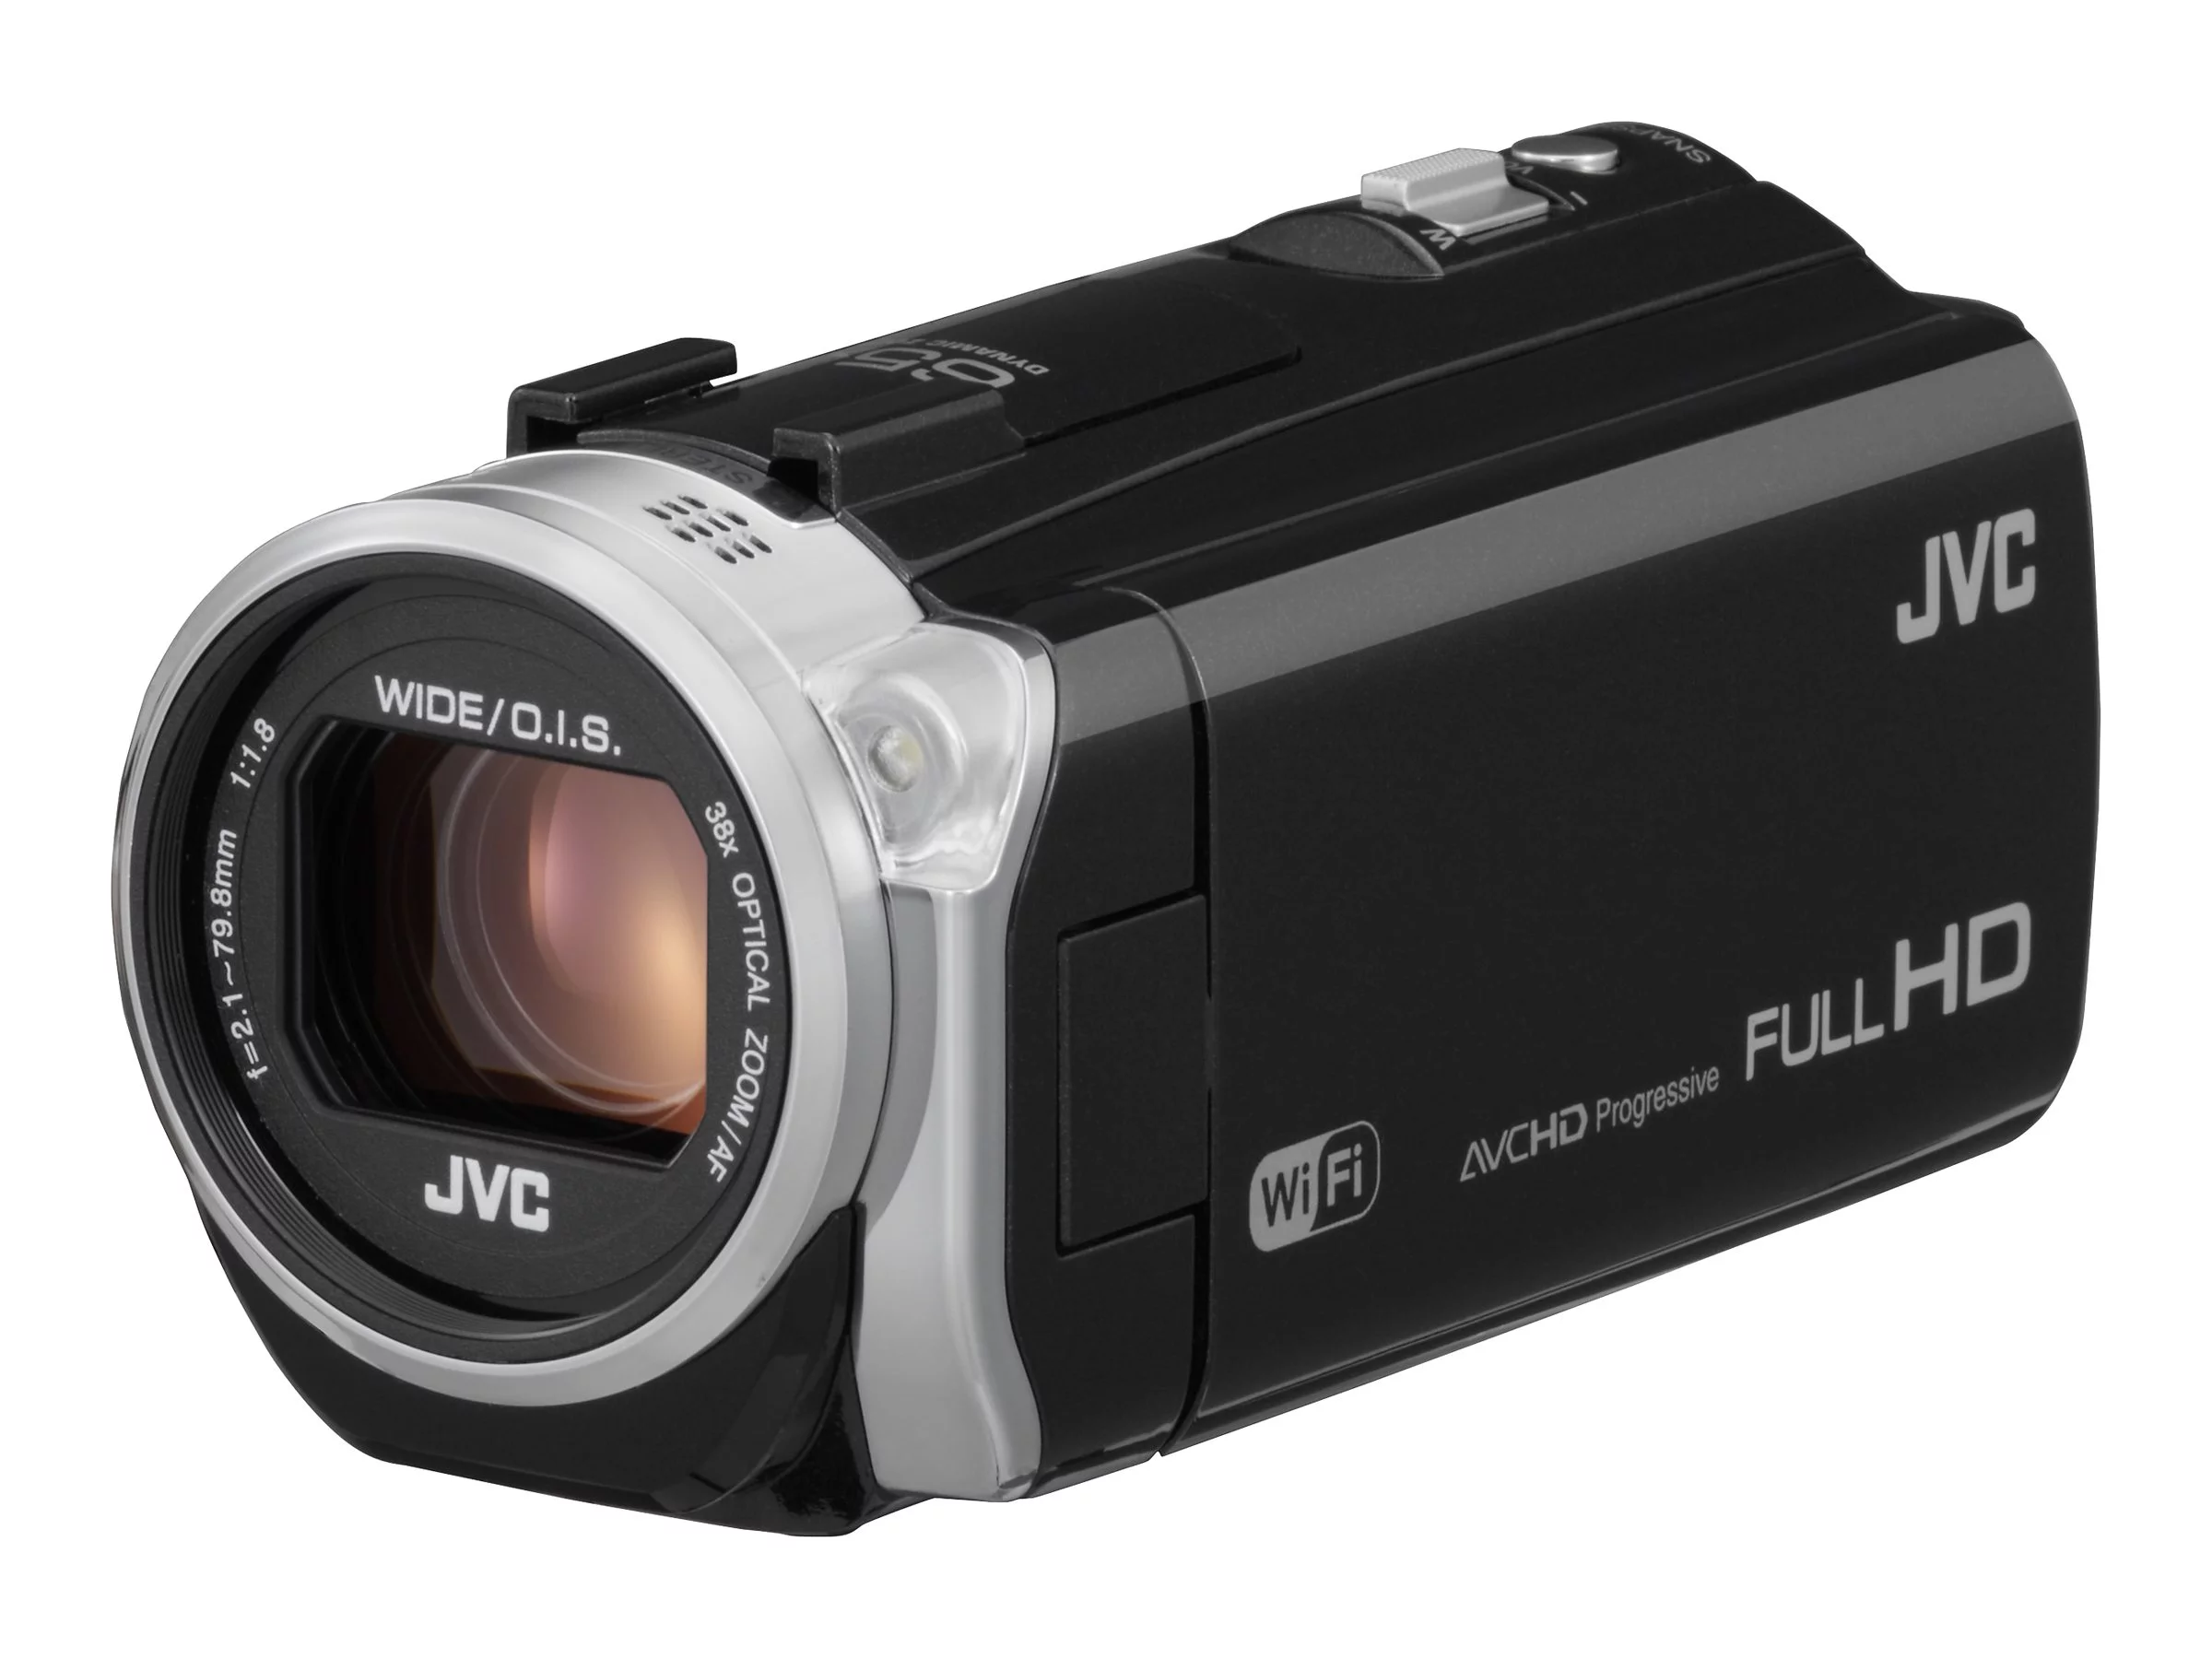
Step 1: Connect Your JVC Camcorder to Your Computer
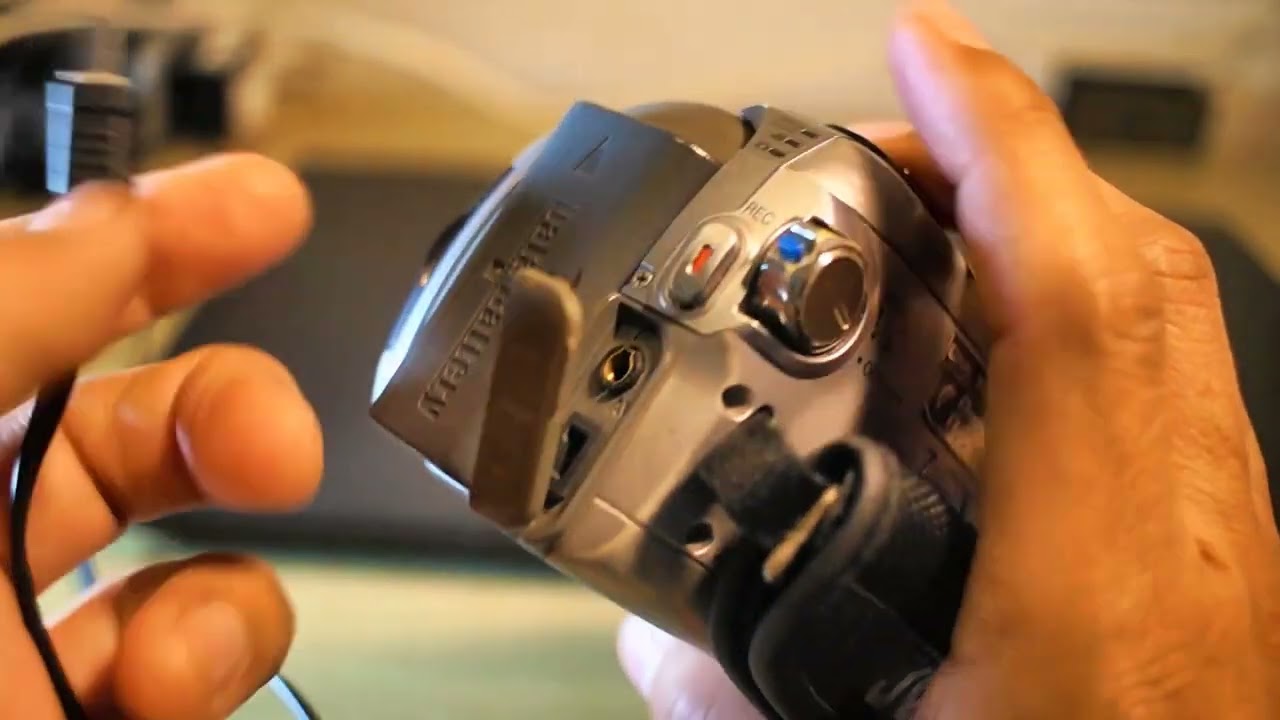
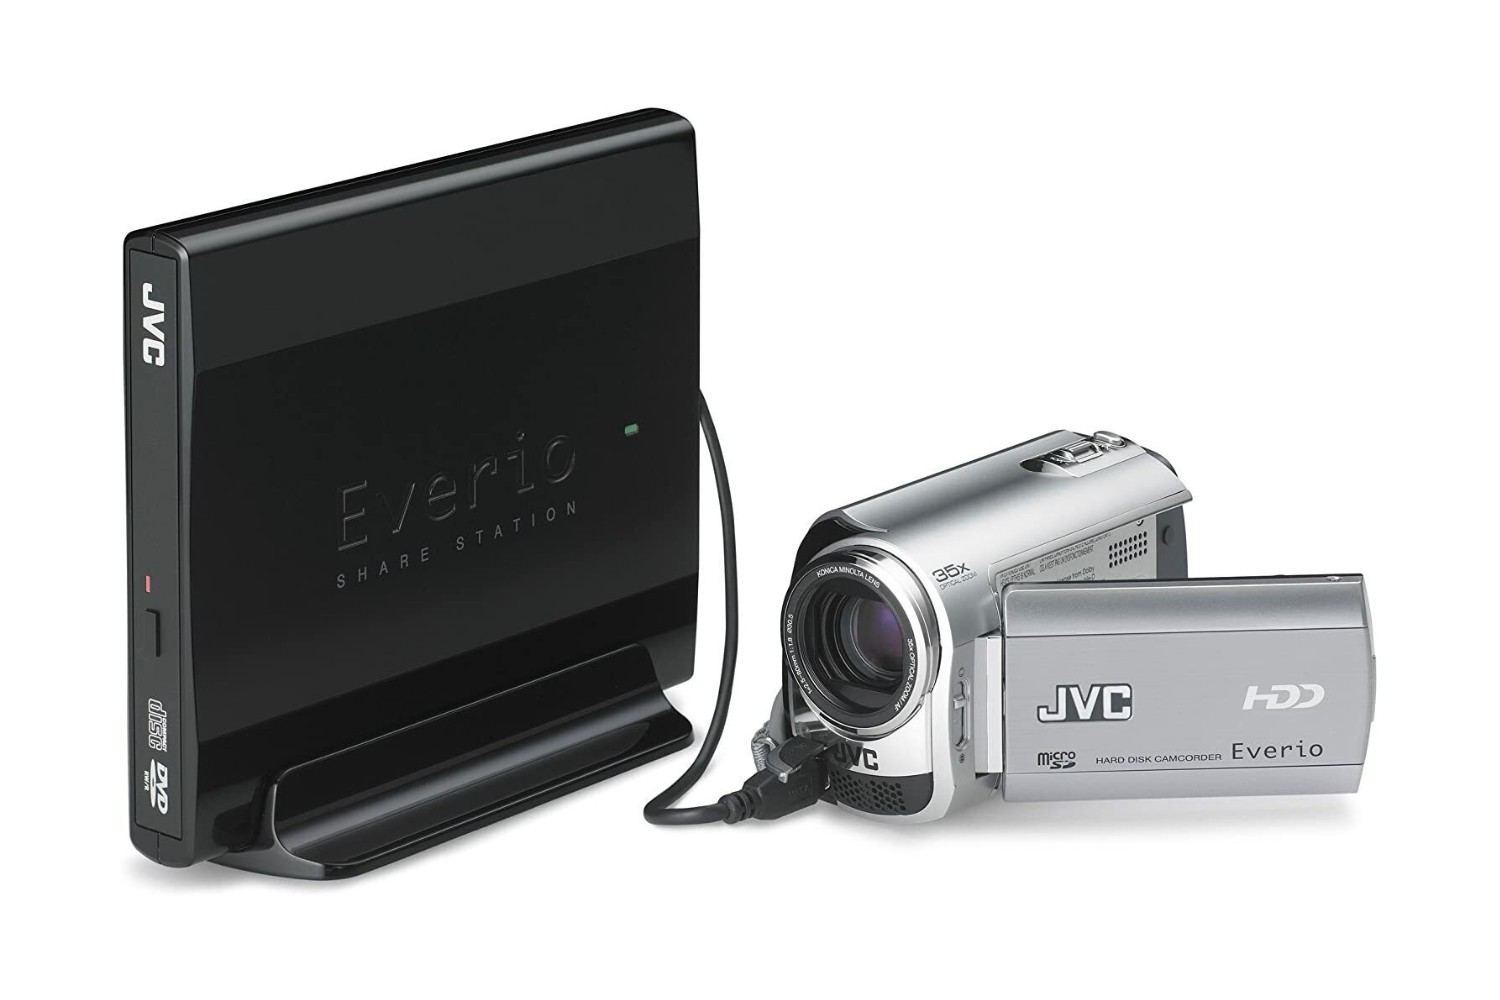
Before embarking on the process of creating a DVD from your JVC camcorder footage, the first step is to establish a physical connection between your camcorder and your computer. This connection will enable the seamless transfer of your video files, laying the foundation for the subsequent stages of the DVD creation process.
Begin by locating the appropriate cable that allows for the connection between your JVC camcorder and your computer. Depending on the model of your camcorder, this cable may be a USB, Firewire, or HDMI cable. Once you have identified the correct cable, carefully connect one end to the designated port on your JVC camcorder and the other end to a compatible port on your computer.
It is crucial to ensure that both devices are powered off before establishing the connection to prevent any potential electrical issues. Once the cable is securely connected, power on your JVC camcorder and then your computer. Some camcorders may require you to set them to a specific mode, such as “PC Connect” or “Playback” mode, to facilitate the data transfer process.
Upon successful connection, your computer should recognize the JVC camcorder as an external device. Depending on your operating system, you may receive a notification indicating that a new device has been connected. At this point, you are ready to proceed to the next step of transferring the video footage from your JVC camcorder to your computer.
By establishing a solid connection between your JVC camcorder and your computer, you have laid the groundwork for seamlessly transferring your video files. This essential first step sets the stage for the subsequent stages of the DVD creation process, ensuring that you can proceed with confidence and efficiency.
Step 2: Transfer the Video Footage to Your Computer
With your JVC camcorder successfully connected to your computer, the next critical step in the DVD creation process is transferring the video footage from your camcorder to your computer. This pivotal stage ensures that your video files are readily accessible for the subsequent phases of DVD authoring and customization.
Depending on your computer’s operating system, there are various methods to transfer video footage from your JVC camcorder. For Windows users, the built-in File Explorer provides a convenient way to navigate to the connected camcorder and access its contents. On the other hand, Mac users can utilize the Finder application to locate and transfer the video files from the camcorder to the computer.
Once you have accessed the contents of your JVC camcorder on your computer, navigate to the folder or directory containing the video files you wish to transfer. Select the desired video files and initiate the copying process to transfer them to a designated location on your computer, such as a specific folder or the desktop.
It is essential to ensure that the video files are transferred completely and accurately to avoid any potential issues during the DVD authoring process. Depending on the size of the video files and the transfer speed, this process may take some time, so it is advisable to exercise patience and allow the transfer to proceed uninterrupted.
By successfully transferring the video footage from your JVC camcorder to your computer, you have secured the essential raw material for creating your DVD. This pivotal stage sets the foundation for the subsequent phases of the DVD creation process, empowering you to proceed with confidence and readiness to transform your video footage into a captivating DVD.
Step 3: Choose the Right DVD Authoring Software
After successfully transferring the video footage from your JVC camcorder to your computer, the next crucial step in the process of creating a DVD is selecting the appropriate DVD authoring software. This software plays a pivotal role in organizing, customizing, and ultimately creating the DVD from your video files, offering a range of features to enhance the viewing experience.
When choosing DVD authoring software, consider the specific capabilities and features that align with your creative vision for the DVD. Look for software that offers intuitive navigation and user-friendly tools for organizing and editing your video footage. Additionally, seek out software that provides customizable menu templates, chapter creation functionality, and the ability to add subtitles and audio tracks.
Before making a decision, explore the available DVD authoring software options and consider factors such as compatibility with your operating system, user reviews, and the level of technical support provided by the software developer. Some popular DVD authoring software options include Adobe Encore, Sony DVD Architect, and CyberLink PowerDirector, each offering a unique set of features and capabilities.
It is essential to select DVD authoring software that aligns with your level of expertise, whether you are a beginner or an experienced user. Look for software that strikes a balance between user-friendly functionality and advanced customization options, empowering you to bring your creative vision to life without feeling overwhelmed by complex tools and features.
By choosing the right DVD authoring software, you are laying the groundwork for seamlessly organizing and customizing your video footage into a professional-looking DVD. This pivotal step ensures that you have the necessary tools and capabilities to transform your raw video files into a captivating and polished DVD presentation.
Step 4: Import the Video Footage into the DVD Authoring Software
Having chosen the appropriate DVD authoring software, the next crucial step in the DVD creation process is importing the video footage from your JVC camcorder into the selected software. This pivotal stage sets the foundation for organizing and customizing your video files, allowing you to seamlessly transition from raw footage to a professionally structured DVD presentation.
Upon launching the DVD authoring software, locate the option to import or add video files to your project. Depending on the software’s interface, this may involve navigating to the folder or directory where your transferred video footage is stored and selecting the desired files for import. Once the video files are selected, initiate the import process to bring them into the software’s workspace.
As the video footage is imported into the DVD authoring software, take the opportunity to review and organize the files according to your desired sequence. Many DVD authoring programs offer a timeline or storyboard view, allowing you to arrange the video files in the order that best complements your intended DVD presentation. Additionally, consider creating chapter markers or points of interest within the video footage to facilitate seamless navigation for viewers.
During the import process, ensure that the video files are compatible with the chosen DVD authoring software and that any necessary transcoding or format adjustments are made to optimize the footage for DVD playback. This step is essential for maintaining the visual quality and integrity of your video files throughout the DVD creation process.
By successfully importing the video footage into the DVD authoring software, you have transitioned from raw video files to a structured project ready for customization and enhancement. This pivotal step sets the stage for organizing and refining your video content, empowering you to craft a captivating and seamless DVD presentation that preserves and showcases your cherished memories.
Step 5: Customize Your DVD Menu
Once the video footage is imported into the DVD authoring software, the next significant step in the DVD creation process is customizing the DVD menu. The DVD menu serves as the gateway to your video content, providing viewers with a visually engaging and navigable interface to access the various sections of your DVD.
Begin by exploring the menu customization options offered by the DVD authoring software. Look for pre-designed menu templates that align with the theme or mood of your video content, whether it be a family vacation, a special event, or a documentary. These templates often include customizable elements such as background images, text styles, and navigation buttons, allowing you to tailor the menu to suit your preferences.
Consider incorporating a hierarchical menu structure that organizes your video content into logical sections or chapters. This approach enhances the overall navigability of the DVD, enabling viewers to seamlessly access specific segments of the content. Additionally, leverage the functionality provided by the software to add interactive elements such as thumbnail previews, scene selection menus, and audio accompaniments to enrich the viewing experience.
During the customization process, pay attention to the visual coherence and user-friendliness of the DVD menu. Ensure that the color schemes, fonts, and layout align with the overall aesthetic of your video footage, creating a cohesive and immersive viewing experience for your audience. Take advantage of the software’s preview feature to assess the visual and functional aspects of the customized menu before finalizing your design.
By skillfully customizing the DVD menu, you are crafting an inviting and intuitive entry point to your video content, setting the stage for an engaging and seamless viewing experience. This pivotal step allows you to infuse your personal touch into the DVD presentation, ensuring that viewers are greeted with a visually captivating and navigable menu that complements the essence of your video footage.
Step 6: Burn Your DVD
After customizing the DVD menu and organizing your video content, the final and pivotal step in the DVD creation process is burning your DVD. This transformative stage culminates in the physical creation of a DVD that encapsulates your cherished memories, ready for playback on a wide range of devices, from DVD players to computers.
Within the DVD authoring software, locate the option to initiate the burning process. This may involve selecting the “Burn” or “Create DVD” function, which prompts the software to compile your customized DVD menu and video content into a format suitable for burning onto a blank DVD disc. Ensure that you have a compatible recordable DVD disc inserted into your computer’s optical drive before proceeding.
Prior to initiating the burning process, review the settings and options provided by the software to ensure that the DVD is being created according to your preferences. This may include specifying the desired playback format, aspect ratio, and disc label, as well as verifying the estimated duration and capacity of the DVD to accommodate your video content.
Once you have confirmed the settings, initiate the burning process, allowing the software to compile and write the DVD content onto the blank disc. Depending on the size and complexity of your project, this process may take some time, during which the software will encode and transfer the video content onto the disc while finalizing the DVD menu and navigation structure.
Upon successful completion of the burning process, carefully remove the newly created DVD from your computer’s optical drive and label it appropriately to reflect the content it contains. Your DVD is now ready for playback on a variety of compatible devices, allowing you to share and enjoy your meticulously crafted video presentation with friends, family, or audiences.
By skillfully burning your DVD, you have transformed your digital video content into a tangible and enduring format, preserving your cherished memories in a physical medium that can be enjoyed for years to come. This culminating step marks the realization of your creative vision, culminating in a professionally authored DVD that encapsulates the essence of your video footage.
Conclusion
Congratulations! You have successfully navigated the comprehensive process of creating a DVD from your JVC camcorder footage, transforming your digital memories into a tangible and enduring format that can be cherished and shared. Through the sequential steps of connecting your camcorder to your computer, transferring the video footage, choosing the right DVD authoring software, importing and customizing the content, and finally burning your DVD, you have skillfully crafted a captivating and professionally structured presentation.
By following this guide, you have gained valuable insights into the essential tools, techniques, and considerations involved in the DVD creation process. From establishing a physical connection between your JVC camcorder and your computer to meticulously customizing the DVD menu, each step has contributed to the seamless transformation of your video footage into a polished and engaging DVD presentation.
As you embark on future DVD creation endeavors, remember the importance of selecting the right DVD authoring software that aligns with your creative vision and level of expertise. Embrace the opportunity to infuse your personal touch into the DVD menu, creating an inviting and navigable interface for viewers to access your cherished video content.
Now that you have completed the journey of creating a DVD from your JVC camcorder footage, take pride in the tangible manifestation of your digital memories. Whether you choose to share your DVD with loved ones, preserve significant events, or showcase your creative endeavors, your meticulously crafted DVD stands as a testament to the enduring power of visual storytelling.
As technology continues to evolve, the process of creating DVDs from camcorder footage remains a timeless and cherished practice, allowing individuals to encapsulate their most cherished moments in a format that transcends digital realms. Your newfound expertise in DVD creation equips you with the knowledge and confidence to continue preserving and presenting your digital memories in a tangible and enduring medium.