Introduction
Are you eager to transfer those cherished moments captured on your camcorder to your computer for safekeeping, editing, or sharing with loved ones? Transferring videos from your camcorder to your computer is a straightforward process that allows you to preserve and enhance your precious memories. Whether you're a seasoned videographer or a novice enthusiast, this guide will walk you through the essential steps to seamlessly transfer your videos.
In the digital age, camcorders have become essential tools for capturing life's most memorable events, from family gatherings to breathtaking travel experiences. However, the process of transferring these videos to your computer is often necessary to free up space on your camcorder's memory card and make editing and sharing more convenient.
Fortunately, transferring videos from your camcorder to your computer is a simple and rewarding endeavor. By following the step-by-step instructions outlined in this guide, you'll be able to effortlessly transfer your videos, ensuring that your treasured moments are safely preserved and readily accessible for future enjoyment.
Now, let's delve into the essential steps required to transfer your videos from your camcorder to your computer. Whether you're using a USB cable, a memory card reader, or video editing software, this guide will provide you with the knowledge and confidence to successfully complete the transfer process. Let's embark on this journey to seamlessly transfer your cherished videos and unlock their full potential on your computer.
Step 1: Connect your camcorder to the computer
Before you can begin transferring your videos, you need to establish a physical connection between your camcorder and your computer. The method of connection may vary depending on the type of camcorder you own. Here are the general steps to connect your camcorder to your computer:
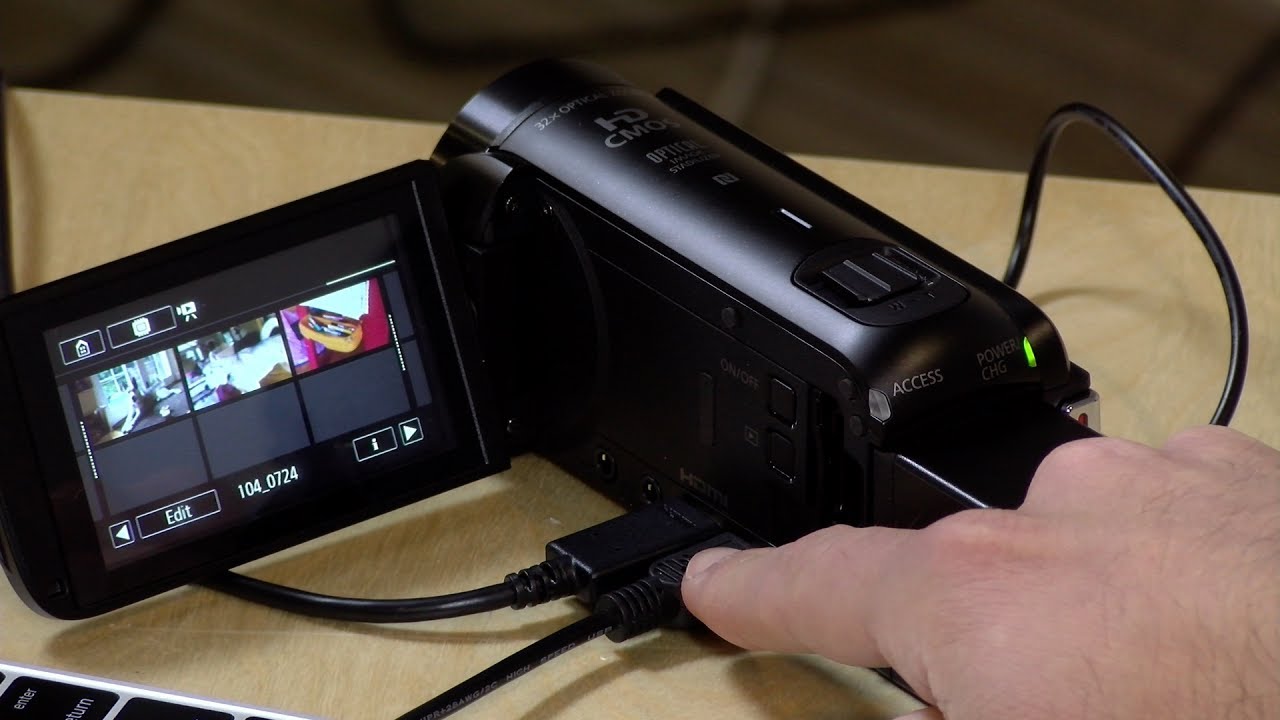
- USB Connection: Many modern camcorders feature a USB port for direct connection to a computer. Using a compatible USB cable, simply plug one end into the USB port on your camcorder and the other end into a USB port on your computer. Once connected, your computer should recognize the camcorder as an external device, allowing you to access its contents.
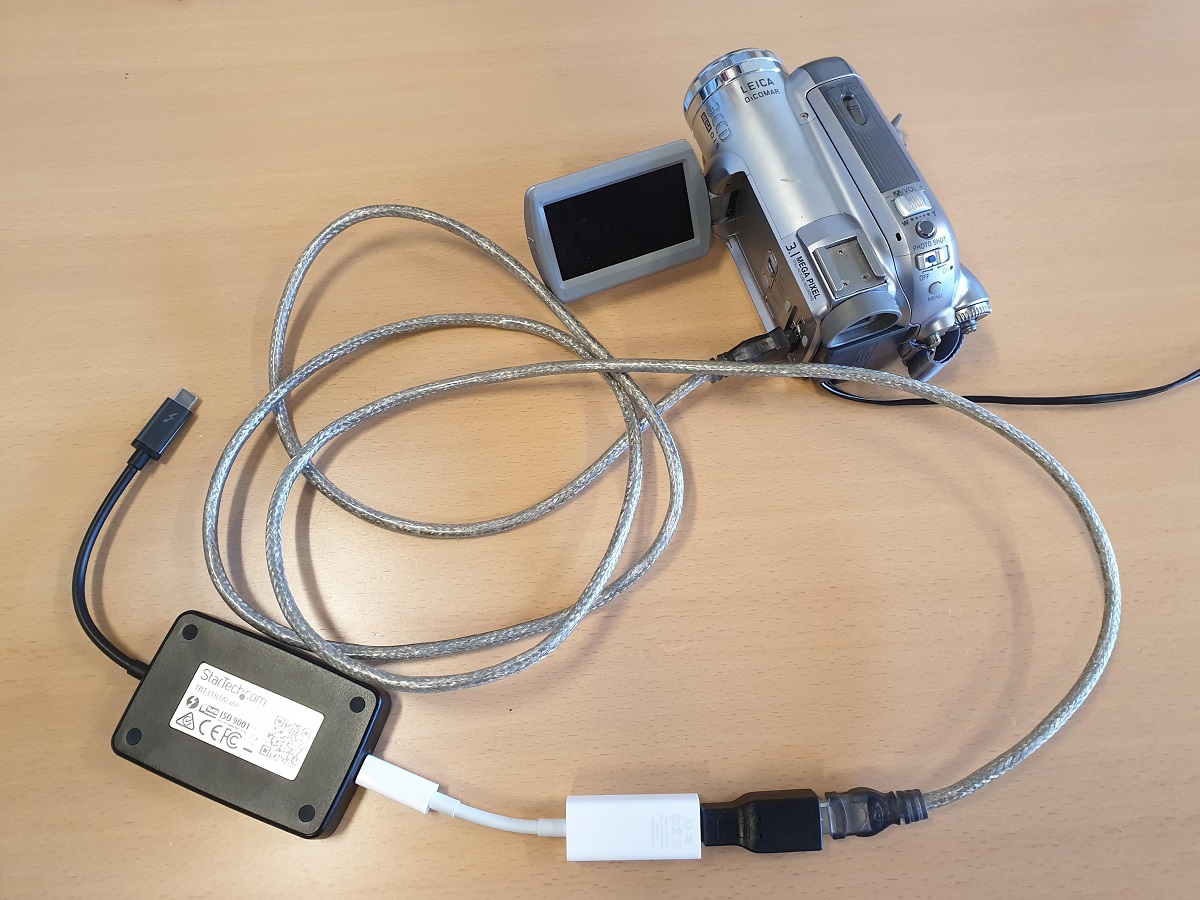
- Firewire Connection: Some camcorders may utilize a Firewire (IEEE 1394) port for high-speed data transfer. If your camcorder and computer both support Firewire connectivity, you can use a Firewire cable to establish a direct connection between the two devices.
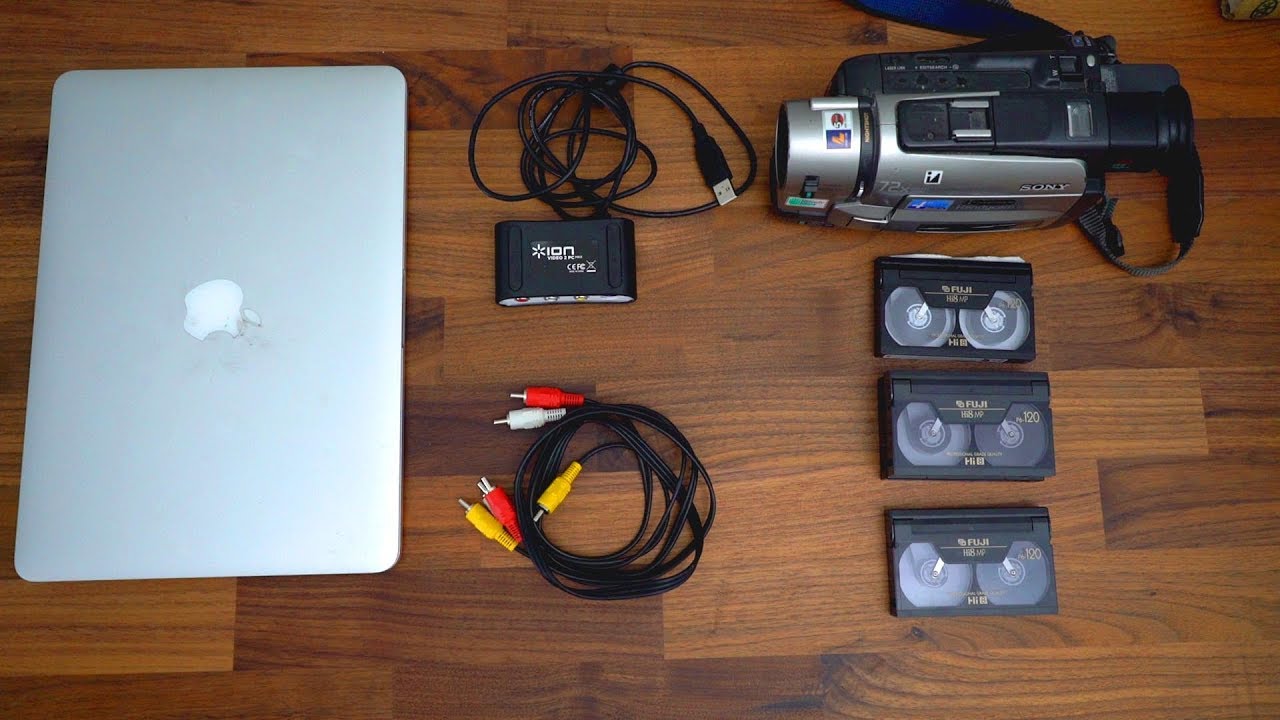
- HDMI or AV Connection: Certain camcorders may offer HDMI or AV output options. In this case, you can connect your camcorder to your computer using a capture card or a video capture device, which allows you to record the video output from your camcorder directly onto your computer.
Once the physical connection is established, you may need to power on your camcorder and set it to the appropriate mode for data transfer. Some camcorders have a specific “PC” or “Data Transfer” mode that enables the computer to recognize the device and access its stored videos. Consult your camcorder’s manual for detailed instructions on how to set the device to the correct mode for data transfer.
By ensuring a secure and functional connection between your camcorder and computer, you’ll be ready to proceed with the subsequent steps for transferring your videos. With the physical link established, you’re now poised to initiate the transfer process and unlock the potential of your camcorder’s video content on your computer.
Step 2: Transfer videos using a USB cable
Transferring videos from your camcorder to your computer using a USB cable is a convenient and widely utilized method. Once your camcorder is connected to your computer via the USB cable, you can easily access and transfer the video files. Here’s a step-by-step guide to transfer videos using a USB cable:
- Establish the Connection: Connect one end of the USB cable to the USB port on your camcorder and the other end to a USB port on your computer. Ensure that both devices are powered on and properly connected.
- Access the Camcorder’s Storage: Once the connection is established, your computer should recognize the camcorder as an external storage device. Navigate to the file explorer on your computer and locate the connected camcorder to access its stored videos.
- Select and Transfer Videos: Browse through the camcorder’s storage to locate the videos you wish to transfer. Select the desired video files and copy them to a designated folder on your computer. You can create a new folder specifically for organizing your transferred videos.
- Monitor the Transfer Progress: Depending on the size and number of videos being transferred, the process may take some time. Monitor the transfer progress to ensure that all selected videos are successfully copied to your computer’s storage.
- Verify the Transferred Videos: Once the transfer is complete, navigate to the designated folder on your computer to verify that the videos have been successfully transferred. Play a few videos to ensure that the transfer process did not compromise the quality or integrity of the video files.
Transferring videos using a USB cable offers a straightforward and direct method to move your camcorder’s video content to your computer. This method is particularly convenient for quick and simple transfers, allowing you to promptly access and manage your video files on your computer.
By following these steps, you can seamlessly transfer your videos using a USB cable, empowering you to preserve and enhance your cherished memories captured on your camcorder.
Step 3: Transfer videos using a memory card reader
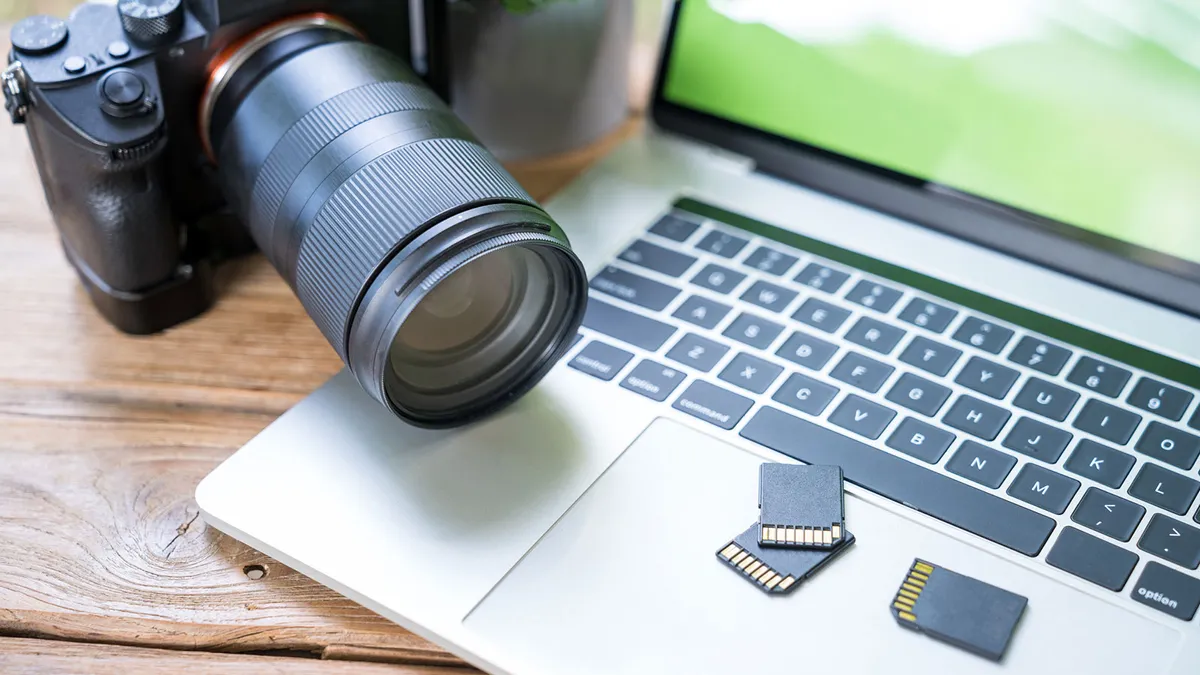
Another efficient method for transferring videos from your camcorder to your computer involves using a memory card reader. If your camcorder utilizes a memory card, such as an SD card, microSD card, or other formats, you can remove the card from the camcorder and transfer the videos directly to your computer using a memory card reader. Here’s a detailed guide on how to transfer videos using a memory card reader:
- Remove the Memory Card: Power off your camcorder and carefully remove the memory card that stores the videos you wish to transfer. Most camcorders have a designated slot for memory cards, making it easy to access and remove the card.
- Insert the Memory Card into the Reader: Insert the memory card into the appropriate slot on the memory card reader. If the memory card reader is connected to your computer via USB, insert the reader’s USB cable into a USB port on your computer.
- Access the Memory Card Contents: Once the memory card reader is connected to your computer, navigate to the file explorer to access the contents of the memory card. The videos stored on the memory card should be accessible for transfer.
- Select and Transfer Videos: Browse through the memory card’s contents to locate the videos you want to transfer. Select the desired video files and copy them to a designated folder on your computer for storage and organization.
- Eject the Memory Card: After the transfer is complete, safely eject the memory card from the reader and reinsert it into your camcorder. Properly ejecting the memory card ensures that the data transfer is finalized without risking data corruption.
Using a memory card reader provides a convenient and efficient way to transfer videos from your camcorder to your computer, especially if your camcorder uses removable memory cards. This method allows for quick and direct access to the video files stored on the memory card, streamlining the transfer process.
By following these steps, you can effectively transfer videos using a memory card reader, enabling you to seamlessly move your camcorder’s video content to your computer for further editing, sharing, and safekeeping.
Step 4: Transfer videos using video editing software
Transferring videos from your camcorder to your computer using video editing software provides a versatile and comprehensive approach to managing your video content. Many video editing applications offer built-in features for importing and transferring videos from camcorders, allowing for seamless integration into your editing workflow. Here’s a guide on how to transfer videos using video editing software:
- Open the Video Editing Software: Launch your preferred video editing software on your computer. Popular options include Adobe Premiere Pro, Final Cut Pro, Sony Vegas, and Windows Movie Maker, among others.
- Connect the Camcorder: Using the appropriate method as discussed in Step 1, establish a connection between your camcorder and your computer. Ensure that the camcorder is recognized by the video editing software as an input device for importing videos.
- Import Videos into the Software: Within the video editing software, locate the option to import media or capture videos from a connected device. Follow the software’s prompts to select and import the videos from your camcorder into the editing interface.
- Organize and Edit Videos: Once the videos are imported into the software, you can organize them into a project timeline and begin editing, adding effects, transitions, and other enhancements to your video content.
- Save or Export the Edited Videos: After editing and enhancing your videos, you can save the project file within the video editing software and export the finalized videos to your computer’s storage in the desired format and quality.
Utilizing video editing software for transferring videos offers the added benefit of seamless integration with your editing and post-production tasks. This method not only facilitates the transfer of videos but also allows for immediate editing and enhancement of your video content within a single software environment.
By following these steps, you can effectively transfer videos using video editing software, empowering you to seamlessly integrate your camcorder’s video content into your editing projects while preserving the quality and creative potential of your videos.
Conclusion
Transferring videos from your camcorder to your computer is an essential process that enables you to preserve, edit, and share your cherished memories with ease. Whether you opt for a direct USB connection, utilize a memory card reader, or leverage video editing software, the methods outlined in this guide offer versatile and efficient ways to transfer your videos.
By following the step-by-step instructions provided in this guide, you can seamlessly transfer your videos, ensuring that your treasured moments are readily accessible and organized on your computer. Whether you’re a videography enthusiast or a casual user, the ability to transfer videos from your camcorder to your computer empowers you to unlock the full potential of your video content.
Each method offers its unique advantages, catering to different preferences and technical requirements. The direct USB connection provides simplicity and immediacy, while using a memory card reader offers flexibility for devices with removable storage. Video editing software integration enhances the transfer process by seamlessly integrating video importation with editing capabilities.
Regardless of the method chosen, the ultimate goal of transferring videos from your camcorder to your computer is to ensure that your video content is safely preserved, easily accessible, and ready for further creative endeavors. Whether you intend to edit, share, or simply archive your videos, the transfer process marks the beginning of an exciting journey toward maximizing the potential of your video content.
Embrace the transfer process as a gateway to unleashing the creative and sentimental value of your videos, and take pride in the seamless integration of your camcorder’s content into your digital workspace. With these transfer methods at your disposal, you can confidently navigate the process and elevate your video content to new heights of enjoyment and creativity.