Introduction
So, you have some cherished memories captured on your old VHS camcorder and you want to bring them into the digital age? Well, you're in luck! With the right equipment and a bit of know-how, you can transfer those nostalgic moments to your computer, where you can edit, share, and preserve them for years to come. In this guide, we'll walk you through the process of transferring footage from a VHS camcorder to a computer, ensuring that your treasured memories remain accessible in the modern era.
Whether it's a family vacation, a child's first steps, or a milestone celebration, the footage on your VHS tapes holds a wealth of sentimental value. However, VHS technology is becoming increasingly obsolete, and the risk of losing these precious memories to degradation or damage is a real concern. By digitizing your VHS camcorder footage, you can safeguard these moments and easily share them with friends and family.
In the following sections, we will cover the necessary equipment, the steps for connecting your VHS camcorder to a VCR or digital converter, the process of transferring the footage to your computer, and finally, the options for editing and saving the transferred footage. By the end of this guide, you'll be equipped with the knowledge to breathe new life into your old VHS recordings, ensuring that they remain a source of joy and nostalgia for years to come. Let's embark on this journey to preserve your precious memories!
Gathering the Necessary Equipment
Before diving into the process of transferring footage from your VHS camcorder, it’s essential to gather the right tools for the job. Here’s what you’ll need:
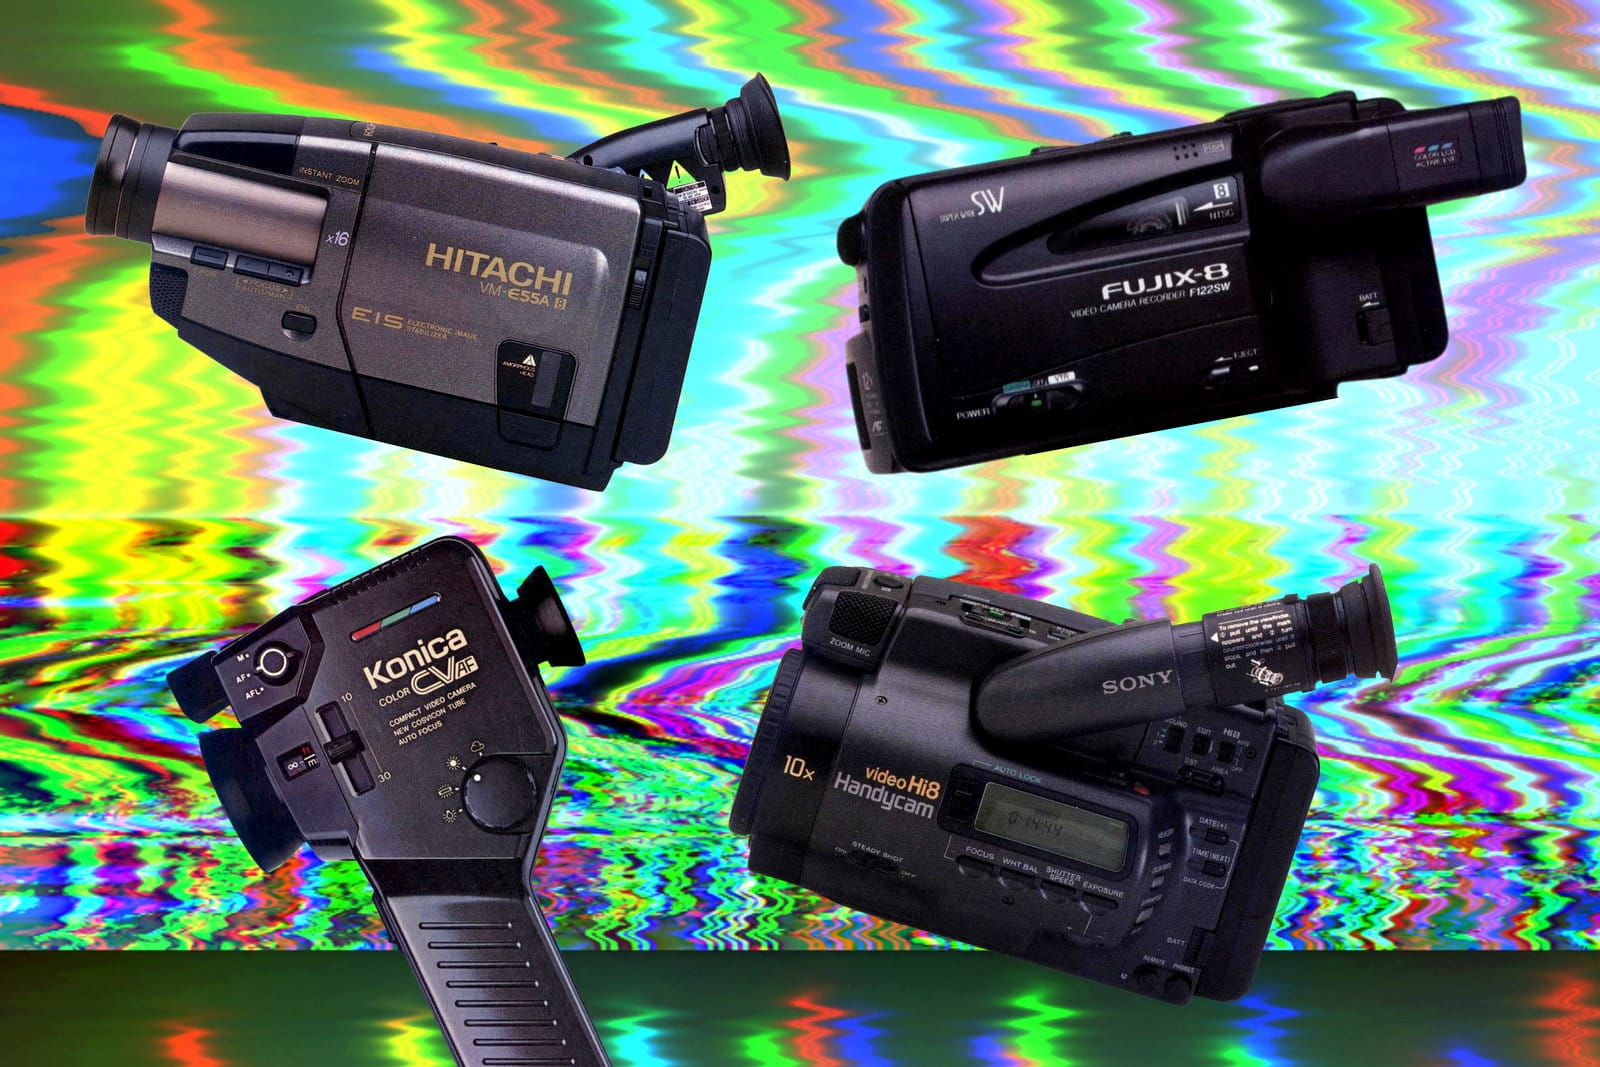
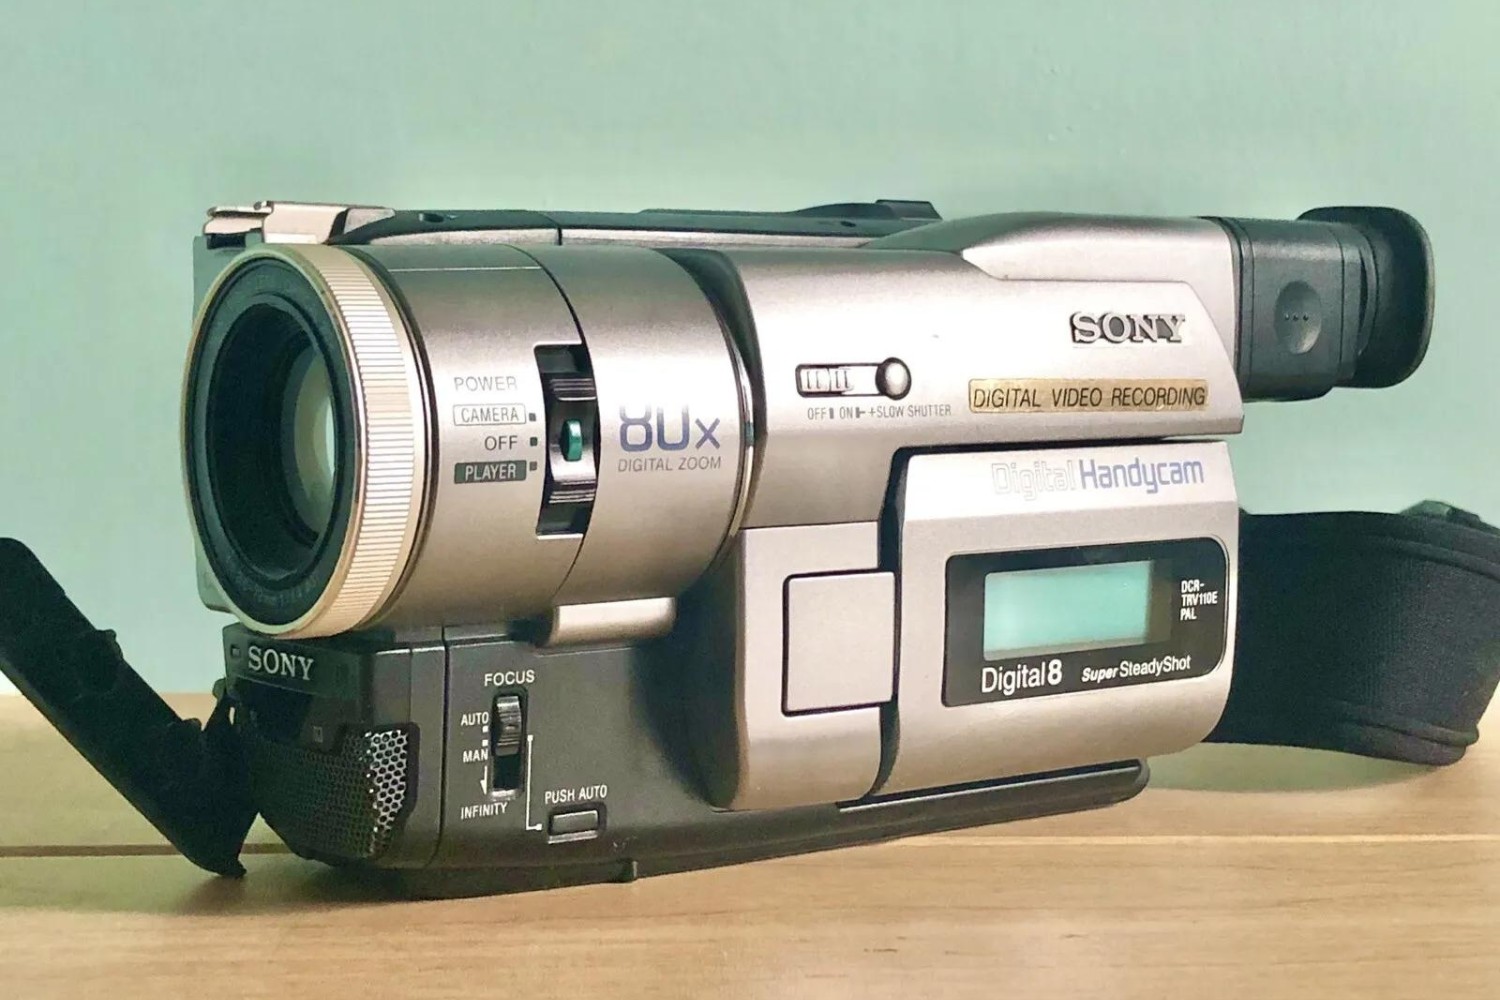
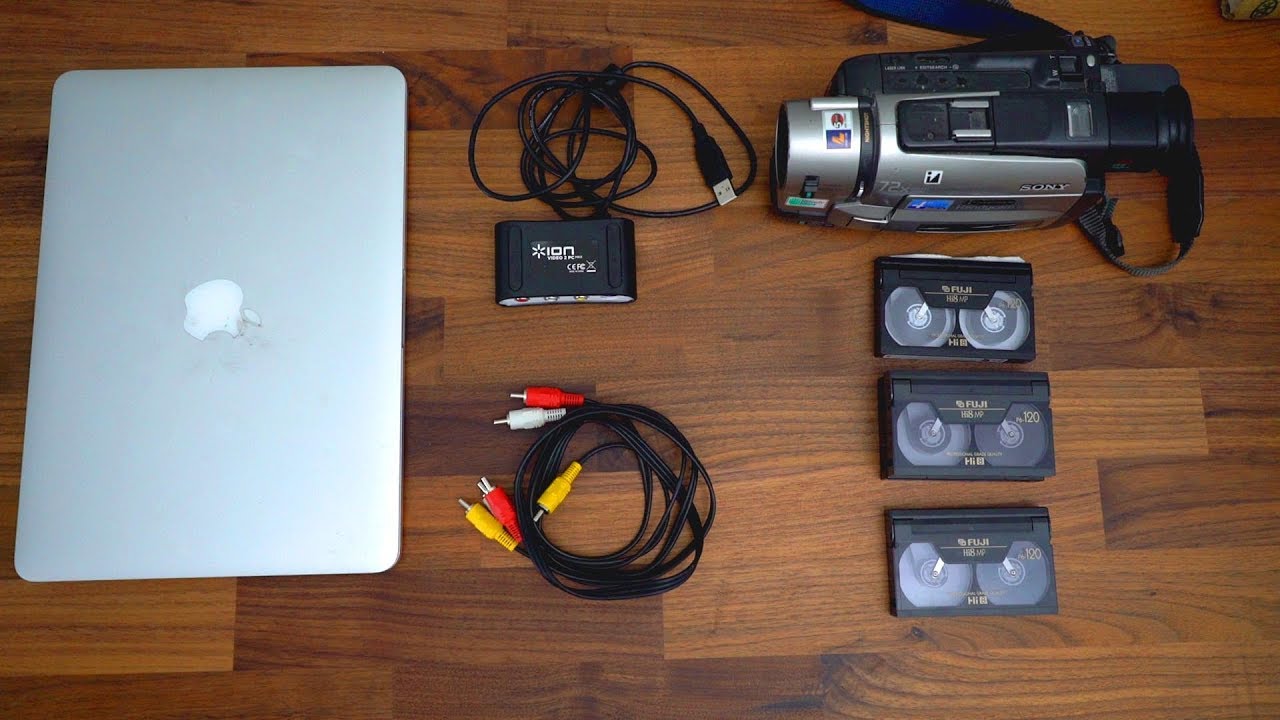
- VHS Camcorder: Ensure that your VHS camcorder is in working condition and has the tapes containing the footage you wish to transfer.
- VCR or Digital Video Converter: Depending on your preferred method of digitizing the footage, you’ll need either a VCR with audio-video outputs or a digital video converter that can connect to your VHS camcorder.
- Computer: A computer with sufficient storage space and the necessary input ports (e.g., USB or FireWire) to connect the VCR or digital converter.
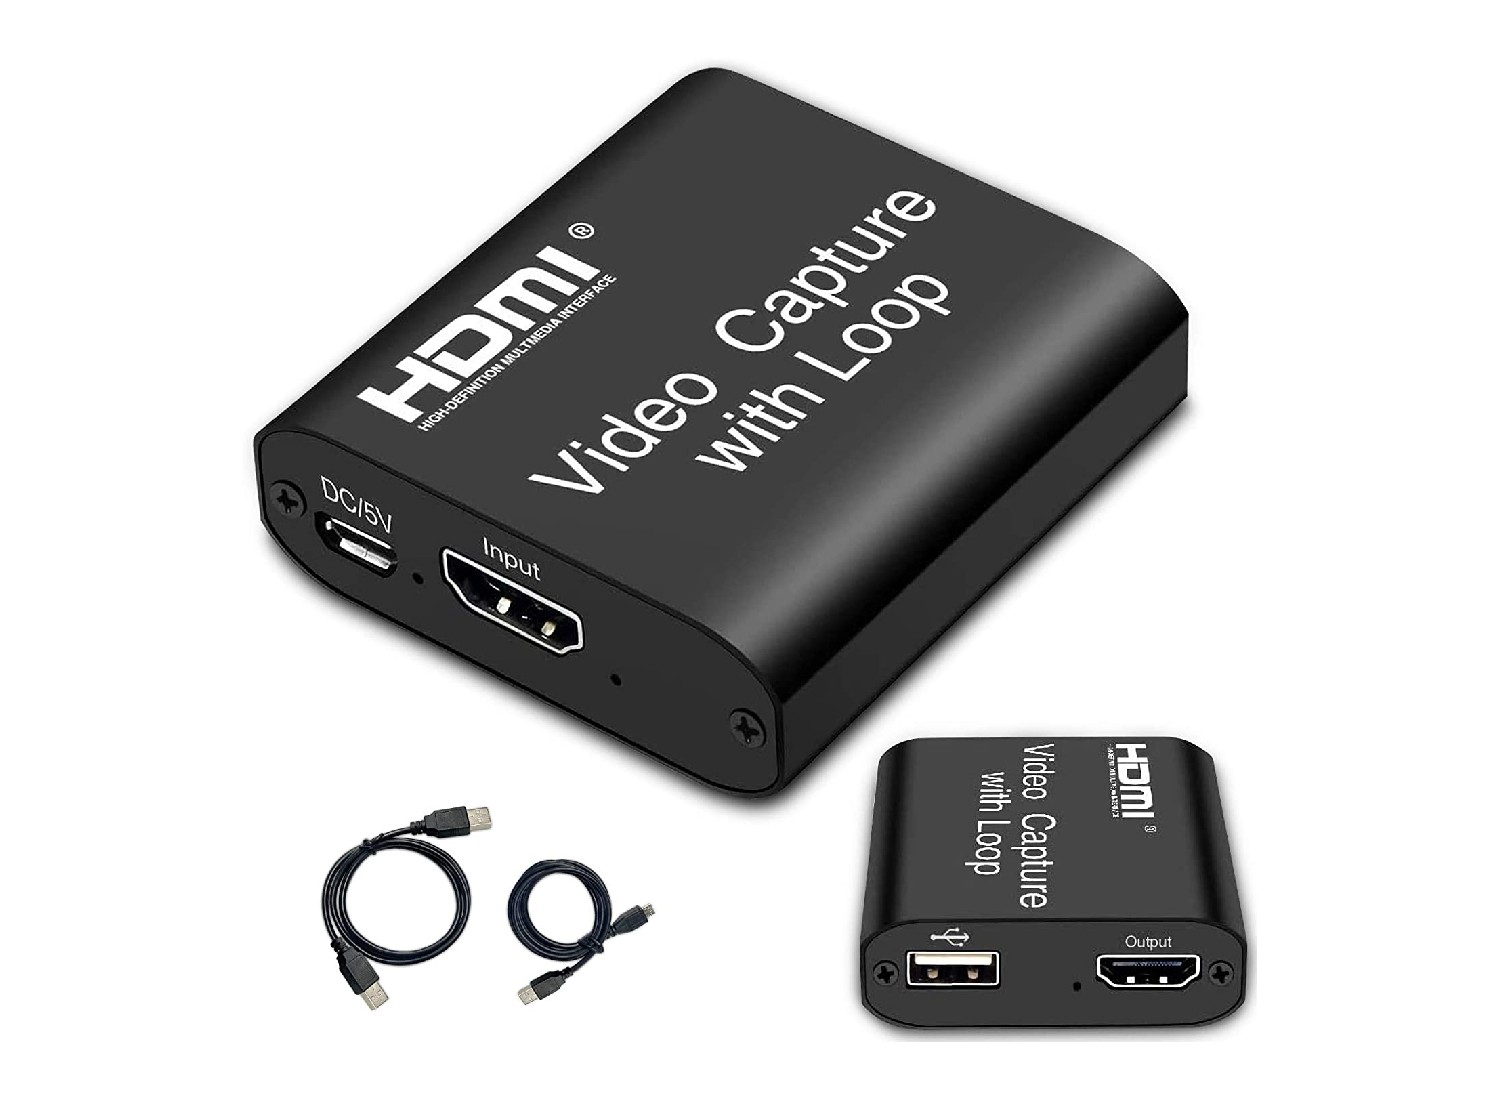
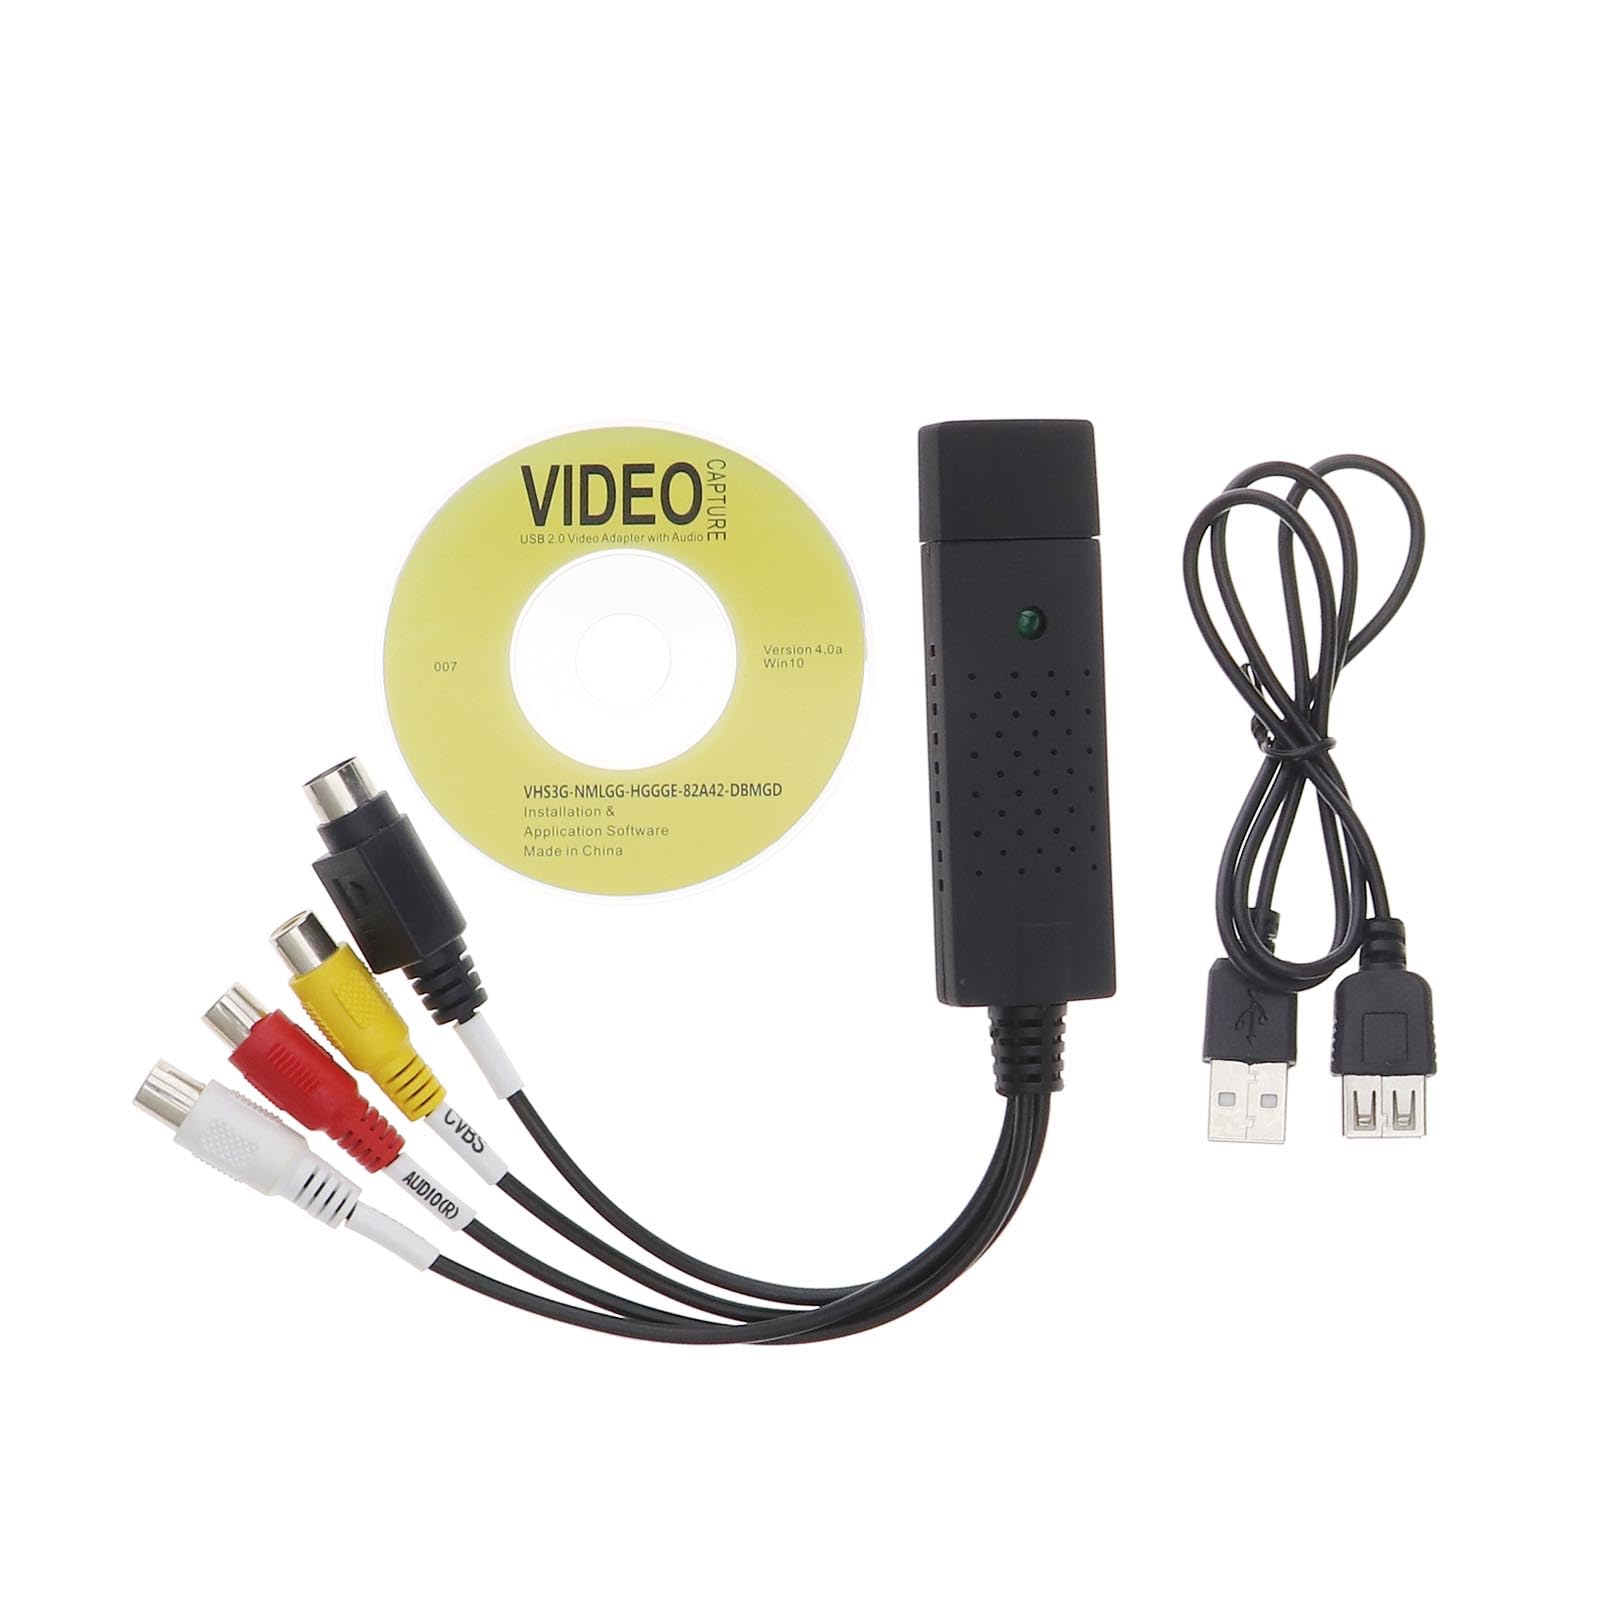
- Video Capture Device: If you’re using a VCR, you’ll need a video capture device to transfer the analog video signal to your computer. This can be a USB video capture device or an internal capture card for desktop computers.
- Software: Depending on your operating system, you may need video capture software to facilitate the transfer process. Some operating systems have built-in software for this purpose, while others may require third-party applications.
- External Storage: To store the digitized footage, you’ll need external storage such as a hard drive or cloud storage space. This ensures that your computer’s storage isn’t overwhelmed by the large video files.
By gathering these essential pieces of equipment, you’ll be well-prepared to embark on the journey of transferring your VHS camcorder footage to a digital format. With the right tools at your disposal, you can ensure a smooth and efficient digitization process, preserving your precious memories for years to come.
Connecting the VHS Camcorder to a VCR or Digital Converter
Once you have gathered the necessary equipment, the next step is to connect your VHS camcorder to a VCR or digital converter to begin the process of transferring the footage. Here’s a step-by-step guide to help you through this crucial stage:
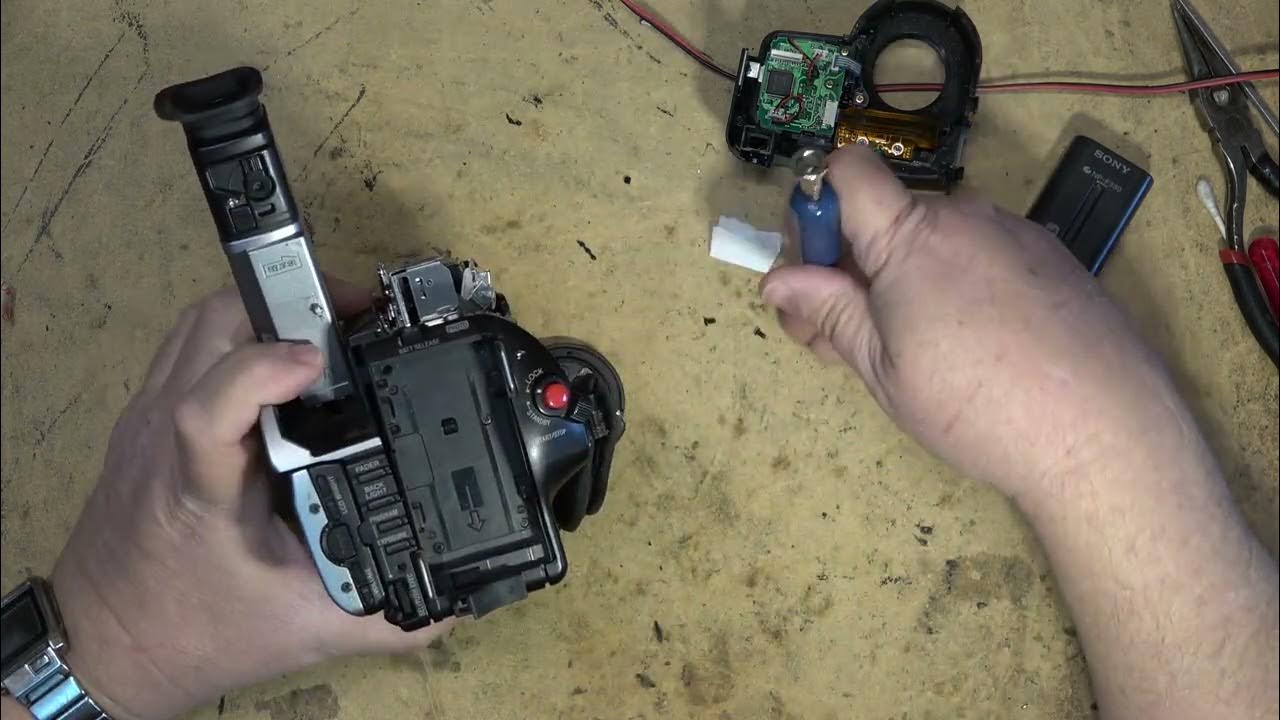
- Prepare the VHS Camcorder: Ensure that your VHS camcorder is in working condition and that the tapes you wish to transfer are loaded and ready for playback.
- Connect the VHS Camcorder to the VCR or Digital Converter: Use the appropriate cables to connect the audio-video outputs of your VHS camcorder to the corresponding inputs on the VCR or digital converter. If using a VCR, connect the output of the VCR to the input of the video capture device on your computer.
- Power On and Test the Connection: Power on the VHS camcorder, VCR, and any other relevant devices. Play a segment of the footage to ensure that the connection is successful and that the video signal is being transmitted effectively.
- Adjust Settings: If using a digital converter, ensure that the settings are configured to capture the video in the desired format and quality. Check the input and output settings on the VCR to ensure optimal playback and recording quality.
- Prepare the Computer: If using a video capture device, ensure that it is properly connected to your computer and that the necessary video capture software is installed and ready for use.
By following these steps, you can establish a stable and functional connection between your VHS camcorder and the VCR or digital converter, setting the stage for the next phase of the digitization process. With the hardware properly connected and tested, you are one step closer to preserving your cherished VHS footage in a digital format.
Transferring the Footage to a Computer
With the VHS camcorder connected to a VCR or digital converter, it’s time to transfer the footage to your computer. This pivotal step involves capturing the analog video signal and converting it into a digital format that can be stored and edited on your computer. Here’s a guide to help you navigate this crucial phase of the process:
- Launch the Video Capture Software: Open the video capture software on your computer. If using a built-in application, ensure that it is set to receive the video signal from the connected VCR or digital converter.
- Start Playback on the VHS Camcorder: Begin playing the footage on your VHS camcorder, allowing the video signal to flow through the connected devices and into the video capture software on your computer.
- Initiate the Capture Process: In the video capture software, start the capture process to record the incoming video signal. Depending on the software, you may have options to specify the file format, resolution, and other capture settings.
- Monitor the Transfer: Keep an eye on the transfer process, ensuring that the video is being captured smoothly and without interruptions. Monitor the audio and video levels to detect any potential issues during the transfer.
- Complete the Capture: Once the desired footage has been captured, stop the recording in the video capture software. Review the captured video to ensure that it has been successfully transferred to your computer.
By following these steps, you can effectively transfer the footage from your VHS camcorder to your computer, preserving it in a digital format for future use. This process marks a significant milestone in the journey to digitize and safeguard your cherished VHS recordings, ensuring that they remain accessible and secure in the digital realm.
Editing and Saving the Transferred Footage
Now that you have successfully transferred the footage from your VHS camcorder to your computer, you have the opportunity to edit and enhance the digitized recordings. Whether it’s removing imperfections, adding titles, or merging clips, the editing process allows you to refine your footage and create a polished final product. Here’s a guide to help you navigate the editing and saving process:
- Choose Editing Software: Select a video editing software that suits your needs and proficiency level. There are various options available, ranging from beginner-friendly applications to professional-grade editing suites.
- Import the Footage: Import the transferred footage into the chosen editing software. Organize the clips and familiarize yourself with the editing interface to prepare for the editing process.
- Edit and Enhance: Utilize the tools and features within the editing software to enhance the footage. This may include trimming unnecessary segments, adjusting colors and contrasts, adding transitions, incorporating music, and integrating visual effects.
- Review and Refine: After making initial edits, review the footage to ensure that it aligns with your vision. Make further refinements as needed, paying attention to details such as audio quality, visual coherence, and overall storytelling.
- Save the Final Edit: Once you are satisfied with the edited footage, save the final version in your desired file format and resolution. Consider creating multiple copies for different purposes, such as online sharing, archival storage, and playback on various devices.
By engaging in the editing process, you can transform your digitized VHS camcorder footage into a refined and captivating visual narrative. Whether you’re preserving family memories, creating a documentary, or producing creative content, the editing stage empowers you to craft a compelling story that resonates with your audience.