Introduction
Are you ready to preserve those precious memories captured on your camcorder tapes? Converting your camcorder tapes to digital format is a fantastic way to safeguard those cherished moments for future generations to enjoy. In this guide, we'll walk you through the step-by-step process of converting your camcorder tapes to digital files, ensuring that your memories remain safe and accessible for years to come.
Whether it's your child's first steps, a family vacation, or a significant event, your camcorder tapes hold a treasure trove of memories. However, as technology continues to advance, the risk of losing these memories to deterioration or obsolescence becomes a reality. By converting your camcorder tapes to digital format, you can protect these precious moments from the ravages of time and technological obsolescence.
In this comprehensive guide, we'll cover everything you need to know to successfully convert your camcorder tapes to digital files. From gathering the necessary equipment to capturing and editing your videos, we'll provide you with the knowledge and tools to ensure a smooth and successful conversion process. So, dust off those old camcorder tapes and get ready to embark on a journey to preserve your most cherished memories in a modern, digital format.
Step 1: Gather Your Equipment
Before embarking on the journey of converting your camcorder tapes to digital format, it’s essential to gather the necessary equipment. Here’s what you’ll need:
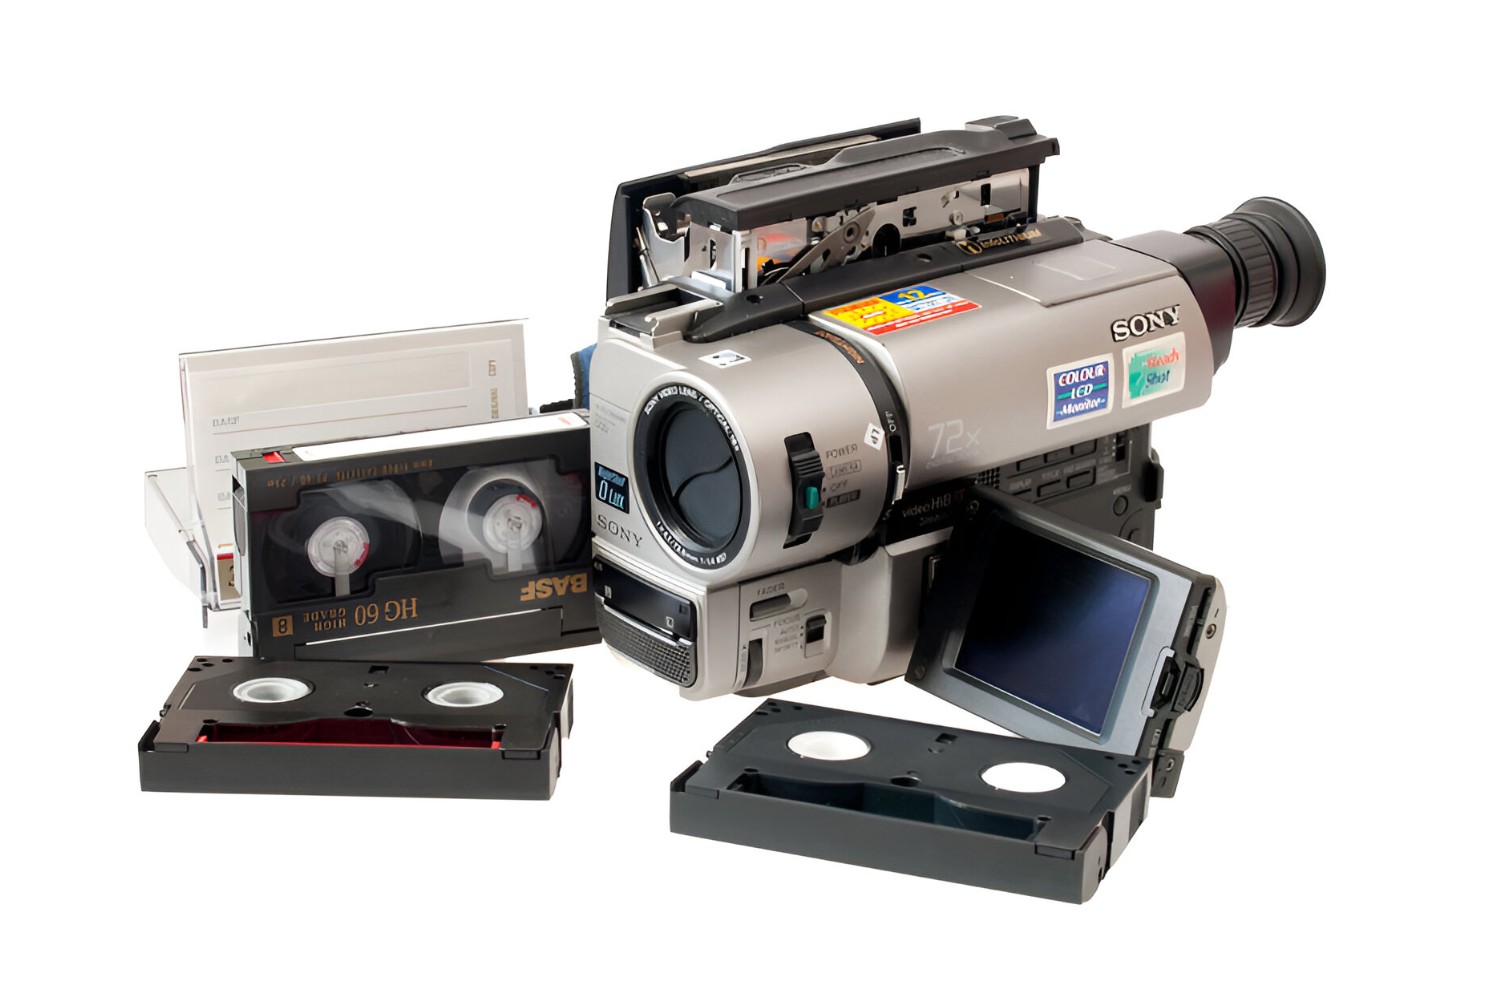
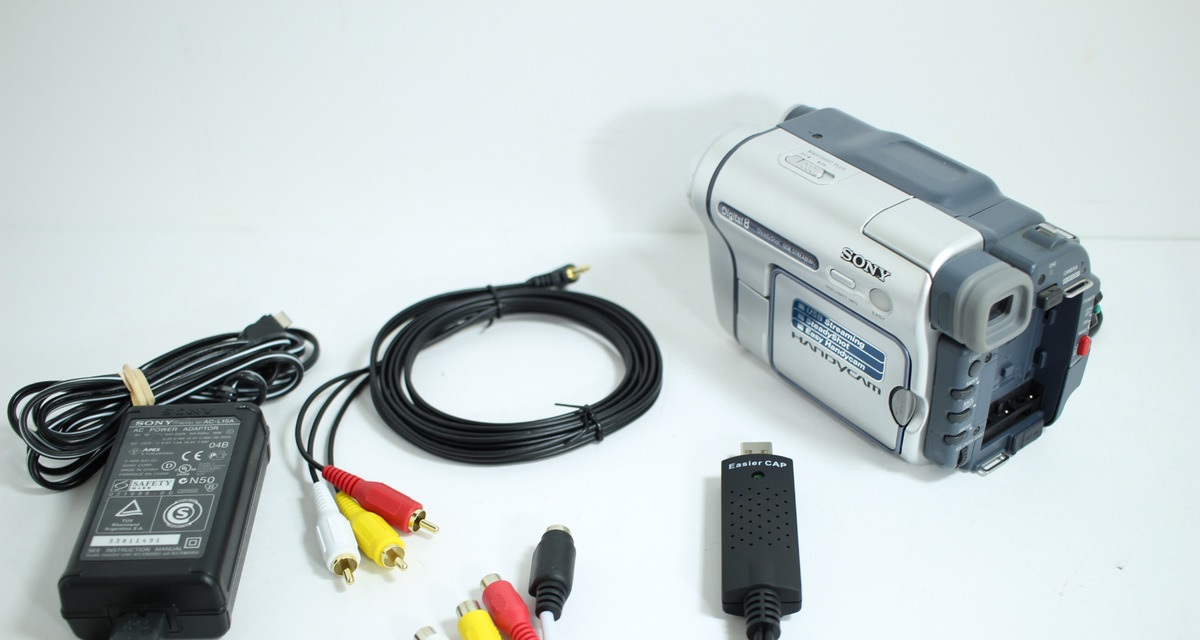
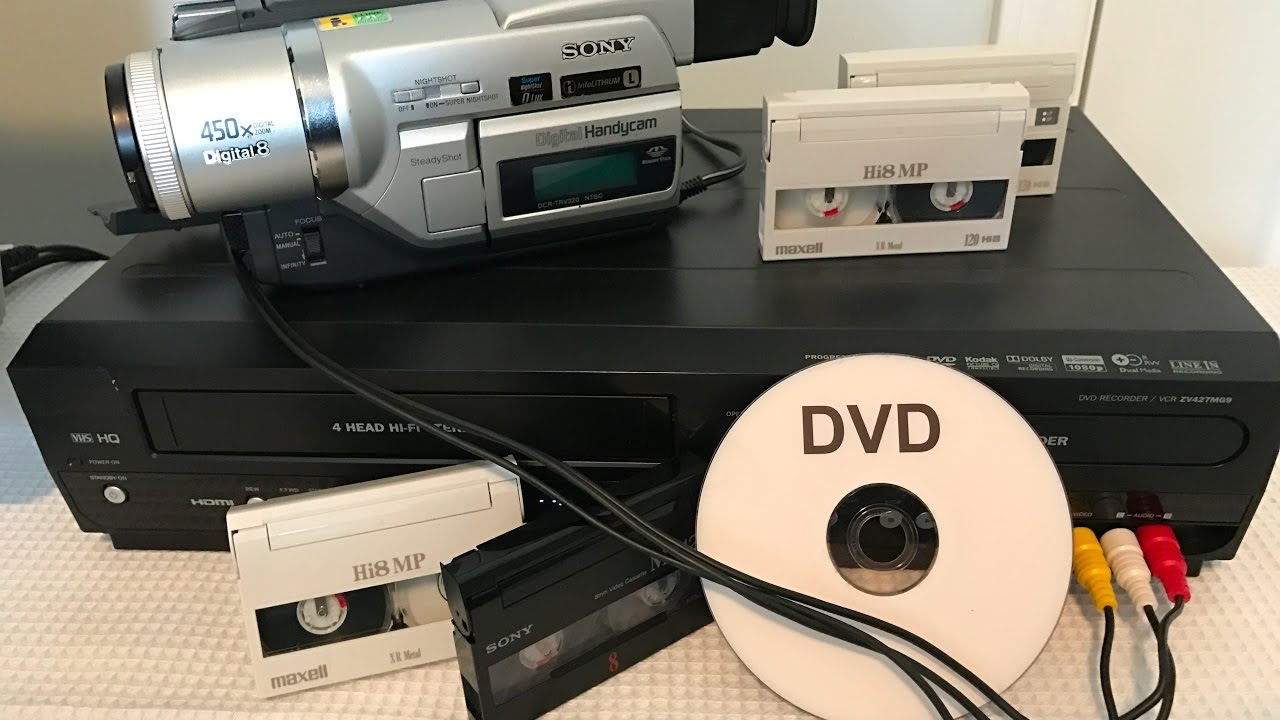
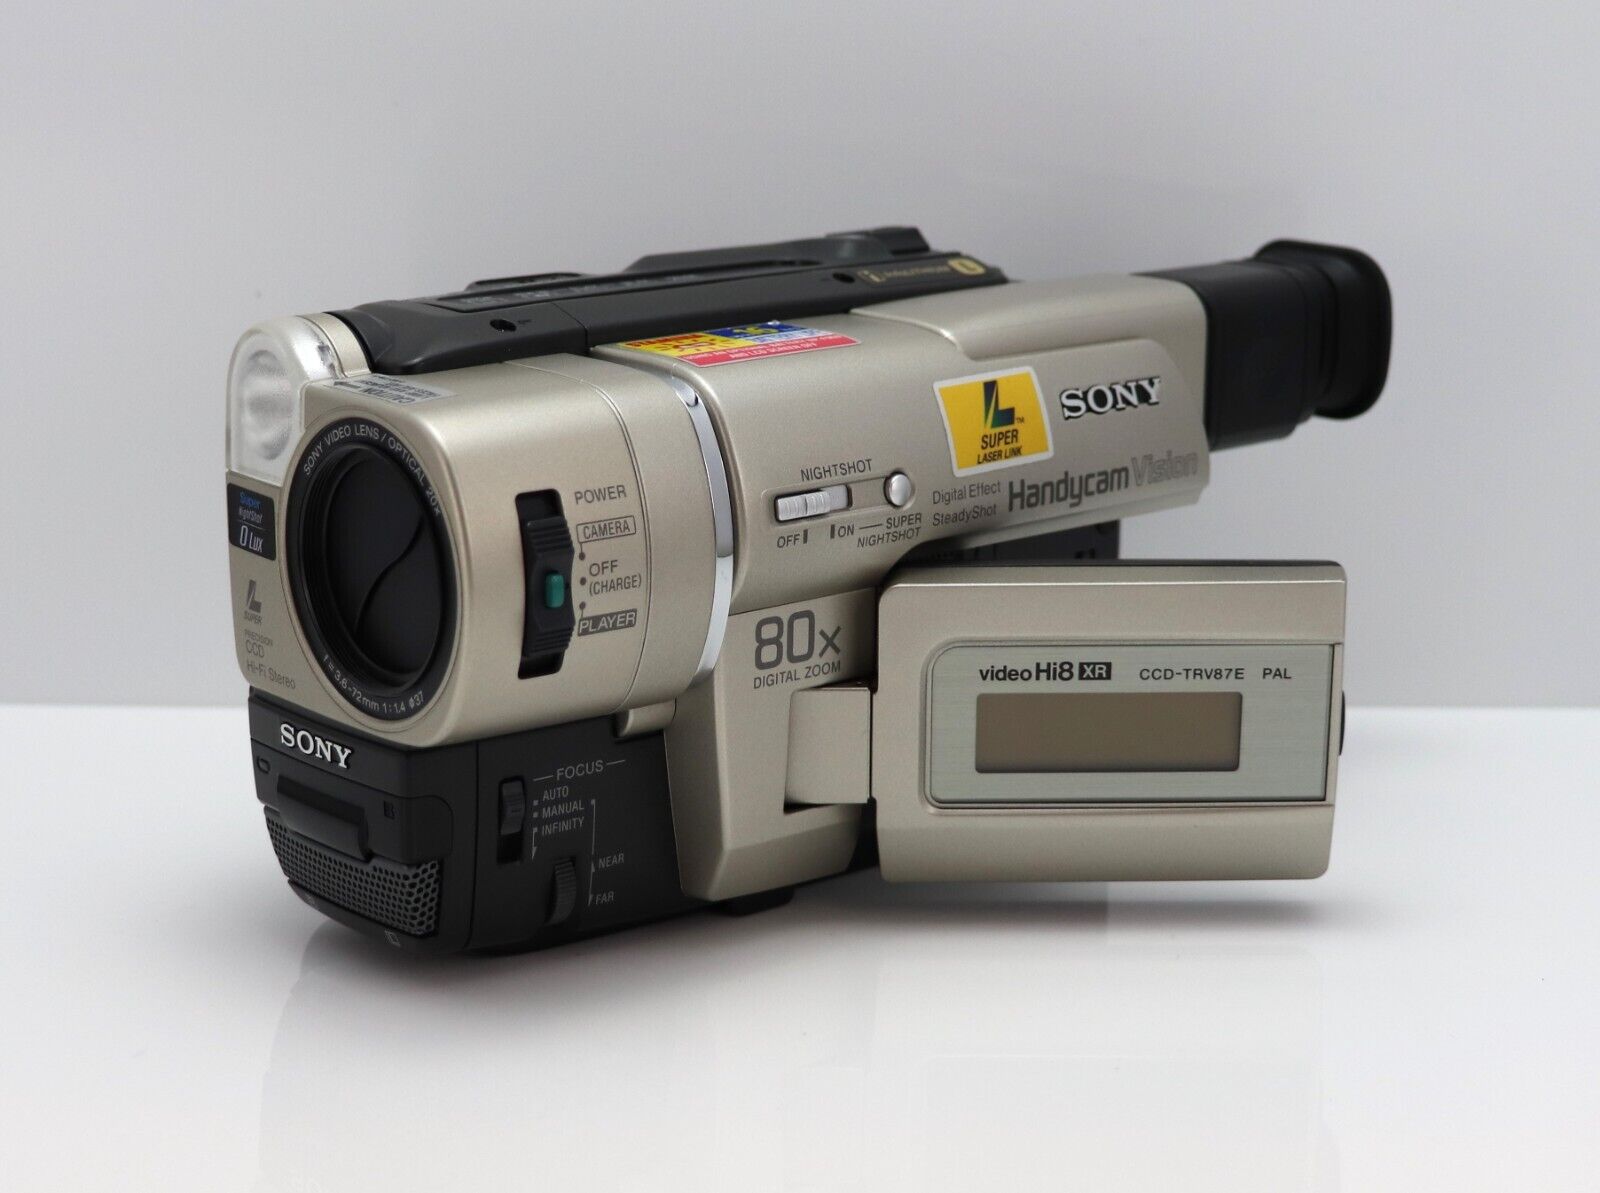
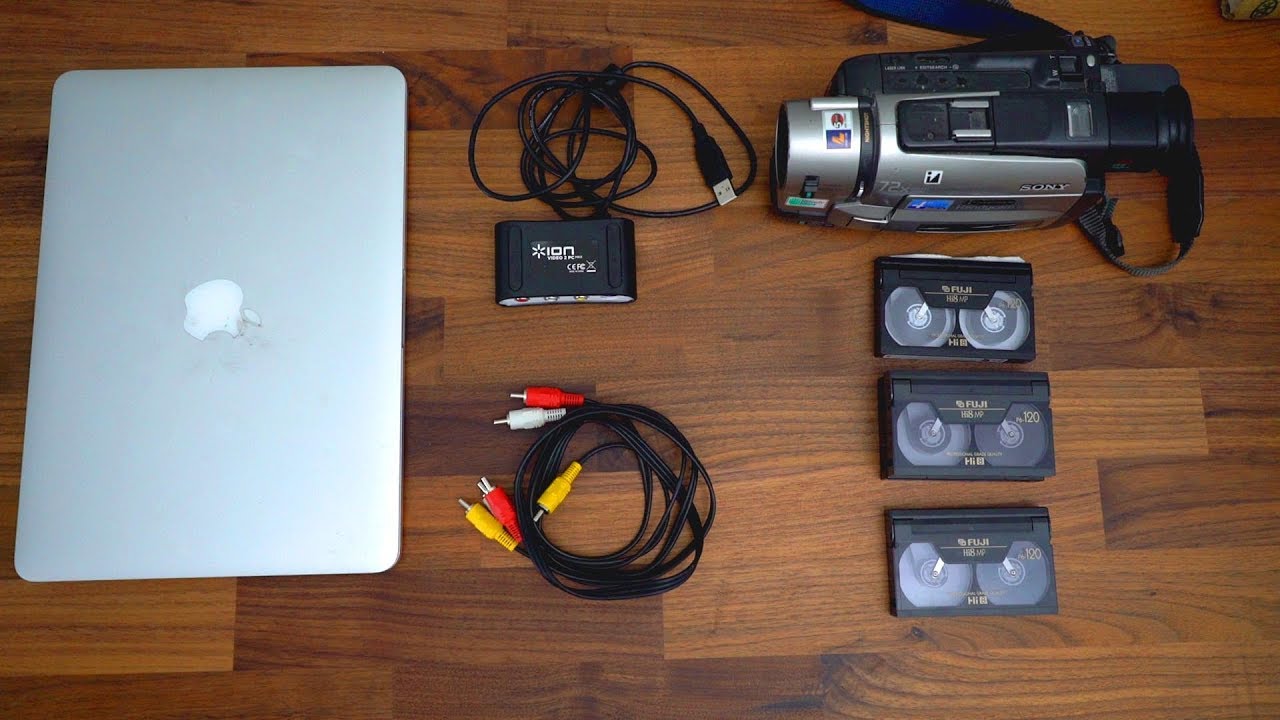
- Camcorder: Locate your camcorder and ensure that it is in working condition. If the camcorder requires any maintenance or repairs, address these issues before proceeding with the conversion process.
- Computer: You’ll need a computer with sufficient storage space and processing power to handle the video capture and editing process. Ensure that your computer meets the minimum system requirements for video capture and editing software.
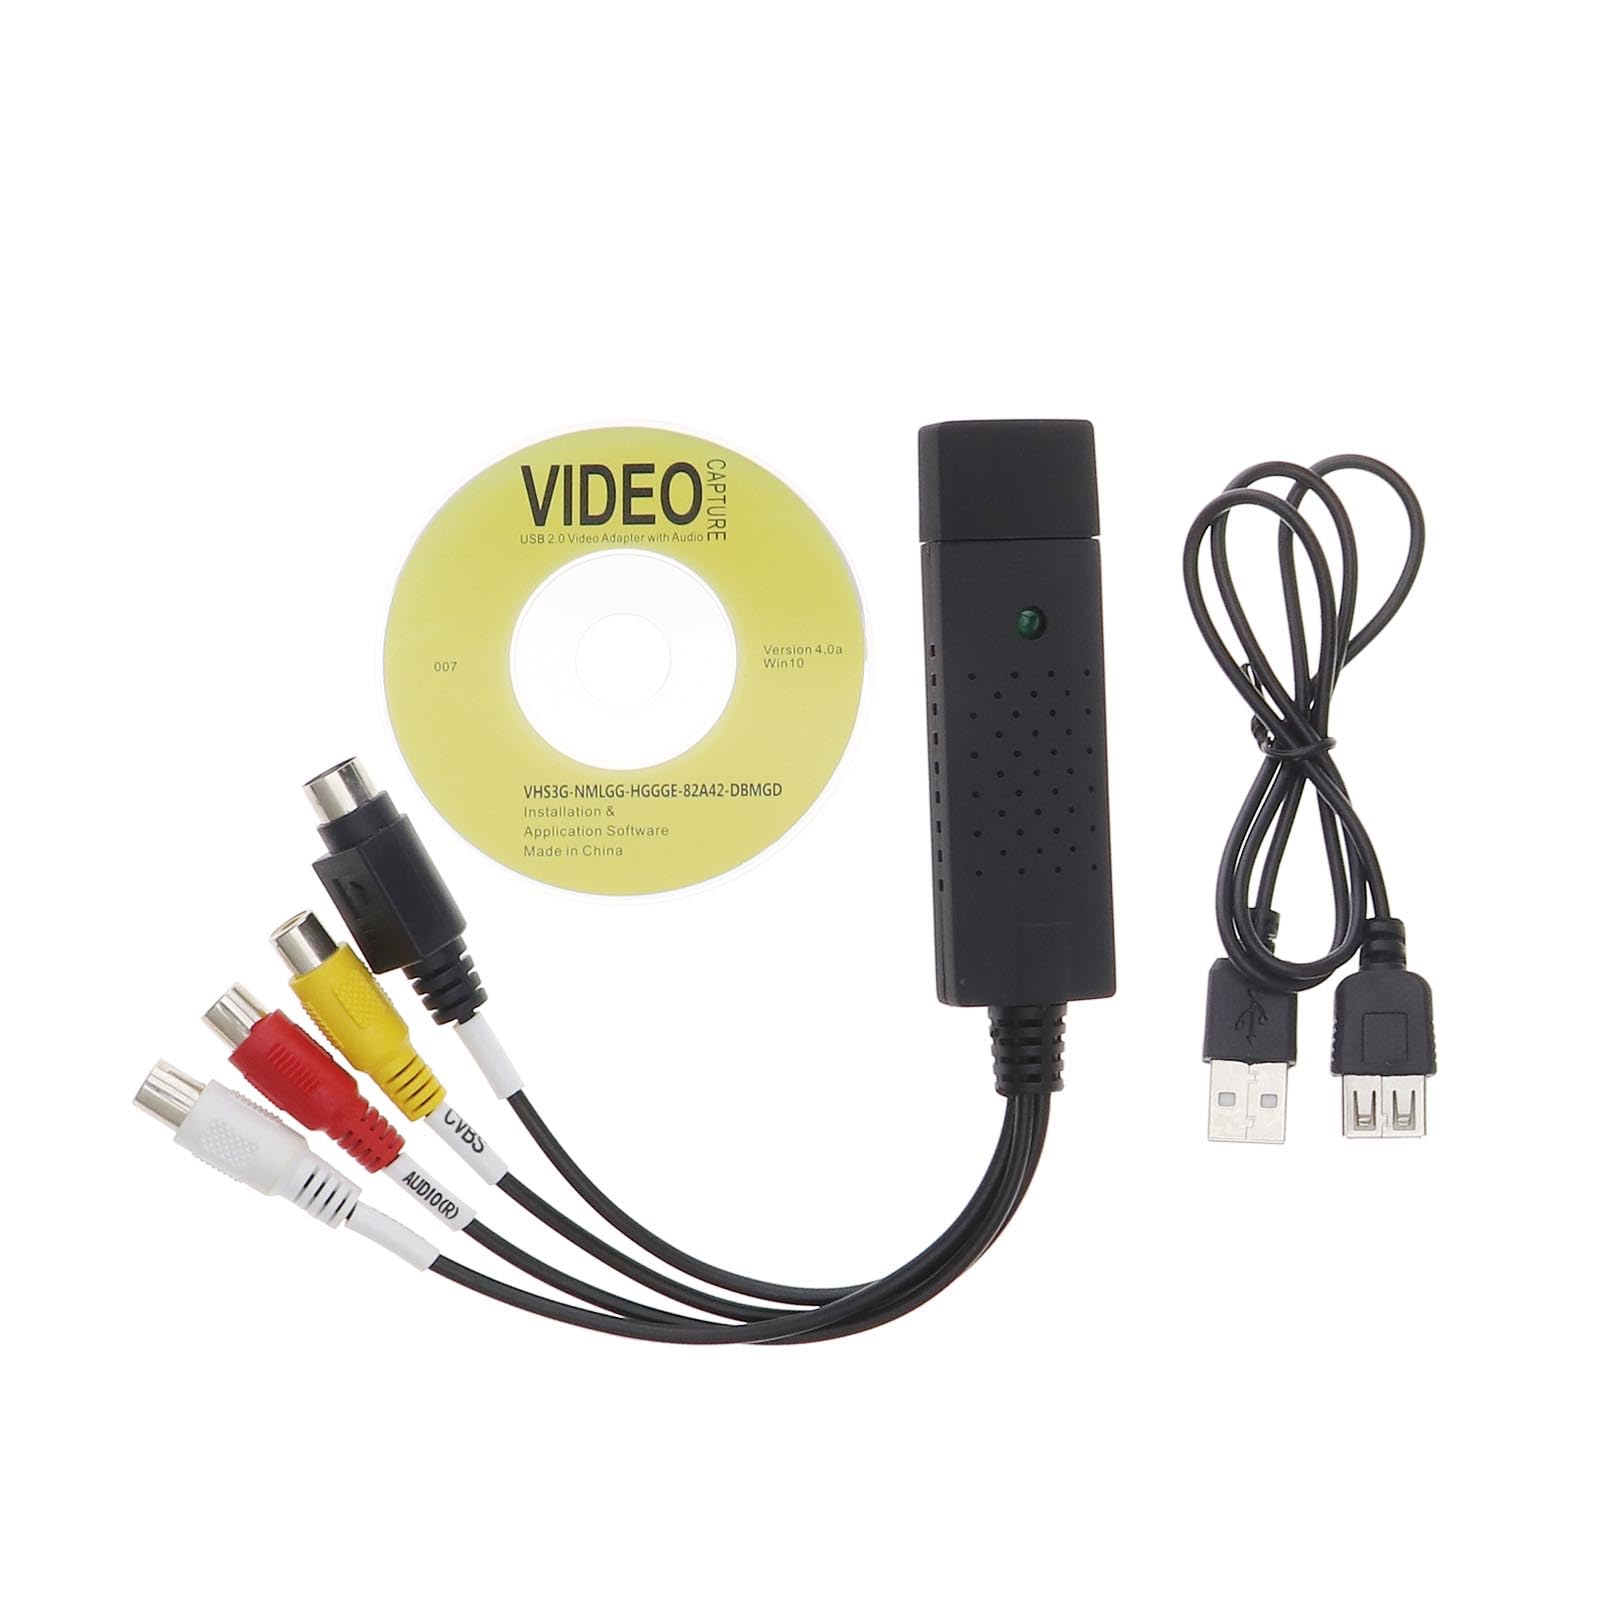
- Video Capture Device: Invest in a reliable video capture device that allows you to transfer the analog video signal from your camcorder to your computer. There are various capture devices available, ranging from USB-based analog-to-digital converters to more advanced external capture cards. Choose a device that best suits your needs and budget.
- Audio/Video Cables: Depending on the connections available on your camcorder and capture device, you may need appropriate audio/video cables to establish a connection between the two devices. Common cable types include RCA, S-Video, and HDMI cables.
- Blank DVDs or External Hard Drive: Once you’ve captured and edited your videos, you’ll need a storage solution for your digital files. Consider using blank DVDs for smaller video libraries or invest in an external hard drive with ample storage capacity for larger collections.
- Video Editing Software: Select and install video editing software on your computer to edit and enhance the captured videos. Choose a user-friendly software package that offers essential editing features such as trimming, adding titles, and applying basic effects.
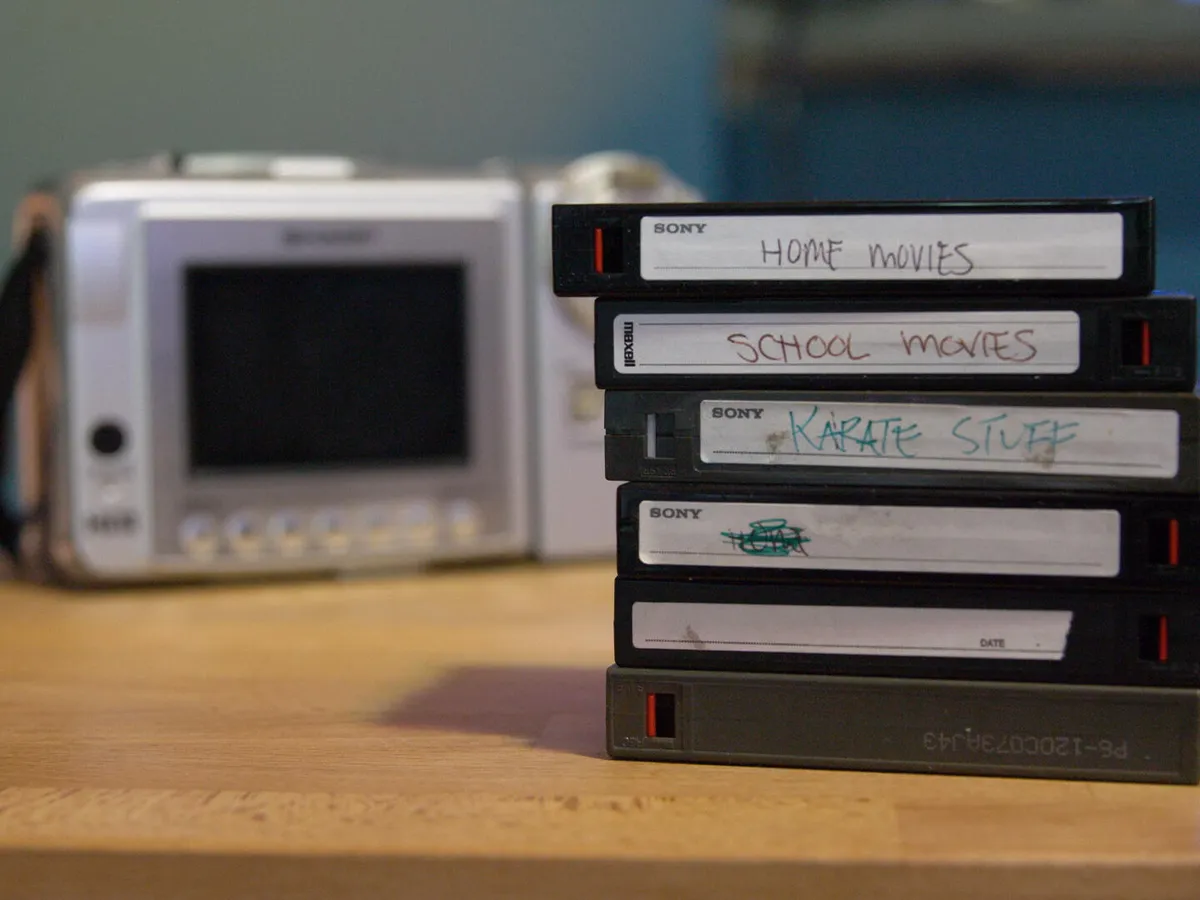
- Cleaning Supplies: It’s crucial to ensure that your camcorder tapes are free from dust, debris, and mold before playback and conversion. Acquire soft, lint-free cloths and cleaning solutions specifically designed for cleaning magnetic tape surfaces.
By gathering the necessary equipment, you set the stage for a successful camcorder tape-to-digital conversion process. With your equipment at the ready, you’re one step closer to preserving your cherished memories in a digital format that will stand the test of time.
Step 2: Connect Your Camcorder to Your Computer
Once you’ve gathered the essential equipment, it’s time to establish a connection between your camcorder and your computer to begin the process of capturing the video from your tapes. Follow these steps to ensure a seamless connection:
- Identify the Output Ports: Examine your camcorder to identify the output ports used for connecting to external devices. Common output ports include composite video (RCA), S-Video, and HDMI. Additionally, locate the audio output ports, which are typically color-coded for easy identification.
- Choose the Connection Method: Based on the available output ports on your camcorder and the input options on your video capture device, select the appropriate connection method. For instance, if your camcorder and capture device both support S-Video, use an S-Video cable for optimal video quality.
- Power Up Your Camcorder: Ensure that your camcorder is powered on and in playback mode before establishing the connection. Some camcorders require the insertion of a tape to enable the output signal, so have a test tape ready if necessary.
- Connect the Cables: Using the selected audio/video cables, connect the output ports of your camcorder to the input ports of your video capture device. Ensure a secure connection to prevent signal interference or loss during the video capture process.
- Turn on Your Computer and Launch Video Capture Software: Power up your computer and launch the video capture software installed in the previous step. Follow the software’s instructions to initiate the video capture process and configure the settings for optimal video quality and file format.
- Verify the Connection: Once the connection is established and the video capture software is running, verify that the video signal from your camcorder is being displayed on your computer screen. Make any necessary adjustments to the connection or software settings to ensure a clear and stable video feed.
By successfully connecting your camcorder to your computer, you’ve laid the groundwork for capturing the video content from your camcorder tapes. With the connection established, you’re ready to move on to the next crucial step in the conversion process: capturing the video.
Step 3: Capture the Video
With your camcorder successfully connected to your computer, it’s time to capture the video content from your tapes. This step involves using video capture software to record the analog video signal and convert it into a digital format. Follow these essential guidelines to ensure a smooth and efficient video capture process:
- Prepare Your Tapes: Before initiating the video capture process, ensure that your camcorder tapes are in good condition and free from any physical damage or mold. Rewind or fast-forward the tapes to the beginning of the desired footage to streamline the capture process.
- Initiate Video Capture Software: Launch the video capture software on your computer and select the appropriate input source corresponding to the connection from your camcorder. Configure the software settings to match the desired video quality and file format for the captured footage.
- Start Playback on Your Camcorder: Begin playback of the camcorder tape containing the footage you wish to capture. Ensure that the video signal is being transmitted to your computer and that the software is receiving a clear and stable video feed.
- Monitor the Capture Process: Keep a close eye on the video capture software as it records the analog video signal. Verify that the captured footage is free from visual artifacts, distortion, or signal interruptions that may affect the overall video quality.
- Manage Storage Space: Monitor the available storage space on your computer to prevent any interruptions during the video capture process. If necessary, allocate additional storage or transfer previously captured footage to an external storage device to free up space for new captures.
- Review and Label Captured Footage: Once the capture process is complete, review the captured footage to ensure that it meets your quality standards. Consider labeling the captured files with relevant details such as the date, event, or individuals featured in the footage for easy organization and future reference.
By following these steps, you can effectively capture the video content from your camcorder tapes and convert it into a digital format. With the video successfully captured, you’re now ready to move on to the next phase of the conversion process: editing and saving the digital files.
Step 4: Edit and Save the Digital Files
Now that you’ve successfully captured the video content from your camcorder tapes, it’s time to edit and save the digital files to ensure they are organized and preserved in a format that best represents your cherished memories. Follow these essential steps to edit and save your digital video files:
- Import the Captured Footage: Transfer the captured video files from the video capture software to your chosen video editing software. Organize the files based on the content and create a project dedicated to each tape or event to facilitate efficient editing.
- Trim and Enhance Footage: Utilize the editing tools within the software to trim the footage, removing any unwanted segments or imperfections. Enhance the visual quality by adjusting brightness, contrast, and color saturation to improve the overall viewing experience.
- Add Titles and Transitions: Personalize your videos by adding titles, captions, and transitions between scenes. This step adds a professional touch to your videos and helps convey the context and significance of each captured moment.
- Apply Basic Effects: Experiment with basic video effects such as filters, color grading, and audio enhancements to elevate the visual and auditory appeal of your footage. However, exercise restraint to ensure that the effects complement the content without overshadowing the original essence of the footage.
- Review and Fine-Tune: Once the editing process is complete, review the edited footage to ensure that it aligns with your vision and captures the essence of the original content. Fine-tune any aspects that require adjustment, such as audio levels, visual effects, or transitions, to achieve a cohesive and polished final product.
- Save in the Desired Format: When satisfied with the edited footage, save the digital files in the desired video format and resolution. Consider using widely compatible formats such as MP4 or MOV to ensure broad accessibility across various devices and platforms.
- Create Backup Copies: Safeguard your edited digital files by creating backup copies on external storage devices or cloud storage platforms. Redundant backups provide an additional layer of protection against data loss or unforeseen technical issues.
By following these steps, you can transform your captured video footage into polished, edited digital files that accurately reflect the essence of your original camcorder tapes. With the digital files edited and saved, you’re now prepared to move on to the final step: storing and backing up your digital files for long-term preservation.
Step 5: Store and Back Up Your Digital Files
As you near the completion of the camcorder tape-to-digital conversion process, it’s crucial to focus on storing and backing up your digital files to ensure their long-term preservation and accessibility. Follow these essential guidelines to safeguard your cherished memories in a secure and reliable manner:
- Organize Your Digital Library: Establish a well-organized system for storing your digital video files. Create dedicated folders for different events, dates, or individuals featured in the footage to facilitate easy navigation and retrieval of specific content.
- Utilize External Storage Devices: Transfer your edited digital files to external hard drives or USB flash drives for secure offline storage. Choose high-quality, reliable storage devices with ample capacity to accommodate your growing digital library.
- Implement Cloud Storage Solutions: Explore cloud storage services that offer secure and convenient storage for your digital files. Consider subscribing to reputable cloud storage providers to create redundant backups of your videos in geographically diverse data centers.
- Label and Document Backup Locations: Clearly label your external storage devices and maintain a detailed record of their locations. Document the backup strategies employed, including the frequency of updates and the specific content stored on each device or cloud storage platform.
- Establish a Regular Backup Schedule: Devise a routine backup schedule to ensure that new additions to your digital library are promptly backed up to external storage devices and cloud platforms. Consistent backups mitigate the risk of data loss due to unforeseen events or technical failures.
- Verify Backup Integrity: Periodically verify the integrity of your backup copies by accessing and reviewing the stored digital files. Confirm that the files are accessible and free from corruption to maintain confidence in the long-term preservation of your cherished memories.
- Consider Redundant Backup Locations: For added security, diversify your backup locations by storing copies of your digital files in multiple physical and digital environments. This approach minimizes the impact of localized disasters or technical malfunctions on your stored data.
By implementing these strategies, you can effectively store and back up your digital video files, ensuring their resilience against potential data loss and degradation. With a robust storage and backup plan in place, you can take comfort in knowing that your cherished memories are safeguarded for future generations to cherish and enjoy.