Introduction
Are you looking to breathe new life into your old camcorder tapes? In this digital age, converting your cherished memories from camcorder tapes to video files is a fantastic way to preserve and relive those special moments. Whether it's footage of family gatherings, milestones, or treasured vacations, converting camcorder tapes to video files allows you to easily store, share, and enjoy them for years to come.
The process of converting camcorder tapes to video files may seem daunting at first, but with the right equipment and a few simple steps, you can successfully digitize your precious memories. This guide will walk you through the process, from gathering the necessary equipment to editing and saving your video files.
By following these steps, you can ensure that your memories are not only preserved but also easily accessible and shareable. So, dust off those old camcorder tapes and get ready to embark on a journey to bring your memories into the digital age. Let's begin the process of converting your camcorder tapes to video files!
Step 1: Gather Your Equipment
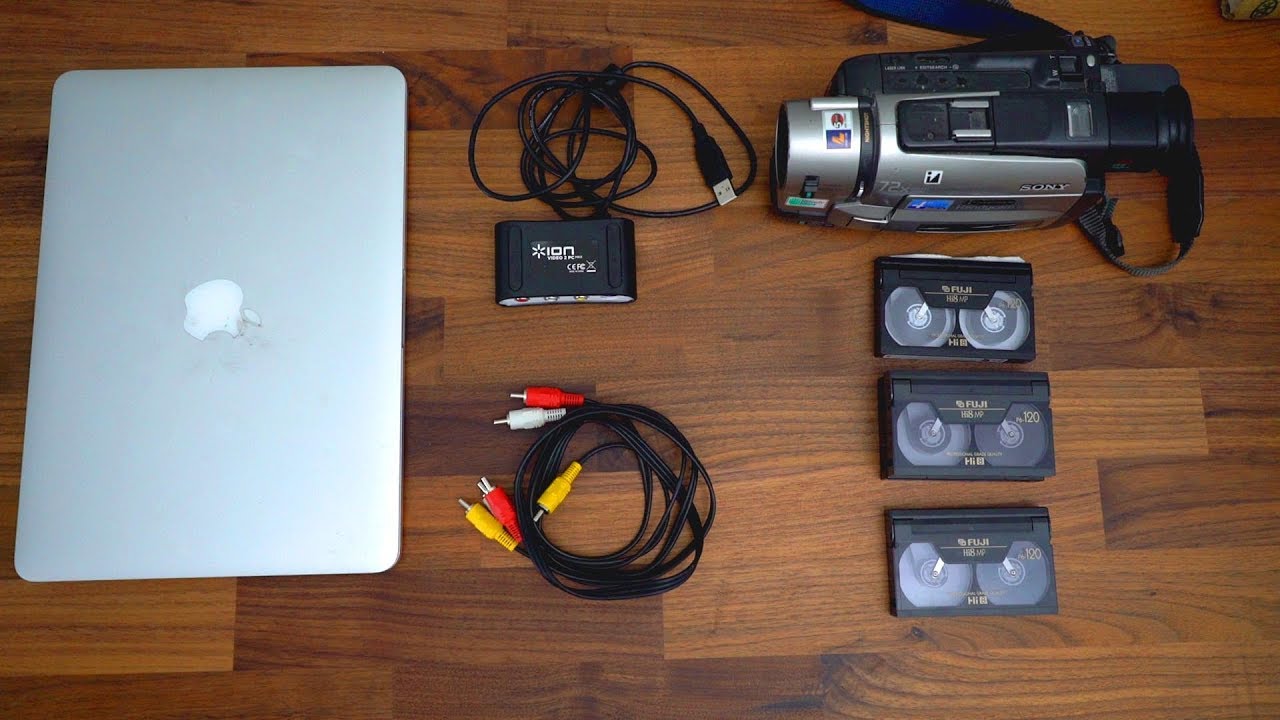
Before embarking on the journey of converting your camcorder tapes to video files, it’s essential to gather the necessary equipment. Here’s a list of items you’ll need to ensure a smooth and successful conversion process:
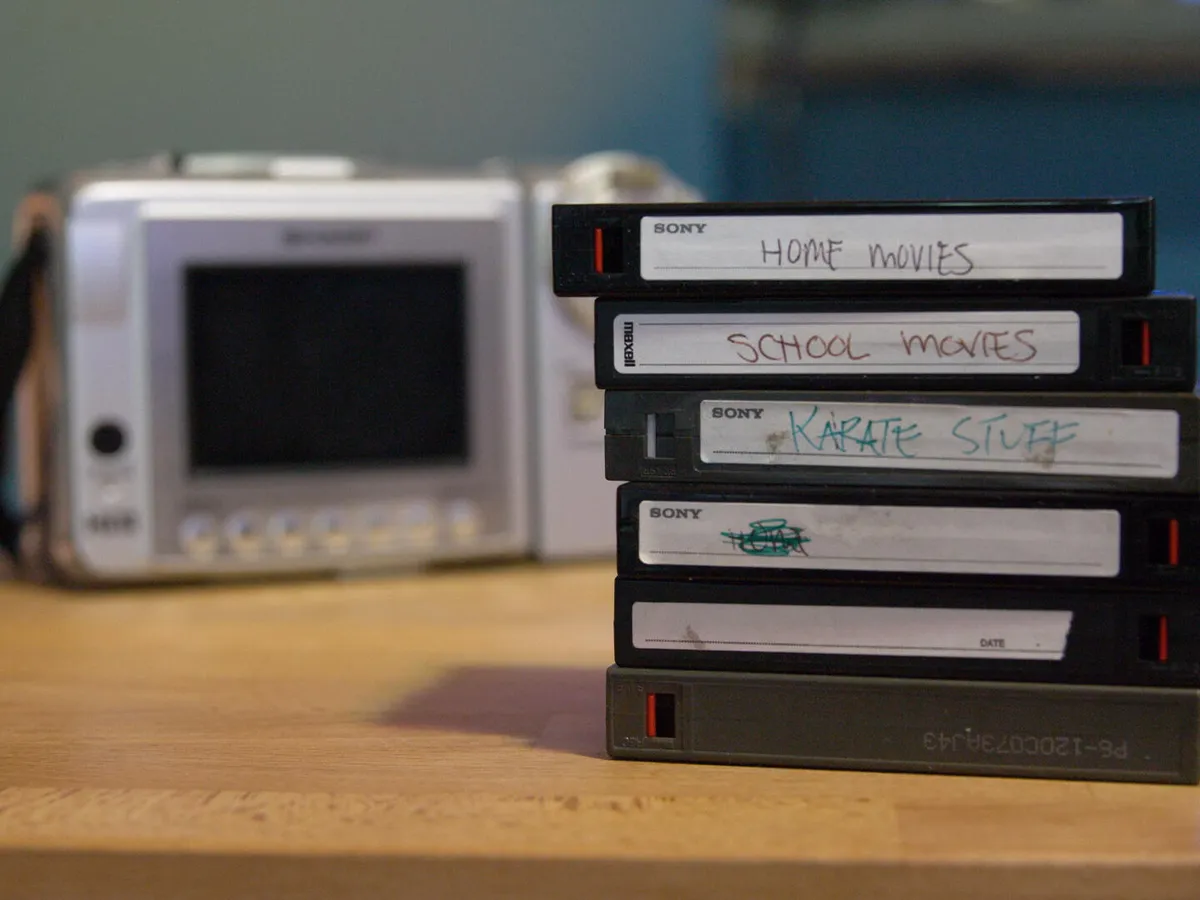
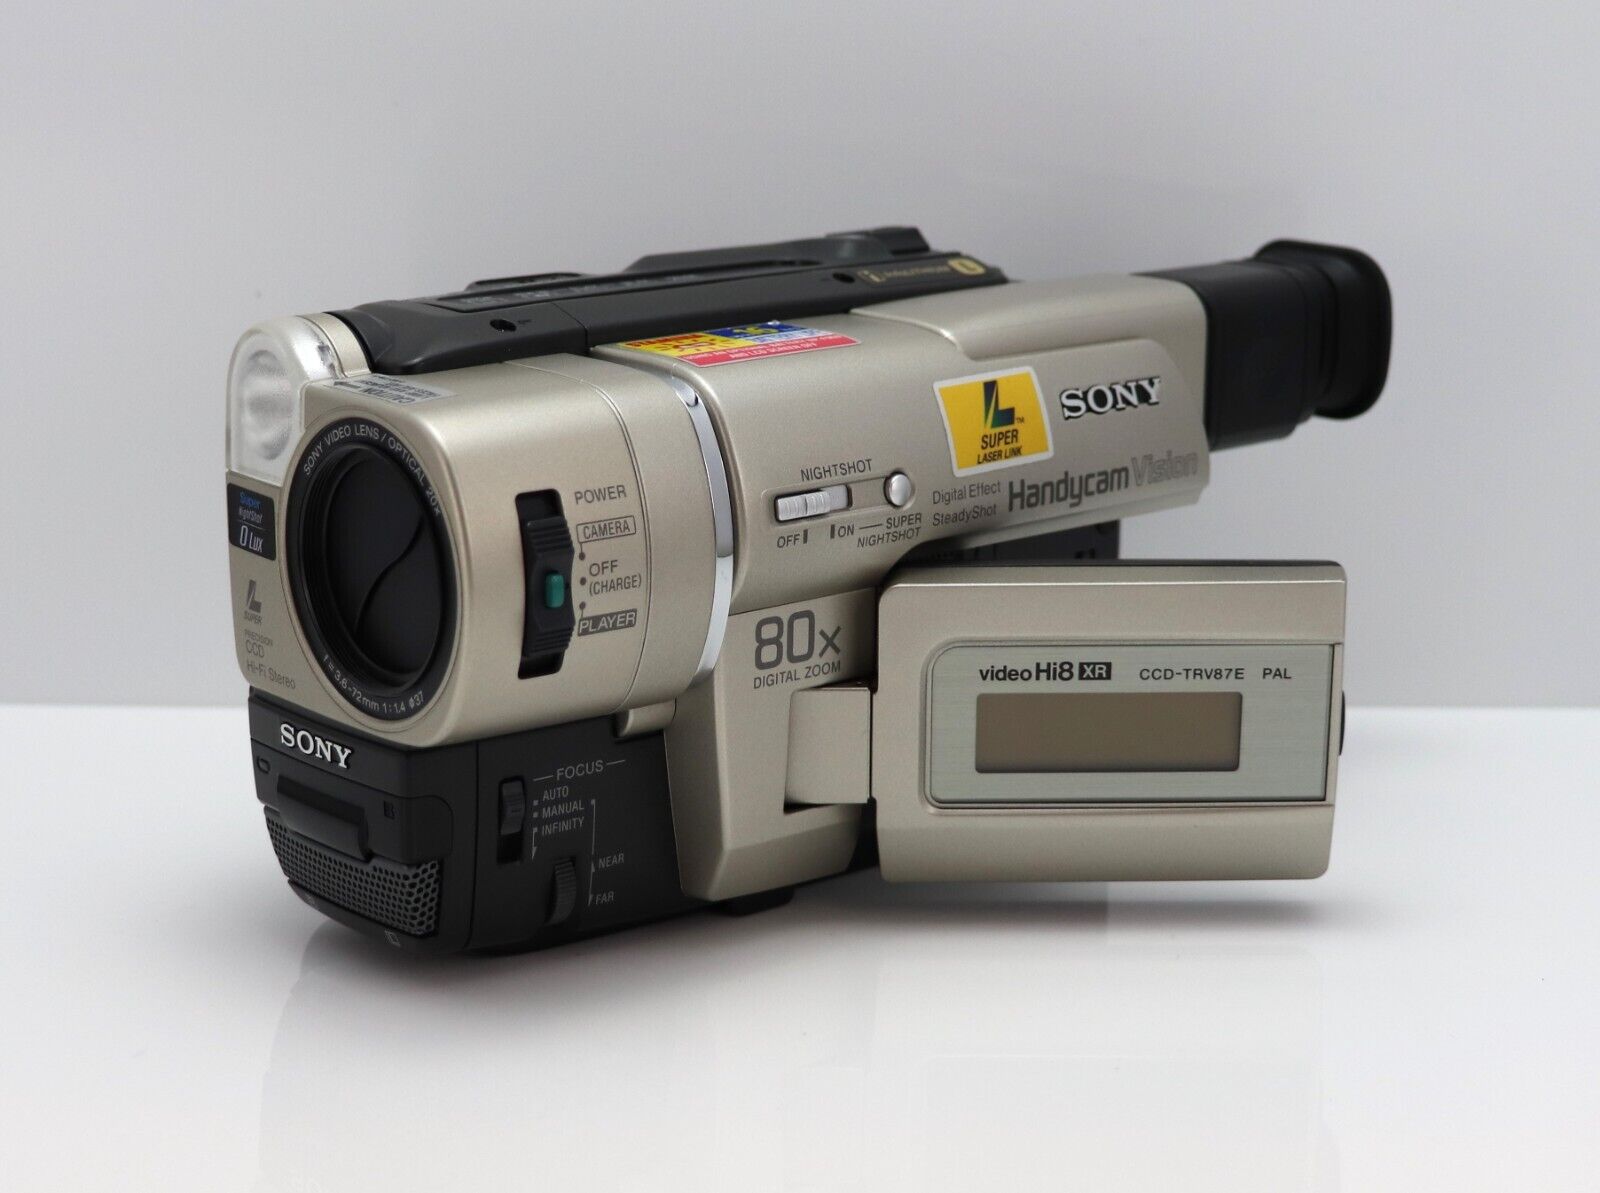
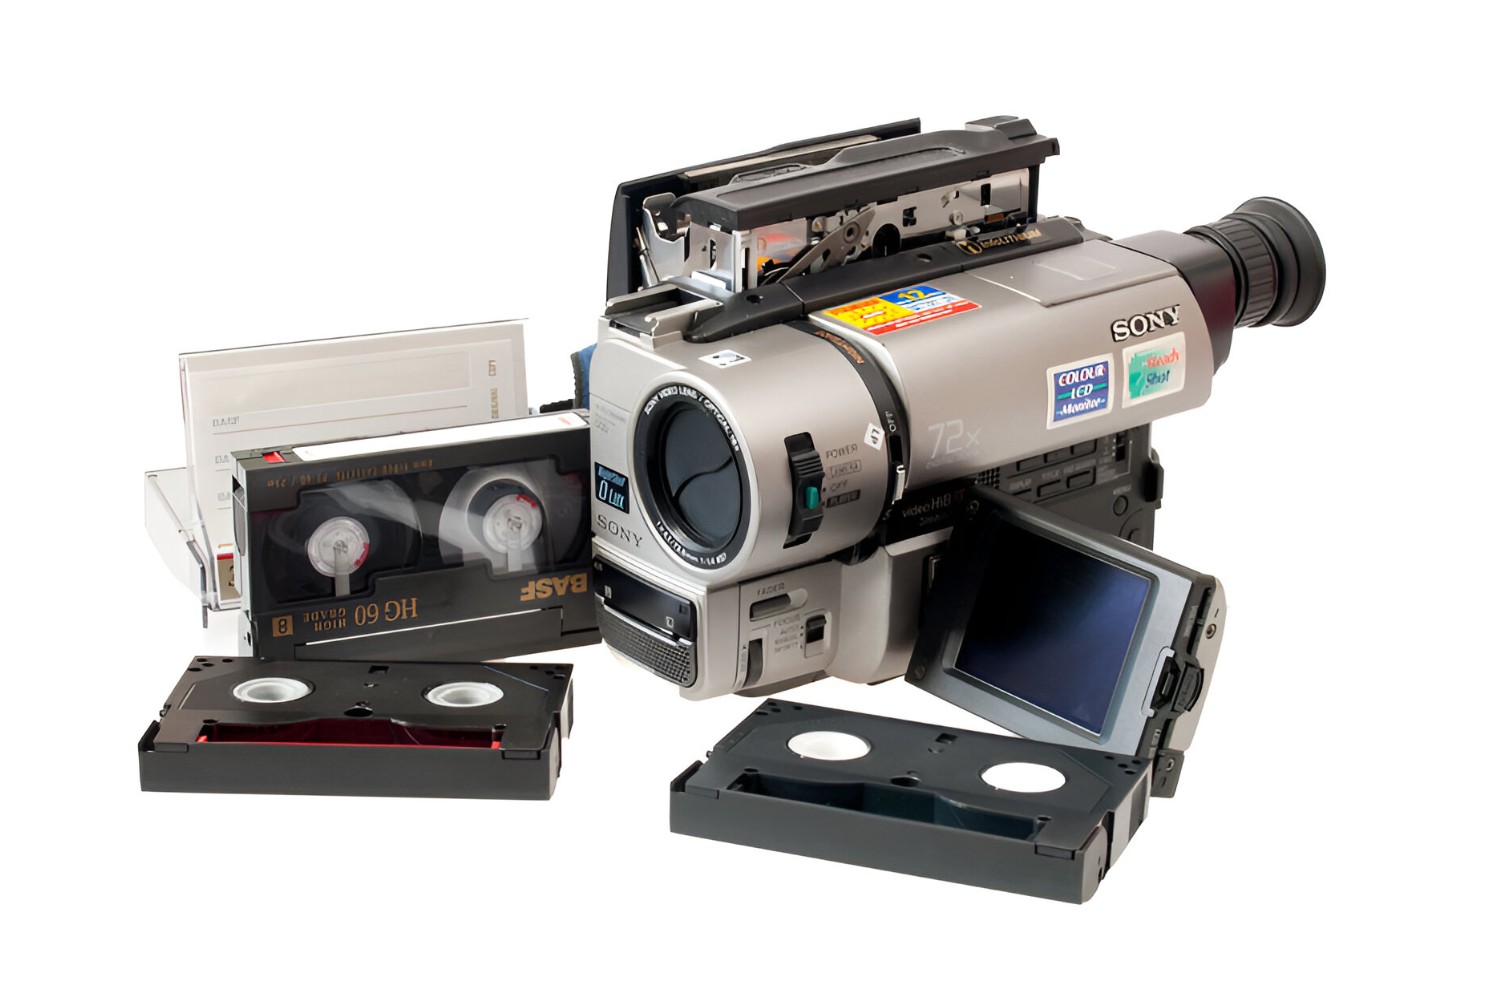
- Camcorder: Locate your old camcorder and ensure it’s in working condition. If the camcorder uses tapes, make sure the tapes are clean and in good shape.
- Computer: You’ll need a computer with sufficient storage space and processing power to handle the video files. Ensure that the computer has the necessary ports to connect your camcorder.
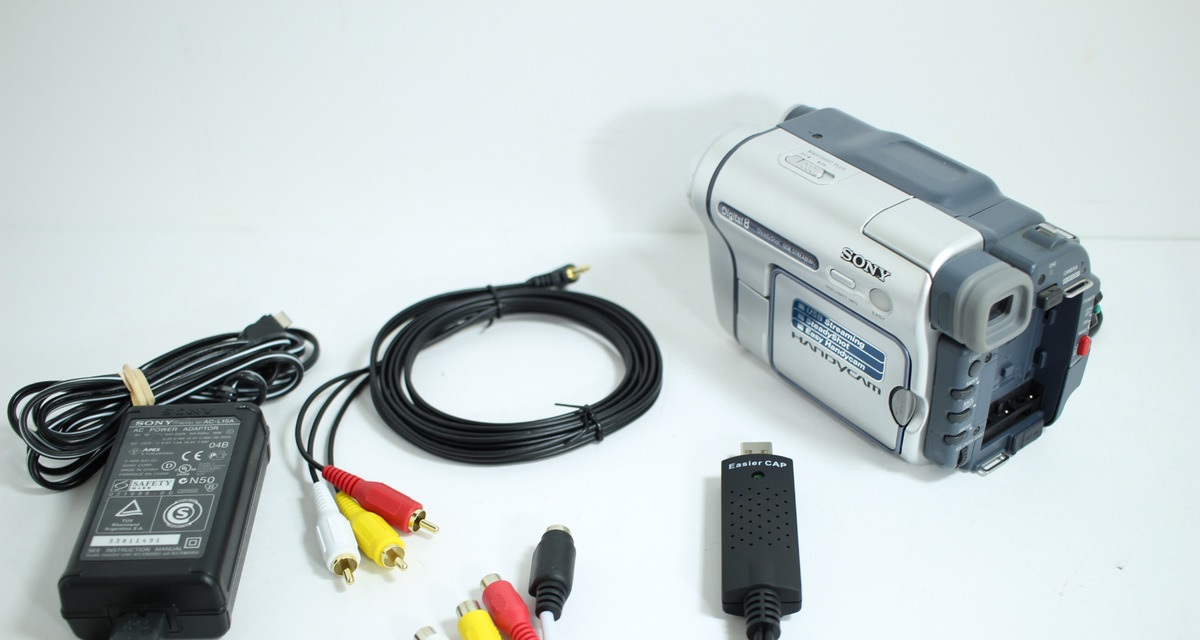
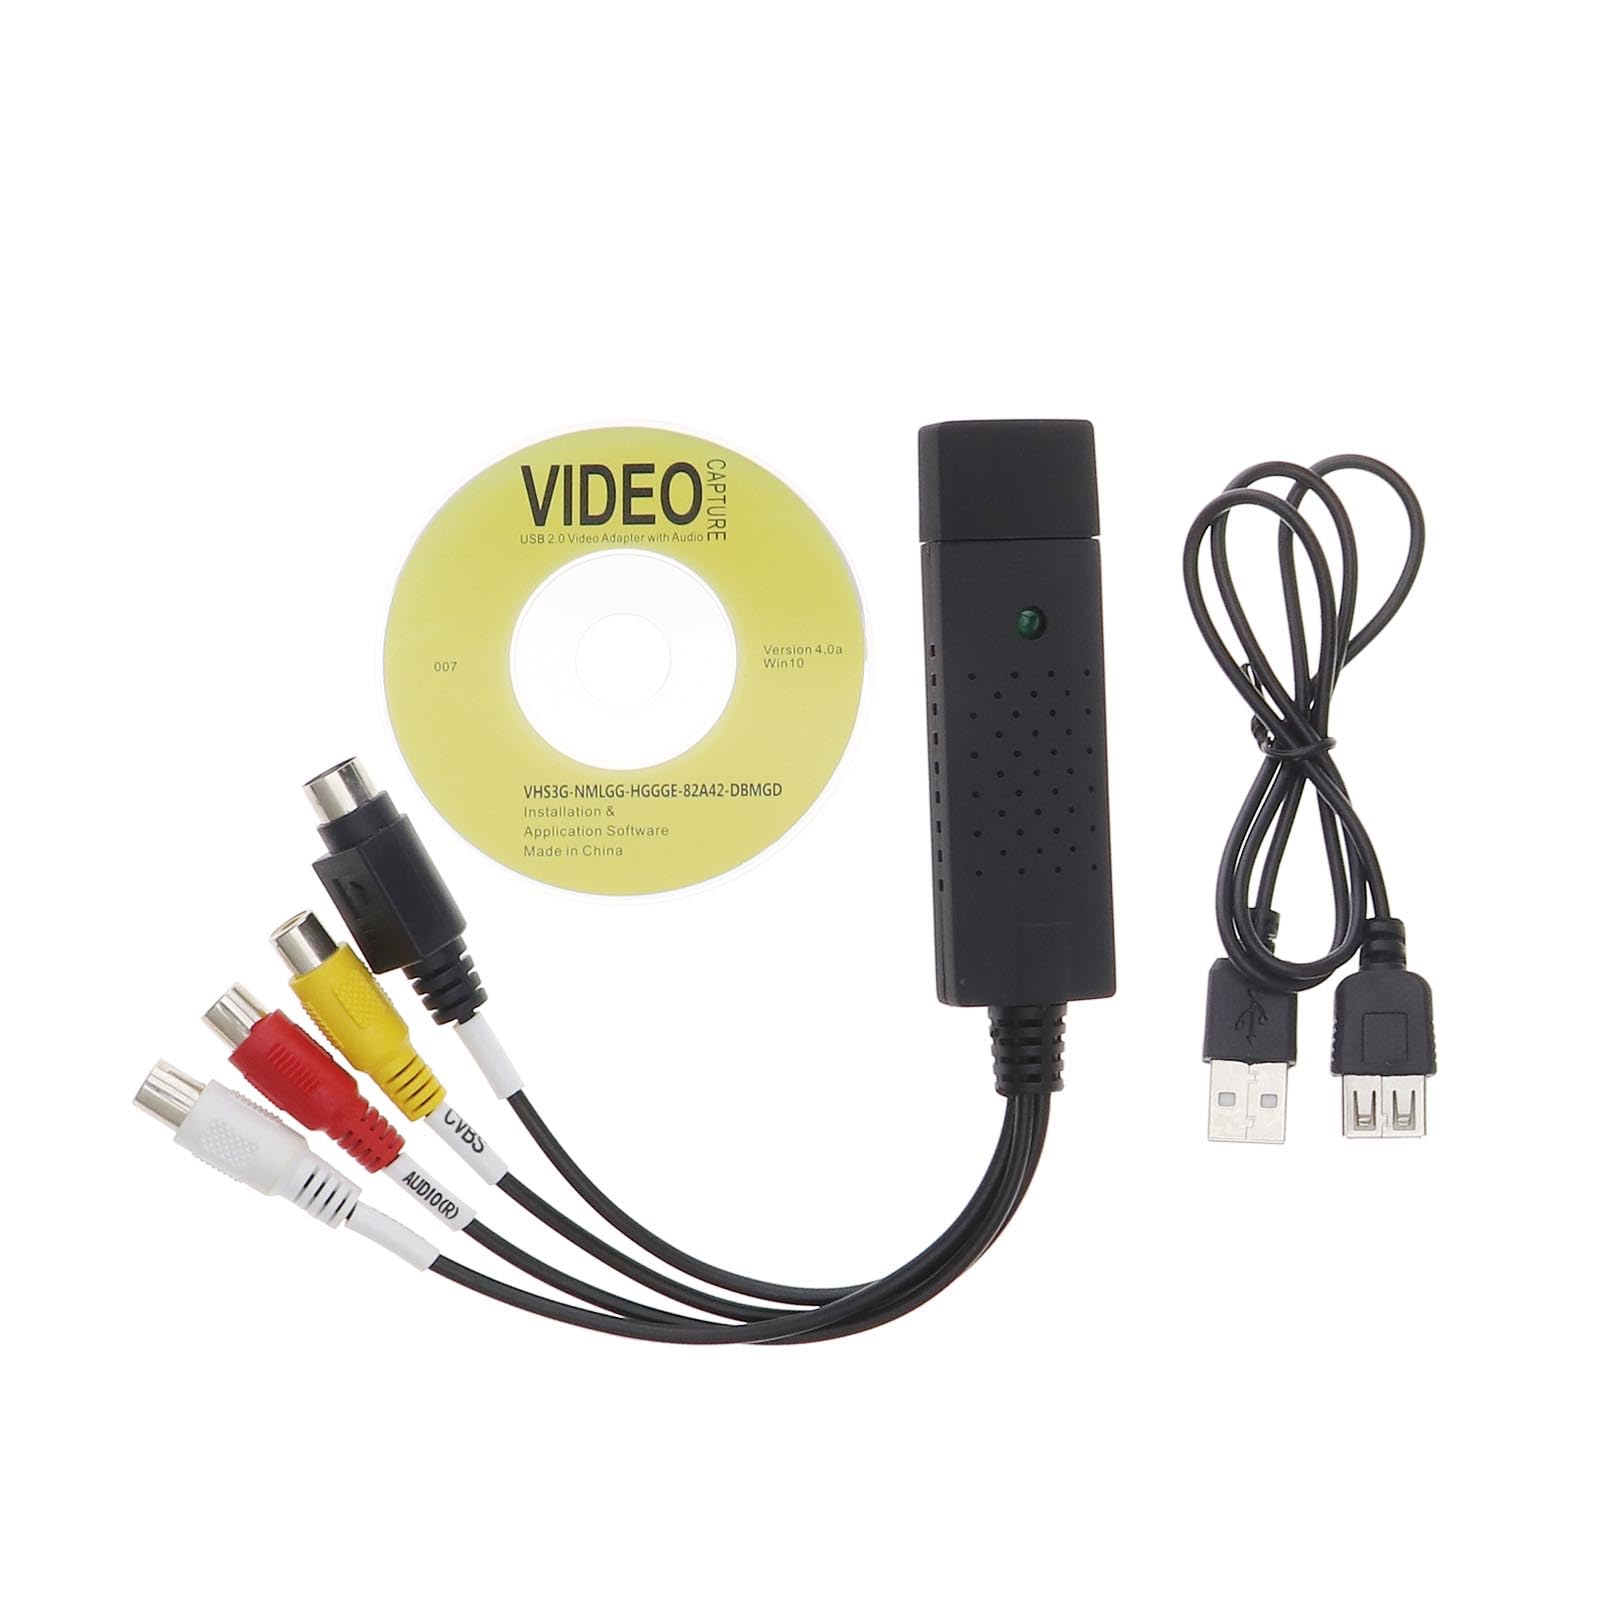
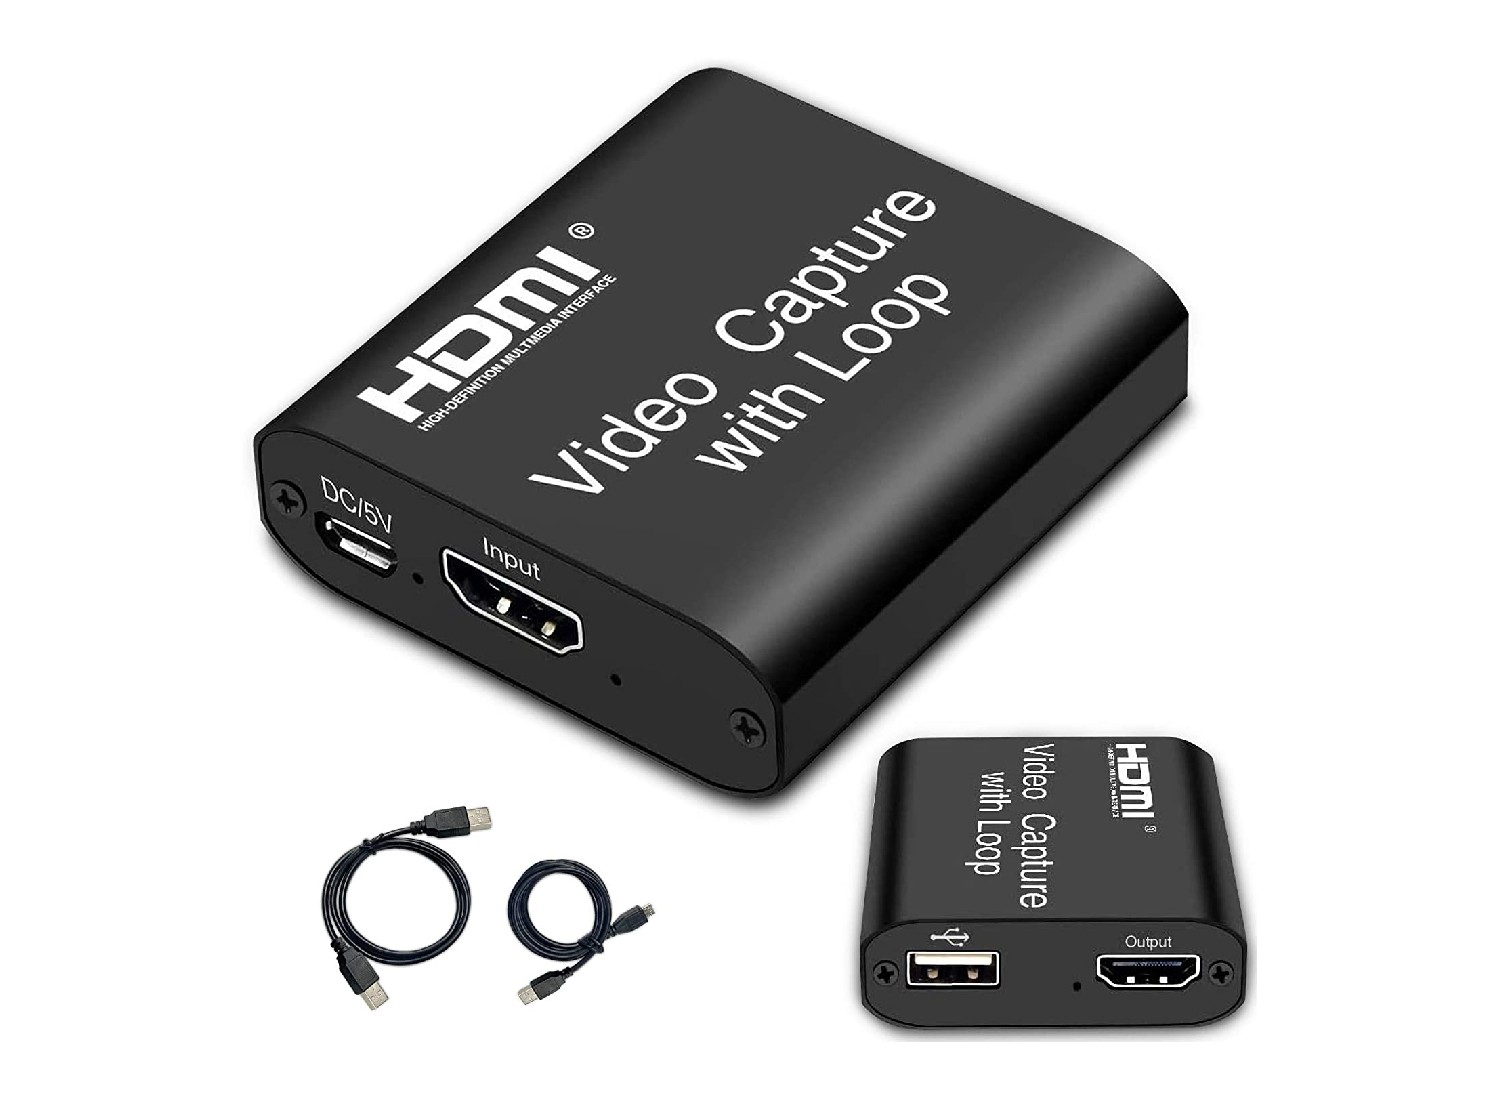
- Video Capture Device: Depending on the type of camcorder you have, you may need a video capture device to facilitate the transfer of video from the camcorder to the computer. This device acts as an intermediary between the camcorder and the computer, allowing for seamless data transfer.
- Software: Choose a reliable video capture and editing software. There are various options available, ranging from basic to advanced, so select one that suits your needs and technical expertise.
- Storage Media: Prepare a storage device, such as an external hard drive or cloud storage, to store the digitized video files. This ensures that your precious memories are safely preserved and easily accessible.
- Cables and Adapters: Check if you need any specific cables or adapters to establish a connection between your camcorder and computer. Different camcorders may require different types of connections, so it’s important to have the right accessories on hand.
Once you have gathered all the necessary equipment, you’ll be well-prepared to move on to the next step: connecting your camcorder to your computer. Having the right tools at your disposal sets the stage for a seamless and efficient conversion process, allowing you to transform your analog memories into digital treasures.
Step 2: Connect Your Camcorder to Your Computer
With your equipment gathered, the next crucial step in the process of converting camcorder tapes to video files is to establish a connection between your camcorder and your computer. This connection allows for the seamless transfer of video data from the tapes to your computer’s storage. Follow these steps to ensure a successful connection:
- Identify Ports: Locate the ports on your camcorder and computer that will be used for the connection. Common port types include USB, FireWire, and HDMI. Ensure that your computer has the necessary ports to accommodate the connection.
- Use the Correct Cable: Select the appropriate cable or adapter to connect your camcorder to your computer. Different camcorders may require specific cables, so refer to the camcorder’s manual to determine the correct connection method.
- Power On: Power on your camcorder and computer before establishing the connection. This ensures that both devices are ready to communicate with each other.
- Establish the Connection: Connect one end of the cable to your camcorder and the other end to the corresponding port on your computer. Ensure that the connection is secure to prevent any data transfer interruptions.
- Install Drivers (if necessary): In some cases, your computer may require specific drivers to recognize and communicate with your camcorder. If prompted, install the necessary drivers to enable a smooth connection.
Once the connection is established, your computer should recognize the camcorder as a peripheral device, allowing you to proceed with the next steps in the conversion process. A secure and stable connection is essential for the successful transfer of video data from your camcorder to your computer, setting the stage for the subsequent phases of the conversion process.
Step 3: Transfer the Tapes to Your Computer
Now that your camcorder is connected to your computer, it’s time to initiate the transfer of the video content from the tapes to your computer’s storage. This step is crucial in digitizing your precious memories and preparing them for the conversion process. Follow these guidelines to ensure a smooth and efficient transfer:
- Open Video Capture Software: Launch the video capture software on your computer. This software will facilitate the transfer of video data from your camcorder to your computer’s storage. Follow the software’s instructions for initiating the transfer process.
- Playback and Capture: Use the video capture software to initiate the playback of the content on your camcorder tapes. The software will capture and record the video data in real time, ensuring that every moment is accurately transferred to your computer.
- Monitor the Transfer: Keep an eye on the transfer process to ensure that the video data is being captured without any issues. Monitor the software’s interface for any error messages or interruptions that may hinder the transfer.
- Organize and Label: As the transfer progresses, consider organizing and labeling the captured footage within the software. This step can help you easily identify and manage the content once it’s transferred to your computer’s storage.
- Verify Completion: Once the transfer is complete, verify that all the video data has been successfully captured and saved to your computer. It’s essential to ensure that no content is left behind during the transfer process.
By following these steps, you can effectively transfer the video content from your camcorder tapes to your computer, laying the groundwork for the subsequent phase of converting the tapes to digital video files. The successful transfer of the footage sets the stage for the next crucial step in the conversion process: converting the captured video data into digital files.
Step 4: Convert the Tapes to Video Files
With the video content successfully transferred to your computer, the next pivotal step in the conversion process is to convert the captured footage from the camcorder tapes into digital video files. This transformation allows you to preserve and access your cherished memories in a modern and convenient format. Follow these steps to convert the tapes to video files:
- Open Video Editing Software: Launch your chosen video editing software on your computer. This software will enable you to convert the captured video data into digital files and perform any necessary edits or enhancements.
- Import Captured Footage: Use the software to import the captured footage from your camcorder tapes into the editing interface. This step prepares the content for the conversion process and allows you to work with the footage seamlessly.
- Select Output Format: Choose the desired output format for your video files. Common formats include MP4, AVI, MOV, and WMV. Select a format that is compatible with your playback devices and meets your quality preferences.
- Initiate Conversion: Once the output format is selected, initiate the conversion process within the editing software. This process will transform the captured video data into digital files in the specified format, ensuring compatibility and accessibility.
- Monitor Progress: Keep an eye on the conversion progress to ensure that the process is running smoothly and without errors. Monitoring the software’s interface allows you to address any issues that may arise during the conversion.
By following these steps, you can effectively convert the video content from your camcorder tapes into digital video files, preserving your cherished memories in a modern and easily accessible format. The successful conversion sets the stage for the final phase of the process: editing and saving your newly digitized video files.
Step 5: Edit and Save Your Video Files
After converting the video content from your camcorder tapes into digital files, the final phase of the process involves editing and saving your newly digitized video files. This step allows you to enhance the visual quality, trim footage, add effects, and ensure that your memories are preserved exactly as you envision them. Follow these steps to edit and save your video files:
- Editing Tools: Utilize the editing tools within your chosen video editing software to enhance and refine the captured footage. These tools may include options for trimming, adding transitions, adjusting color and brightness, and incorporating audio elements.
- Enhancements and Effects: Consider applying enhancements and effects to the footage to elevate the visual appeal and storytelling of your videos. Effects such as filters, text overlays, and audio enhancements can add depth and creativity to your digitized memories.
- Quality Check: Review the edited footage to ensure that it aligns with your vision. Verify the audio-visual quality, transitions, and any added elements to guarantee that your memories are presented in the best possible light.
- Save and Export: Once the editing process is complete, save and export your edited video files in the desired format and resolution. Consider creating a backup of the files to prevent any loss of data and ensure that your memories are securely preserved.
- Organize and Catalog: Organize your saved video files in a structured manner, labeling them appropriately and creating a catalog of your digitized memories. This step facilitates easy access and retrieval of specific videos when you want to relive those special moments.
By following these steps, you can transform your newly digitized video files into polished and captivating representations of your cherished memories. The editing and saving phase adds a personal touch to your videos, ensuring that they are ready to be shared, enjoyed, and treasured for years to come.
Conclusion
Congratulations! You have successfully navigated the process of converting your precious camcorder tapes into digital video files. By following the steps outlined in this guide, you have breathed new life into your cherished memories, ensuring that they are preserved, accessible, and ready to be shared with friends and family.
Through the careful gathering of equipment, establishing connections, transferring footage, and converting and editing video files, you have transformed analog recordings into modern digital treasures. The journey to digitize your memories has not only preserved the past but has also opened up new possibilities for reliving and sharing those special moments.
As you organize and catalog your newly digitized video files, take a moment to reflect on the significance of this process. Your efforts have ensured that the stories captured in those old camcorder tapes will continue to be part of your life and the lives of those you hold dear. Whether it’s a milestone celebration, a family vacation, or everyday moments, these memories are now easily accessible and ready to be enjoyed at any time.
By embracing the digital transformation of your camcorder tapes, you have unlocked the potential for these memories to endure for generations to come. Your commitment to preserving these moments reflects the value you place on the experiences and relationships that shape your life.
As you embark on future endeavors and create new memories, may the process of converting your camcorder tapes serve as a reminder of the enduring power of storytelling and the timeless significance of preserving our personal histories.
So, celebrate this achievement, share your digitized memories, and continue to embrace the journey of capturing and preserving life’s most precious moments.