Introduction
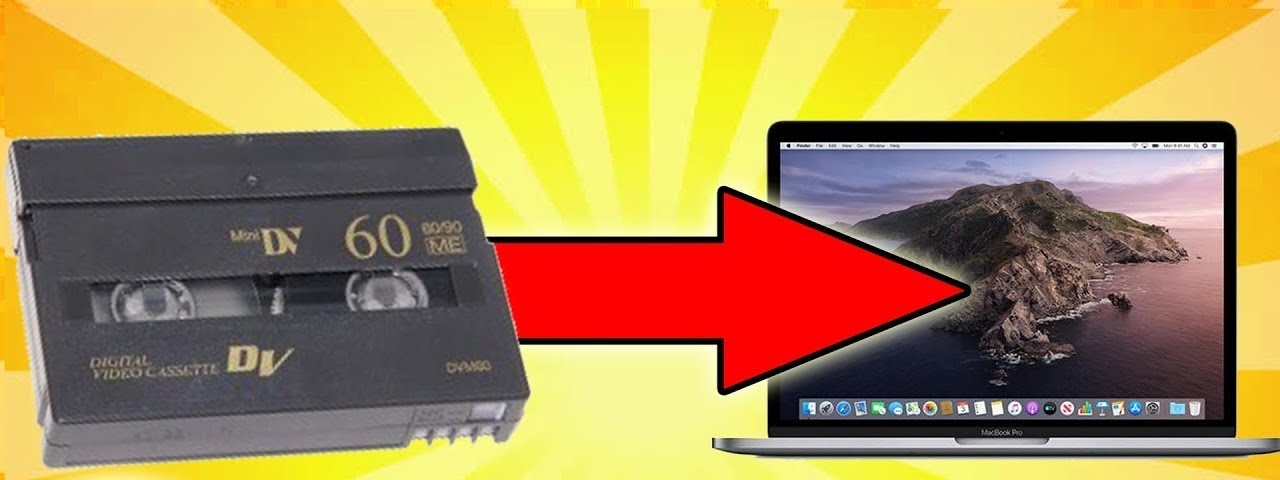
Are you ready to breathe new life into your old MiniDV tapes by digitizing them and preserving those cherished memories for years to come? Converting MiniDV to your computer using a camcorder is a straightforward process that allows you to transfer your videos to a digital format for easy storage, editing, and sharing. Whether you want to create a digital archive of your family vacations, special events, or creative projects, this guide will walk you through the steps to accomplish this task with ease.
By following these simple instructions, you can unlock the potential of your MiniDV tapes and unleash the power of digital technology to safeguard and enhance your precious recordings. Get ready to embark on a journey that will breathe new life into your old tapes and provide you with the tools to edit and share your memories in a modern, digital format. Let's dive in and explore the step-by-step process of converting MiniDV to your computer using a camcorder.
So, dust off your camcorder, gather your equipment, and prepare to embark on a digital transformation journey that will bring your old MiniDV tapes into the digital age. Let's get started on this exciting adventure of preserving and revitalizing your cherished memories!
Step 1: Gather Your Equipment
Before diving into the process of converting your MiniDV tapes to your computer, it’s essential to gather the necessary equipment to ensure a smooth and successful transfer. Here’s what you’ll need:
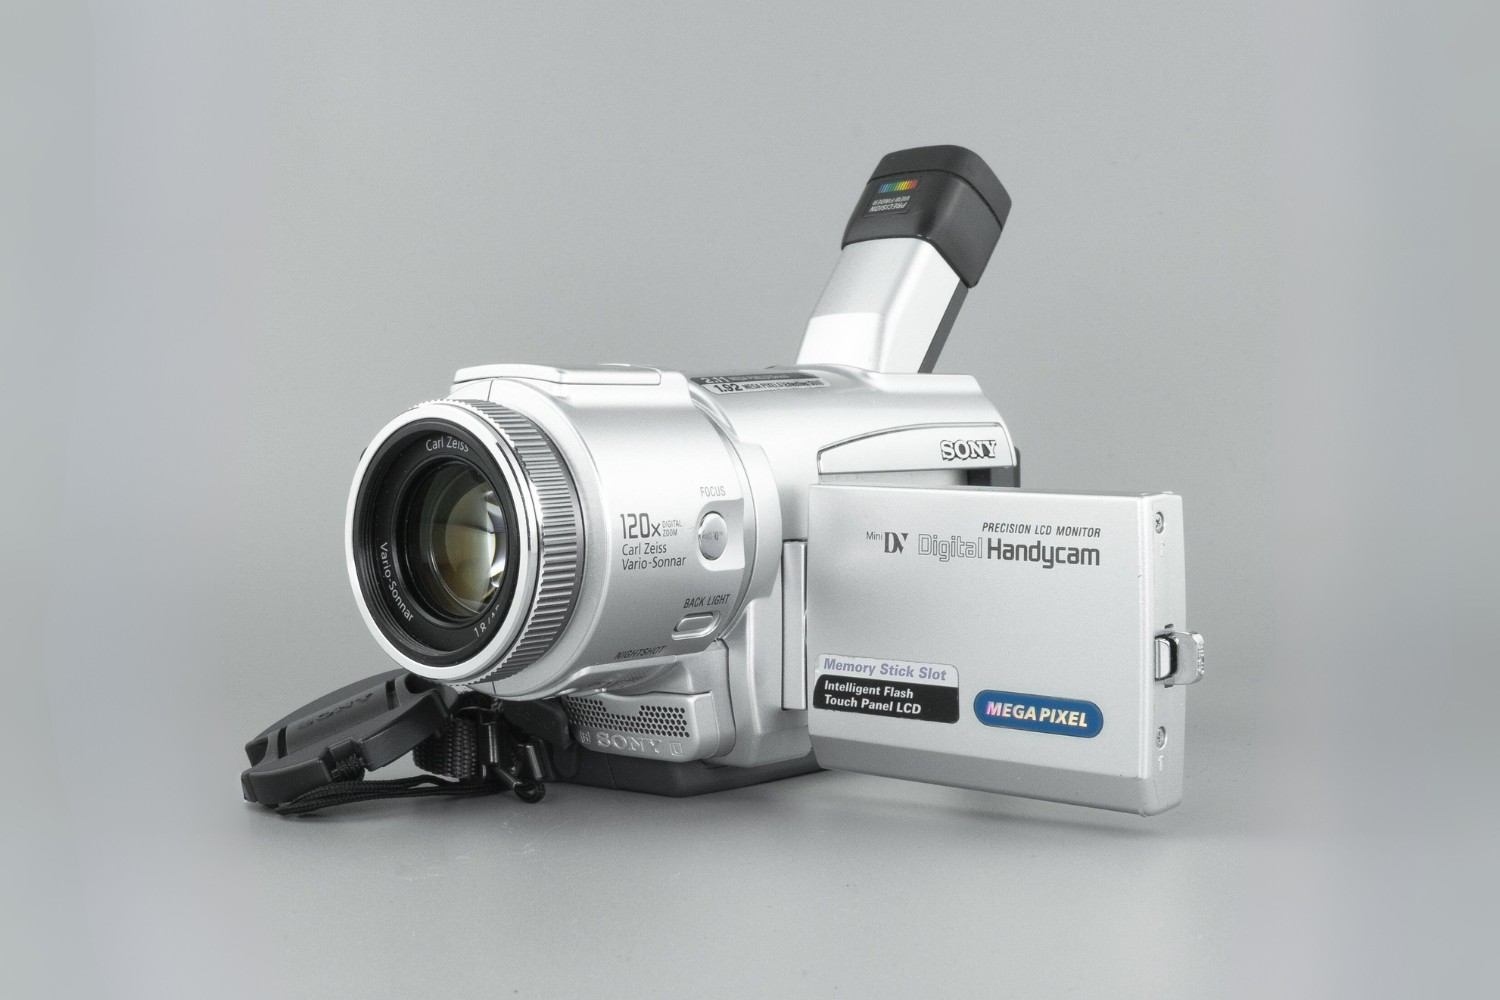
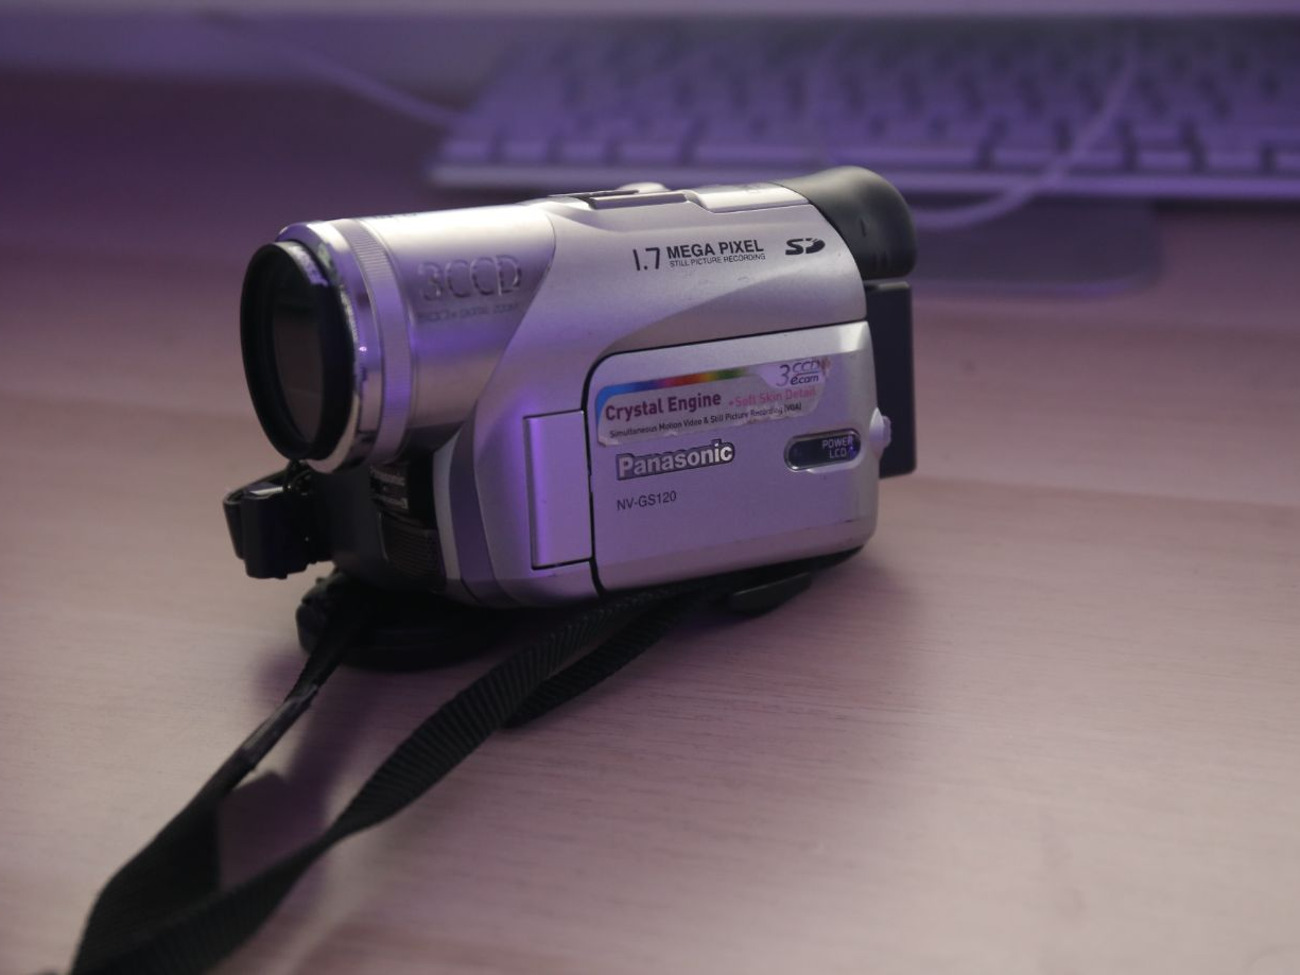
- Camcorder: Ensure that your MiniDV camcorder is in working condition and has a functioning playback feature. This will be the primary device used to play back the MiniDV tapes.
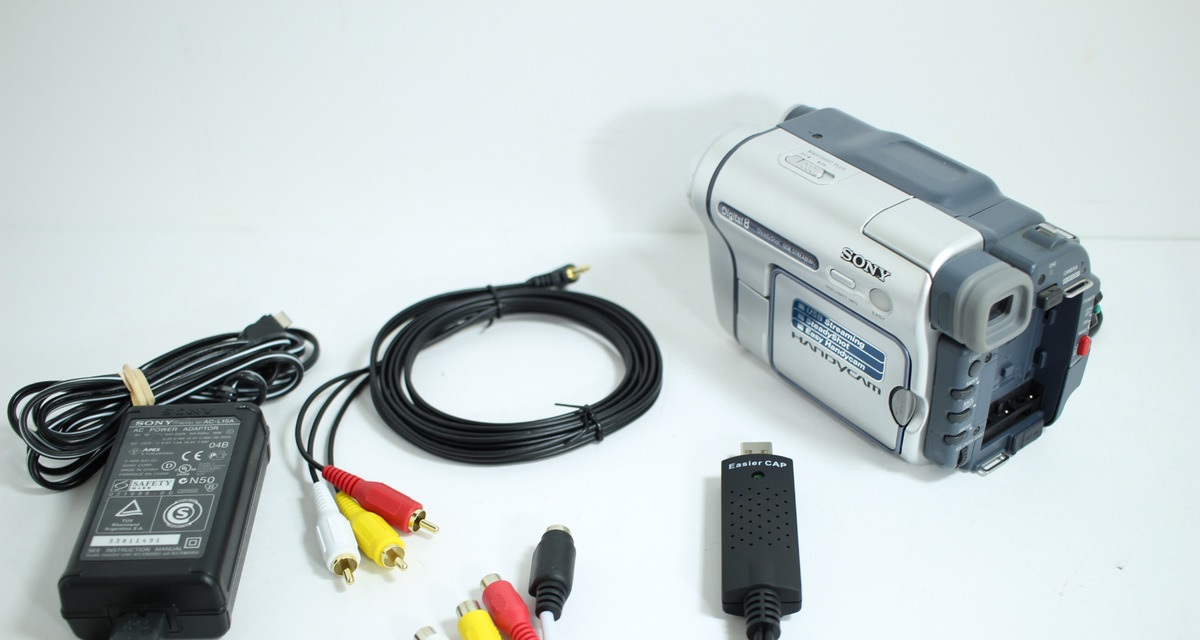
- Firewire or USB Cable: Depending on the type of connection supported by your camcorder, obtain a compatible firewire or USB cable to link your camcorder to your computer. This cable will facilitate the transfer of video data from the camcorder to your computer.
- Computer with Video Editing Software: Have a computer or laptop equipped with a firewire or USB port to connect the camcorder. Additionally, ensure that video editing software is installed on your computer to capture and edit the transferred video files.
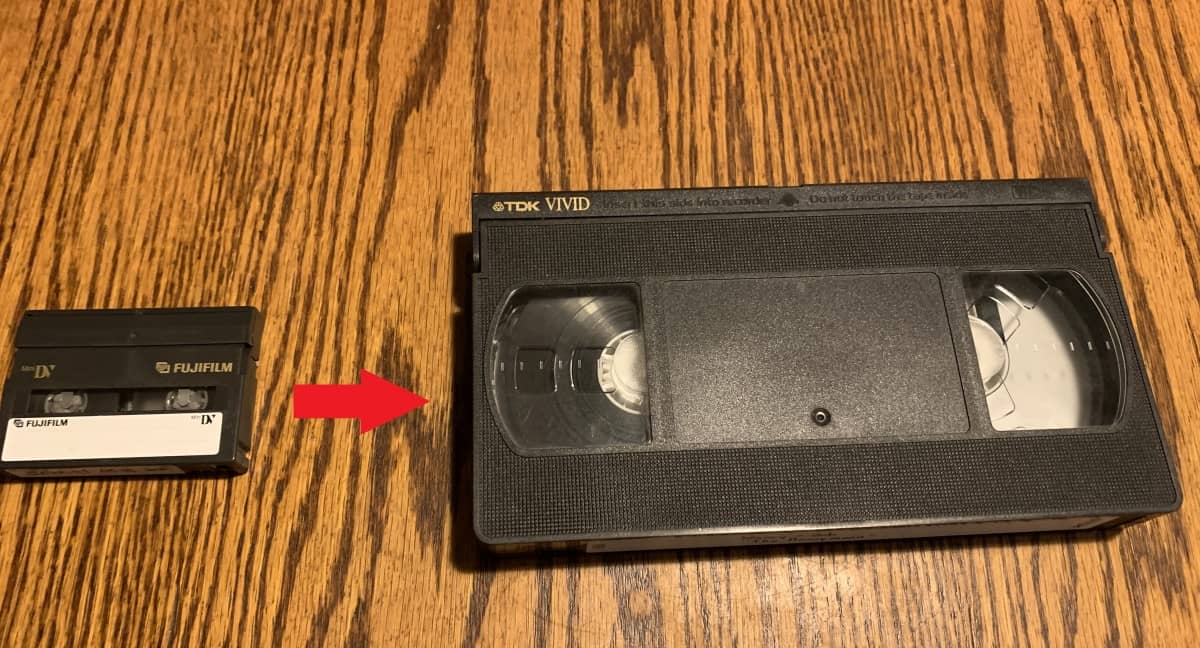
- MiniDV Tapes: Locate the MiniDV tapes containing the footage you wish to transfer. Ensure that the tapes are labeled correctly for easy identification during the transfer process.
- External Hard Drive (Optional): Consider having an external hard drive with ample storage space to store the digitized video files. This is especially useful if you plan to transfer a large volume of footage.
By gathering these essential tools and ensuring they are in proper working order, you’ll be well-prepared to commence the process of converting your MiniDV tapes to your computer. With your equipment in hand, you’re ready to move on to the next step of connecting your camcorder to your computer.
Step 2: Connect Your Camcorder to Your Computer
Once you have gathered your equipment, the next crucial step in the process of converting MiniDV to your computer involves establishing a connection between your camcorder and your computer. Follow these steps to ensure a seamless connection:
- Identify the Connection Port: Locate the appropriate port on your camcorder for connecting it to your computer. Depending on the model, your camcorder may feature a firewire or USB port. Refer to the camcorder’s manual for specific instructions on locating the port.
- Use the Correct Cable: Select the compatible firewire or USB cable based on the port available on your camcorder. Ensure that the cable is in good condition and free from any damage that may impede the transfer process.
- Connect the Cable: With the camcorder powered off, connect one end of the cable to the appropriate port on the camcorder and the other end to the corresponding port on your computer. Ensure a secure connection to prevent any interruptions during the data transfer.
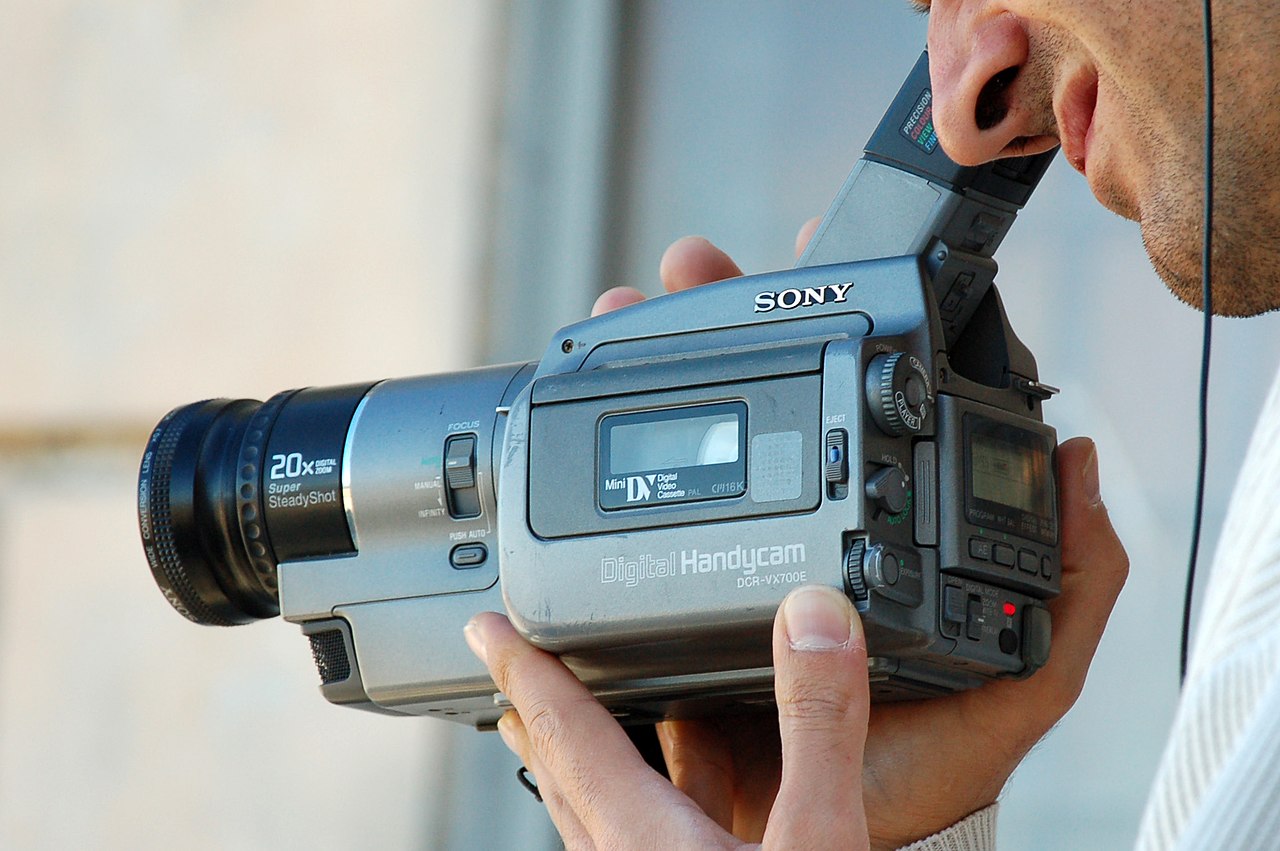
- Power On the Camcorder: Power on the camcorder and set it to playback mode. Some camcorders may require specific settings for data transfer, so consult the manual for guidance on configuring the camcorder for playback and data transfer.
- Computer Recognition: Upon establishing the connection, your computer should recognize the camcorder as a peripheral device. If prompted, install any necessary drivers or software to enable the computer to communicate with the camcorder effectively.
By following these steps, you will successfully connect your camcorder to your computer, laying the foundation for the subsequent transfer of your MiniDV tapes to your computer. With the connection established, you’re now ready to proceed to the next phase of transferring the MiniDV tape content to your computer.
Step 3: Transfer the MiniDV Tape to Your Computer
With your camcorder successfully connected to your computer, it’s time to initiate the transfer of the MiniDV tape content to your computer. Follow these steps to ensure a smooth and efficient transfer process:
- Open Video Editing Software: Launch your preferred video editing software on your computer. Ensure that the software is set to capture or import video from an external device such as a camcorder.
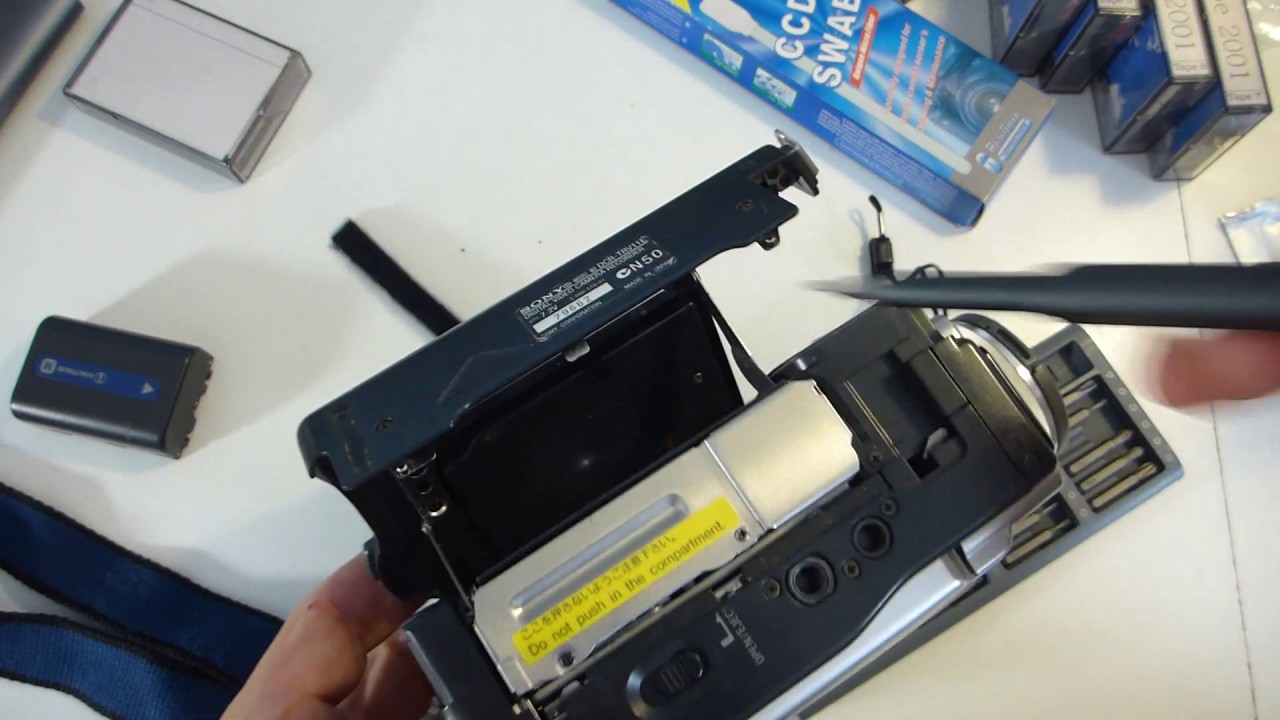
- Initiate Playback on the Camcorder: Place the MiniDV tape containing the desired footage into the camcorder’s tape compartment. Begin playback of the tape, ensuring that the camcorder is set to the correct playback mode for transferring the video data.
- Start Capture/Import: Within the video editing software, initiate the capture or import function to begin transferring the video content from the camcorder to your computer. Follow the software’s prompts to specify the destination folder and file format for the transferred video files.
- Monitor the Transfer: Keep an eye on the transfer process as the video content is captured or imported onto your computer. Ensure that the transfer progresses smoothly without any interruptions or errors.
- Complete the Transfer: Once the transfer is complete, review the imported video files within the video editing software to confirm that the footage has been successfully captured. Save the files to your computer’s storage or an external hard drive if preferred.
By following these steps, you can effectively transfer the content of your MiniDV tape to your computer, allowing you to preserve and access your cherished memories in a digital format. With the transfer completed, you’re now ready to move on to the final step of editing and saving your video files, unlocking the potential to enhance and share your digitized footage.
Step 4: Edit and Save Your Video Files
After successfully transferring the content of your MiniDV tape to your computer, the final step involves editing and saving your video files to refine and preserve your cherished footage. Follow these steps to unleash the potential of your digitized videos:
- Review and Organize: Open your video editing software and review the imported video files. Organize the footage into separate projects based on the content of the MiniDV tapes, making it easier to manage and edit specific segments.
- Edit and Enhance: Utilize the editing tools within the software to trim, cut, and enhance your video footage. Adjust the brightness, contrast, and colors as needed, and add transitions or special effects to enhance the visual appeal of your videos.
- Add Audio and Titles: Incorporate background music, voiceovers, or sound effects to complement your video content. Additionally, include titles, captions, and subtitles to provide context and information within your videos.
- Save and Export: Once you are satisfied with the edits and enhancements, save your edited video files in your desired file format and resolution. Consider exporting the videos in a high-quality format suitable for sharing online or archiving for future viewing.
- Backup Your Files: To safeguard your edited video files, create backups on external storage devices or cloud storage services. This ensures that your hard work in editing and enhancing the videos is securely preserved.
By following these steps, you can transform your raw MiniDV footage into polished, edited videos ready for sharing with friends and family or archiving for future generations. The process of editing and saving your video files provides you with the creative freedom to enhance and personalize your digitized memories, ensuring that they are preserved in the best possible form.
Conclusion
Congratulations on successfully converting your MiniDV tapes to your computer using a camcorder! By following the step-by-step process outlined in this guide, you have unlocked the potential of your old MiniDV tapes and transformed them into digital files that are easily accessible, editable, and shareable.
Through the process of gathering your equipment, connecting your camcorder to your computer, transferring the MiniDV tape content, and editing and saving your video files, you have embarked on a journey that preserves and revitalizes your cherished memories. The digitization of your MiniDV tapes not only safeguards the footage from degradation but also provides you with the tools to enhance and personalize your videos in a modern, digital format.
As you reflect on the journey of converting your MiniDV tapes, consider the newfound opportunities to revisit and relive your precious moments, share them with loved ones, and preserve them for future generations. The digitized videos now offer endless possibilities for creative storytelling, whether through editing, adding music, or incorporating special effects to breathe new life into your memories.
With your digitized videos safely stored on your computer or external hard drive, you have ensured that these invaluable recordings remain a vibrant part of your personal history. Whether it’s a family vacation, a milestone celebration, or a creative project, the digitized MiniDV footage now stands as a testament to the enduring power of your memories.
As you continue to explore the capabilities of your digitized videos, consider the myriad ways in which you can share, celebrate, and preserve these cherished moments. The journey of converting MiniDV to your computer using a camcorder has empowered you to embrace the digital age while honoring the timeless value of your memories.
Embrace the possibilities that come with your newly digitized videos, and let them serve as a reminder of the joy, laughter, and special moments that define your personal narrative. Your journey of preserving and revitalizing your MiniDV tapes has not only safeguarded your memories but has also equipped you with the tools to continue celebrating and sharing the richness of your life’s story.