Introduction
Welcome to the world of MiniDV camcorders, where memories are captured in stunning detail and vibrant color. In this comprehensive guide, you will learn how to effortlessly capture video from your MiniDV camcorder and transfer those cherished moments to your computer for safekeeping and sharing.
MiniDV camcorders have been a popular choice for amateur and professional videographers due to their high-quality video recording capabilities. These compact devices use MiniDV tapes to store footage, offering a reliable and cost-effective method for preserving precious memories. Whether you are a seasoned videographer or a newcomer to the world of digital video, this guide will equip you with the knowledge and skills necessary to harness the full potential of your MiniDV camcorder.
Throughout this guide, we will explore the process of connecting your MiniDV camcorder to your computer, capturing video using both Windows and Mac operating systems, and troubleshooting common issues that may arise during the video capture process. By the end of this journey, you will be well-versed in the art of preserving your MiniDV footage in digital format, ready to be edited, shared, and treasured for years to come.
So, grab your MiniDV camcorder, dust off those old tapes, and get ready to embark on a captivating adventure into the world of digital video capture. Let's dive in and unlock the full potential of your MiniDV camcorder!
Understanding MiniDV Camcorders
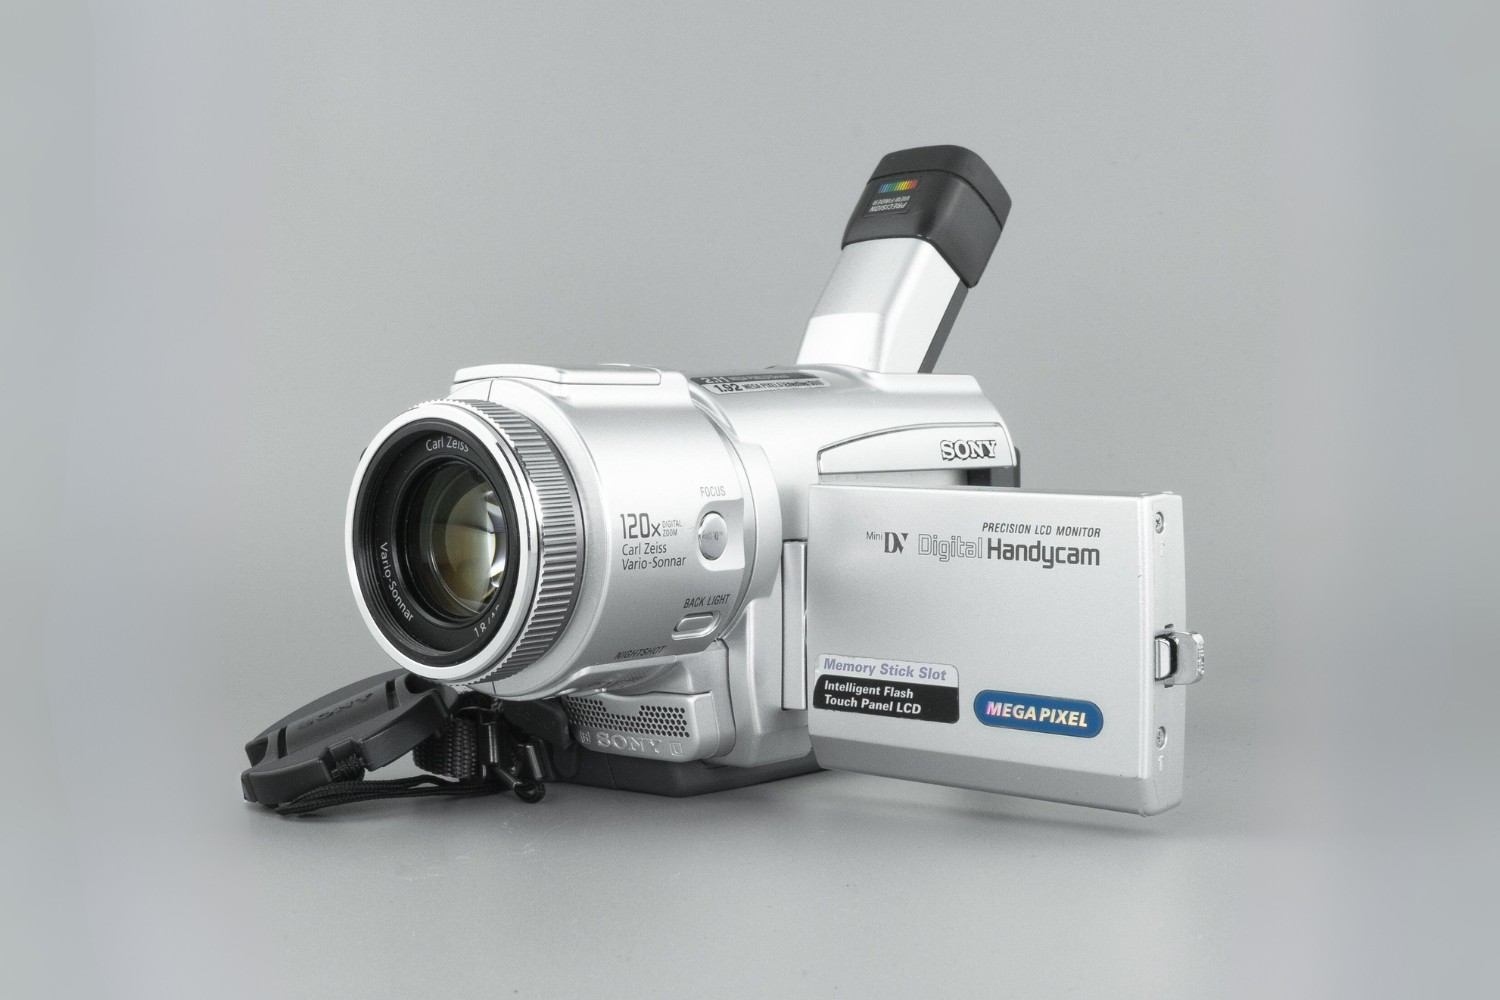
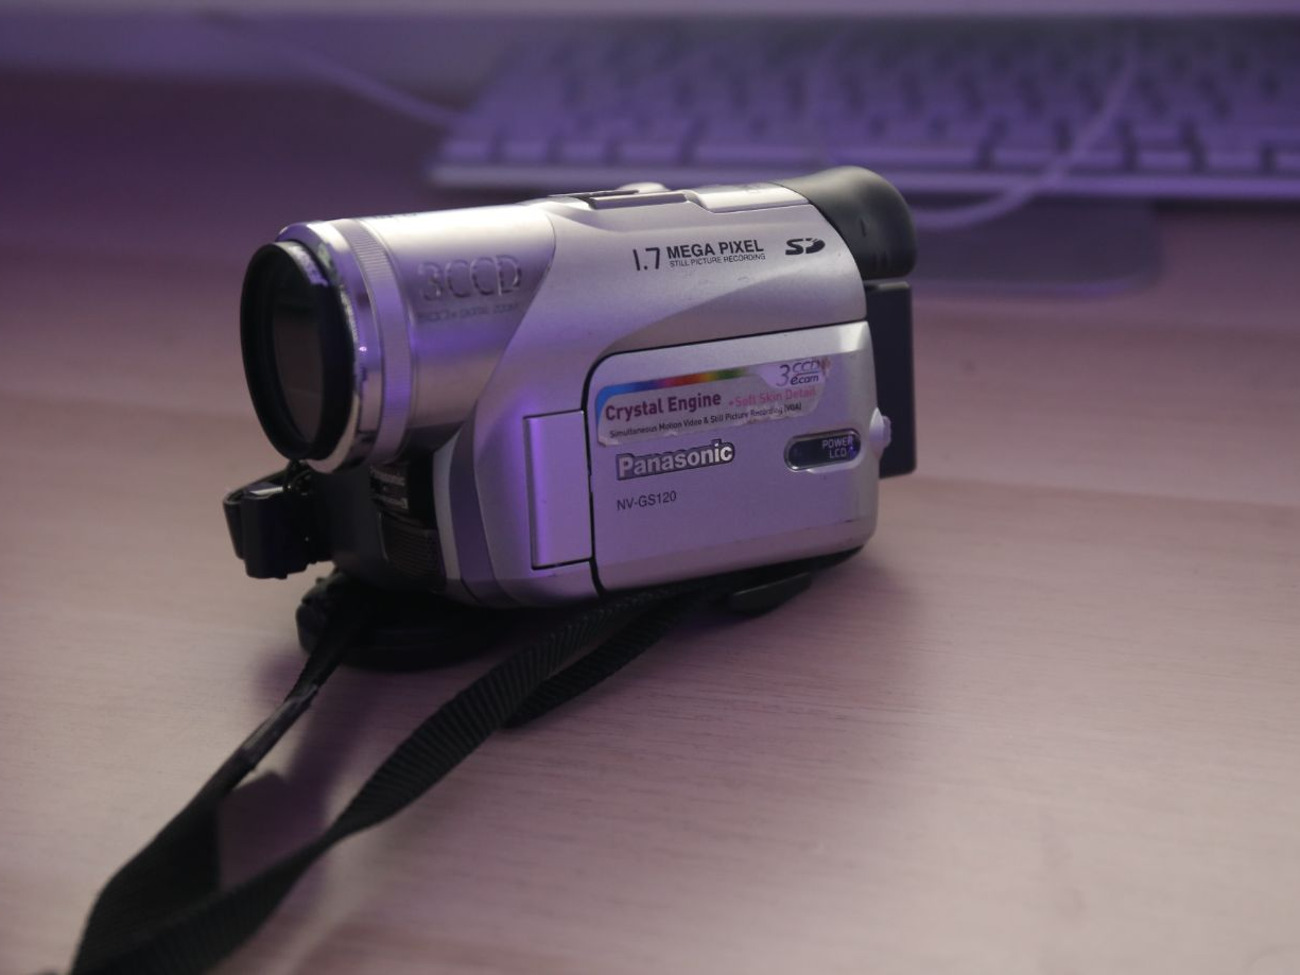
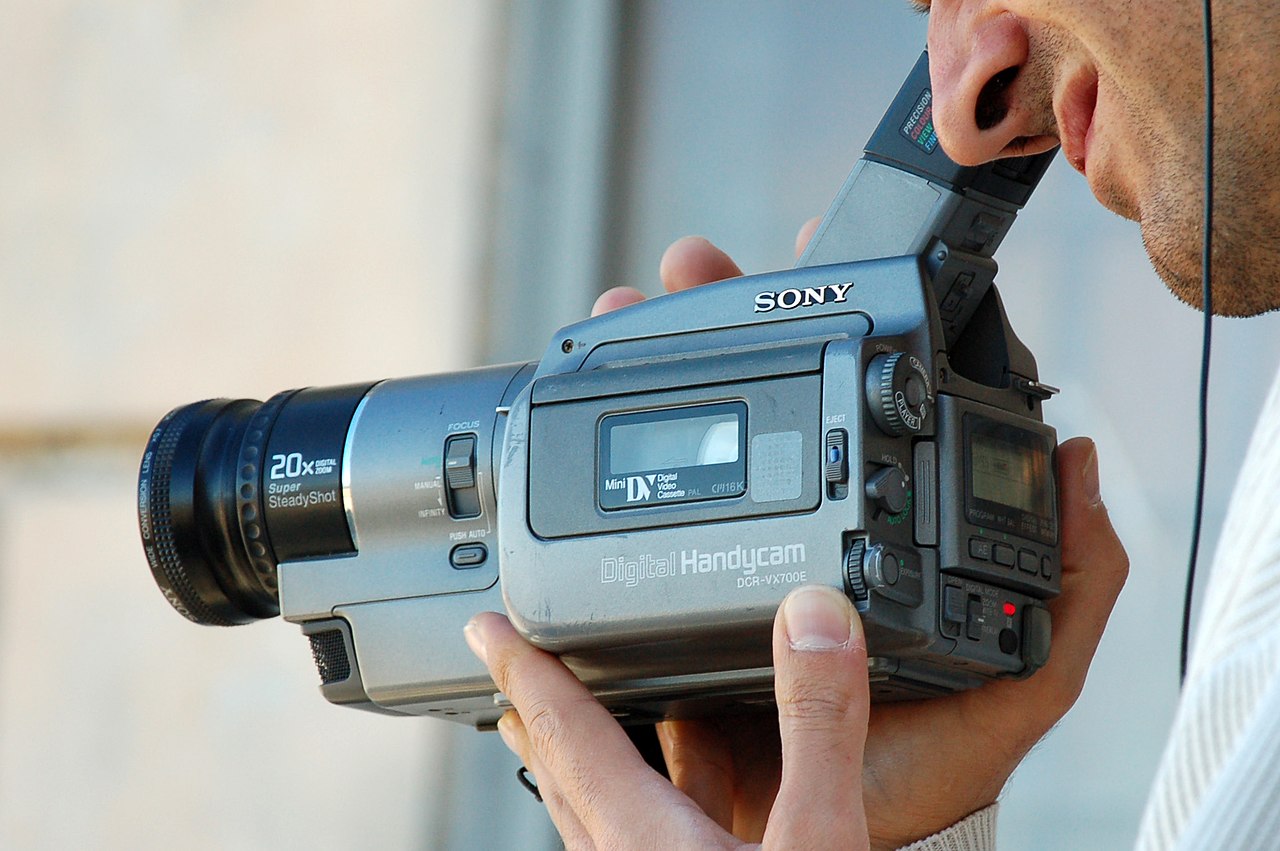
MiniDV camcorders revolutionized the world of video recording with their compact design and exceptional video quality. These camcorders utilize small digital videotapes, known as MiniDV tapes, to record and store video footage. The MiniDV format offers several advantages, including high video resolution, reliable performance, and ease of use.
One of the key features of MiniDV camcorders is their ability to capture video in standard definition (SD) with a resolution of 720×480 pixels, delivering crisp and detailed imagery. This level of clarity makes MiniDV recordings ideal for preserving precious moments with unparalleled fidelity.
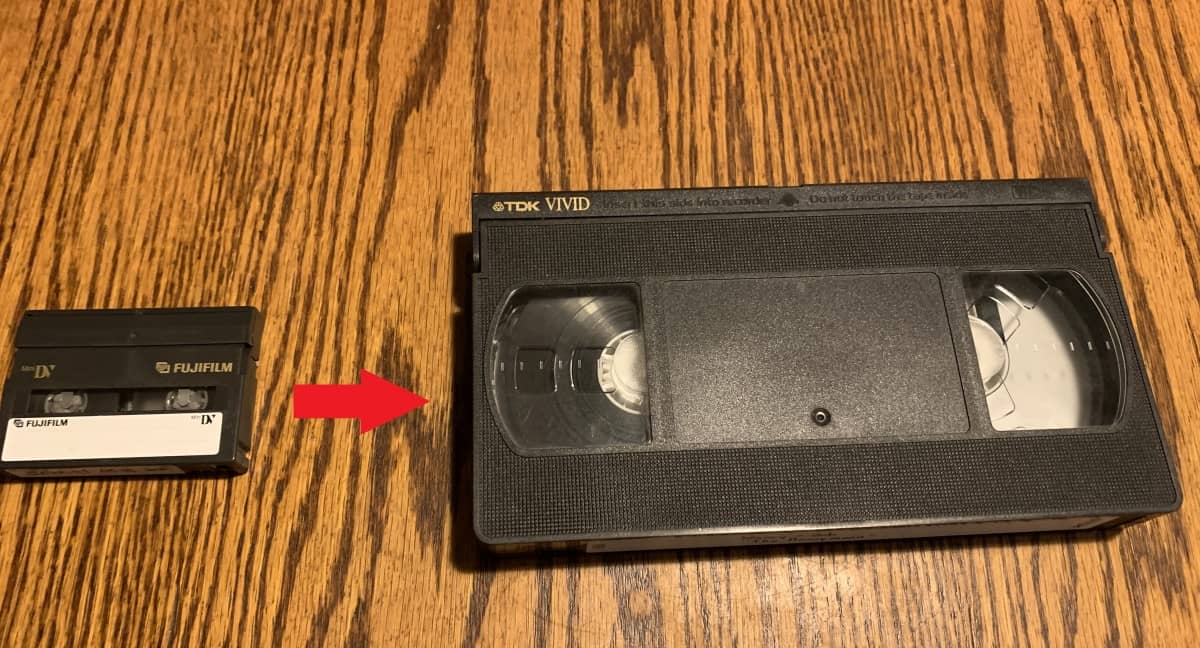
MiniDV tapes are not only affordable but also offer a convenient way to archive footage. Each tape can store up to 60 minutes of video, making them an efficient and cost-effective storage medium. Additionally, MiniDV tapes are durable and resistant to data loss, providing a reliable long-term storage solution for your video recordings.
When it comes to playback, MiniDV camcorders offer seamless compatibility with a wide range of devices, including televisions, VCRs, and computers equipped with a FireWire (IEEE 1394) port. This versatility allows users to easily view and transfer their recordings to various platforms, ensuring that their videos can be enjoyed and shared with ease.
Understanding the fundamentals of MiniDV camcorders, including their recording format, storage capacity, and playback options, is essential for harnessing the full potential of these remarkable devices. With this knowledge in hand, you are well-prepared to embark on the journey of capturing and preserving your most cherished memories using your MiniDV camcorder.
Connecting Your MiniDV Camcorder to Your Computer
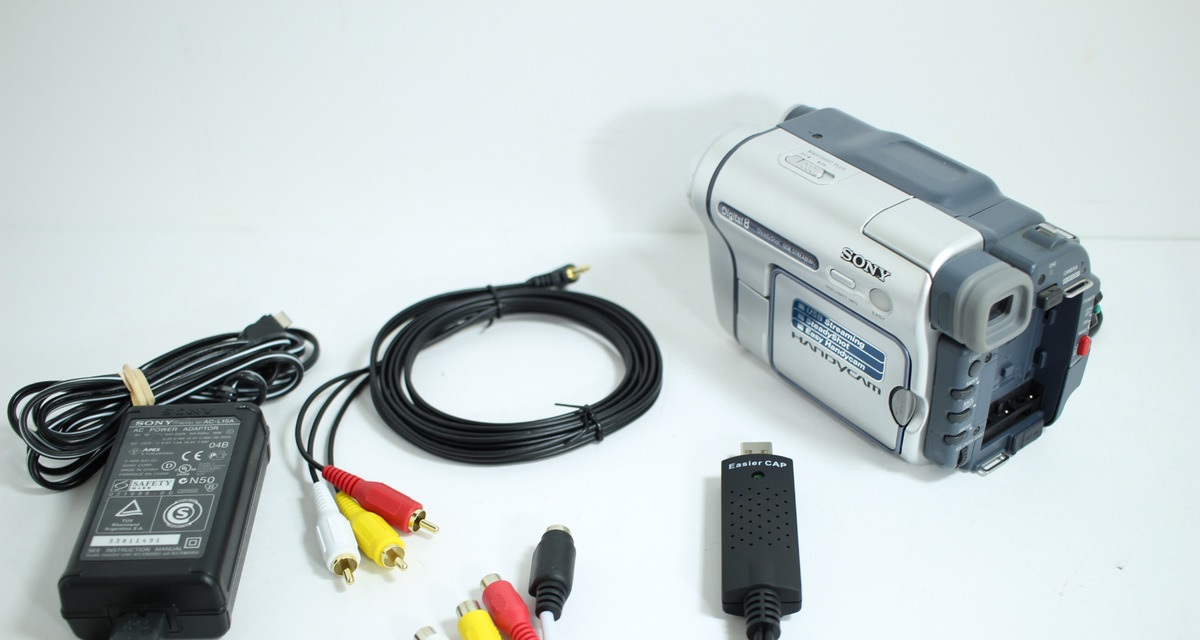
Before you can begin capturing video from your MiniDV camcorder, you must establish a seamless connection between the camcorder and your computer. This process typically involves using a FireWire (IEEE 1394) cable, as MiniDV camcorders rely on this high-speed interface for transferring video data.
To initiate the connection, ensure that your computer is equipped with a FireWire port. If your computer does not have a built-in FireWire port, you can use a FireWire adapter card to add this functionality. Once the hardware requirements are met, follow these steps to connect your MiniDV camcorder to your computer:
- Step 1: Power off your MiniDV camcorder and computer before making any connections.
- Step 2: Locate the FireWire port on your MiniDV camcorder and the corresponding FireWire port on your computer.
- Step 3: Insert one end of the FireWire cable into the FireWire port on your MiniDV camcorder and the other end into the FireWire port on your computer.
- Step 4: Power on your MiniDV camcorder and set it to VCR or Play mode, allowing the computer to recognize the device.
Once the connection is established, your computer should detect the MiniDV camcorder as a connected device, enabling you to proceed with capturing video using your preferred software. It is important to note that some modern computers may not have built-in FireWire ports, in which case a FireWire to USB adapter can be used to bridge the connection between the camcorder and the computer.
By successfully connecting your MiniDV camcorder to your computer, you have laid the foundation for transferring your cherished video recordings to a digital format, preserving them for future enjoyment and sharing. With the hardware connection in place, you are ready to embark on the next phase of capturing video from your MiniDV camcorder.
Capturing Video Using Windows
Windows provides a user-friendly platform for capturing video from your MiniDV camcorder, allowing you to preserve your precious memories with ease. The built-in Windows Movie Maker application, available in earlier versions of Windows, offers a straightforward method for capturing video from your MiniDV camcorder. If you are using a more recent version of Windows that does not include Windows Movie Maker, there are alternative software options available for video capture.
To capture video using Windows Movie Maker, follow these steps:
- Connect Your Camcorder: Ensure that your MiniDV camcorder is properly connected to your computer via a FireWire (IEEE 1394) cable, as outlined in the previous section.
- Open Windows Movie Maker: Launch the Windows Movie Maker application on your computer. If the software is not installed, you can explore alternative video capture software compatible with your Windows version.
- Import Your Video: In Windows Movie Maker, locate the option to import video from your camcorder. This may involve navigating to the “Import” or “Capture Video” feature within the software.
- Begin Capturing: Once your MiniDV camcorder is detected by the software, you can initiate the video capture process. Follow the on-screen instructions to start capturing your desired footage.
- Save Your Video: After capturing the video, you can save the footage to your computer’s hard drive, providing a digital copy of your MiniDV recording for future editing and sharing.
If you are using a Windows version that does not include Windows Movie Maker, there are third-party video capture software options available, such as Adobe Premiere Pro, Sony Vegas Pro, or other reputable video editing applications that support video capture from MiniDV camcorders.
By leveraging the video capture capabilities of Windows, you can seamlessly transfer your cherished MiniDV recordings to a digital format, preserving them for posterity and enabling you to unleash your creativity through video editing and sharing.
Capturing Video Using Mac
Mac computers offer a seamless and intuitive platform for capturing video from your MiniDV camcorder, empowering you to preserve your most treasured moments in digital format. With the help of the iMovie application, Mac users can effortlessly capture video from their MiniDV camcorders and begin the process of archiving and editing their precious recordings.
To capture video using iMovie on your Mac, follow these steps:
- Connect Your Camcorder: Ensure that your MiniDV camcorder is properly connected to your Mac computer via a FireWire (IEEE 1394) cable, establishing a reliable connection for video transfer.
- Launch iMovie: Open the iMovie application on your Mac. If iMovie is not installed, you can download it from the Mac App Store or explore alternative video capture software compatible with your Mac system.
- Import Your Video: In iMovie, navigate to the import feature and select the option to capture video from your connected MiniDV camcorder. The software should detect the camcorder and provide the necessary tools for video capture.
- Initiate Capture: Once your MiniDV camcorder is recognized by iMovie, you can begin capturing the desired video footage, following the on-screen instructions to ensure a smooth and seamless capture process.
- Save Your Video: After capturing the video, you can save the footage within iMovie, allowing you to access and edit the digital copy of your MiniDV recording for future sharing and enjoyment.
iMovie offers a user-friendly interface and robust video capture capabilities, making it an ideal solution for Mac users seeking to transfer their MiniDV recordings to a digital format. Additionally, Mac users can explore alternative video capture software options, such as Final Cut Pro, Adobe Premiere Pro, or other reputable applications that support video capture from MiniDV camcorders.
By harnessing the power of iMovie and other compatible video capture software, Mac users can seamlessly preserve their cherished MiniDV recordings, unlocking the potential for creative editing, sharing, and reliving those special moments captured on tape.
Troubleshooting Common Issues
While capturing video from your MiniDV camcorder, you may encounter common issues that can hinder the smooth transfer of your cherished recordings. Understanding and addressing these issues is essential for ensuring a seamless video capture process and preserving your memories without frustration. Let’s explore some common problems and their potential solutions:
- Connection Problems: If your computer fails to recognize the connected MiniDV camcorder, ensure that the FireWire (IEEE 1394) cable is securely connected to both devices. Additionally, restart your computer and camcorder to reset the connection.
- No Video Signal: If the video feed from your MiniDV camcorder is not displaying on your computer screen, verify that the camcorder is in VCR or Play mode and that the playback settings are configured correctly.
- Software Compatibility: If you encounter compatibility issues with the video capture software, ensure that you are using a compatible application for your operating system. Consider exploring alternative software options that support MiniDV video capture.
- Tape Playback Issues: If your MiniDV camcorder experiences difficulty playing back tapes, ensure that the tapes are inserted correctly and that the camcorder’s playback heads are clean and free from debris.
- Computer Hardware Requirements: If your computer lacks a built-in FireWire port, consider using a FireWire to USB adapter to establish a connection between your MiniDV camcorder and computer. Ensure that the adapter is compatible with your system.
It is important to approach these troubleshooting steps methodically, starting with the most basic solutions and progressing to more advanced measures if necessary. By addressing common issues that may arise during the video capture process, you can overcome technical hurdles and ensure a seamless transfer of your MiniDV recordings to your computer.
Should you encounter persistent issues that cannot be resolved through basic troubleshooting, consider seeking assistance from technical support resources, online forums, or professional service providers specializing in digital video equipment. With perseverance and the right resources, you can overcome common issues and continue preserving your cherished MiniDV footage with confidence.
Conclusion
Capturing video from your MiniDV camcorder and transferring it to your computer opens a gateway to preserving and sharing cherished memories in a digital format. Throughout this guide, you have gained valuable insights into the process of connecting your MiniDV camcorder to your computer, capturing video using both Windows and Mac operating systems, and troubleshooting common issues that may arise during the video capture process.
By understanding the intricacies of MiniDV camcorders and leveraging the capabilities of your computer’s operating system, you have unlocked the potential to digitize and safeguard your most treasured moments with ease. Whether you are a novice videographer or a seasoned enthusiast, the knowledge and skills acquired in this guide have equipped you to embark on a captivating journey of preserving and sharing your MiniDV recordings.
As you venture into the realm of digital video capture, remember that patience and perseverance are key allies in overcoming technical challenges that may arise. By maintaining a methodical approach to troubleshooting and seeking assistance when needed, you can navigate the intricacies of video transfer with confidence and precision.
With your MiniDV camcorder and computer in harmony, you are poised to embark on a creative voyage, editing and sharing your digitized recordings to relive and celebrate the moments that matter most. The fusion of technology and nostalgia empowers you to weave captivating stories from your video archives, enriching the lives of those who experience the magic of your captured memories.
Embrace the art of digital preservation, and let your MiniDV recordings transcend the confines of tape, resonating with timeless significance in the digital realm. Your journey to capture and preserve video from your MiniDV camcorder is not merely a technical endeavor; it is a celebration of the human experience, encapsulated in pixels and imbued with the essence of life’s most poignant moments.
As you navigate the landscape of digital video capture, may your MiniDV recordings serve as timeless testaments to the beauty of the past, the joy of the present, and the promise of the future.