Introduction
Are you facing the frustration of a stuck VHS tape in your Toshiba camcorder? Don't worry; you're not alone. It's a common issue that many users encounter. Fortunately, there's a simple and effective way to manually eject the tape without causing damage to your camcorder or the tape itself.
In this step-by-step guide, we'll walk you through the process of safely removing a stuck VHS tape from your Toshiba camcorder. By following these instructions, you can avoid potential damage to your valuable recordings and get your camcorder back in working order.
Whether you're dealing with a vintage home movie or important footage, it's essential to handle the tape with care to prevent any potential damage. With the right approach and a gentle touch, you can safely eject the tape and continue enjoying your cherished memories.
Now, let's dive into the step-by-step process of manually ejecting a VHS tape from your Toshiba camcorder. With a few simple steps, you'll be able to free the tape and resume capturing new memories with your reliable camcorder.
Step 1: Remove the Battery
Before attempting to manually eject the VHS tape from your Toshiba camcorder, it’s crucial to ensure that the power source is completely disconnected to prevent any potential electrical hazards. Start by removing the battery from the camcorder to eliminate any active power supply.
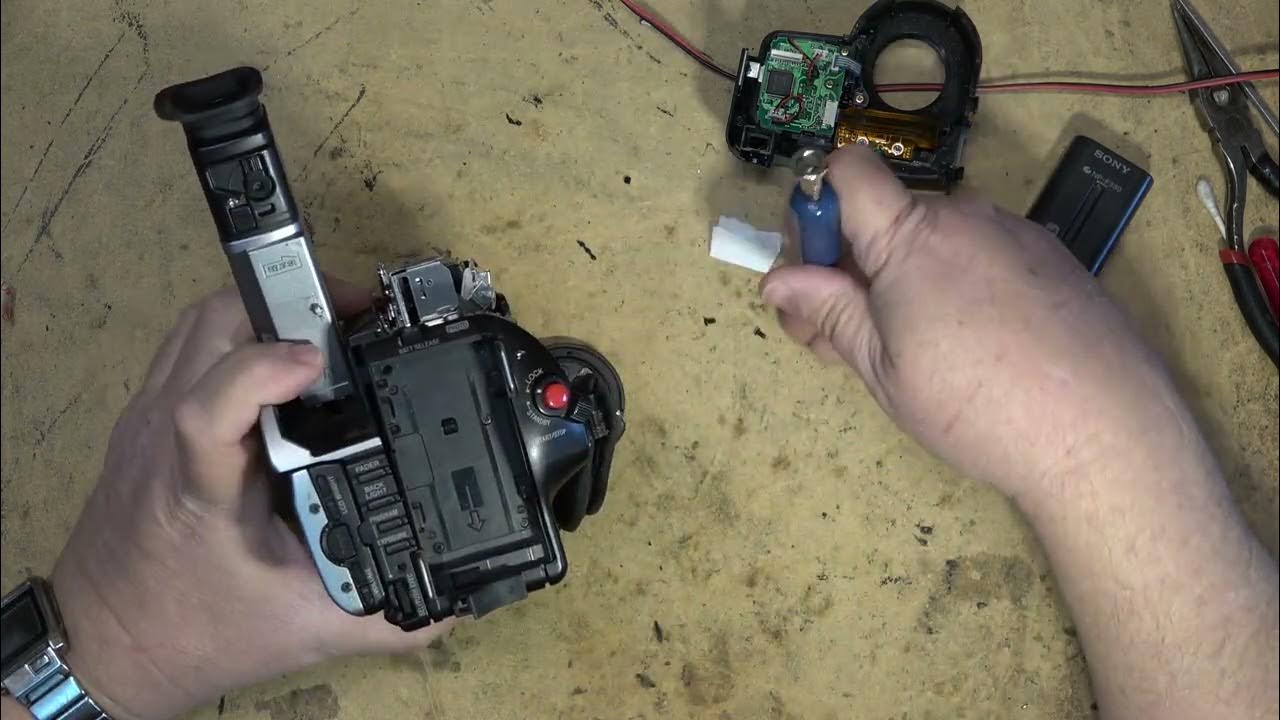
Locate the battery compartment on your Toshiba camcorder. Depending on the model, this may be on the back or bottom of the device. Carefully release the latch or button that secures the battery in place, and then slide the battery out of the compartment. Make sure to handle the battery with care and set it aside in a safe location away from the camcorder.
By removing the battery, you effectively cut off the power source to the camcorder, reducing the risk of electrical issues during the tape ejection process. This precautionary step is essential for your safety and the well-being of your camcorder.
With the battery removed, you can proceed to the next steps with the confidence that the camcorder is safely powered down. This sets the stage for a smooth and secure manual ejection process, allowing you to address the stuck VHS tape without any electrical concerns.
Now that the power source has been disconnected, you’re ready to move on to the next step in the process of manually ejecting the VHS tape from your Toshiba camcorder.
Step 2: Locate the Eject Button
After safely removing the battery from your Toshiba camcorder, the next step is to locate the eject button. The eject button is a crucial component for manually releasing the stuck VHS tape from the camcorder’s internal mechanism.
Depending on the model of your Toshiba camcorder, the eject button may be positioned in different areas. Typically, it is located near the tape compartment or on the side of the camcorder. Take a moment to visually inspect the camcorder and look for a button or lever marked with the “eject” symbol.
If you’re having trouble identifying the eject button, refer to the user manual that came with your camcorder. The manual will provide specific instructions and illustrations to help you pinpoint the location of the eject button on your particular model.
Once you’ve located the eject button, take note of its size and position to prepare for the next step in the manual ejection process. Familiarizing yourself with the button’s location will streamline the procedure and ensure that you can proceed with confidence.
With the eject button identified, you’re now ready to move on to the next step in manually ejecting the VHS tape from your Toshiba camcorder.
Step 3: Press and Hold the Eject Button
Having located the eject button on your Toshiba camcorder, the next crucial step in the manual ejection process is to press and hold the eject button. This action triggers the internal mechanism of the camcorder, initiating the release of the stuck VHS tape.
With the camcorder powered off and the eject button identified, use your finger to firmly press and hold the eject button. Apply steady pressure to engage the mechanism, allowing it to begin the process of releasing the tape from its current position within the camcorder.
It’s important to exercise patience while holding the eject button, as the mechanism may take a few moments to respond. Avoid releasing the button prematurely, as this could interrupt the ejection process and prolong the tape’s removal from the camcorder.
While holding the eject button, listen for any mechanical sounds or movements within the camcorder. These audible cues can indicate that the ejection process is underway and that the tape is being carefully dislodged from its stuck position.
Continue holding the eject button until you observe visible signs of the tape being released, such as the tape compartment opening or the tape itself starting to protrude from the camcorder. This step is critical in facilitating the safe and successful manual ejection of the VHS tape.
By pressing and holding the eject button, you are actively engaging the camcorder’s internal mechanism to free the stuck VHS tape. With this step completed, you’re ready to proceed to the next phase of the manual ejection process.
Step 4: Gently Pull the Tape Out
As the camcorder’s internal mechanism responds to the activation of the eject button, you’ll notice the tape beginning to protrude from the tape compartment. Once the tape is partially visible, it’s time to carefully and gently pull it out of the camcorder.
Using a delicate touch, grasp the protruding section of the VHS tape and slowly pull it out in the direction of the tape compartment’s opening. Exercise caution to avoid applying excessive force or pulling the tape too abruptly, as this could potentially damage the tape or the camcorder’s internal components.
While pulling the tape, pay close attention to any resistance or sticking points. If you encounter resistance, refrain from forcing the tape out. Instead, gently wiggle the tape back and forth while continuing to pull, allowing it to gradually disengage from the camcorder’s mechanism.
It’s essential to maintain a steady and even pull, ensuring that the tape emerges smoothly from the camcorder without becoming snagged or tangled. By exercising patience and gentle handling, you can minimize the risk of causing any further complications during the manual ejection process.
Continue pulling the tape until it is completely free from the camcorder’s tape compartment. Once the tape is successfully removed, set it aside in a safe and secure location, taking care to protect it from any potential damage or debris.
With the VHS tape safely extracted from the camcorder, you’ve completed a critical phase of the manual ejection process. Now, it’s time to prepare for the final steps to ensure that your Toshiba camcorder is ready to resume normal operation.
Step 5: Reinsert the Battery and Test the Camcorder
With the VHS tape successfully removed from your Toshiba camcorder, it’s time to reinsert the battery and test the functionality of the camcorder to ensure that it’s operating smoothly without any lingering issues.
Begin by retrieving the battery that you removed earlier in the process. Carefully align the battery with the compartment on the camcorder and gently slide it back into place, ensuring that it securely clicks or locks into position. This step restores the power source to the camcorder, allowing it to be powered on for testing.
Once the battery is reinserted, power on the Toshiba camcorder to verify that it functions as expected. Check the display screen and controls for any error messages or indicators of malfunction. If the camcorder powers on without any issues, proceed to test its recording and playback capabilities to confirm that it’s fully operational.
Insert a different VHS tape into the camcorder and initiate a recording or playback session to assess its performance. Pay close attention to the tape-loading mechanism and ensure that it operates smoothly without any unusual sounds or malfunctions.
By testing the camcorder with a new tape, you can verify that the manual ejection process has not caused any lasting damage to the internal components or the tape-loading mechanism. This step is crucial for ensuring that your Toshiba camcorder is in optimal working condition.
If the camcorder functions flawlessly during the testing phase, you can rest assured that the manual ejection process was successful and that your device is ready to continue capturing precious memories without any hindrances.
By completing the process of reinserting the battery and testing the camcorder, you’ve taken the final steps in resolving the issue of a stuck VHS tape in your Toshiba camcorder. With the camcorder back in working order, you can confidently resume using it to preserve and create new memories for years to come.