Introduction
Are you tired of the grainy, low-resolution video from your laptop's built-in camera during Skype calls? Do you wish to upgrade your video quality for virtual meetings, online classes, or catching up with friends and family? If you have a camcorder gathering dust in your closet, it's time to put it to good use as your Skype camera.
In this comprehensive guide, we will walk you through the step-by-step process of transforming your camcorder into a high-quality webcam for Skype. By following these simple instructions, you can elevate your video conferencing experience and make a lasting impression during your virtual interactions.
Whether you're a professional looking to enhance your online presence or a student aiming to stand out in remote learning environments, utilizing your camcorder as a Skype camera can significantly improve the clarity and overall visual appeal of your video calls. With the right setup and configuration, you can enjoy crisp, clear video that captures every detail with precision.
Now, let's delve into the specifics of setting up and using your camcorder as a Skype camera, empowering you to make a seamless transition to professional-grade video quality for all your virtual communications.
Setting up the Camcorder
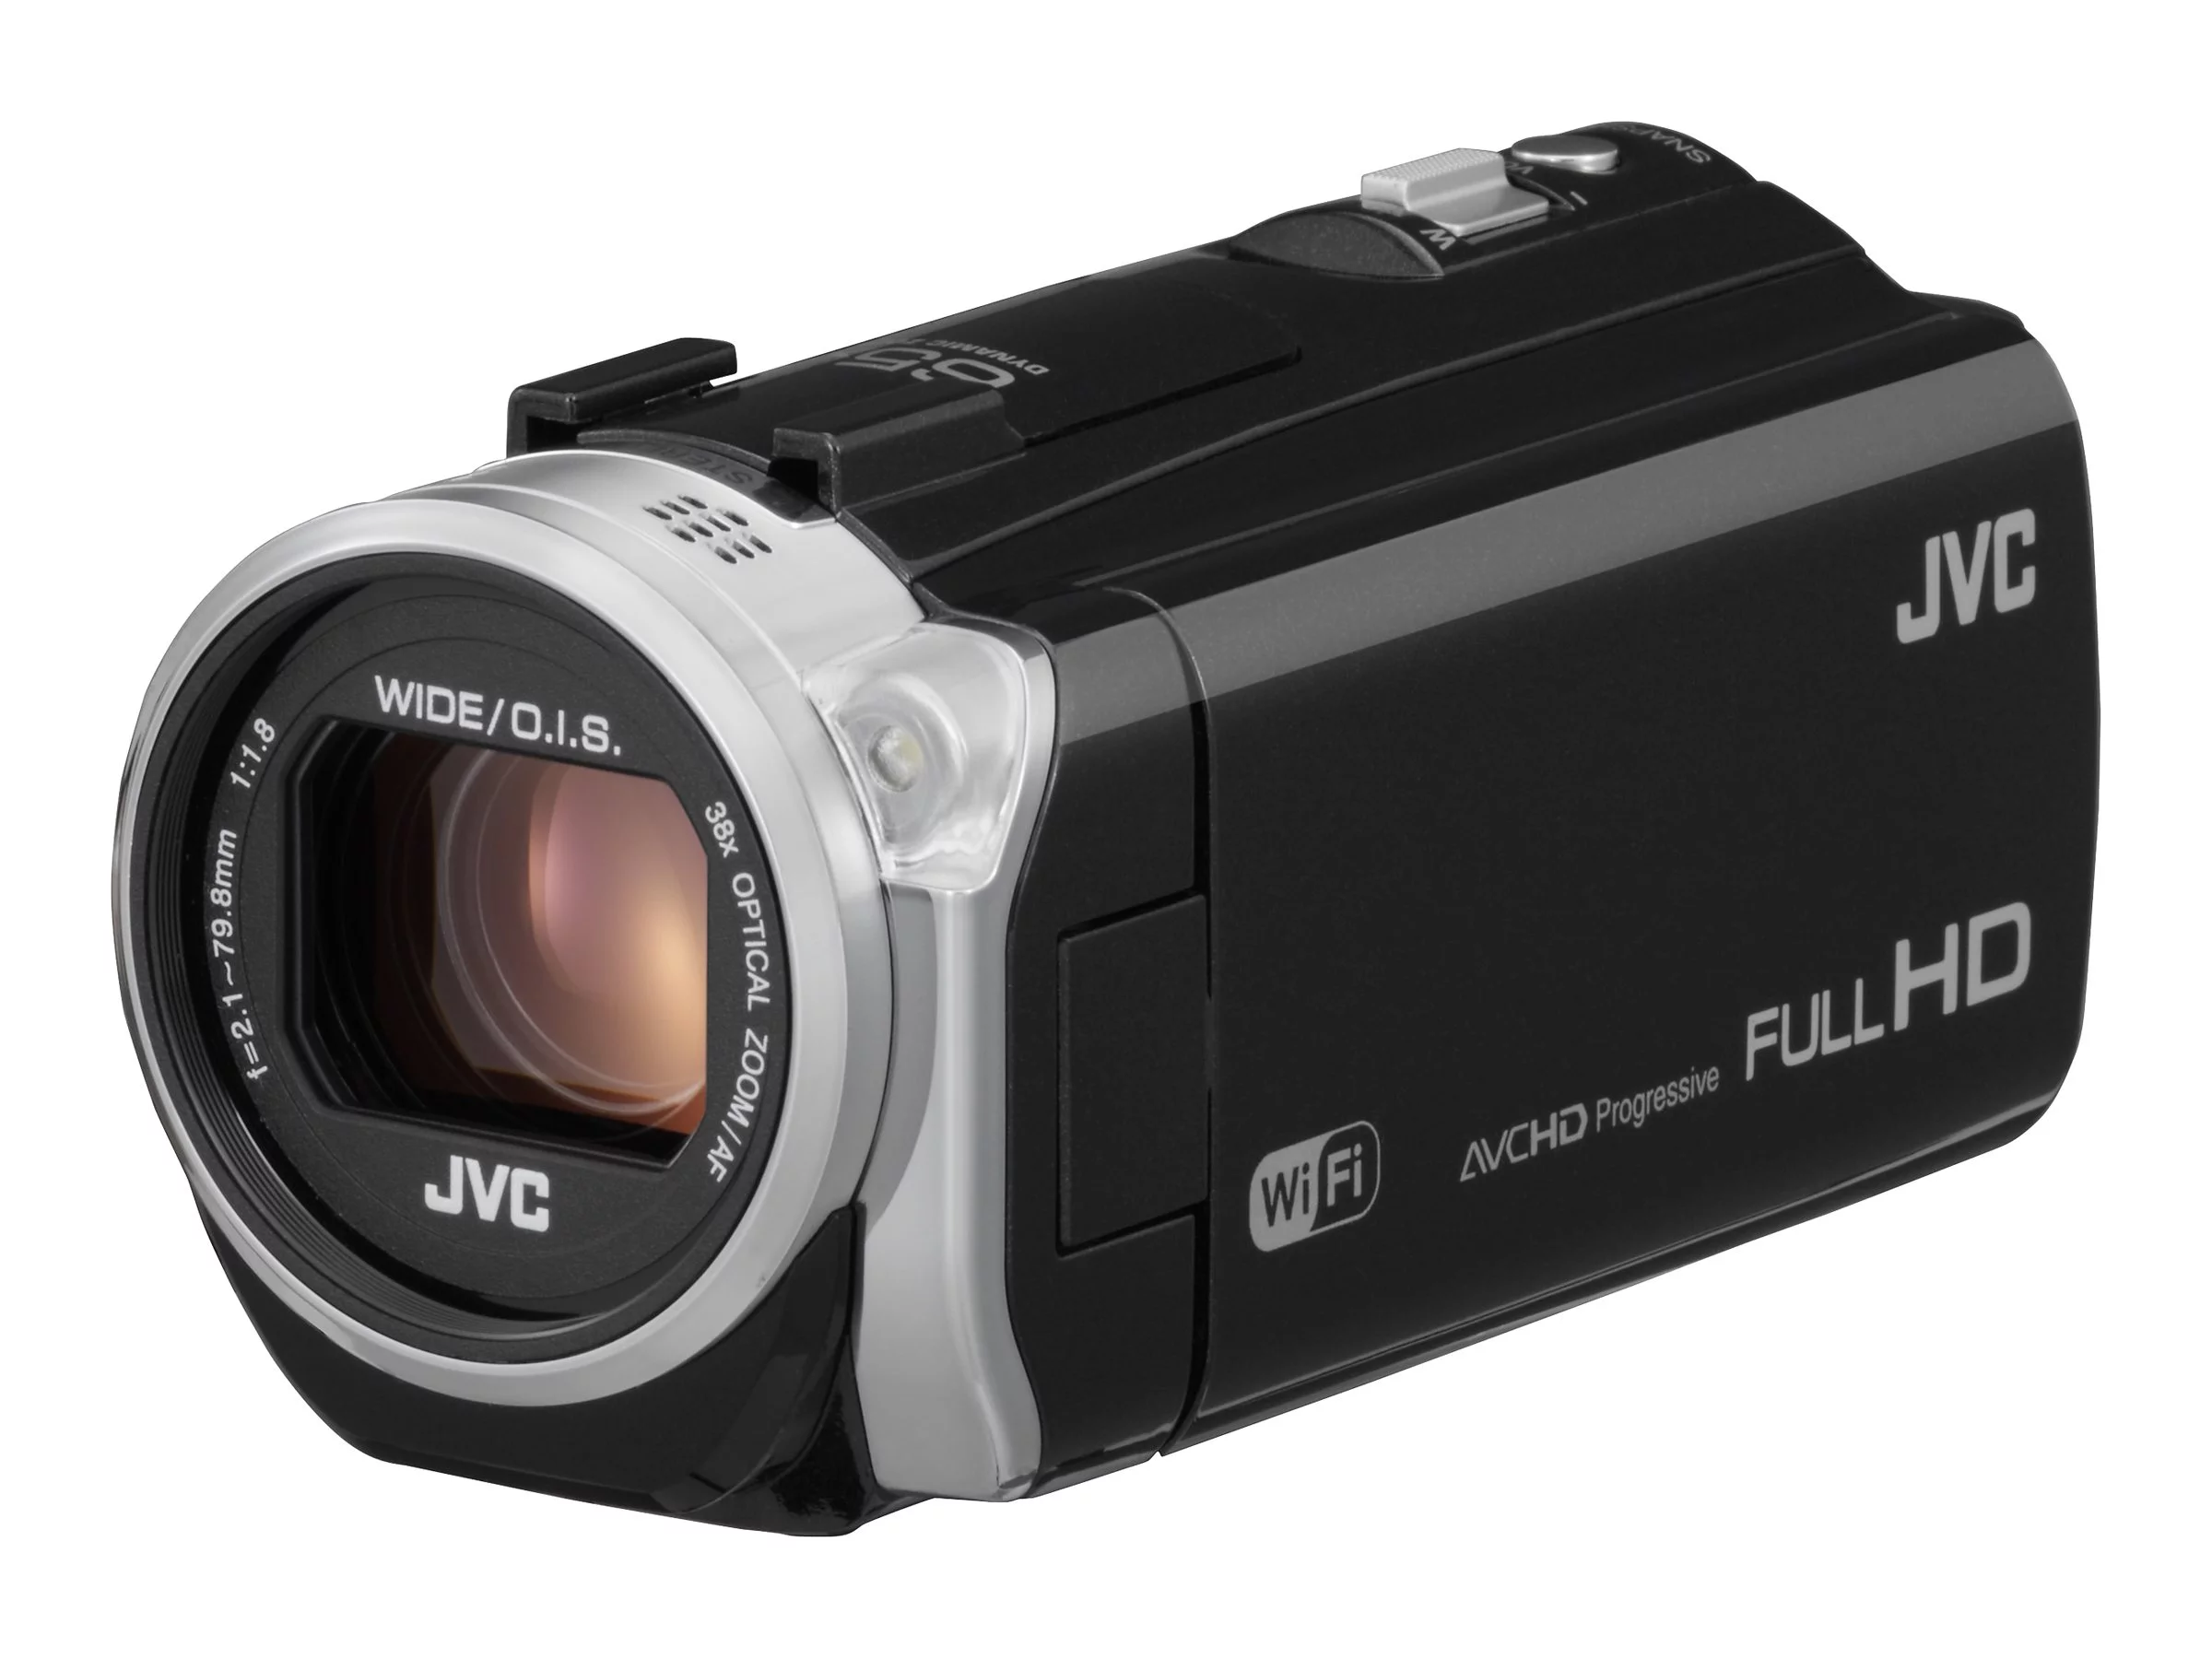
Before diving into the technical aspects of connecting your camcorder to your computer, it’s essential to ensure that the camcorder itself is in optimal condition for use as a Skype camera. Start by checking the camcorder’s battery level and connecting it to a power source if necessary. This will prevent any interruptions during your video calls due to the camcorder running out of power.
Next, evaluate the physical condition of the camcorder. Wipe the lens with a microfiber cloth to remove any dust or smudges that could affect the video quality. Additionally, consider the camcorder’s stability during use. If you plan to mount it on a tripod or any other support, ensure that the mounting mechanism is secure and stable to prevent any unwanted movement or shaking during your calls.
Furthermore, familiarize yourself with the camcorder’s controls and settings. Ensure that you understand how to adjust the focus, zoom, and other relevant features to optimize the video output. Taking the time to become comfortable with the camcorder’s functionality will enable you to make real-time adjustments as needed during your Skype calls.
Lastly, if your camcorder supports external microphones or audio input, consider connecting a high-quality microphone to enhance the audio quality of your calls. Clear and crisp audio is just as important as high-definition video, and the combination of both will significantly improve your overall communication experience.
By preparing your camcorder meticulously, you can ensure that it is ready to deliver exceptional video quality for your Skype calls, setting the stage for professional-grade virtual interactions.
Connecting the Camcorder to Your Computer
Once you have prepared your camcorder for use as a Skype camera, the next step is to establish a seamless connection between the camcorder and your computer. This connection will allow your computer to recognize the camcorder as a video input device, enabling you to use it as your primary camera for Skype calls.
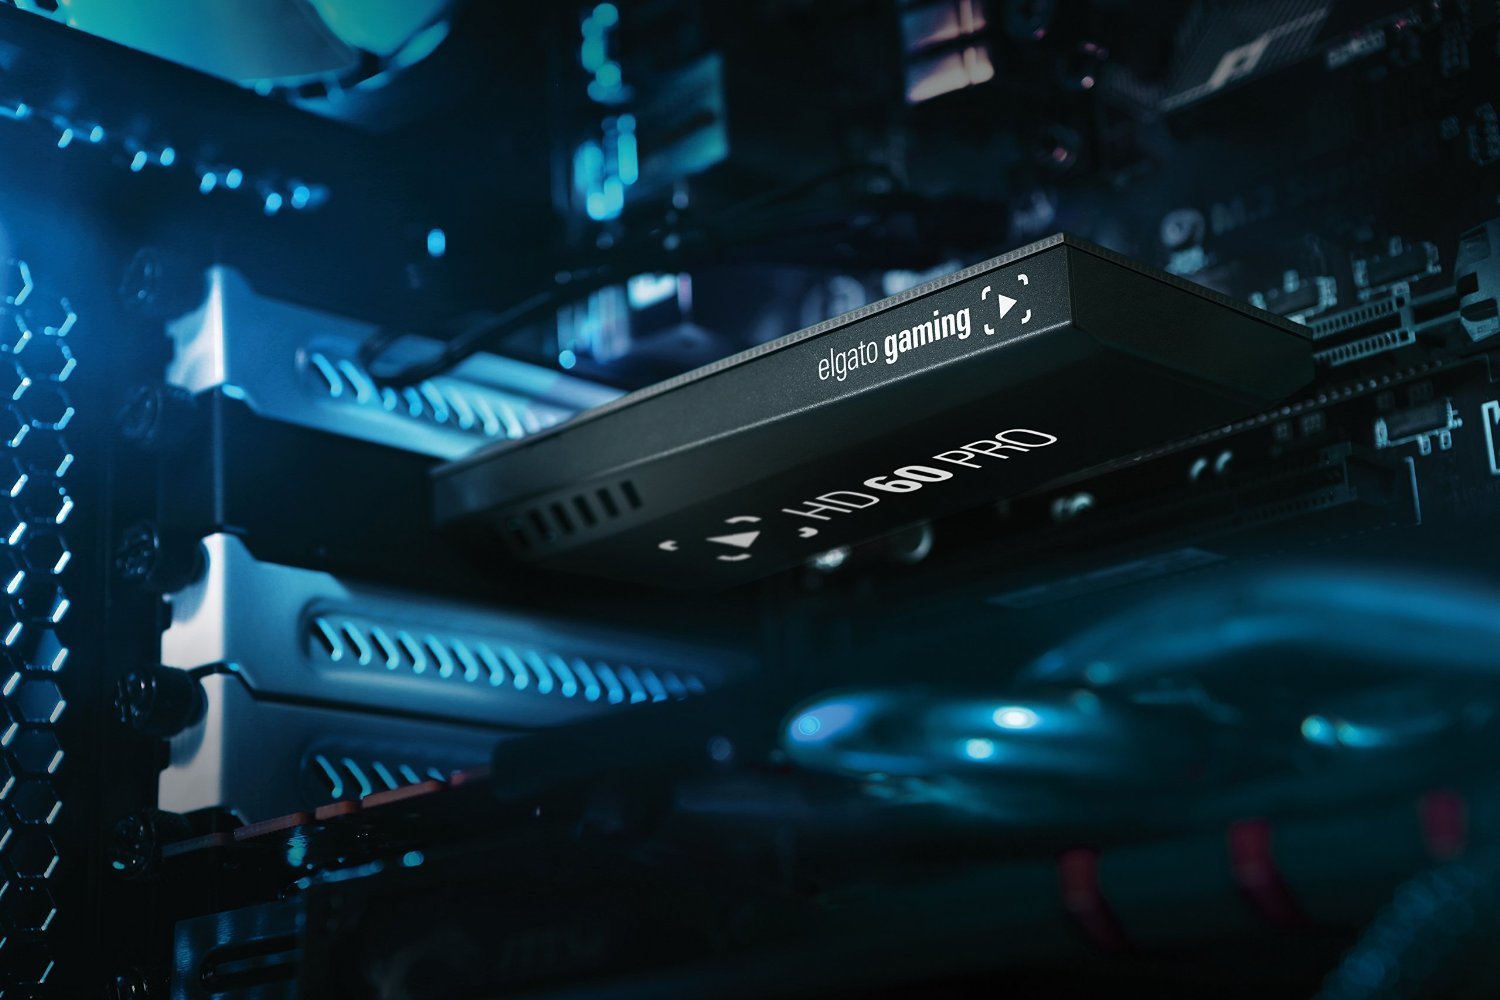
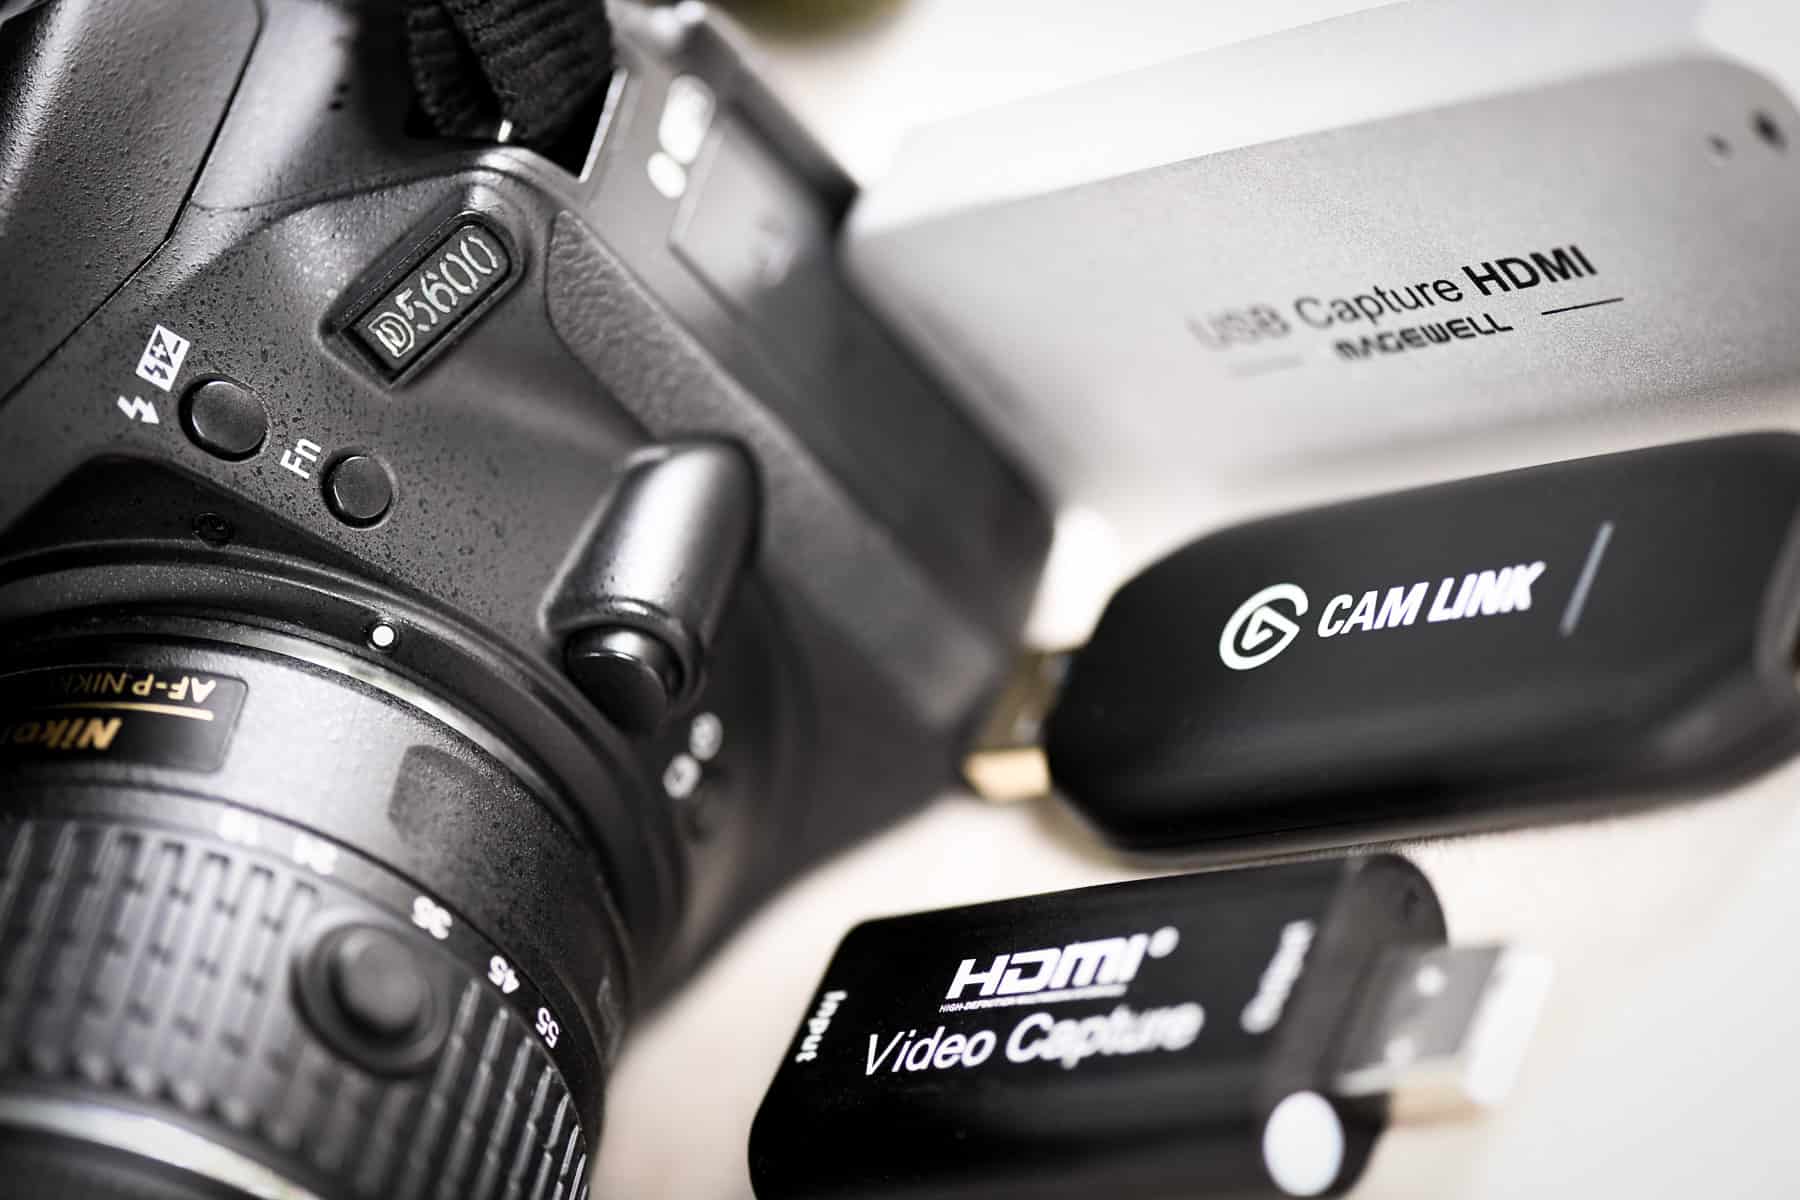
First and foremost, determine the type of output ports available on your camcorder. Most modern camcorders feature an HDMI or USB output, which are the preferred options for connecting to a computer. If your camcorder has an HDMI output, you can directly connect it to your computer using an HDMI capture device. This device acts as an intermediary between the camcorder and the computer, allowing the video signal to be transmitted and recognized by the computer as a webcam feed.
If your camcorder has a USB output, you may be able to connect it directly to your computer using a USB cable. Once connected, your computer should detect the camcorder as a video input device, and you can proceed to configure it within the Skype settings.
It’s important to note that some older camcorders may not have HDMI or USB outputs. In such cases, you may need to explore alternative solutions, such as using an analog-to-digital video converter to capture the camcorder’s output and feed it into your computer via a compatible input port.
Regardless of the connection method, ensure that the necessary drivers or software for the camcorder are installed on your computer. This will facilitate smooth communication between the camcorder and your computer, allowing for seamless video transmission during Skype calls.
By establishing a reliable connection between your camcorder and computer, you pave the way for harnessing the full potential of your camcorder as a high-quality Skype camera, delivering unparalleled video clarity and detail to your virtual interactions.
Adjusting Settings for Skype
Before initiating your Skype calls with the camcorder as the primary camera, it’s crucial to configure the settings within the Skype application to ensure optimal compatibility and performance. By adjusting these settings, you can fine-tune the video and audio inputs to fully leverage the capabilities of your camcorder, resulting in a professional-grade communication experience.
Start by launching the Skype application on your computer and accessing the settings menu. Within the settings, navigate to the “Audio & Video” section, where you can specify the default camera and microphone to be used during calls. Here, you should be able to select your camcorder as the preferred camera input. If the camcorder is properly connected and recognized by your computer, it should appear as an available video input device in the dropdown menu.
Once you have selected the camcorder as the default camera, proceed to the video settings to adjust the resolution and frame rate. Depending on the capabilities of your camcorder, you may have the option to set the video resolution to high-definition (HD) settings, such as 720p or 1080p, for an exceptionally clear and detailed video feed. Additionally, consider adjusting the frame rate to ensure smooth and fluid motion during your calls.
Furthermore, if your camcorder supports advanced features such as manual focus, exposure control, or white balance adjustments, take advantage of these settings to fine-tune the visual output according to your preferences. These adjustments can significantly enhance the overall quality and aesthetics of the video feed, allowing you to present yourself in the best possible light during Skype calls.
Once the video settings are configured, proceed to the audio settings within Skype to ensure that the camcorder’s audio input is selected. If you have connected an external microphone to the camcorder, ensure that it is recognized as the primary audio input device for clear and crisp sound transmission.
By meticulously adjusting the settings within Skype to accommodate the capabilities of your camcorder, you can unlock its full potential as a high-performance webcam, elevating your virtual communications to a professional standard with unparalleled video and audio quality.
Using the Camcorder as Your Skype Camera
With the camcorder successfully connected to your computer and the settings adjusted within Skype, you are now ready to harness the power of your camcorder as the primary camera for your Skype calls. The transition to using the camcorder as your Skype camera brings with it a host of benefits, including enhanced video quality, improved clarity, and the ability to showcase yourself or your surroundings in stunning detail.
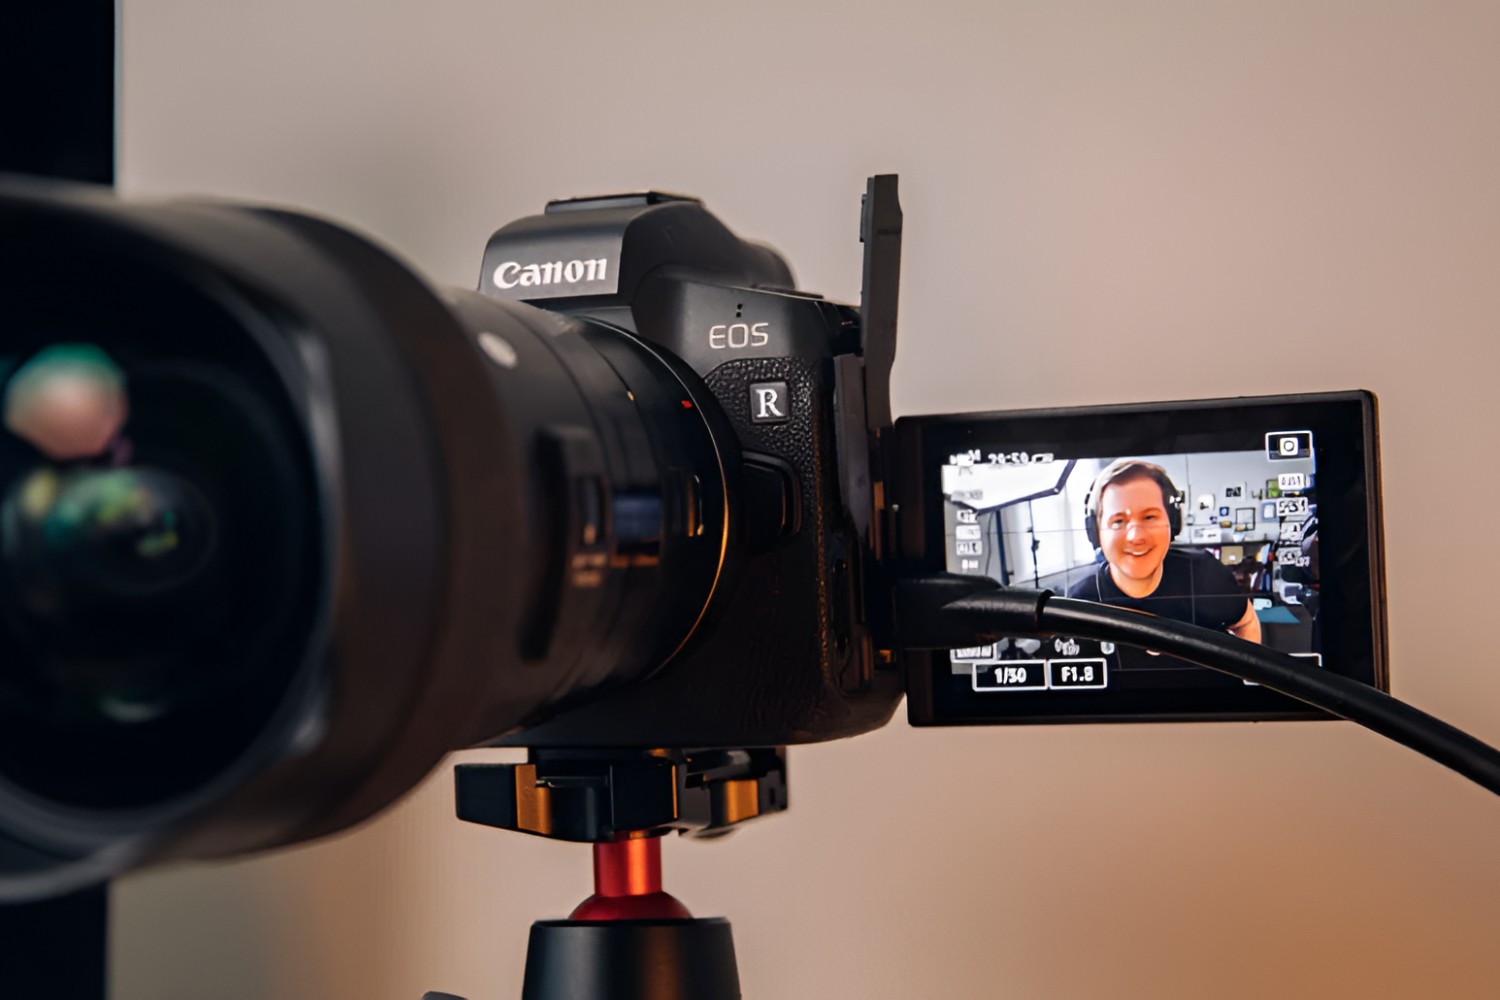
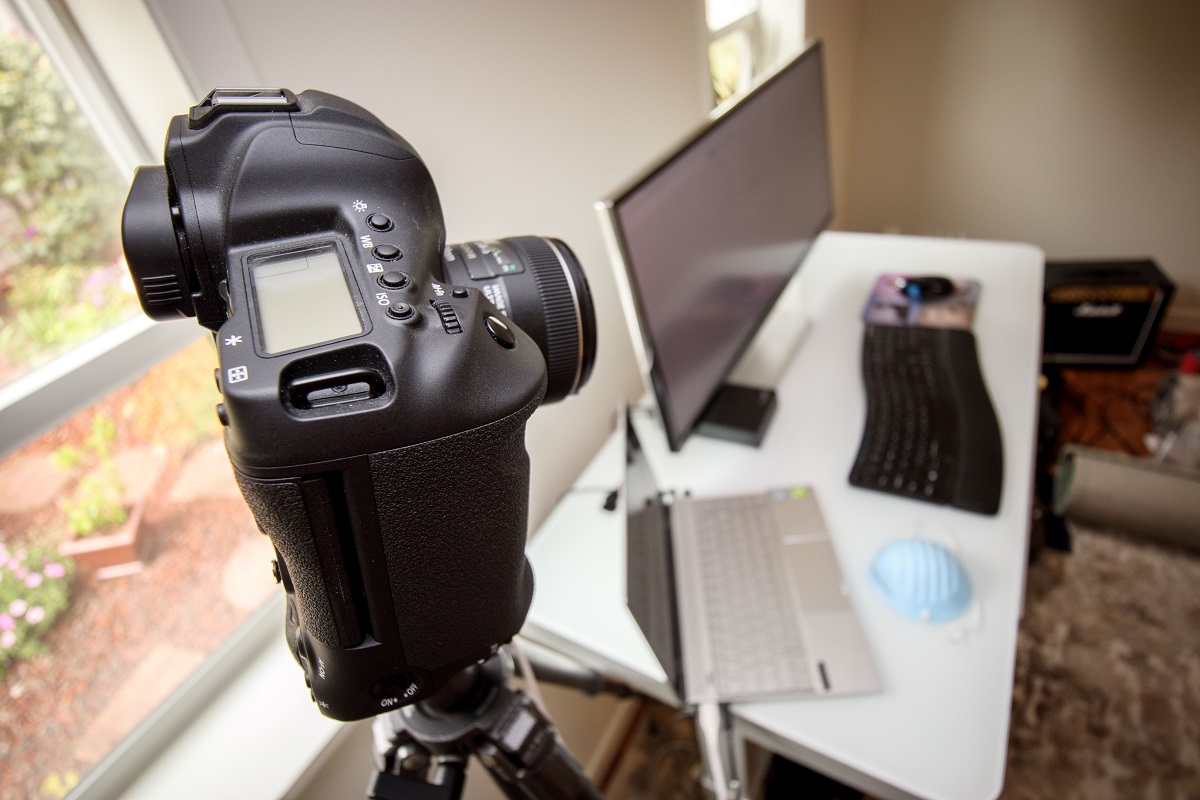
To initiate a Skype call using the camcorder as your primary camera, simply launch the Skype application and begin a video call as you normally would. Once the call is in progress, ensure that the camcorder is positioned and oriented to capture the desired framing and composition. Take advantage of the camcorder’s zoom and focus controls to adjust the framing in real time, allowing you to present yourself or your surroundings with precision and clarity.
As the call progresses, monitor the video feed from the camcorder to ensure that the lighting, exposure, and overall visual quality meet your expectations. If necessary, make real-time adjustments to the camcorder’s settings to optimize the video output, taking advantage of the camcorder’s advanced features to deliver a polished and professional visual presentation.
Throughout the call, take advantage of the superior video quality offered by the camcorder to convey your message with impact and professionalism. Whether you are engaging in a business meeting, participating in a virtual interview, or connecting with loved ones, the use of the camcorder as your Skype camera elevates the visual experience, allowing you to make a lasting impression with crystal-clear video and vibrant colors.
Furthermore, the use of the camcorder as your primary camera opens up creative possibilities for showcasing your environment, whether it’s a home office, a classroom, or any other setting. The high-definition video output from the camcorder allows you to present your surroundings in exquisite detail, adding depth and visual appeal to your Skype calls.
By seamlessly integrating the camcorder into your Skype calls, you can leverage its exceptional video quality to elevate your virtual interactions, effectively communicating your message with unparalleled clarity and professionalism.
Tips for Better Video Quality
While using a camcorder as your Skype camera can significantly enhance the visual quality of your video calls, incorporating a few additional tips and best practices can further elevate the overall video quality, ensuring a professional and engaging communication experience.
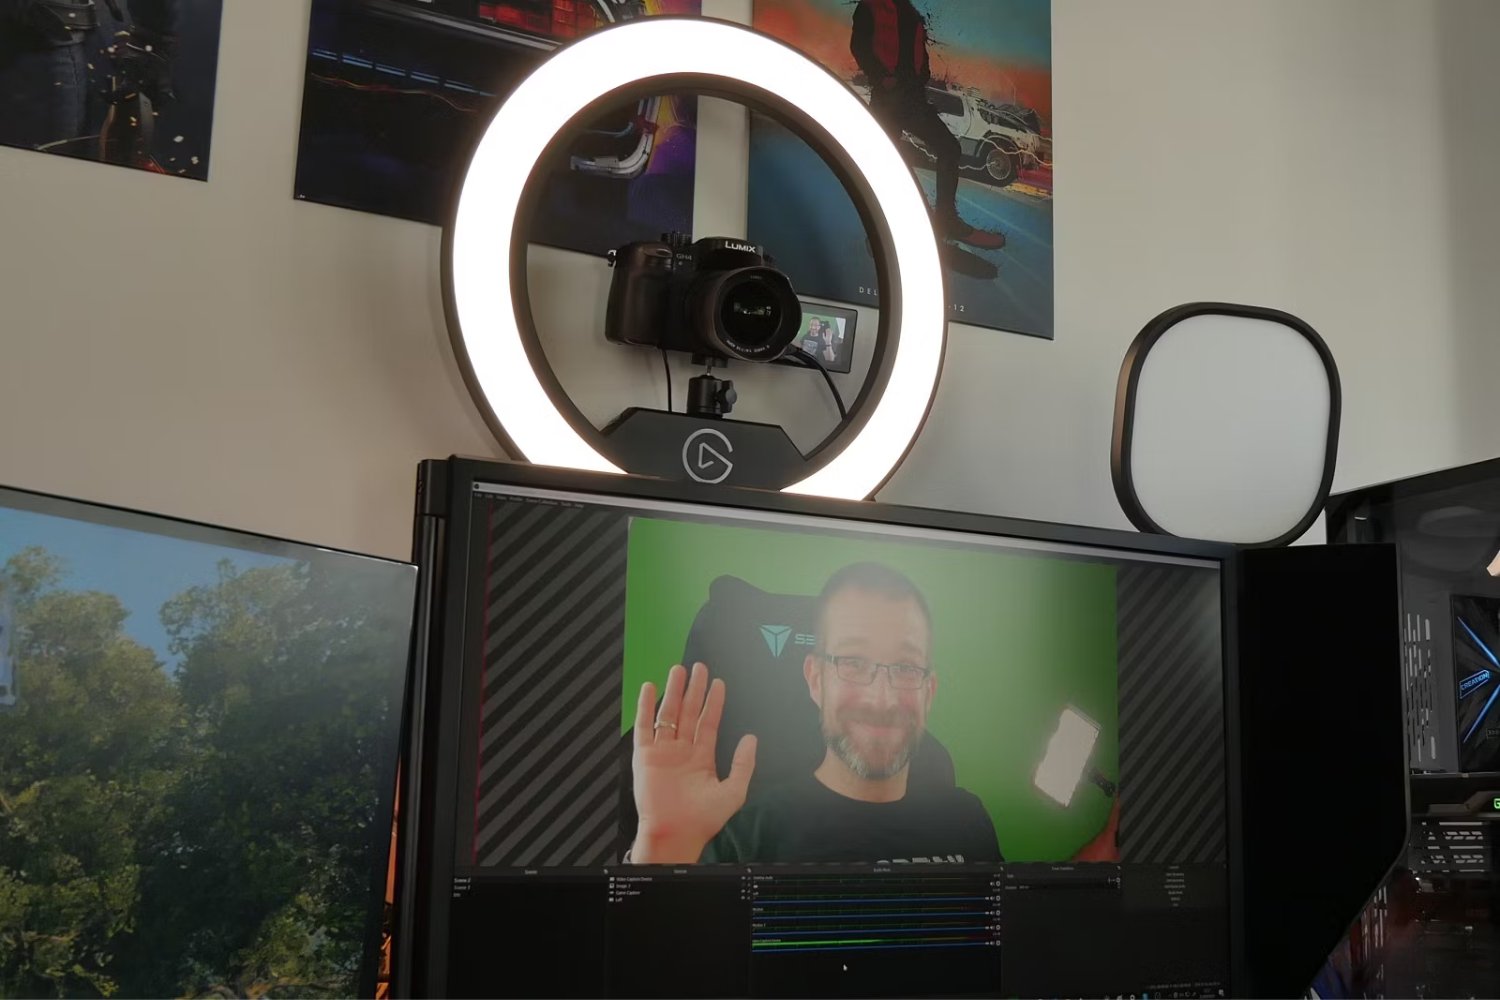
- Optimize Lighting: Pay careful attention to the lighting in your environment. Well-balanced, diffused lighting can greatly enhance the clarity and detail captured by the camcorder, resulting in a more professional and flattering visual presentation. Consider utilizing soft, natural light sources or investing in adjustable LED lighting to achieve optimal illumination.
- Stable Mounting: To minimize unwanted camera shake and ensure a steady, professional-looking video feed, securely mount the camcorder on a stable surface or tripod. This will enhance the overall visual appeal of your video calls and convey a sense of professionalism and stability.
- Audio Quality: In addition to video quality, prioritize clear and crisp audio. Invest in a high-quality external microphone to capture your voice with clarity and precision, complementing the exceptional video output from the camcorder and delivering a well-rounded communication experience.
- Background Considerations: Pay attention to the background of your video feed. Choose a clean, uncluttered background that complements your appearance and conveys professionalism. Consider utilizing virtual backgrounds if your environment is not conducive to a professional setting.
- Camera Positioning: Experiment with different camera angles and positions to find the most flattering and visually appealing composition. A well-framed shot can significantly enhance the overall impact of your video calls, allowing you to present yourself or your surroundings in the best possible light.
- Regular Maintenance: Keep your camcorder in optimal condition by regularly cleaning the lens and ensuring that it is free from dust and smudges. Additionally, check for any firmware updates or software enhancements that may further improve the camcorder’s performance as a webcam.
By implementing these tips and best practices, you can maximize the potential of your camcorder as a Skype camera, delivering exceptional video quality and presenting yourself with professionalism and clarity during all your virtual interactions.
Conclusion
Transforming your camcorder into a high-quality webcam for Skype opens up a world of possibilities for enriching your virtual communications. By following the steps outlined in this guide, you can harness the full potential of your camcorder, elevating the visual quality of your Skype calls and making a lasting impression in professional and personal settings alike.
From the meticulous setup of the camcorder to the seamless integration with your computer and Skype settings, you have unlocked the power of professional-grade video quality for your virtual interactions. The use of the camcorder as your primary camera allows you to present yourself or your environment with exceptional clarity, vibrant colors, and striking detail, setting a new standard for your video calls.
Furthermore, the tips and best practices provided offer valuable insights into optimizing the visual and audio aspects of your video calls, ensuring that every interaction is characterized by professionalism, clarity, and engaging visual appeal. By paying attention to lighting, stability, audio quality, and background considerations, you can create a compelling and polished video presence during all your Skype calls.
As you continue to leverage your camcorder as a Skype camera, remember to maintain and update its settings and configurations to stay at the forefront of video communication quality. Regular maintenance and periodic adjustments will ensure that your camcorder continues to deliver exceptional performance, allowing you to consistently present yourself with professionalism and impact.
In conclusion, the transition to using a camcorder as your Skype camera empowers you to elevate your virtual communications, whether it’s for work, education, or connecting with loved ones. The exceptional video quality and attention to detail afforded by the camcorder enable you to make a memorable impression and convey your message with clarity and professionalism in every Skype call.
Embrace the capabilities of your camcorder as a webcam, and embark on a journey of visually stunning and impactful virtual interactions, setting a new standard for video communication excellence.