Introduction
Adding a camcorder to Skype can greatly enhance your video calling experience, allowing you to enjoy higher video quality, better focus, and improved overall performance. By integrating a camcorder, you can take advantage of its advanced features, such as optical zoom, image stabilization, and superior low-light performance, to enrich your Skype conversations.
In this comprehensive guide, you will learn how to seamlessly integrate your camcorder into Skype, ensuring that you can make the most of its capabilities during video calls. Whether you are a professional looking to conduct business meetings with a professional setup or an individual seeking to elevate your video calling experience, this step-by-step tutorial will walk you through the process, making it accessible and straightforward.
By following the instructions provided in this guide, you will be able to set up your camcorder with Skype quickly and efficiently, enabling you to enjoy crystal-clear video quality and enhanced functionality during your video calls. So, let’s dive in and explore the steps to seamlessly add your camcorder to Skype!
Step 1: Check Camcorder Compatibility
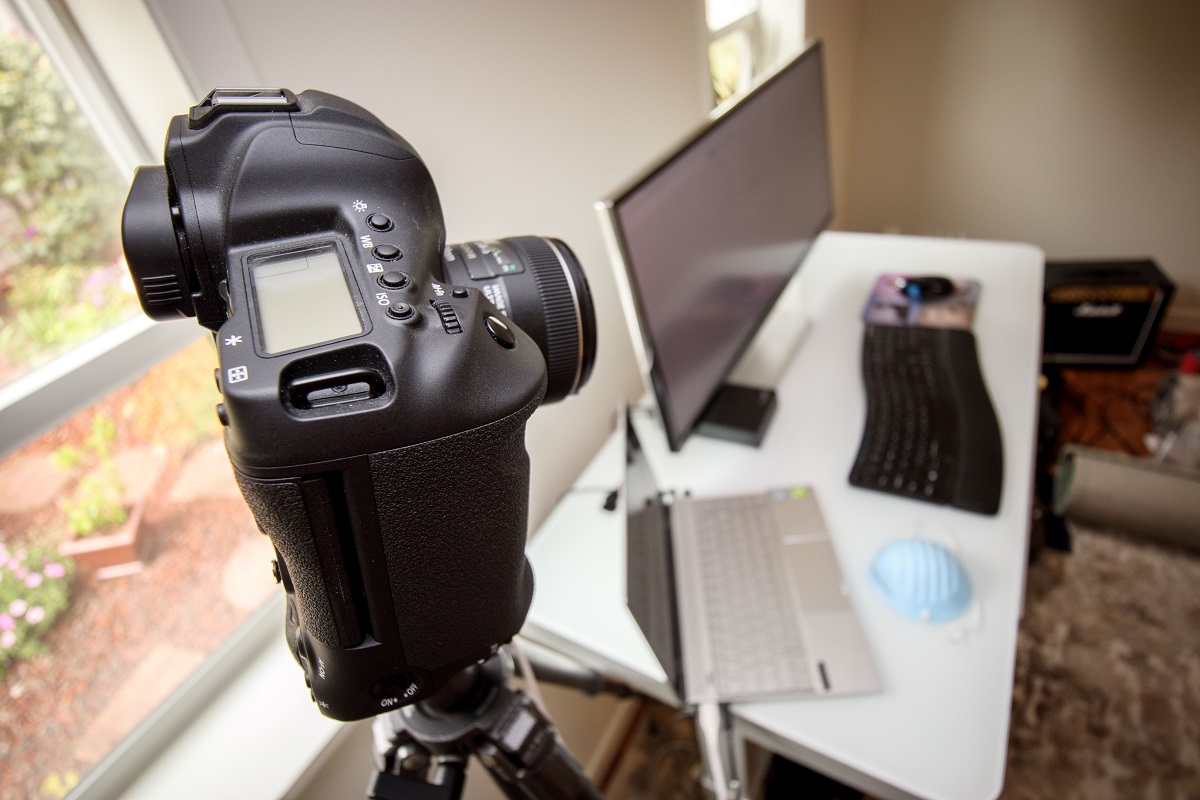
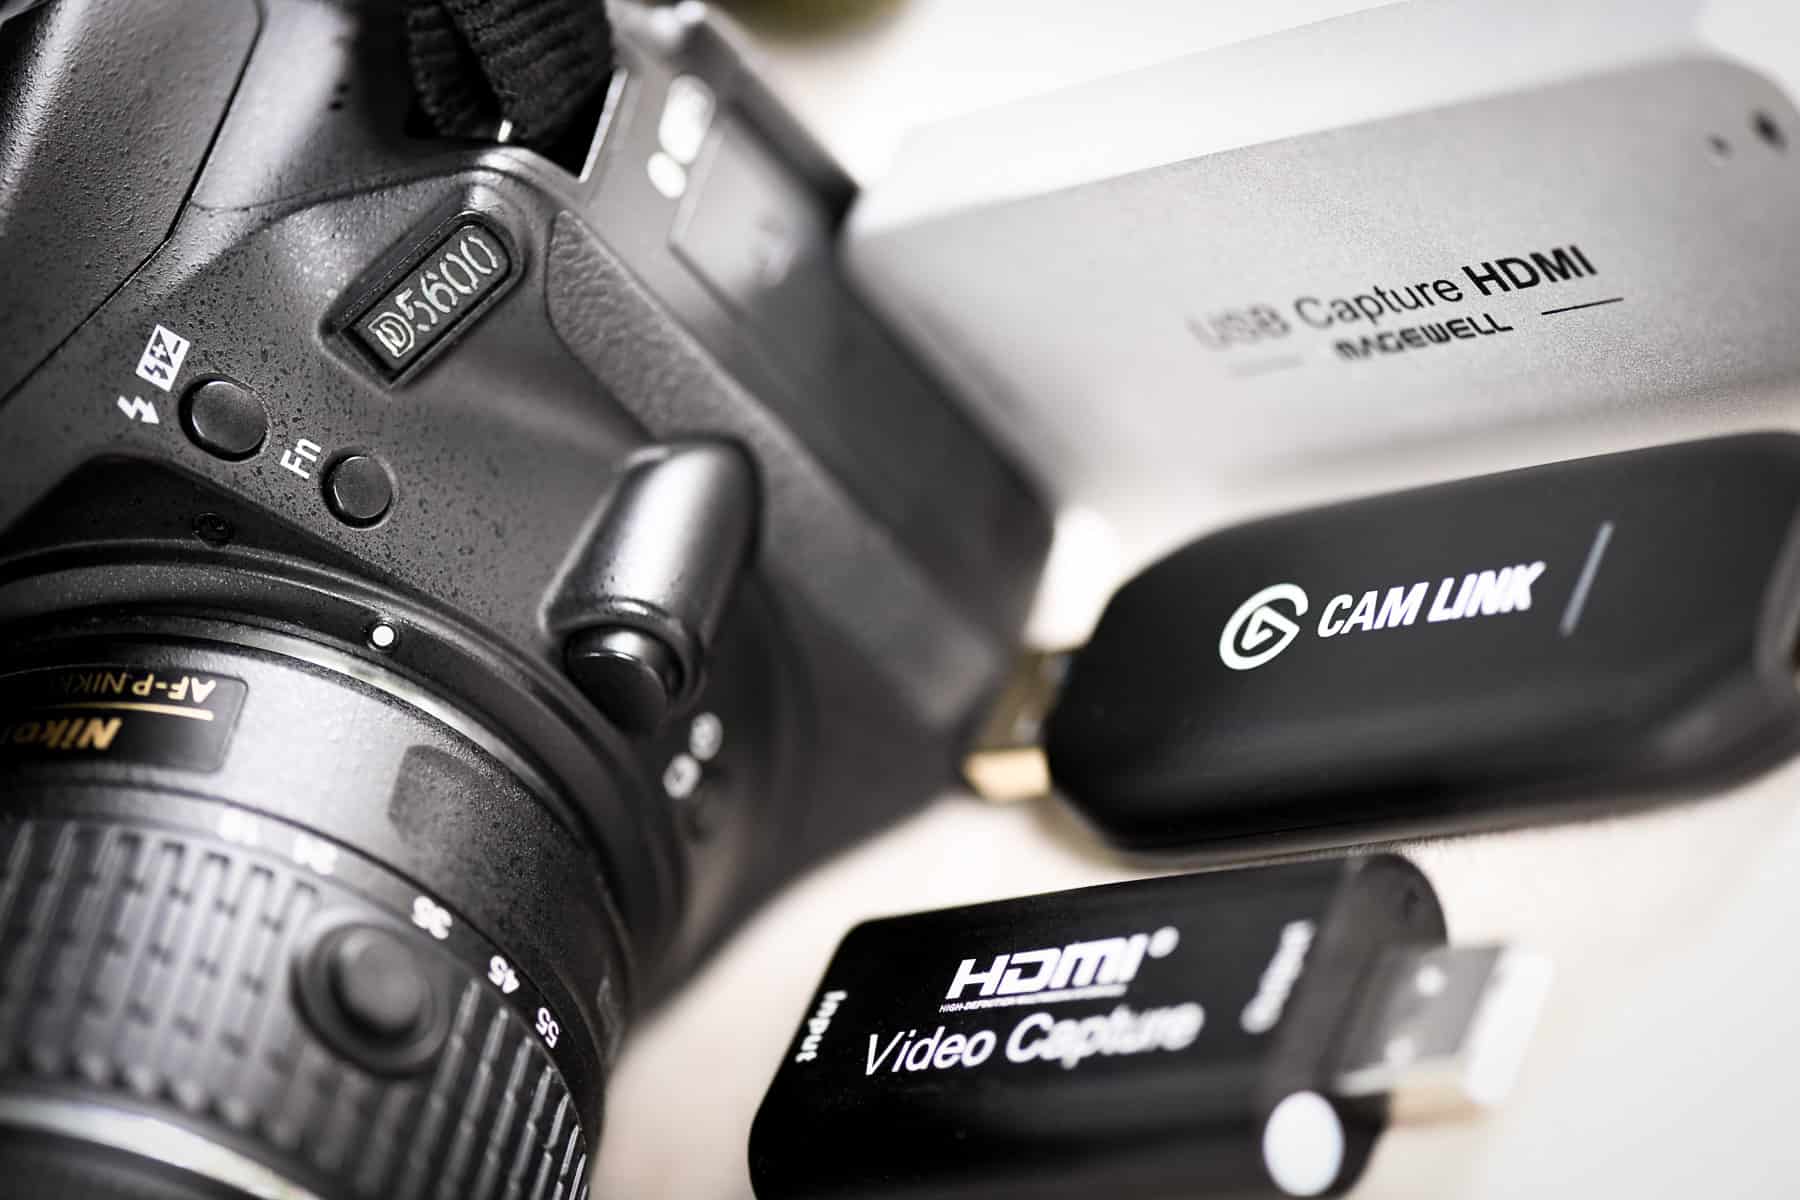
Before integrating your camcorder with Skype, it’s crucial to ensure that your camcorder is compatible with your computer and the Skype application. Start by checking the connectivity options supported by your camcorder and the ports available on your computer. Most modern camcorders feature USB or HDMI connectivity, allowing for seamless integration with computers.
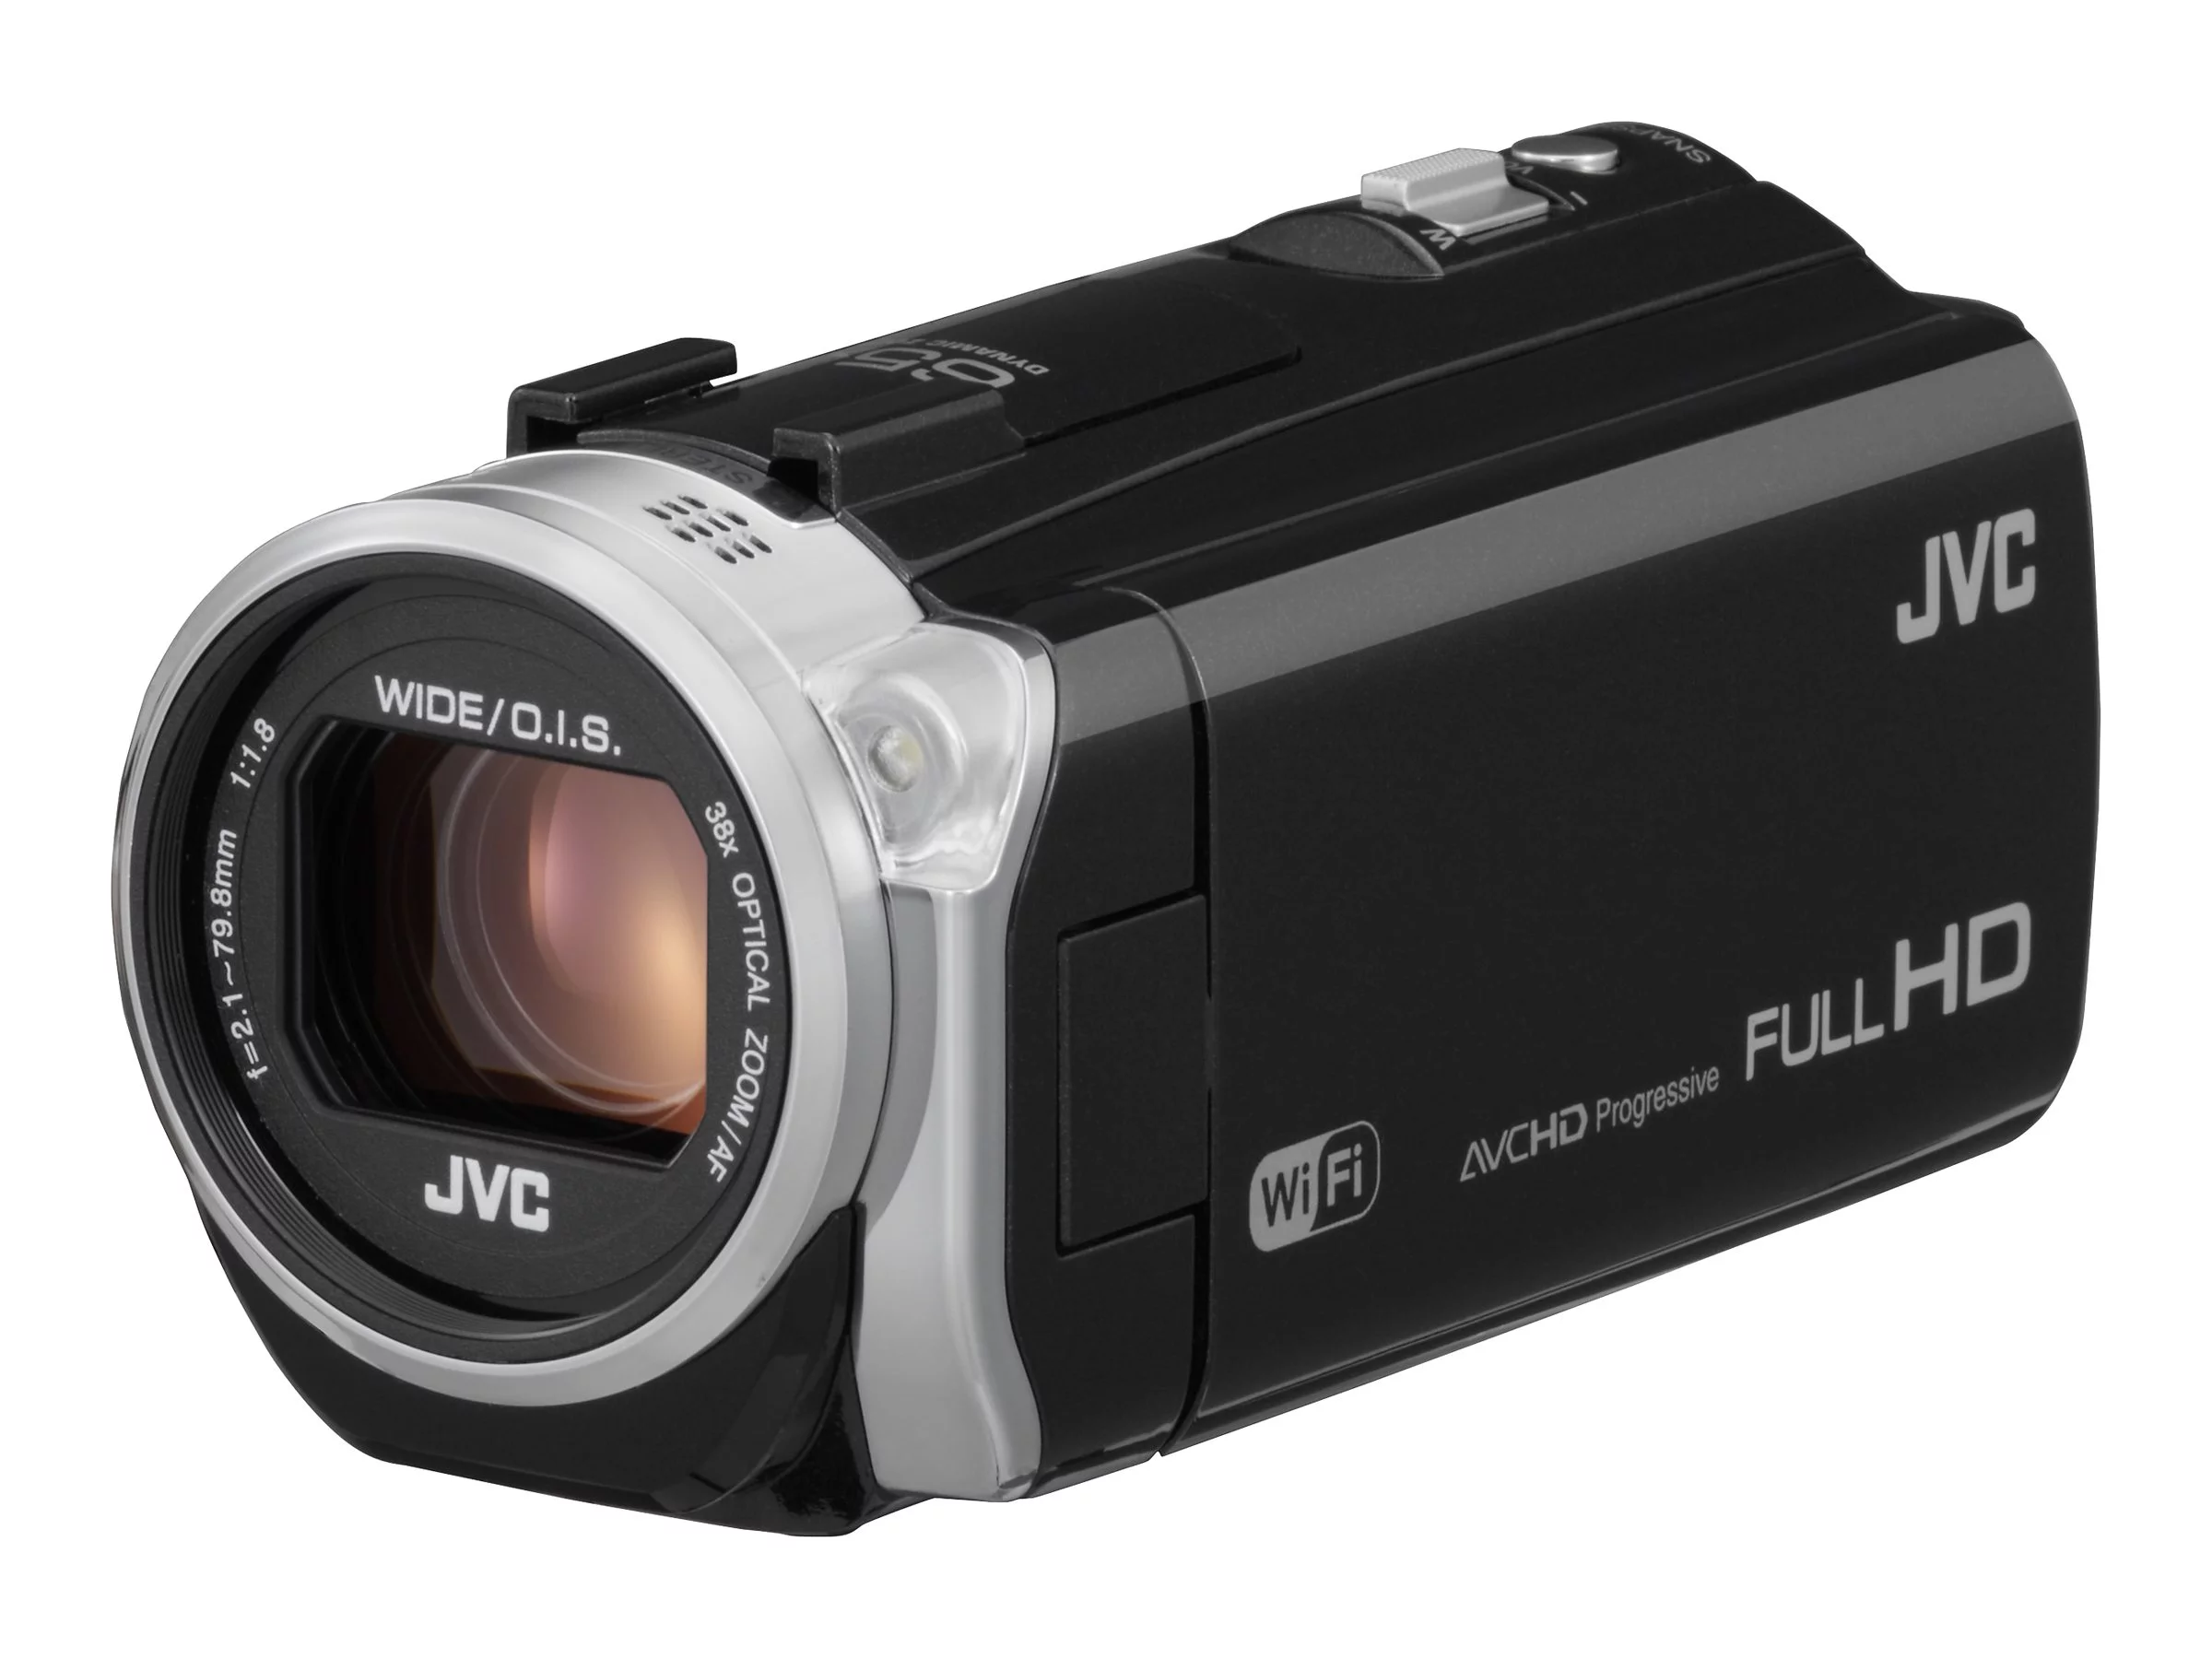
Begin by examining the ports on your camcorder. If it features a USB port, you can easily connect it to your computer using a USB cable. Similarly, if it has an HDMI port, you can utilize an HDMI cable to establish a connection. Additionally, some camcorders offer Wi-Fi connectivity, enabling wireless pairing with your computer. Verify the connectivity options available on your specific camcorder to determine the most suitable connection method.
Next, assess the compatibility of your camcorder with your computer’s operating system. Ensure that your computer’s operating system supports the drivers and software required for seamless integration with the camcorder. Visit the manufacturer’s website to download any necessary drivers or software updates that may be essential for establishing a successful connection between the camcorder and your computer.
Once you have confirmed the compatibility of your camcorder with your computer, proceed to check its compatibility with the Skype application. Review the system requirements for Skype and ensure that your camcorder meets the necessary specifications for video input. Additionally, check for any specific settings or configurations recommended by Skype for integrating external video devices, such as camcorders.
By carefully assessing the compatibility of your camcorder with your computer and the Skype application, you can lay the foundation for a smooth and efficient integration process. This initial step is crucial for ensuring that your camcorder is ready to be seamlessly incorporated into your Skype video calling setup, ultimately enhancing your overall video communication experience.
Step 2: Connect Camcorder to Computer
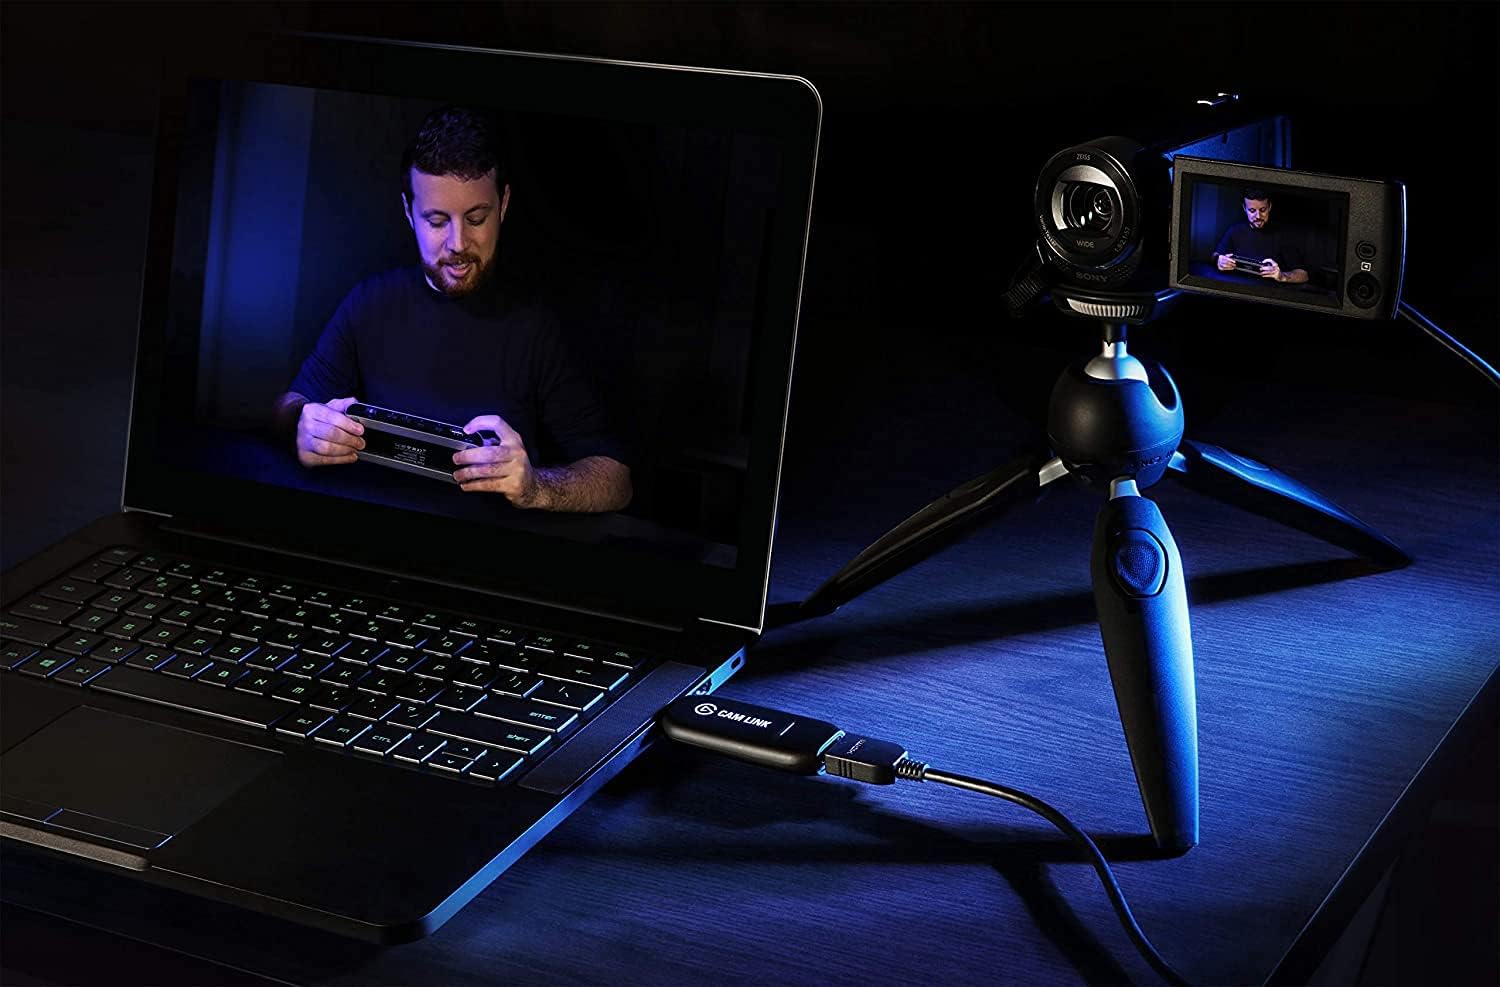
Once you have confirmed the compatibility of your camcorder with your computer and Skype, it’s time to establish a physical connection between the camcorder and your computer. Depending on the connectivity options available on your camcorder and computer, you can choose the most suitable method for establishing the connection.
If your camcorder features a USB port, connecting it to your computer is relatively straightforward. Simply use a compatible USB cable to link the camcorder to a USB port on your computer. Once connected, your computer should recognize the camcorder as an external device, allowing you to access its video feed within the Skype application.
Alternatively, if your camcorder supports HDMI connectivity, you can use an HDMI cable to establish a direct connection with your computer. This method provides high-quality video transmission, ensuring that your Skype video calls benefit from superior visual clarity and detail. Ensure that your computer has an available HDMI port for this connection.
In the case of Wi-Fi-enabled camcorders, follow the manufacturer’s instructions to pair the camcorder with your computer wirelessly. This wireless connection method offers flexibility and convenience, eliminating the need for physical cables while providing seamless integration with Skype for video calling purposes.
Once the physical connection between your camcorder and computer is established, ensure that the camcorder is powered on and ready to transmit video. Depending on your camcorder’s settings, you may need to enable a specific mode, such as “PC Connect” or “Live Streaming,” to initiate video output to your computer. Refer to your camcorder’s user manual for guidance on activating the appropriate settings for video transmission.
By successfully connecting your camcorder to your computer, you are one step closer to integrating it with Skype for enhanced video calling capabilities. The physical link between the camcorder and your computer sets the stage for leveraging the advanced features of your camcorder during Skype video calls, delivering an elevated communication experience.
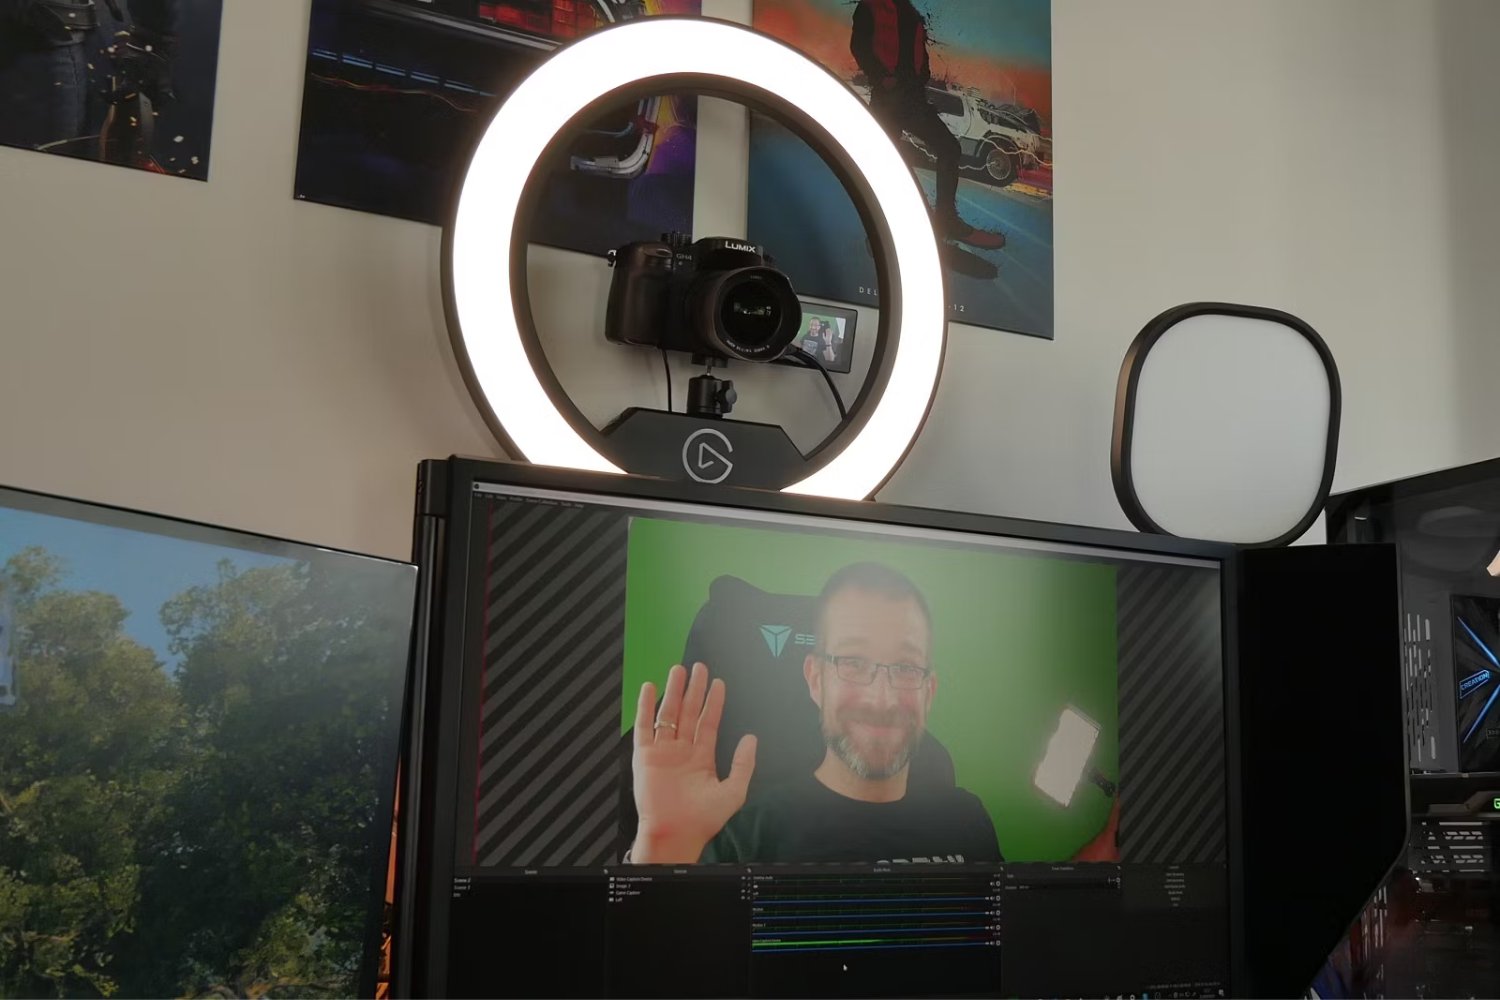
Step 3: Set Up Camcorder in Skype
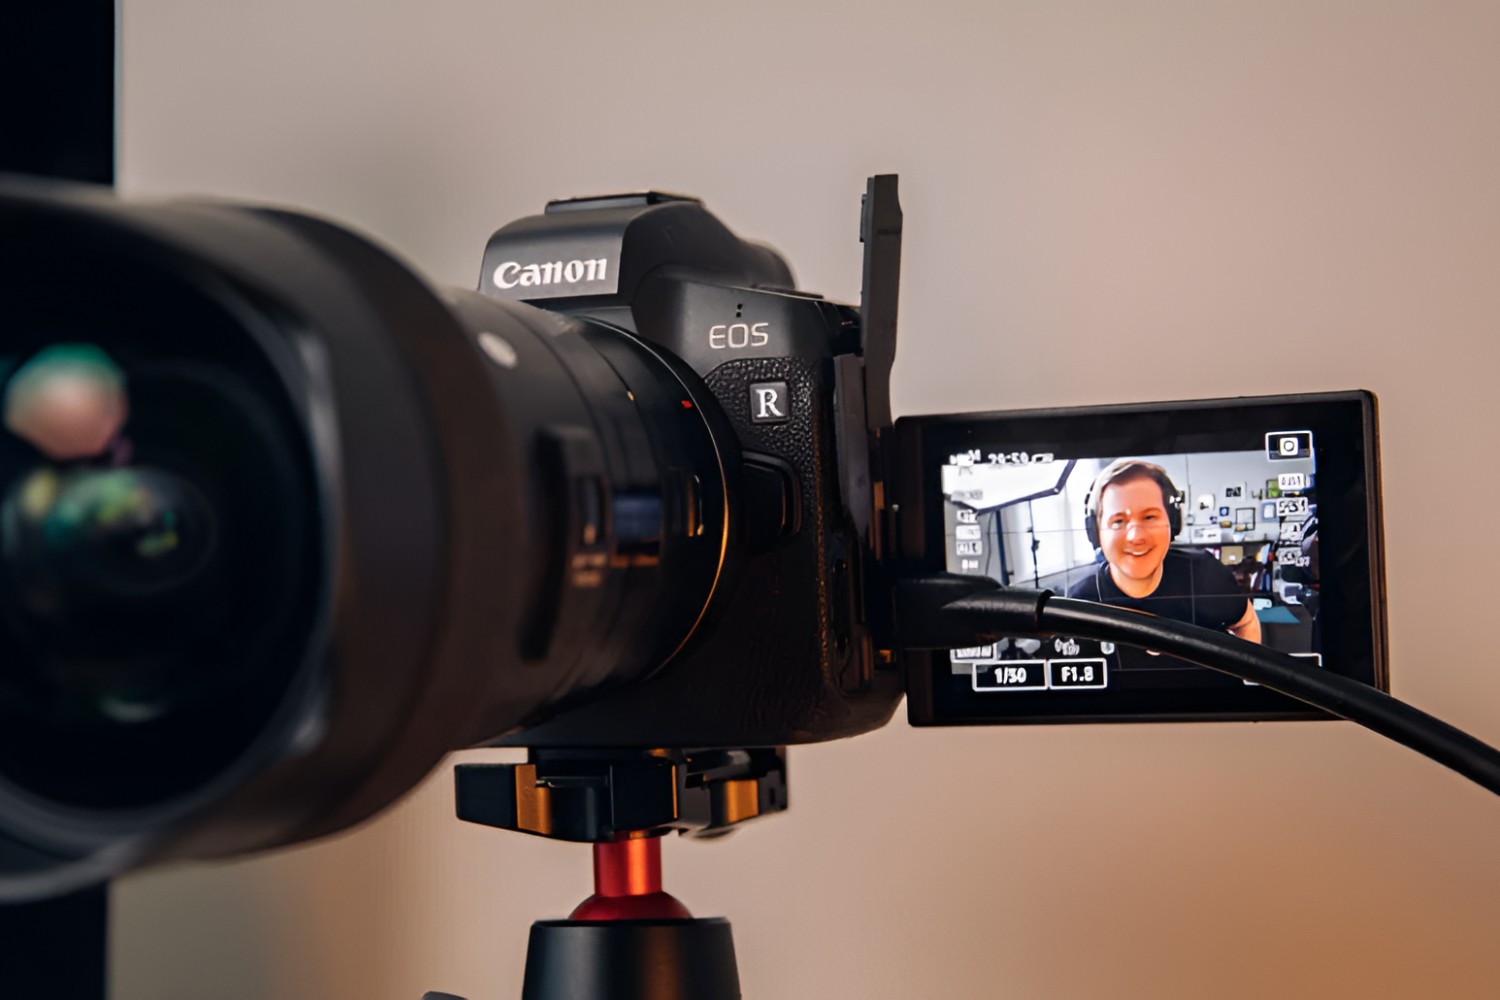
With your camcorder successfully connected to your computer, it’s time to configure its integration with the Skype application. Start by launching Skype on your computer and accessing the settings or preferences menu to initiate the setup process for your camcorder.
Within the Skype settings, navigate to the “Audio & Video” or “Camera” section, where you can select the input device for video. If your camcorder is recognized by your computer, it should appear as an available video input option. Select your camcorder from the list of devices to designate it as the primary video source for Skype calls.
Once your camcorder is selected as the video input device, you may have the opportunity to adjust additional settings, such as video resolution, frame rate, and autofocus preferences. Depending on the capabilities of your camcorder, you can optimize these settings to deliver the best possible video quality during Skype calls. Experiment with different configurations to find the optimal balance between video clarity and performance.
Furthermore, if your camcorder offers advanced features such as optical zoom, image stabilization, or manual focus control, explore the options available within Skype to utilize these features effectively. Some versions of Skype may provide enhanced camera control settings, allowing you to leverage the full potential of your camcorder’s capabilities for video calling purposes.
After configuring the video settings for your camcorder in Skype, proceed to conduct a test call to verify that the integration is functioning as intended. Initiate a video call with a trusted contact or use Skype’s built-in test call feature to assess the video quality and performance of your camcorder within the application. Make any necessary adjustments to the settings based on the results of the test call.
By setting up your camcorder within Skype, you can harness its advanced features to elevate the visual aspects of your video calls, creating a more immersive and professional communication experience. The seamless integration of your camcorder with Skype empowers you to leverage its capabilities for enhanced video quality and visual presentation during all your Skype interactions.
Step 4: Adjust Camcorder Settings
Once your camcorder is connected to your computer and integrated with Skype, it’s essential to fine-tune its settings to optimize the video output for your video calls. By adjusting the camcorder settings, you can enhance the visual quality, ensure proper exposure, and refine the overall presentation of your video feed within Skype.
Begin by accessing the menu or settings interface on your camcorder to explore the available adjustments. Depending on the model and capabilities of your camcorder, you may have access to a range of settings, including exposure, white balance, focus modes, and image stabilization. Familiarize yourself with these settings to understand how they can impact the visual output of your camcorder.
Consider the lighting conditions in your video calling environment and adjust the camcorder’s exposure settings accordingly. If the lighting is dim, you may need to increase the camcorder’s sensitivity to capture clear and well-exposed video. Conversely, in brightly lit environments, adjusting the exposure to prevent overexposure is crucial for maintaining optimal video quality.
White balance settings play a vital role in ensuring accurate color reproduction in your video feed. Depending on the lighting conditions and the color temperature of the environment, you can select the appropriate white balance preset or manually adjust the white balance settings on your camcorder to achieve natural and true-to-life colors in your Skype video calls.
Furthermore, if your camcorder offers manual focus control, take advantage of this feature to ensure that the subjects in your video feed remain sharp and well-defined. Manual focus provides greater precision, allowing you to fine-tune the focus to suit the specific requirements of your video calling setup.
If your camcorder is equipped with image stabilization, enable this feature to minimize camera shake and ensure steady, smooth video output. Image stabilization is particularly beneficial for maintaining a professional and polished appearance during video calls, especially when using zoom or conducting movements within the frame.
By adjusting the settings of your camcorder, you can tailor the visual output to meet the demands of your Skype video calls, resulting in enhanced video quality and a more visually appealing presentation. These adjustments enable you to leverage the full potential of your camcorder’s capabilities, delivering professional-grade video performance during all your Skype interactions.
Step 5: Test Camcorder in Skype
After completing the setup and adjustment of your camcorder within Skype, it’s imperative to conduct thorough testing to ensure that the integration is functioning seamlessly and that the video output meets your expectations. By performing a series of test calls and assessments, you can fine-tune the settings and address any potential issues before engaging in important video conversations.
Initiate a test call with a trusted contact or use Skype’s test call feature to evaluate the performance of your camcorder within the application. During the test call, pay close attention to the video quality, clarity, and overall visual presentation. Assess whether the adjustments made to the camcorder settings effectively enhance the video output and contribute to a professional and engaging appearance.
Observe the exposure and white balance of the video feed to ensure that the colors are accurately reproduced and that the image is well-exposed. If necessary, make further adjustments to the camcorder settings to address any issues related to exposure, color accuracy, or overall visual fidelity. Strive to achieve a balanced and natural-looking video output that enhances the communication experience.
Test the autofocus and manual focus capabilities of your camcorder to verify that the subjects remain sharp and well-defined throughout the video call. If the focus appears inconsistent or if there are challenges with maintaining sharpness, refine the focus settings and conduct additional test calls to validate the improvements.
Assess the performance of any image stabilization features present in your camcorder, particularly when utilizing zoom or conducting movements during the video call. Verify that the image stabilization effectively minimizes camera shake and provides a steady, professional-looking video feed. Make adjustments as needed to optimize the image stabilization settings for superior video performance.
Throughout the testing process, solicit feedback from your test call partner to gain insights into their perception of the video quality and overall presentation. Their observations and input can offer valuable perspectives on areas that may require further refinement, allowing you to make informed adjustments to enhance the video output.
By thoroughly testing your camcorder within Skype, you can refine the settings and configurations to deliver exceptional video quality and visual performance during all your Skype interactions. The testing phase serves as a crucial step in ensuring that your camcorder integration with Skype meets the highest standards, resulting in professional-grade video communication experiences.
Conclusion
Congratulations! By following the comprehensive steps outlined in this guide, you have successfully integrated your camcorder with Skype, unlocking a world of enhanced video calling capabilities and professional-grade visual performance. The seamless integration of your camcorder empowers you to leverage its advanced features, such as optical zoom, image stabilization, and superior video quality, to elevate your Skype communication experiences.
From checking the compatibility of your camcorder with your computer and Skype to configuring its settings and conducting thorough testing, you have navigated each step with precision and attention to detail. As a result, you are now equipped to engage in video calls with confidence, knowing that your camcorder’s capabilities are fully optimized for exceptional visual presentation.
With your camcorder seamlessly integrated into Skype, you can enjoy crystal-clear video quality, precise focus, and professional-grade visual performance during all your video conversations. Whether you are engaging in business meetings, connecting with loved ones, or collaborating with colleagues, the addition of your camcorder enhances the overall video calling experience, setting a new standard for visual communication.
As you continue to utilize your camcorder within Skype, consider revisiting the settings and configurations to tailor the visual output to different environments and scenarios. By fine-tuning the settings based on specific requirements, you can consistently deliver outstanding video quality, ensuring that your Skype interactions are characterized by professionalism, clarity, and visual impact.
Embrace the opportunities that your integrated camcorder brings to your Skype video calls, and explore the full potential of its capabilities to create engaging and immersive communication experiences. With the knowledge and skills gained from this guide, you are well-prepared to harness the power of your camcorder within Skype, making every video call a visually captivating and memorable experience.