Introduction
Using a Canon camcorder as a webcam with HDMI can significantly enhance the quality of your video calls, live streams, and online meetings. Canon camcorders are renowned for their superior video recording capabilities, and by leveraging their HDMI output, you can elevate the visual experience for your audience. Whether you're a content creator, a professional conducting virtual meetings, or simply looking to improve the video quality for your online communications, utilizing a Canon camcorder as a webcam can provide a substantial boost in visual fidelity. This guide will walk you through the process of setting up and using a Canon camcorder as a high-definition webcam, unlocking the full potential of your device for online video applications.
By utilizing a Canon camcorder as a webcam, you can harness the advanced optics, image stabilization, and superior video processing capabilities that are characteristic of Canon's camcorder lineup. This enables you to present yourself or your content in a professional and polished manner, with crisp, high-resolution video that far surpasses the standard webcam quality. Whether you're engaging with clients, conducting virtual presentations, or live streaming to your audience, the visual impact of using a Canon camcorder as a webcam can be truly transformative.
In this guide, we will explore the equipment needed, the process of setting up the camcorder, connecting it to your computer, and adjusting the settings to ensure optimal performance. Additionally, we will delve into the practical steps for using the camcorder as a webcam, enabling you to seamlessly integrate it into your preferred video conferencing or streaming platform. By following these steps, you can unlock the full potential of your Canon camcorder, elevating the visual quality of your online interactions and content creation endeavors. Let's embark on this journey to transform your Canon camcorder into a powerful high-definition webcam, opening up a world of possibilities for your online video experiences.
Equipment Needed
Before embarking on the process of using your Canon camcorder as a webcam with HDMI, it’s essential to ensure that you have the necessary equipment at your disposal. Here’s what you’ll need to get started:
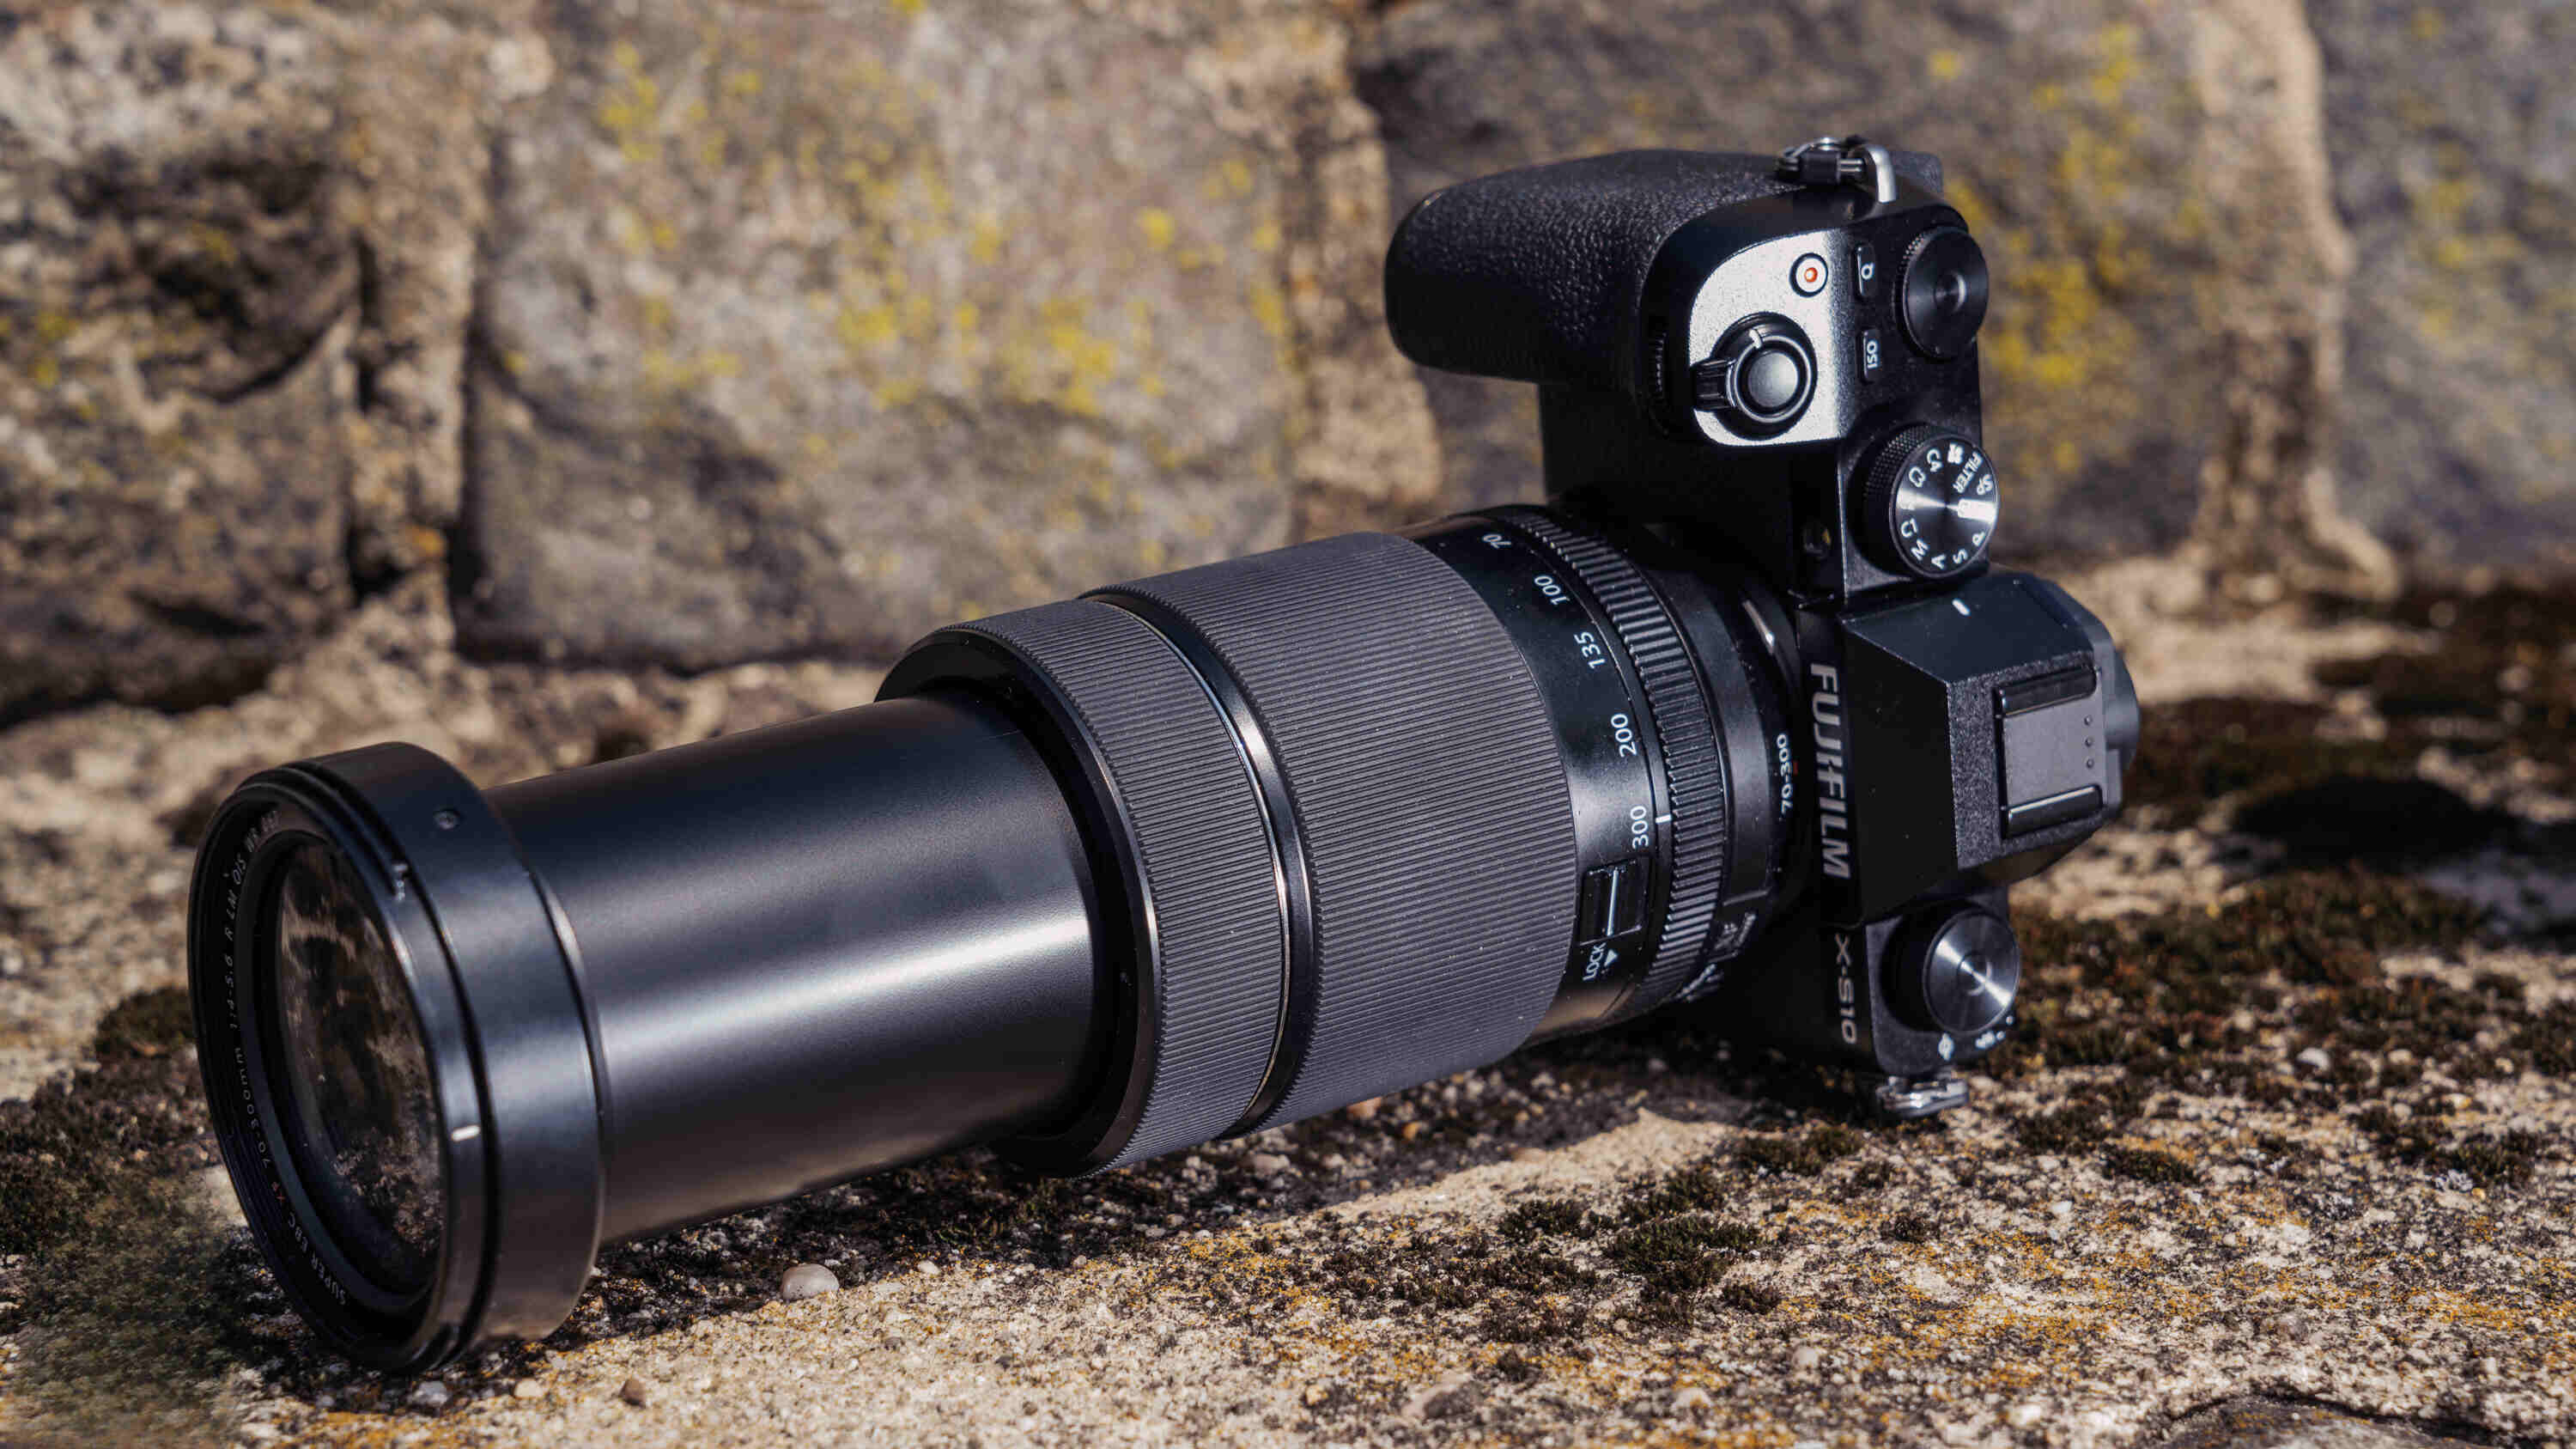
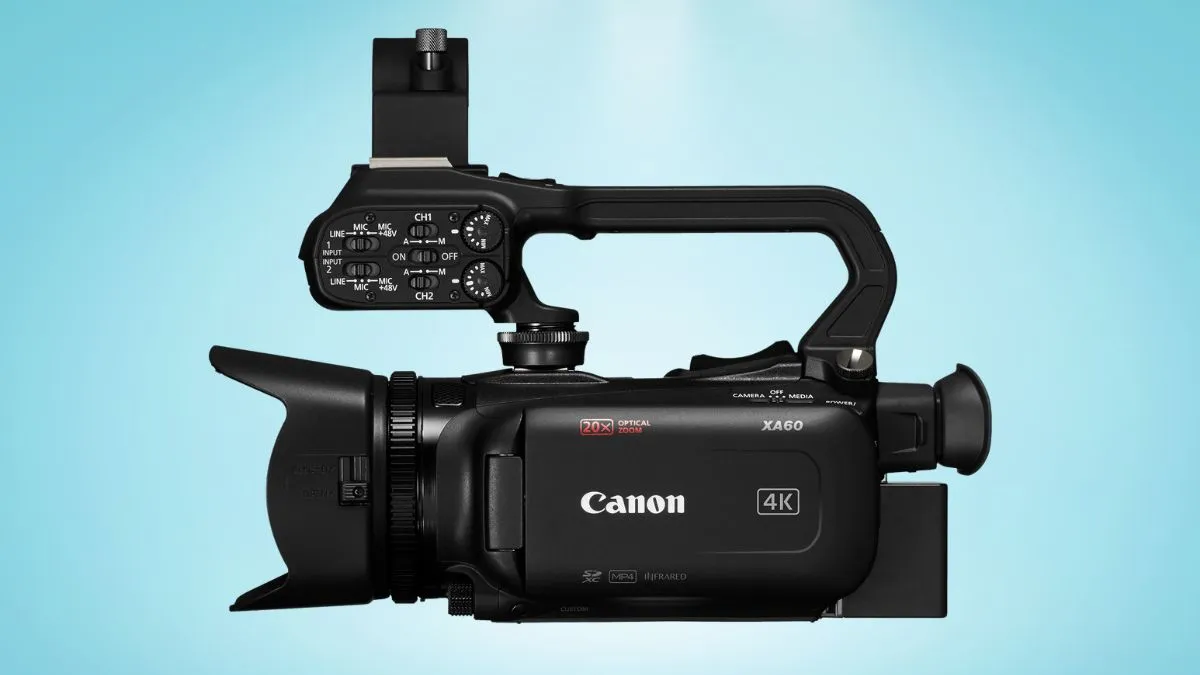
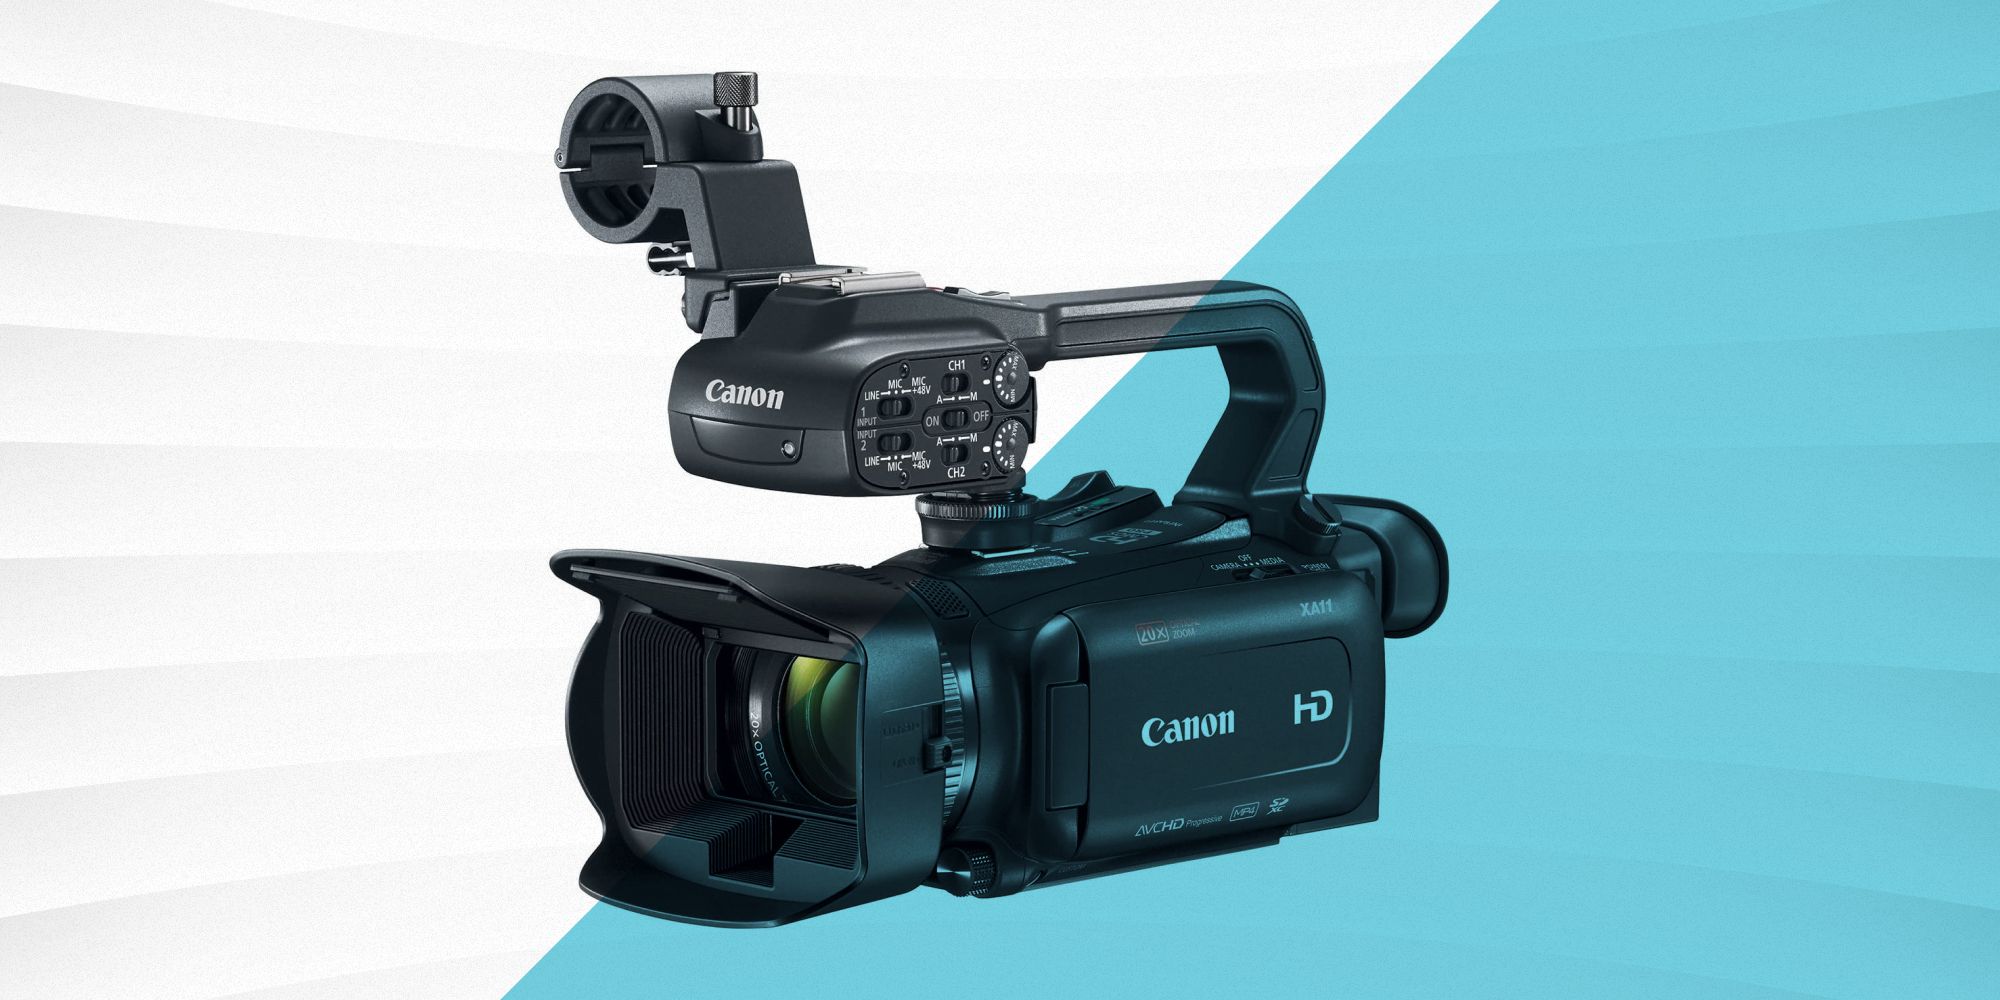
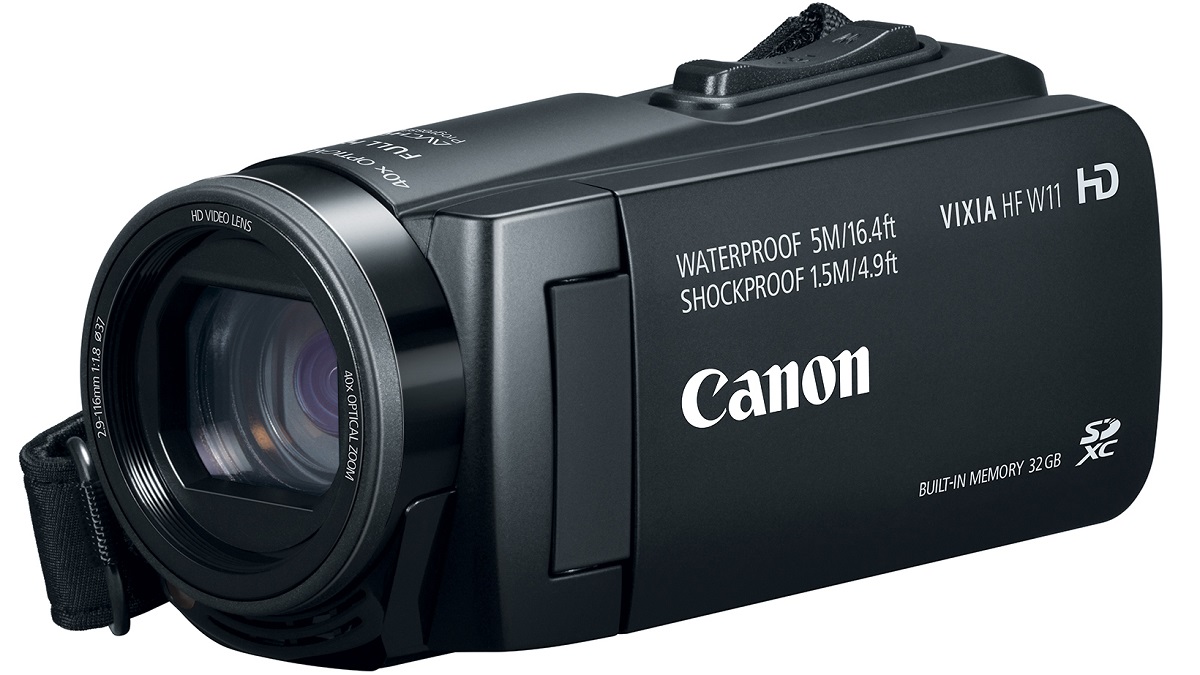
- Canon Camcorder: The core component of this setup is, of course, your Canon camcorder with HDMI output. Ensure that your camcorder model features an HDMI output port, as this will be the primary means of connecting it to your computer for use as a webcam.
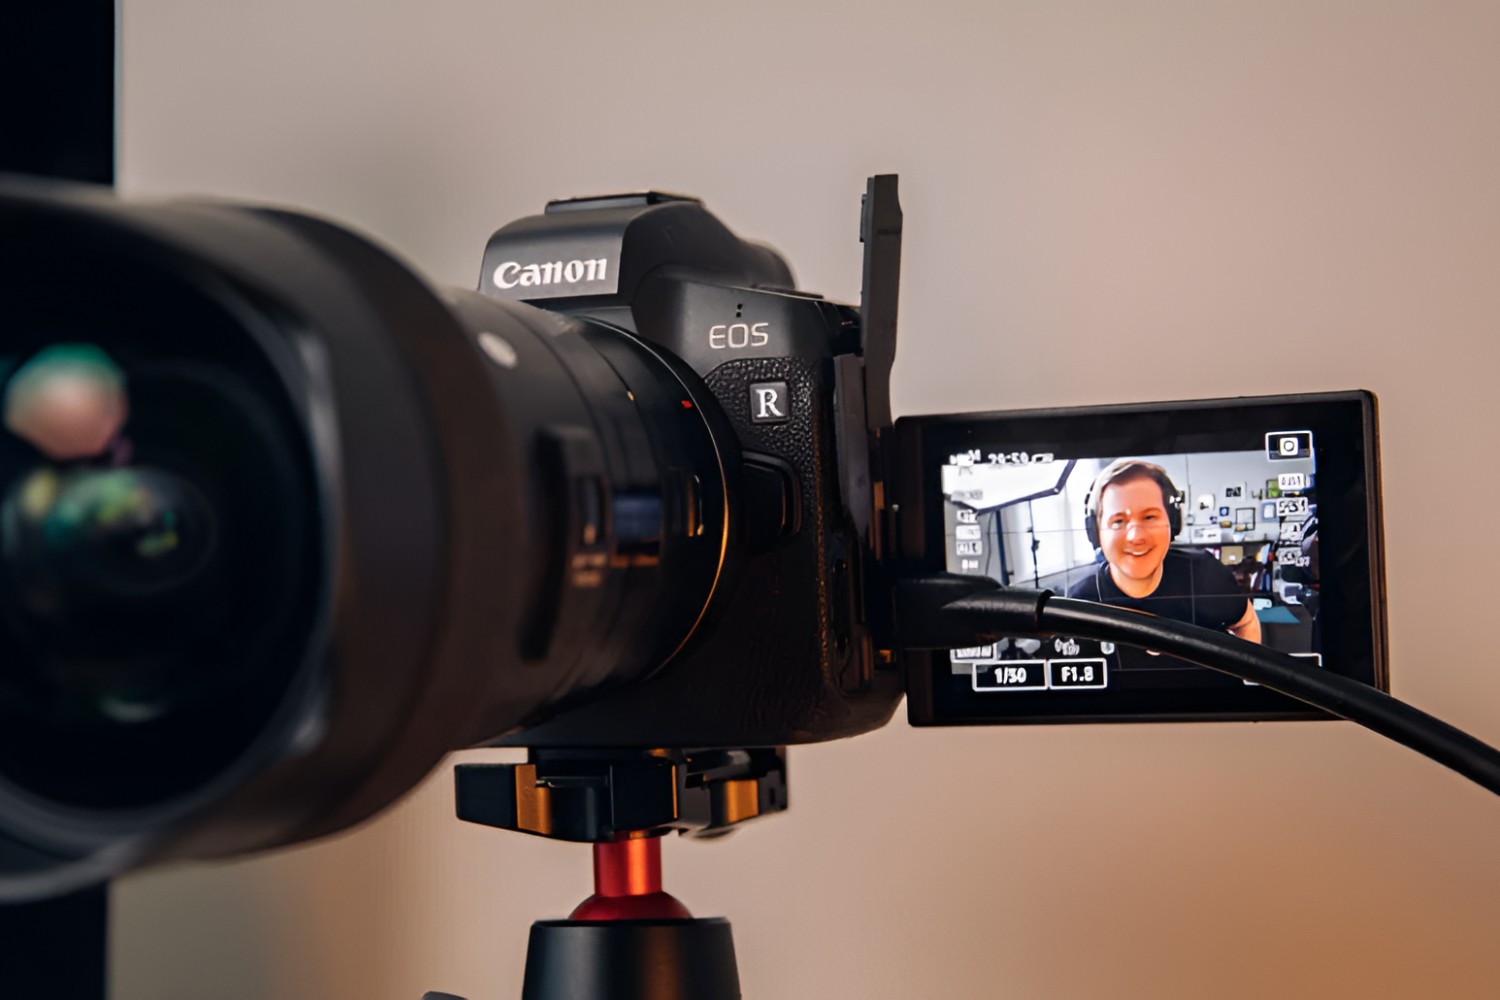
- HDMI Cable: To establish the connection between your Canon camcorder and your computer, you’ll need an HDMI cable. Opt for a high-quality HDMI cable of sufficient length to accommodate the distance between your camcorder and your computer setup.
- Computer with HDMI Input: Ensure that your computer is equipped with an HDMI input port. This is crucial for receiving the video feed from your Canon camcorder and utilizing it as a webcam for your online communications.
- Video Capture Device (Optional): In some cases, you may require a video capture device if your computer does not have a built-in HDMI input. A video capture device acts as an intermediary, facilitating the connection between your camcorder’s HDMI output and your computer.
- External Power Source: To sustain prolonged usage, it’s advisable to have an external power source for your Canon camcorder, such as a compatible AC adapter or a reliable battery pack.
- Stable Mounting Setup: To ensure a steady and consistent video feed, consider a stable mounting setup for your Canon camcorder. This could be a tripod or any other secure mounting mechanism that suits your specific setup and environment.
By gathering these essential components, you’ll be well-prepared to proceed with setting up and utilizing your Canon camcorder as a high-quality webcam for your online video endeavors.
Setting Up the Camcorder
Before integrating your Canon camcorder into your webcam setup, it’s crucial to properly configure and position the device for optimal performance. Here are the essential steps for setting up your Canon camcorder:
- Positioning the Camcorder: Select a suitable location for your Canon camcorder, ensuring that it provides an unobstructed view of the subject or the desired area to be captured. Whether it’s a personal workspace, a studio environment, or any other setting, the positioning of the camcorder plays a pivotal role in achieving the desired visual output.
- Stabilizing the Camcorder: If you’re using a tripod or a similar mounting setup, securely attach the Canon camcorder to ensure stability during operation. This is particularly important for maintaining a steady and professional-looking video feed, free from unnecessary movement or vibrations.
- Powering the Camcorder: Ensure that your Canon camcorder is powered using either the included battery pack or a compatible AC adapter. Consistent power is essential for uninterrupted operation, especially during extended video calls or live streaming sessions.
- Adjusting the Camera Settings: Access the settings menu on your Canon camcorder to configure the video resolution, frame rate, and any additional parameters that influence the video output. Optimize these settings based on your specific requirements, ensuring that the resulting video aligns with your intended visual quality.
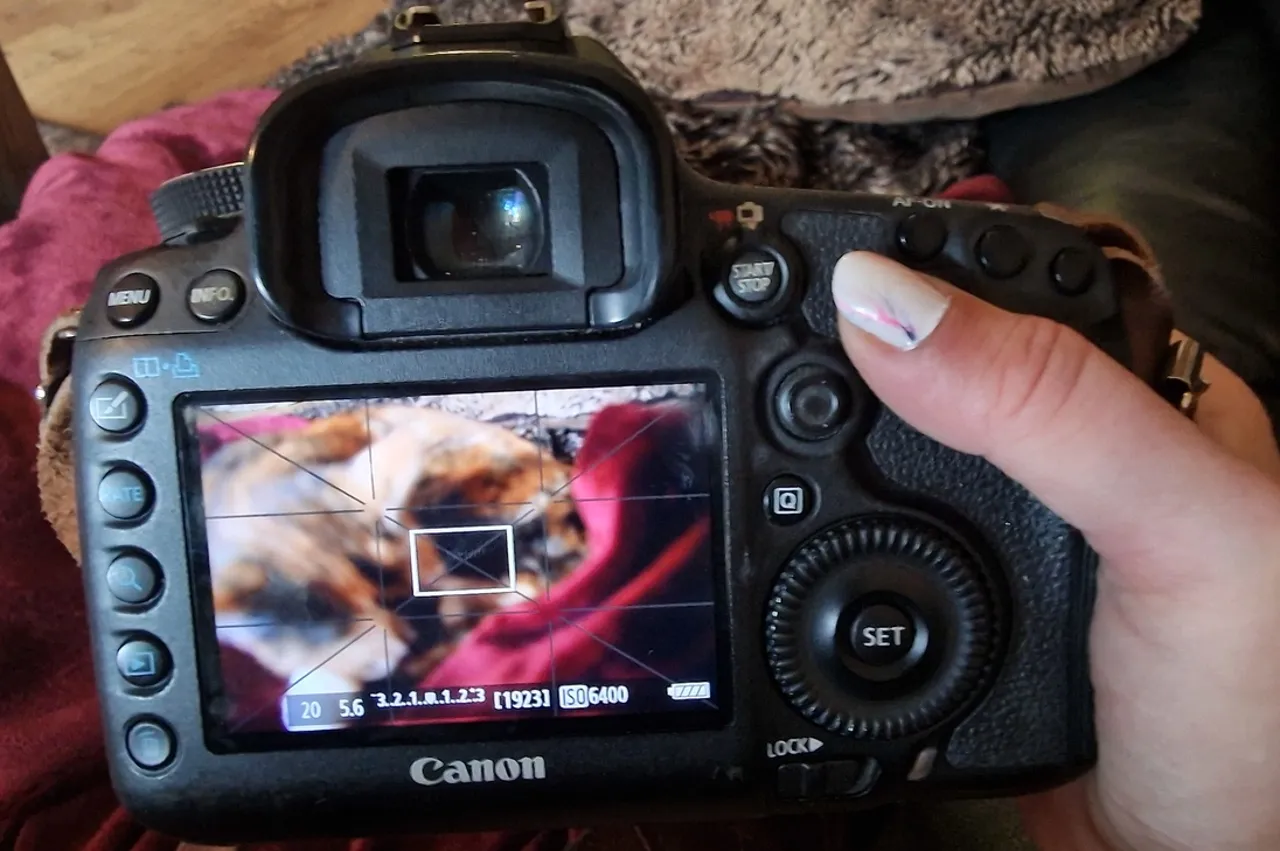
- Testing the Video Output: With the camcorder powered and positioned, verify the video output on its built-in display or viewfinder. This allows you to confirm the framing, focus, and overall visual composition before proceeding to connect the camcorder to your computer.
By meticulously setting up your Canon camcorder in accordance with these steps, you establish a solid foundation for seamlessly integrating it into your webcam setup. This preparation phase ensures that the camcorder is primed to deliver high-quality video output, ready to be harnessed for your online video communications and content creation endeavors.
Connecting the Camcorder to the Computer
Once you’ve properly set up your Canon camcorder, the next crucial step is establishing a secure and reliable connection between the camcorder and your computer. This connection serves as the bridge through which the high-definition video feed from the camcorder will be transmitted to your computer, enabling its use as a webcam. Here’s how to connect your Canon camcorder to the computer:
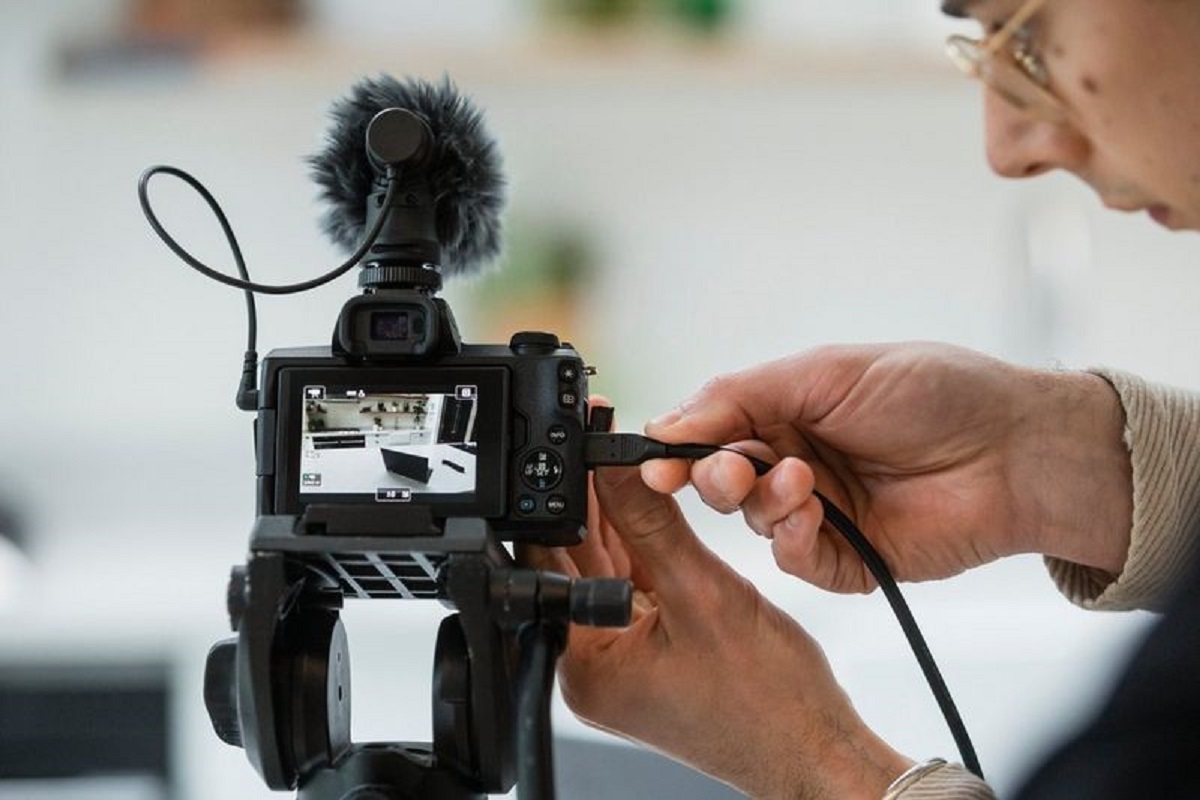
- Locate the HDMI Output: Identify the HDMI output port on your Canon camcorder. This port is typically located on the camcorder’s body and serves as the primary interface for transmitting the video signal to external devices.
- Connect the HDMI Cable: Using a high-quality HDMI cable, establish a connection between the HDMI output port on your Canon camcorder and the HDMI input port on your computer. Ensure a secure and snug connection to minimize the risk of signal interruptions during operation.
- Powering On the Camcorder: Power on your Canon camcorder, allowing it to initialize and begin transmitting the video feed through the connected HDMI cable. Verify that the camcorder is operational and ready to transmit the video signal to your computer.
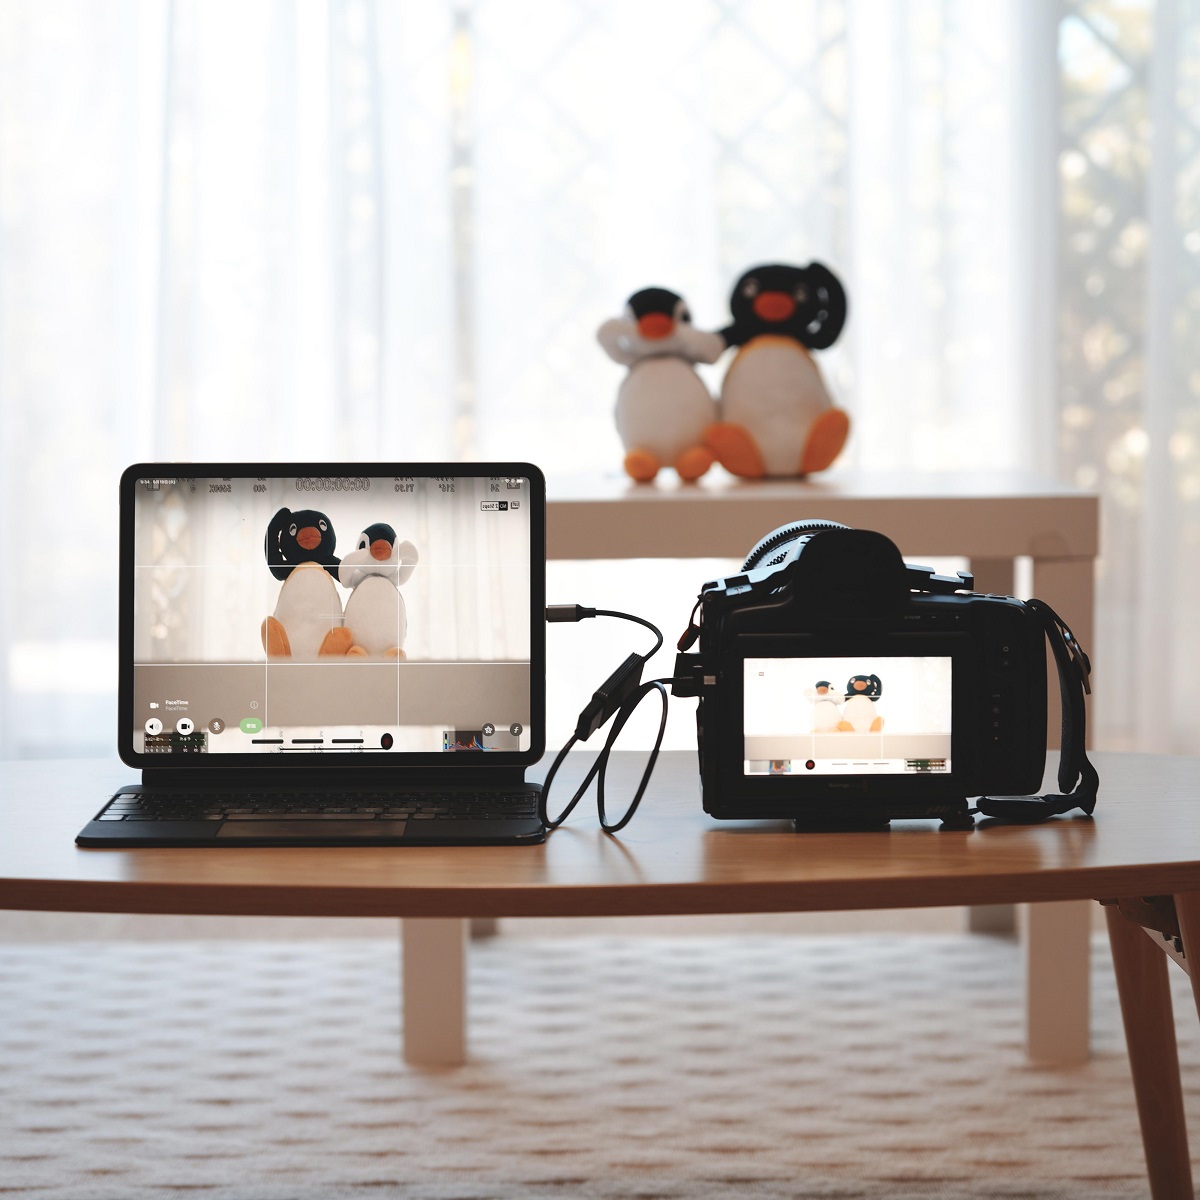
- Computer Recognition: Upon establishing the HDMI connection, your computer should recognize the Canon camcorder as a video input source. Depending on your computer’s operating system, you may need to access the system settings or the designated video conferencing/streaming application to select the camcorder as the preferred webcam device.
- Testing the Connection: Verify the successful connection by launching your preferred video conferencing or streaming application and accessing the webcam settings. Select the Canon camcorder as the video input source, and ensure that the video feed is being received and displayed correctly on your computer screen.
By following these steps, you establish a seamless and robust connection between your Canon camcorder and your computer, effectively integrating the camcorder as a high-definition webcam for your online video communications and content creation needs.
Adjusting Settings on the Camcorder
Optimizing the settings on your Canon camcorder is essential to ensure that the video output aligns with your specific requirements and delivers the desired visual quality when used as a webcam. By adjusting key parameters and configurations, you can fine-tune the video feed to suit various environments and usage scenarios. Here are the crucial settings to adjust on your Canon camcorder:
- Video Resolution: Access the camcorder’s settings menu to select the appropriate video resolution for your intended use. Opt for the highest resolution supported by your camcorder to maximize the visual clarity and detail of the video feed.
- Frame Rate: Adjust the frame rate settings to align with your preferred motion smoothness and overall video presentation. Higher frame rates can deliver smoother motion, while lower frame rates may be suitable for specific aesthetic or bandwidth considerations.
- Exposure and White Balance: Fine-tune the exposure settings and white balance to ensure that the video output accurately represents the lighting conditions in your environment. This helps maintain natural colors and optimal brightness levels in varying lighting scenarios.
- Focus and Depth of Field: Verify that the focus and depth of field settings are optimized to maintain sharpness and clarity in the video feed. Depending on your specific setup, adjust these settings to ensure that the subject or scene is captured with precision.
- Image Stabilization: If your Canon camcorder features image stabilization functionality, enable or adjust this setting to minimize camera shake and ensure a steady, professional-looking video feed.
- Audio Settings (Optional): If you intend to utilize the camcorder’s built-in microphone or an external audio source, configure the audio settings to capture clear and balanced sound to complement the high-definition video feed.
By meticulously adjusting these settings on your Canon camcorder, you can tailor the video output to meet the demands of your specific applications, whether it’s professional video conferencing, content creation, or live streaming. This customization ensures that your Canon camcorder operates as a high-quality webcam, delivering exceptional visual performance across diverse usage scenarios.
Using the Camcorder as a Webcam
Once the Canon camcorder is set up, connected to the computer, and its settings adjusted for optimal performance, you are ready to harness its capabilities as a high-definition webcam for your online interactions and content creation. Here’s how to effectively utilize the Canon camcorder as a webcam:
- Launch Your Video Application: Open your preferred video conferencing, live streaming, or content creation application on your computer. This could be popular platforms such as Zoom, Microsoft Teams, Skype, OBS Studio, or any other software that supports external webcam input.
- Select the Camcorder as the Webcam Source: Access the video or webcam settings within the application and choose the Canon camcorder as the designated video input source. Ensure that the camcorder is recognized and selected as the primary webcam device for your online sessions.
- Positioning and Framing: Adjust the positioning and framing of the Canon camcorder to capture the desired subject or scene effectively. Utilize the camcorder’s viewing screen or an external monitor to ensure that the framing aligns with your preferences and the requirements of the online interaction or content being created.
- Testing the Video Feed: Initiate a test video call or recording to verify the quality and composition of the video feed from the Canon camcorder. Assess the visual output, ensuring that the resolution, clarity, and overall presentation meet your expectations and the standards of professional video communication or content creation.
- Audio Integration (Optional): If utilizing the camcorder’s built-in microphone or an external audio source, confirm that the audio input is synchronized with the high-definition video feed. Adjust audio settings within the application to achieve a balanced and clear audio-visual presentation.
- Engage with High-Quality Video: With the Canon camcorder serving as your webcam, leverage the enhanced visual fidelity and professional video capabilities to engage with your audience, conduct virtual meetings, deliver presentations, or create compelling content with exceptional video quality.
By following these steps, you can seamlessly integrate the Canon camcorder as a high-definition webcam, unlocking its full potential to elevate the visual impact of your online interactions and content creation endeavors. The superior optics, image processing, and video performance of the Canon camcorder empower you to present yourself or your content in a professional and polished manner, setting a new standard for online video quality.
Conclusion
Transforming your Canon camcorder into a high-definition webcam through HDMI connectivity opens up a world of possibilities for enhancing your online video experiences. By following the comprehensive process outlined in this guide, you have unlocked the full potential of your Canon camcorder, harnessing its advanced video capabilities to elevate the visual quality of your video calls, live streams, and content creation endeavors.
From the initial setup and connection of the camcorder to your computer to the meticulous adjustment of settings tailored to your specific requirements, every step has been geared towards ensuring a seamless integration of the Canon camcorder as a professional-grade webcam. The result is a visually captivating and polished video output that far surpasses the standard webcam quality, empowering you to engage with your audience, conduct virtual meetings, and create content with exceptional clarity and detail.
Utilizing the Canon camcorder as a webcam not only enhances the visual fidelity of your online interactions but also reflects a commitment to delivering professional-grade video content. The ability to leverage the advanced optics, image stabilization, and customizable video settings of the Canon camcorder sets a new standard for online video communication and content creation, allowing you to present yourself or your content in the best possible light.
As you embark on this journey of integrating your Canon camcorder as a high-definition webcam, remember that the visual impact and quality of your online video experiences are now elevated to a new level. Embrace the enhanced capabilities of your Canon camcorder and unleash its potential to captivate and impress your audience, whether in virtual meetings, live streams, or content creation pursuits.
With your Canon camcorder now seamlessly integrated as a high-definition webcam, you have taken a significant step towards delivering visually stunning and professional-grade video content, setting the stage for impactful and memorable online interactions.