Introduction
Are you a videographer or content creator looking to expand your filming capabilities? Using your Mac as an external monitor for your Canon camcorder can significantly enhance your workflow and the quality of your footage. This setup allows you to have a larger and more detailed view of your subject, ensuring that you capture every moment with precision and clarity.
By leveraging your Mac as an external monitor, you can take advantage of its high-resolution display, color accuracy, and larger screen size to achieve professional-grade monitoring during your video shoots. Whether you're recording interviews, events, or creative projects, having your Mac serve as an external monitor for your Canon camcorder can elevate the production value of your videos.
In this guide, we'll walk you through the step-by-step process of setting up your Mac as an external monitor for your Canon camcorder. From checking compatibility to adjusting display settings, you'll learn how to seamlessly integrate your Mac into your videography setup, unlocking new possibilities for capturing stunning visuals.
Let's dive into the details and explore how you can harness the power of your Mac to elevate your videography game. Whether you're a seasoned professional or an aspiring filmmaker, utilizing your Mac as an external monitor can revolutionize the way you approach video recording, providing you with a versatile and efficient tool to enhance your creative endeavors.
Step 1: Check Compatibility
Before diving into the setup process, it’s crucial to ensure that your Canon camcorder and Mac are compatible for using the Mac as an external monitor. Start by checking the specifications and capabilities of both devices to verify their compatibility for this purpose.
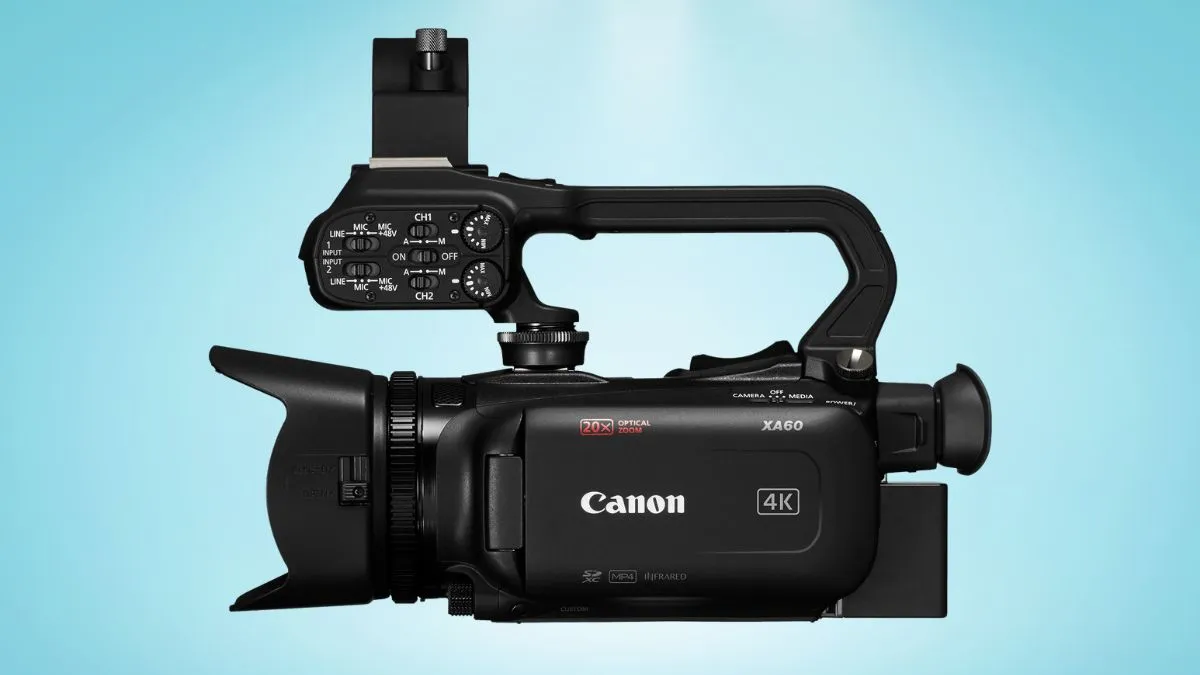
Begin by examining the video output options available on your Canon camcorder. Many modern Canon camcorders feature an HDMI or a mini HDMI port, which can be utilized to connect the camcorder to your Mac for external monitoring. Verify whether your specific Canon camcorder model supports video output through these ports, as this will be essential for establishing the connection to your Mac.
Next, assess the input options on your Mac. Most Mac computers are equipped with either an HDMI port or a Thunderbolt/USB-C port that supports video input. Ensure that your Mac has the necessary input port to connect to the video output of your Canon camcorder. If your Mac lacks a built-in video input port, you may need to consider using a compatible video capture device to facilitate the connection.
Additionally, check the compatibility of your operating system with the software or applications required to enable the Mac’s external monitor functionality. Certain applications or utilities may be necessary to facilitate the display of the video feed from your Canon camcorder on your Mac’s screen. Ensure that your Mac’s operating system supports the required software for this purpose.
By thoroughly examining the compatibility of your Canon camcorder and Mac, along with the necessary software and hardware components, you can lay the foundation for a seamless integration of your Mac as an external monitor into your videography setup. This preliminary step is essential for ensuring that all the essential components are in place to proceed with the setup process.
Step 2: Connect the Camcorder to the Mac
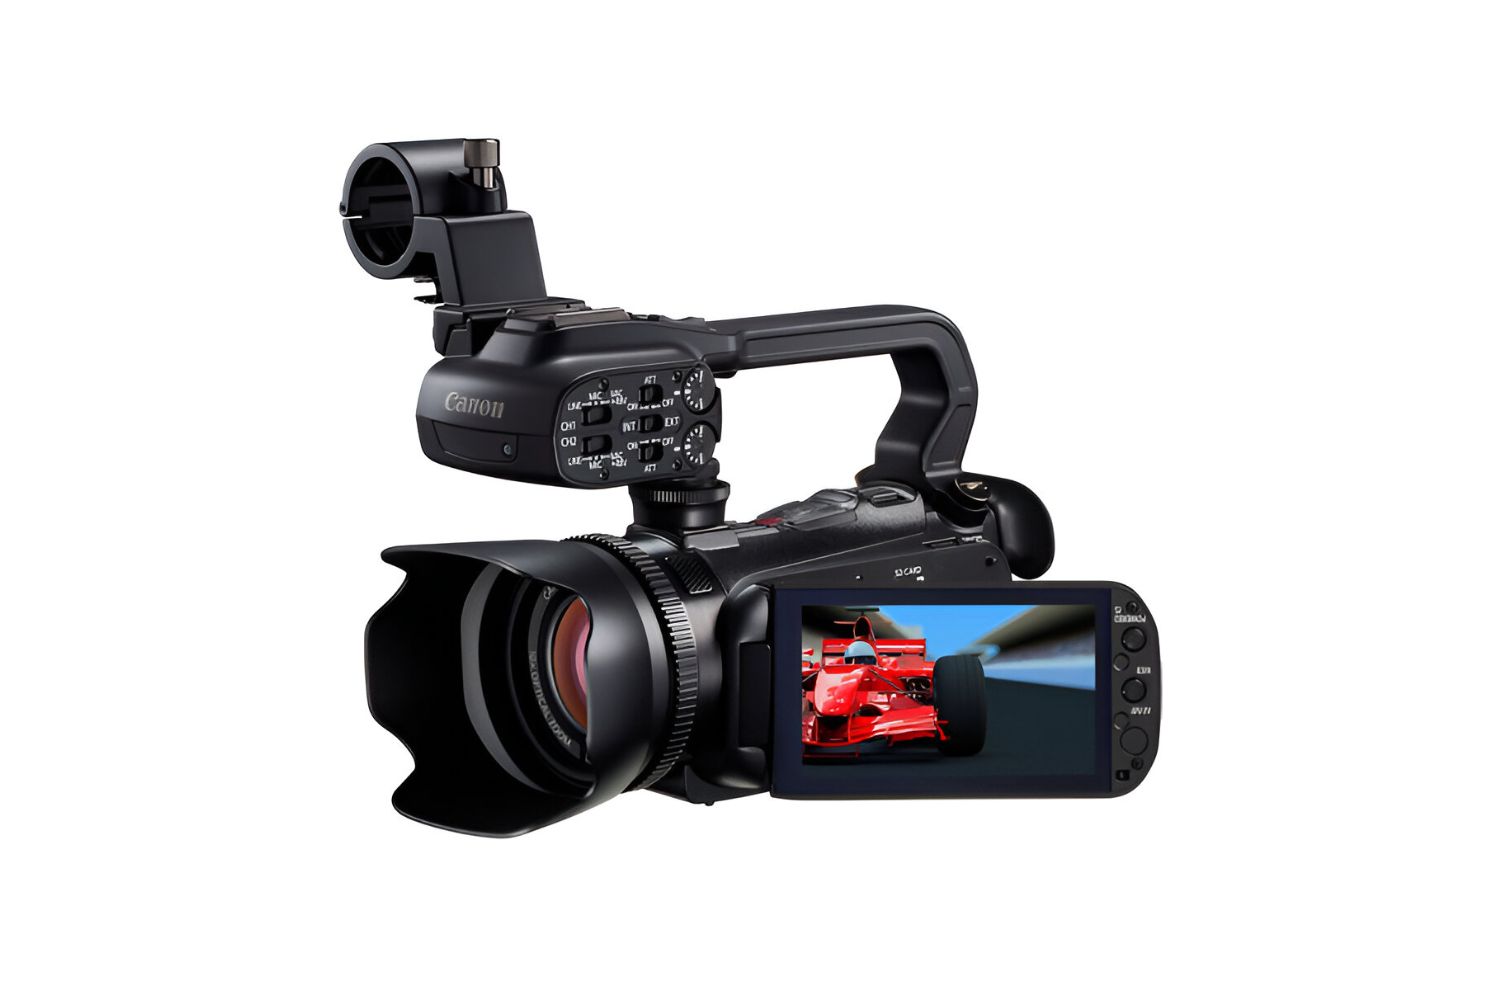
Once you have confirmed the compatibility of your Canon camcorder and Mac, it’s time to establish the physical connection between the two devices. The method of connecting the camcorder to the Mac will depend on the available ports and the type of cable required for the connection.
If your Canon camcorder features an HDMI or mini HDMI output port, and your Mac has a corresponding HDMI or Thunderbolt/USB-C input port, you can directly connect the camcorder to the Mac using a compatible HDMI cable. Simply plug one end of the HDMI cable into the camcorder’s HDMI output port and the other end into the Mac’s HDMI or Thunderbolt/USB-C input port, if available. This direct connection allows for the transmission of high-quality video from the camcorder to the Mac.
In the event that your Mac lacks a built-in HDMI or video input port, you may need to utilize a video capture device to facilitate the connection. Video capture devices are designed to convert video signals from external sources, such as camcorders, into a format that can be recognized by the Mac’s USB or Thunderbolt ports. By connecting the camcorder to the video capture device and then linking the capture device to the Mac, you can effectively bridge the gap between the camcorder’s output and the Mac’s input.
It’s important to use high-quality cables and adapters to ensure a stable and reliable connection between the Canon camcorder and your Mac. Additionally, carefully follow the instructions provided by the camcorder’s manufacturer and any relevant guidelines for using video capture devices to guarantee a successful connection.
By establishing a secure physical connection between your Canon camcorder and Mac, you pave the way for leveraging your Mac as an external monitor, enabling you to monitor and capture high-quality video content with precision and ease.
Step 3: Set Up the Camcorder
With the physical connection between your Canon camcorder and Mac in place, it’s essential to configure the camcorder’s settings to enable the transmission of the video feed to your Mac. This step involves adjusting the output settings on the camcorder to ensure compatibility with the Mac and to optimize the video signal for external monitoring.
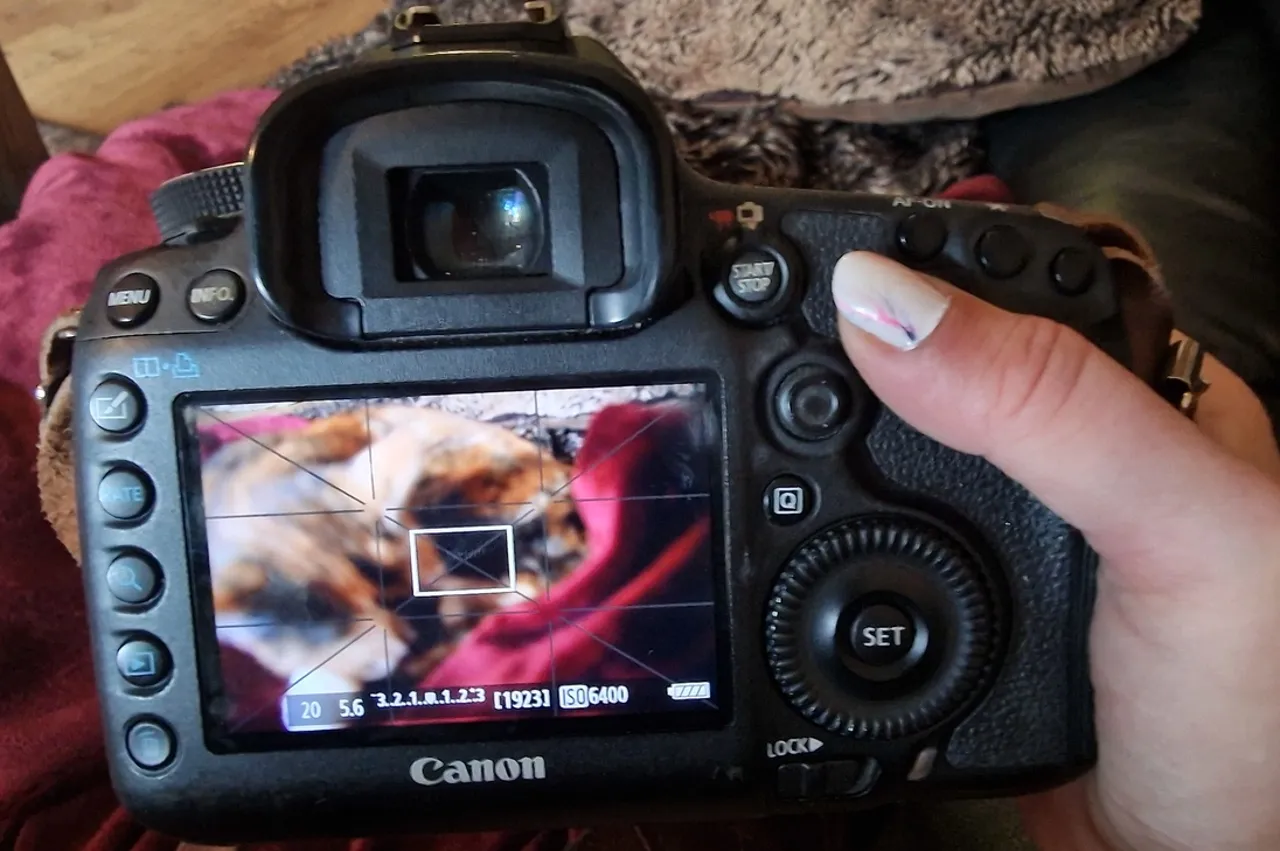
Start by accessing the menu or settings interface on your Canon camcorder. Navigate to the section that pertains to video output or HDMI settings. Depending on the model of your camcorder, you may have the option to adjust the resolution, frame rate, and other output parameters. It’s crucial to set these parameters to values supported by your Mac’s input capabilities to ensure seamless transmission of the video signal.
Verify that the output format and resolution selected on the camcorder align with the input specifications of your Mac. For example, if your Mac supports 1080p resolution at 60 frames per second, configure the camcorder to output video in this format to achieve optimal compatibility and performance. Refer to the user manual or online resources specific to your camcorder model for detailed guidance on adjusting the output settings.
Additionally, consider any specific features or functionalities of your Canon camcorder that may impact the video output, such as focus assist tools, exposure settings, or overlays. Ensure that these features are configured to enhance your monitoring experience and facilitate precise video capture while using your Mac as an external monitor.
By properly setting up your Canon camcorder to deliver a compatible and high-quality video signal to your Mac, you lay the groundwork for a seamless external monitoring experience. This meticulous configuration ensures that the video feed transmitted from the camcorder to the Mac aligns with the Mac’s display capabilities, allowing you to monitor and capture footage with clarity and accuracy.
Step 4: Adjust Mac Display Settings
After setting up the Canon camcorder and establishing the connection to your Mac, it’s time to configure the display settings on your Mac to accommodate the incoming video feed from the camcorder. By adjusting the Mac’s display settings, you can optimize the viewing experience and ensure that the external monitoring functionality operates seamlessly during your video recording sessions.
Begin by accessing the display settings on your Mac. Depending on your operating system version, you can typically find the display settings within the System Preferences or the Displays section. Look for the option to manage external displays or connected devices, as this is where you’ll be able to customize the settings specific to the incoming video feed from the Canon camcorder.
When configuring the display settings, you may encounter options to adjust the resolution, refresh rate, color profile, and arrangement of the external monitor (in this case, your Canon camcorder). It’s important to select the resolution and refresh rate that align with the output settings of your camcorder to ensure a harmonious display of the video feed. This synchronization between the camcorder’s output and the Mac’s display settings is crucial for achieving accurate and detailed monitoring of the video content.
Furthermore, consider calibrating the color profile of the external monitor to achieve color accuracy and consistency with your video recording intentions. This step is particularly valuable for videographers who prioritize color-critical work and require precise color representation during the monitoring process. By fine-tuning the color profile, you can ensure that the visuals displayed on your Mac accurately reflect the content being captured by the Canon camcorder.
Additionally, explore the arrangement settings to determine how the external monitor’s display is positioned in relation to your Mac’s primary screen. This feature allows you to customize the spatial orientation of the video feed, accommodating various filming setups and preferences.
By adjusting the display settings on your Mac to harmonize with the incoming video feed from your Canon camcorder, you create an optimal environment for monitoring and capturing high-quality video content. These customized settings facilitate a seamless integration of your Mac as an external monitor, empowering you to maintain precision and control throughout your video recording endeavors.
Step 5: Start Using Mac as External Monitor
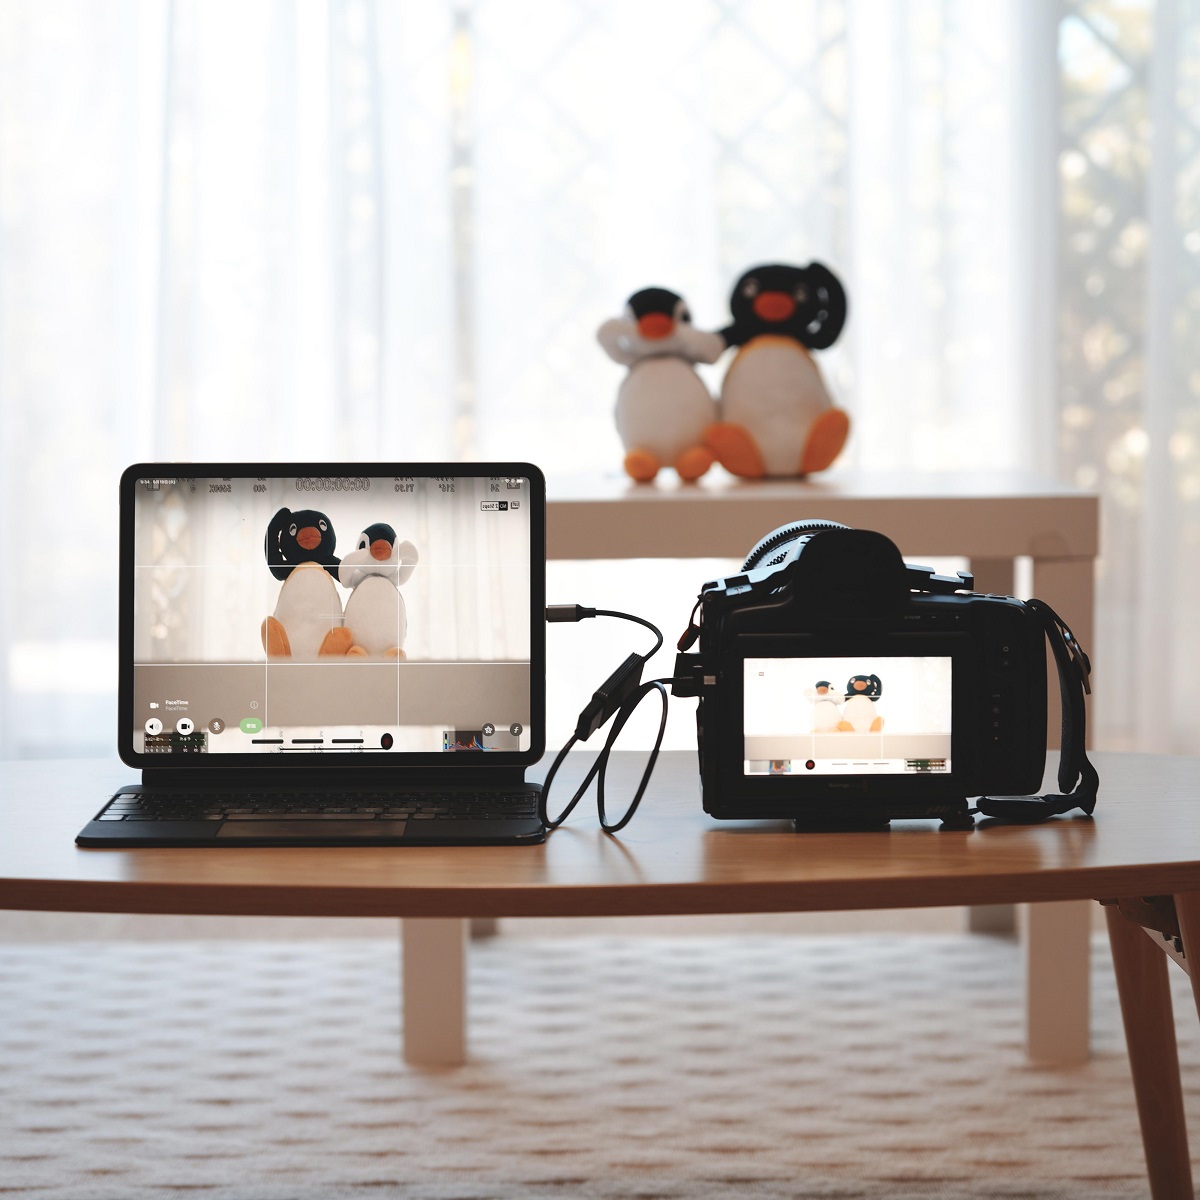
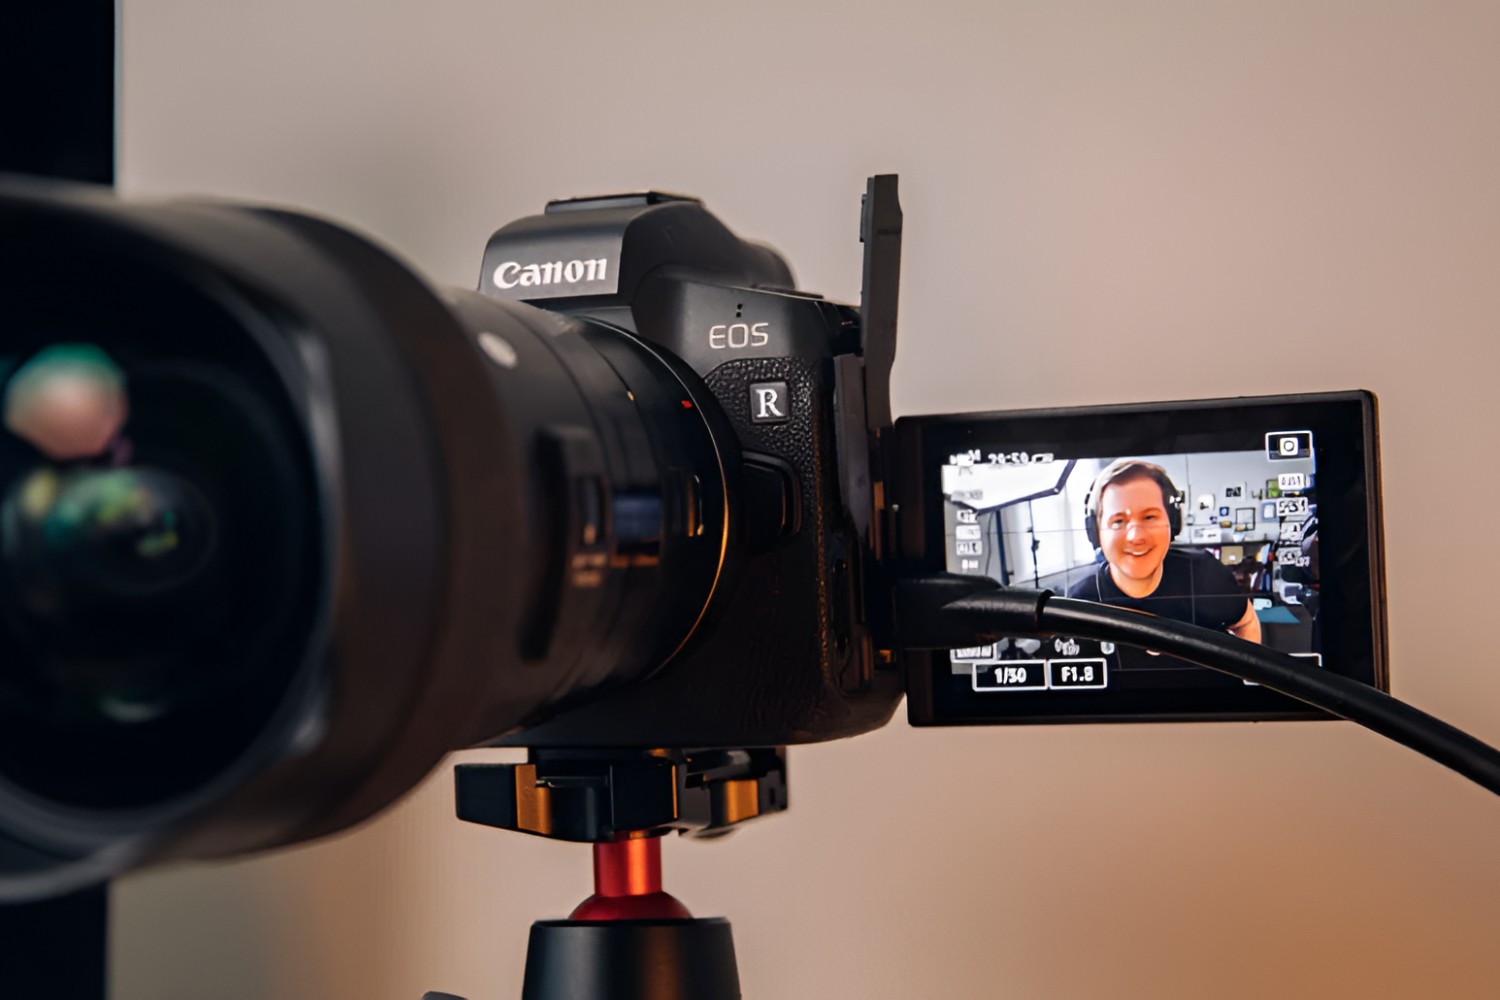
With the preparatory steps completed, you are now ready to harness the capabilities of your Mac as an external monitor for your Canon camcorder. This final step involves initiating the external monitoring functionality and ensuring that the video feed from the camcorder is seamlessly displayed on your Mac, providing you with a comprehensive view of the recording environment.
Once the physical connection between the Canon camcorder and your Mac is established, and the necessary settings are configured, power on the camcorder to initiate the video output. You should see the video feed from the camcorder being transmitted to your Mac’s display, effectively utilizing the Mac as an external monitor to monitor the recording in real time.
As the video feed appears on your Mac, take a moment to assess the clarity, color accuracy, and overall visual representation of the content. Ensure that the display settings on your Mac align with the output settings of the camcorder, allowing for a seamless and accurate portrayal of the video feed on the Mac’s screen. Make any necessary adjustments to the display settings to optimize the monitoring experience based on your specific filming requirements.
During the monitoring process, consider leveraging any built-in features of your Mac’s operating system or third-party applications that enhance the monitoring and recording workflow. These may include tools for waveform monitoring, focus peaking, or exposure analysis, providing valuable visual aids to refine your video capture techniques and ensure the quality of the footage.
As you begin using your Mac as an external monitor for your Canon camcorder, experiment with different filming scenarios and monitor the video content in real time to gain a deeper understanding of the capabilities and advantages offered by this setup. Whether you’re capturing cinematic sequences, interviews, or dynamic events, the utilization of your Mac as an external monitor empowers you to maintain precision and control over your video recording endeavors.
By seamlessly integrating your Mac as an external monitor into your videography setup, you unlock a versatile tool for monitoring and capturing high-quality video content, elevating the overall production value of your recordings and expanding your creative possibilities.
Conclusion
Integrating your Mac as an external monitor for your Canon camcorder presents a valuable opportunity to enhance your videography capabilities and elevate the quality of your video recordings. By following the step-by-step process outlined in this guide, you have gained insights into the seamless integration of your Mac into your videography setup, providing you with a versatile tool for monitoring and capturing high-quality video content.
From checking the compatibility of your devices to configuring the display settings and initiating the external monitoring functionality, each step in the process contributes to a cohesive and efficient workflow, empowering you to achieve precision and control in your video recording endeavors. The utilization of your Mac as an external monitor enables you to leverage its high-resolution display, color accuracy, and advanced monitoring features, ensuring that you capture every moment with clarity and finesse.
As you embark on your videography journey with your Mac serving as an external monitor, take the time to explore the creative possibilities and refine your recording techniques. Whether you’re a professional videographer, a content creator, or an aspiring filmmaker, the integration of your Mac as an external monitor opens new horizons for capturing stunning visuals and delivering impactful storytelling through your video content.
Embrace the versatility and efficiency offered by this setup, and continue to experiment with different filming scenarios, leveraging the power of your Mac as a reliable and intuitive external monitor. By harnessing the capabilities of your Mac in tandem with your Canon camcorder, you are poised to produce compelling video content that resonates with your audience and reflects your creative vision.
With the knowledge and insights gained from this guide, you are well-equipped to maximize the potential of your videography setup, leveraging your Mac as an external monitor to achieve professional-grade monitoring and recording capabilities. Embrace this integration as a catalyst for innovation and excellence in your videography pursuits, and let your creativity flourish as you capture unforgettable moments with precision and artistry.