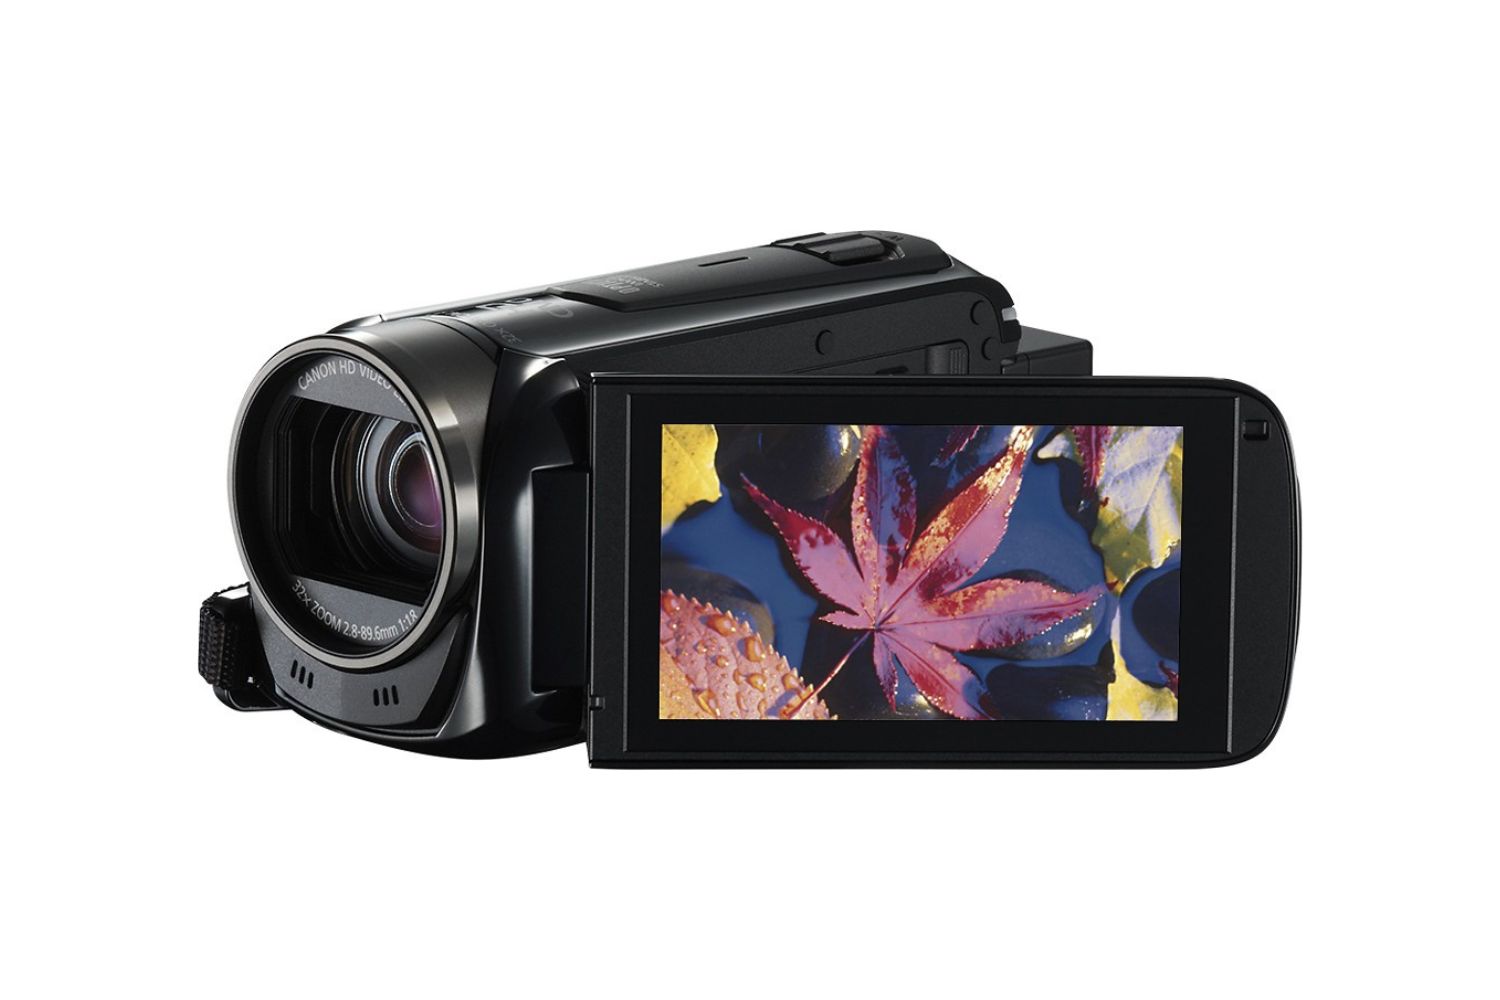
Getting to Know Your Canon Camcorder
Welcome to the world of videography with your new Canon camcorder! Before you start capturing stunning footage, it’s essential to familiarize yourself with the key features and functionalities of your device. Understanding the various components and settings will empower you to make the most of your filming experience.
Exploring the Physical Features:
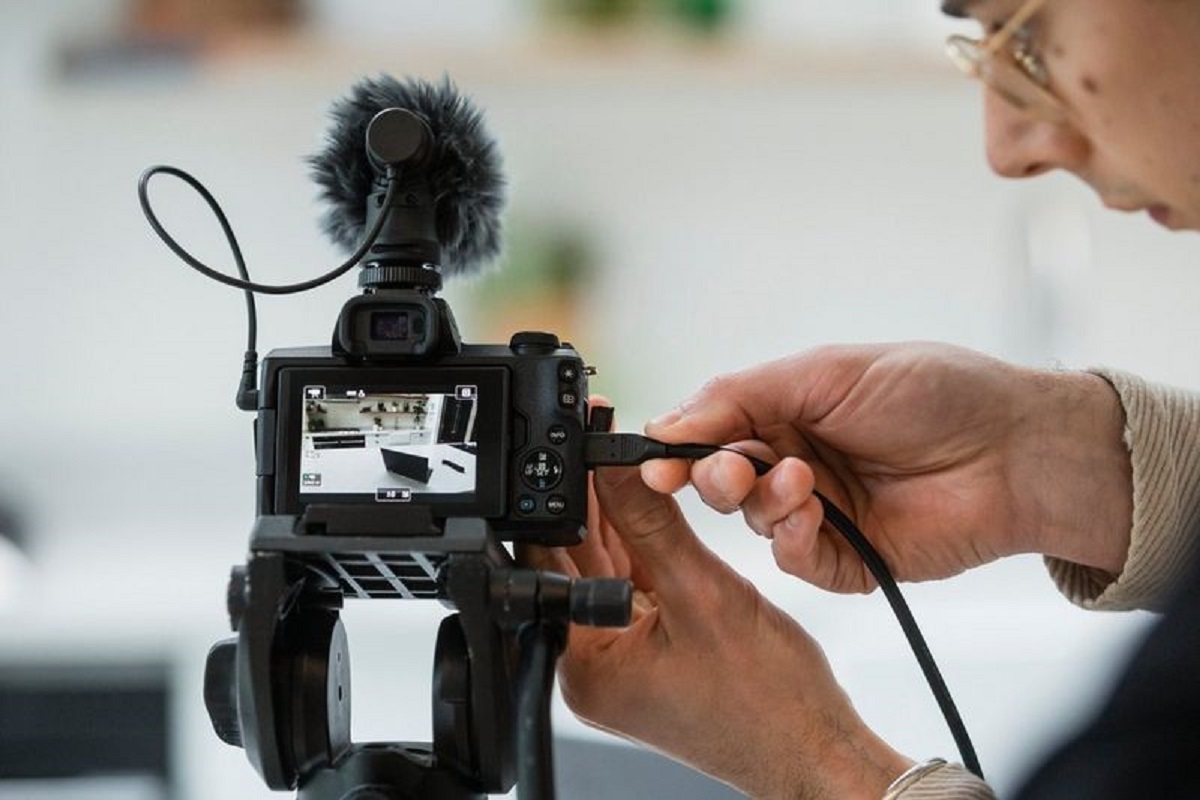
- Begin by acquainting yourself with the physical layout of your Canon camcorder. Locate the power button, record button, zoom controls, and any other buttons or dials that may be present.
- Identify the ports and connections, such as the HDMI and USB ports, which enable you to transfer footage and connect external devices.
Understanding the Menu System:
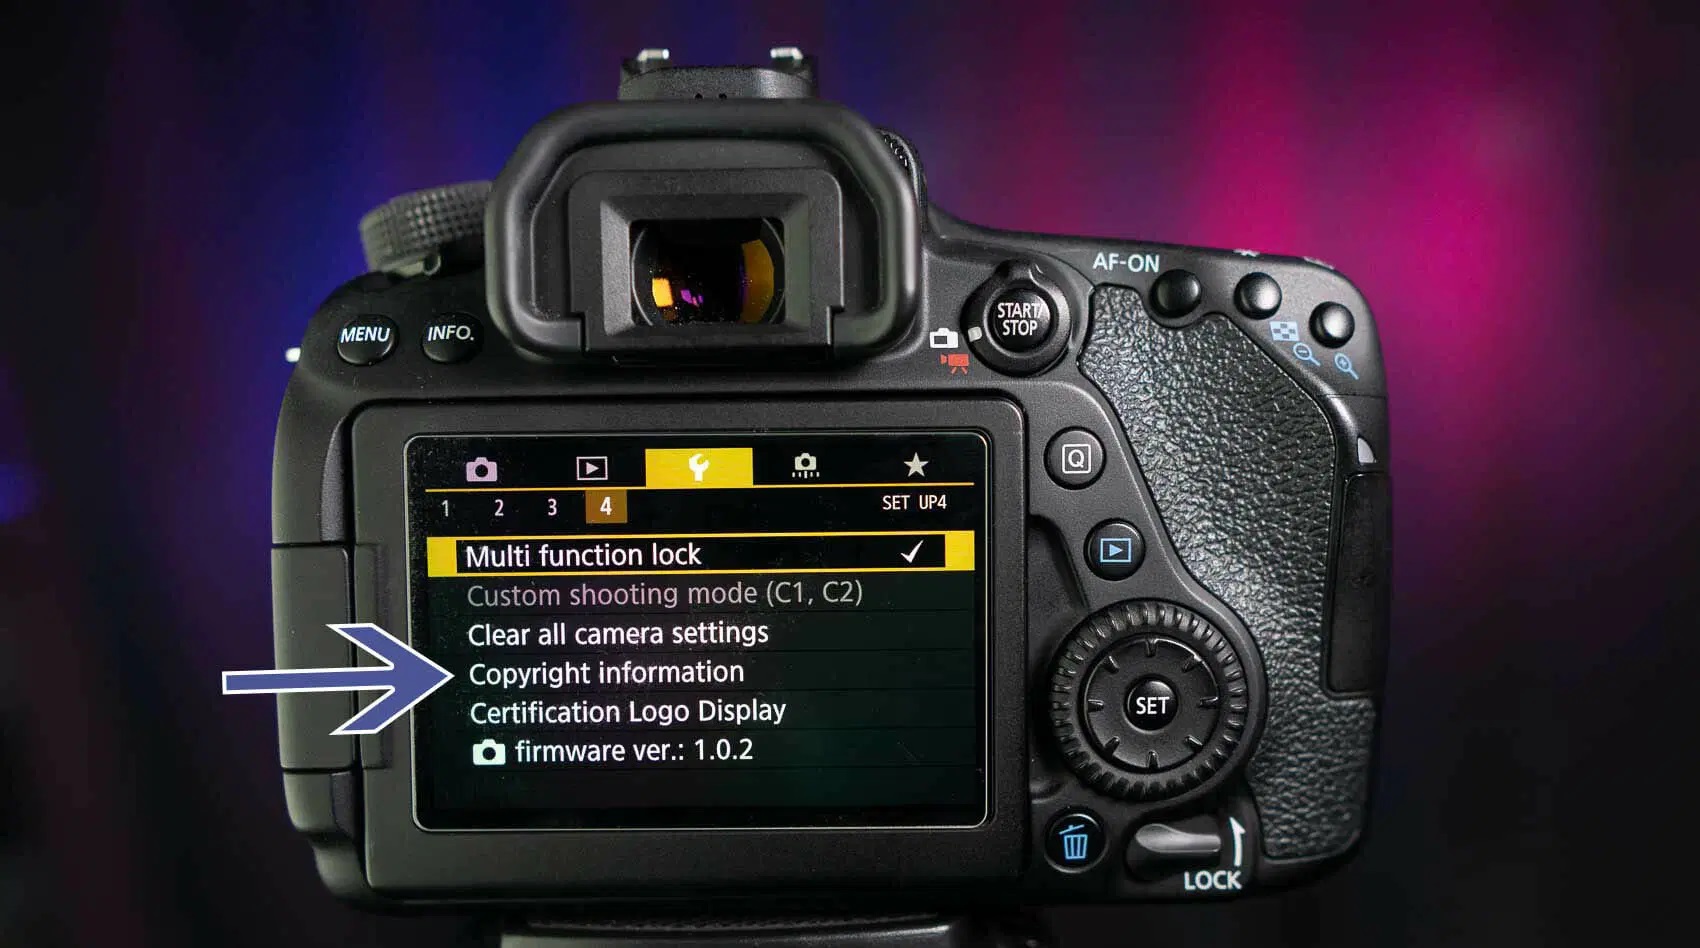
- Access the menu system to delve into the various settings and options available. Familiarize yourself with the different menus, including recording settings, playback options, and advanced features.
- Take note of the customizable settings, such as white balance, exposure controls, and audio settings, which allow you to tailor the camcorder to your specific filming needs.
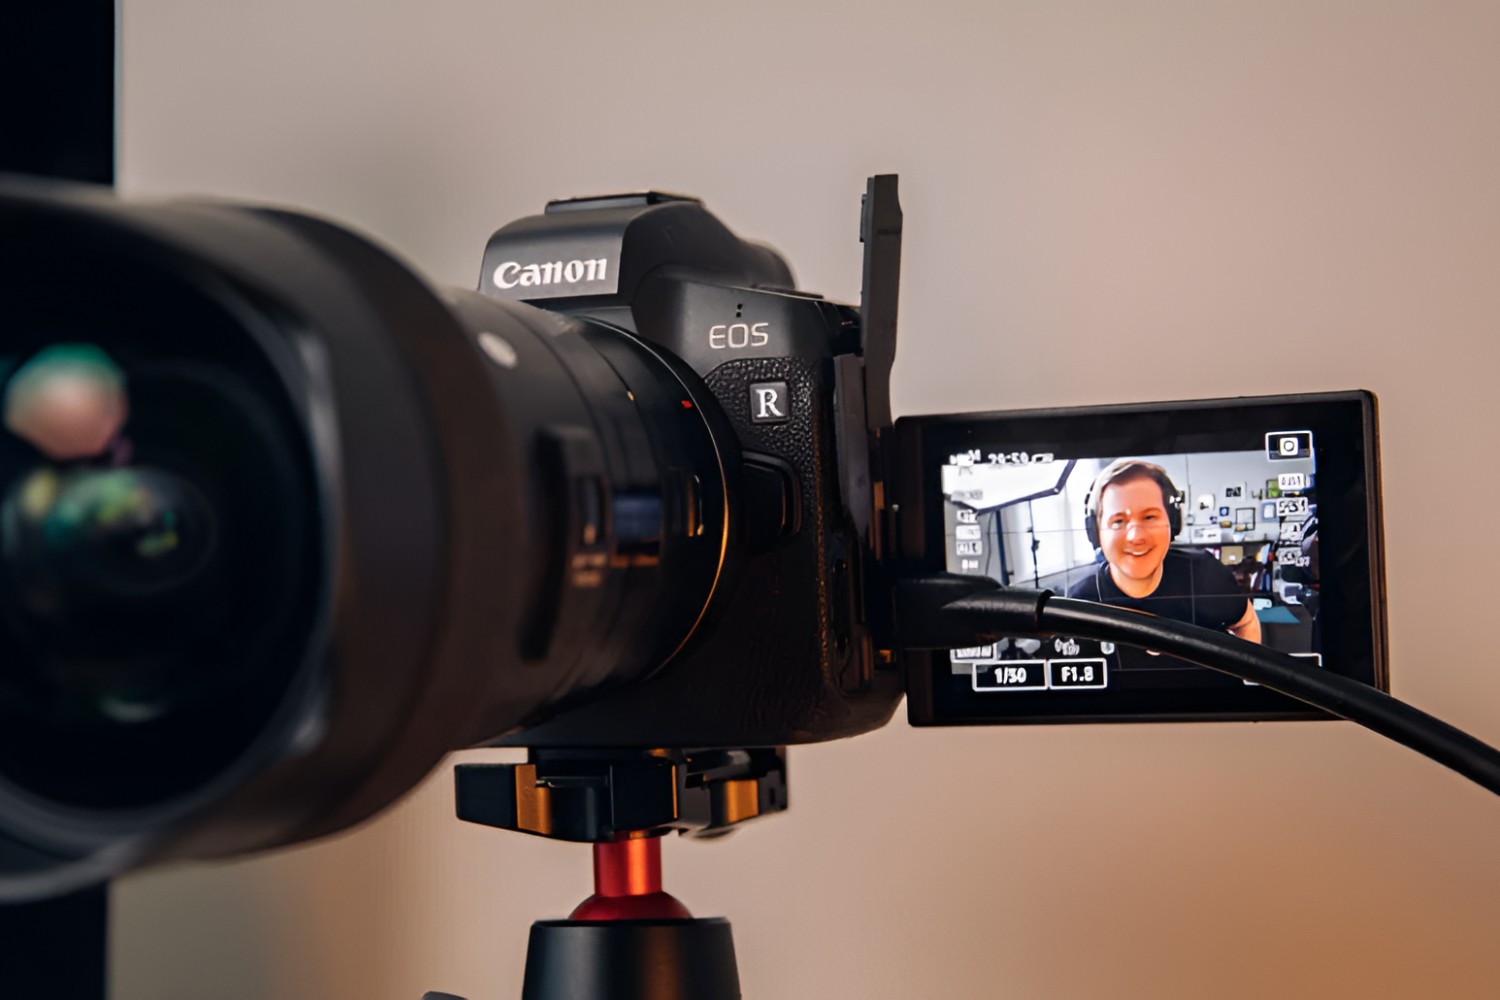
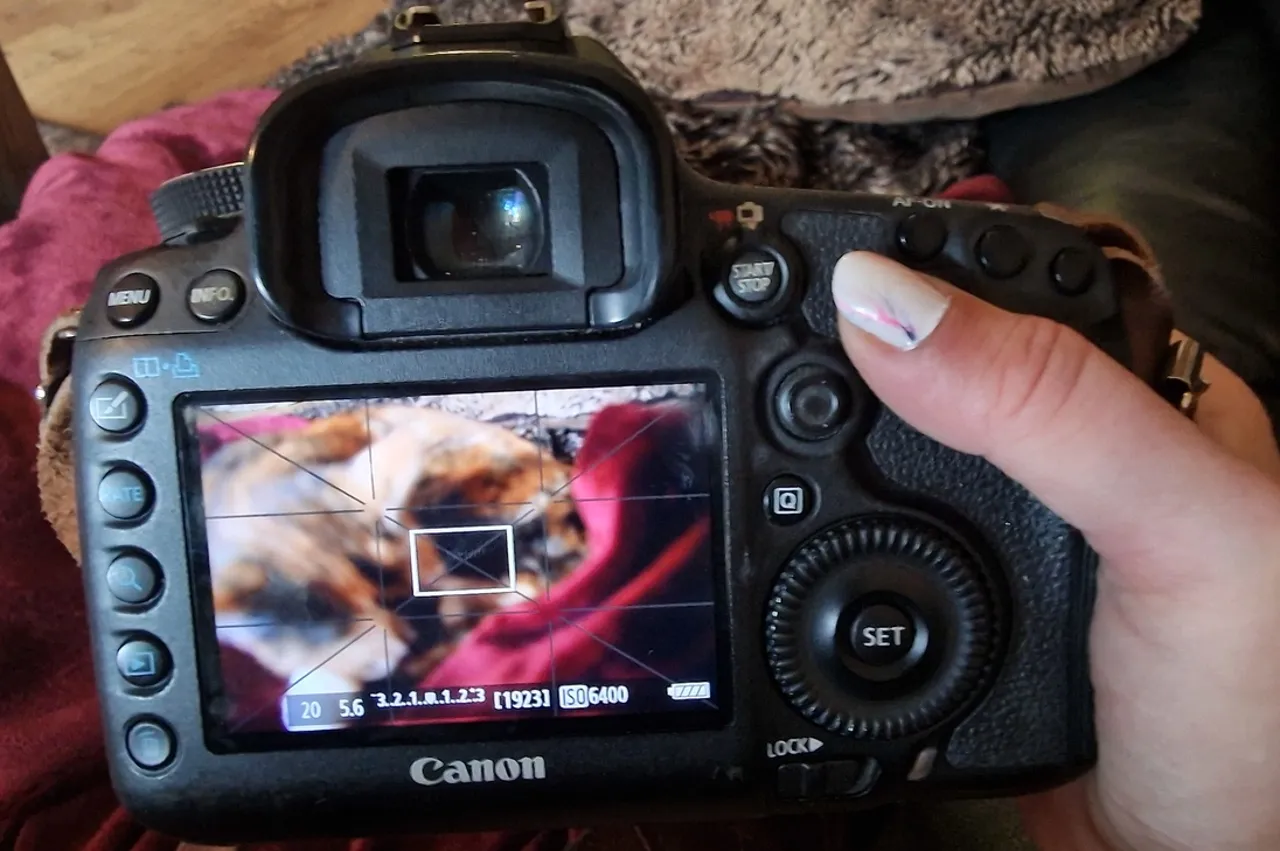
Getting Acquainted with the Viewfinder and Screen:
- Experiment with the viewfinder and LCD screen to understand their functionalities. The viewfinder provides a traditional approach to framing shots, while the LCD screen offers a modern, user-friendly interface.
- Explore the touch screen capabilities, if applicable, and familiarize yourself with the on-screen controls for adjusting settings and navigating menus.
By taking the time to familiarize yourself with these fundamental aspects of your Canon camcorder, you’ll be well-prepared to embark on your videography journey. Next, we’ll delve into the process of setting up your camcorder to ensure optimal performance and functionality.
Setting Up Your Canon Camcorder
Setting up your Canon camcorder correctly is crucial for achieving high-quality footage and seamless operation. Whether you’re preparing for a professional shoot or capturing precious family moments, these steps will ensure that your camcorder is ready to deliver exceptional results.
Battery and Power:
- Begin by charging the battery using the provided charger. It’s advisable to have spare batteries on hand for extended filming sessions.
- Insert the fully charged battery into the camcorder and ensure that it is securely locked in place.
- Power on the camcorder and familiarize yourself with the battery level indicator to monitor power consumption during use.
Memory Card Installation:
- If your Canon camcorder utilizes a memory card for storage, insert a compatible card with sufficient capacity for your filming needs.
- Ensure that the memory card is properly inserted and recognized by the camcorder before proceeding to capture footage.
Adjusting Settings:
- Access the menu system to configure essential settings such as video resolution, frame rate, and audio input options based on your filming requirements.
- Set the date and time to ensure accurate metadata for your footage, which is particularly important for organizing and cataloging your recordings.
Mounting and Stabilization:
- If using additional accessories such as tripods or stabilizers, ensure that they are compatible with your camcorder and securely mounted for steady and professional-looking shots.
- Experiment with the camcorder’s built-in stabilization features, if available, to minimize camera shake and enhance the overall quality of your footage.
By following these setup procedures, you’ll be well-prepared to unleash the full potential of your Canon camcorder. The next section will delve into basic shooting techniques, empowering you to capture captivating moments with confidence and precision.
Basic Shooting Techniques
Mastering fundamental shooting techniques is essential for creating compelling and visually engaging videos with your Canon camcorder. Whether you’re capturing everyday events or embarking on a creative project, these techniques will help you elevate the quality of your footage.
Stable Footage with Tripods and Handheld Techniques:
- Utilize a tripod to achieve stable and smooth shots, especially for stationary or slow-moving subjects. Adjust the tripod height and angle to frame your shots effectively.
- When shooting handheld, maintain a steady grip on the camcorder and use your body as a stabilizing support. Keep movements smooth and deliberate to minimize camera shake.
Understanding Composition:
- Experiment with the rule of thirds to create visually balanced and aesthetically pleasing compositions. Position key elements or subjects along the gridlines or at the intersection points to add visual interest to your shots.
- Consider the framing and perspective of your shots to convey the desired emotions or narratives. Explore different angles and viewpoints to capture unique and impactful visuals.
Optimizing Exposure and Focus:
- Adjust the exposure settings to achieve the desired brightness and contrast in your footage. Pay attention to the exposure meter and make necessary adjustments to avoid overexposed or underexposed shots.
- Utilize the autofocus feature to maintain sharp and clear focus on your subjects. Alternatively, experiment with manual focus for precise control over the focal point, especially in challenging lighting conditions.
Capturing Smooth Motion:
- When panning or tilting the camcorder to follow moving subjects, execute the movements slowly and steadily to avoid abrupt transitions and jerky footage.
- Experiment with different zoom levels to enhance the visual storytelling and create dynamic perspectives, but avoid excessive zooming, which can lead to visual distortion.
By integrating these basic shooting techniques into your videography repertoire, you’ll be well-equipped to capture captivating moments and convey your creative vision effectively. The next section will explore advanced shooting techniques, providing insights into elevating the quality and creativity of your video productions.
Advanced Shooting Techniques
As you continue to explore the capabilities of your Canon camcorder, delving into advanced shooting techniques will enable you to elevate the quality and creativity of your video productions. These techniques empower you to experiment with innovative approaches and enhance the visual impact of your footage.
Utilizing Manual Exposure Control:
- Engage with the manual exposure controls to fine-tune the aperture, shutter speed, and ISO settings based on the desired visual aesthetics and lighting conditions. This level of control allows for precise adjustments to achieve cinematic effects or creative exposure variations.
- Experiment with exposure bracketing to capture a series of shots at varying exposure levels, offering flexibility in post-production and ensuring optimal exposure in challenging lighting scenarios.
Exploring Depth of Field:
- Adjust the aperture settings to manipulate the depth of field, controlling the amount of background blur and emphasizing the main subject in your shots. This technique adds a professional and visually striking dimension to your videos.
- Experiment with different lenses to explore shallow depth of field for cinematic close-ups or expansive depth of field for landscape and architectural shots.
Creative White Balance and Color Grading:
- Customize the white balance settings to achieve accurate color representation in diverse lighting environments, ensuring natural and lifelike tones in your footage.
- Delve into color grading techniques during post-production to enhance the mood and visual impact of your videos. Experiment with color correction and grading tools to achieve a distinct and cohesive visual style.
Dynamic Camera Movements:
- Explore advanced camera movements such as tracking shots, crane or jib movements, and slider or dolly shots to add cinematic fluidity and dynamism to your footage.
- Experiment with aerial videography using compatible drones to capture breathtaking aerial perspectives and expansive landscapes, expanding the creative possibilities of your videography.
By integrating these advanced shooting techniques into your repertoire, you’ll unlock a new realm of creative possibilities and elevate the visual storytelling in your video productions. The next section will focus on utilizing the playback features of your Canon camcorder, providing insights into reviewing and managing your captured footage effectively.
Using the Playback Features
After capturing compelling footage with your Canon camcorder, the playback features empower you to review, manage, and analyze your recordings effectively. Understanding how to navigate and utilize the playback functions ensures that you can assess the quality of your footage and make informed decisions for subsequent filming sessions or post-production endeavors.
Reviewing Footage:
- Access the playback mode on your camcorder to review the recorded footage on the LCD screen or viewfinder. Utilize the playback controls to pause, play, rewind, and fast-forward through your videos.
- Utilize the zoom function during playback to inspect specific details or assess the sharpness and clarity of your shots, enabling you to identify areas for improvement or content selection.
Managing and Organizing Clips:
- Utilize the file management features to navigate through recorded clips, create folders, and organize your footage based on date, location, or specific projects, facilitating efficient access and retrieval of content.
- Mark key moments or segments within your recordings using the clip marking feature, simplifying the process of identifying and extracting noteworthy content during post-production.
Analyzing Technical Details:
- Access the playback information display to review technical details such as exposure settings, audio levels, and focus indicators, providing valuable insights into the technical aspects of your recordings.
- Utilize the waveform monitor and histogram display, if available, to assess exposure levels and ensure optimal tonal distribution within your footage, enhancing the overall visual quality.
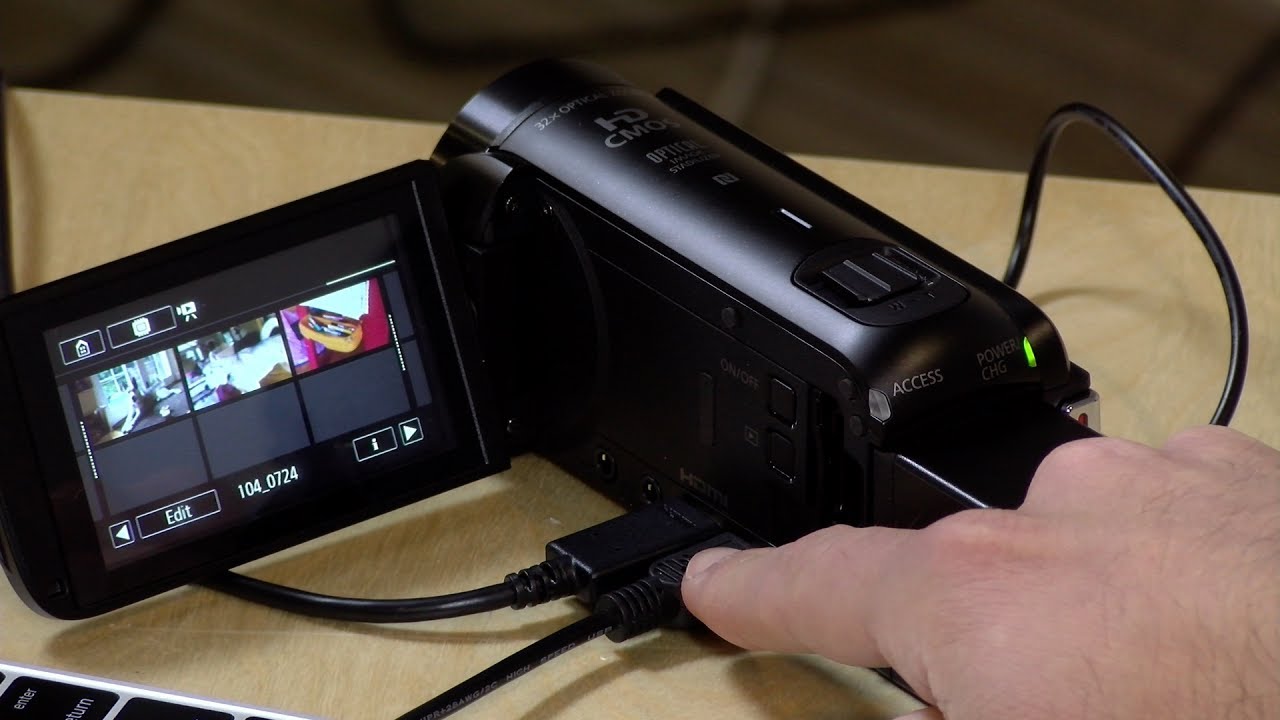
Playback Output and Connectivity:
- Connect your Canon camcorder to external displays or monitors to review your footage on a larger screen, facilitating detailed analysis and collaborative feedback during professional projects or creative collaborations.
- Utilize the HDMI output to preview your recordings on compatible screens or projectors, ensuring accurate color representation and visual fidelity during playback.
By leveraging the playback features of your Canon camcorder, you’ll gain valuable insights into the quality and technical aspects of your footage, empowering you to make informed decisions for subsequent filming sessions or post-production endeavors. The next section will delve into the process of transferring and editing your captured footage, providing essential insights into refining and showcasing your videography creations.
Transferring and Editing Your Footage
Once you’ve captured compelling footage with your Canon camcorder, the process of transferring and editing your recordings is essential for refining your content and bringing your creative vision to life. By seamlessly transitioning from filming to post-production, you can enhance your videos, add artistic flair, and share your visual stories with the world.
Transferring Footage to a Computer:
- Connect your camcorder to a computer using the provided USB cable or utilize a memory card reader to transfer your footage to your computer's storage. Ensure that the necessary drivers or software are installed for seamless connectivity.
- Organize your transferred footage into project-specific folders, simplifying the editing process and facilitating efficient access to your recordings during post-production.
Editing Software and Workflow:
- Utilize professional video editing software such as Adobe Premiere Pro, Final Cut Pro, or DaVinci Resolve to import your footage and embark on the editing process. Familiarize yourself with the interface and tools to effectively arrange, trim, and enhance your clips.
- Experiment with transitions, visual effects, and audio adjustments to refine the pacing and visual appeal of your videos, adding depth and creativity to your storytelling.
Color Correction and Grading:
- Engage in color correction to adjust the overall tonal balance, exposure levels, and color consistency within your footage, ensuring a cohesive and visually appealing look for your videos.
- Explore color grading techniques to infuse your footage with a distinct visual style, emphasizing mood, atmosphere, and thematic elements to elevate the emotional impact of your content.
Audio Enhancement and Mixing:
- Refine the audio elements of your videos by adjusting levels, applying noise reduction, and incorporating atmospheric soundscapes or music to enhance the auditory experience and complement the visual storytelling.
- Utilize audio mixing tools to achieve a balanced and immersive sound design, ensuring that dialogue, ambient sounds, and music harmoniously blend to captivate your audience.
By seamlessly transitioning from capturing footage to the post-production phase, you'll have the opportunity to refine and showcase your videography creations with professional polish and artistic finesse. Embrace the creative possibilities of editing to transform your raw footage into captivating visual stories that resonate with your audience.