Introduction
Are you eager to transfer the captivating videos from your Canon camcorder to your computer, but not sure where to begin? Fear not, as this comprehensive guide will walk you through the simple yet crucial steps to seamlessly transfer your precious footage. Whether you're a budding filmmaker, a family documentarian, or simply looking to free up storage space on your camcorder, this guide is tailored to meet your needs.
In the digital age, the process of transferring videos from a Canon camcorder to a computer has become increasingly straightforward, thanks to technological advancements and user-friendly interfaces. By following the steps outlined in this guide, you'll be able to effortlessly transfer, organize, and edit your videos, allowing you to relive and share your cherished moments with ease.
Throughout this guide, we'll explore various methods for transferring videos, including using a USB cable, a memory card reader, and Canon software. Additionally, we'll delve into the post-transfer phase, offering tips on organizing and editing your videos to suit your preferences.
So, grab your Canon camcorder, prepare your computer, and let's embark on this journey to seamlessly transfer your videos. Whether you're a novice or a seasoned videographer, this guide is designed to simplify the process and empower you to take full control of your video content.
Let's dive into the first step: connecting your Canon camcorder to your computer.
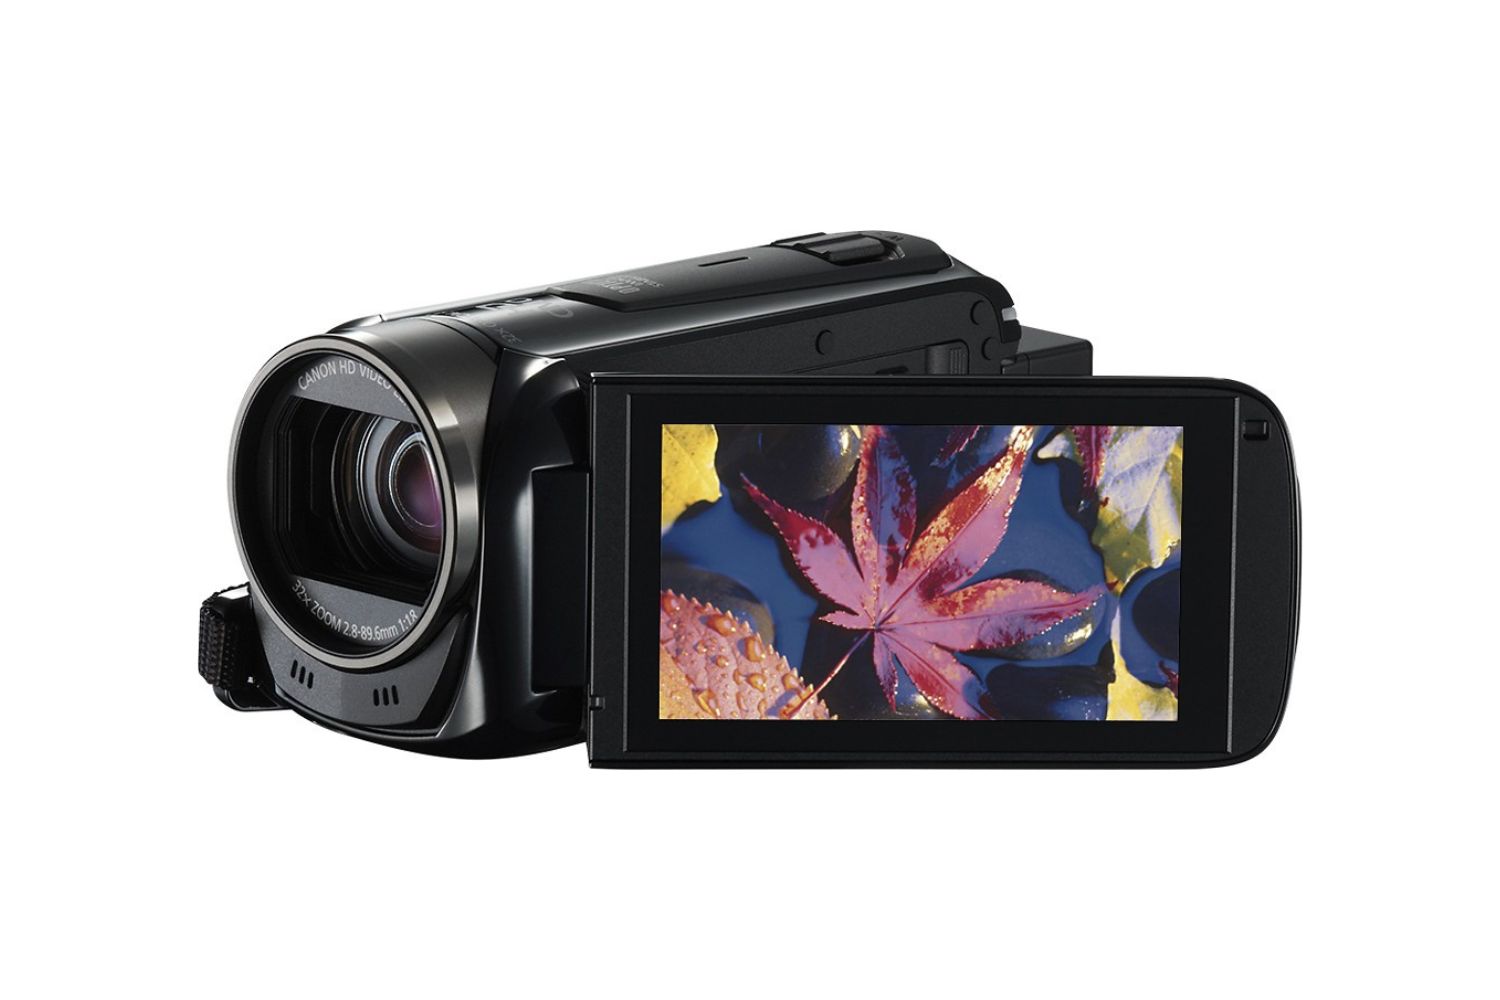
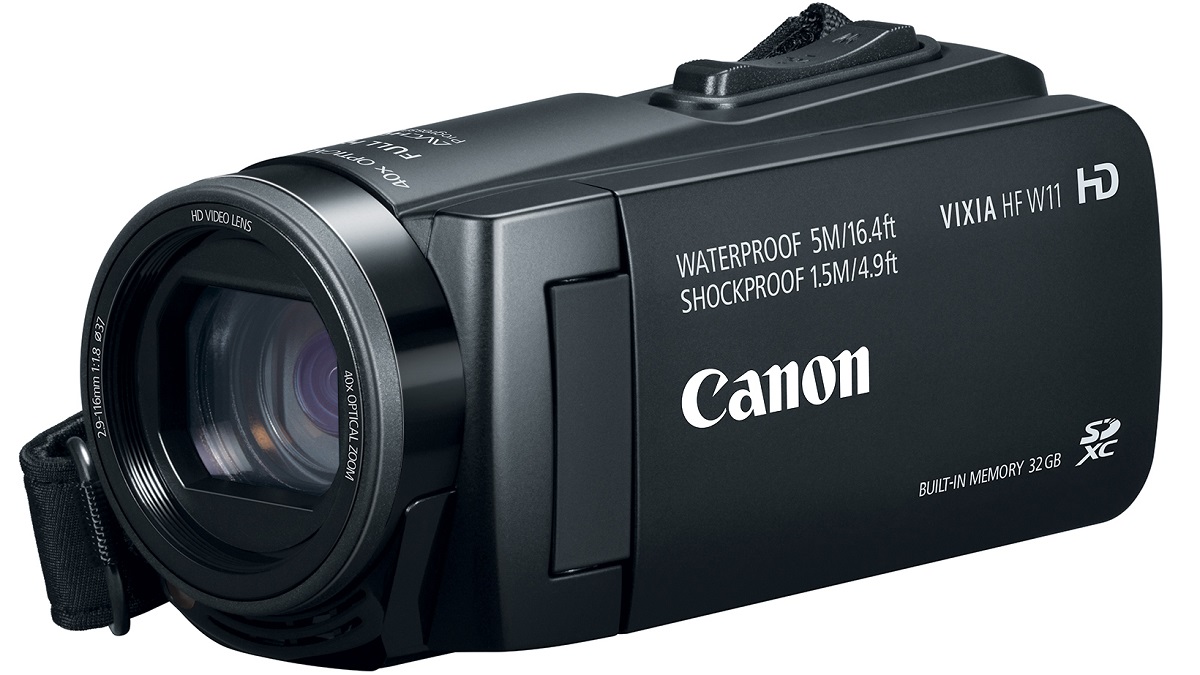
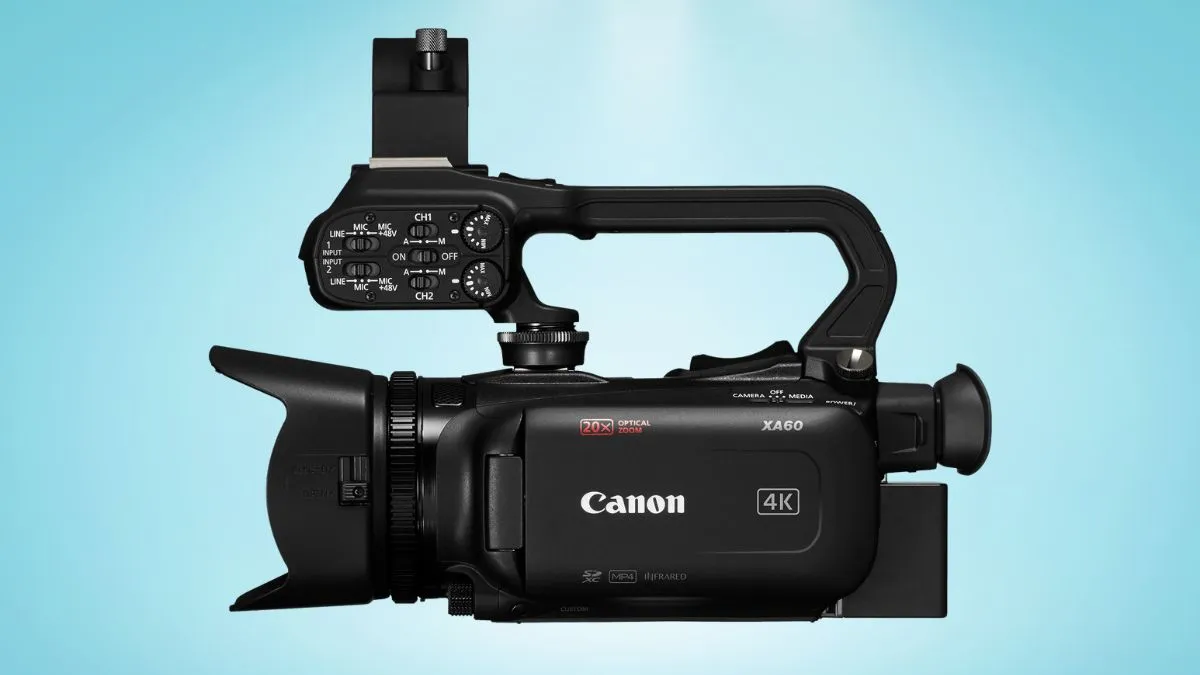
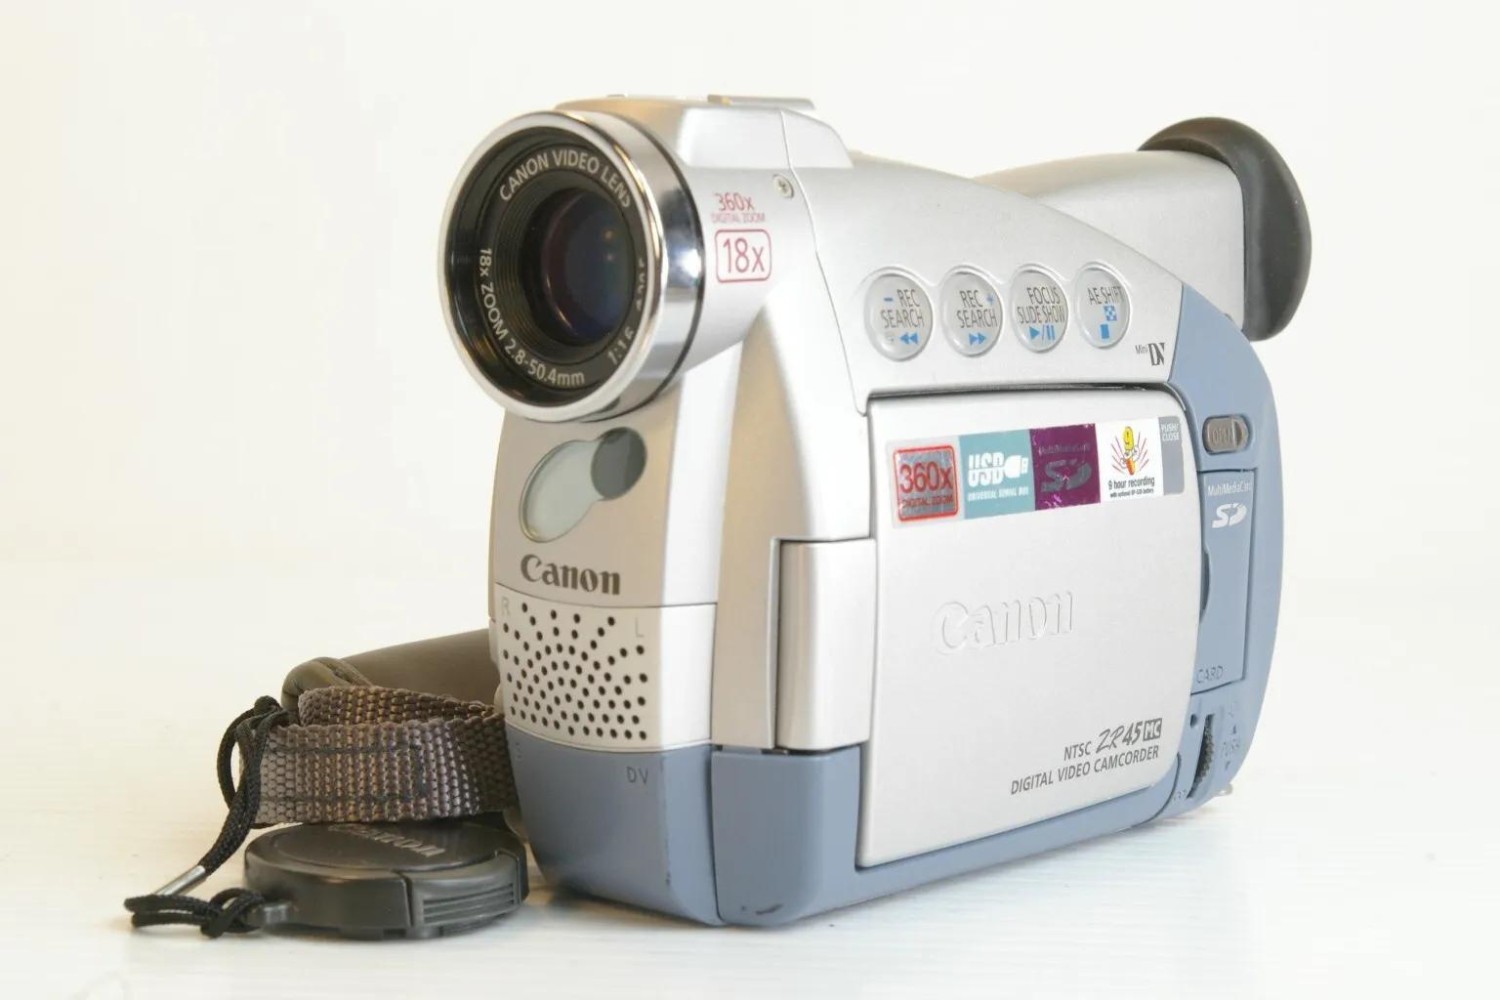
Step 1: Connect your Canon camcorder to your computer
Before you can start transferring your videos, it’s crucial to establish a physical connection between your Canon camcorder and your computer. This step sets the foundation for the seamless transfer of your video content. Here’s how to get started:
- Locate the USB cable: Begin by identifying the USB cable that came with your Canon camcorder. This cable serves as the bridge between your camcorder and your computer, enabling the transfer of data.
- Turn off your camcorder: Before connecting the USB cable, ensure that your Canon camcorder is powered off. This precautionary step prevents any potential data transfer interruptions or software conflicts.
- Connect the USB cable: With your camcorder powered off, carefully connect one end of the USB cable to the designated port on your camcorder. The other end of the cable should be connected to an available USB port on your computer.
- Power on your camcorder: Once the USB cable is securely connected, power on your Canon camcorder. Your computer should recognize the newly connected device and initiate the necessary processes to establish a connection.
By successfully completing this step, you’ve laid the groundwork for the subsequent stages of the video transfer process. With your Canon camcorder now connected to your computer, you’re ready to proceed to the next step, where we’ll delve into the actual transfer of videos using the USB cable.
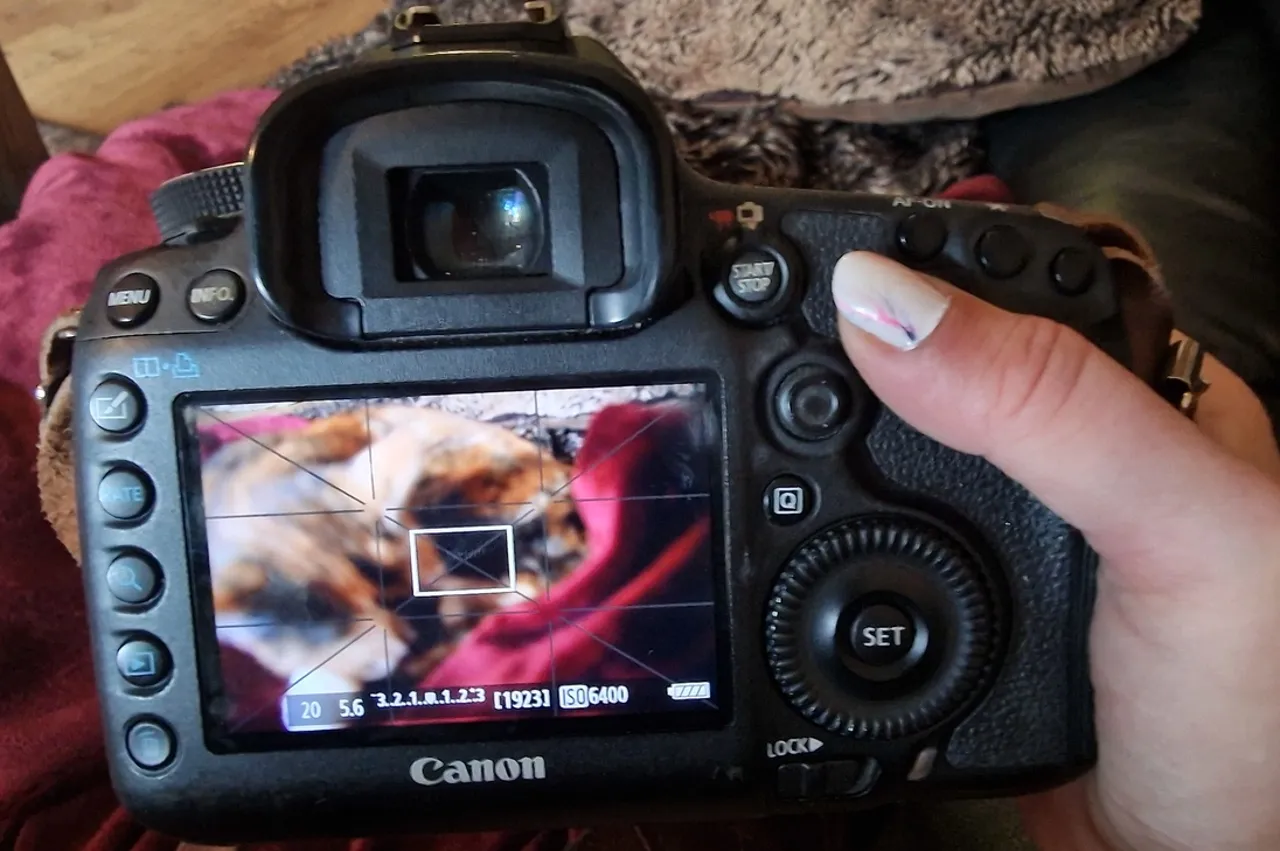
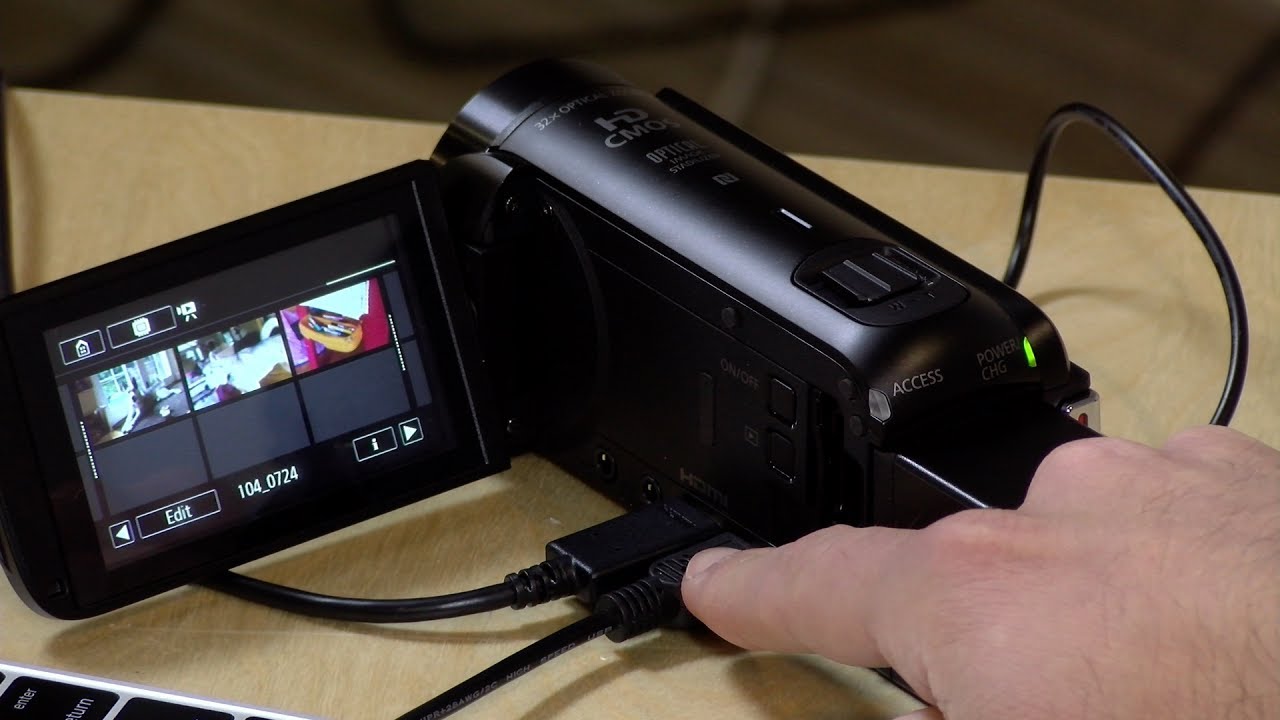
Step 2: Transfer videos using a USB cable
Now that your Canon camcorder is successfully connected to your computer, you’re ready to initiate the transfer of your captivating videos. The USB cable serves as the conduit through which your video content will seamlessly flow from your camcorder to your computer. Follow these steps to transfer your videos using the USB cable:
- Access your camcorder’s storage: Once your camcorder is connected to your computer via the USB cable, navigate to the storage or memory card where your videos are stored. This can typically be accessed through your computer’s file explorer or a dedicated software provided by Canon.
- Select the videos for transfer: Within the storage interface, locate and select the videos you wish to transfer to your computer. This may involve navigating through folders or albums to find the specific videos you’re interested in.
- Copy and paste the videos: With your desired videos selected, use your computer’s file management tools to copy the videos from your camcorder’s storage and paste them into a location on your computer, such as a designated folder or the desktop.
- Monitor the transfer progress: Depending on the size and quantity of the videos being transferred, the process may take some time. Keep an eye on the transfer progress to ensure that each video is successfully copied to your computer.
Once the transfer is complete, you’ll have successfully transferred your videos from your Canon camcorder to your computer using the USB cable. With your videos now residing on your computer, you can proceed to the next step, where we’ll explore an alternative method for transferring videos using a memory card reader.
Step 3: Transfer videos using a memory card reader
If you prefer an alternative method for transferring videos from your Canon camcorder to your computer, utilizing a memory card reader offers a convenient and efficient solution. This approach bypasses the need for a direct USB connection and can expedite the transfer process. Follow these steps to transfer your videos using a memory card reader:
- Remove the memory card: Begin by safely removing the memory card from your Canon camcorder. Most camcorders feature a designated slot for memory cards, making it easy to access and remove the card.
- Insert the memory card into the reader: Locate a compatible memory card reader and carefully insert the memory card into the corresponding slot on the reader. Ensure that the memory card is securely inserted to facilitate a stable connection.
- Connect the reader to your computer: Using a USB cable or the appropriate interface, connect the memory card reader to an available USB port on your computer. Your computer should recognize the connected reader and prepare to access the contents of the memory card.
- Access the memory card contents: Once the memory card reader is connected, navigate to the storage location of the memory card through your computer’s file explorer. This will grant you access to the videos stored on the memory card.
- Select and transfer the videos: Within the memory card storage interface, select the videos you wish to transfer to your computer. Use your computer’s file management tools to copy the selected videos from the memory card and paste them into a preferred location on your computer.
By following these steps, you’ll successfully transfer your videos from your Canon camcorder to your computer using a memory card reader. This method offers a seamless and efficient alternative to the USB cable approach, providing flexibility in how you manage and transfer your video content.
Now that you’ve explored two methods for transferring videos, you’re equipped with the knowledge to choose the approach that best suits your preferences and workflow. As we continue, we’ll delve into the option of using Canon software to facilitate the video transfer process.
Step 4: Use Canon software to transfer videos
Canon provides dedicated software that streamlines the process of transferring videos from your Canon camcorder to your computer. This software offers a user-friendly interface and additional features that enhance the video transfer experience. Follow these steps to utilize Canon software for seamless video transfer:
- Install the Canon software: Begin by installing the Canon software on your computer. This software is typically provided with your Canon camcorder and can be installed from the included installation media or downloaded from the Canon support website.
- Connect your camcorder to your computer: Using the provided USB cable, connect your Canon camcorder to your computer. Ensure that your camcorder is powered on and recognized by your computer before proceeding.
- Launch the Canon software: Once your camcorder is connected, launch the Canon software on your computer. The software should detect the connected camcorder and display its contents within the interface.
- Select and transfer videos: Within the Canon software interface, browse through the videos stored on your camcorder and select the ones you wish to transfer to your computer. The software typically offers intuitive tools for selecting and initiating the transfer process.
- Monitor the transfer progress: As the videos are being transferred, monitor the progress within the Canon software. This allows you to ensure that each video is successfully transferred without any interruptions.
By utilizing Canon software, you can take advantage of a tailored solution designed to simplify and enhance the video transfer process. The software’s intuitive interface and seamless integration with Canon camcorders make it a valuable asset for managing your video content.
With the videos successfully transferred to your computer, you can now explore the next step, where we’ll delve into organizing and editing your transferred videos to suit your preferences and creative vision.
Step 5: Organize and edit your transferred videos
Now that your videos have been seamlessly transferred from your Canon camcorder to your computer, it’s time to organize and potentially edit your footage to enhance its presentation and accessibility. This step empowers you to curate your video library and refine your content according to your creative vision. Here’s how to organize and edit your transferred videos:
- Create a dedicated video folder: Begin by creating a designated folder on your computer where you can store and organize your transferred videos. This folder can be named based on the content, date, or any other categorization that suits your organizational preferences.
- Organize by event or theme: If your videos are related to specific events, occasions, or themes, consider creating subfolders within your dedicated video folder to further categorize and organize your content. This approach simplifies navigation and enhances the accessibility of your videos.
- Review and trim footage: Utilize video editing software to review your transferred videos and trim any segments that may require refinement. This step allows you to enhance the flow and quality of your footage, ensuring that it aligns with your creative vision.
- Add titles and transitions: Enhance the presentation of your videos by incorporating titles, transitions, and other creative elements using video editing software. This step adds a professional touch to your content and elevates the overall viewing experience.
- Organize metadata and descriptions: Consider adding descriptive metadata, such as titles, tags, and descriptions, to each video file. This metadata not only aids in organizing your videos but also improves searchability and context for future reference.
By organizing and potentially editing your transferred videos, you’re actively shaping the narrative and visual appeal of your content. This step empowers you to transform raw footage into polished, engaging videos that resonate with your audience.
With your videos now organized and potentially enhanced through editing, you’ve successfully completed the transfer process and added a personal touch to your video library. As you continue to explore your creative endeavors, remember that this guide serves as a valuable resource for seamlessly transferring, organizing, and refining your video content.
Conclusion
Congratulations on successfully navigating the process of transferring your captivating videos from your Canon camcorder to your computer. By following the comprehensive steps outlined in this guide, you’ve not only mastered the technical aspects of video transfer but also gained valuable insights into organizing and refining your video content.
Throughout this journey, you’ve learned the essential steps for connecting your Canon camcorder to your computer, explored multiple methods for transferring videos, and even delved into the realm of video organization and editing. Armed with this knowledge, you now possess the skills to effortlessly manage and enhance your video library, unleashing your creative potential and sharing your cherished moments with the world.
As you continue to explore the realm of video creation and storytelling, remember that the process of transferring videos is just the beginning of a captivating and fulfilling journey. Each video you transfer represents a unique story waiting to be told, and your newfound expertise empowers you to curate, refine, and share these stories with confidence and creativity.
Whether you’re documenting family milestones, capturing breathtaking landscapes, or expressing your artistic vision through video, the seamless transfer of your videos from your Canon camcorder to your computer lays the groundwork for endless possibilities. Embrace the art of storytelling, leverage the power of technology, and continue to expand your horizons as a video creator.
With your videos safely transferred, organized, and potentially enhanced, the stage is set for you to embark on new creative endeavors, share your stories with the world, and leave a lasting impact through the art of video creation.