Introduction
Introduction
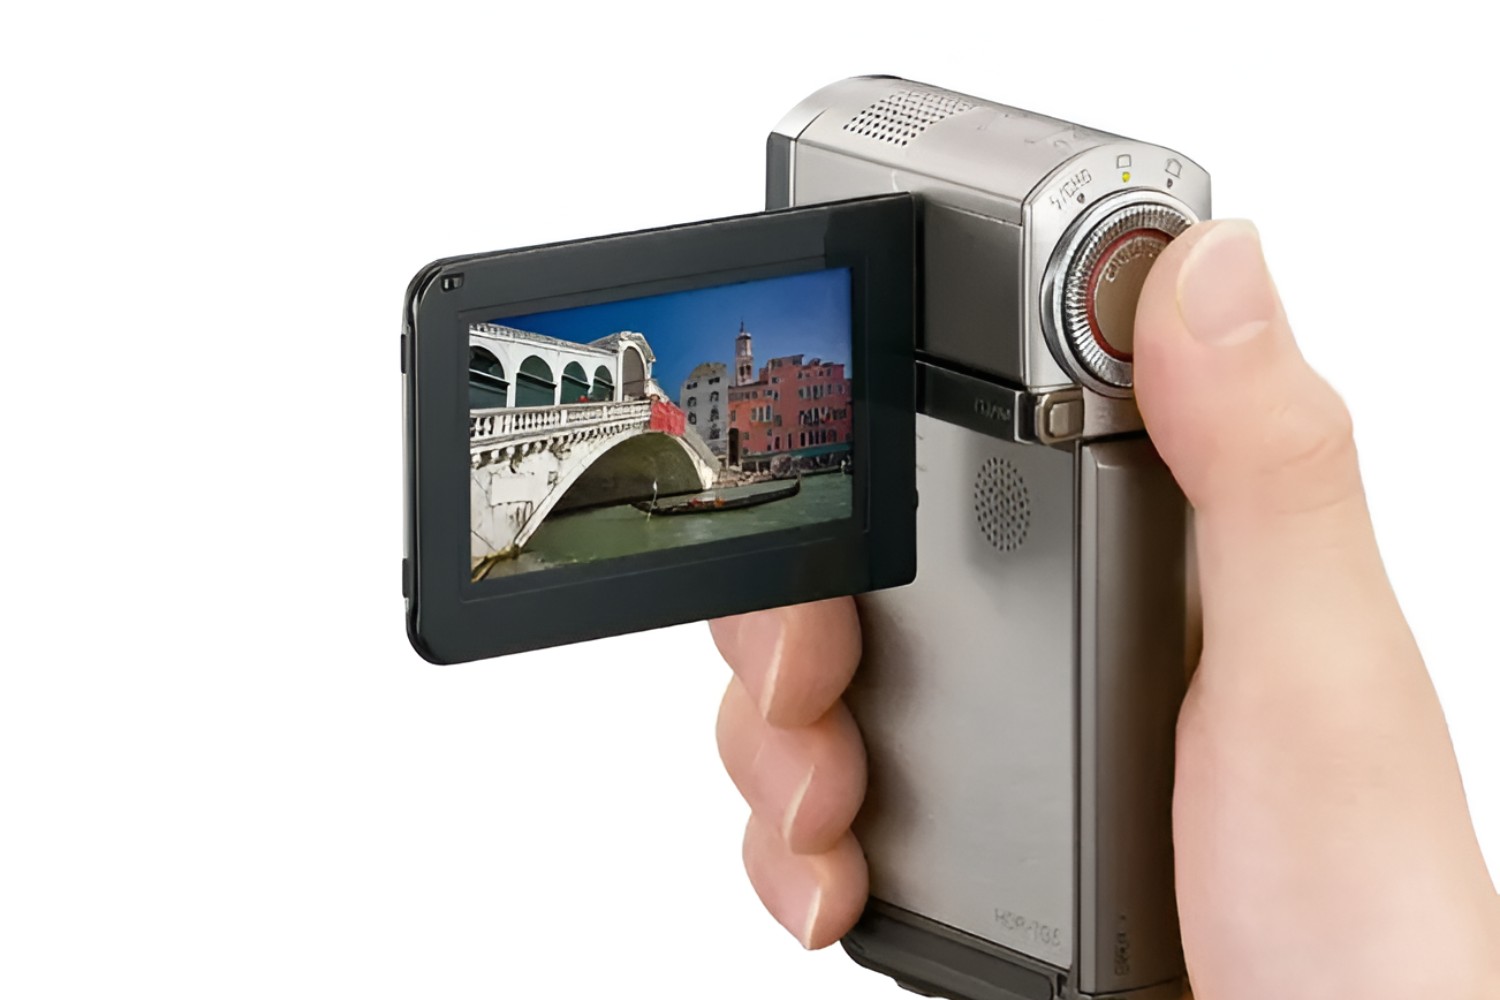
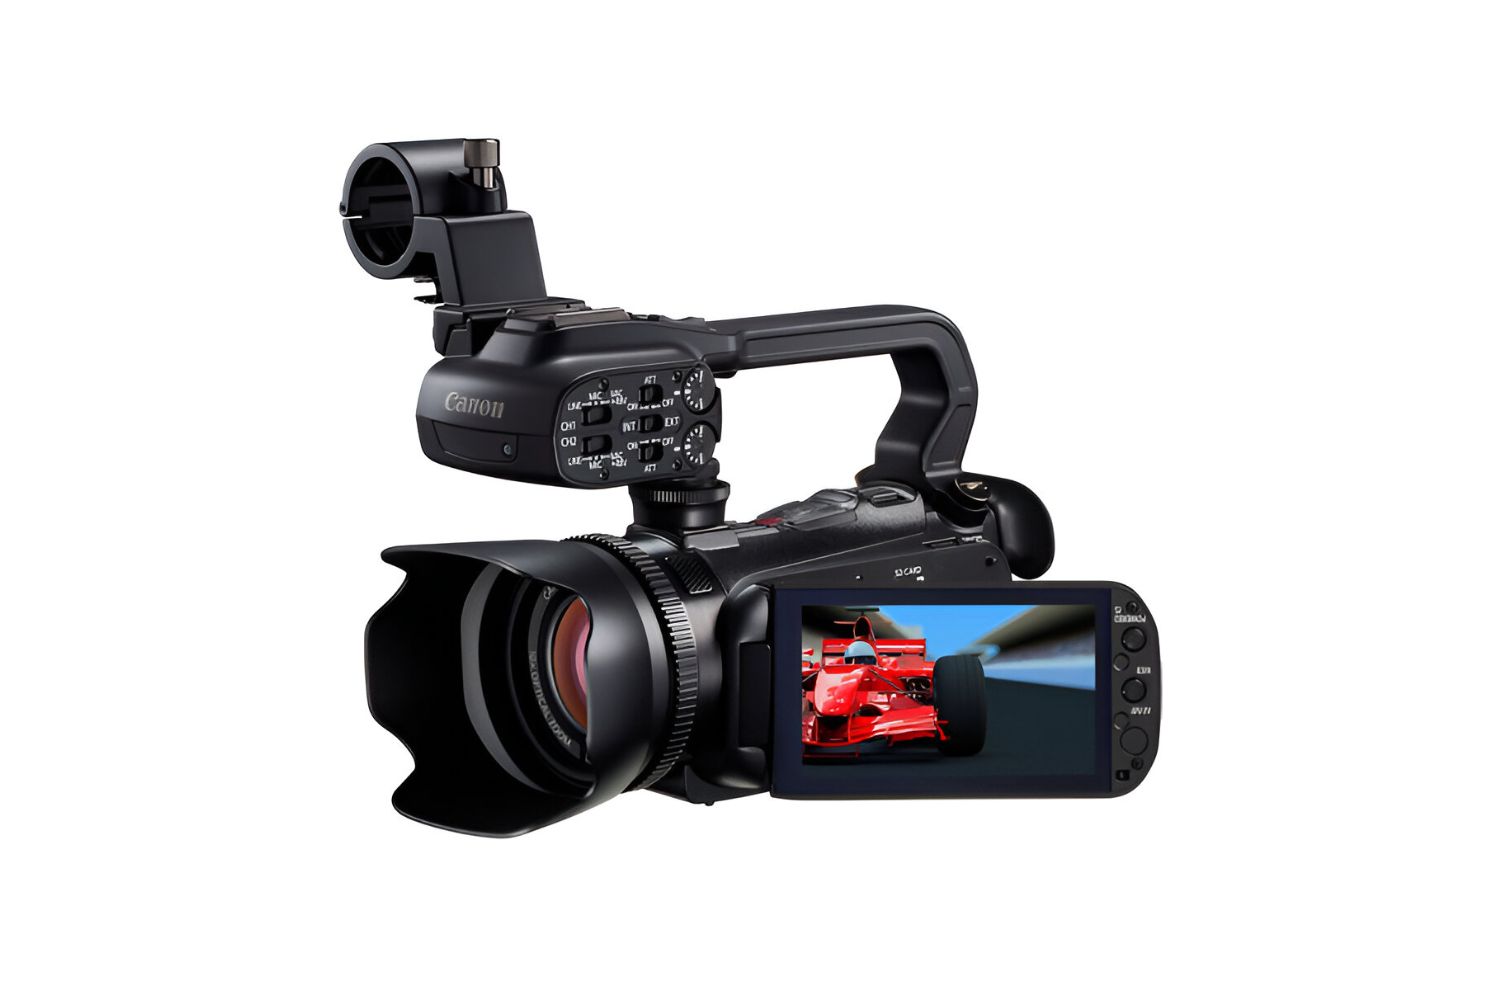
The Canon Elura 60 camcorder is a versatile and user-friendly device that allows you to capture precious moments with ease. Whether you're a novice or a seasoned videographer, this compact and reliable camcorder offers an array of features, including the capability to playback recorded videos. In this guide, you'll learn how to playback your footage on the Canon Elura 60, from powering on the device to utilizing playback controls and connecting to external displays.
Playback is a crucial aspect of the videography process, as it allows you to review and relive your captured memories. Understanding how to navigate the playback functions of the Canon Elura 60 will enable you to seamlessly access and enjoy your recorded videos. By following the step-by-step instructions in this guide, you'll gain the confidence to make the most of your camcorder's playback capabilities and share your videos with others.
Whether you're eager to revisit a special event, assess the quality of your recordings, or showcase your videos to friends and family, mastering the playback features of the Canon Elura 60 is an essential skill. Let's embark on this journey to unlock the full potential of your camcorder and immerse yourself in the captivating world of video playback.
Step 1: Powering on the Canon Elura 60 Camcorder
Step 1: Powering on the Canon Elura 60 Camcorder
Before delving into the playback process, it’s essential to ensure that your Canon Elura 60 camcorder is powered on and ready for use. Follow these simple steps to activate the device:
- Accessing the Power Button: Locate the power button on the Canon Elura 60 camcorder. Typically, this button is situated on the side or rear of the device for easy access.
- Pressing the Power Button: Gently press the power button to turn on the camcorder. Upon activation, the device’s indicator lights should illuminate, indicating that it is ready for operation.
- Monitoring the Display: After powering on the camcorder, observe the LCD or viewfinder display to confirm that the device has successfully initialized. You may also hear a subtle sound indicating that the camcorder is powered up and ready for use.
Once the Canon Elura 60 camcorder is powered on, you are now prepared to proceed with the next steps in the playback process. By mastering the simple task of activating the device, you set the stage for an immersive and seamless playback experience, allowing you to enjoy your recorded videos with ease.
Step 2: Inserting a Cassette Tape
Before you can begin the playback process on your Canon Elura 60 camcorder, you’ll need to insert a cassette tape containing your recorded videos. Follow these straightforward steps to ensure the tape is properly loaded:
- Locating the Cassette Compartment: Identify the cassette compartment on the Canon Elura 60 camcorder. This compartment is typically located on the side or bottom of the device.
- Opening the Cassette Compartment: Gently press the release button or slide the latch to open the cassette compartment. Ensure that the compartment opens smoothly and fully to provide easy access to the tape insertion area.
- Inserting the Cassette Tape: Take your cassette tape and carefully align it with the guides inside the compartment. Slide the tape into the compartment, ensuring that it fits securely and aligns with the designated markings.
- Closing the Compartment: Once the cassette tape is inserted, gently close the compartment until it securely latches into place. Ensure that the compartment is fully closed to prevent any potential errors during playback.
With the cassette tape successfully inserted into the Canon Elura 60 camcorder, you are now ready to proceed with accessing the playback mode and enjoying your recorded videos. This simple yet crucial step sets the foundation for a seamless playback experience, allowing you to relive and share your captured memories with ease.
Step 3: Adjusting the Playback Mode
Before immersing yourself in the playback of your recorded videos on the Canon Elura 60 camcorder, it’s essential to ensure that the playback mode is appropriately configured. Follow these steps to adjust the playback mode:
- Accessing the Playback Menu: Navigate the camcorder’s menu system to locate the playback settings. This can typically be accessed through the menu button or a dedicated playback mode button on the device.
- Selecting Playback Mode: Once in the playback menu, choose the desired playback mode. Options may include single video playback, sequential playback, or other variations based on your camcorder’s specific features.
- Adjusting Playback Settings: Depending on your preferences, you may have the option to adjust playback settings such as volume, display format, or playback speed. Navigate through the menu to customize the playback experience to your liking.
- Confirming Playback Configuration: After making the necessary adjustments, confirm the playback mode settings to ensure that they align with your intended playback experience. This step ensures that you can enjoy your recorded videos in a manner that suits your preferences.
By configuring the playback mode according to your preferences, you set the stage for an immersive and tailored playback experience on your Canon Elura 60 camcorder. This adjustment allows you to engage with your recorded videos in a manner that enhances your viewing enjoyment and ensures that the playback aligns with your specific preferences.
Step 4: Playing Back Recorded Videos
Now that you’ve prepared your Canon Elura 60 camcorder for playback, it’s time to delve into the process of playing back your recorded videos. Follow these steps to initiate the playback:
- Accessing the Playback Controls: Locate the playback controls on the camcorder, which may include buttons for play, pause, stop, rewind, and fast forward. Familiarize yourself with the layout of these controls to facilitate seamless playback.
- Selecting the Desired Video: Use the navigation buttons or touchscreen interface to select the recorded video you wish to play back. Navigate through the camcorder’s menu or gallery to locate and highlight the desired video file.
- Initiating Playback: Once the desired video is highlighted, press the designated play button or icon to initiate the playback. Observe the video on the camcorder’s display or through the viewfinder as it begins to play.
- Monitoring Playback Progress: While the video is playing, monitor the playback progress using the on-screen indicators. These may include a timeline, elapsed time, and other relevant details to keep track of the video’s playback status.
By following these steps, you can seamlessly play back your recorded videos on the Canon Elura 60 camcorder, allowing you to relive and enjoy your captured memories with ease. Mastering the playback process empowers you to engage with your videos in a manner that aligns with your preferences, ensuring a fulfilling viewing experience.
Step 5: Using the Playback Controls
As you engage in the playback of your recorded videos on the Canon Elura 60 camcorder, it’s essential to familiarize yourself with the playback controls to enhance your viewing experience. Here’s how to effectively utilize the playback controls:
- Play and Pause: The play and pause buttons allow you to start and halt the playback of your recorded videos. Press the play button to initiate playback and pause to temporarily halt the video.
- Stop: The stop button ceases the playback of the video, returning it to the beginning. This control is useful when you want to end the playback session or switch to another video.
- Rewind and Fast Forward: The rewind and fast forward buttons enable you to navigate through the video. Use these controls to rewind to a previous segment or fast forward to skip ahead in the recording.
- Adjusting Volume: If your camcorder features volume controls, you can adjust the audio output to suit your preferences. This allows you to enhance the audio experience while playing back your videos.
By mastering the use of these playback controls, you can seamlessly navigate through your recorded videos, control the playback progress, and customize the viewing experience to suit your preferences. These intuitive controls empower you to engage with your videos in a manner that enhances your overall viewing enjoyment.
Step 6: Connecting to a TV or Computer
Expanding the playback capabilities of your Canon Elura 60 camcorder involves the option to connect the device to a TV or computer, allowing for a larger screen viewing experience or the transfer of videos to digital platforms. Follow these steps to establish a connection:
- Identifying Output Ports: Locate the appropriate output ports on your Canon Elura 60 camcorder. These may include HDMI, AV, or USB ports, depending on the connectivity options available on your device.
- Choosing the Connection Type: Select the desired connection type based on the available ports on your TV or computer. For example, if your TV has HDMI input, you can use an HDMI cable for high-definition playback, while an AV cable may be suitable for standard definition connections.
- Connecting to a TV: If connecting to a TV, ensure that the TV is powered on and set to the appropriate input source. Connect the camcorder to the TV using the selected cable, then power on the camcorder and select the playback mode to begin viewing your recorded videos on the TV screen.
- Connecting to a Computer: When connecting to a computer, use a compatible USB cable to establish the connection. Once connected, access the camcorder’s storage on the computer to transfer and playback the recorded videos using media player software or video editing applications.
By connecting your Canon Elura 60 camcorder to a TV or computer, you can expand the playback options for your recorded videos, allowing for a versatile and immersive viewing experience. Whether you prefer to enjoy your videos on a larger screen or transfer them to digital platforms, this connectivity option enhances the flexibility and accessibility of your recorded content.
Conclusion
Mastering the playback process on the Canon Elura 60 camcorder unlocks a world of possibilities, allowing you to relive and share your recorded videos with ease and convenience. By following the step-by-step guide outlined in this article, you’ve gained the knowledge and skills to navigate the playback features of your camcorder effectively.
From the initial step of powering on the device to utilizing playback controls and connecting to external displays, each aspect of the playback process contributes to a seamless and engaging viewing experience. By inserting a cassette tape, adjusting the playback mode, and leveraging the playback controls, you can immerse yourself in your recorded videos with confidence and ease.
Furthermore, the ability to connect your Canon Elura 60 camcorder to a TV or computer expands the possibilities for enjoying and sharing your videos, providing versatility and accessibility in how you engage with your recorded content.
As you continue to explore the capabilities of your Canon Elura 60 camcorder, remember that the playback process is a gateway to reliving cherished memories, assessing the quality of your recordings, and sharing your videos with others. Whether you’re capturing family milestones, documenting travel adventures, or pursuing creative projects, the playback functionality of your camcorder enriches the overall videography experience.
By embracing the knowledge and skills presented in this guide, you are well-equipped to harness the full potential of your Canon Elura 60 camcorder’s playback capabilities, fostering a deeper appreciation for the art of videography and the enduring value of recorded memories.