Introduction
Are you eager to immortalize your cherished moments captured on your Sony camcorder by creating a timeless DVD? You're in the right place! This comprehensive guide will walk you through the process of transforming your video footage into a high-quality DVD that you can enjoy for years to come. Whether you're a novice or a tech-savvy individual, this step-by-step tutorial will equip you with the knowledge and skills needed to accomplish this task with ease.
Creating a DVD from your Sony camcorder footage allows you to preserve your memories in a tangible format, making it convenient to share with friends and family or to revisit whenever nostalgia strikes. The process involves transferring the video footage from your camcorder to your computer, editing the content if desired, and then burning it onto a DVD for playback on a variety of devices. By following these steps, you can transform your raw video files into a polished, professional-looking DVD that is ready for viewing on any DVD player or computer.
As we embark on this journey, you'll discover the necessary steps to connect your Sony camcorder to your computer, import the video footage, and potentially edit the content to enhance its visual appeal. We'll then delve into the process of burning the video onto a DVD and finalizing the disc to ensure its seamless playback. So, gather your video clips, prepare your computer, and let's dive into the exciting world of DVD creation from your Sony camcorder footage.
Step 1: Connect Your Sony Camcorder to Your Computer
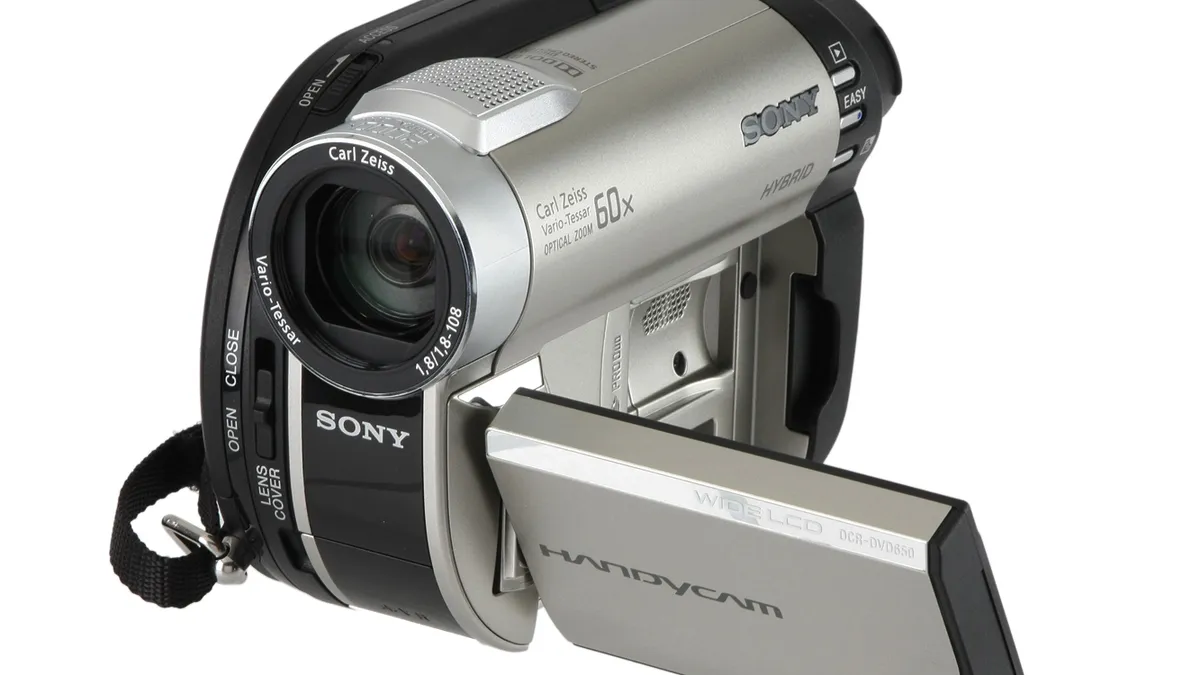
Before you can begin the process of creating a DVD from your Sony camcorder footage, you’ll need to establish a connection between your camcorder and your computer. This step is crucial as it enables the seamless transfer of video files from your camcorder to your computer’s hard drive, setting the stage for the subsequent stages of the DVD creation process.
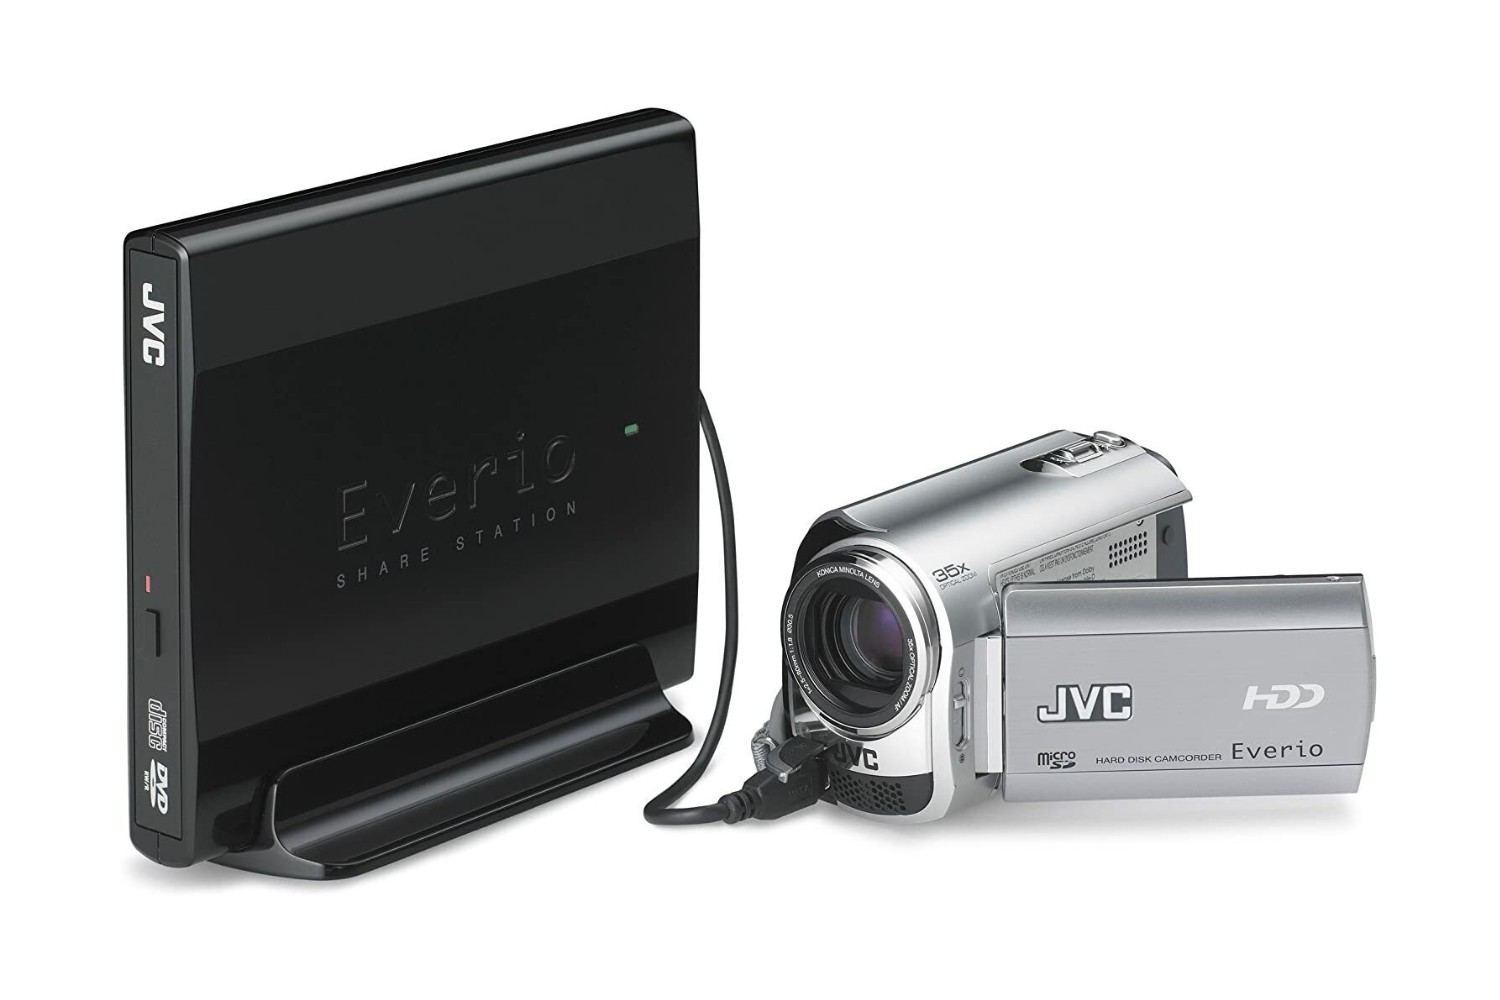
To initiate this connection, you’ll require a compatible USB cable that is designed to link your Sony camcorder to your computer. Once you have the necessary cable at your disposal, carefully locate the USB port on your camcorder and insert one end of the cable into this port. The other end of the cable should be inserted into an available USB port on your computer. This physical link establishes the pathway for data transfer between the two devices.
Upon establishing the physical connection, power on your Sony camcorder and set it to the appropriate mode for data transfer. Many Sony camcorders offer a “PC Connect” or “USB Connect” mode, which enables the device to communicate with your computer effectively. Once the camcorder is in the correct mode, your computer should recognize the device as an external storage device, allowing you to access the video files stored on the camcorder’s memory.
It’s essential to ensure that your computer recognizes the connected camcorder as an external storage device. This recognition is typically indicated by a prompt or notification on your computer screen, signaling that a new device has been connected. Once the connection is established and your computer recognizes the camcorder, you can proceed to the next step of importing the video footage from your Sony camcorder to your computer’s hard drive.
Step 2: Import the Video Footage
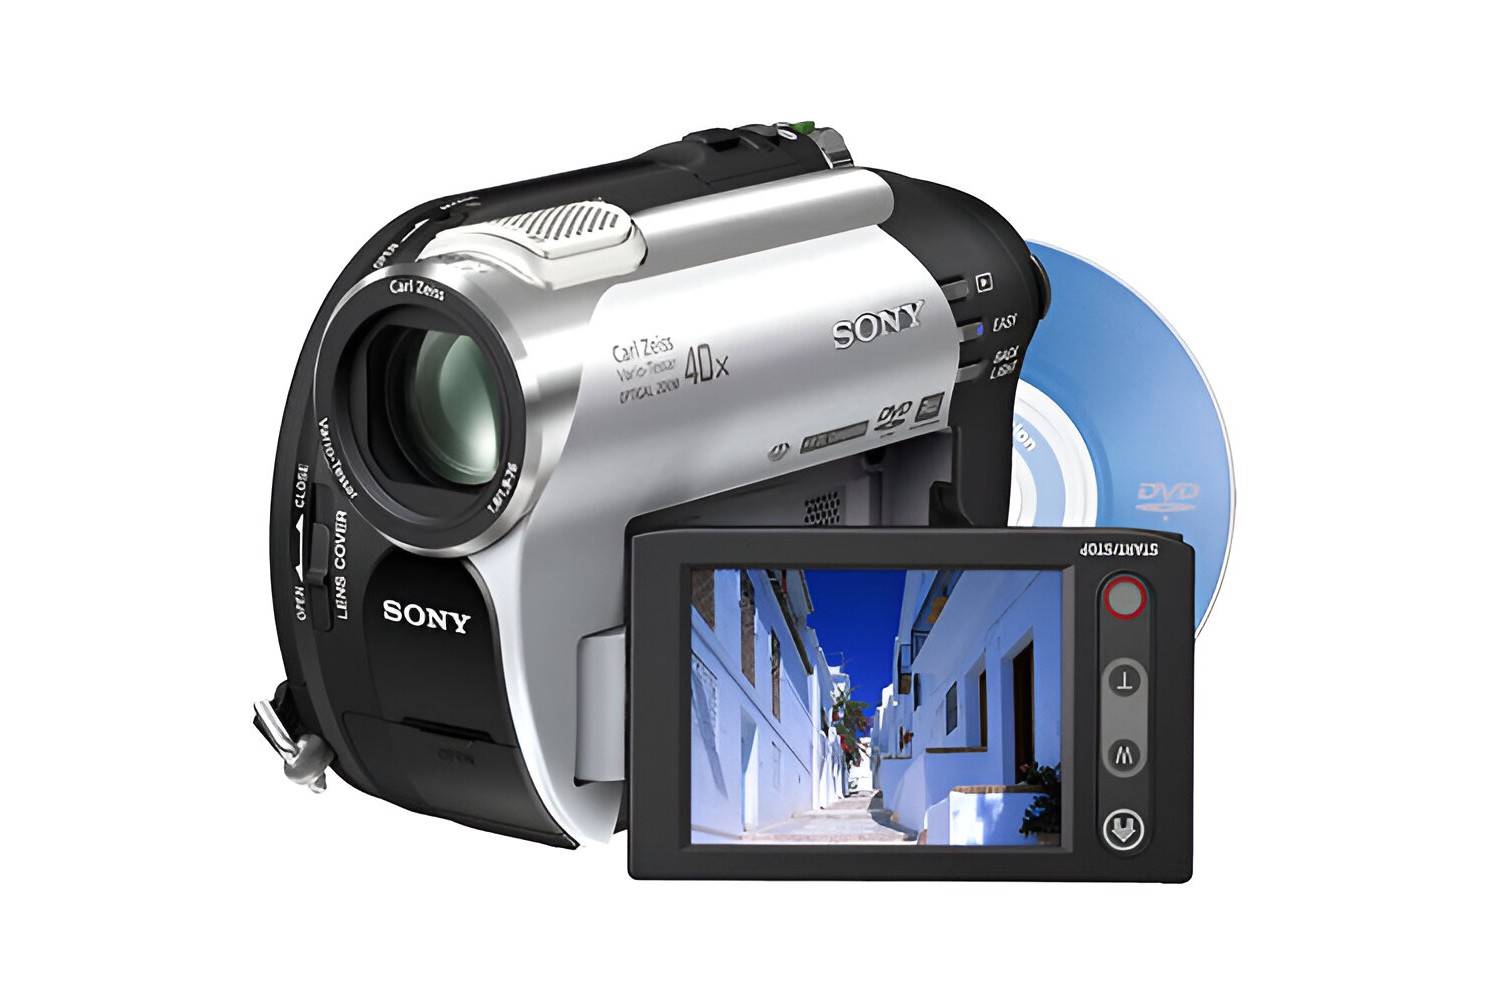
With your Sony camcorder successfully connected to your computer, the next step in the DVD creation process is to import the video footage from the camcorder to your computer’s hard drive. This crucial step lays the foundation for the subsequent stages of editing and burning the video onto a DVD.
To import the video footage, navigate to the designated folder or location on your computer where you intend to store the video files. Once there, locate the connected camcorder, which should appear as an external storage device, and access its contents. You’ll typically find your video files stored within specific folders on the camcorder’s memory. Identify the video files you wish to transfer and copy them to the desired location on your computer’s hard drive.
Modern computers are equipped with built-in software that facilitates the transfer of video files from external devices such as camcorders. Upon accessing the camcorder’s contents, you may encounter a prompt from your computer’s operating system, offering to assist in importing the video footage. Follow the on-screen instructions to initiate the transfer process, which may involve selecting the video files you wish to import and specifying the destination folder on your computer.
Alternatively, you can utilize video editing software to import the video footage from your Sony camcorder. Many video editing programs offer a straightforward import feature that allows you to select and transfer video files from external devices with ease. This method provides additional flexibility and control over the import process, enabling you to organize and categorize the imported video footage efficiently.
Upon completing the import process, verify that the video files have been successfully transferred to your computer’s hard drive. It’s advisable to create a backup of the imported video footage to prevent data loss and ensure that you have a secure copy of your precious memories readily available for the subsequent stages of the DVD creation process.
Step 3: Edit the Video (Optional)
Once you have imported the video footage from your Sony camcorder to your computer, you have the option to enhance and customize the content through video editing. This step allows you to refine the visual presentation of your footage, add creative elements, and ensure that the final DVD reflects your desired narrative and aesthetic preferences.
Video editing software provides a range of tools and features that empower you to modify and improve your video footage. These capabilities include trimming and rearranging clips, applying visual effects, adjusting color and contrast, incorporating transitions, and integrating audio elements. Whether you aim to create a seamless montage of your favorite moments, correct imperfections in the footage, or add a personal touch through creative enhancements, video editing offers a wealth of possibilities.
When embarking on the editing process, consider the narrative or theme you wish to convey through your DVD. Organize your video footage into a cohesive sequence that captures the essence of your memories and aligns with your storytelling objectives. This may involve arranging clips chronologically, thematic grouping, or creating a compelling visual journey that resonates with your audience.
Furthermore, you can leverage editing software to refine the audio components of your video, ensuring that the sound quality is optimal and that any background noise or unwanted audio elements are addressed. Adding background music, voiceovers, or sound effects can elevate the emotional impact of your footage and contribute to a more immersive viewing experience for your audience.
It’s important to exercise creativity and precision during the editing process, as these elements significantly contribute to the overall quality and appeal of your DVD. Take advantage of the diverse editing features at your disposal to transform your raw video footage into a captivating and polished visual presentation that resonates with viewers.
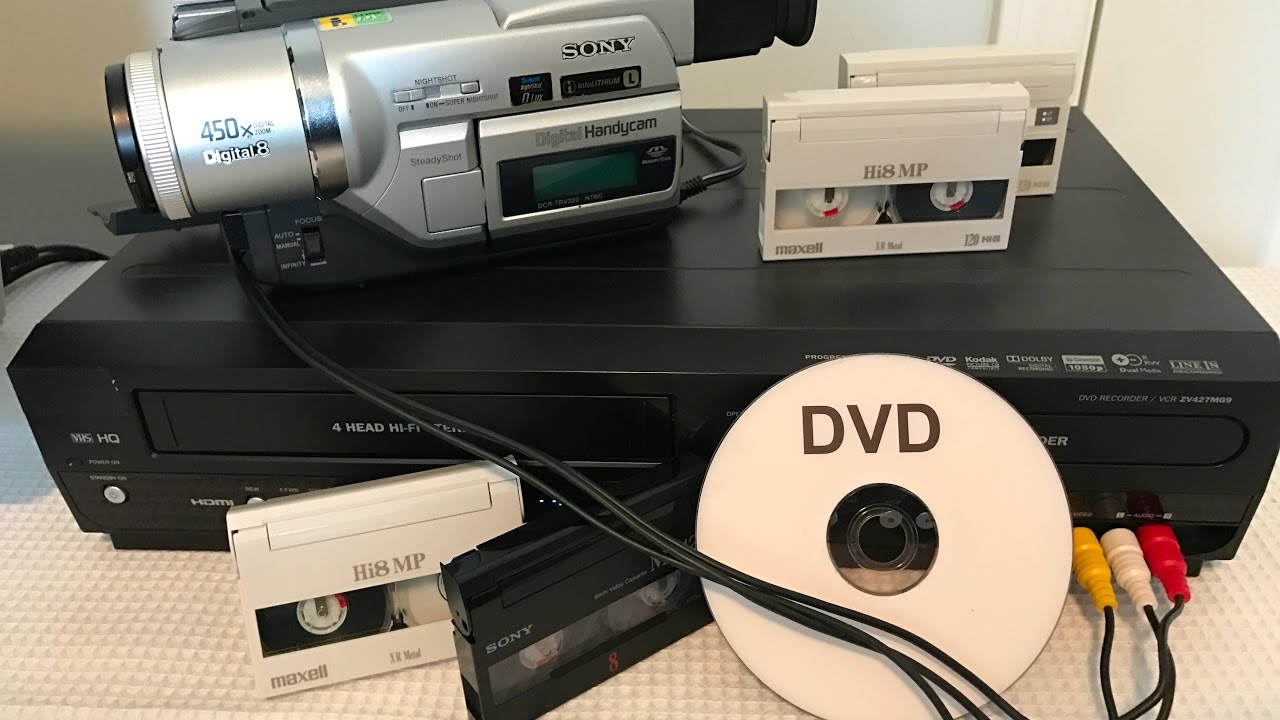
Step 4: Burn the Video to a DVD
After importing and potentially editing your video footage, the next pivotal step in the DVD creation process is to burn the video onto a DVD. This process involves transferring the digital video files from your computer to a blank DVD, thereby converting them into a format that is compatible with standard DVD players and other viewing devices.
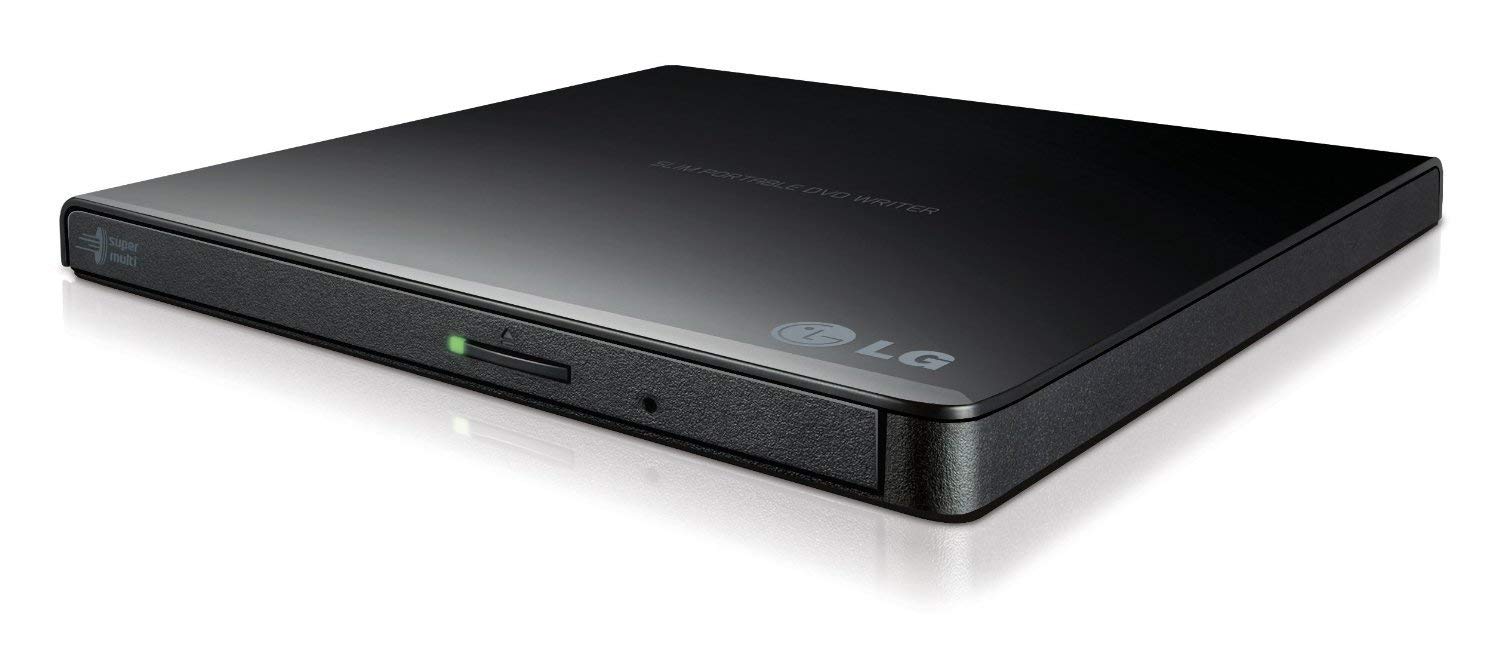
To initiate the burning process, you’ll need a blank DVD disc and a DVD burner installed on your computer. Ensure that the DVD burner is compatible with the type of blank DVD disc you intend to use, as different disc formats may require specific burner capabilities for seamless compatibility.
Start by launching DVD burning software on your computer, which provides a user-friendly interface for importing, organizing, and burning video files onto a DVD. The software typically guides you through the burning process, prompting you to select the video files you wish to burn and specifying the burning settings, such as the disc format, aspect ratio, and playback options.
Once you have configured the burning settings to your preferences, insert the blank DVD disc into the DVD burner drive. The burning software will recognize the inserted disc and prepare it for the burning process. At this stage, you may have the option to create a menu for the DVD, allowing viewers to navigate the content conveniently and access specific sections of the video footage.
After finalizing the burning settings and ensuring that the blank DVD is ready, initiate the burning process through the software interface. The software will begin transferring the selected video files onto the DVD, encoding them in a format that is compatible with standard DVD players. The duration of the burning process may vary depending on the size of the video files and the speed of your DVD burner.
Upon completion of the burning process, verify that the video has been successfully transferred to the DVD by testing it on a compatible DVD player or computer. This step ensures that the DVD is playable and that the video footage has been accurately converted into a format suitable for widespread viewing. With the video successfully burned onto the DVD, you are one step closer to enjoying your cherished memories in a tangible and shareable format.
Step 5: Finalize and Test the DVD
As you near the completion of the DVD creation process, it’s essential to finalize the DVD and conduct thorough testing to ensure that the video playback is seamless and the content is presented as intended. This step encompasses the final touches that elevate your DVD from a collection of video files to a professionally crafted and reliable viewing experience.
Upon successfully burning the video onto the DVD, consider adding a personalized touch by creating a menu for the disc. Many DVD burning software applications offer menu creation features that enable you to design a visually appealing and user-friendly menu interface. Customize the menu with chapter selections, thumbnail images, and descriptive text to enhance the navigational experience for viewers.
Before finalizing the DVD, review the disc’s content to ensure that the video files are accurately organized and that any menu features are functioning as intended. Verify that the playback order aligns with your desired sequence and that the overall presentation reflects your creative vision for the DVD.
Once you are satisfied with the DVD’s organization and visual presentation, proceed to finalize the disc to prevent further editing or modification. Finalizing the DVD ensures that it is compatible with a wide range of DVD players and that the content is preserved in a stable and reliable format for long-term viewing.
After finalizing the DVD, conduct comprehensive testing to validate its playback on various DVD players and computer systems. Test the DVD on different devices to ensure that the video playback is consistent, the menu functions are responsive, and the overall viewing experience meets your expectations.
During the testing phase, pay close attention to any potential playback issues, such as audio-video synchronization, visual artifacts, or navigation errors within the menu interface. Address any identified issues by revisiting the burning and finalization process, ensuring that the DVD meets the highest standards of quality and reliability.
By meticulously testing the DVD on multiple playback devices, you can rest assured that your cherished video footage is presented flawlessly and is ready to be shared with friends, family, or any audience you wish to engage. The thorough testing process serves as a final quality assurance measure, guaranteeing that your DVD is a polished and reliable medium for enjoying your treasured memories.
Conclusion
Congratulations on successfully navigating the intricate yet rewarding process of transforming your Sony camcorder footage into a captivating DVD. By following the comprehensive steps outlined in this guide, you have acquired the knowledge and skills necessary to create a high-quality DVD that encapsulates your cherished memories in a tangible and shareable format.
From establishing the connection between your Sony camcorder and computer to importing, editing (if desired), and burning the video onto a DVD, you have demonstrated a commendable level of dedication and creativity in crafting a visually compelling and engaging viewing experience. Your attention to detail and commitment to excellence throughout the DVD creation process have undoubtedly resulted in a final product that reflects your unique storytelling and aesthetic preferences.
As you finalize and test the DVD, you have embraced the essential role of quality assurance, ensuring that the playback experience meets the highest standards of visual and auditory excellence. Your diligence in finalizing the disc and conducting thorough testing on various playback devices underscores your commitment to delivering a polished and reliable viewing experience for yourself and your audience.
With the completed DVD in hand, you now possess a timeless memento that preserves your most cherished moments in a format that can be shared, enjoyed, and revisited for years to come. Whether you choose to relive these memories in the company of loved ones or showcase your creative storytelling to a broader audience, your DVD stands as a testament to your dedication to preserving and sharing life’s most precious moments.
Embrace the joy of sharing your DVD with others, knowing that your efforts have culminated in a tangible and enduring expression of your unique experiences and narrative. The journey from Sony camcorder footage to a professionally crafted DVD has not only enriched your personal archive of memories but has also empowered you to continue capturing and preserving life’s most cherished moments in the future.