Introduction
Are you looking to preserve your cherished memories captured on a camcorder? Converting home videos from a camcorder to DVD is a wonderful way to safeguard those precious moments for years to come. With the advancement of technology, the process of transferring and converting videos has become more accessible and user-friendly. This guide will walk you through the essential steps to transform your home videos into a timeless DVD format.
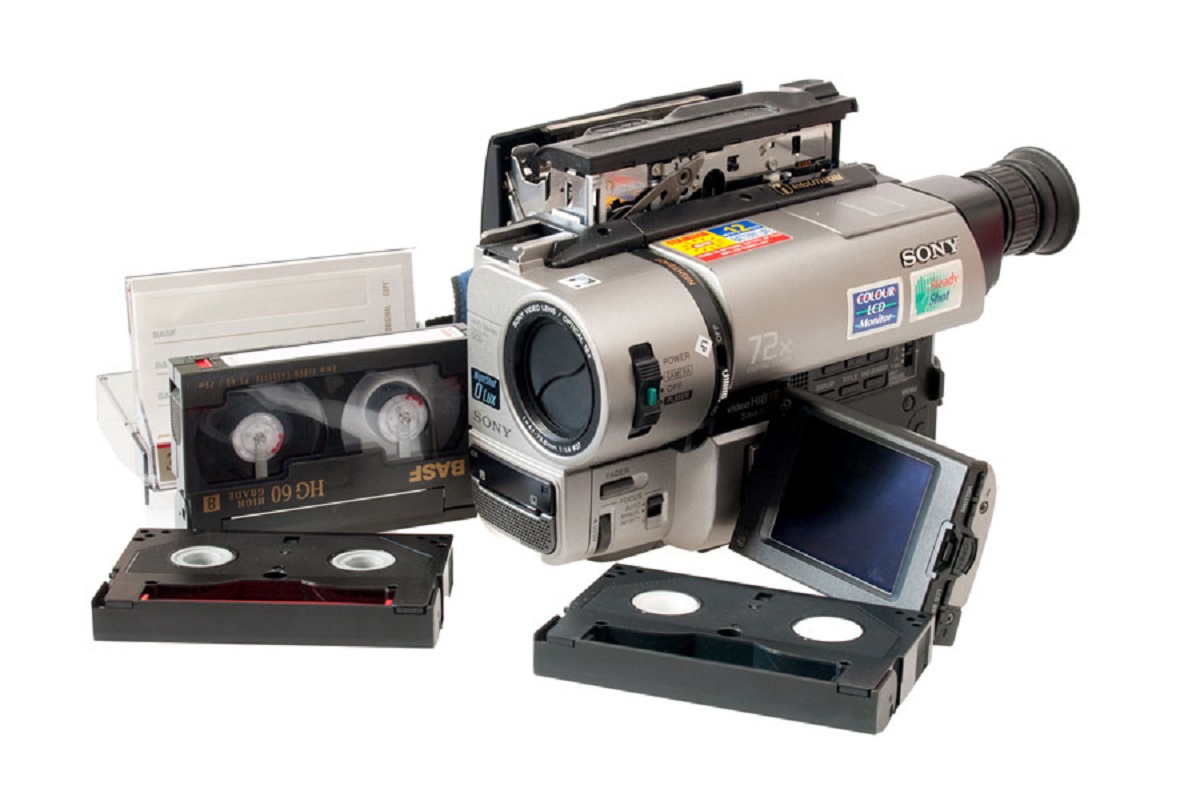
In the past, home videos were stored on physical tapes, making them susceptible to wear and tear over time. However, by converting these videos to DVD, you can ensure their longevity and ease of playback on various devices. Whether it's a family reunion, a child's first steps, or a memorable vacation, these videos hold sentimental value that deserves to be preserved.
The process of converting home videos to DVD involves transferring the video files from your camcorder to a computer, selecting a suitable DVD authoring software, customizing the DVD menu, and burning the videos onto a DVD. While it may seem daunting at first, the satisfaction of having your precious memories neatly preserved on a DVD makes the effort worthwhile.
In the following steps, you will learn how to gather the necessary equipment, connect your camcorder to your computer, transfer the videos, select DVD authoring software, import the videos, customize the DVD menu, and finally, burn the videos onto a DVD. By following these steps, you can easily convert your home videos from a camcorder to a DVD, ensuring that your cherished moments are safeguarded for future generations to enjoy.
Let's embark on this journey of preserving your memories and creating a tangible keepsake that can be enjoyed for years to come.
Step 1: Gather Your Equipment
Before embarking on the process of converting your home videos from a camcorder to DVD, it’s crucial to gather the necessary equipment to ensure a smooth and efficient transition. The following items are essential for this undertaking:
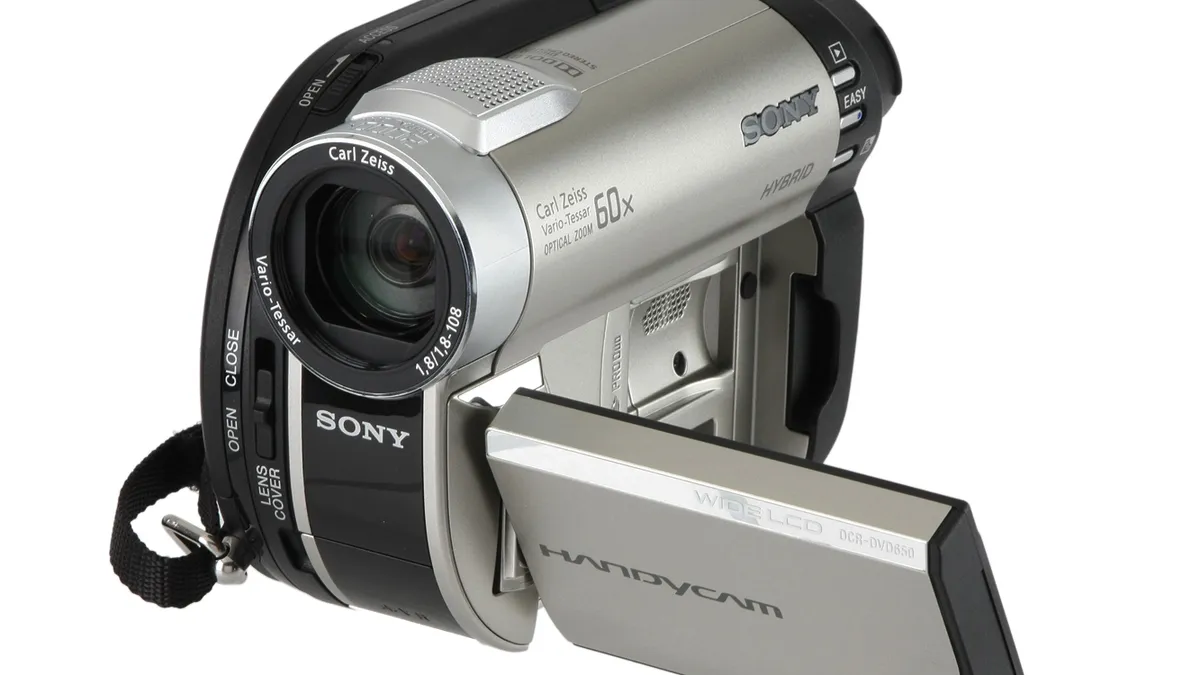
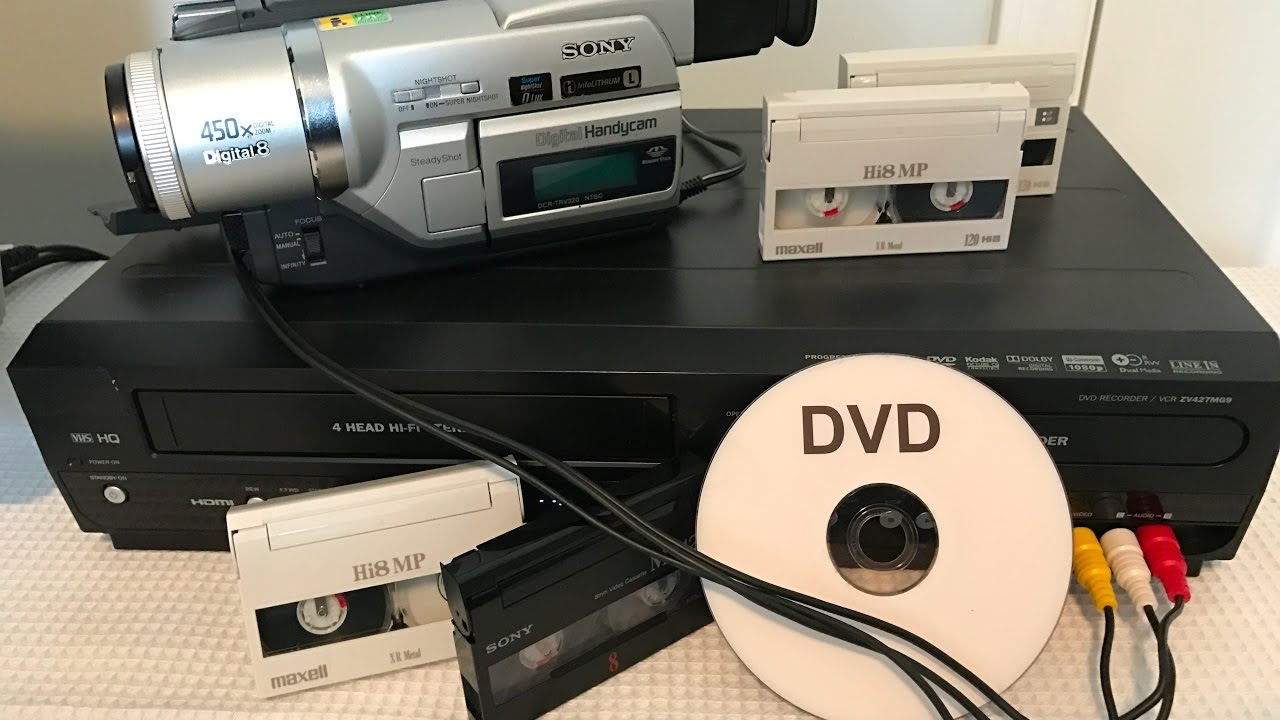
- Camcorder: Ensure that your camcorder is in working condition and that the videos you wish to convert are readily accessible.
- Computer: You will need a computer with sufficient storage space and processing power to handle the video transfer and DVD burning processes.
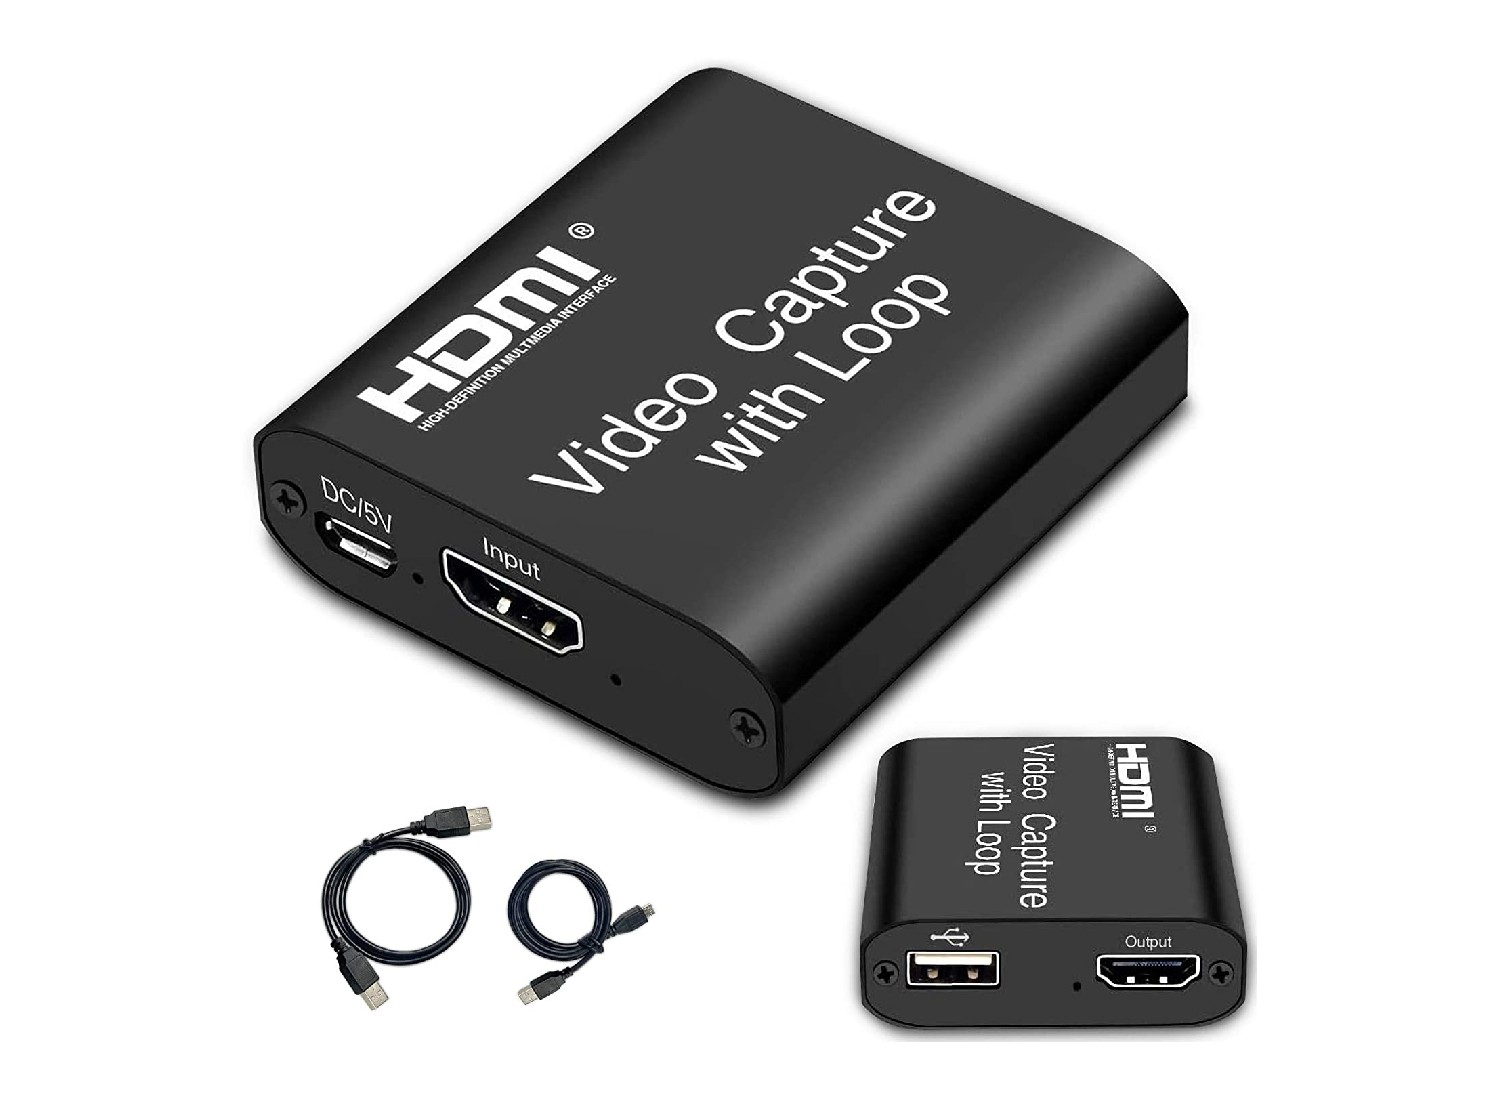
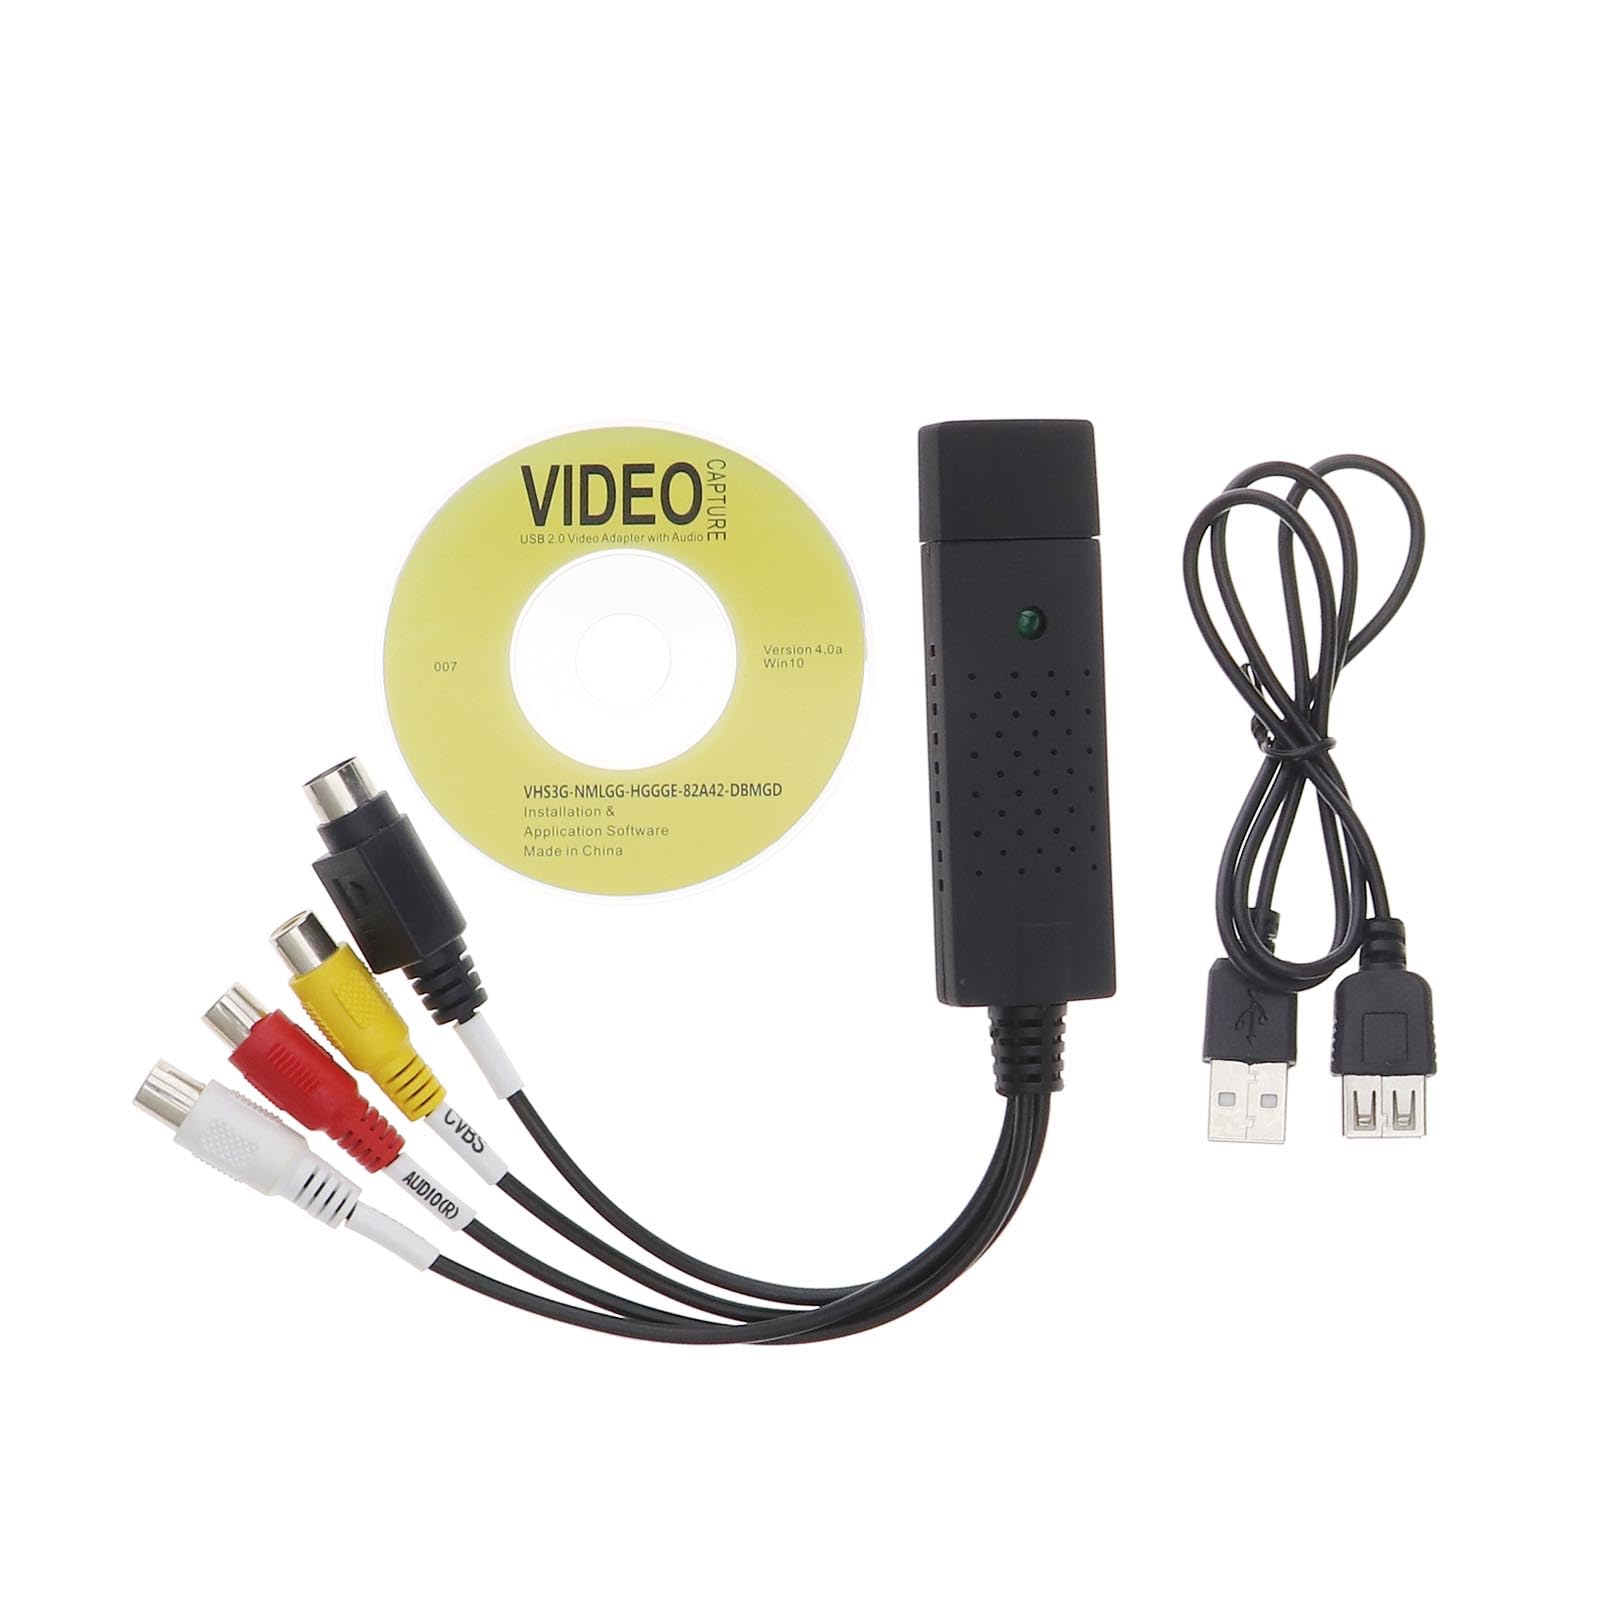
- USB or Firewire Cable: Depending on the type of camcorder you have, you will need a compatible cable to connect it to your computer for video transfer.
- DVD-R Discs: Acquire high-quality DVD-R discs to ensure a reliable and durable storage medium for your videos.
- DVD Burner: If your computer does not have an internal DVD burner, consider purchasing an external DVD burner for the burning process.
- DVD Authoring Software: Research and select a suitable DVD authoring software that aligns with your technical proficiency and offers the features you require for customizing your DVD.
By ensuring that you have all the necessary equipment at your disposal, you can streamline the process of converting your home videos to DVD. Having these items readily available will prevent unnecessary delays and interruptions, allowing you to focus on the creative aspects of the conversion process without any hindrances.
With your equipment gathered and prepared, you are now ready to move on to the next step: connecting your camcorder to your computer to initiate the video transfer process.
Step 2: Connect Your Camcorder to Your Computer
Once you have gathered the necessary equipment, the next crucial step in the process of converting your home videos from a camcorder to DVD is to establish a connection between your camcorder and your computer. This connection will enable the seamless transfer of video files from your camcorder to your computer for further processing. Follow these steps to ensure a successful connection:
- Identify the Connection Port: Locate the appropriate port on your camcorder for connecting it to your computer. Depending on the model of your camcorder, it may feature a USB port or a Firewire (IEEE 1394) port for data transfer.
- Use the Correct Cable: Select the corresponding USB or Firewire cable that is compatible with your camcorder and computer. Ensure that the cable is in good condition and free from any damage.
- Power On Your Camcorder: Turn on your camcorder and set it to the mode that allows for data transfer. Refer to your camcorder’s user manual for specific instructions on accessing the data transfer mode.
- Connect to Your Computer: Plug one end of the cable into the appropriate port on your camcorder and the other end into a vacant USB or Firewire port on your computer. Ensure a secure and stable connection to prevent any data transfer issues.
- Recognize the Camcorder: Once the connection is established, your computer should recognize the camcorder as an external device. Depending on your operating system, you may receive a notification indicating that a new device has been connected.
By following these steps and ensuring a secure connection between your camcorder and computer, you are now ready to proceed with the next phase of the conversion process: transferring the videos from your camcorder to your computer for further processing and DVD creation.
Step 3: Transfer the Videos to Your Computer
With your camcorder successfully connected to your computer, the next vital step in the process of converting home videos to DVD is transferring the video files from your camcorder to your computer. This step is essential for organizing and preparing the video content for the DVD authoring process. Follow these guidelines to ensure a smooth and efficient transfer:
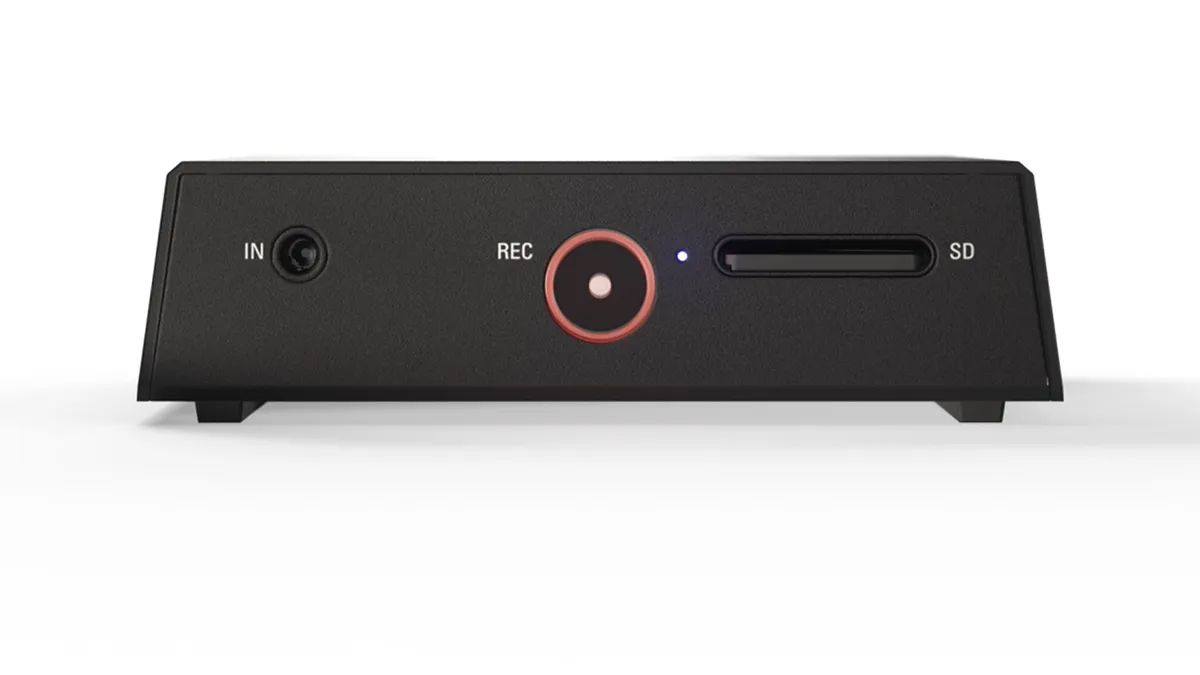
- Locate the Video Files: Access the file navigation system on your computer to identify and locate the video files stored on your camcorder. Depending on the camcorder model, the videos may be stored in internal memory or on removable storage media such as SD cards.
- Select and Copy: Choose the videos you wish to transfer and copy them from the camcorder to a designated folder on your computer. Organize the files systematically to facilitate easy access during the DVD authoring process.
- Verify File Integrity: After the transfer is complete, verify the integrity of the transferred video files by playing them on your computer. Ensure that the videos play smoothly without any visual or audio distortions.
- Backup the Files: As a precautionary measure, consider creating a backup of the transferred video files on an external storage device or cloud storage platform. This backup will serve as an additional layer of protection for your precious video content.
By efficiently transferring the videos from your camcorder to your computer, you are one step closer to creating a personalized DVD that encapsulates your cherished memories. With the video files securely stored on your computer, you are now ready to explore the next phase of the process: selecting suitable DVD authoring software to bring your vision to life.
Step 4: Choose a DVD Authoring Software
Choosing the right DVD authoring software is a pivotal step in the process of converting home videos from a camcorder to DVD. This software will serve as the platform for assembling, editing, and customizing your video content before burning it onto a DVD. When selecting DVD authoring software, consider the following factors to ensure it aligns with your specific needs and technical proficiency:
- User-Friendly Interface: Opt for software that offers an intuitive and user-friendly interface, especially if you are new to DVD authoring. A straightforward interface will streamline the process of importing, editing, and arranging your video content.
- Feature Set: Evaluate the features offered by the software, such as video editing capabilities, menu customization options, and support for various video formats. Choose software that provides the tools necessary to enhance and personalize your videos.
- Compatibility: Ensure that the DVD authoring software is compatible with your computer’s operating system and hardware specifications. Compatibility issues can hinder the smooth execution of the DVD creation process.
- Reviews and Recommendations: Research user reviews and seek recommendations from fellow enthusiasts or professionals in the field of video production. Insights from experienced users can offer valuable guidance in selecting the most suitable software for your project.
- Technical Support and Resources: Look for software that provides comprehensive technical support, tutorials, and online resources. Access to reliable support and learning materials can aid in mastering the software and troubleshooting any potential challenges.
By carefully considering these factors and conducting thorough research, you can make an informed decision when choosing the DVD authoring software that best complements your vision for the DVD creation process. Once you have selected the appropriate software, you can proceed to the next step: importing your videos into the DVD authoring software to begin the customization and assembly of your DVD.
Step 5: Import Your Videos Into the DVD Authoring Software
After selecting the suitable DVD authoring software, the next pivotal step in the process of converting home videos from a camcorder to DVD is importing your video files into the chosen software. This step marks the commencement of the creative process, allowing you to arrange, edit, and customize your video content to craft a personalized DVD. Follow these essential steps to seamlessly import your videos:
- Launch the Software: Open the DVD authoring software on your computer, ensuring that it is ready to receive and process your video files.
- Create a New Project: Initiate a new project within the software, providing a distinct title or label that aligns with the theme or content of your videos.
- Import the Videos: Locate the option to import video files within the software’s interface. Select the desired video files from your computer and import them into the project workspace. Depending on the software, you may be able to organize the imported videos into chapters or sections for convenient navigation.
- Verify Video Integrity: After importing the videos, review each file within the software to ensure that they have been accurately imported and are ready for further customization. Verify that the video and audio components are synchronized and free from any anomalies.
- Explore Editing Options: Familiarize yourself with the editing tools and features offered by the software. Depending on your preferences, you can trim, enhance, or add visual effects to your videos to elevate the viewing experience for your audience.
By successfully importing your videos into the DVD authoring software, you have laid the foundation for crafting a captivating and personalized DVD that encapsulates your cherished memories. With the video content securely within the software’s workspace, you are now poised to embark on the next phase: customizing the DVD menu to enhance the presentation of your videos.
Step 6: Customize Your DVD Menu
Customizing the DVD menu is a pivotal aspect of the DVD authoring process, as it sets the tone for the viewing experience and provides a navigational interface for accessing the video content. The DVD menu serves as the gateway to your cherished memories, offering a visually appealing and user-friendly interface for your audience. Follow these essential steps to craft a personalized DVD menu that complements your video content:
- Select a Menu Template: Explore the menu templates provided by the DVD authoring software and choose a design that resonates with the theme or mood of your videos. The template should reflect the essence of your content and provide clear navigation options for the viewers.
- Customize Layout and Navigation: Tailor the layout of the menu to accommodate your videos and enhance the visual presentation. Consider the placement of video thumbnails, text descriptions, and navigation buttons to create an intuitive and visually engaging menu structure.
- Incorporate Background Music or Images: Add an extra layer of personalization by including background music or images that complement the ambiance of your videos. Thoughtfully selected music or imagery can evoke emotions and create a cohesive viewing experience for your audience.
- Implement Interactive Features: Explore interactive features such as chapter selections, scene previews, and animated transitions to enrich the navigational experience within the DVD menu. These elements can captivate the audience and provide a dynamic interface for accessing the video content.
- Preview and Refine: Review the customized DVD menu within the software to ensure that it aligns with your vision and effectively represents the essence of your video content. Make any necessary refinements to the layout, aesthetics, and functionality of the menu.
By dedicating attention to customizing your DVD menu, you can elevate the overall presentation of your videos and create an immersive and memorable viewing experience for your audience. With the DVD menu meticulously tailored to complement your video content, you are now prepared to progress to the final step: burning your videos onto a DVD for preservation and sharing.
Step 7: Burn Your Videos to DVD
As you approach the final phase of converting your home videos from a camcorder to DVD, the process of burning your videos onto a DVD marks the culmination of your creative endeavor. This step transforms your meticulously curated video content and customized DVD menu into a tangible and shareable format. Follow these essential steps to successfully burn your videos onto a DVD:
- Prepare the DVD Project: Ensure that your DVD authoring software is equipped with the necessary tools for burning the project onto a DVD. Verify that the videos are arranged in the desired sequence and that the customized DVD menu is fully integrated into the project.
- Insert a Blank DVD: Place a blank DVD-R disc into the DVD burner drive of your computer. Ensure that the disc has sufficient capacity to accommodate the size of your video content, as indicated by the software.
- Initiate the Burning Process: Access the burning interface within the DVD authoring software and select the option to burn the project onto the inserted DVD. Choose the appropriate burning settings, such as the burning speed and disc format, to optimize the burning process.
- Monitor the Progress: Observe the burning process as it progresses, ensuring that the software accurately transfers the video content and menu structure onto the DVD. Avoid interrupting the burning process to prevent potential errors or data corruption.
- Verify the Burned DVD: Once the burning process is complete, eject the burned DVD from the drive and verify its contents. Play the DVD on a compatible player to confirm that the videos and menu function as intended, providing a seamless viewing experience.
By meticulously executing the burning process, you have transformed your cherished home videos into a tangible and enduring format that can be shared and enjoyed for years to come. The culmination of this process encapsulates your dedication to preserving precious memories and creating a captivating viewing experience for your audience. With the DVD successfully burned, your journey of converting home videos from a camcorder to DVD draws to a fulfilling and rewarding close.
Conclusion
Congratulations on successfully converting your home videos from a camcorder to DVD! This transformative process has allowed you to preserve your cherished memories in a tangible and enduring format, ensuring that they can be revisited and shared for generations to come. By following the essential steps outlined in this guide, you have not only safeguarded your precious moments but also unleashed your creativity in customizing a personalized DVD that encapsulates the essence of your video content.
From gathering the necessary equipment to meticulously customizing the DVD menu, each step has contributed to the creation of a captivating and immersive viewing experience for your audience. The thoughtful selection of DVD authoring software, the seamless transfer of videos to your computer, and the meticulous customization of the DVD menu have collectively culminated in a tangible keepsake that embodies the sentiment and significance of your home videos.
As you reflect on the journey of converting your home videos to DVD, remember the joy and nostalgia that each video encapsulates. Whether it’s reliving family gatherings, celebrating milestones, or revisiting treasured adventures, the DVD serves as a timeless portal to these heartwarming moments. The act of preserving these memories is a testament to the value you place on the connections and experiences that shape your life.
As you share your DVD with loved ones, consider the joy and nostalgia it will evoke, fostering a sense of togetherness and reminiscence. Your dedication to preserving these memories is a gift that transcends time, allowing future generations to partake in the cherished moments that define your story.
Embrace the fulfillment that comes with preserving your memories in a tangible and enduring format. Your commitment to converting home videos from a camcorder to DVD is a testament to the enduring power of storytelling and the timeless significance of the moments we hold dear.