Introduction
Are you ready to breathe new life into your old camcorder tapes? In this comprehensive guide, you'll learn how to transfer your cherished camcorder footage to your computer, preserving those precious memories for years to come. Whether you want to share these videos with friends and family, edit them into a montage, or simply safeguard them from degradation, digitizing your tapes is a valuable endeavor.
As technology continues to evolve, the once-popular camcorders have become obsolete, leaving many individuals with a treasure trove of analog memories. By transferring your camcorder tapes to your computer, you can not only declutter your physical space but also ensure that these memories remain accessible in the digital age.
Throughout this guide, we'll walk you through the step-by-step process, from gathering the necessary equipment to editing and saving your videos. By the end, you'll be equipped with the knowledge and skills to embark on this nostalgic journey, breathing new life into your old camcorder tapes.
So, let's dive in and unlock the potential of your cherished camcorder footage!
Step 1: Gather Your Equipment
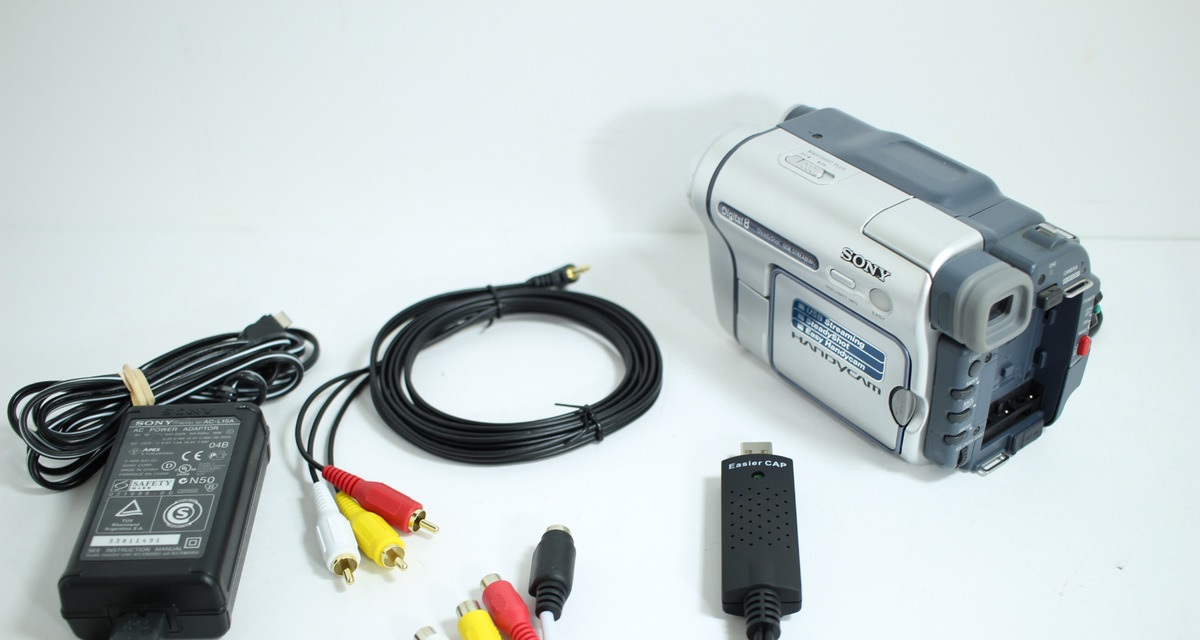
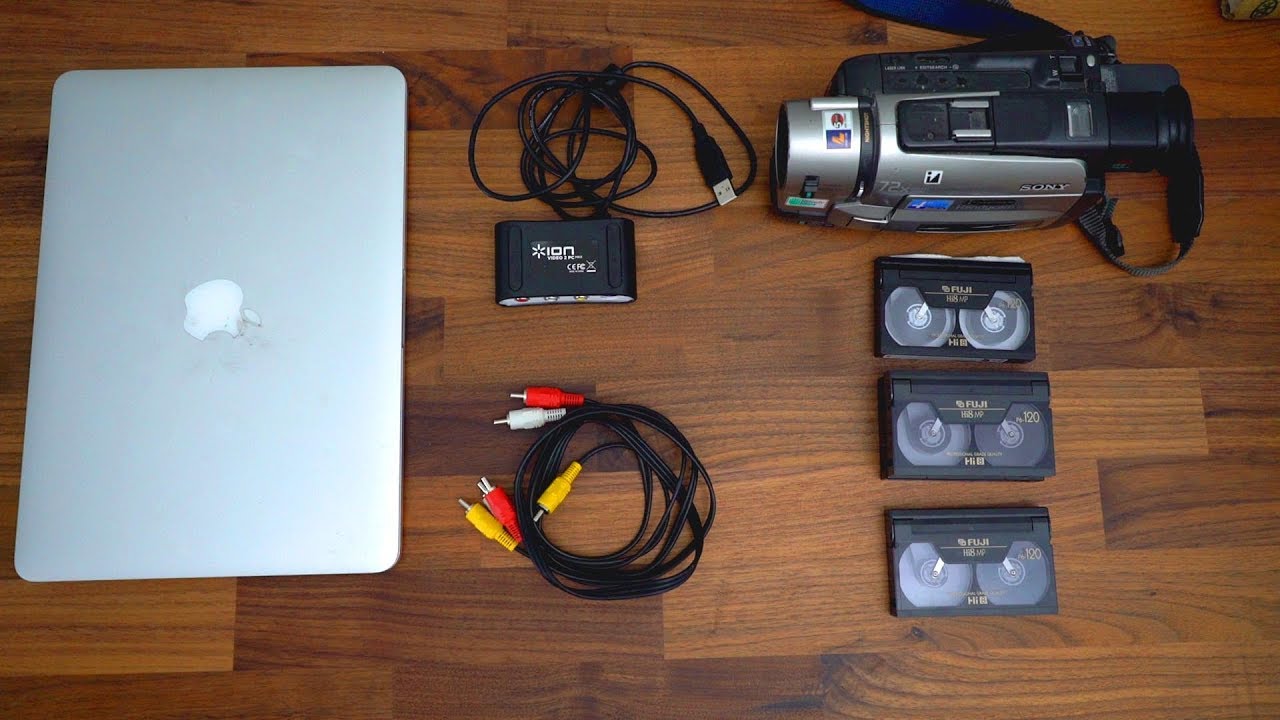
Before embarking on the journey of transferring your camcorder tapes to your computer, it’s essential to gather the necessary equipment. Here’s what you’ll need:
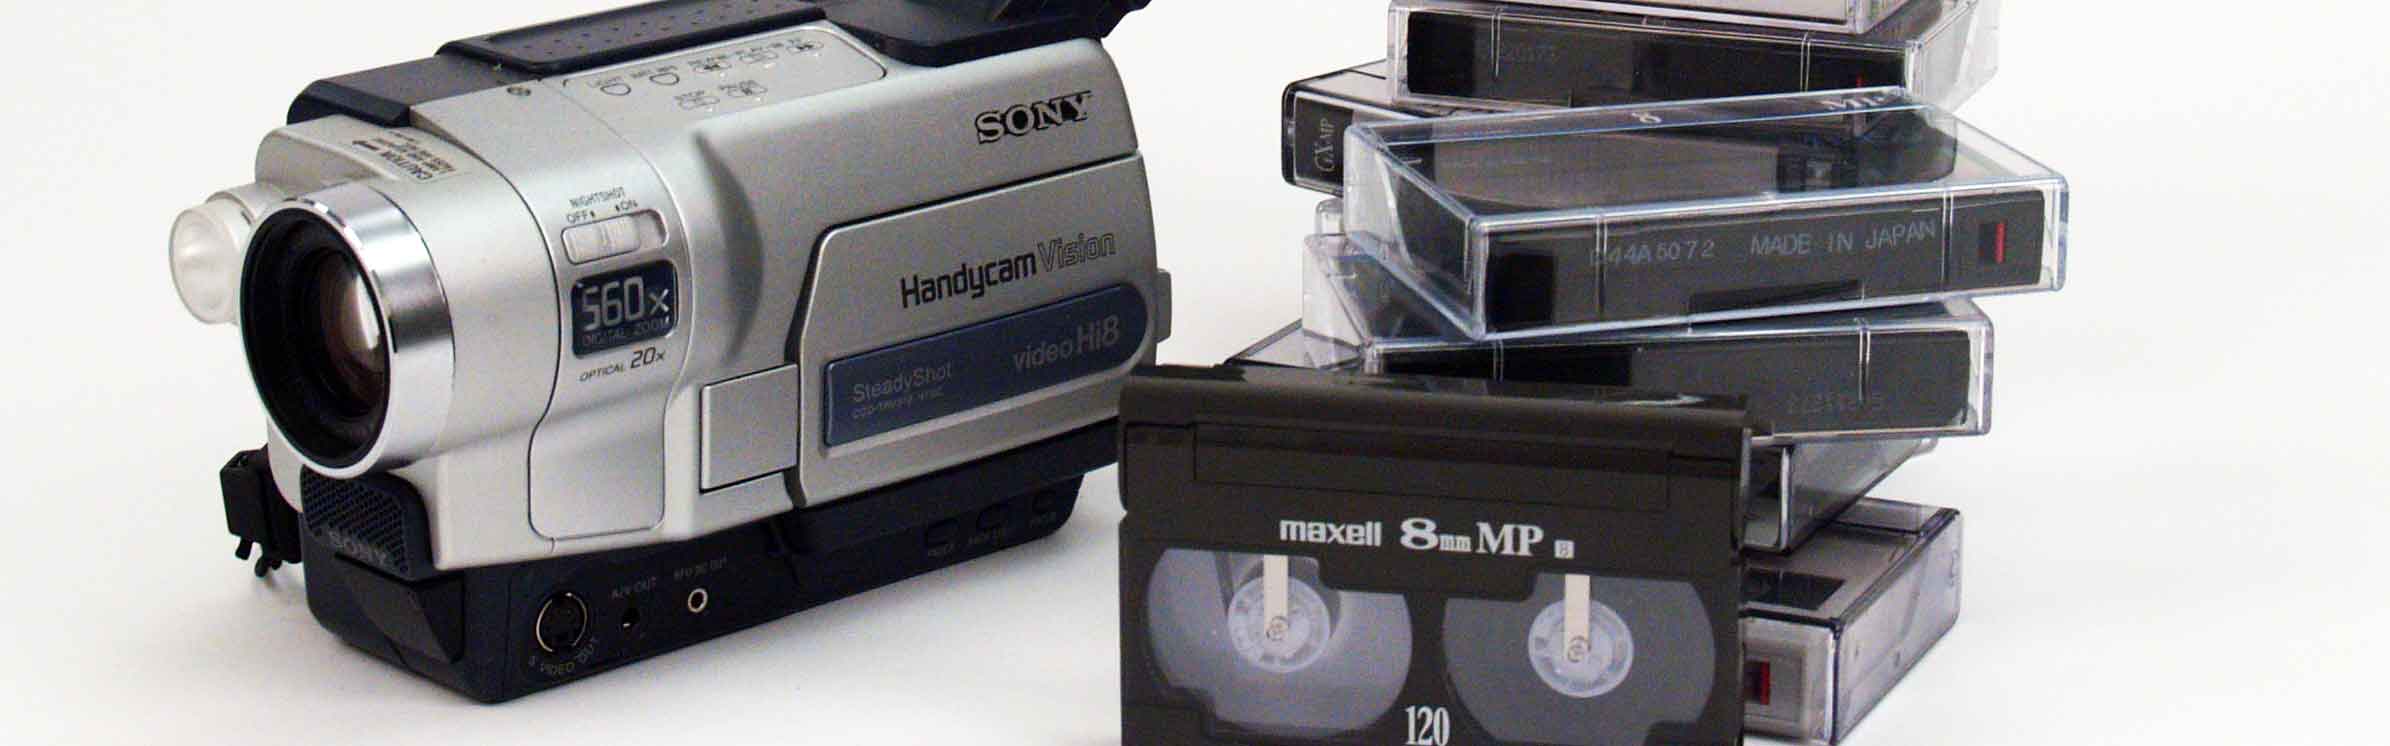
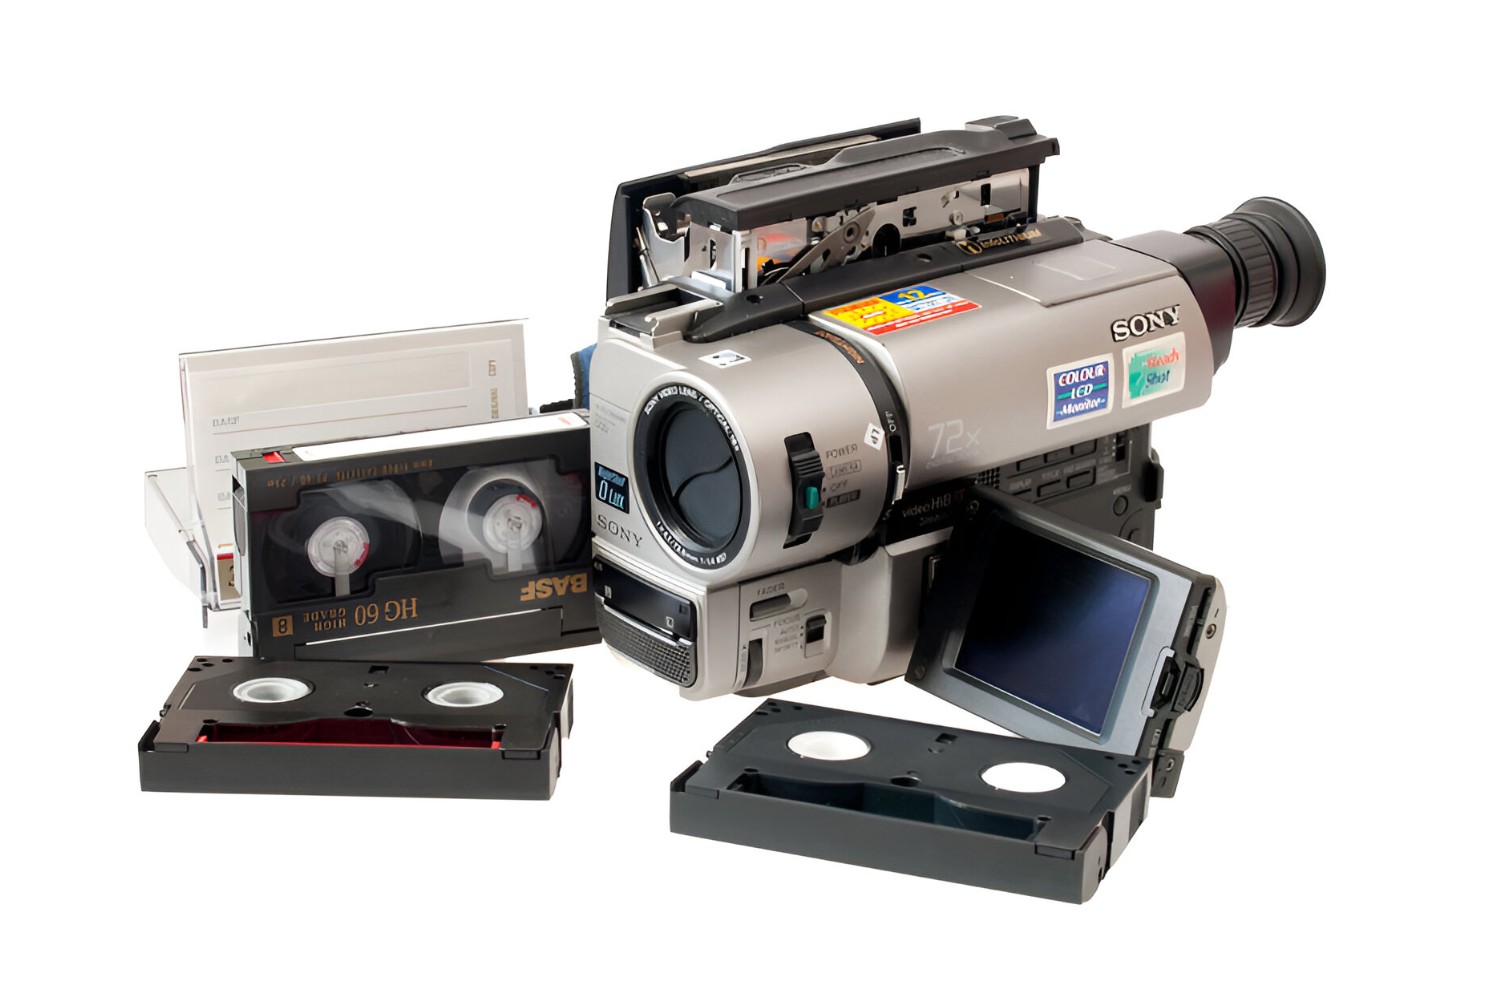
- Camcorder: Locate your camcorder and ensure that it is in working condition. If it has been stored for a while, consider cleaning the tape heads to ensure optimal playback quality.
- Computer: You’ll need a computer with sufficient storage space to accommodate the video files from your camcorder tapes. Ensure that your computer has a compatible port for connecting the camcorder.
- Firewire or USB Cable: Depending on the type of camcorder you have, you’ll need a Firewire or USB cable to establish a connection between your camcorder and computer.
- Video Capture Device: If your computer does not have a built-in video capture device, you may need to purchase an external one. This device facilitates the transfer of analog video signals to digital formats that can be recognized and stored by your computer.
- Blank DVDs or External Hard Drive: To store your digitized videos, you’ll need blank DVDs or an external hard drive with ample storage capacity.
- Software: Depending on your preferences, you may require video editing software to refine and enhance your transferred footage.
By ensuring that you have all the necessary equipment at your disposal, you can streamline the process of transferring your camcorder tapes to your computer. With everything in place, you’ll be ready to move on to the next step and delve into the captivating world of digitizing your cherished memories.
Step 2: Connect Your Camcorder to Your Computer
Once you’ve gathered the essential equipment, the next step is to establish a connection between your camcorder and computer. Follow these steps to ensure a seamless connection:
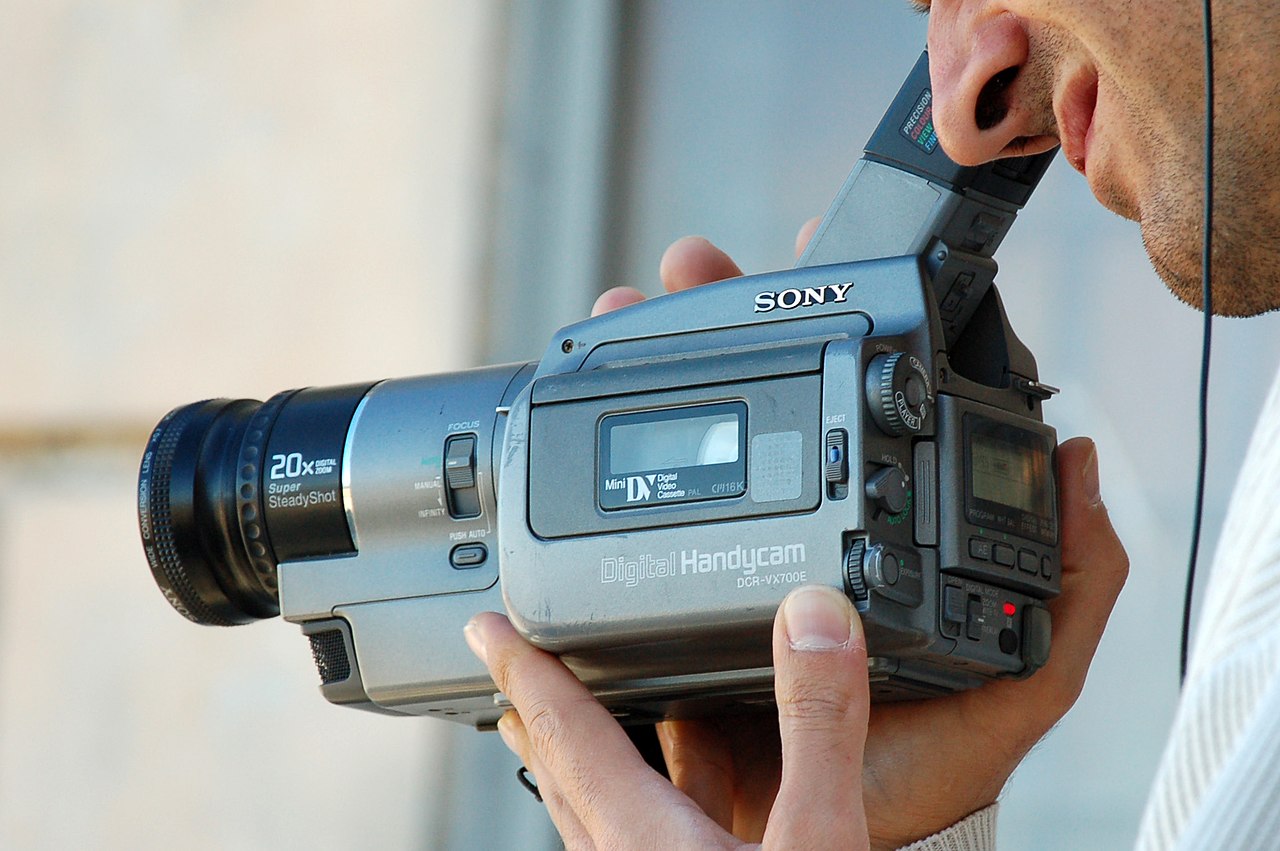
- Identify the Port: Locate the port on your camcorder that allows for an output connection. Common options include Firewire, USB, HDMI, or composite video/audio outputs.
- Choose the Cable: Select the appropriate cable based on the port available on your camcorder and the input options on your computer. If your camcorder uses a Firewire or USB connection, ensure that you have the corresponding cable.
- Power Up: Power on your camcorder and ensure that it is in playback or VCR mode, ready to transmit the video signal to your computer.
- Connect to Computer: Using the selected cable, connect your camcorder to your computer. If you’re using a Firewire or USB cable, insert one end into the corresponding port on your camcorder and the other end into the appropriate port on your computer.
- Install Drivers (if necessary): In some cases, your computer may require specific drivers to recognize and communicate with your camcorder. If prompted, install the necessary drivers to facilitate the connection.
- Confirm Connection: Once the physical connection is established, confirm that your computer recognizes the camcorder. You may need to navigate to the device manager on your computer to ensure that the camcorder is detected.
By following these steps, you’ll successfully bridge the gap between your camcorder and computer, setting the stage for the upcoming process of transferring your cherished footage. With the connection in place, you’re ready to move on to the next crucial step in the digitization journey.
Step 3: Transfer the Tape to Your Computer
With your camcorder successfully connected to your computer, it’s time to initiate the transfer of your precious tape footage. Follow these steps to ensure a smooth and efficient transfer process:
- Open Video Capture Software: Launch the video capture software on your computer. This software will facilitate the transfer of analog video signals from your camcorder to a digital format that can be stored on your computer.
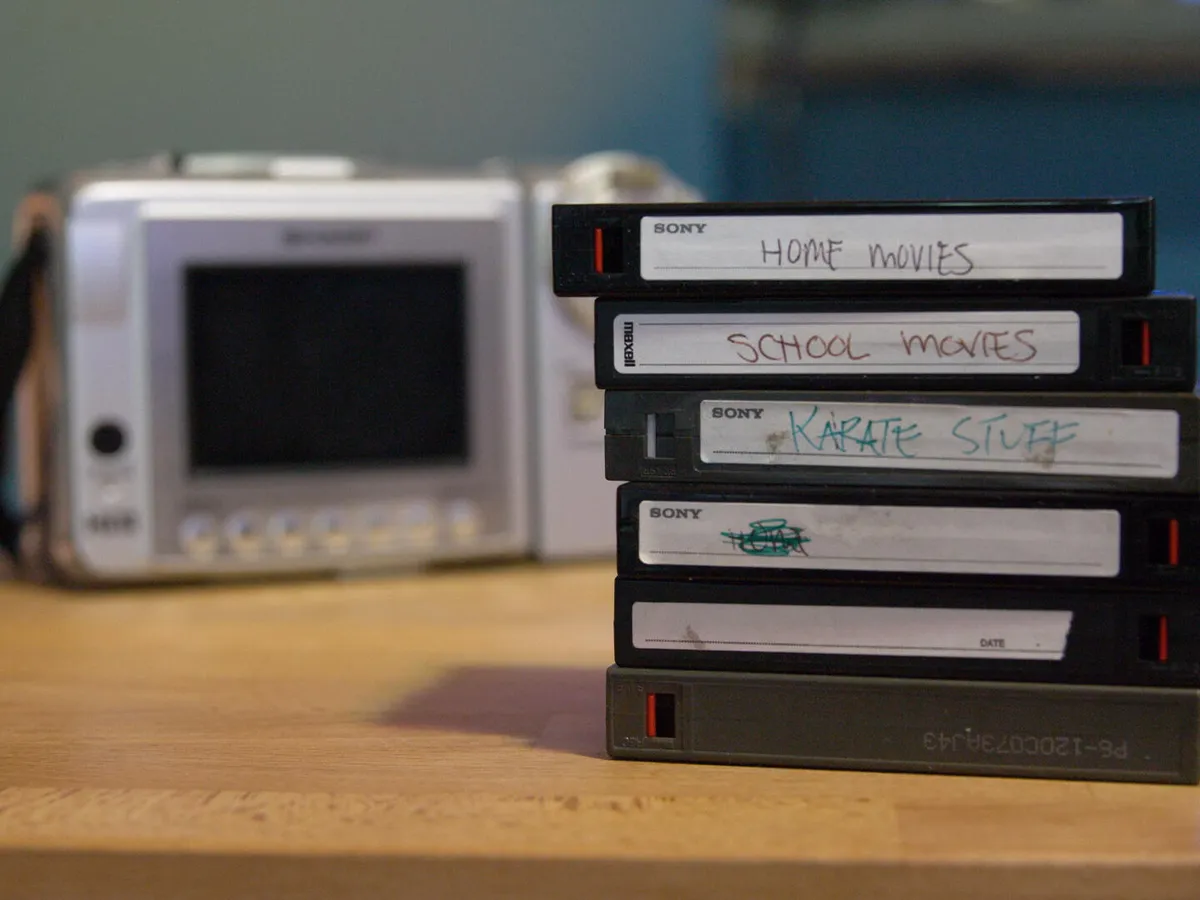
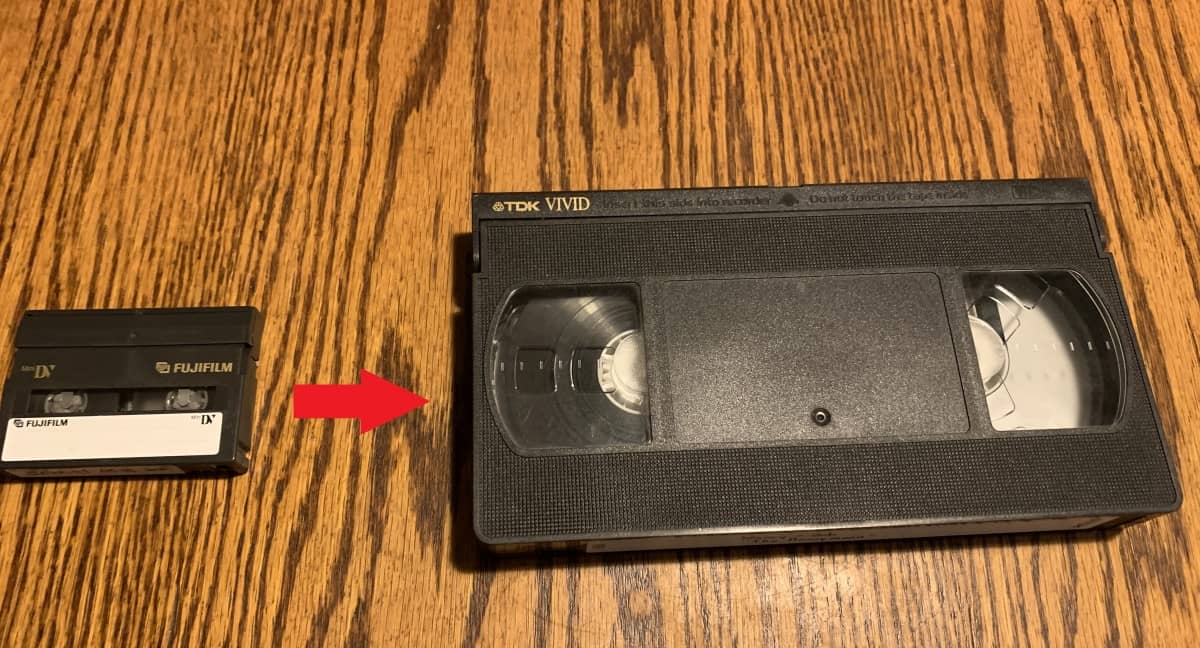
- Play the Tape: Insert the camcorder tape that you wish to transfer into your camcorder. Press play and cue the tape to the starting point of the footage you want to transfer.
- Initiate Capture: Within the video capture software, locate the option to begin capturing the video signal from your camcorder. This may involve clicking a “Capture” or “Record” button within the software interface.
- Monitor the Transfer: As the tape plays, monitor the transfer process within the video capture software. You should see the footage being digitized in real-time on your computer screen.
- Complete the Transfer: Allow the entire tape to play through, ensuring that all desired footage is captured by the software. Once the transfer is complete, stop the capture process within the software.
- Save the File: After the capture process is stopped, save the digitized video file to your computer. Choose a location and file format that is compatible with your video editing software or playback preferences.
By following these steps, you can effectively transfer your camcorder tape footage to your computer, preserving these cherished memories in a digital format. With the transfer complete, you’re now ready to explore the possibilities of editing and enhancing your newly digitized videos.
Step 4: Edit and Save Your Video
Now that you’ve successfully transferred your camcorder tape footage to your computer, it’s time to explore the creative possibilities of video editing and preservation. Follow these steps to edit and save your cherished videos:
- Choose Editing Software: Select a video editing software that suits your preferences and skill level. There are various options available, ranging from user-friendly programs for beginners to advanced software for professional editing.
- Import the Footage: Within your chosen video editing software, import the digitized footage from your camcorder tape. This will allow you to access and manipulate the video within the editing interface.
- Trim and Enhance: Review the imported footage and make any necessary trims or enhancements. You can remove unwanted sections, adjust the color and brightness, add transitions, and incorporate audio elements to enhance the overall viewing experience.
- Add Effects (if desired): If you’re looking to add creative flair to your videos, consider incorporating visual effects, text overlays, or filters to personalize and enhance the storytelling aspect of your footage.
- Save Your Project: Once you’re satisfied with the edits and enhancements, save your project within the video editing software. This will preserve your work and allow you to revisit and make further adjustments in the future.
- Export the Final Video: After completing the editing process, export the final video in your desired format and resolution. Consider the intended use of the video – whether it’s for sharing online, creating a DVD, or archiving for personal viewing – and adjust the export settings accordingly.
- Backup Your Work: It’s essential to create backups of your edited videos to prevent any loss of data. Consider saving the final video file to multiple locations, such as an external hard drive, cloud storage, or physical media, to safeguard your precious memories.
By following these steps, you can unleash your creativity and preserve your cherished camcorder footage in a digital format that is ready to be shared, enjoyed, and treasured for years to come. The editing process allows you to add a personal touch to your videos, ensuring that they resonate with viewers and stand the test of time.
Conclusion
Congratulations on successfully completing the journey of transferring your camcorder tapes to your computer! By following the step-by-step process outlined in this guide, you’ve unlocked the potential of your cherished memories, breathing new life into the analog footage and preserving it in a digital format.
Digitizing your camcorder tapes not only allows you to declutter physical storage space but also ensures that these precious moments remain accessible and protected from the degradation that can occur with analog media. The ability to edit and enhance your videos further enriches the viewing experience, enabling you to tailor the footage to your preferences and share it with others in a meaningful way.
As you embark on this nostalgic journey, remember that the process of transferring and editing your camcorder footage is a labor of love, allowing you to relive and celebrate the moments captured on those tapes. Whether you’re creating a montage of family gatherings, preserving milestone events, or simply revisiting cherished memories, the digitization of your camcorder tapes empowers you to connect with the past while embracing the possibilities of the digital age.
With your newly digitized videos at your fingertips, consider sharing them with loved ones, creating compilations to mark special occasions, or archiving them for future generations to enjoy. The process of transferring and editing your camcorder footage not only safeguards your memories but also invites you to engage with them in a whole new light, fostering a deeper appreciation for the moments that matter most.
Embrace the power of technology to transform your analog memories into digital treasures, and let the stories captured on your camcorder tapes continue to unfold in the digital realm, enriching your life and the lives of those you hold dear.