Introduction
Converting camcorder footage to DVD format is a popular way to preserve precious memories and share them with friends and family. With the advancement of technology, there are now various software options available for Windows 10 users to seamlessly convert camcorder videos to DVD disks. Whether you want to create a DVD of a special event, such as a wedding or birthday party, or simply transfer your camcorder footage to a more accessible format, having the right software is essential for a smooth and efficient process.
In this guide, we will explore the necessary steps and software requirements for converting camcorder footage to DVD format on a Windows 10 system. From selecting the appropriate software to the final burning of the DVD, we will provide a comprehensive overview to help you navigate this process with ease. By the end of this guide, you will be equipped with the knowledge and tools to convert your camcorder footage to a DVD disk, allowing you to relive your cherished moments time and time again.
Choosing the Right Software
When it comes to converting camcorder footage to DVD on a Windows 10 system, selecting the appropriate software is crucial for achieving the desired results. There are several factors to consider when choosing the right software for this task. Here are some key points to keep in mind:
- Compatibility: Ensure that the software is compatible with Windows 10 to avoid any compatibility issues during the installation and conversion process.
- Features: Look for software that offers a comprehensive set of features, including video importing, editing capabilities, DVD menu customization, and the ability to burn the final DVD.
- User-Friendly Interface: Opt for software with an intuitive and user-friendly interface, as this can significantly streamline the conversion process, especially for users with limited technical expertise.
- Reliability: Choose software from reputable developers with a track record of providing reliable and high-quality products. Reading user reviews and seeking recommendations can help gauge the software’s reliability.
- Technical Support: Consider software that offers reliable technical support in case you encounter any issues during the conversion process. Having access to prompt assistance can be invaluable.
After considering these factors, you can explore various software options specifically designed for converting camcorder footage to DVD on Windows 10. Some popular choices include Wondershare UniConverter, WinX DVD Author, and PowerDirector. These software solutions offer a range of features tailored to the needs of Windows 10 users and provide the necessary tools to convert camcorder footage to DVD format efficiently.
By carefully evaluating the software options based on the outlined criteria, you can make an informed decision and choose the right software that aligns with your specific requirements and preferences. The selected software will serve as the foundation for the subsequent steps involved in the camcorder-to-DVD conversion process, ensuring a seamless and successful outcome.
Installing the Software
Once you have chosen the appropriate software for converting your camcorder footage to DVD on a Windows 10 system, the next step is to install the selected software. The installation process may vary slightly depending on the chosen software, but the general steps remain consistent. Here’s a guide to installing the software for this purpose:
- Download the Software: Begin by downloading the installation file for the chosen software from the official website or a trusted source. Ensure that you download the version compatible with Windows 10.
- Run the Installer: Locate the downloaded installation file and double-click to run the installer. Follow the on-screen prompts to initiate the installation process.
- Agree to Terms and Conditions: During the installation, you may be prompted to review and accept the software’s terms and conditions. Carefully read through the terms and proceed by accepting them if you agree.
- Choose Installation Location: The installer may provide options to select the installation location for the software. You can typically choose the default installation path or specify a custom location based on your preference.
- Complete the Installation: Once the installation settings have been configured, proceed to complete the installation process. Depending on the software, this may involve clicking “Install” or “Next” to initiate the installation and waiting for the process to finish.
- Launch the Software: After the installation is complete, launch the software to ensure that it is running smoothly and ready for the next steps in the camcorder-to-DVD conversion process.
It is important to follow the specific installation instructions provided by the software developer to ensure a successful installation. Additionally, it is advisable to close any unnecessary programs or applications running in the background during the installation to optimize the process.
By carefully following the installation steps and ensuring that the software is correctly installed and operational, you can proceed confidently to the next phase of importing your camcorder footage for conversion to DVD format.
Importing Camcorder Footage
Once the software is successfully installed on your Windows 10 system, the next crucial step in the process of converting camcorder footage to DVD is importing the video files from your camcorder. This step requires connecting your camcorder to your computer and transferring the video footage to the software for further processing. Here’s a guide to importing camcorder footage:
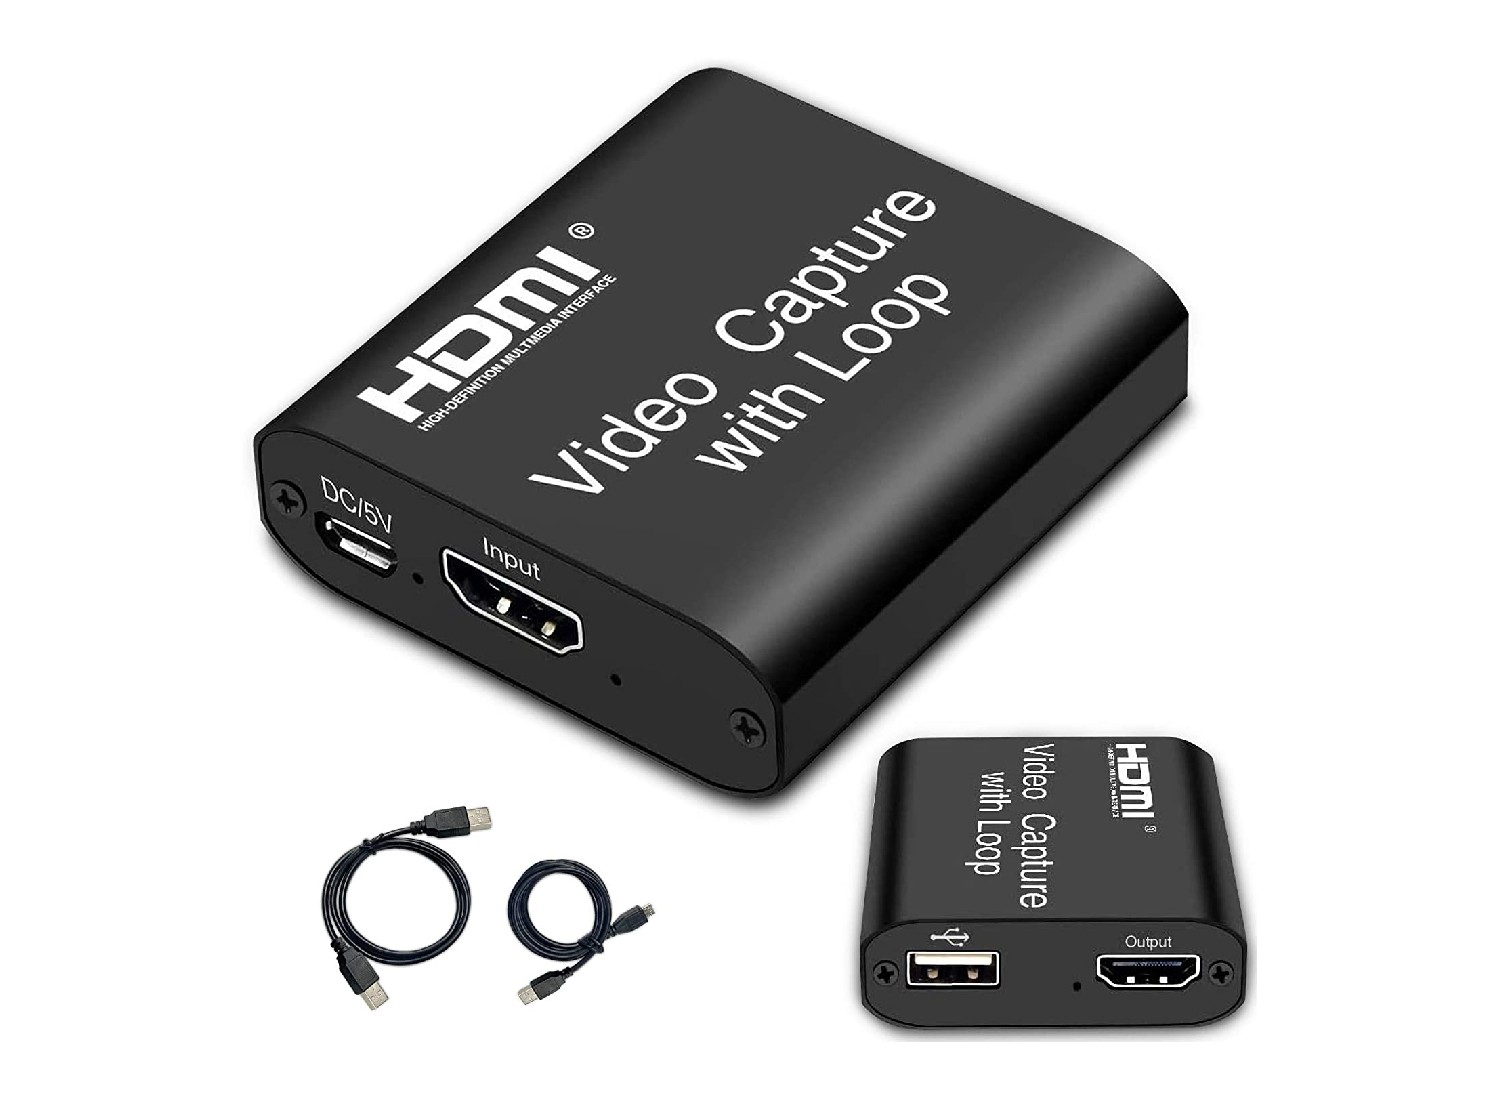
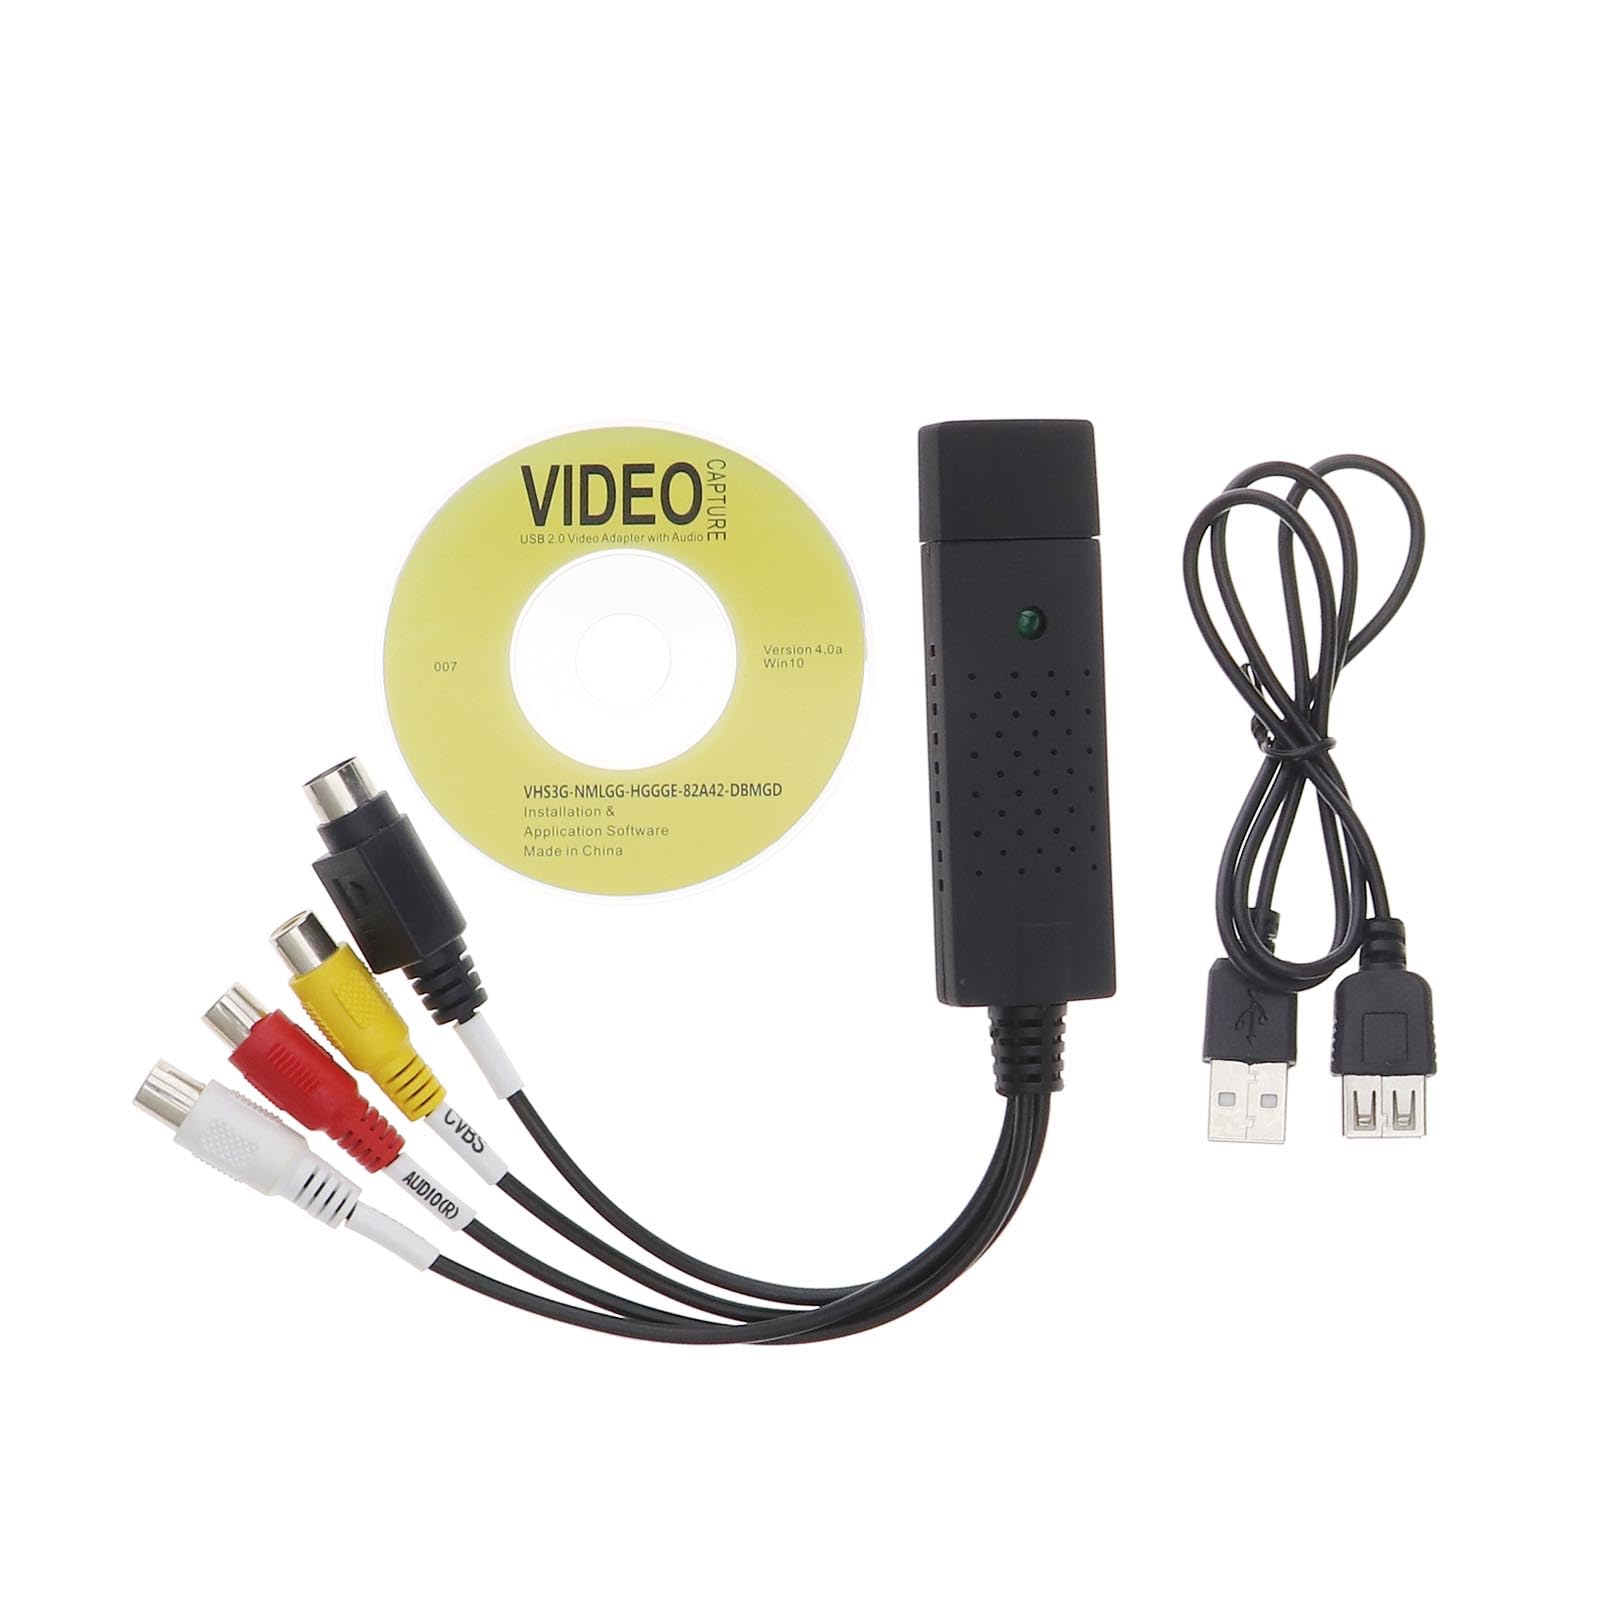
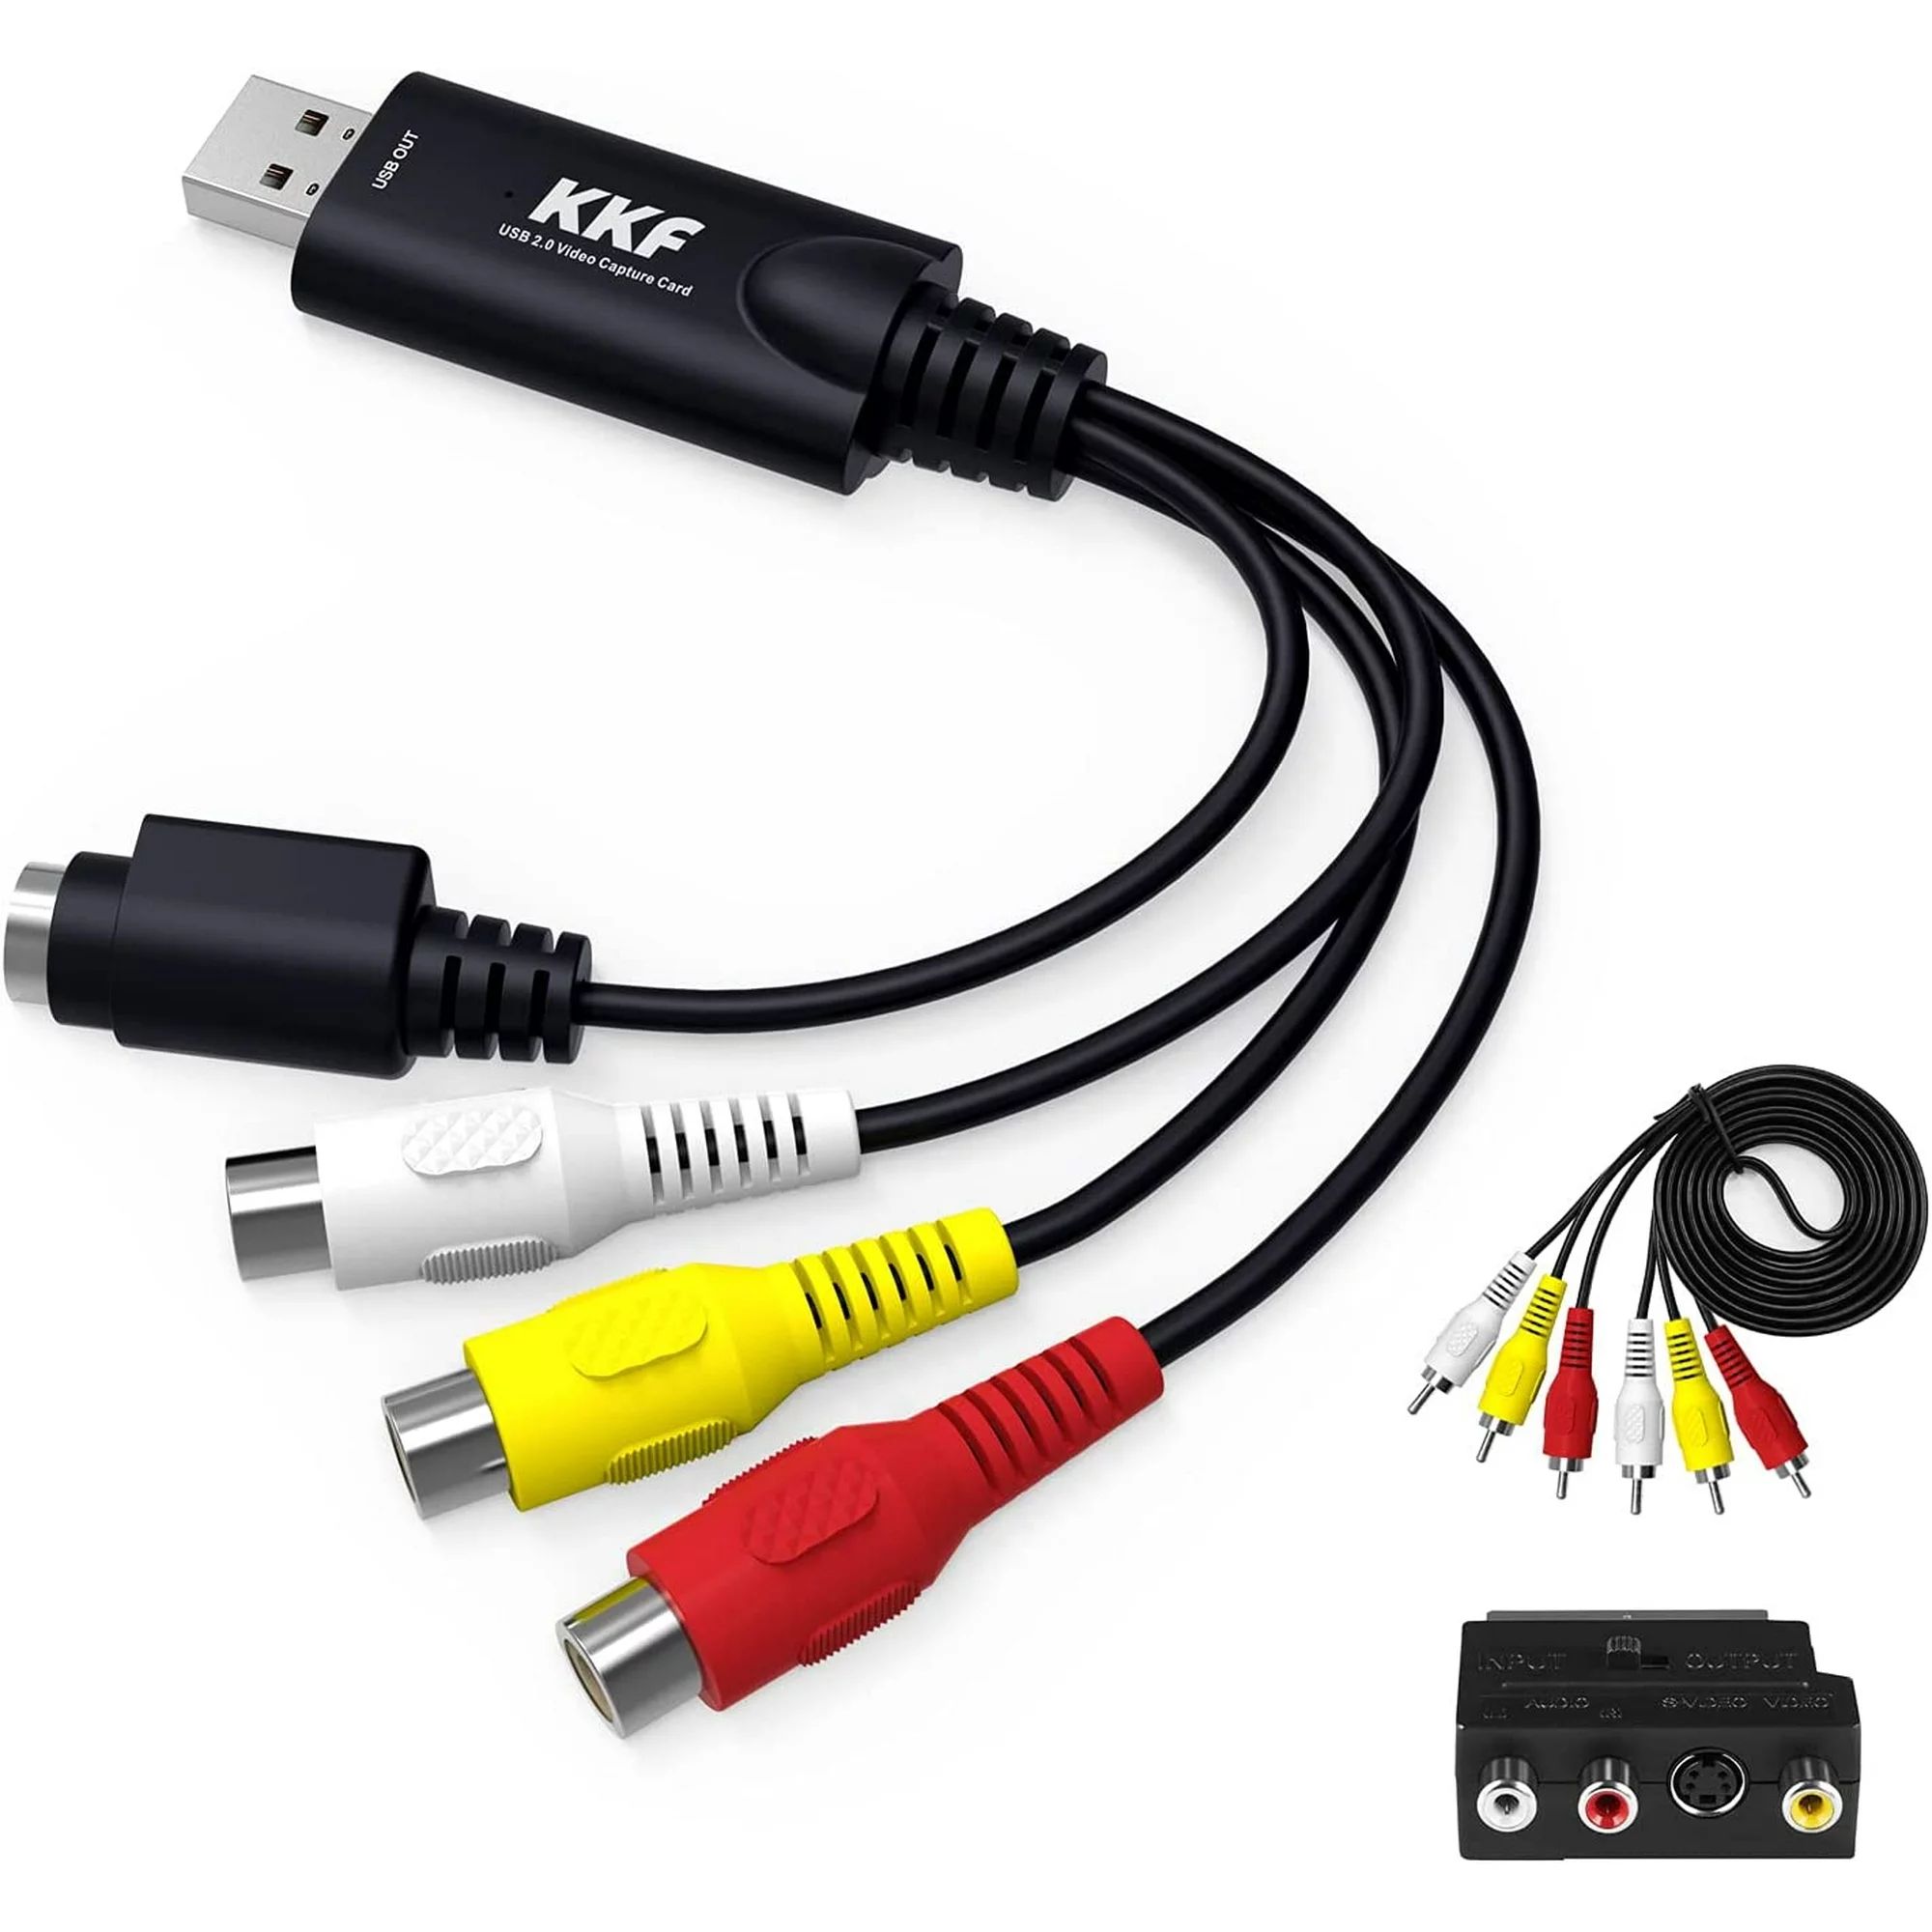
- Connect the Camcorder: Using the appropriate cable or connection method, connect your camcorder to your Windows 10 computer. Ensure that the camcorder is powered on and set to the appropriate mode for data transfer.
- Open the Software: Launch the installed software on your computer. Look for options related to importing or capturing video from an external device, such as a camcorder. This feature may be accessible from the main interface or within specific menus related to video import.
- Initiate the Import: Follow the on-screen instructions provided by the software to initiate the import process. This may involve selecting the connected camcorder as the video source and specifying the files or footage you want to import.
- Preview and Select Footage: Once the camcorder footage is detected and displayed within the software, you may have the option to preview the videos and select the specific footage you intend to include in the DVD project. Some software solutions offer tools for trimming and organizing the imported footage.
- Confirm Import Settings: Depending on the software, you may have the opportunity to configure import settings, such as video quality, file format, and destination folder for the imported footage. Ensure that these settings align with your preferences before proceeding with the import.
- Initiate Import Process: After finalizing the import settings and selecting the desired footage, proceed to initiate the import process. The software will transfer the selected camcorder footage to your computer for further editing and conversion to DVD format.
By following these steps, you can successfully import your camcorder footage into the software, laying the foundation for the subsequent stages of editing, customizing, and ultimately converting the videos into a DVD format. This pivotal phase sets the stage for transforming your raw camcorder footage into a polished and memorable DVD presentation.
Editing and Customizing the Video
Once the camcorder footage is imported into the software on your Windows 10 system, you have the opportunity to enhance and customize the videos before converting them to a DVD format. Editing and customizing the video content can significantly elevate the viewing experience and add a personal touch to the final DVD. Here are the essential steps for editing and customizing the video:
- Trimming and Cutting: Most software solutions offer tools for trimming and cutting the imported footage. You can remove unwanted segments, adjust the video duration, and create a more streamlined viewing experience for the DVD audience.
- Adding Transitions and Effects: Enhance the visual appeal of the videos by incorporating transitions between scenes and applying effects to specific segments. These features can add a professional and polished touch to the final DVD presentation.
- Inserting Titles and Captions: Personalize the videos by adding titles, captions, and subtitles. This allows you to provide context, highlight key moments, and create a more engaging viewing experience for the DVD audience.
- Customizing DVD Menus: Many software solutions offer options for customizing DVD menus. You can select themes, add background music, and arrange the menu layout to create an inviting and visually appealing DVD menu for easy navigation.
- Adjusting Audio and Volume: Ensure that the audio levels are balanced and optimize the sound quality of the videos. You may have the option to add background music or audio tracks to complement the visual content.
- Preview and Fine-Tune: After applying the desired edits and customizations, take advantage of the software’s preview feature to review the videos and make any final adjustments before proceeding to the conversion stage.
By engaging in the editing and customization process, you can transform your raw camcorder footage into a professionally curated collection of videos, ready to be converted into a cohesive DVD presentation. This phase allows you to infuse your personal style and creative vision into the videos, ensuring that the final DVD reflects your unique storytelling and captures the essence of the captured moments.
Converting to DVD Format
With the edited and customized videos prepared, the next crucial step in the process of converting camcorder footage to DVD on a Windows 10 system is the actual conversion to DVD format. This phase involves transforming the digital video files into a format suitable for playback on standard DVD players. Here’s a guide to converting the videos to DVD format:
- Select DVD Format: Within the software, locate the option to convert the edited videos to DVD format. This feature may be accessible from the main interface or within specific menus related to video conversion and authoring.
- Arrange Video Order: If your DVD will contain multiple videos, arrange the sequence in which they will appear on the DVD. This step allows you to create a cohesive flow of content for the DVD presentation.
- Configure DVD Settings: Depending on the software, you may have the opportunity to configure DVD settings such as aspect ratio, video quality, and disc format. Ensure that these settings align with your preferences and the specifications of your intended DVD playback device.
- Preview the DVD Layout: Some software solutions offer a preview of the DVD layout and menu structure before finalizing the conversion. Take advantage of this feature to ensure that the DVD presentation meets your expectations.
- Initiate the Conversion: After confirming the settings and layout, proceed to initiate the conversion process. The software will encode and compile the videos into a DVD-compatible format, ready for the final burning stage.
By following these steps, you can seamlessly convert your edited and customized videos into a DVD format, preparing them for the final stage of the process: burning the DVD. This phase marks a significant milestone, as it transforms the digital content into a tangible and shareable format, ready to be enjoyed on standard DVD players and TV screens.
Burning the DVD
After successfully converting the edited and customized videos to DVD format, the final step in the process of converting camcorder footage to DVD on a Windows 10 system is burning the DVD. This crucial stage involves transferring the converted video content onto a blank DVD disk, making it ready for playback on standard DVD players. Here’s a guide to burning the DVD:
- Prepare Blank DVD: Ensure that you have a compatible blank DVD disk available for burning. Verify that the disk has sufficient storage capacity to accommodate the converted video content.
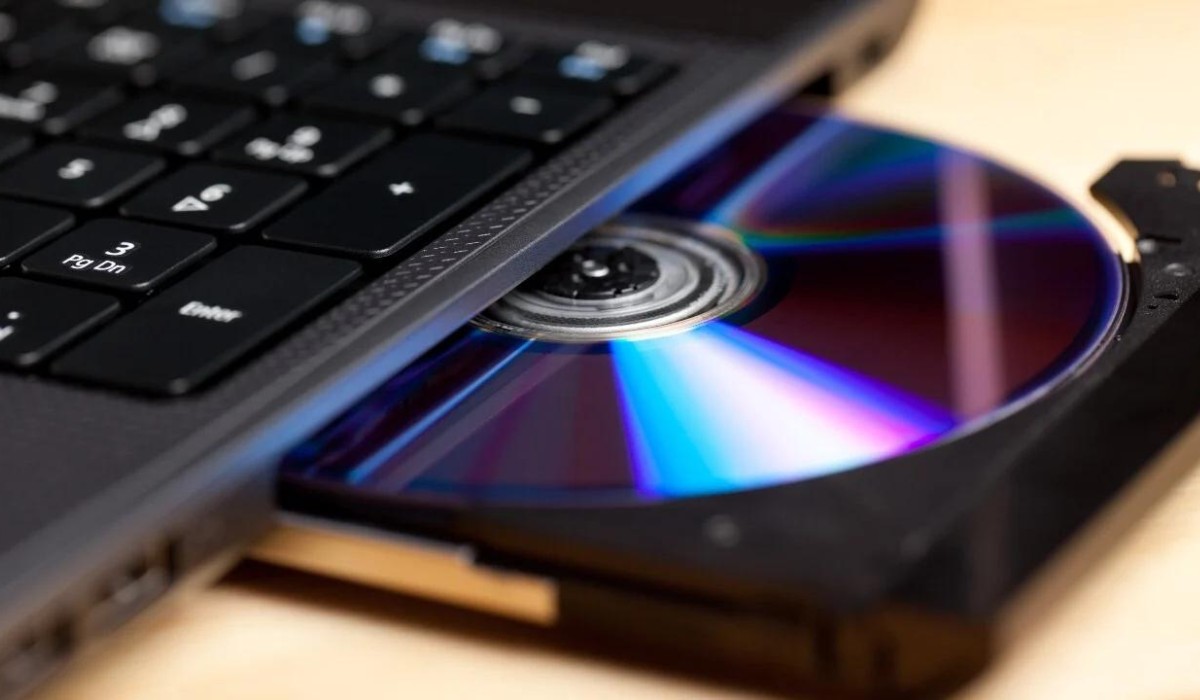
- Insert the Blank DVD: Open the DVD writer or burner on your Windows 10 computer and carefully insert the blank DVD into the appropriate drive. Ensure that the disk is inserted correctly to avoid any errors during the burning process.
- Launch the Burning Software: Open the software used for converting the videos to DVD format. Look for options related to burning or writing the converted content to a DVD. This feature may be accessible from the main interface or within specific menus dedicated to disc authoring.
- Import the Converted Content: Within the burning software, import the converted video content that you intend to burn onto the DVD. This typically involves selecting the videos from the designated location on your computer and adding them to the burning queue.
- Configure Burning Settings: Depending on the software, you may have the opportunity to configure burning settings such as burning speed, disc label, and finalization options. Ensure that these settings align with your preferences and the specifications of the blank DVD.
- Initiate the Burning Process: After confirming the settings and verifying the imported content, proceed to initiate the burning process. The software will write the converted videos onto the blank DVD, creating a playable DVD disk ready for use.
By following these steps, you can successfully burn the converted video content onto a blank DVD, transforming it into a tangible and shareable format. Once the burning process is complete, you will have a fully functional DVD containing your cherished camcorder footage, ready to be enjoyed on a variety of DVD players and shared with friends and family.
Conclusion
Converting camcorder footage to DVD on a Windows 10 system involves a series of essential steps, from selecting the right software to burning the final DVD. By carefully navigating each phase of the process, you can transform your raw video content into a polished and shareable presentation, preserving cherished memories for years to come. The journey begins with choosing the appropriate software, considering factors such as compatibility, features, user interface, reliability, and technical support. Once the software is installed, the subsequent steps of importing, editing, customizing, converting, and burning the DVD come together to create a seamless and enjoyable experience.
Throughout the process, attention to detail and creative input play pivotal roles in shaping the final DVD presentation. From trimming and enhancing the videos to customizing DVD menus and adding personal touches, each step contributes to the overall quality and impact of the final product. The ability to seamlessly navigate the software and execute each phase with precision ensures a smooth transition from camcorder footage to a professionally crafted DVD.
Ultimately, the culmination of these efforts results in a tangible and shareable DVD that encapsulates the essence of the captured moments. Whether it’s reliving special occasions, sharing milestones with loved ones, or simply preserving everyday moments, the converted DVD serves as a timeless keepsake. The ability to share these memories through a universally accessible format adds a layer of significance to the entire conversion process, reinforcing the value of preserving and sharing personal stories and experiences.
As technology continues to evolve, the process of converting camcorder footage to DVD on a Windows 10 system remains a timeless tradition, bridging the gap between analog and digital media. The careful curation and transformation of raw video content into a tangible and enduring format underscore the importance of preserving memories in a manner that transcends technological advancements. With the right software, creative input, and attention to detail, the journey from camcorder to DVD becomes a fulfilling and rewarding endeavor, ensuring that cherished moments are safeguarded and ready to be shared for generations to come.


