Introduction
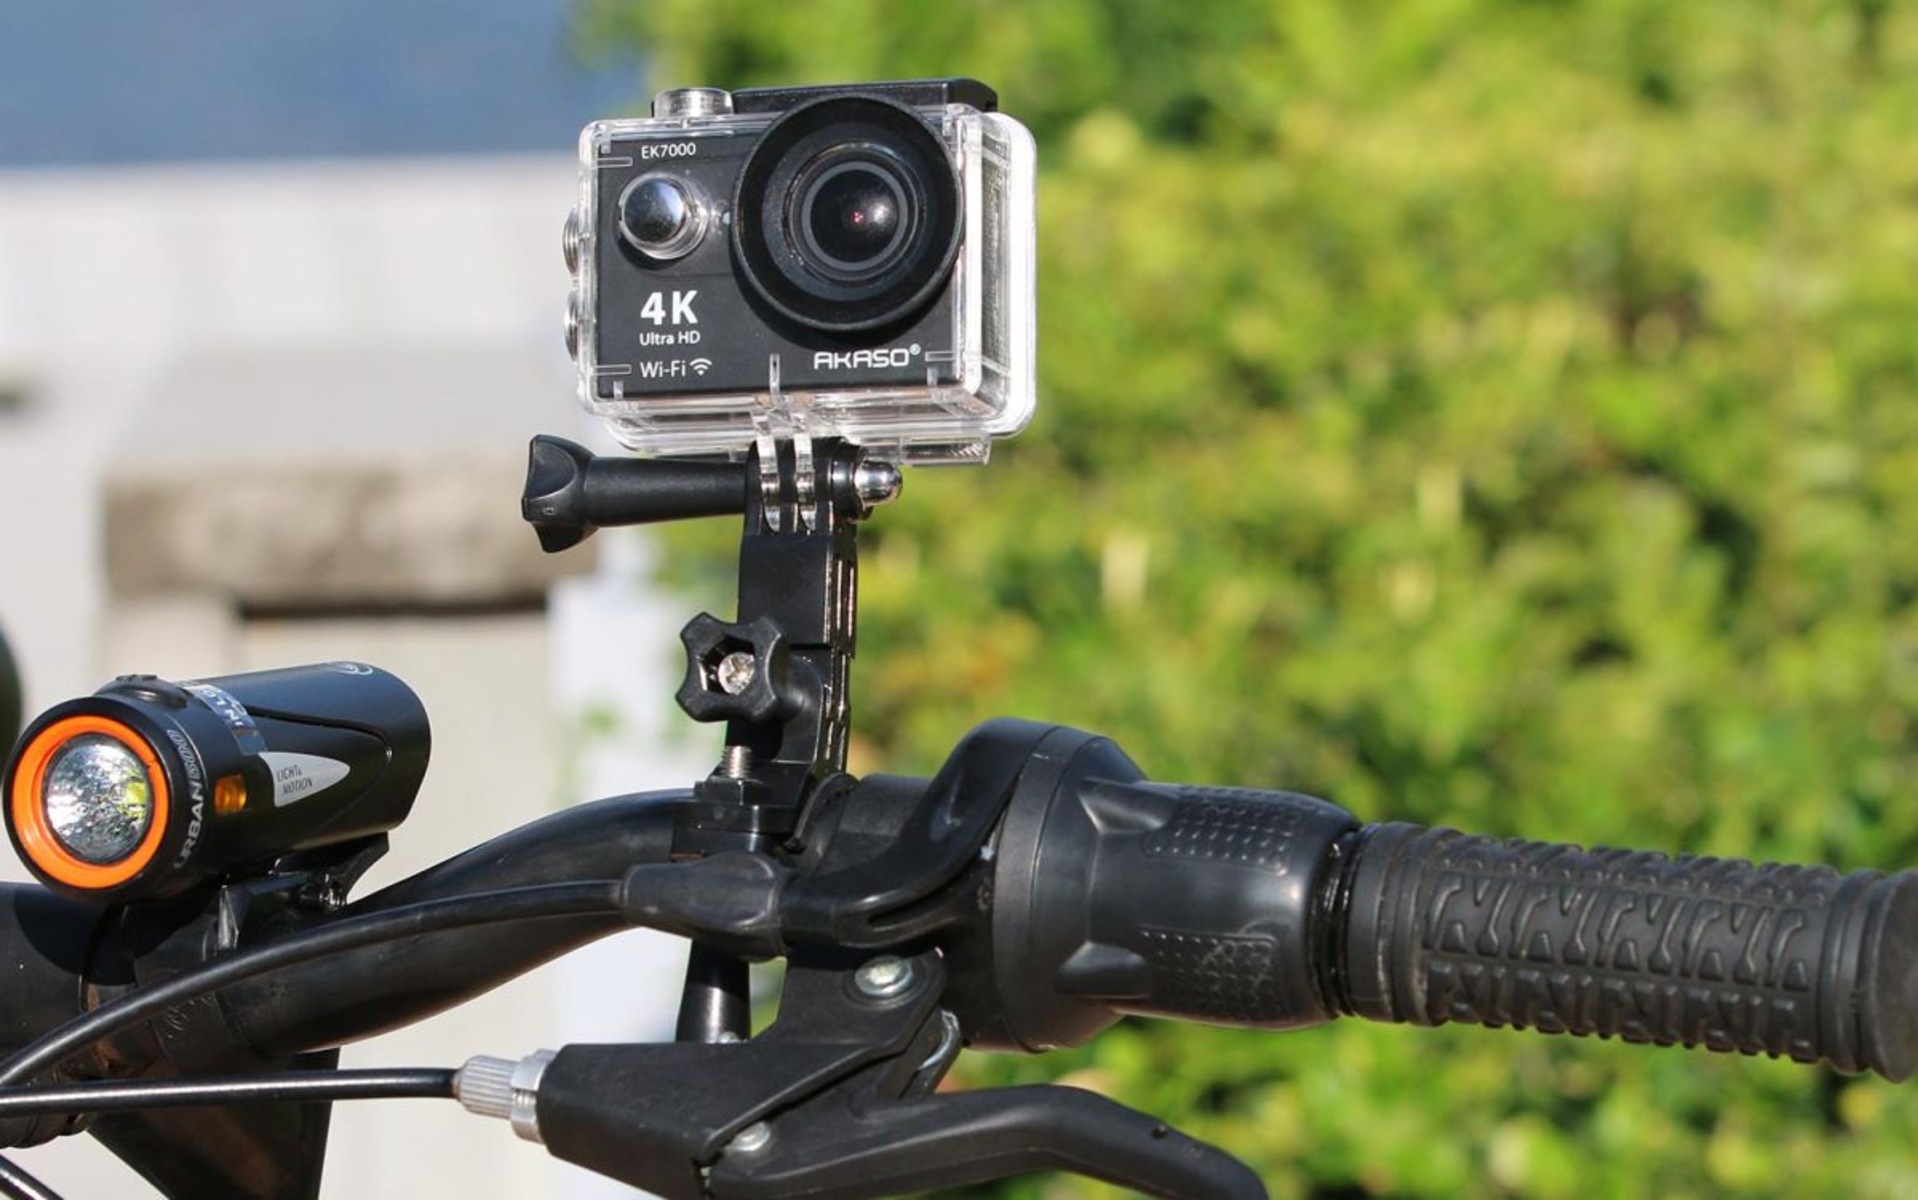
Are you ready to take your Apeman action camera to the next level? Whether you're an avid adventurer, a vlogger, or simply someone who loves capturing life's most thrilling moments, attaching a monopod to your Apeman action camera can open up a world of creative possibilities. With a monopod, you can achieve stable and dynamic shots, capture unique angles, and add a professional touch to your videos and photos.
In this step-by-step guide, you'll learn how to seamlessly attach a monopod to your Apeman action camera, allowing you to elevate your photography and videography game. By following these simple instructions, you'll be well on your way to unlocking the full potential of your Apeman action camera and capturing stunning visuals that truly stand out.
So, grab your Apeman action camera and your monopod, and let's dive into the process of attaching them together. Whether you're gearing up for an outdoor adventure, a special event, or a creative project, this guide will equip you with the knowledge and skills to make the most of your Apeman action camera and monopod combination. Let's get started!
Step 1: Gather Your Equipment
Before embarking on the process of attaching your monopod to your Apeman action camera, it’s essential to gather all the necessary equipment. By ensuring that you have everything at hand, you can streamline the setup process and avoid any interruptions. Here’s what you’ll need:
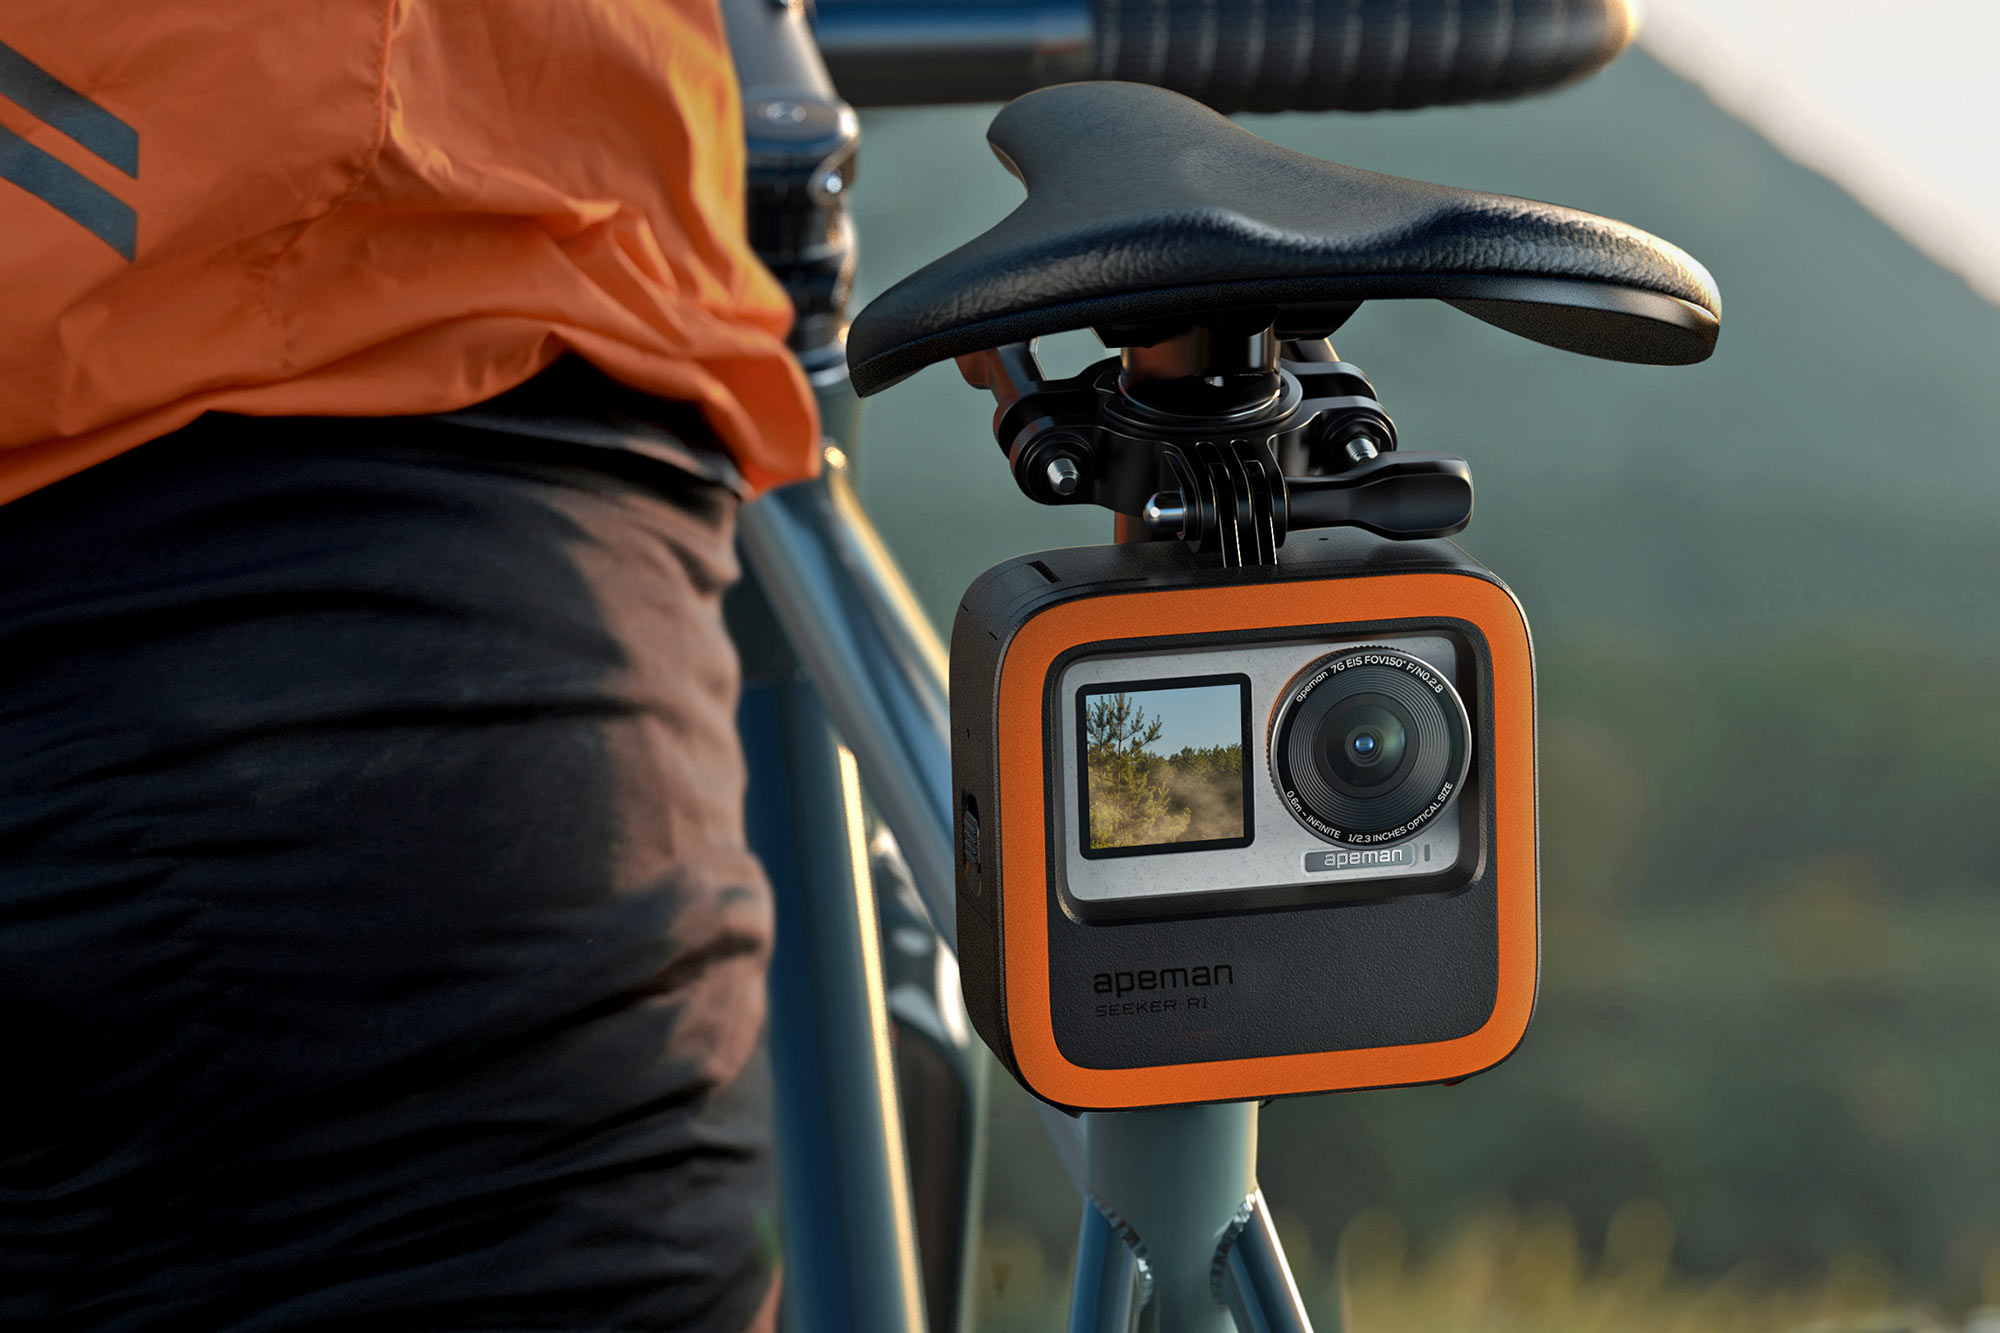
- Apeman Action Camera: Ensure that your Apeman action camera is fully charged and ready for use. It’s important to have the camera accessible as you prepare to attach the monopod.
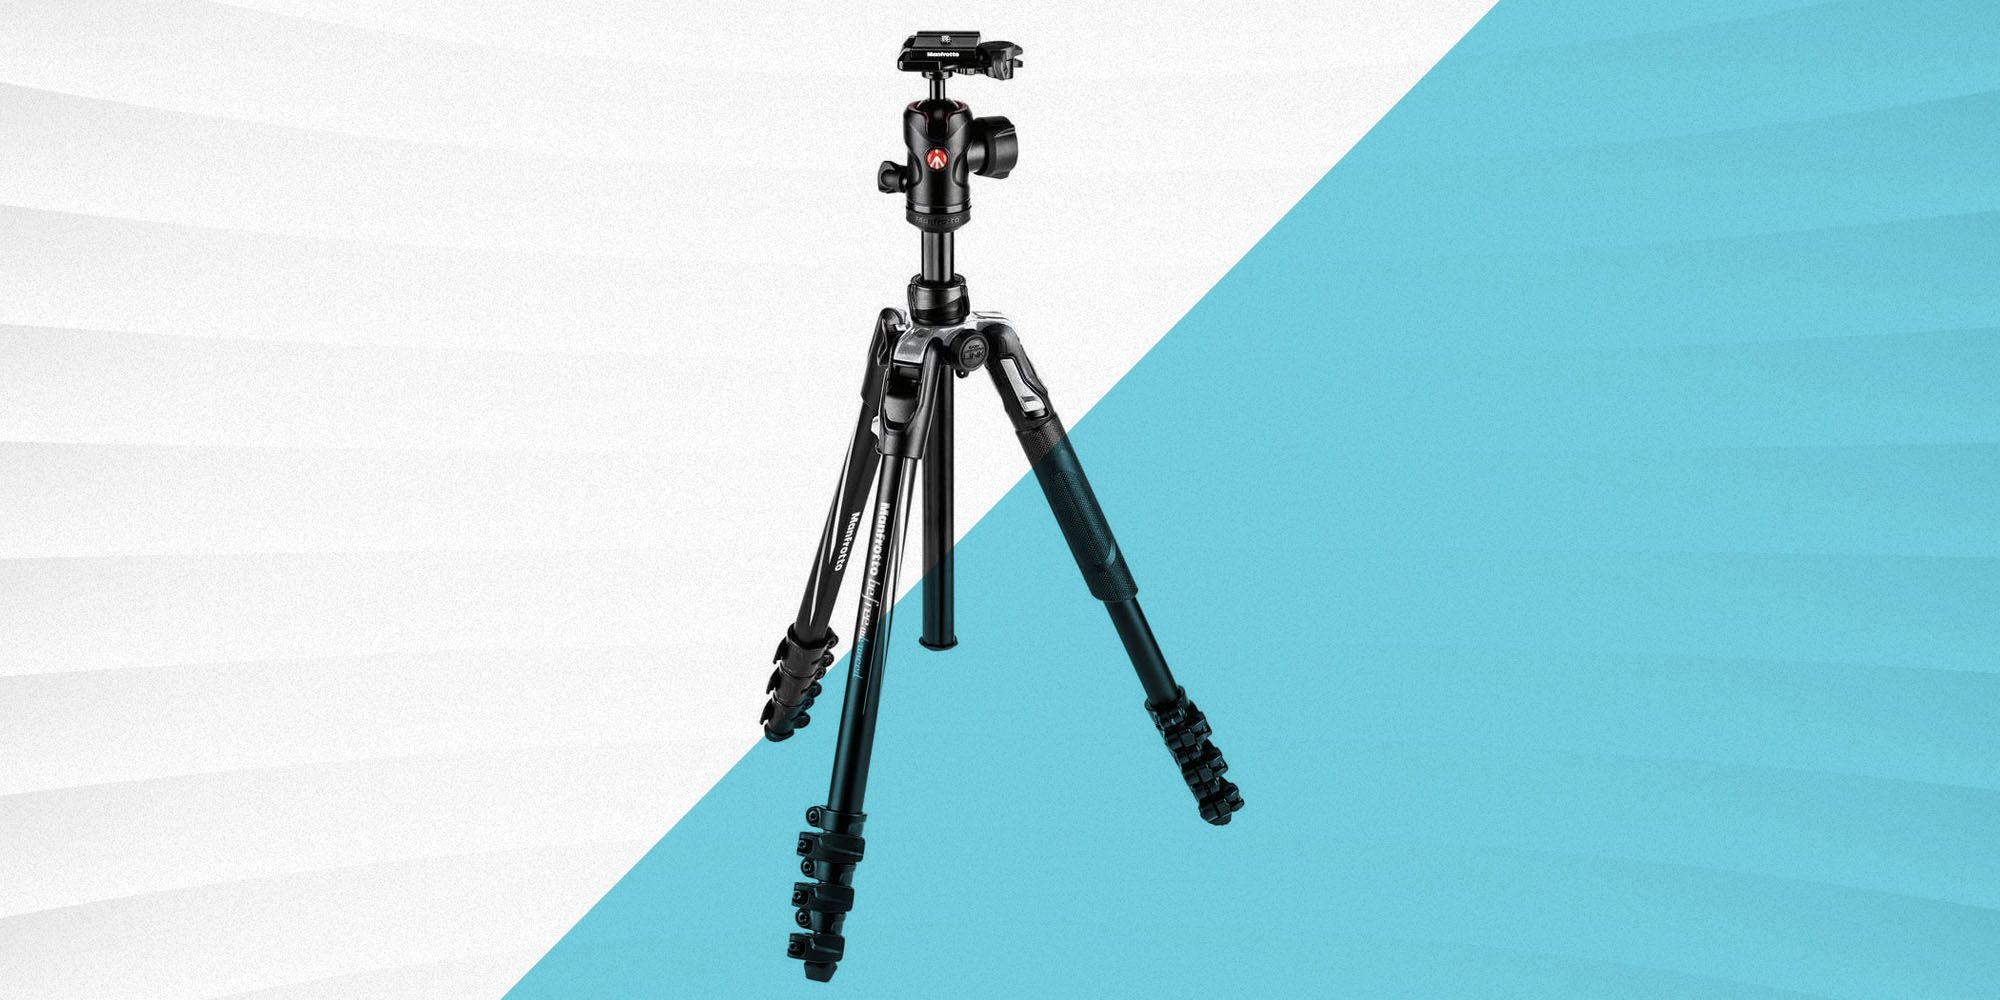
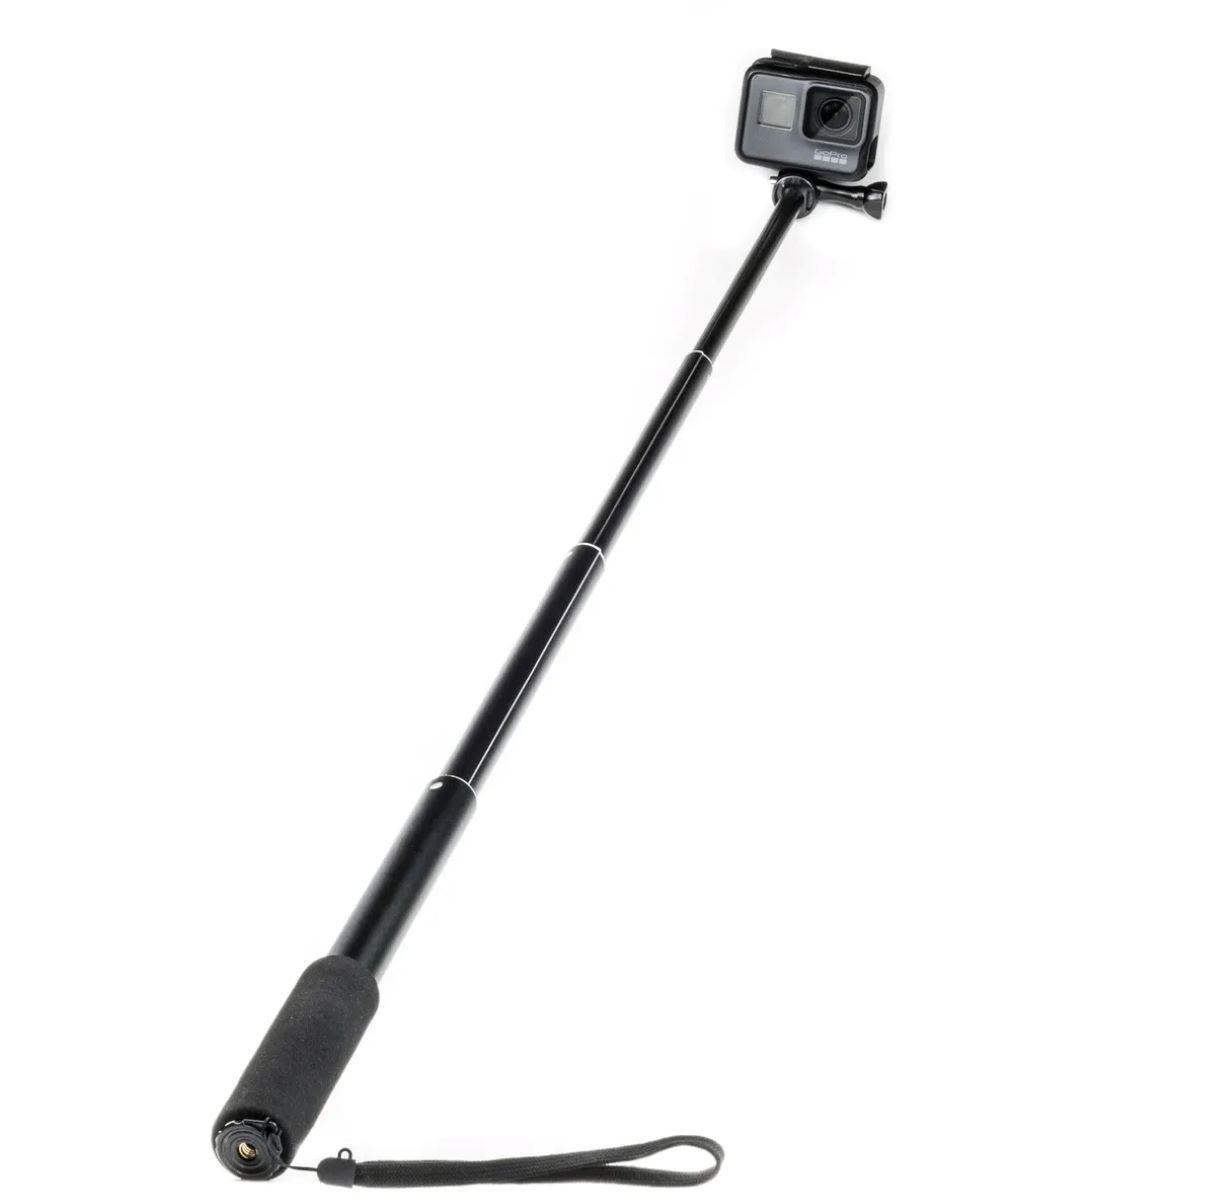
- Monopod: Select a sturdy and reliable monopod that is compatible with your Apeman action camera. Consider the height, weight, and additional features of the monopod to ensure it meets your specific photography and videography needs.
- Mounting Accessories: Depending on the type of monopod you have, you may need specific mounting accessories such as a tripod mount or a specialized adapter to connect the monopod to your Apeman action camera securely.
- Tools: In some cases, you may require basic tools such as a screwdriver or a wrench to fasten the mounting accessories and ensure a tight and secure connection between the monopod and the action camera.
By gathering these essential items, you’ll be well-prepared to proceed with the process of attaching your monopod to your Apeman action camera. Having a clear understanding of your equipment and its compatibility will set the stage for a smooth and successful setup.
Step 2: Prepare Your Apeman Action Camera
Before attaching the monopod to your Apeman action camera, it’s crucial to prepare the camera itself to ensure a seamless and secure connection. Here are the essential steps to prepare your Apeman action camera:
- Charge the Camera: Begin by ensuring that your Apeman action camera is fully charged. This step is vital to avoid any interruptions during the setup process and to ensure that the camera is ready for immediate use once the monopod is attached.
- Check Mounting Compatibility: Examine the mounting options on your Apeman action camera. Depending on the model, there may be specific mounting points or a designated mounting area where the monopod can be securely attached. Understanding the mounting options will guide you in selecting the appropriate mounting accessories for the monopod.
- Inspect Camera Housing: If your Apeman action camera is housed in a protective casing or frame, ensure that the housing is clean and free from any debris or obstructions. A clean and smooth surface will facilitate the attachment of the monopod and contribute to a stable setup.
- Power On and Test Functions: Power on your Apeman action camera and test its functions to verify that it is in proper working condition. Check the camera’s settings and ensure that the mode and angle adjustments are functioning as expected, as this will be crucial when aligning the camera on the monopod.
By meticulously preparing your Apeman action camera, you’ll lay the groundwork for a successful integration with the monopod. This attention to detail will contribute to a hassle-free setup and set the stage for capturing stunning visuals with your action camera and monopod combination.
Step 3: Attach the Monopod to Your Apeman Action Camera
With your Apeman action camera prepared and the necessary equipment gathered, it’s time to proceed with attaching the monopod. Follow these step-by-step instructions to securely connect the monopod to your Apeman action camera:
- Mounting Point Selection: Identify the optimal mounting point on your Apeman action camera. Depending on the model and design, there may be multiple mounting options, such as a dedicated tripod mount or a specific attachment area. Select the mounting point that aligns with your desired angle and stability requirements.
- Secure the Mounting Accessories: If your monopod requires mounting accessories such as a tripod mount or a specialized adapter, attach these components securely to the monopod. Ensure that the mounting accessories are fastened tightly and are compatible with the selected mounting point on the camera.
- Align the Monopod: Position the monopod in a way that aligns with your desired angle and composition. Whether you prefer a traditional upright position or a unique angle for dynamic shots, adjust the monopod to meet your specific creative vision.
- Connect the Monopod: Carefully connect the prepared monopod to the chosen mounting point on your Apeman action camera. Ensure that the connection is secure and stable, and that the monopod is firmly attached without any wobbling or instability.
- Test the Stability: Gently test the stability of the monopod attachment by applying slight pressure and verifying that the connection remains firm. This step is crucial to prevent any unexpected movement or detachment during use.
By following these steps, you’ll successfully attach the monopod to your Apeman action camera, setting the stage for capturing remarkable footage and images with enhanced stability and creative flexibility.
Step 4: Adjust the Monopod for Your Desired Angle
Once the monopod is securely attached to your Apeman action camera, it’s time to fine-tune the angle and positioning to achieve your desired shots. Follow these steps to adjust the monopod for optimal angles and compositions:
- Consider the Shooting Environment: Assess the environment in which you’ll be using the monopod and Apeman action camera. Whether you’re capturing action shots, scenic landscapes, or dynamic activities, understanding the shooting environment will guide your angle adjustments.
- Experiment with Heights: Adjust the height of the monopod to explore different perspectives. Lower angles can add a dramatic flair to your shots, while elevated positions provide a broader view of the surroundings. Experiment with varying heights to find the most compelling angles for your intended shots.
- Angle and Tilt Adjustments: Utilize the monopod’s adjustable features to tilt the camera at different angles. Whether you’re aiming for a level horizon, a dynamic tilt, or a specific framing effect, fine-tune the angle adjustments to align with your creative vision.
- Stability and Balance: Ensure that the monopod is stable and well-balanced as you make angle adjustments. A steady and balanced setup is essential for capturing clear and steady footage, especially in dynamic or fast-paced shooting scenarios.
- Test Shots: Take test shots or footage as you adjust the monopod’s angle to gauge the visual impact of different positions. Reviewing these test shots will provide valuable insights into the effectiveness of your angle adjustments and allow for real-time refinements.
By carefully adjusting the monopod for your desired angle, you’ll unlock the full potential of your Apeman action camera, capturing captivating visuals with precision and creativity.
Step 5: Test Your Setup
Before embarking on your photography or videography endeavors, it’s essential to thoroughly test your setup to ensure optimal performance and functionality. Follow these steps to conduct comprehensive testing of your Apeman action camera and monopod combination:
- Functionality Check: Verify that all the functions of your Apeman action camera are operating as intended. Test the camera’s settings, modes, and recording capabilities to confirm that it is functioning seamlessly with the attached monopod.
- Stability Assessment: Perform stability tests by simulating movements and adjustments that align with your anticipated shooting scenarios. Assess the stability of the monopod attachment and ensure that it maintains a secure and steady connection during dynamic movements.
- Dynamic Range Testing: Explore the dynamic range of angles and positions facilitated by the monopod. Capture test shots or footage from various perspectives to gauge the versatility and creative potential of your setup.
- Quality Evaluation: Review the quality of the captured images and footage to assess the impact of the monopod on the overall visual output. Pay attention to clarity, stability, and the enhancement of creative possibilities enabled by the monopod attachment.
- User Experience: Consider the overall user experience when using the monopod and Apeman action camera in conjunction. Evaluate the ease of adjustments, the comfort of handling, and the practicality of the setup for your intended photography or videography pursuits.
By conducting thorough testing, you’ll gain valuable insights into the capabilities of your Apeman action camera and monopod combination, empowering you to confidently capture stunning visuals in diverse settings and scenarios.
Conclusion
Congratulations! By following the step-by-step guide outlined in this tutorial, you’ve successfully learned how to attach a monopod to your Apeman action camera, opening up a world of creative possibilities for your photography and videography endeavors. The process of integrating a monopod with your action camera not only enhances stability and versatility but also empowers you to capture captivating visuals from unique angles and perspectives.
As you venture into utilizing your Apeman action camera and monopod combination, remember the importance of thorough preparation, precise attachment, and meticulous testing. These foundational steps ensure that your setup is optimized for seamless functionality and exceptional performance, allowing you to focus on unleashing your creativity and capturing moments with unparalleled precision.
Embrace the flexibility and stability offered by the monopod, experiment with diverse angles and compositions, and leverage the enhanced capabilities of your Apeman action camera to create compelling visual content. Whether you’re documenting thrilling adventures, creating engaging vlogs, or capturing special events, the fusion of the monopod and your action camera will elevate your photography and videography to new heights.
With the knowledge and skills acquired from this guide, you’re well-equipped to embark on a journey of visual storytelling, empowered by the seamless integration of your Apeman action camera with a versatile and reliable monopod. Embrace the creative freedom that comes with this setup, and let your imagination guide you as you capture breathtaking moments with precision and artistry.
Now, armed with the ability to attach and utilize a monopod with your Apeman action camera, you’re poised to embark on a photography and videography adventure filled with endless creative possibilities.