Introduction
Welcome to the world of photography! Whether you're a budding enthusiast or a seasoned professional, one of the fundamental aspects of capturing stunning images is ensuring that your DSLR camera is steady. Achieving camera stability is crucial for producing sharp, clear, and professional-looking photos, especially in low-light conditions or when using long telephoto lenses.
In this comprehensive guide, we'll delve into various techniques and tools that can help you steady your DSLR camera, allowing you to take your photography to the next level. From understanding the basics of camera stability to utilizing tripods, monopods, camera straps, and even leveraging your own body, we'll explore a range of methods to enhance the stability of your shots.
By mastering the art of steadying your DSLR camera, you'll not only elevate the quality of your photographs but also expand your creative possibilities. So, let's embark on this journey to discover the secrets of achieving impeccable camera stability and unlocking the full potential of your DSLR. Whether you're capturing breathtaking landscapes, dynamic portraits, or captivating wildlife, the stability of your camera will be the cornerstone of your photographic excellence.
Understanding the Basics of Camera Stability
Before delving into the specific techniques for steadying your DSLR camera, it’s essential to grasp the foundational principles of camera stability. Essentially, camera stability refers to the ability to minimize unwanted movement or vibration during the process of capturing an image. Unintentional camera movement can result in blurry or distorted photos, diminishing the overall quality of the image.
One of the primary factors affecting camera stability is hand movement. Even the steadiest of hands can introduce subtle vibrations when holding a camera, particularly in low-light conditions or when using slow shutter speeds. Additionally, the weight and size of DSLR cameras, especially when coupled with large lenses, can amplify the impact of hand movements on image sharpness.
Understanding the impact of shutter speed on camera stability is crucial. A slower shutter speed increases the risk of capturing motion blur, making it challenging to achieve crisp and clear images. Moreover, the longer the focal length of the lens, the more pronounced the impact of camera shake becomes, further underscoring the importance of stability in photography.
Another key consideration is the role of stability in achieving precise composition. When framing a shot, even minor movements can result in a significant shift in the composition, potentially altering the intended visual narrative. By prioritizing camera stability, photographers can maintain control over the framing and composition of their images, ensuring that the intended subject remains the focal point.
Furthermore, understanding the basics of camera stability involves recognizing the environmental factors that can compromise stability. Windy conditions, uneven terrain, or unstable surfaces can all contribute to camera shake, necessitating strategic measures to counteract these challenges.
By comprehending these fundamental aspects of camera stability, photographers can appreciate the critical role it plays in the quality and impact of their images. Armed with this knowledge, we can now explore various techniques and tools to effectively stabilize DSLR cameras in diverse shooting scenarios.
Using a Tripod for Steady Shots
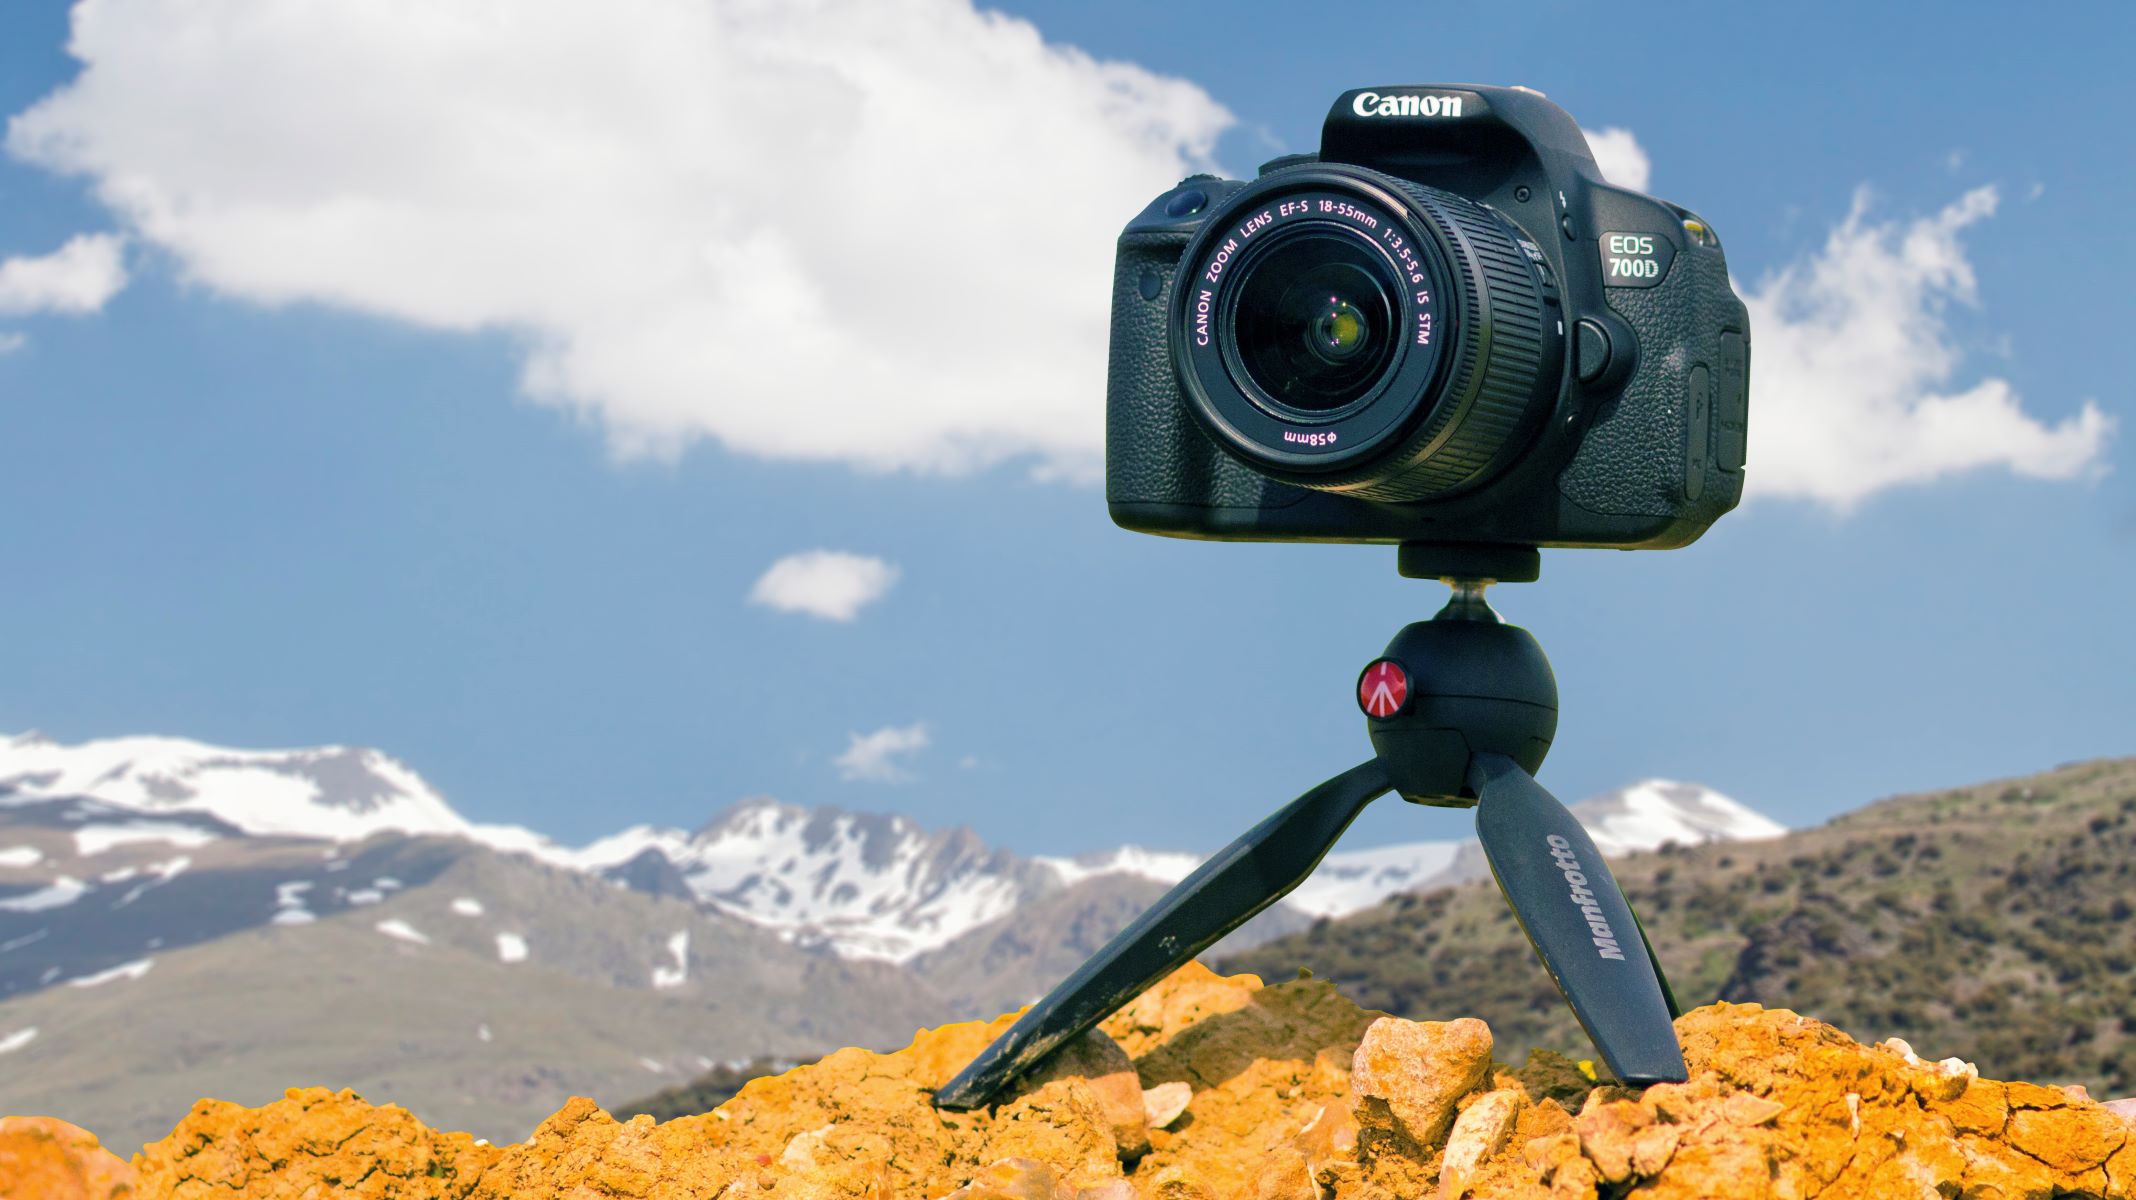
When it comes to achieving unparalleled stability in photography, a tripod stands as an indispensable tool for photographers across diverse genres. A tripod provides a sturdy and reliable platform to support your DSLR camera, effectively minimizing camera shake and allowing for precise composition and focus. Let’s explore the myriad benefits and practical tips for utilizing tripods to capture steady shots.
Enhanced Stability: The primary advantage of using a tripod is the substantial improvement in stability it offers. By securely mounting your DSLR camera on a tripod, you can eliminate the risk of hand-induced vibrations, ensuring that your images are sharp and devoid of blur, even in challenging shooting conditions.
Long Exposures and Low Light: Tripods are essential for long exposure photography and low-light scenarios. When using slow shutter speeds to capture motion blur or when shooting in dimly lit environments, a tripod provides the necessary stability to achieve stunning results without compromising image quality.
Composition and Framing: A tripod empowers photographers to meticulously compose and frame their shots with precision. By maintaining a consistent and stable vantage point, photographers can fine-tune their compositions, adjust framing, and explore different perspectives without the constraints of handheld shooting.
Types of Tripods: Tripods come in various sizes, materials, and configurations, catering to different shooting requirements. From compact travel tripods for on-the-go convenience to robust and heavy-duty tripods for professional applications, choosing the right tripod entails considering factors such as weight, maximum load capacity, and portability.
Practical Tips: When using a tripod, it’s crucial to ensure that it is set up on stable ground to prevent wobbling or tipping. Additionally, using a remote shutter release or the camera’s self-timer function can further minimize the risk of vibrations caused by manually pressing the shutter button.
By harnessing the stability and versatility offered by tripods, photographers can elevate the quality of their images, expand their creative potential, and confidently explore long exposure photography, landscape imagery, architectural shots, and various other genres with precision and finesse.
Using a Monopod for On-the-Go Stability
While tripods excel in providing steadfast support for DSLR cameras, there are situations where mobility and agility are paramount. This is where monopods emerge as a versatile solution, offering a balance between stability and maneuverability, making them an ideal choice for photographers on the move. Let’s delve into the advantages and practical considerations of using monopods to achieve on-the-go stability.
Portability and Flexibility: Monopods are lightweight, compact, and easy to transport, making them an excellent choice for photographers who need to maintain mobility while capturing images. Whether navigating through crowded spaces or exploring dynamic environments, monopods offer the freedom to swiftly adjust shooting positions without the bulk associated with tripods.
Stability Enhancement: While monopods do not provide the same level of stability as tripods, they offer a notable improvement over handheld shooting. By bracing the monopod against the ground and utilizing it as a single-point support for the camera, photographers can effectively mitigate the impact of hand-induced vibrations, resulting in sharper and more stable images.
Extended Reach and Support: Monopods are particularly advantageous for photographers using telephoto lenses or capturing action shots. The monopod serves as a reliable extension of the photographer’s arm, offering enhanced support and balance, especially when working with heavy camera setups or tracking fast-moving subjects.
Quick Setup and Maneuverability: The rapid deployment and adjustment of monopods make them well-suited for dynamic shooting scenarios. Whether photographing sports events, wildlife, or street photography, the ability to swiftly reposition the monopod enables photographers to adapt to changing scenes and angles without compromising stability.
Considerations for Use: When using a monopod, it’s essential to maintain proper posture and technique to maximize stability. Additionally, employing image stabilization features in the camera or lens can complement the stability provided by the monopod, resulting in even sharper images, especially in challenging lighting conditions.
By harnessing the agility and stability afforded by monopods, photographers can navigate diverse shooting environments with ease, capturing compelling images with enhanced sharpness and stability while embracing the freedom of movement that is essential for on-the-go photography.
Using a Camera Strap for Added Support
While tripods and monopods offer substantial stability for DSLR cameras, there are instances where photographers need to maintain mobility without compromising on support. In such scenarios, a reliable camera strap becomes an invaluable accessory, providing added stability and security while allowing photographers to move freely and capture spontaneous moments. Let’s explore the benefits and practical considerations of using a camera strap to enhance stability during photography.
Distributed Weight and Comfort: A well-designed camera strap helps distribute the weight of the DSLR camera and lens across the photographer’s body, reducing strain on the hands and shoulders. This not only enhances comfort during extended shooting sessions but also contributes to improved stability by minimizing hand-induced vibrations.
Hands-Free Security: By securely attaching the camera to a strap worn across the body or around the neck, photographers can maintain hands-free control of their equipment, allowing them to swiftly transition from shooting to other tasks without the need to constantly hold the camera. This hands-free approach contributes to enhanced stability and minimizes the risk of accidental drops or damage to the camera.
Quick Access and Readiness: Camera straps facilitate rapid access to the camera, enabling photographers to swiftly raise the camera to eye level and capture spontaneous moments without fumbling for the equipment. This seamless accessibility not only enhances the overall shooting experience but also contributes to the stability of handheld shots by providing a consistent and secure grip on the camera.
Stabilization Techniques: When using a camera strap, photographers can employ various stabilization techniques, such as the “brace and shoot” method, where the camera strap is taut to create tension for added stability while shooting handheld. Additionally, leveraging the body’s posture and movements can further enhance the stability of shots when using a camera strap.
Customization and Ergonomics: Camera straps come in a range of designs and configurations, allowing photographers to select options that align with their shooting style and preferences. Whether opting for a padded shoulder strap for comfort or a quick-release sling for rapid deployment, the ergonomic features of camera straps contribute to both stability and shooting efficiency.
By integrating a well-suited camera strap into their photography workflow, photographers can enjoy the combined benefits of mobility, comfort, and stability, empowering them to capture compelling images with confidence while seamlessly transitioning between shooting positions and spontaneous opportunities.
Using Your Body to Stabilize the Camera
When circumstances limit the use of external stabilization tools such as tripods or monopods, photographers can rely on their own body and technique to achieve stability while capturing images with a DSLR camera. By implementing specific practices and leveraging body mechanics, photographers can significantly enhance the stability of their shots, resulting in sharper and more professional-looking photographs. Let’s explore the techniques and considerations for utilizing your body to stabilize the camera in various shooting scenarios.
Steady Posture and Breathing: Maintaining a steady and balanced posture is foundational to stabilizing the camera. By standing with feet shoulder-width apart and keeping the upper body relaxed but stable, photographers can minimize unnecessary movement that could introduce vibrations. Additionally, practicing controlled breathing and exhaling gently before pressing the shutter release can further reduce the risk of inadvertent camera shake.
Bracing Techniques: When shooting handheld, photographers can employ bracing techniques to stabilize the camera. This includes leaning against a solid surface, such as a wall or a tree, to provide additional support and minimize sway. Alternatively, resting elbows on a stable surface or tucking them close to the body can create a natural stabilization point for the camera.
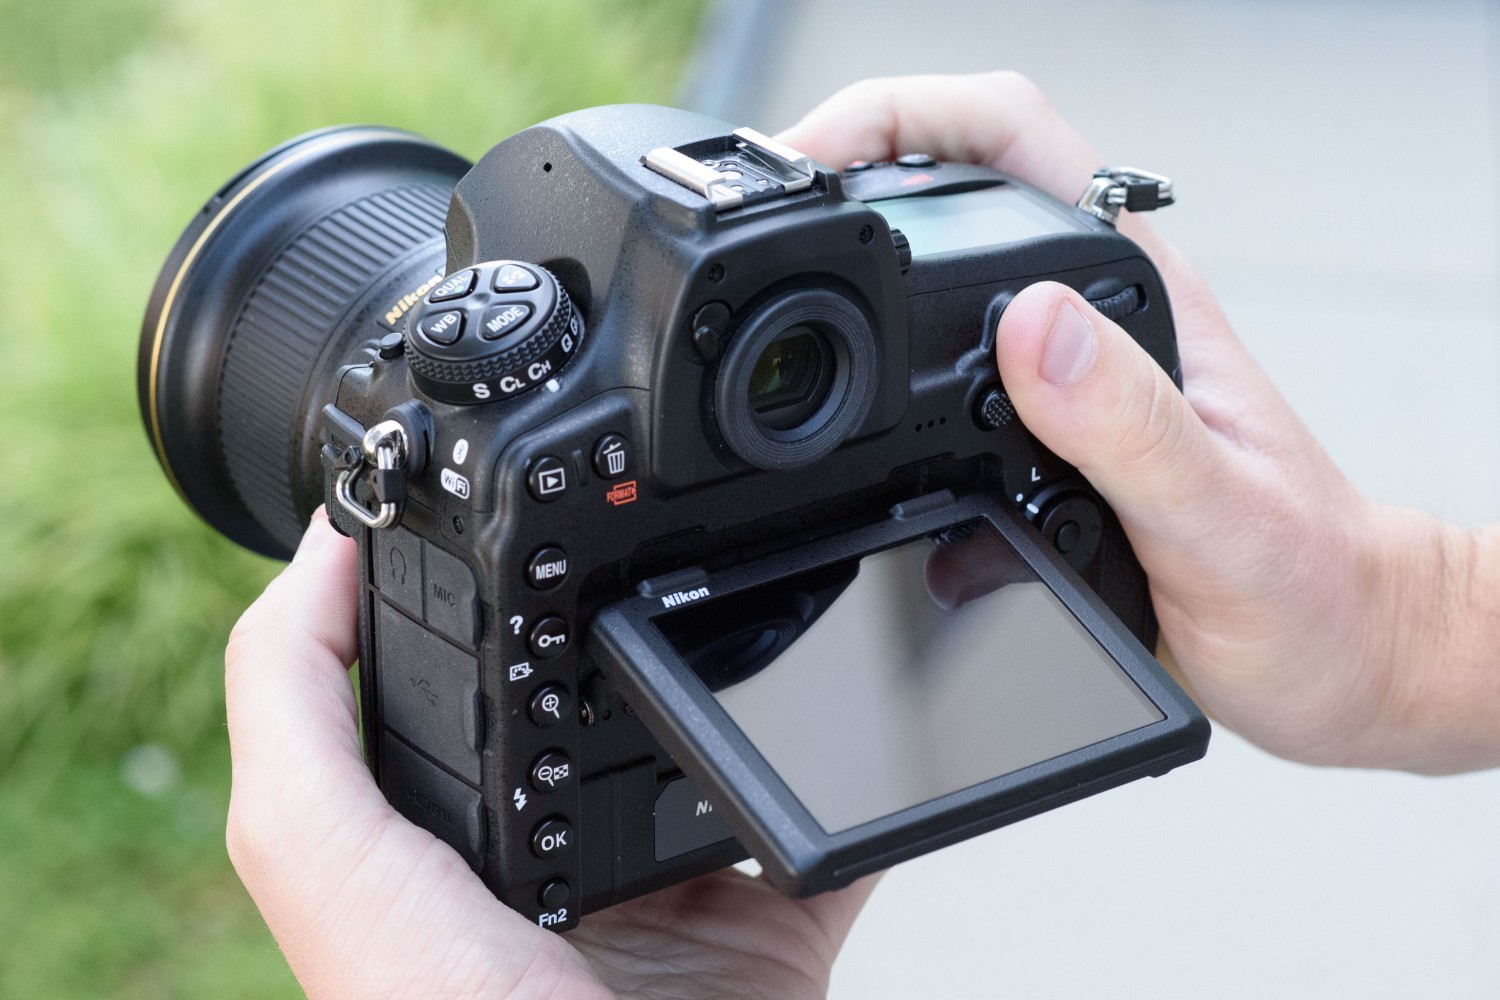
Utilizing Body Contact Points: By strategically utilizing points of contact between the body and the camera, photographers can enhance stability. Placing the camera against the forehead or the eye socket when shooting through the viewfinder, or pressing the camera against the face when using the LCD screen, can create a stable anchor point, reducing the risk of unwanted movement.
Optimizing Handheld Shooting Techniques: When capturing handheld shots, employing proper handholding techniques is crucial for stability. This includes gripping the camera with the right hand while supporting the lens with the left hand to minimize lens-induced vibrations. Additionally, using the viewfinder instead of the LCD screen can provide added stability by anchoring the camera against the photographer’s face.
Image Stabilization Features: Many modern DSLR cameras and lenses are equipped with image stabilization technology. By activating these features, photographers can leverage the benefits of internal stabilization mechanisms to compensate for minor movements and vibrations, resulting in sharper images, especially in low-light conditions or when using longer focal lengths.
By mastering the art of using the body to stabilize the camera, photographers can adapt to diverse shooting scenarios, confidently capturing images with enhanced stability and precision, even in situations where external stabilization tools are impractical or unavailable.
Conclusion
Mastering the art of achieving stability with your DSLR camera is a transformative journey that elevates the quality and impact of your photography. Through the understanding of fundamental principles and the strategic use of tools and techniques, photographers can unlock the full potential of their creativity while capturing stunning, sharp, and professional-looking images.
From the steadfast support of tripods and the agility of monopods to the added security of camera straps and the utilization of body mechanics, the array of methods for achieving stability offers versatile solutions for photographers across diverse genres and shooting scenarios. Whether capturing breathtaking landscapes, dynamic portraits, fast-paced action, or intricate details, the pursuit of stability is a cornerstone of photographic excellence.
By embracing the stability-enhancing techniques outlined in this guide, photographers can navigate the complexities of low-light conditions, long telephoto lenses, and dynamic environments with confidence. The ability to maintain stability empowers photographers to realize their creative vision, ensuring that every image reflects their intended composition, focus, and narrative.
Furthermore, the integration of stability-enhancing practices not only enhances the technical quality of photographs but also fosters a deeper connection between the photographer and their craft. The deliberate focus on stability encourages mindfulness, precision, and a heightened awareness of the visual elements within the frame, ultimately refining the photographer’s artistic expression.
As you continue to explore the boundless realms of photography, may the pursuit of stability serve as a steadfast companion, empowering you to capture moments of beauty, emotion, and significance with unwavering clarity and impact. Embrace the art of stability, and let it amplify the resonance of your photographic storytelling, elevating your images to new heights of excellence.