Introduction
Welcome to the world of DJI Osmo 6, the revolutionary handheld gimbal that allows you to capture stunningly smooth footage with your smartphone or camera. Whether you’re an amateur videographer or a professional content creator, the DJI Osmo 6 is a must-have tool for taking your videos to the next level.
But what if you want to extend the capabilities of your DJI Osmo 6? What if you need to reach higher or farther to capture that perfect shot? In this article, we will explore different ways to extend your DJI Osmo 6 and unleash its full potential.
The DJI Osmo 6 provides an incredible range of features and functionalities, including 3-axis stabilization, intelligent shooting modes, and live streaming capabilities. It’s designed to take your videography skills to new heights, literally and figuratively. However, there may be instances where you need to go beyond its built-in capabilities and extend its reach.
Whether you’re shooting a wedding, a sports event, or a landscape, having the ability to extend your DJI Osmo 6 can make a significant difference in the quality and variety of shots you can capture. It allows you to get closer to the action, capture unique perspectives, and experiment with different angles. By extending your DJI Osmo 6, you can truly push the boundaries of your creativity and produce captivating videos that will leave your audience in awe.
In the following sections, we will explore different methods to extend your DJI Osmo 6. From using an extension rod to a telescopic pole, or even a tripod or monopod, there are various options to choose from based on your specific needs and shooting scenarios. We will also provide you with tips and recommendations to ensure a seamless experience while extending your DJI Osmo 6.
So, let’s dive into the fantastic world of extending your DJI Osmo 6 and discover how you can take your videos to new heights!
Understanding the DJI Osmo 6
Before we dive into the various methods of extending the DJI Osmo 6, it’s important to have a clear understanding of what this innovative handheld gimbal is all about.
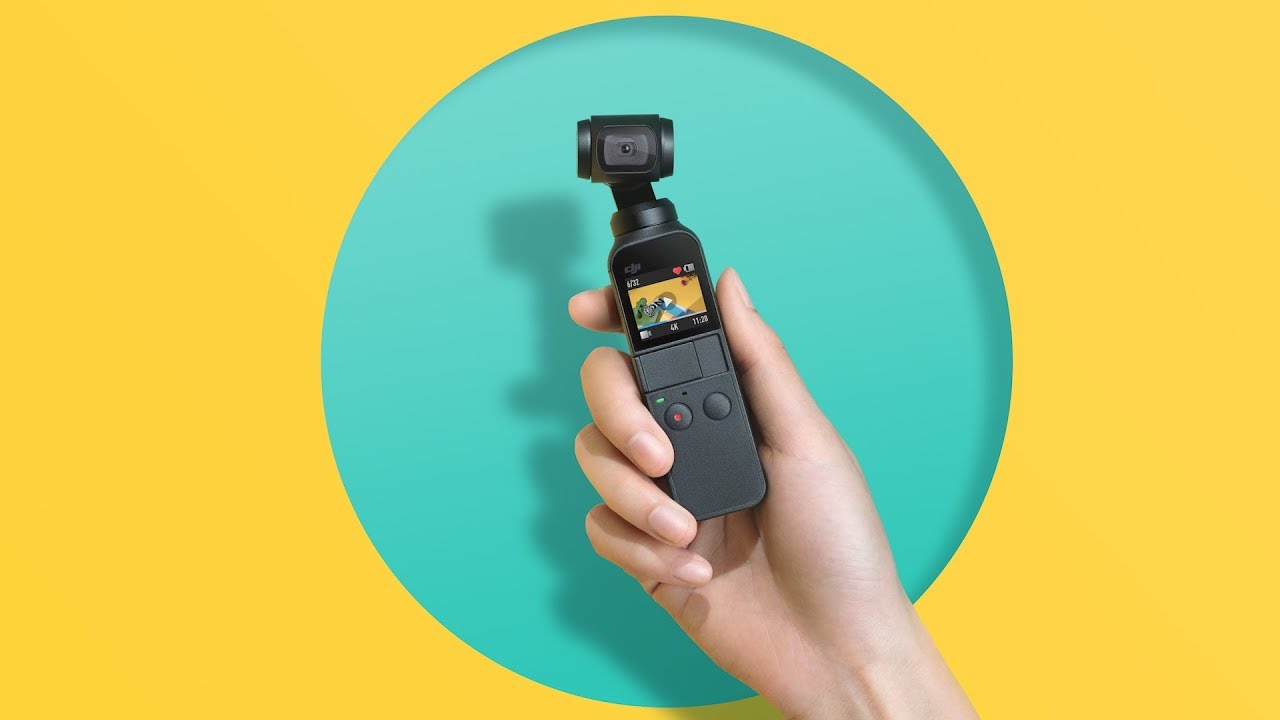
The DJI Osmo 6 is a lightweight and portable device that offers advanced stabilization technology to capture smooth and professional-looking videos. Whether you’re using a smartphone or a camera, the Osmo 6 can provide steady footage even in challenging conditions, such as when walking or running.
Equipped with a 3-axis gimbal, the Osmo 6 compensates for any unwanted movement or shake, ensuring that your videos are buttery smooth. This feature is particularly useful when shooting action-packed scenes or capturing fast-paced events.
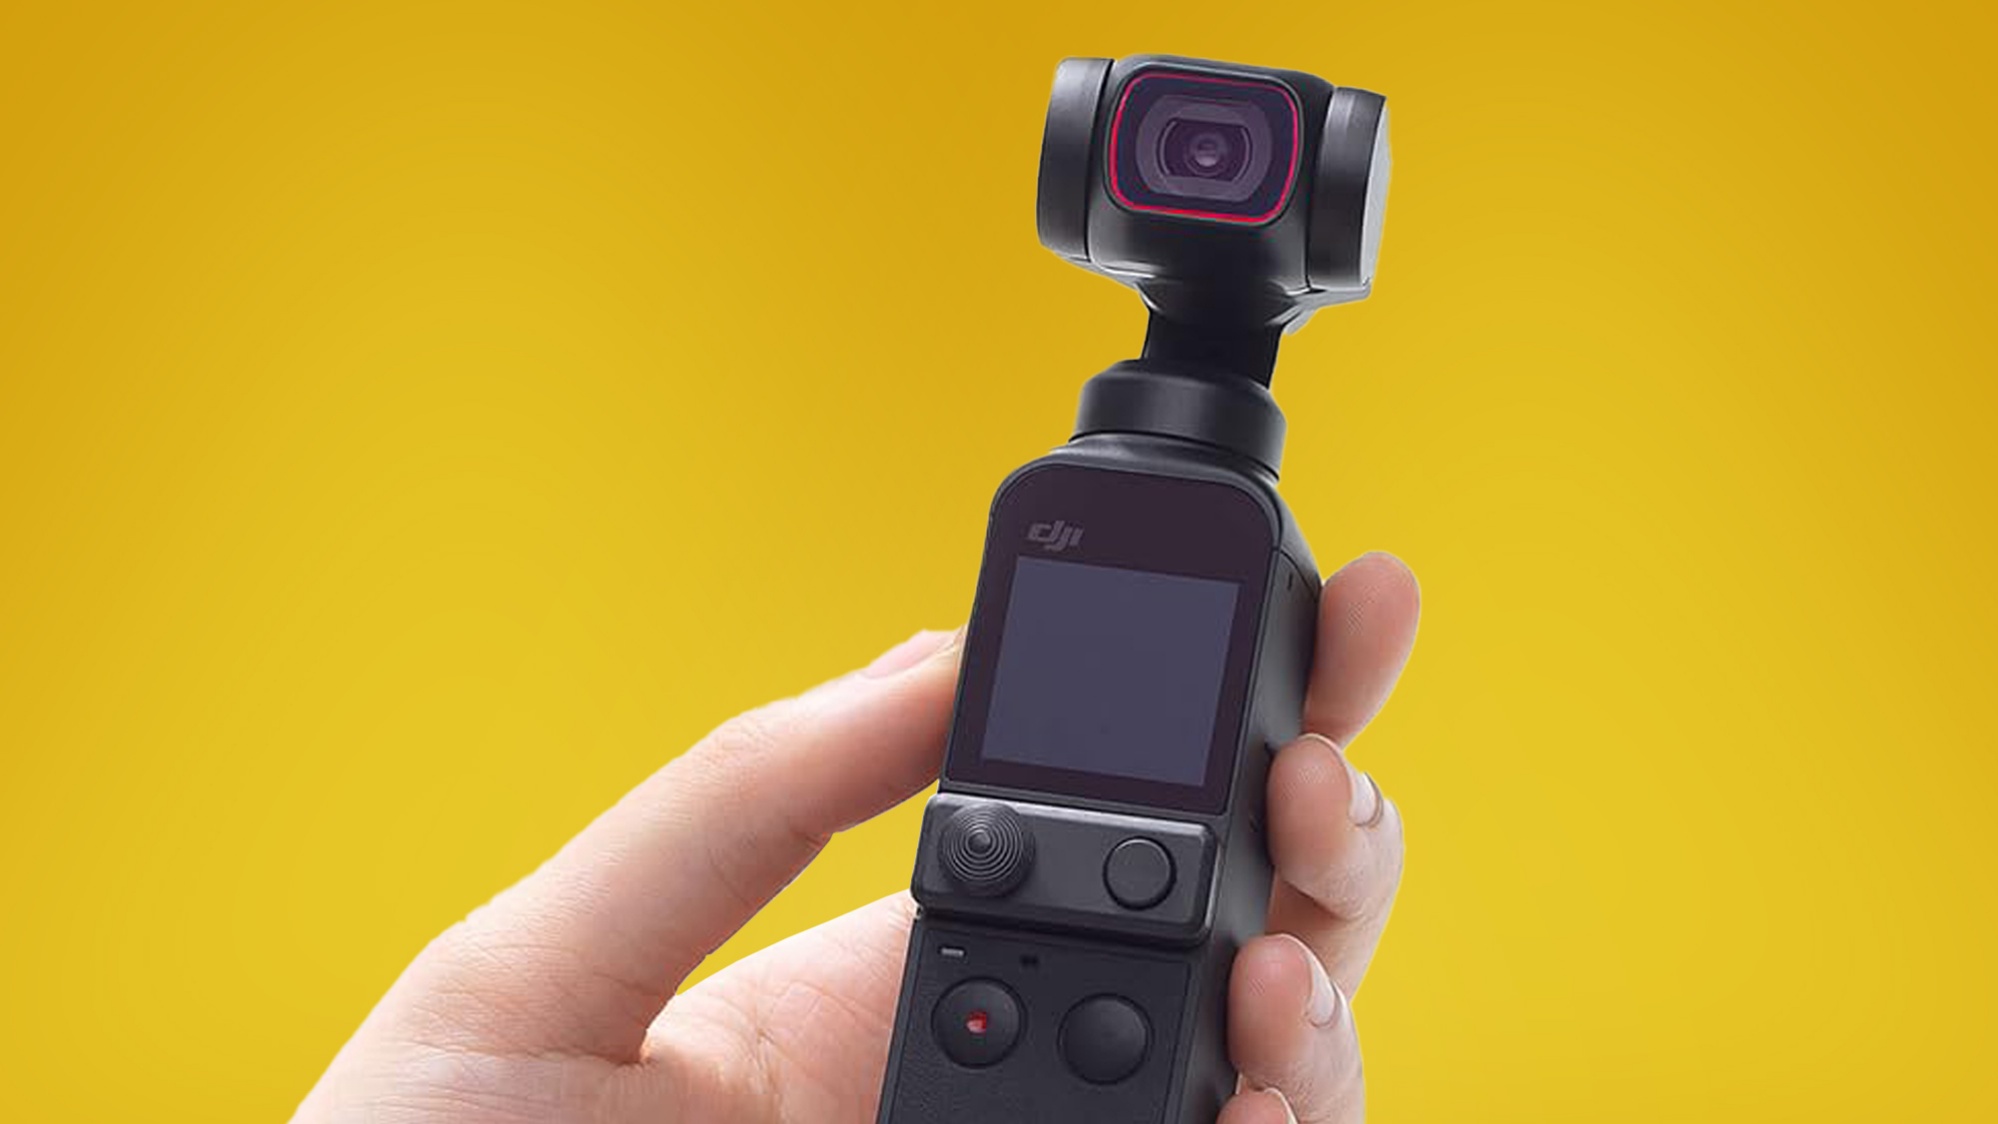
Another standout feature of the DJI Osmo 6 is its intelligent shooting modes. These modes allow you to unleash your creativity and capture stunning visuals with ease. Whether you want to create a timelapse, a slow-motion video, or a hyperlapse, the Osmo 6 has got you covered.
Additionally, the Osmo 6 offers various accessories and attachments that can further enhance your filming experience. From smartphone adapters to external microphones, you can customize your Osmo 6 setup to meet your specific needs and preferences.
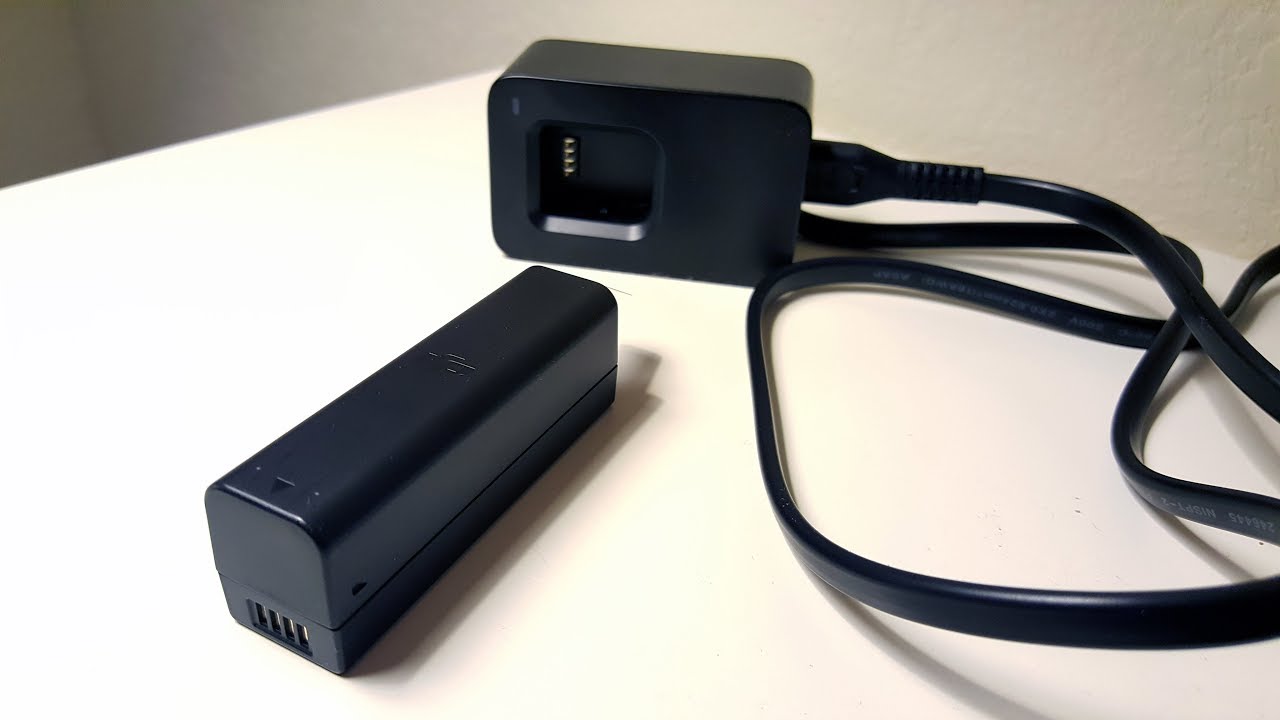
As for the battery life, the Osmo 6 boasts an impressive runtime, ensuring that you can film for extended periods without interruption. With its long-lasting battery, you can confidently embark on your video projects without worrying about running out of power.
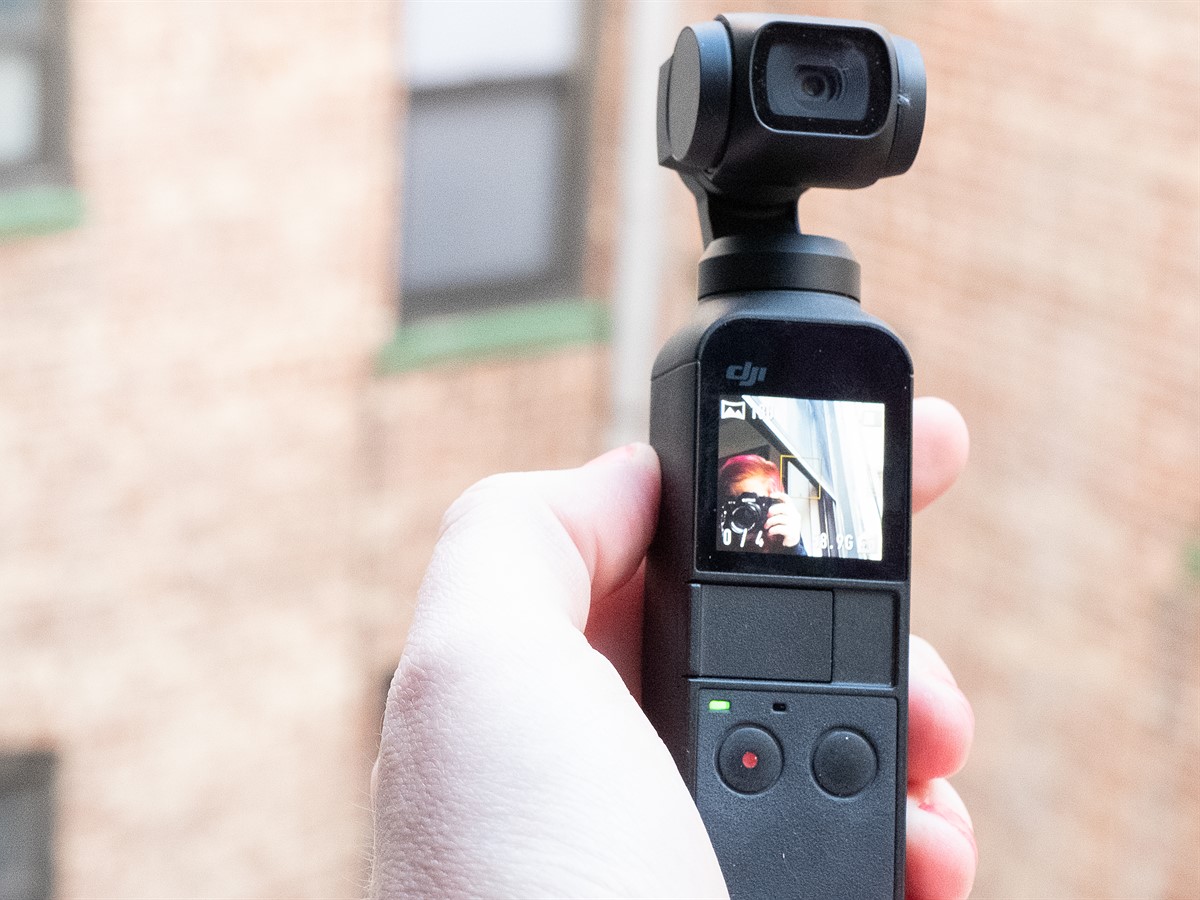
Overall, the DJI Osmo 6 is a game-changer in the world of handheld gimbals. It combines cutting-edge technology, versatility, and ease of use to deliver outstanding results. Whether you’re a professional filmmaker or an enthusiast looking to take your videos to the next level, the Osmo 6 is a reliable and powerful tool that won’t disappoint.
Now that we have a solid understanding of the DJI Osmo 6, let’s explore the different ways you can extend its capabilities to capture even more incredible footage.
The Importance of Extending the DJI Osmo 6
While the DJI Osmo 6 is already a powerful and versatile tool, there are several reasons why extending its capabilities can significantly enhance your videography experience. Let’s explore the importance of extending the DJI Osmo 6 and how it can benefit your filmmaking endeavors.
1. Expanded Shooting Possibilities: By extending the DJI Osmo 6, you can reach higher, farther, and capture shots that were previously out of reach. Whether you need to film over a crowd, from an elevated perspective, or in tight spaces, extending the Osmo 6 allows you to explore new creative angles and expand your repertoire of shots.
2. Diverse Perspectives: Extending the DJI Osmo 6 enables you to capture unique perspectives that can add depth and variety to your videos. From overhead shots to low-angle shots, having the ability to position your Osmo 6 in different ways allows you to tell your story from multiple angles, enhancing the visual storytelling aspect of your videos.
3. Increased Stability: While the DJI Osmo 6 already offers exceptional stabilization, extending it can provide even greater stability. By using accessories like extension rods or tripods, you can reduce any potential camera shake and capture incredibly smooth footage, particularly in challenging situations or when filming for extended periods.
4. Improved Safety: Extending the DJI Osmo 6 can also contribute to your safety as a filmmaker. Instead of physically risking your balance or exposing yourself to potentially dangerous environments, you can use extension poles or tripods to position your Osmo 6 in a safe and stable manner, allowing you to focus on capturing the perfect shot while avoiding any unnecessary risks.
5. Enhanced Creativity: Extending the DJI Osmo 6 opens up a world of creative possibilities. You can experiment with different camera movements, dynamic shots, and unique perspectives to add flair and style to your videos. By pushing the boundaries of what’s possible with the Osmo 6, you can unlock your creativity and produce visually captivating content.
By recognizing the importance of extending the DJI Osmo 6, you can maximize its potential and elevate your videography skills to new heights. Whether you’re shooting professional projects or capturing memories with friends and family, the ability to extend the Osmo 6 will undoubtedly enhance your filming capabilities and produce exceptional results.
Now that we understand why extending the DJI Osmo 6 is crucial, let’s explore the various methods you can use to extend this remarkable handheld gimbal.
Different Ways to Extend Your DJI Osmo 6
Now that we understand the importance of extending the DJI Osmo 6, let’s explore the various methods you can use to expand its reach and capture even more incredible footage. Here are three popular ways to extend your DJI Osmo 6:
1. Using an Extension Rod: An extension rod is a simple and effective accessory that allows you to extend the length of your DJI Osmo 6. It provides additional reach, making it easier to capture shots in high or low positions. An extension rod is lightweight and portable, making it a convenient option for on-the-go filmmakers.
2. Using a Telescopic Pole: If you need even more reach, a telescopic pole is an excellent choice. These poles can extend to considerable lengths, allowing you to capture shots from unique perspectives. They are typically adjustable and come with a mount to securely hold your DJI Osmo 6. Telescopic poles are especially useful for capturing aerial shots or getting close to subjects that require maintaining a safe distance.
3. Using a Tripod or Monopod: For added stability and versatility, using a tripod or monopod with your DJI Osmo 6 is a fantastic option. These accessories provide a solid and steady base, making it easy to film in various environments. Tripods offer three-legged support, while monopods provide a single leg, offering more portability. Both options allow you to position your Osmo 6 at the desired height and angle, ensuring stable footage even in challenging shooting conditions.
Each of these methods offers distinct benefits and can be used based on your specific shooting requirements. Whether you’re looking for extended reach, enhanced stability, or increased flexibility, these accessories can help you unlock the full potential of your DJI Osmo 6.
It’s worth noting that when selecting an extension accessory, consider factors such as weight, portability, and compatibility with your specific Osmo 6 model. Additionally, ensure that the accessory is sturdy and reliable to support the weight of your Osmo 6 and any additional equipment you may be using.
Experiment with different methods and find the one that suits your shooting style and needs best. By exploring these options, you can take your DJI Osmo 6 footage to new heights and create visually captivating videos that will captivate your audience.
Now that we’ve explored the different ways to extend your DJI Osmo 6, let’s move on to some tips for getting the most out of your extended setup.
Method 1: Using an Extension Rod
If you’re looking for a simple yet effective way to extend the reach of your DJI Osmo 6, using an extension rod is a great option. An extension rod, also known as a selfie stick, allows you to capture shots from higher or lower angles, giving your videos a unique perspective. Let’s dive into how you can use an extension rod with your DJI Osmo 6.
1. Selecting the Right Extension Rod: When choosing an extension rod, make sure it is compatible with your DJI Osmo 6 model. Look for a lightweight and sturdy rod that can support the weight of your Osmo 6 and any additional accessories you may be using. Consider the length of the rod as well, as it will determine how far you can extend your Osmo 6.
2. Mounting Your DJI Osmo 6: Most extension rods come with a clamp or mount to secure your DJI Osmo 6. Ensure that the mount is compatible with your Osmo 6 and provides a secure grip. Attach your Osmo 6 to the mount, making sure it is locked in place to prevent any accidental drops or movement during filming.
3. Adjusting the Length: Extend the rod to the desired length, keeping in mind the shot you want to capture. If you’re aiming for a higher angle, extend the rod fully. For lower angles, retract the rod slightly. Find the perfect length that allows you to comfortably handle the extended setup without compromising stability.
4. Stabilizing Your Shot: While using an extension rod can give you added reach, it can also introduce some instability. To counteract this, hold the extension rod with a firm grip and keep your arm steady as you film. Avoid sudden movements or jerks that can result in shaky footage. If necessary, you can use the Osmo 6’s built-in stabilizing features to further enhance the stability of your shots.
5. Experimenting with Angles: One of the advantages of using an extension rod is the ability to explore unique angles. Play around with different perspectives and tilt the Osmo 6 at various angles to capture dynamic shots. Get creative and experiment with different movements to add more visual interest to your videos.
Using an extension rod with your DJI Osmo 6 is a straightforward way to extend your reach and capture stunning footage. It offers versatility, portability, and the ability to capture shots that would otherwise be difficult to achieve. Incorporate this method into your filmmaking arsenal and unleash your creativity with the DJI Osmo 6.
Now that we’ve explored the first method of extending the DJI Osmo 6 using an extension rod, let’s move on to the next method: using a telescopic pole.
Method 2: Using a Telescopic Pole
If you’re looking to extend the reach of your DJI Osmo 6 even further, using a telescopic pole is an excellent choice. A telescopic pole provides additional length and versatility, allowing you to capture shots from unique perspectives. Let’s explore how you can use a telescopic pole with your DJI Osmo 6.
1. Selecting the Right Telescopic Pole: When choosing a telescopic pole, consider its length, weight, and durability. Opt for a pole that is compatible with your DJI Osmo 6 and can support its weight. Make sure the pole is made from sturdy materials to ensure stability during filming.
2. Attaching Your DJI Osmo 6: Most telescopic poles come with a mount or adapter to secure your DJI Osmo 6. Ensure that the mount is compatible with your Osmo 6 model and provides a secure connection. Attach your Osmo 6 to the mount, ensuring it is properly locked in place.
3. Extending the Pole: Extend the telescopic pole to the desired length, considering the shot you want to capture. Telescopic poles usually allow for various length adjustments, giving you the flexibility to extend your Osmo 6 to the perfect height. Remember to find a balance between the extended length and stability of the setup.
4. Securing the Pole: Once you have set the desired length, ensure that the telescopic pole is securely locked in place. Some poles have locking mechanisms or twist locks that keep the sections in position. Make sure the pole is stable and doesn’t wobble, as this can affect the stability of your shots.
5. Filming with Stability: When using a telescopic pole, stability is key to capturing smooth footage. Hold the pole with a steady grip and be mindful of any movements that can introduce shake or vibration. If needed, activate the Osmo 6’s stabilizing features to further enhance the stability of your shots.
6. Exploring New Perspectives: The advantage of using a telescopic pole is the ability to reach greater heights. Take advantage of this extended reach and capture unique aerial shots or film from above crowds to create more engaging videos. Experiment with different angles and movements to add depth and variety to your shots.
Using a telescopic pole with your DJI Osmo 6 allows you to expand your creative possibilities and capture shots that would otherwise be challenging to achieve. It provides a higher vantage point and the ability to reach over obstacles, making it ideal for capturing dynamic and immersive footage.
Now that we’ve covered the second method of extending the DJI Osmo 6 using a telescopic pole, let’s move on to the final method: using a tripod or monopod.
Method 3: Using a Tripod or Monopod
If you’re looking for stability and versatility when extending your DJI Osmo 6, using a tripod or monopod is an excellent choice. These accessories provide a solid base for your Osmo 6 and allow you to position it at various heights and angles. Let’s explore how you can use a tripod or monopod with your DJI Osmo 6.
1. Choosing the Right Tripod or Monopod: When selecting a tripod or monopod, consider its stability, weight, and compatibility with your DJI Osmo 6. Look for sturdy and durable materials that can support the weight of your Osmo 6 and any additional accessories. Opt for a tripod with adjustable legs or a monopod with a height that suits your shooting needs.
2. Mounting Your DJI Osmo 6: Most tripods and monopods come with a mount or adapter specifically designed for your DJI Osmo 6. Ensure that the mount is compatible with your Osmo 6 model and provides a secure grip. Attach your Osmo 6 to the mount, making sure it is securely locked in place.
3. Setting Up the Tripod or Monopod: Extend the tripod legs or adjust the monopod height to the desired level. Make sure the tripod or monopod is stable on the ground and doesn’t wobble. If needed, use the tripod’s level adjustments to ensure a straight and balanced setup.
4. Positioning Your Osmo 6: Place your DJI Osmo 6 on top of the tripod mount or attach it to the monopod. Adjust the angle of your Osmo 6 to the desired position. Take advantage of the tripod’s or monopod’s swivel or tilt features to fine-tune the framing of your shots.
5. Securing the Setup: Once you have positioned your Osmo 6, ensure that it is securely tightened to the tripod or monopod mount. This will prevent any accidental movement or disconnection during filming. Double-check that the tripod or monopod legs are locked in place to ensure stability.
6. Filming with Stability: With your Osmo 6 mounted on the tripod or monopod, you can enjoy enhanced stability while filming. Keep a steady grip on the tripod or monopod and minimize any unnecessary movements that can introduce shake or vibration. Activate the Osmo 6’s stabilizing features for even smoother footage.
Using a tripod or monopod with your DJI Osmo 6 provides a reliable and stable platform for capturing professional-looking footage. It allows you to have more control over the positioning of your Osmo 6 and ensures steady shots, especially in low-light situations or when filming for extended periods.
Now that we’ve explored the third method of extending the DJI Osmo 6 using a tripod or monopod, you are equipped with various options to extend the reach and capabilities of your Osmo 6. Before we conclude, let’s go over some tips to make the most out of your extended DJI Osmo 6 setup.
Tips for Extending the DJI Osmo 6
Now that you’re familiar with the different methods to extend the reach of your DJI Osmo 6, let’s explore some tips to help you make the most out of your extended setup:
1. Plan your shots: Before you start filming, plan out the shots you want to capture with your extended DJI Osmo 6 setup. Visualize the angles and perspectives you want to achieve, and how the extension accessory will help you achieve them. This will save time and ensure you capture the desired footage efficiently.
2. Practice using the extension accessory: If you’re new to using extension rods, telescopic poles, tripods, or monopods, take some time to practice with them before your actual filming sessions. Familiarize yourself with their features, adjustability, and handling to ensure smooth operation in the field.
3. Balance stability with mobility: While stability is important for achieving smooth footage, consider the balance between stability and mobility when extending your DJI Osmo 6 setup. Depending on the shooting scenario, you may need to prioritize one over the other. Find the right balance for your specific needs and adjust accordingly.
4. Keep your setup lightweight: When extending your DJI Osmo 6, try to keep your overall setup as lightweight as possible. This will make it easier to handle and maneuver, especially when shooting in dynamic environments or for extended periods. Consider using lightweight extension accessories and only attach necessary additional equipment.
5. Use remote control or timer: To minimize shake or vibration when triggering the shutter or starting/stopping a video recording, use a remote control or the timer function on your DJI Osmo 6. This will eliminate any accidental movements caused by pressing the buttons directly on the device.
6. Be mindful of your surroundings: When extending your DJI Osmo 6, be aware of your surroundings to prevent any accidental collisions or damage. Pay attention to people, objects, or obstacles around you and ensure that your extended setup doesn’t pose any risks to others or to the equipment itself.
7. Experiment with different shot compositions: With your extended DJI Osmo 6 setup, don’t be afraid to experiment with different shot compositions and creative angles. Varying your shots and perspectives can add visual interest and captivate your audience. Embrace your creativity and push the boundaries of what you can achieve with your Osmo 6.
By keeping these tips in mind, you can maximize the potential of your extended DJI Osmo 6 setup and capture captivating footage. Remember to practice, plan your shots, and maintain a balance between stability and mobility to achieve the best results. Now, armed with these tips, go out and unleash your creative potential with the extended capabilities of your DJI Osmo 6!
Conclusion
The DJI Osmo 6 is a remarkable handheld gimbal that offers incredible stabilization and intelligent shooting modes. By extending its capabilities, you can take your videography skills to new heights and capture even more compelling footage.
In this article, we explored three different methods to extend your DJI Osmo 6: using an extension rod, a telescopic pole, or a tripod/monopod. Each method offers unique benefits and can be chosen based on your specific shooting requirements.
An extension rod provides a simple way to extend the reach of your Osmo 6, allowing you to capture shots from higher or lower angles. Telescopic poles offer even greater reach, ideal for capturing aerial or overhead shots. Tripods and monopods provide stability and versatility, ensuring smooth footage even in challenging shooting conditions.
Along the way, we discussed the importance of extending the DJI Osmo 6 and how it can enhance your videography experience. From expanded shooting possibilities and diverse perspectives to increased stability and enhanced creativity, extending the Osmo 6 unlocks new creative opportunities.
Additionally, we provided tips to help you make the most out of your extended DJI Osmo 6 setup, including planning your shots, practicing with the extension accessories, balancing stability with mobility, and being mindful of your surroundings.
Now that you have a better understanding of how to extend your DJI Osmo 6 and maximize its potential, it’s time to put this knowledge into action. Grab your extension accessories, plan your shots, and experiment with different angles and perspectives to capture stunning footage that will captivate your audience.
Remember, extending the capabilities of your DJI Osmo 6 is not only about reaching farther or higher but about unleashing your creativity and pushing the boundaries of what’s possible. So, go out there and create breathtaking videos with your extended DJI Osmo 6 setup!