Overview of DJI Osmo 4
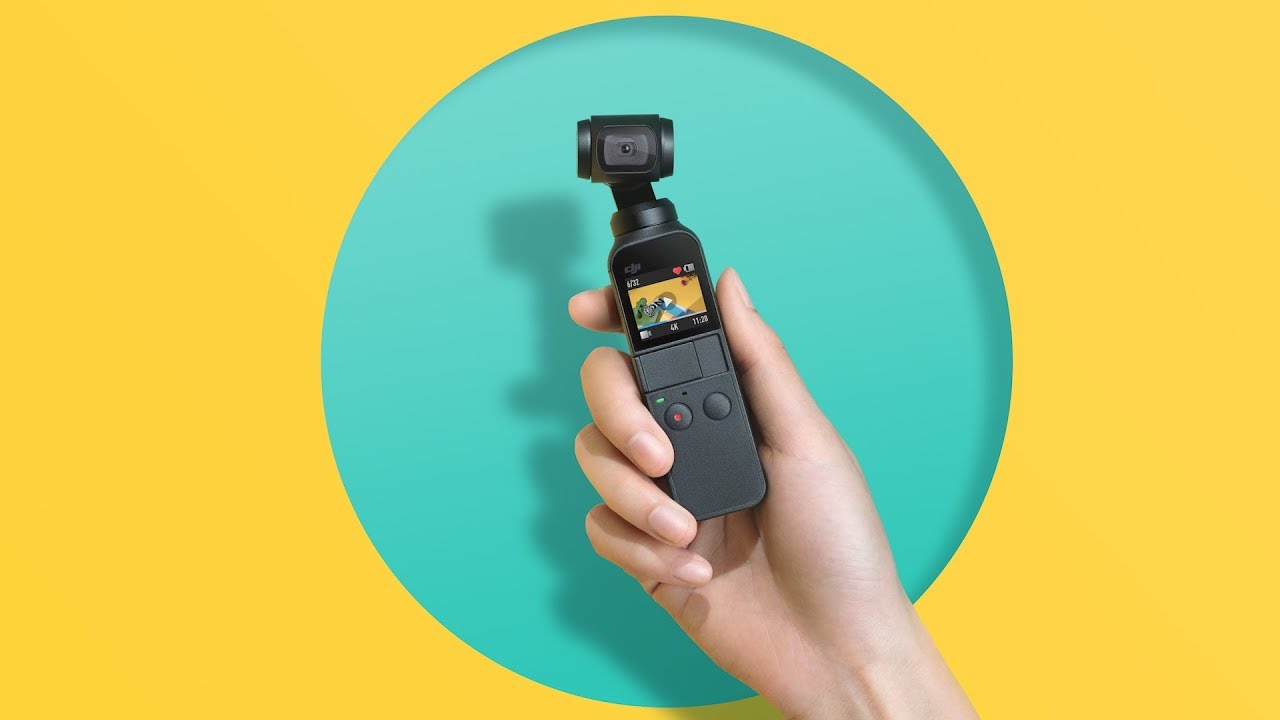
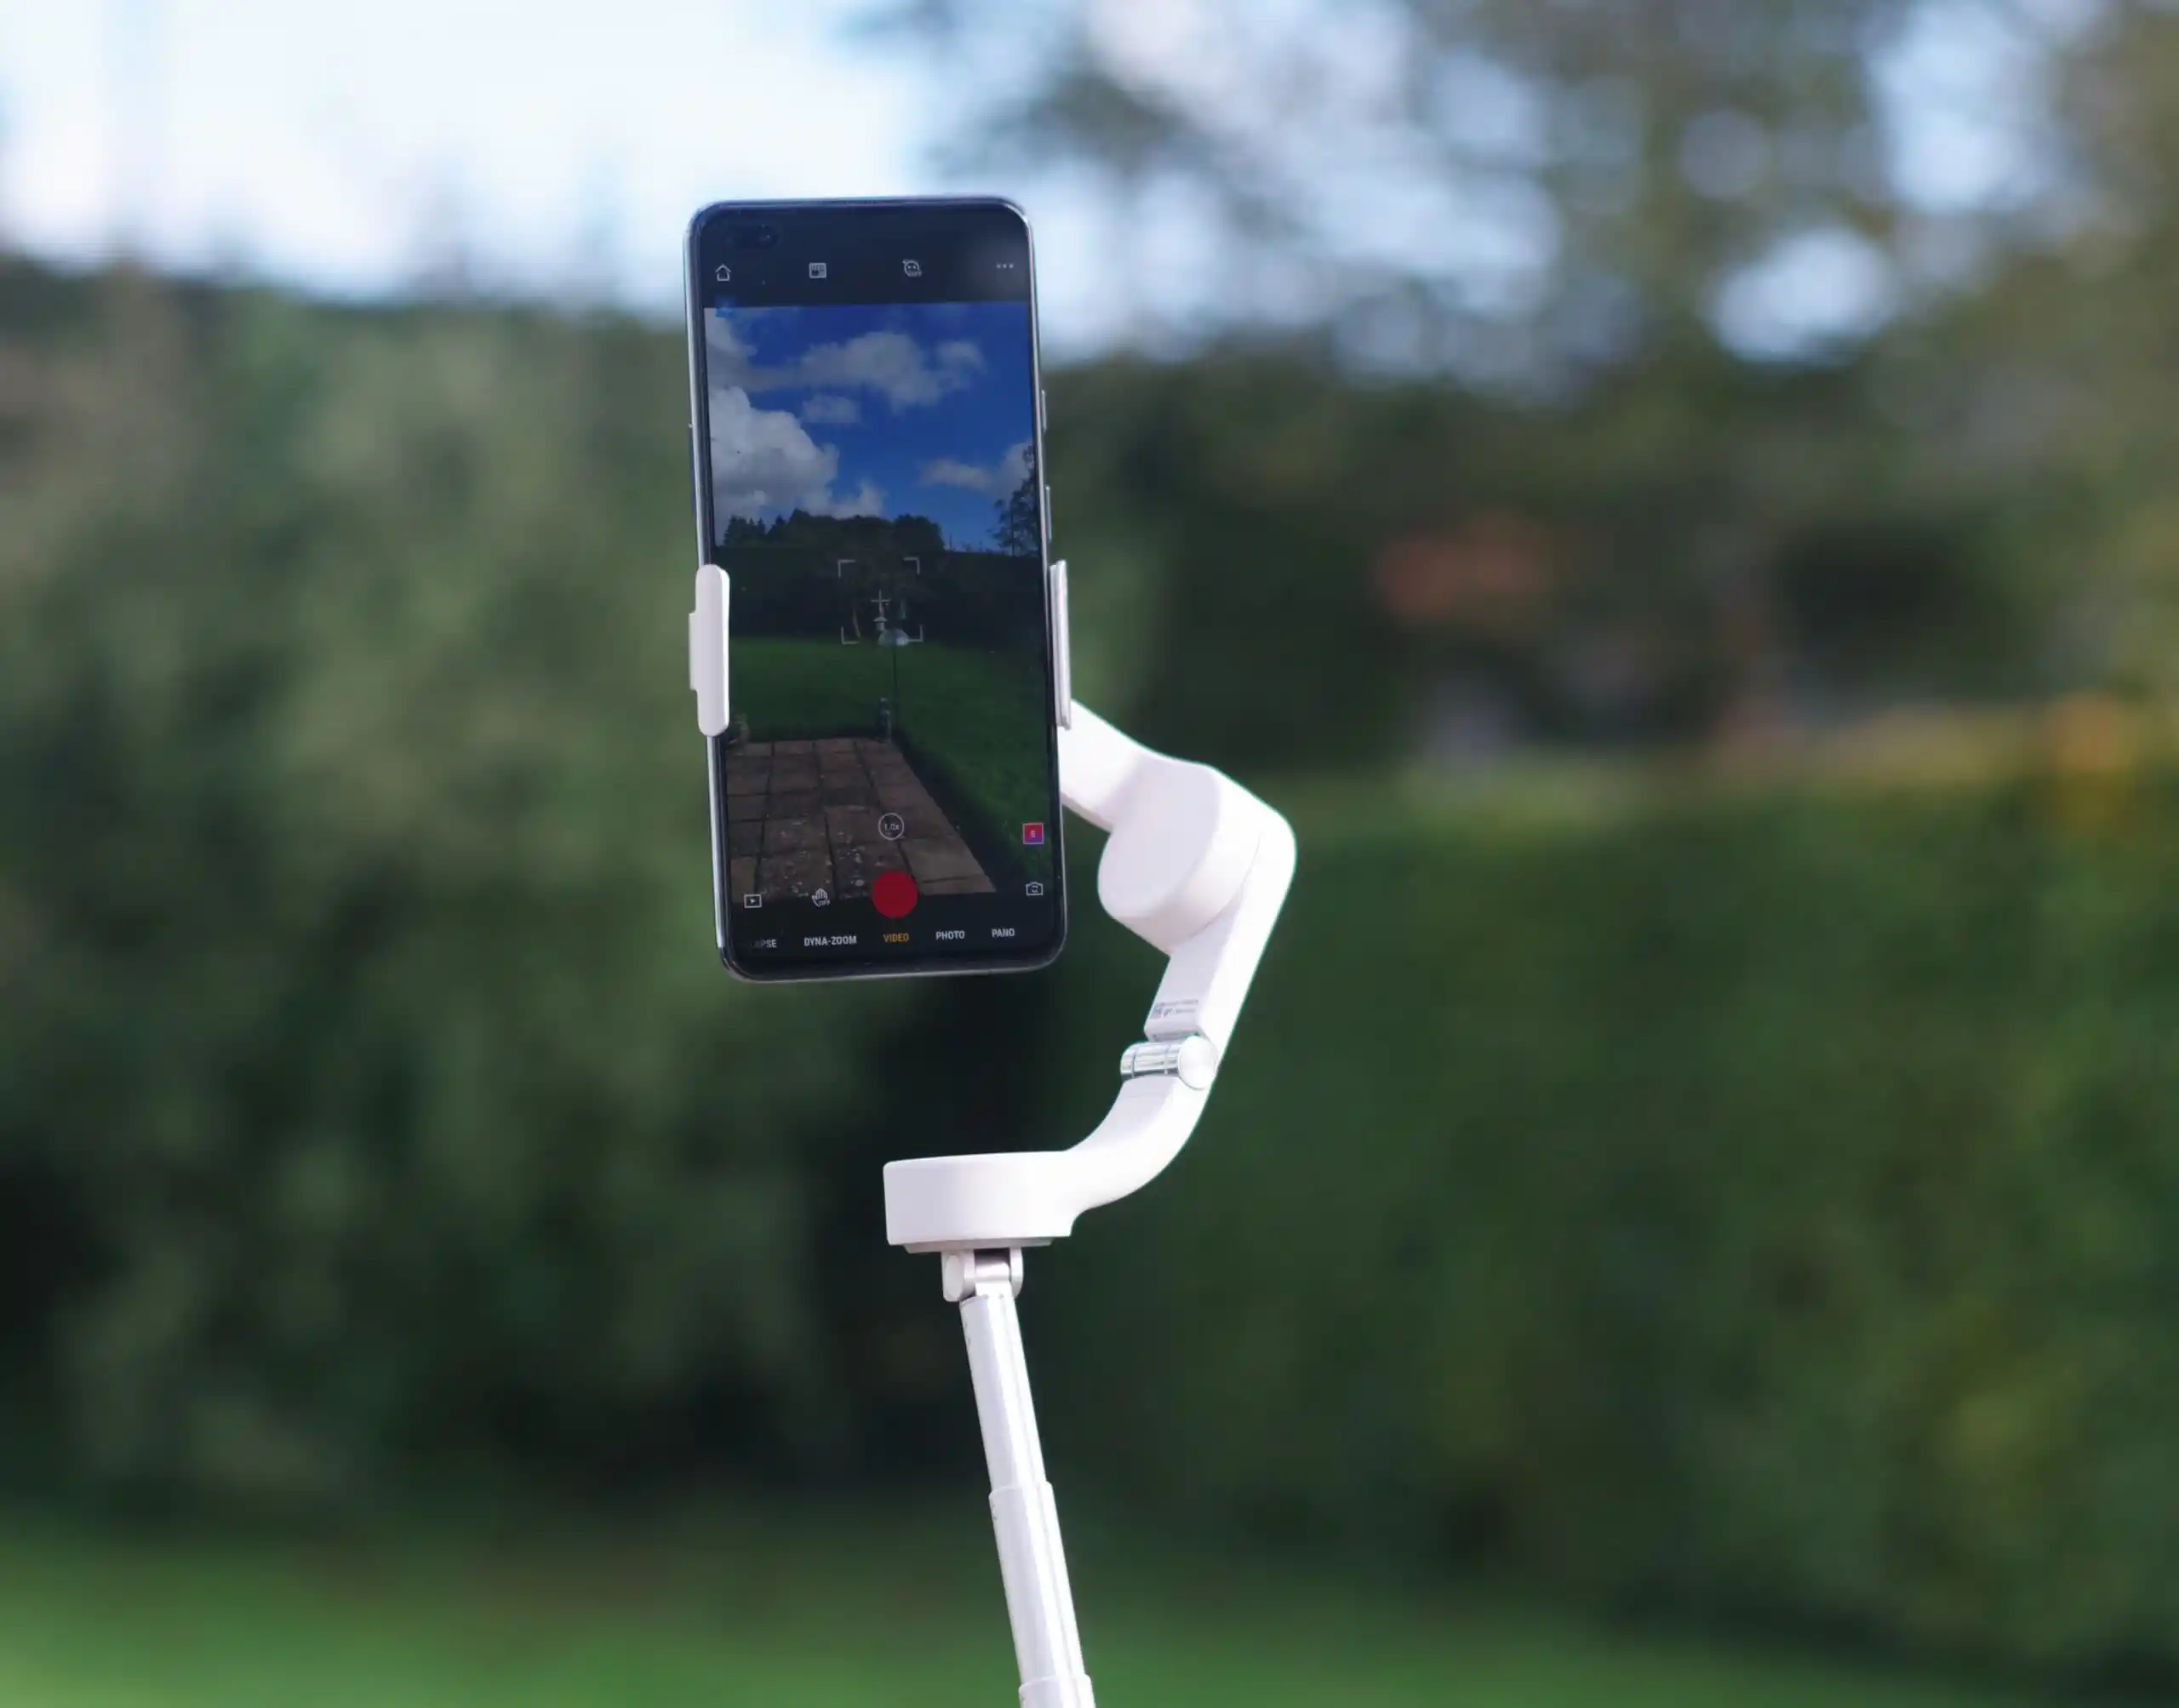
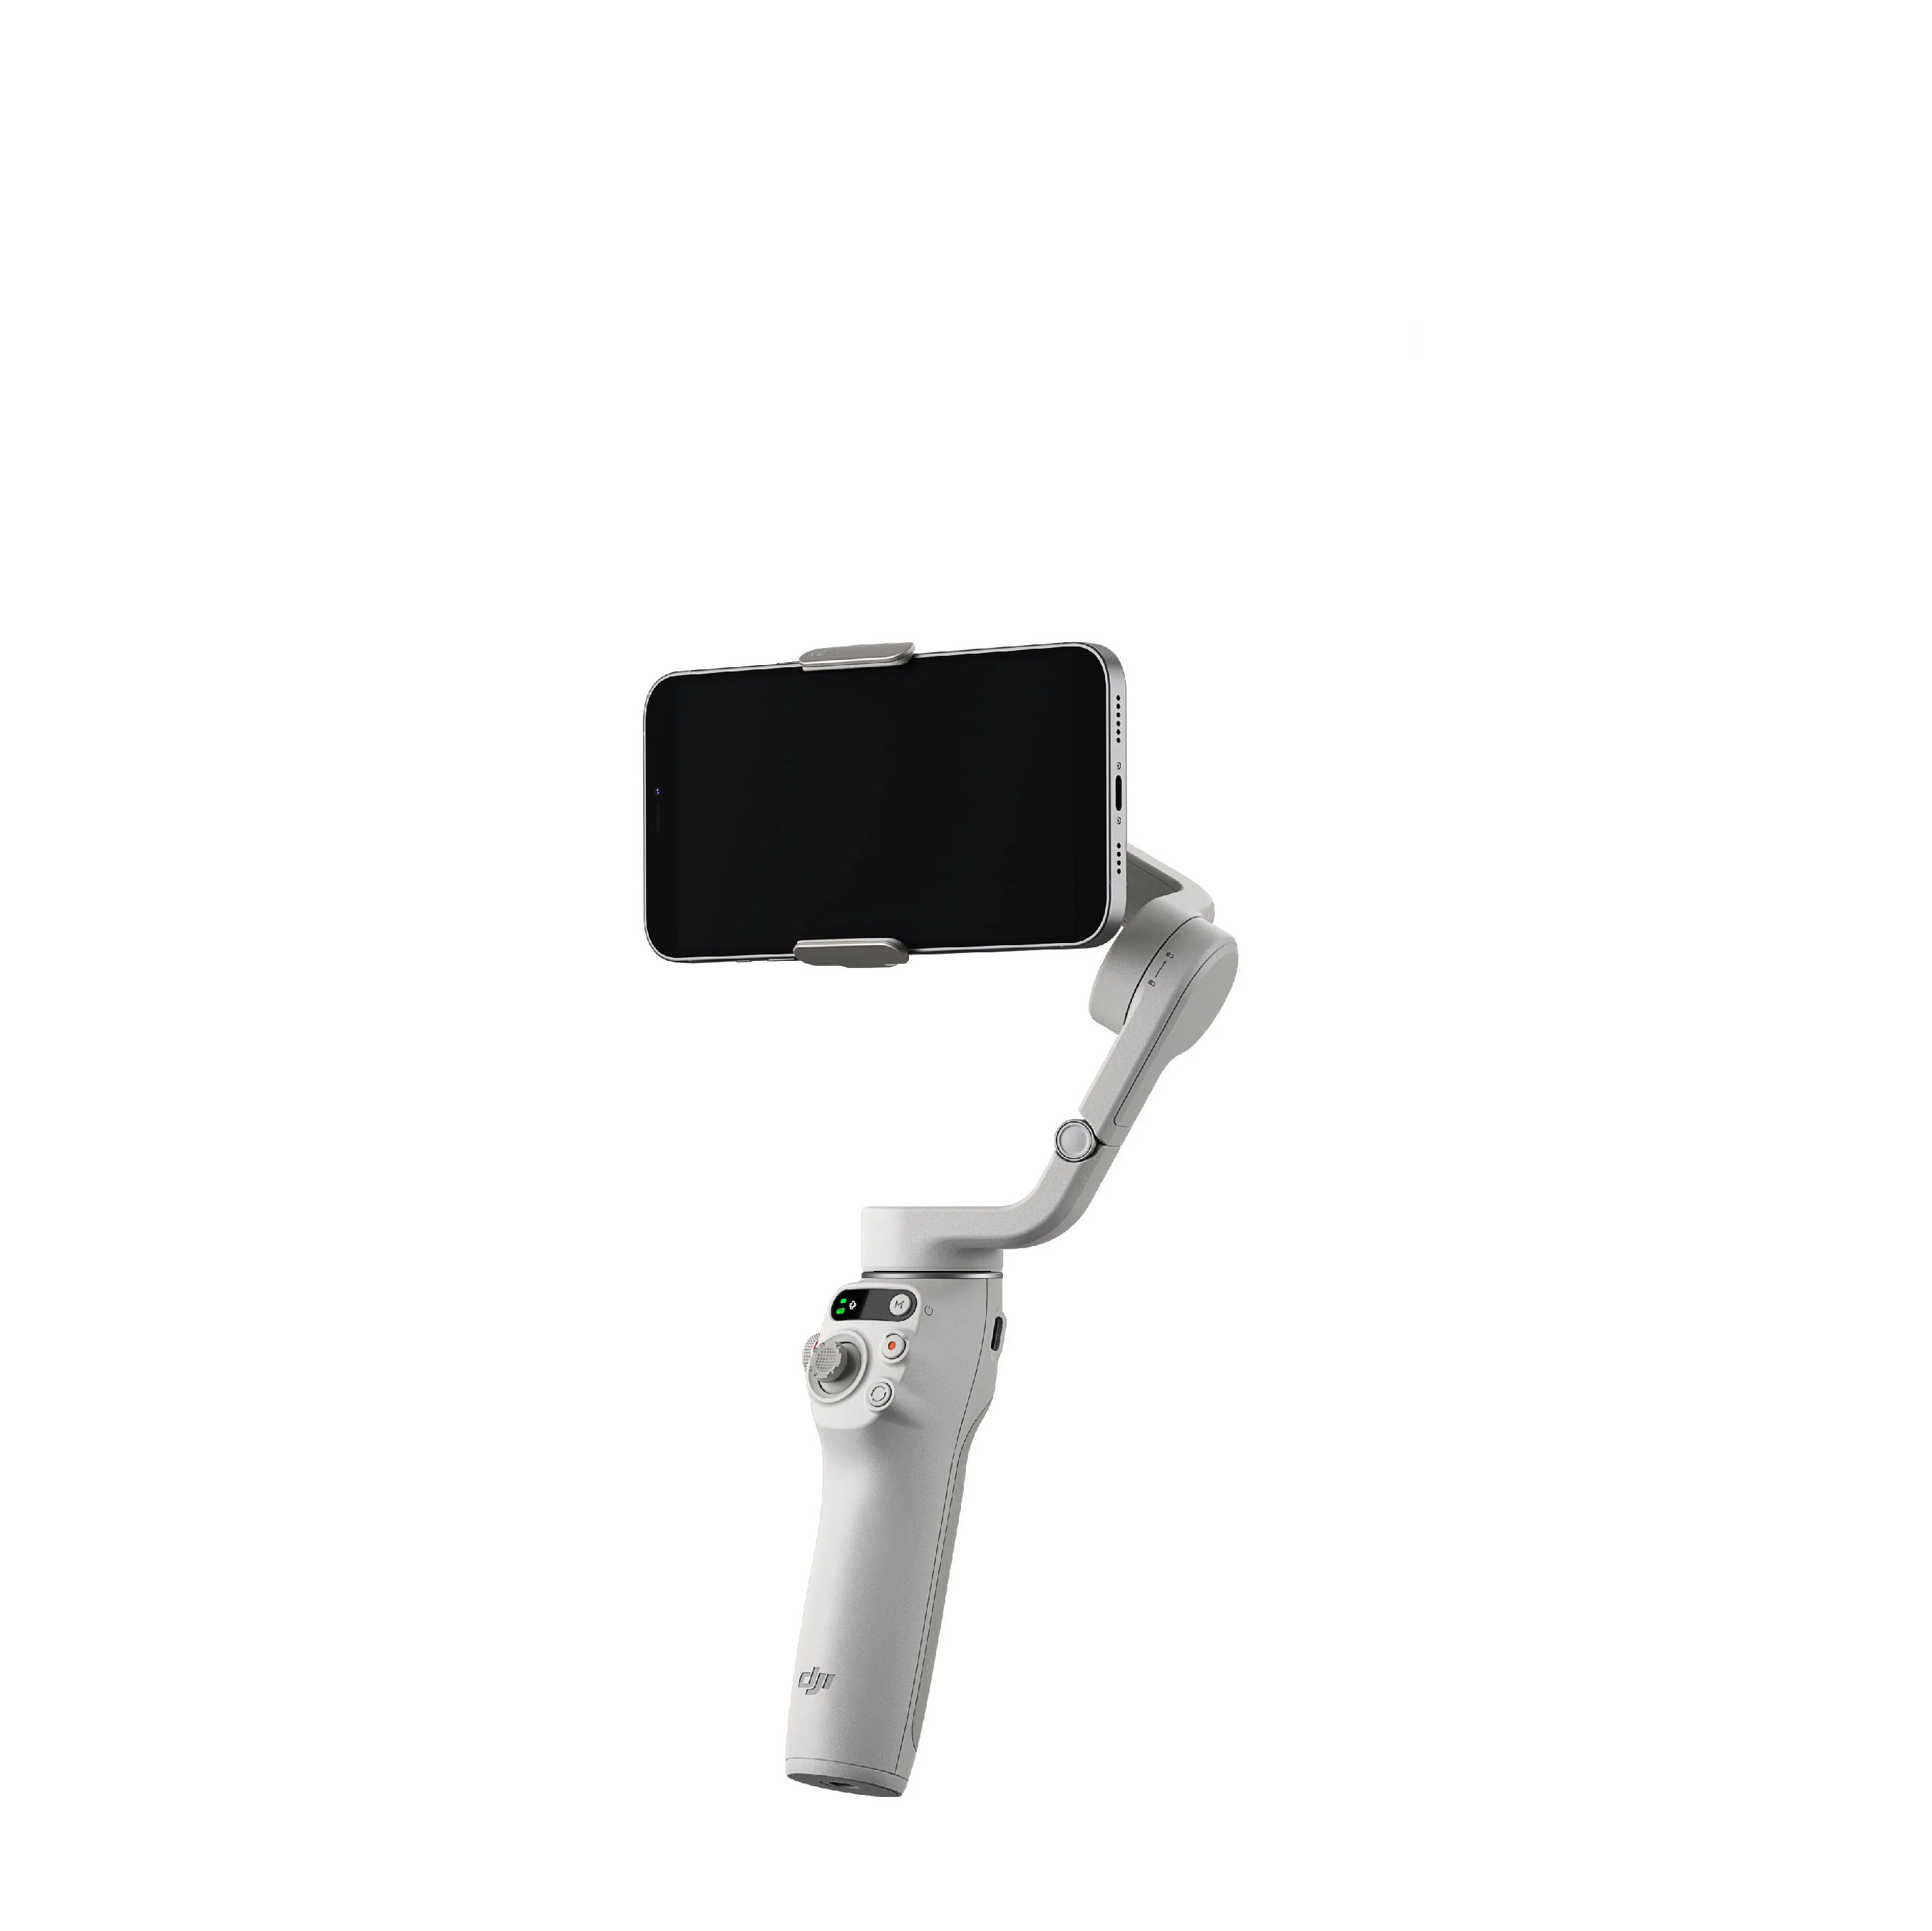
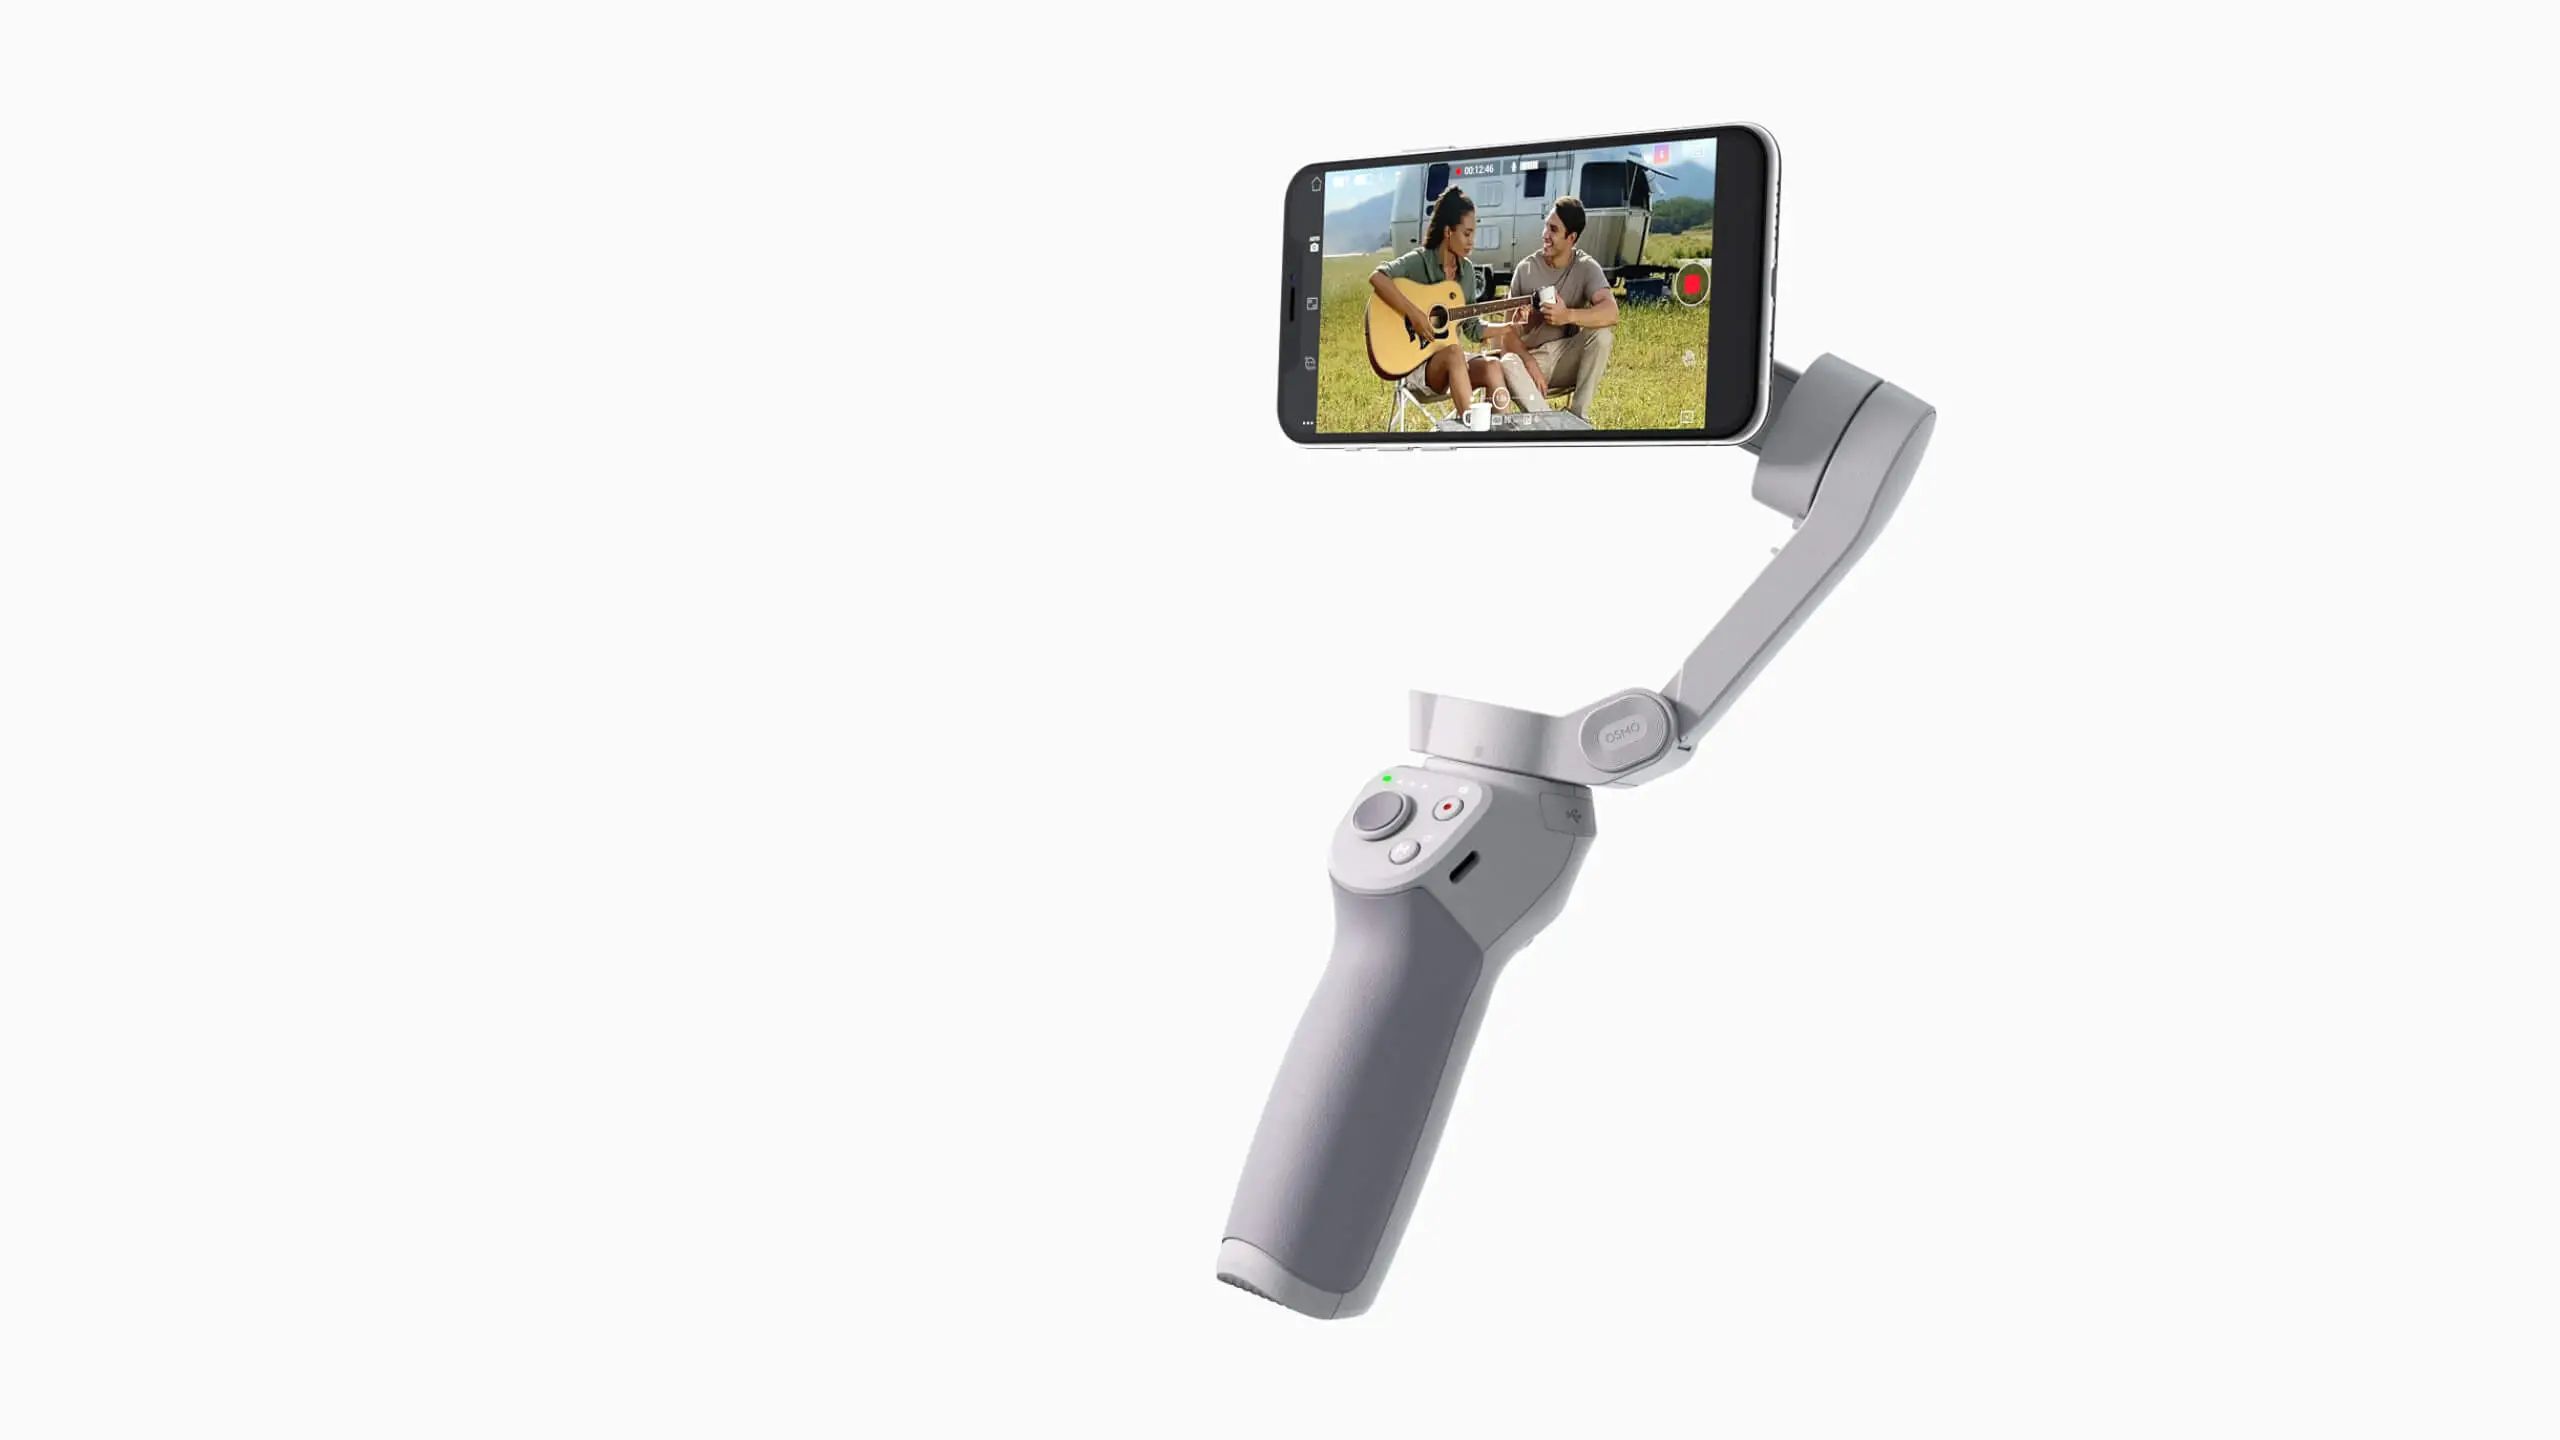
The DJI Osmo 4 is a versatile handheld camera stabilizer designed for capturing smooth and professional-quality footage. Whether you’re filming on the go or shooting stationary videos, the Osmo 4 provides exceptional stability and control, making it a popular choice among content creators, vloggers, and filmmakers.
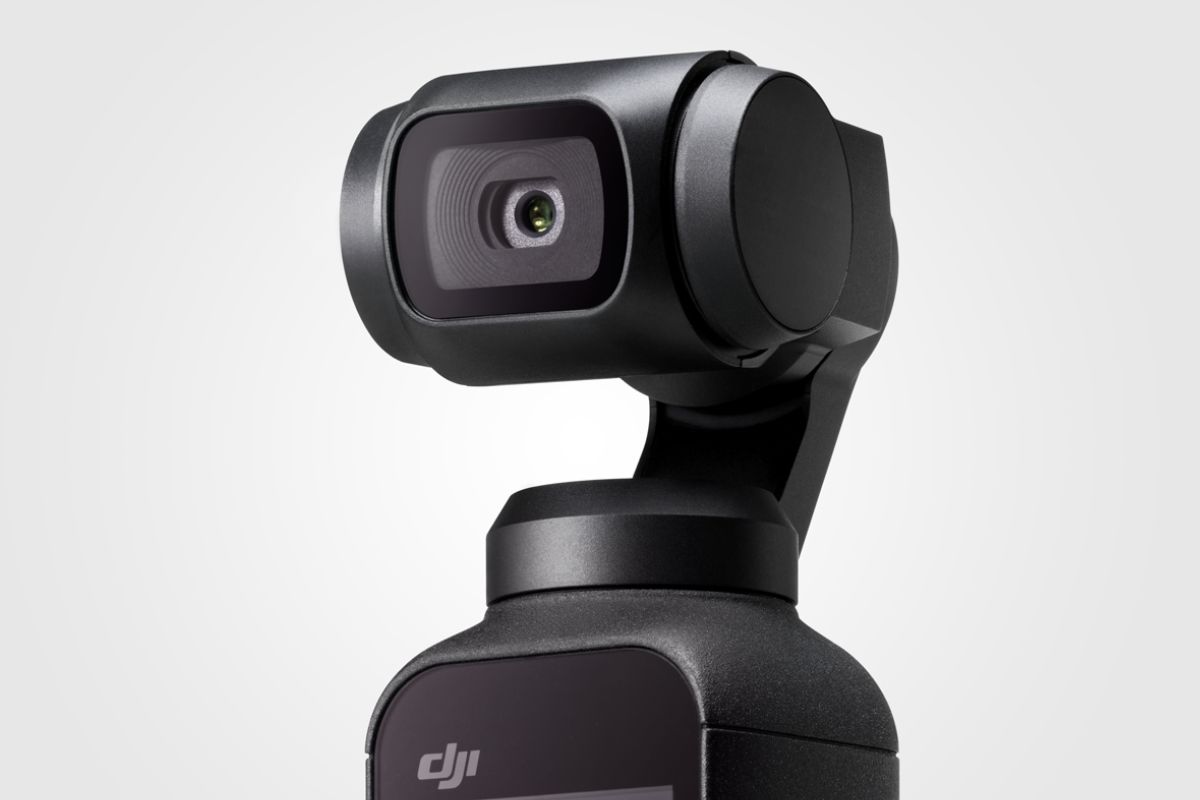
With its advanced features and user-friendly interface, the DJI Osmo 4 allows you to unleash your creativity and capture stunning visuals. It is equipped with a powerful 3-axis gimbal that eliminates unwanted camera movements and vibrations, ensuring your videos are steady and shake-free.
One of the standout features of the Osmo 4 is its ActiveTrack technology, which allows the camera to automatically track and follow your subject, keeping them in the frame at all times. This feature is particularly useful for capturing action-packed moments or when shooting in crowded environments.
The Osmo 4 also boasts a variety of intelligent shooting modes, such as Timelapse, Motionlapse, and Panorama, that enable you to create captivating and dynamic visuals with ease. Additionally, it offers a range of creative shooting modes, including Slow Motion, Dolly Zoom, and Hyperlapse, which add depth and drama to your videos.
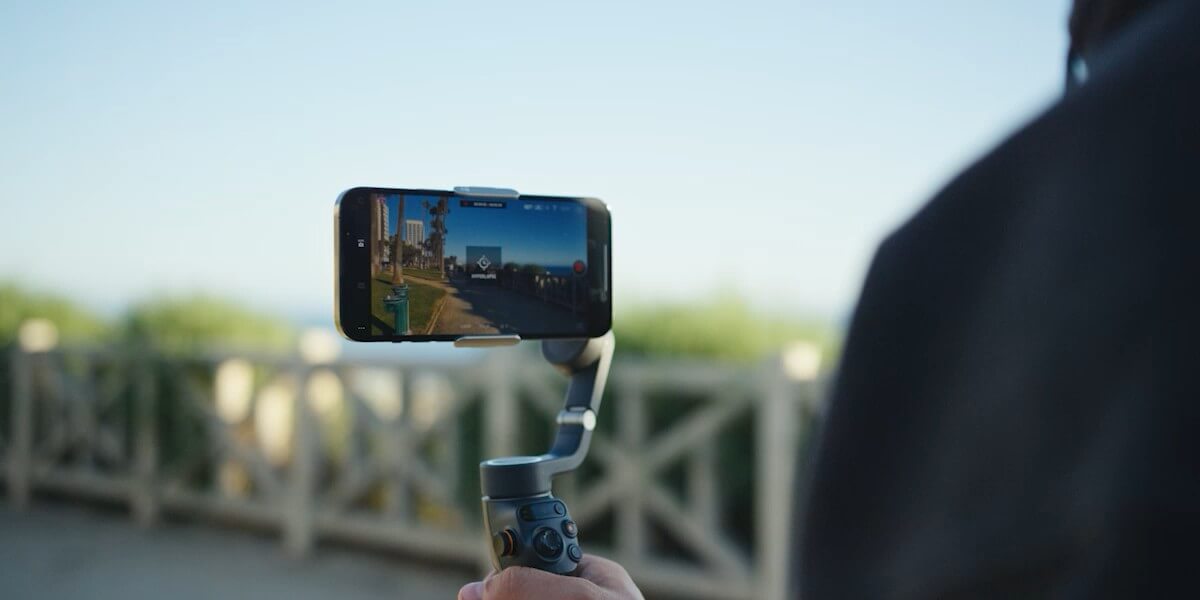
Another notable feature of the DJI Osmo 4 is its compatibility with smartphones. With the accompanying DJI Mimo app, you can connect your smartphone to the Osmo 4 and access a host of advanced features, including professional-grade editing tools, pre-set camera settings, and livestreaming capabilities.
Furthermore, the Osmo 4 is lightweight and portable, making it ideal for travel and outdoor adventures. It is easy to set up and operate, allowing you to start filming in a matter of minutes. Additionally, it offers a long battery life, ensuring that you can capture your desired footage without interruptions.
In summary, the DJI Osmo 4 is a cutting-edge camera stabilizer that delivers impressive stability, advanced features, and unrivaled versatility. Whether you’re a seasoned filmmaker or a casual vlogger, the Osmo 4 is a powerful tool that can elevate the quality of your videos and unlock your creative potential.
Why Calibrating DJI Osmo 4 is Important
Calibrating your DJI Osmo 4 is a crucial step to ensure optimal performance and accurate footage. Proper calibration allows the device to accurately detect and compensate for any imbalances or inconsistencies, resulting in smoother and more stable footage.
One of the primary reasons to calibrate your Osmo 4 is to ensure the accuracy of the gimbal and sensor readings. Over time, environmental factors, such as temperature changes and external vibrations, can impact the calibration of the device, leading to inaccurate measurements. Calibrating the Osmo 4 helps to recalibrate these sensors, ensuring that the gimbal operates at its full potential.
Another key benefit of calibration is the elimination of any drift or drift-related issues. Drift occurs when the gimbal slowly moves or deviates from its intended position over time. By calibrating the Osmo 4, you can reset the gimbal to its centered position, minimizing drift and ensuring that your footage remains stable and steady.
Calibration also plays a crucial role in achieving accurate horizon leveling. When shooting videos, it is important to keep the horizon level to create visually appealing and professional-looking footage. Calibration allows the Osmo 4 to accurately detect and maintain the correct horizon level, avoiding any tilting or wonky perspectives in your shots.
Furthermore, calibration can help optimize the performance of the Osmo 4’s tracking and stabilization features. By calibrating the device, you can ensure that the ActiveTrack feature accurately tracks and follows your subject, keeping them in focus even during fast-paced movements. Additionally, calibration enhances the stability of the gimbal, reducing unwanted vibrations and jitters in your footage.
It is important to note that calibration should be performed periodically, especially if you frequently use your Osmo 4 or notice any inconsistencies in its performance. Regular calibration ensures that you are getting the best possible output from your device and allows you to capture high-quality videos with ease.
In summary, calibrating your DJI Osmo 4 is essential for achieving optimal performance, accurate readings, and smooth footage. It helps eliminate drift, maintain accurate horizon leveling, and optimize tracking and stabilization features. By taking the time to calibrate your Osmo 4, you can ensure that your videos are of the highest quality and impress your audience with stunning visuals.
Step-by-Step Guide on How to Calibrate DJI Osmo 4
Calibrating your DJI Osmo 4 is a straightforward process that can be completed in a few simple steps. Follow the guide below to ensure proper calibration of your device:
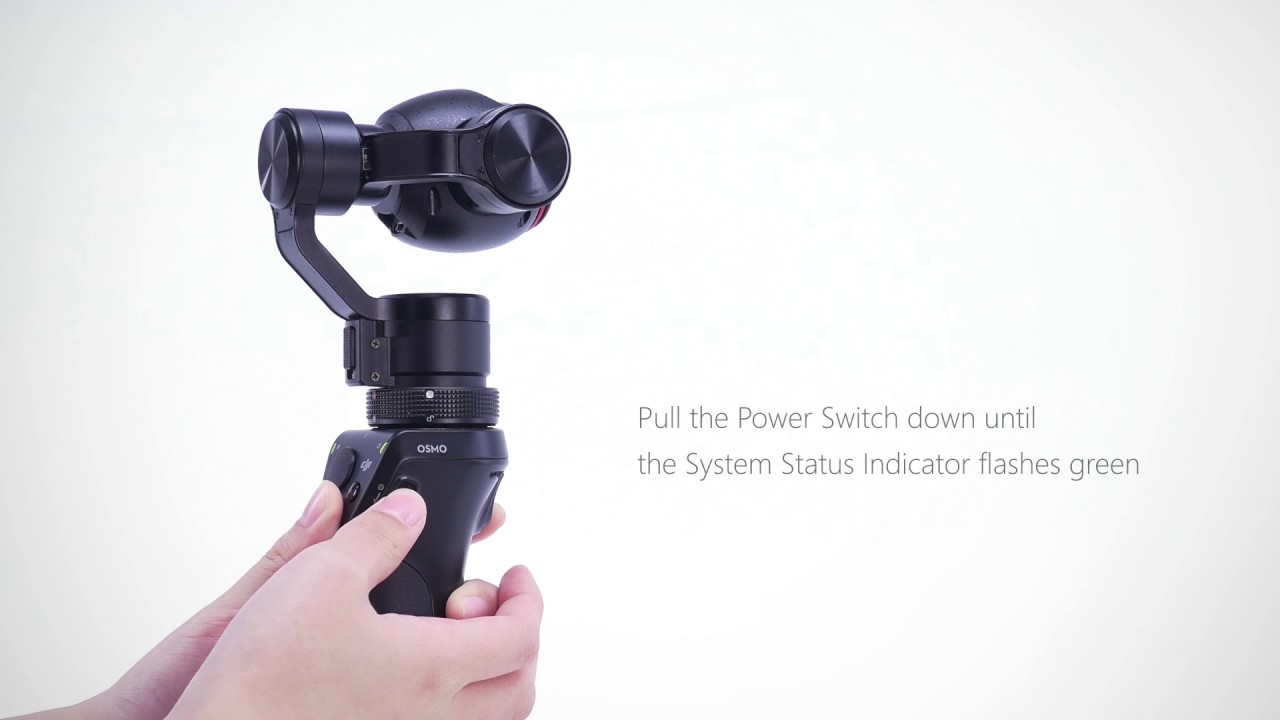
- Start by ensuring that your Osmo 4 is powered on and connected to the DJI Mimo app on your smartphone.
- In the DJI Mimo app, go to the settings menu and select the “Calibrate” option. This will initiate the calibration process.
- Once the calibration process has started, you will be prompted to place the Osmo 4 on a level and stable surface. Make sure that the gimbal is in an upright position and not tilted.
- Follow the on-screen instructions provided by the app. This may involve rotating or tilting the Osmo 4 in different directions to allow it to calibrate the sensors and detect any imbalances.
- During the calibration process, it is crucial to ensure that there are no external factors that may interfere with the calibration, such as strong magnetic fields or vibrations. Choose a calm and stable environment for the best results.
- Once the calibration is complete, the app will notify you, and you can safely remove the Osmo 4 from the surface.
- It is recommended to perform a test recording or capture some sample footage to ensure that the calibration has been successful. Check the stability of the gimbal and the accuracy of the footage to verify that the calibration was effective.
Remember, calibration is not a one-time process and should be done periodically to ensure optimal performance of your Osmo 4. If you notice any issues with stability or accuracy, it may be a sign that recalibration is necessary.
By following this step-by-step guide, you can easily calibrate your DJI Osmo 4 and enjoy smooth, stable, and professional-quality footage.
Tips and Tricks for Properly Calibrating DJI Osmo 4
Calibrating your DJI Osmo 4 is important to ensure optimal performance and accurate footage. Here are some helpful tips and tricks to keep in mind when calibrating your device:
- Choose a stable and level surface: When calibrating your Osmo 4, it is crucial to place it on a stable and level surface. This helps the device detect any imbalances accurately. Avoid calibrating on surfaces that may introduce vibrations, such as a table near a noisy fan.
- Check for strong magnetic fields: Magnetic fields can interfere with the calibration process. Before initiating the calibration, make sure you are not near any strong magnetic sources, such as electronics or metal objects.
- Remove any accessories: If you have any accessories attached to your Osmo 4, such as a phone mount or external microphone, it is recommended to remove them before calibrating. This ensures that the calibration process focuses solely on the gimbal and internal sensors.
- Enable GPS Mode: If your Osmo 4 has a GPS feature, it is advised to enable GPS mode before starting the calibration. This can help enhance the accuracy of the calibration process by utilizing location data.
- Ensure proper battery level: Make sure your Osmo 4 is adequately charged before calibrating. A low battery level may affect the performance and accuracy of the calibration process.
- Follow the on-screen instructions precisely: When calibrating using the DJI Mimo app, carefully read and follow the on-screen instructions. These instructions are designed to guide you through the calibration process correctly.
- Perform regular calibrations: Even if your Osmo 4 seems to be functioning perfectly, it is advisable to perform regular calibrations. Over time, environmental factors and usage can affect the stability and accuracy of the gimbal. Regular calibrations help maintain optimal performance.
By implementing these tips and tricks, you can ensure a successful calibration process for your DJI Osmo 4. Remember, proper calibration leads to stable footage and accurate readings, enhancing the overall quality of your videos.
Troubleshooting Common Calibration Issues with DJI Osmo 4
While calibrating your DJI Osmo 4 is generally a smooth process, occasionally, you may encounter some common issues. Here are some troubleshooting steps for addressing these calibration issues:
- Drifting or tilting gimbal: If you notice that your gimbal is drifting or tilting even after calibration, try recalibrating in a different location. Ensure that the surface is level, stable, and free from any external vibrations or magnetic interference.
- Inaccurate horizon leveling: If your footage is consistently showing a crooked horizon, check if the Osmo 4 is properly balanced. Adjust the position of your device or use additional counterweights if needed. Additionally, make sure the software of your Osmo 4 and the DJI Mimo app are up to date.
- Unresponsive sensors: In some cases, the sensors on the Osmo 4 may not respond during the calibration process. Try restarting your Osmo 4 and relaunching the DJI Mimo app. If the issue persists, check if there are any firmware updates available for your device.
- Failed calibration process: If you consistently encounter failed calibration attempts, double-check that you are following the instructions provided by the app accurately. It’s possible that external factors, such as magnetic fields or unstable surfaces, are interfering with the calibration. Alternatively, consider reaching out to DJI customer support for further assistance.
- Continued instability: If your Osmo 4 remains unstable even after calibration, there may be other factors affecting its performance. Check if the weight distribution of your setup is balanced properly and adjust as necessary. Additionally, ensure that your Osmo 4 is not overloaded with accessories, as this can impact stability.
- Inconsistent tracking or stabilization: If you are experiencing issues with the ActiveTrack feature or overall stabilization, make sure you are using the latest version of the DJI Mimo app. Additionally, ensure good lighting conditions and avoid tracking objects that are too small or moving too quickly.
If you encounter persistent issues with calibrating your DJI Osmo 4 or experience other technical difficulties, referring to the official DJI Osmo 4 user manual or contacting DJI customer support can provide further guidance and assistance.
Remember, it’s important to troubleshoot and resolve calibration issues promptly to ensure that your DJI Osmo 4 functions optimally and captures smooth and stable footage.
Final Thoughts on Calibrating DJI Osmo 4
Calibrating your DJI Osmo 4 is a necessary step to optimize its performance and ensure the production of smooth, stable, and professional-quality footage. By following the step-by-step guide, tips, and troubleshooting techniques outlined above, you can easily and effectively calibrate your device.
Regular calibration is essential to maintain the accuracy of the gimbal and sensor readings, eliminate drift, and achieve accurate horizon leveling. It also enhances the performance of the Osmo 4’s tracking and stabilization features, ensuring reliable and precise subject tracking and minimizing unwanted vibrations.
To get the most out of your Osmo 4, remember to choose a stable surface, check for strong magnetic fields, remove any accessories, enable GPS mode if available, and follow the on-screen instructions precisely. Performing regular calibrations and troubleshooting any issues that arise will help you achieve optimal results when using the Osmo 4.
If you encounter persistent calibration issues or technical difficulties, refer to the user manual provided by DJI or seek assistance from their customer support. They can provide further guidance and address any specific concerns you may have.
Overall, calibrating your DJI Osmo 4 is a simple yet essential task that ensures your device operates at its full potential. By investing a little time and effort into calibration, you can enjoy the benefits of smooth, stable, and professional-looking footage, taking your videography to the next level.