Introduction
Welcome to the world of the DJI Osmo Pocket, a compact and powerful camera that brings professional-level photography and videography capabilities to your fingertips. Whether you’re a seasoned vlogger, an amateur filmmaker, or simply someone who loves capturing life’s precious moments, the DJI Osmo Pocket is a versatile and easy-to-use tool that will elevate your creativity to new heights.
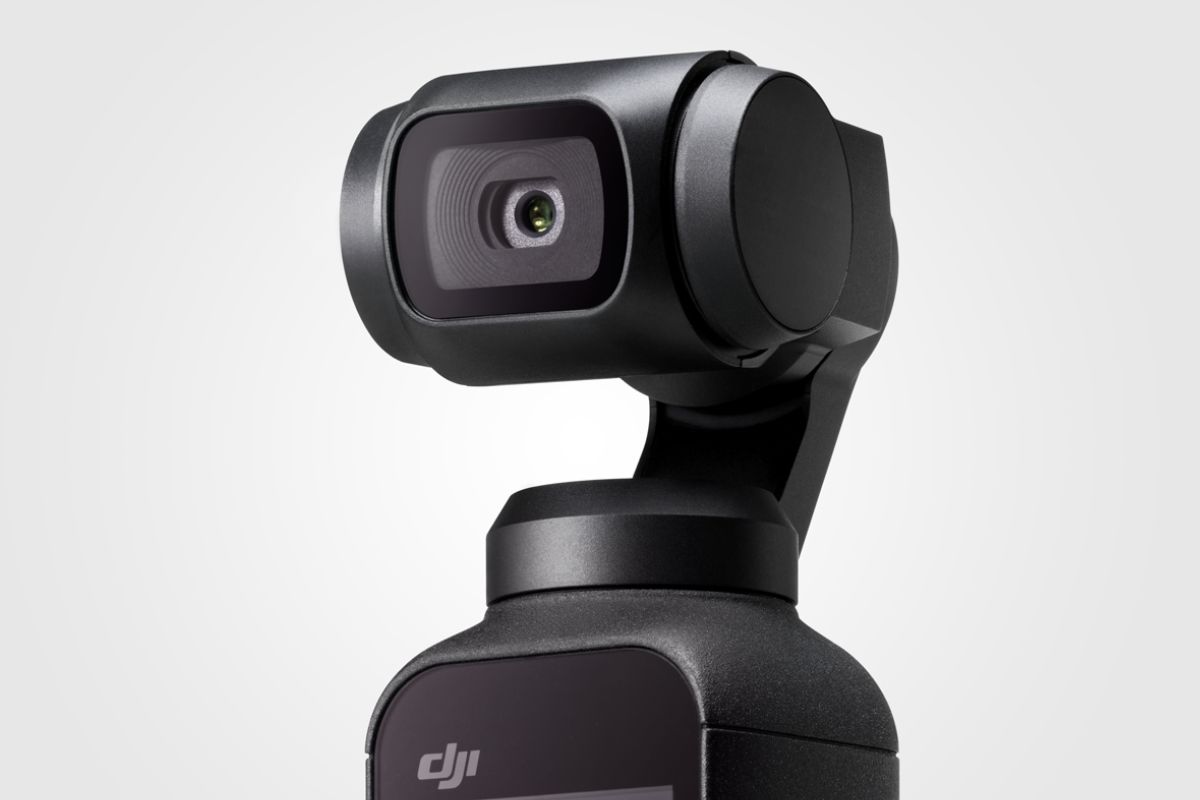
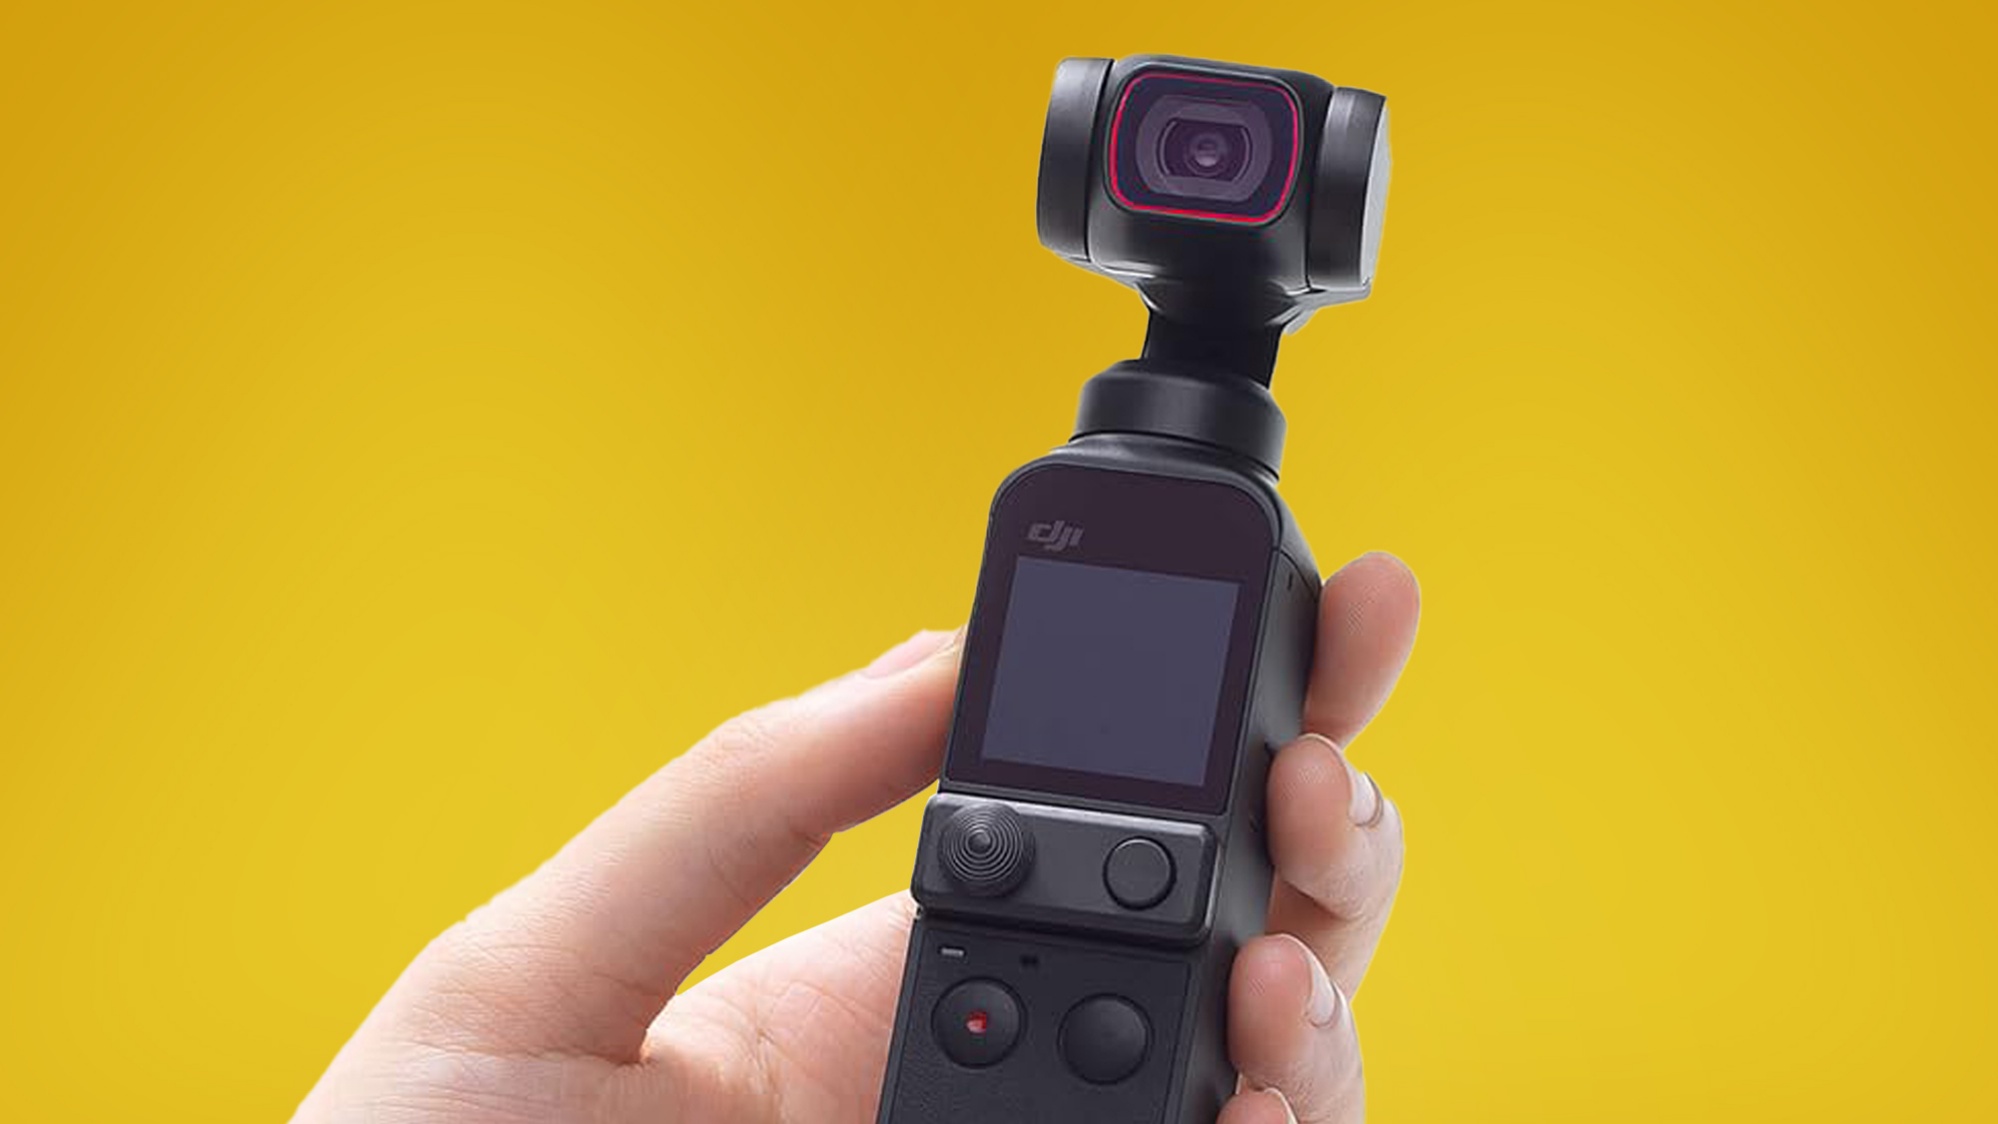
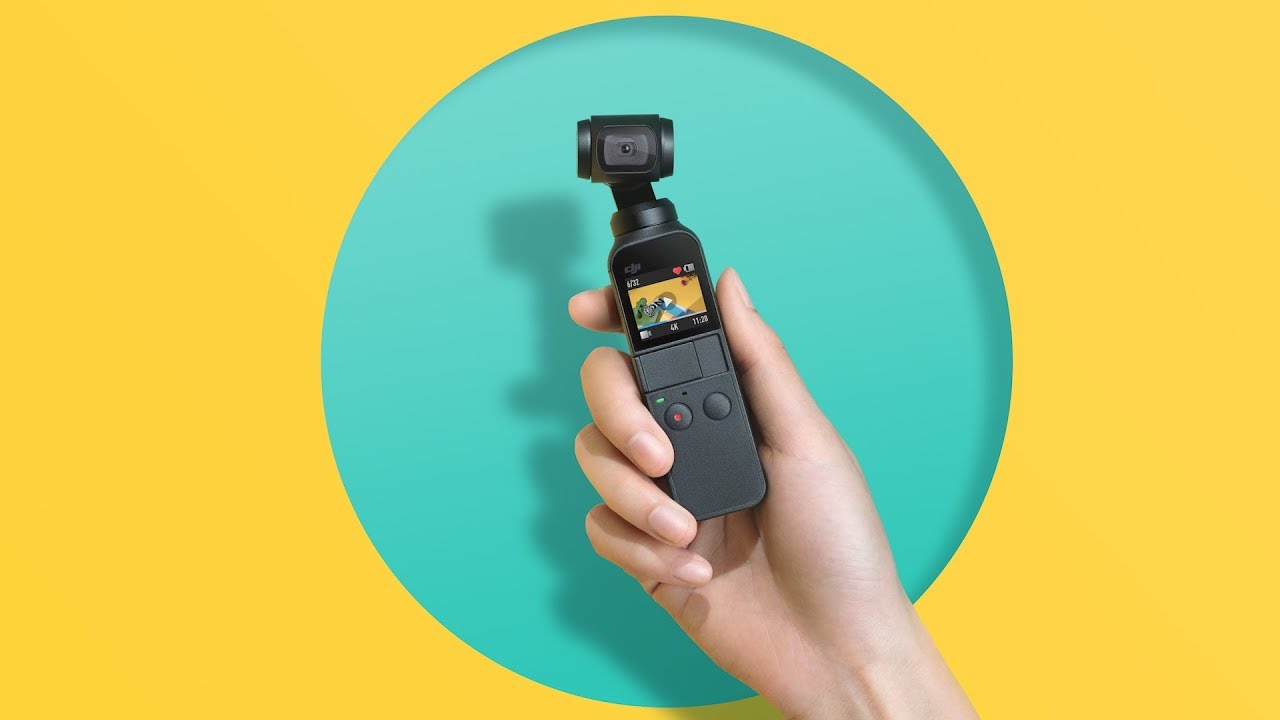
Designed with portability in mind, the DJI Osmo Pocket packs a host of features into its small form factor. With its integrated gimbal stabilization system, it ensures smooth and professional-looking footage, even when shooting on the move. The camera also boasts a 1/2.3-inch sensor and a wide f/2.0 aperture, allowing for impressive low-light performance and stunning image quality.
Now, let’s dive into the world of the DJI Osmo Pocket and explore how to make the most of this incredible device. From setting up the Osmo Pocket to capturing your first breathtaking shots, this guide will walk you through everything you need to know to unleash your creativity and unlock the full potential of this innovative camera.
Whether you’re an experienced camera enthusiast or just starting your journey in photography, the DJI Osmo Pocket offers an intuitive and user-friendly experience that will have you capturing stunning images and videos in no time. So, let’s get started and embark on a thrilling adventure with the DJI Osmo Pocket!
Setting Up the DJI Osmo Pocket
Before you start exploring the creative possibilities with your DJI Osmo Pocket, it’s important to go through the setup process to ensure you’re ready to capture stunning footage. Here’s a step-by-step guide on how to set up your Osmo Pocket:
- Charge the Battery: Begin by inserting the battery into the DJI Osmo Pocket and connecting the camera to a power source using the included USB-C cable. The Osmo Pocket has a built-in rechargeable battery that can provide hours of shooting time.
- Install the DJI Mimo App: Download and install the DJI Mimo app on your smartphone. This app plays a crucial role in controlling the Osmo Pocket and accessing its advanced features. It’s available for both iOS and Android devices.
- Connect Osmo Pocket to Your Phone: Launch the DJI Mimo app on your smartphone and connect it to the Osmo Pocket using the provided USB-C to Lightning or USB-C to Micro-USB adapter. Follow the on-screen instructions to establish the connection between the camera and your phone.
- Update Firmware: It’s essential to keep your Osmo Pocket up to date with the latest firmware. The DJI Mimo app will prompt you if there’s a firmware update available, and you can easily download and install it through the app.
- Secure a MicroSD Card: The Osmo Pocket requires a MicroSD card to store your photos and videos. Ensure you have a compatible MicroSD card with sufficient storage capacity and insert it into the designated slot on the camera. The Osmo Pocket supports MicroSD cards up to 256GB.
Once you’ve completed these steps, you’re now ready to unleash the full potential of your DJI Osmo Pocket. The setup process is straightforward and ensures that you have a fully functional and up-to-date camera ready to capture your creative vision.
Charging the DJI Osmo Pocket
Before you embark on your photography or videography journey with the DJI Osmo Pocket, it’s crucial to ensure that the camera is adequately charged. Here’s a simple guide on how to charge your Osmo Pocket:
- Connect the USB-C Cable: Start by inserting the USB-C end of the included cable into the charging port of the Osmo Pocket. The port is located at the bottom of the camera.
- Connect to a Power Source: Next, connect the other end of the USB-C cable to a power source such as a wall adapter, computer, or power bank. Ensure that the power source is turned on and delivering a stable power supply.
- Charging Status: Once connected, the Osmo Pocket’s screen will display a battery icon indicating the charging process. You can also check the battery level by tapping the power button once, and the battery indicator will appear on the screen.
- Charging Time: The charging time for the Osmo Pocket will depend on the remaining battery level. On average, it takes approximately 80 minutes to fully charge the camera. It’s recommended to use the provided USB-C cable and a high-quality power source to ensure optimal charging speed.
- Battery Indicator: While charging, the battery icon on the Osmo Pocket’s screen will fill up with a charging animation. Once the battery is fully charged, the animation will stop, and the icon will appear as solid. You can then disconnect the camera from the power source.
It’s important to keep in mind that the Osmo Pocket has a built-in rechargeable battery that is not user-replaceable. Therefore, it’s recommended to charge the camera fully before your intended shooting session to ensure maximum battery life.
With these straightforward steps, you can easily charge your DJI Osmo Pocket and ensure that you have enough power to capture all your creative endeavors. Always remember to charge the camera regularly to avoid any interruptions during your shooting sessions.
Powering On and Off
The DJI Osmo Pocket features a simple and intuitive power control system that allows you to quickly turn the camera on and off. Here’s how to power on and off your Osmo Pocket:
- Powering On: To turn on the Osmo Pocket, press and hold the power button located on the right side of the camera. After a few seconds, the camera will boot up, and you’ll see the DJI logo appear on the screen. Once the camera is powered on, the gimbal will automatically calibrate, and you’ll be ready to start shooting.
- Powering Off: To power off the Osmo Pocket, press and hold the power button until the power-off menu appears on the screen. Swipe right on the screen to select the power-off option. The camera will then shut down, and the screen will turn off. It’s important to wait until the camera fully powers off before disconnecting any accessories or charging the device.
When powering on the Osmo Pocket, it’s worth mentioning that if an SD card is not inserted, the camera will enter Playback mode automatically. In this mode, you can view and manage previously captured photos and videos. To switch to the camera mode, simply tap the power button once while in Playback mode, and the camera will be ready to shoot.
It’s important to note that the Osmo Pocket will automatically power off after a period of inactivity to save battery life. This feature can be customized in the settings of the DJI Mimo app. Additionally, if the camera is experiencing any issues or freezes, you can perform a force restart by pressing and holding the power button for about eight seconds until the screen turns off and the camera restarts.
With these straightforward steps, you can easily power on and off your DJI Osmo Pocket, ensuring a seamless shooting experience and preserving your camera’s battery life.
Navigating the DJI Osmo Pocket Interface
The DJI Osmo Pocket features a user-friendly interface that allows for easy navigation and access to various shooting modes and settings. Understanding how to navigate the interface will help you make the most of your camera’s capabilities. Here’s a guide on how to navigate the Osmo Pocket interface:
1. Touchscreen Controls: The Osmo Pocket features a responsive touchscreen that allows you to control and adjust various settings. You can navigate through options, select shooting modes, and access the settings menu by tapping on the appropriate icons and menus on the screen.
2. Swipe Gestures: In addition to the touchscreen controls, you can also use swipe gestures to navigate within the Osmo Pocket interface. Swiping left or right on the screen allows you to switch between different shooting modes or access the playback mode. Swiping down from the top of the screen reveals the quick menu, where you can access common settings such as exposure compensation and white balance.
3. Mode Switch Button: The mode switch button is located on the side of the Osmo Pocket. Pressing this button allows you to cycle through the available shooting modes quickly. You can switch between photo, video, slow motion, and time-lapse modes with just a single press of the button.
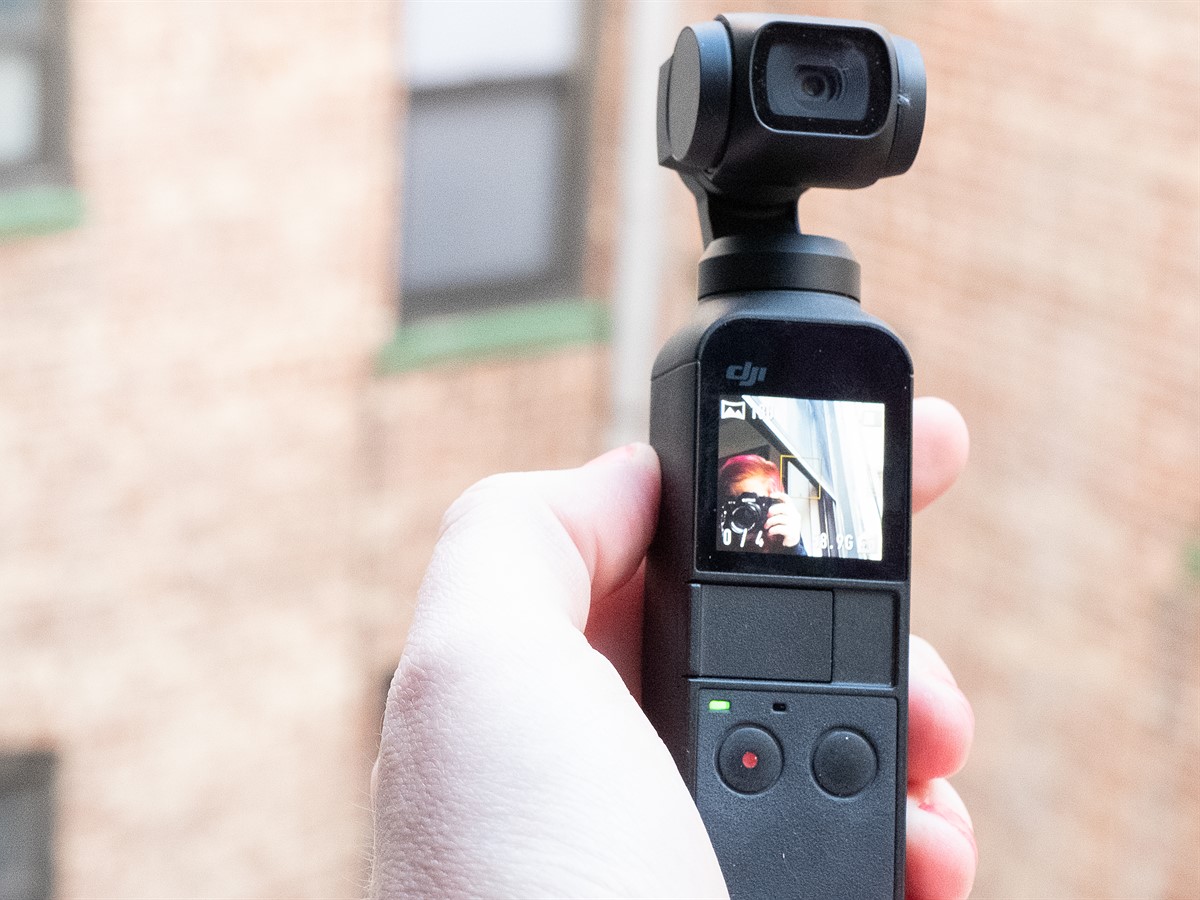
4. Status Screen: The status screen displays relevant information about your camera’s settings, such as the shooting mode, battery level, and remaining storage. It provides a quick glance at the key details, allowing you to adjust your settings accordingly.
5. Shortcut Button: Located on the right side of the Osmo Pocket, the shortcut button allows you to customize its functionality. By default, it acts as a quick record button, but you can change its function to activate features such as Quick Capture or Center Focus in the settings menu of the DJI Mimo app.
6. DJI Mimo App Integration: For more advanced settings and controls, you can connect your Osmo Pocket to the DJI Mimo app on your smartphone. The app provides a comprehensive interface with additional shooting modes, creative features, and editing tools to enhance your footage.
By familiarizing yourself with these navigation methods, you’ll be able to effortlessly explore the Osmo Pocket’s various shooting options and settings, allowing you to capture stunning visuals with ease.
Basic Shooting Modes
The DJI Osmo Pocket offers a range of shooting modes to cater to different creative needs and scenarios. Understanding these shooting modes will allow you to capture stunning photos and videos effortlessly. Here are some of the basic shooting modes available on the Osmo Pocket:
1. Photo Mode: In this mode, you can capture high-quality still photos with the Osmo Pocket camera. The camera offers various shooting options such as single shot, panorama, and timed shot. You can access different settings such as exposure, white balance, and image format to customize your photo capture.
2. Video Mode: Video mode enables you to record smooth and cinematic footage with the Osmo Pocket. The camera supports different frame rates and resolutions, allowing you to capture videos in stunning detail. You can also apply various creative modes such as slow motion and time-lapse to add an extra dimension to your videos.
3. Slow Motion Mode: This mode allows you to capture slow-motion videos, emphasizing the details and creating a dramatic effect. The Osmo Pocket offers different frame rate options for slow motion, ranging from 120fps to an impressive 240fps, depending on the resolution you choose.
4. Time-Lapse Mode: With time-lapse mode, you can create captivating time-lapse videos with ease. The Osmo Pocket automates the process by capturing a series of photos at set intervals and seamlessly combines them into a condensed time-lapse sequence. You have control over the duration and interval, allowing for creative flexibility.
5. Hyperlapse Mode: Hyperlapse mode takes time-lapse to the next level by incorporating camera movement. The Osmo Pocket’s built-in gimbal stabilization ensures smooth and stable hyperlapse footage, even when shooting on the move. You can adjust the speed to create faster or slower hyperlapses, adding an exciting dynamic to your videos.
6. Panorama Mode: Capture expansive landscapes with the Osmo Pocket’s panorama mode. The camera automatically captures multiple photos and stitches them together to create a stunning panoramic image. You can choose between horizontal or vertical panoramas, allowing you to showcase the beauty of your surroundings.
These are just a few examples of the basic shooting modes available on the DJI Osmo Pocket. Each shooting mode offers unique features and settings to empower you to capture breathtaking visuals and unleash your creativity. Experiment with different modes and settings to discover the possibilities and create stunning imagery.
Capturing Photos and Videos
The DJI Osmo Pocket allows you to capture high-quality photos and videos with ease, thanks to its advanced imaging capabilities and intelligent features. Here’s a guide on how to capture stunning visuals with your Osmo Pocket:
1. Framing Your Shot: Before capturing a photo or video, take a moment to frame your shot and consider the composition. Use the Osmo Pocket’s screen or connect it to your smartphone via the DJI Mimo app for a better view of the scene. Experiment with different angles, perspectives, and focal points to add interest to your visuals.
2. Single Shot Photos: In photo mode, simply tap the capture button on either the Osmo Pocket or the DJI Mimo app to take a single shot photo. The camera will focus automatically, but you can also tap the screen to manually adjust the focus point. Capture fleeting moments, beautiful landscapes, or anything that catches your eye.
3. Burst Mode Photos: For capturing fast-paced action or multiple frames of a subject, use the Burst mode. Tap and hold the capture button on the Osmo Pocket or in the DJI Mimo app to take a rapid series of photos. This mode is great for sports, wildlife photography, or any situation where you want to capture every detail.
4. Video Recording: In video mode, press the record button to start recording. The Osmo Pocket supports various video resolutions and frame rates, allowing you to adapt to different shooting situations. Keep the camera steady and let the built-in gimbal stabilization system ensure smooth, professional-quality footage.
5. Tracking Subjects: The Osmo Pocket features ActiveTrack, a powerful subject tracking feature. Simply draw a box around the subject you want to track on the screen, and the camera will automatically keep the subject in the frame as it moves. This is particularly useful for following fast-moving subjects or capturing dynamic shots.
6. Intelligent Modes: Explore the various intelligent shooting modes available on the Osmo Pocket, such as FPV mode, which creates a first-person perspective effect, or Story Mode, which automatically edits your footage into a professionally crafted video. These modes add a creative touch to your videos and make the editing process easier.
Remember to experiment with different settings and shooting techniques to capture unique and visually appealing photos and videos. The DJI Osmo Pocket’s versatility and intuitive controls make it effortless to capture stunning moments and unleash your creative vision.
Adjusting Camera Settings
The DJI Osmo Pocket offers a range of adjustable camera settings that allow you to fine-tune your shots and achieve the desired creative results. Understanding how to adjust these settings will enhance your photography and videography experience. Here’s a guide on how to adjust camera settings on the Osmo Pocket:
1. Exposure: Exposure determines the brightness of your photos and videos. By default, the Osmo Pocket automatically adjusts the exposure based on the scene. However, you can manually adjust it by tapping on the screen and dragging the exposure slider up or down. Increase the exposure for brighter scenes and decrease it for darker scenes.
2. White Balance: White balance ensures accurate color reproduction by adjusting the camera’s interpretation of different lighting conditions. The Osmo Pocket provides various white balance presets such as Sunny, Cloudy, and Auto. You can also manually set the white balance by selecting the custom option and adjusting the color temperature.
3. ISO: ISO controls the camera’s sensitivity to light. Higher ISO settings can capture more light in low-light situations but may introduce noise. Lower ISO settings produce cleaner images but require more light. Adjust the ISO depending on the lighting conditions and the desired balance between noise and image quality.
4. Shutter Speed: Shutter speed determines the amount of time the camera’s sensor is exposed to light. Faster shutter speeds freeze motion, while slower shutter speeds create motion blur. Adjust the shutter speed to capture action or create artistic effects. Keep in mind that using slower shutter speeds may require the use of a tripod or stabilization to prevent camera shake.
5. Resolution and Frame Rate: The Osmo Pocket offers various resolution and frame rate options for both photos and videos. Higher resolutions provide more detail but may result in larger file sizes. Choose the appropriate resolution and frame rate based on your specific requirements, whether it’s for sharing on social media or producing professional content.
6. Pro Mode: Pro mode allows for advanced control over camera settings, including manual exposure, shutter speed, ISO, and more. This mode is ideal for experienced photographers and videographers who want full control over their shots. Activating Pro mode in the DJI Mimo app unlocks additional settings and options to fine-tune your image or video capture.
By adjusting these camera settings, you can tailor your shots to the specific lighting conditions, creative vision, and desired result. Take the time to experiment with different settings to familiarize yourself with the Osmo Pocket’s capabilities and unleash your creativity.
Using the DJI Mimo App
The DJI Mimo app is an essential tool for maximizing the capabilities of your DJI Osmo Pocket. It offers a wide range of features and functions that enhance your shooting experience and allow for greater control and creativity. Here’s a guide on how to use the DJI Mimo app with your Osmo Pocket:
1. Connecting to the App: Before using the DJI Mimo app, ensure that your Osmo Pocket and smartphone are connected via the appropriate adapter. Launch the app and follow the on-screen instructions to connect to your Osmo Pocket. Once connected, you can access the full range of features and settings offered by the app.
2. Camera Controls: The DJI Mimo app provides comprehensive camera controls, allowing you to adjust settings such as ISO, shutter speed, exposure, and white balance with ease. You can make these adjustments directly within the app or use the touch screen on your smartphone to tap and drag the sliders.
3. Intelligent Shooting Modes: The app offers a variety of intelligent shooting modes that can enhance your footage. ActiveTrack allows you to track and follow subjects, while FPV mode creates a dynamic first-person perspective effect. Explore these modes and experiment with them to add creativity and uniqueness to your shots.
4. Advanced Video Settings: The DJI Mimo app allows you to access advanced video settings that are not available on the Osmo Pocket alone. You can select the video resolution, frame rate, and video codec, giving you more control over the quality and storage options for your videos.
5. Story Mode: The Story Mode is a powerful feature in the DJI Mimo app that enables you to create professional-looking videos quickly and easily. Simply choose a template, select the footage you want to include, and the app will automatically edit the clips together with transitions, effects, and soundtracks. This is a great feature for those who want to create impressive videos without spending hours on editing.
6. Accessing Media Files: The DJI Mimo app provides a user-friendly interface for managing and accessing media files captured by your Osmo Pocket. You can view, organize, and share your photos and videos directly from within the app, making it convenient to review and showcase your creative work.
Using the DJI Mimo app expands the capabilities of your Osmo Pocket and allows for a seamless and intuitive shooting experience. Take advantage of the app’s features to enhance your footage, streamline your editing process, and unleash your creativity.
Using the DJI Osmo Pocket with Accessories
The DJI Osmo Pocket is compatible with a variety of accessories that can further enhance your shooting experience and expand the creative possibilities of the camera. Here’s a guide on how to use the Osmo Pocket with accessories:
1. Wireless Module: The Wireless Module allows you to connect your Osmo Pocket to your smartphone wirelessly. It provides extended reach and control, giving you the flexibility to operate the camera remotely. With the wireless module, you can easily access camera settings, view a live feed, and control the gimbal’s movement using your smartphone.
2. Extension Rod: The Extension Rod is a versatile accessory that extends the reach of your Osmo Pocket. It allows you to capture unique perspectives and shoot from different angles. Use it to elevate the camera above crowds, get closer to subjects, or add stability to your shots. The Extension Rod can also be used as a standalone grip for handheld shooting.
3. Waterproof Case: The Waterproof Case is a must-have accessory for underwater adventures and shooting in challenging weather conditions. It provides protection to your Osmo Pocket against water, dust, and debris, allowing you to capture stunning footage in various underwater environments. With the case’s waterproof capabilities, you can explore the world beneath the surface with confidence.
4. ND Filters: ND (Neutral Density) filters are optical filters that reduce the amount of light entering the camera lens. They help achieve proper exposure in bright conditions and allow for smooth and cinematic motion blur in videos. ND filters are particularly useful in outdoor settings where there’s an abundance of light, such as sunny days, beaches, or snow-covered landscapes.
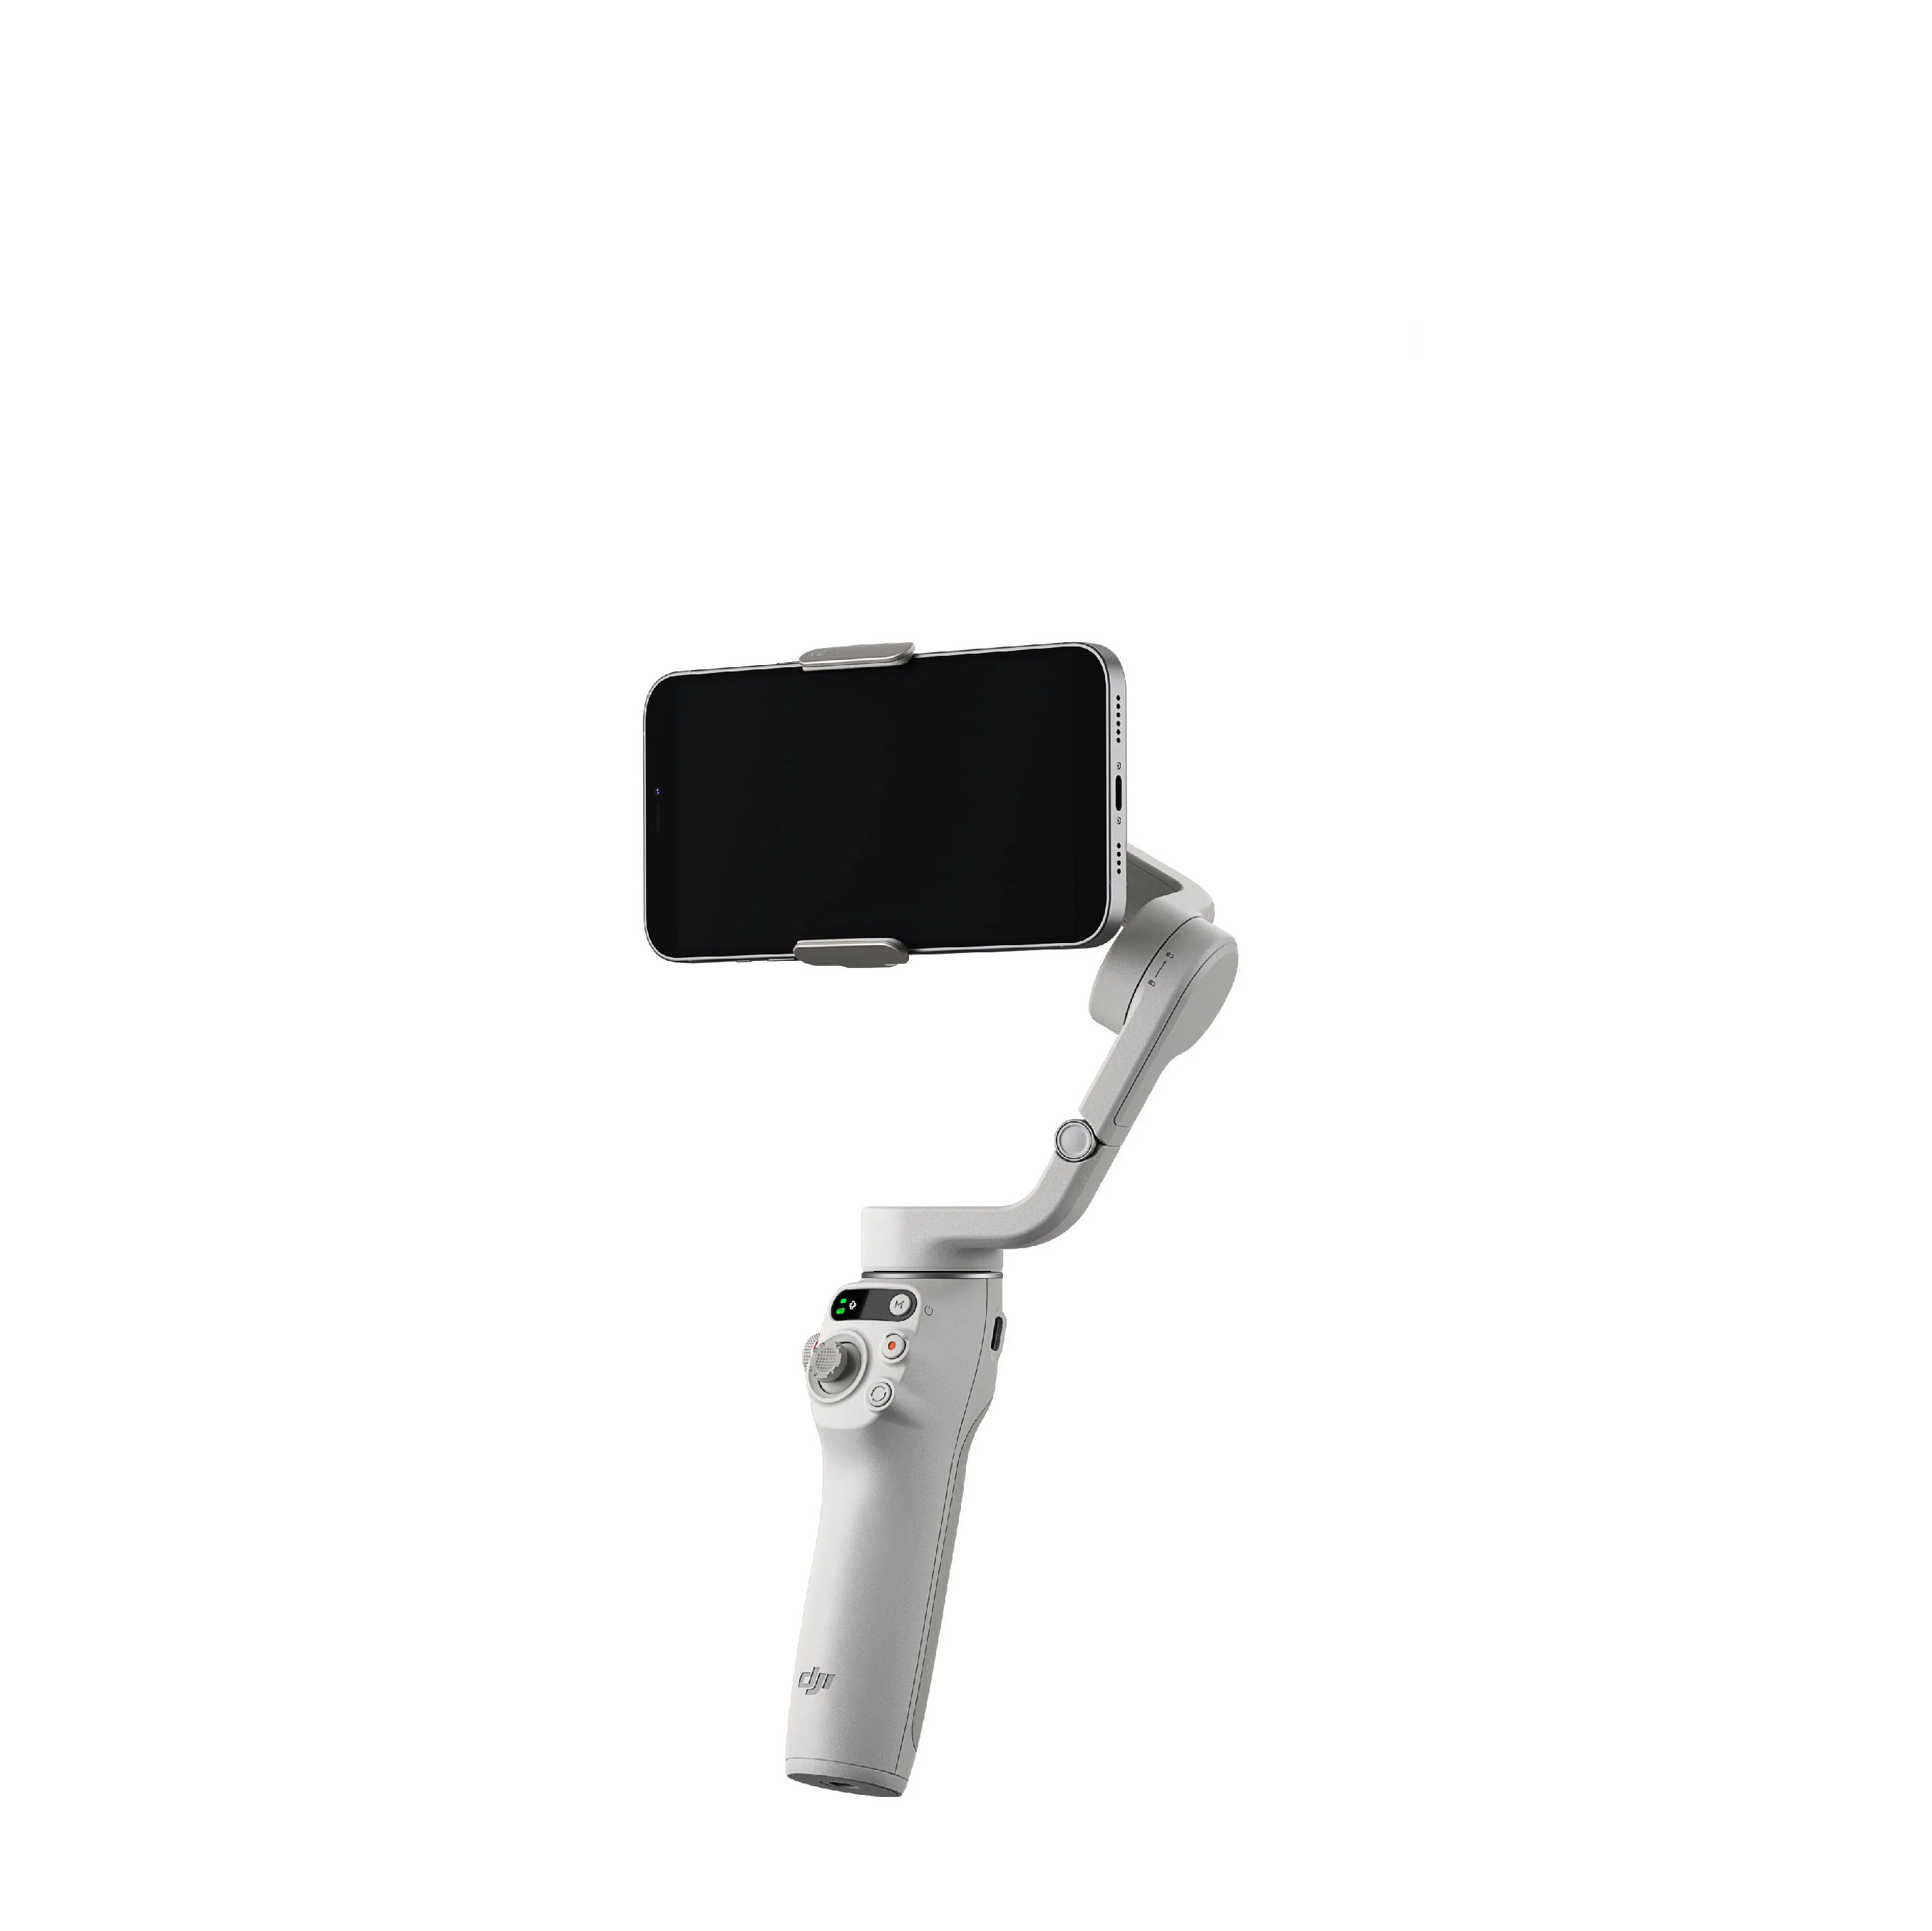
5. Smartphone Adapter: The Smartphone Adapter enables you to connect your Osmo Pocket to your smartphone and use it as a large and convenient display. This accessory makes it easier to view what you’re capturing, control the camera settings, and access the DJI Mimo app’s features. It also facilitates stable and seamless connectivity between the Osmo Pocket and your smartphone.
6. Tripod and Mounts: A tripod and mounting accessories provide stability and versatility to your Osmo Pocket. Tripods ensure steady shots, especially in low-light conditions or when capturing time-lapse sequences. Mounts and adapters allow you to attach your Osmo Pocket to various surfaces, such as bicycles, cars, or helmets, enabling you to capture unique perspectives and immersive footage.
By incorporating these accessories into your Osmo Pocket setup, you can expand your creative boundaries and capture even more stunning footage. Each accessory serves a specific purpose, whether it’s enhancing stability, enabling wireless control, or protecting the camera in challenging environments. Explore the various accessories available and find the ones that best suit your shooting style and specific needs.
Tips and Tricks for Getting the Best Results
To make the most out of your DJI Osmo Pocket and capture stunning footage, here are some helpful tips and tricks:
1. Plan Your Shots: Before starting your shoot, think about the shots and compositions you want to achieve. Plan out your angles, movements, and subject placement to ensure cohesive and visually appealing footage.
2. Utilize the Gimbal: The Osmo Pocket’s built-in 3-axis gimbal provides exceptional stabilization. Take advantage of this feature by experimenting with various movements, including pans, tilts, and tracking shots, to add dynamic motion to your footage.
3. Experiment with Different Perspectives: Explore different angles and perspectives to add depth and visual interest to your shots. Try low-angle shots for a powerful and dramatic effect or bird’s-eye-view shots for a unique perspective.
4. Follow the Rule of Thirds: Apply the rule of thirds by positioning key elements of your composition along the imaginary gridlines, dividing the frame into thirds horizontally and vertically. This helps create a balanced and visually appealing composition.
5. Use Manual Focus: While the Osmo Pocket has excellent autofocus capabilities, there may be situations where you want to manually control the focus. Tap on the screen to select the desired focus point or set the focus manually in Pro mode to achieve the desired sharpness.
6. Avoid Excessive Zooming: Although the Osmo Pocket offers digital zoom, it’s advisable to avoid excessive zooming. Instead, physically move closer to your subject if possible, as digital zoom can result in a loss of image quality.
7. Monitor Audio Levels: Pay attention to the audio levels when recording videos. The Osmo Pocket has built-in microphones, but for the best audio quality, consider using an external microphone or an audio recording device to capture clear and high-quality sound.
8. Practice Smooth Movements: Smooth movements are essential for achieving professional-looking footage. Practice slow and steady camera movements to maintain smoothness and stability, especially when using the gimbal or capturing tracking shots.
9. Capture B-Roll Footage:If you’re shooting a video, incorporate additional footage known as B-roll. B-roll consists of alternative shots that showcase the environment, details, or different angles. These shots can be used to add context and variety, making your videos more engaging.
10. Explore Editing Options: Take advantage of the editing options available in the DJI Mimo app or other editing software. Experiment with color grading, transitions, and music to enhance the overall look and feel of your footage.
By following these tips and tricks, you can elevate your Osmo Pocket footage to the next level. Remember to practice, be creative, and most importantly, have fun while capturing your amazing moments.
Troubleshooting Common Issues
While the DJI Osmo Pocket is a reliable and user-friendly camera, occasionally you may encounter some common issues. Here are some troubleshooting tips for resolving these issues:
1. Camera Not Turning On: If your Osmo Pocket is not turning on, ensure that the battery is charged. Connect it to a power source and wait for a few minutes to allow the camera to charge. If the issue persists, try performing a force restart by pressing and holding the power button for about eight seconds.
2. Connectivity Problems: If you’re experiencing connectivity issues between the Osmo Pocket and your smartphone, check that both devices have a stable Bluetooth or Wi-Fi connection. Ensure that the DJI Mimo app is up to date on your smartphone, as outdated versions may cause compatibility problems. Restart both the camera and the smartphone, and try reconnecting them.
3. SD Card Errors: If you encounter SD card errors, make sure the card is properly inserted and compatible with the Osmo Pocket. Try formatting the card in the camera’s settings or using a computer if necessary. If the issue persists, try using a different SD card to rule out any card-specific problems.
4. Blurry or Out-of-Focus Images: If your photos or videos appear blurry or out of focus, ensure that the camera is properly focused. Tap on the screen to adjust the focus manually or make sure the autofocus is enabled in the camera settings. Additionally, check if there’s any smudging or dirt on the lens that could be affecting the image quality.
5. Overheating: If the Osmo Pocket becomes excessively hot during use, it may be due to prolonged usage or operating in high-temperature environments. To prevent overheating, give the camera a break and let it cool down. Avoid using the camera in direct sunlight for an extended period and make sure to update the firmware to the latest version, as it may include optimizations to regulate temperature.
6. Unresponsive Touchscreen: If the touchscreen on the Osmo Pocket becomes unresponsive, try cleaning the screen to remove any dirt or fingerprints. If that doesn’t solve the issue, try restarting the camera. If the problem persists, contact DJI customer support for further assistance.
7. Audio Issues: If you’re experiencing audio issues, ensure that the microphone is not obstructed and there are no loose connections. Adjust the audio settings in the DJI Mimo app or consider using an external microphone for improved sound quality. Additionally, try recording in a quieter environment to minimize unwanted background noise.
8. Updating Firmware: Regularly check for firmware updates for the Osmo Pocket and ensure that the camera’s firmware is up to date. Firmware updates often include bug fixes, stability improvements, and new features, so keeping the camera updated can help resolve any potential issues you may encounter.
If you continue to experience technical difficulties or encounter any other issues with your DJI Osmo Pocket, it’s recommended to refer to the official DJI support resources or reach out to their customer support for further assistance.
Conclusion
The DJI Osmo Pocket is a remarkable camera that empowers you to capture stunning photos and videos with ease. From its compact size to its powerful imaging capabilities, the Osmo Pocket offers a versatile and user-friendly shooting experience. By following the setup process, familiarizing yourself with the interface, and exploring the various shooting modes and settings, you can unlock the full potential of this incredible device.
Through this guide, we have covered the basics of setting up the Osmo Pocket, charging the battery, navigating the interface, and adjusting camera settings. We have also discussed the usage of the DJI Mimo app, the compatibility of accessories, and provided tips and troubleshooting advice to help you achieve the best results.
As you continue to explore and experiment with the DJI Osmo Pocket, remember to plan your shots, try different perspectives, and tap into the creative features available. Whether you’re a professional photographer, aspiring filmmaker, or casual hobbyist, the Osmo Pocket gives you the tools to capture and immortalize your precious moments in breathtaking detail.
So, grab your Osmo Pocket, head out into the world, and embark on your photography and videography journey. Unleash your creativity, embrace new perspectives, and capture the beauty of life with the power of the DJI Osmo Pocket.