Connecting the Remote Controller
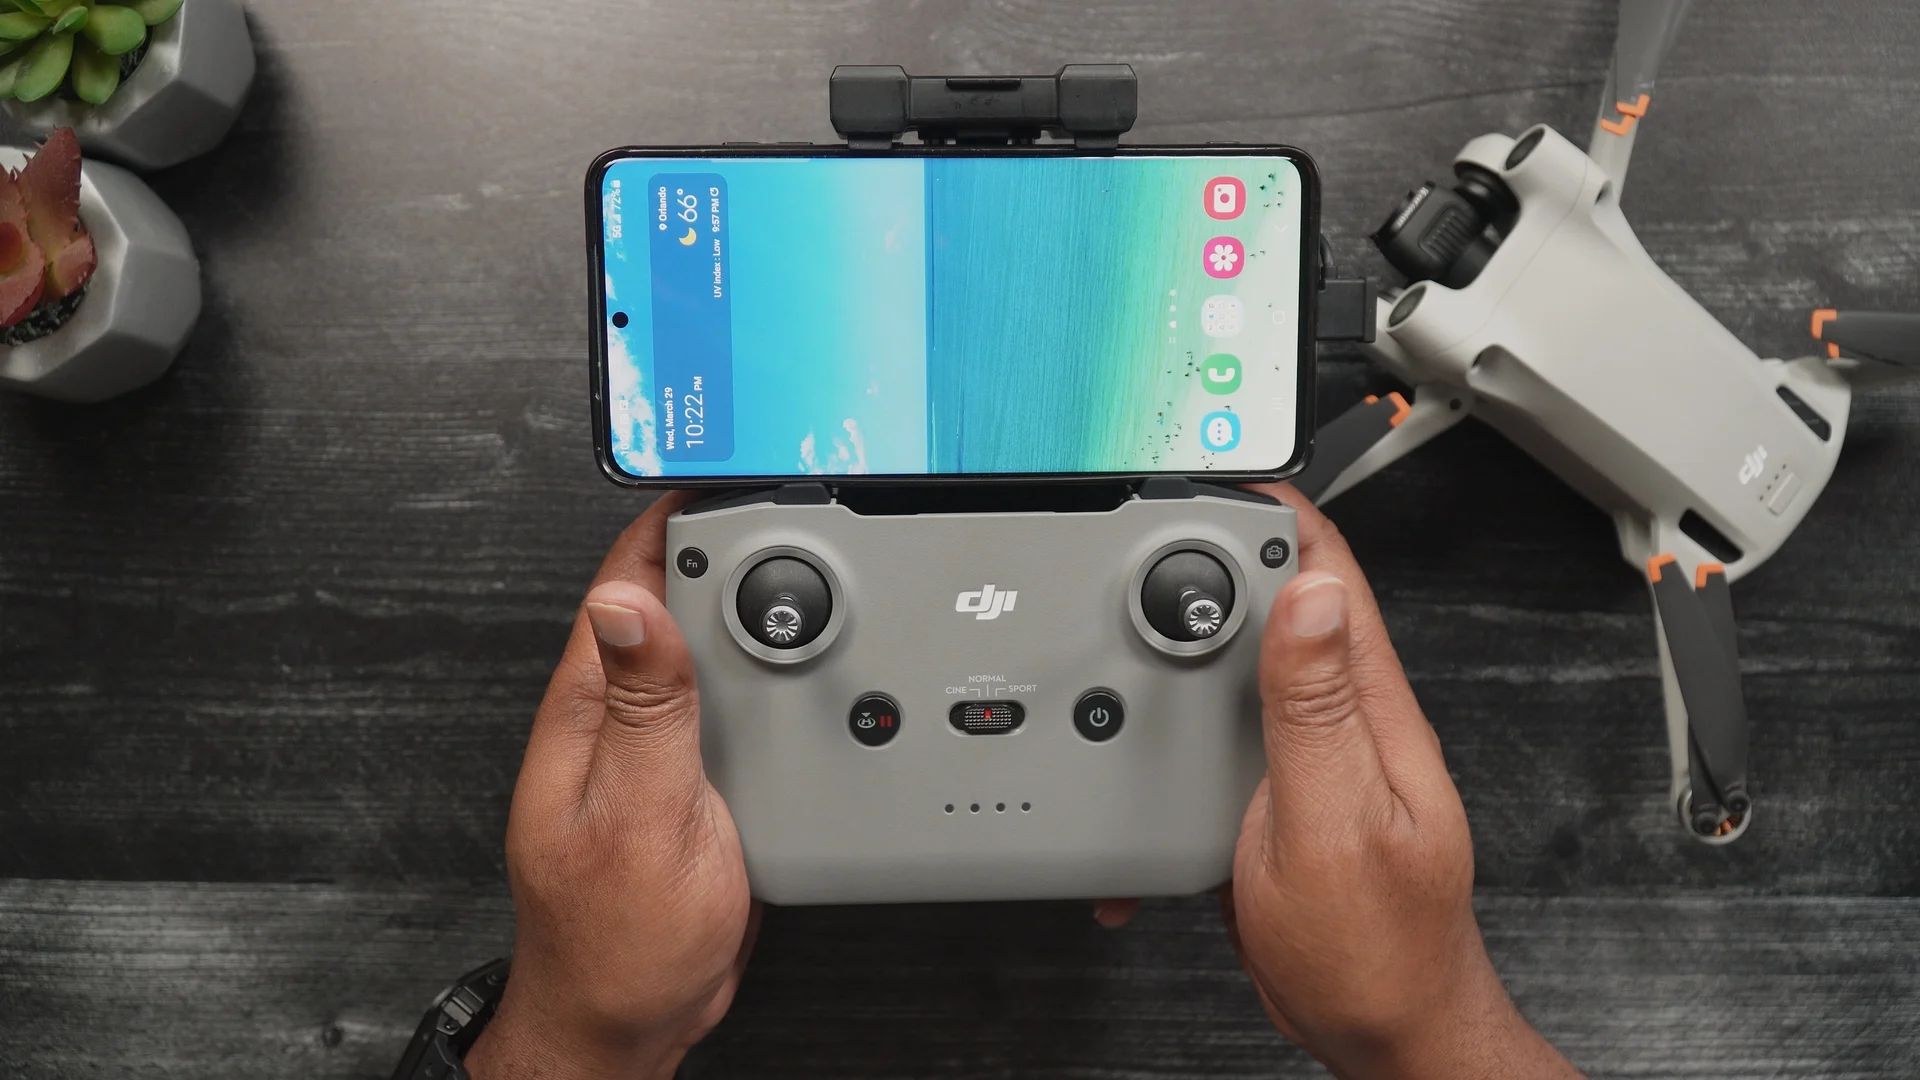
One of the first steps in getting started with the DJI Mini 3 Pro is connecting the remote controller to the drone. This allows you to effectively control and maneuver the drone during flights. To ensure a smooth setup process, follow the steps below:
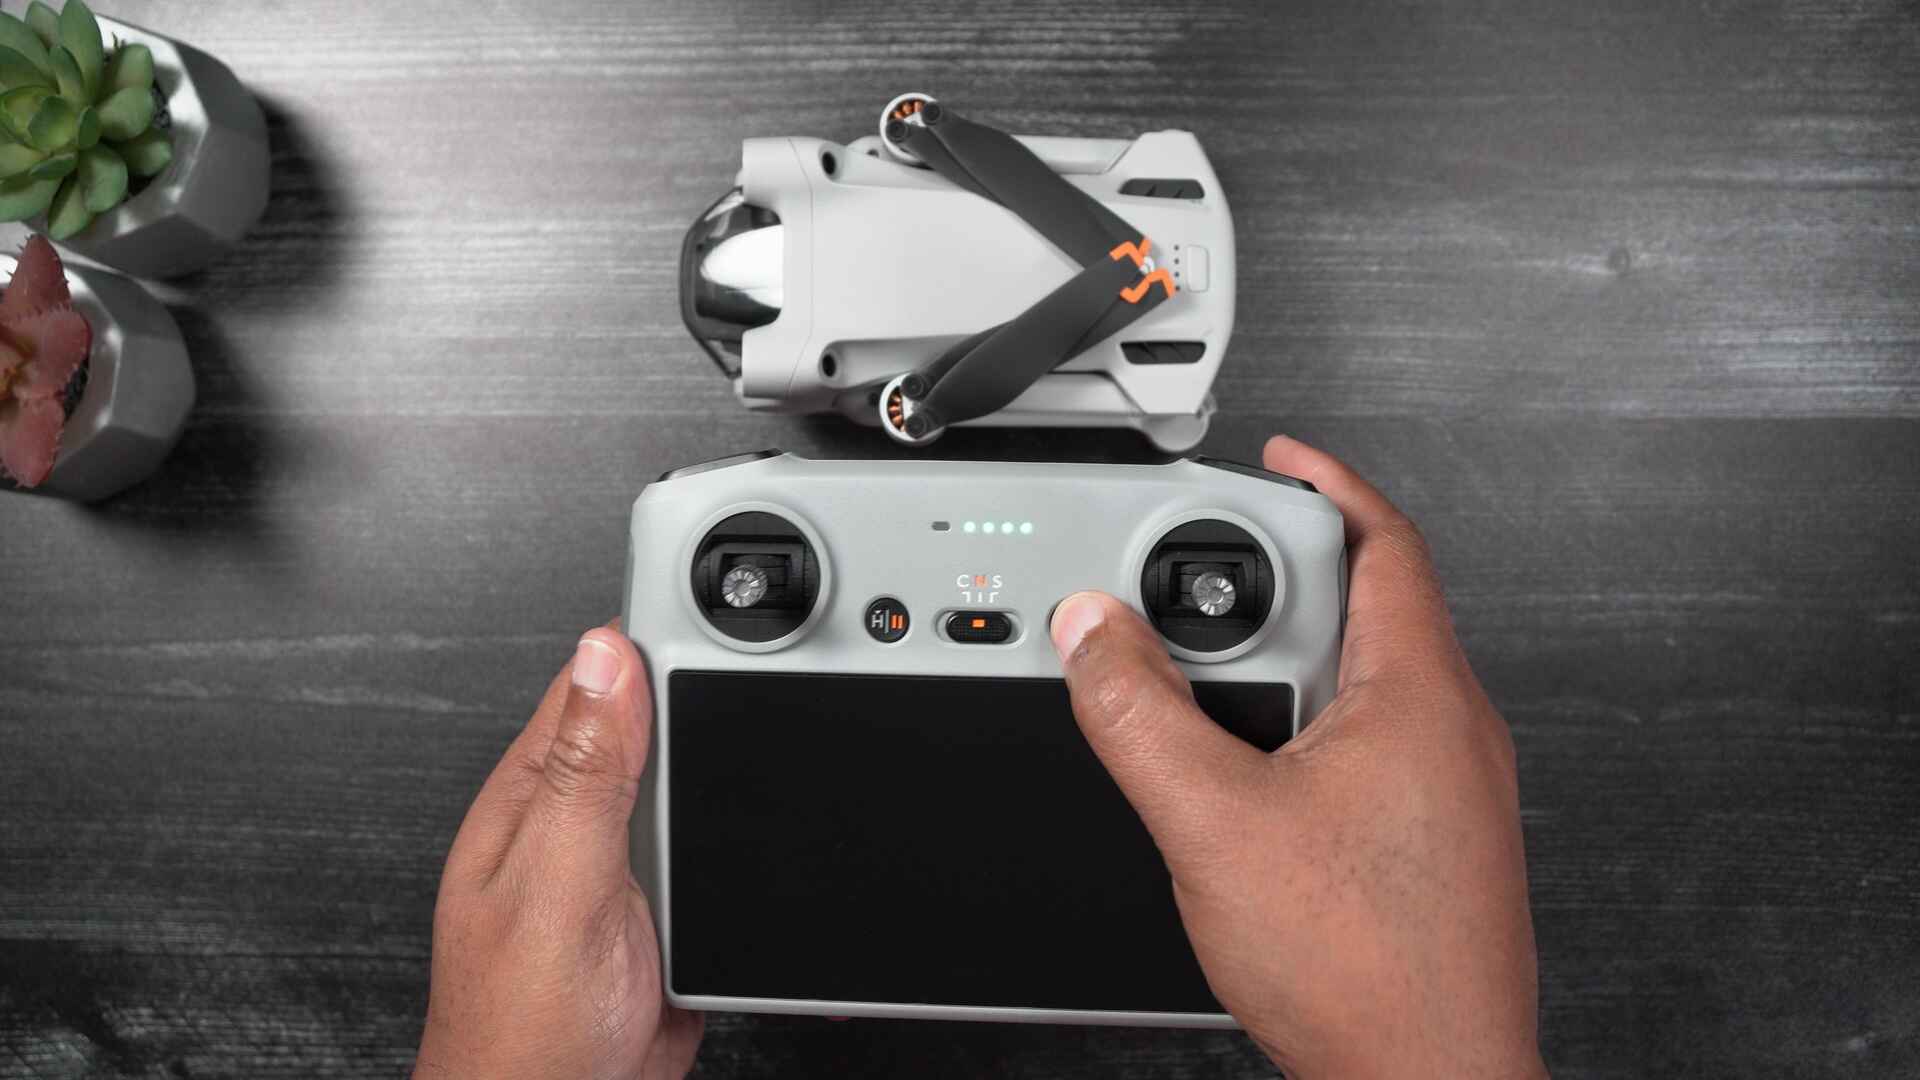
- Power on the remote controller: Start by turning on the remote controller. To do this, press and hold the power button for a few seconds until the LED lights up.
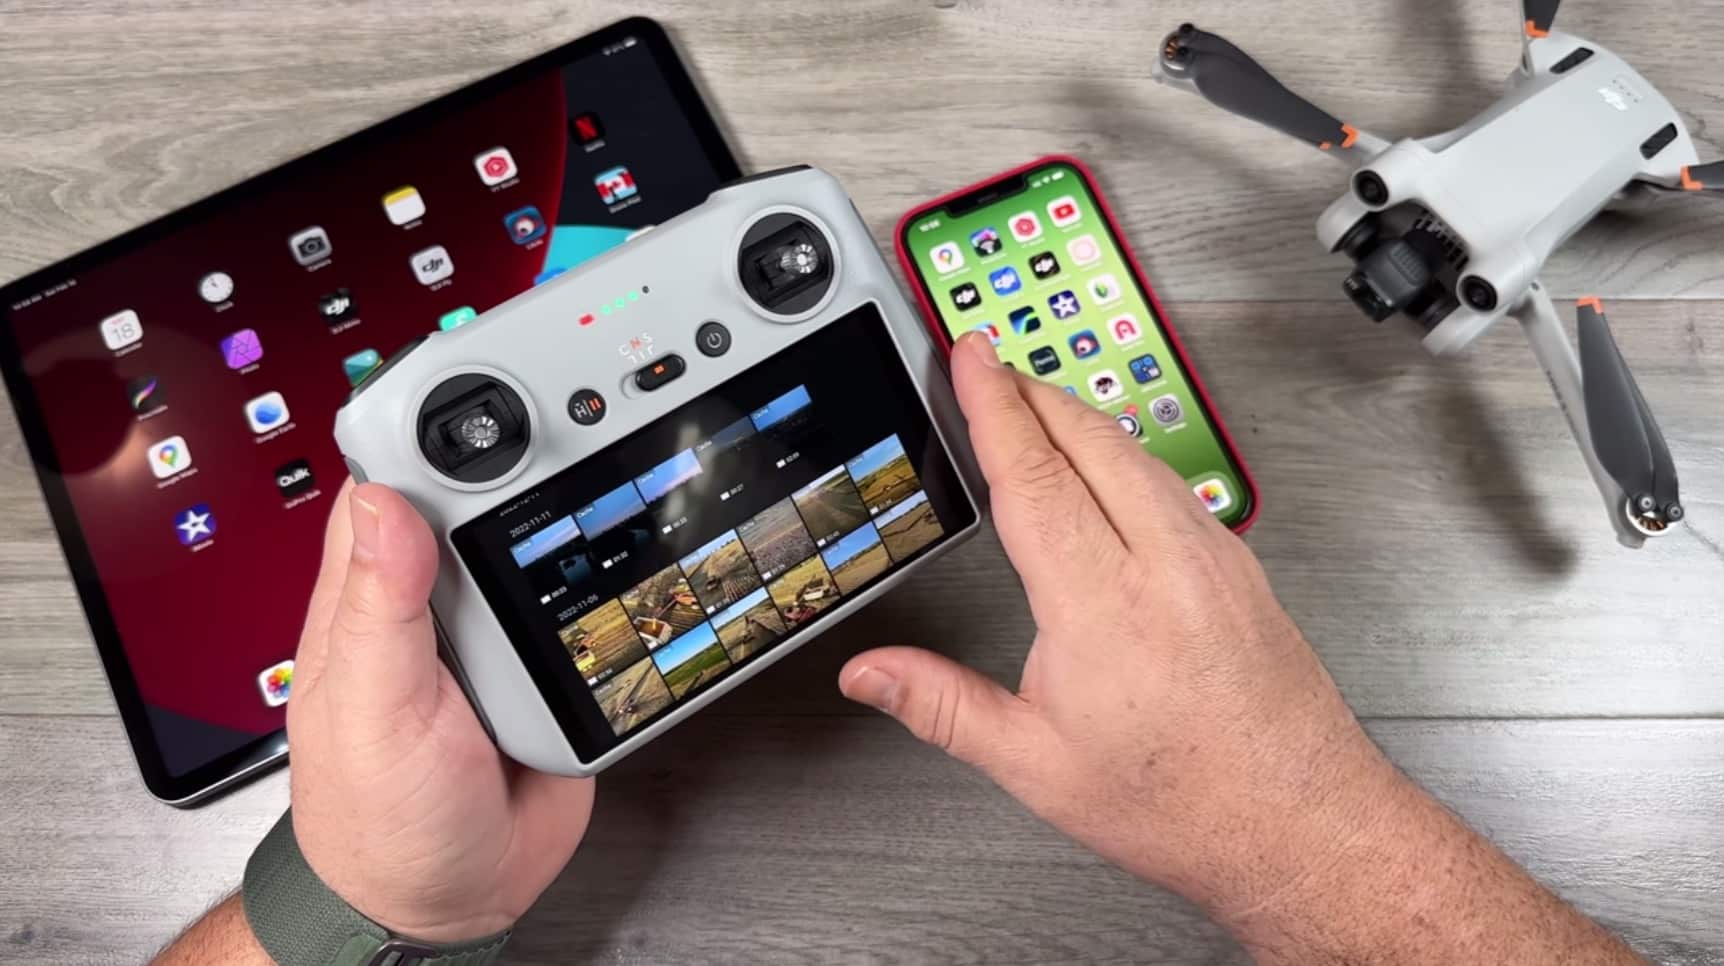
- Open the DJI Fly app: Launch the DJI Fly app on your smartphone or tablet. Make sure the app is up to date to avoid any compatibility issues.
- Connect your smartphone with the remote controller: Use the cable provided to connect your smartphone to the remote controller. The USB port on the bottom of the controller should be used for this purpose.
- Securely attach the smartphone: Ensure that the smartphone is securely fastened to the remote controller’s clamp. This will prevent any accidental disconnections during flight.
- Power on the DJI Mini 3 Pro: Turn on the drone by pressing the power button on the battery once, and then pressing and holding it for a few seconds. The LED lights on the drone will begin to flash.
- Establish a Bluetooth connection: Within the DJI Fly app, navigate to the settings menu and select the option to connect to the drone via Bluetooth. Follow the on-screen instructions to establish a stable connection between the app and the drone.
- Link the remote controller: Press and hold the link button on the back of the remote controller until the LED lights start flashing rapidly. At the same time, press and hold the power button on the drone until the LED lights on both the remote controller and the drone turn solid.
- Confirm the connection: Once the LED lights on both the remote controller and the drone are solid, it indicates that the connection has been successfully established. You can now control the DJI Mini 3 Pro using the remote controller.
By following these simple steps, you can quickly and effectively connect the remote controller to the DJI Mini 3 Pro. This ensures a seamless flying experience and allows you to take full advantage of the drone’s capabilities.
Charging the Batteries
Before you can take flight with your DJI Mini 3 Pro, it’s crucial to ensure that the batteries are fully charged. This section will guide you through the process of charging the batteries to maximize your flight time:
- Prepare the charging cable and adapter: Locate the charging cable and adapter provided in the DJI Mini 3 Pro package. Ensure that the adapter is compatible with the charging cable.
- Connect the charging cable to the battery: Take one end of the charging cable and insert it into the charging port of the battery. The charging port is located on the side of the battery and is marked with a charging symbol.
- Connect the charging adapter to a power source: Plug the charging adapter into a wall outlet or a USB power source. Make sure the power source is functioning properly and providing a stable power supply.
- Charge the battery: Once the charging cable and adapter are properly connected, the LED lights on the battery will start flashing to indicate that charging is in progress. Allow the battery to charge fully. This may take approximately one to two hours, depending on the battery’s remaining charge.
- Check the battery’s charging status: The LED lights on the battery will turn solid when the battery is fully charged. This indicates that the battery is ready for use.
- Disconnect the charging cable: Carefully remove the charging cable from the battery once it is fully charged. Be gentle to avoid damaging the cable or the battery.
- Repeat the process for additional batteries: If you have additional batteries, repeat the above steps for each battery to ensure that you have enough power for extended flight sessions.
By following these steps, you can ensure that your DJI Mini 3 Pro batteries are always fully charged and ready for action. Remember to charge your batteries before each flight to maximize your flight time and enjoyment.
Inserting the Memory Card
When capturing stunning aerial footage with your DJI Mini 3 Pro, it’s essential to have a memory card inserted to store the photos and videos. Here’s how you can easily insert the memory card:
- Locate the memory card slot: The memory card slot can be found on the side of the DJI Mini 3 Pro. It’s a small slot labeled “MicroSD” and is designed to fit a microSD card.
- Prepare the microSD card: Ensure that you have a compatible microSD card available for use. The DJI Mini 3 Pro supports microSD cards up to a certain capacity (check the product manual for specific details).
- Insert the microSD card: Gently insert the microSD card into the memory card slot. Make sure the card is properly aligned with the slot and inserted in the correct orientation. Apply gentle pressure until you feel the card click into place.
- Secure the memory card: After inserting the microSD card, ensure that it is securely in place by gently pushing it further into the slot. This step is important to prevent the card from accidentally popping out during flight.
- Power on the DJI Mini 3 Pro: Turn on the drone by pressing the power button on the battery. The drone will automatically recognize the inserted microSD card.
- Verify memory card detection: Within the DJI Fly app, navigate to the camera settings and ensure that the app recognizes the presence of the microSD card. This will allow you to start capturing photos and videos directly to the memory card.
- Formatting the memory card (optional): If you are using a new or previously unformatted memory card, it’s recommended to format it within the DJI Fly app before using it. This ensures optimal performance and compatibility.
By following these steps, you can easily insert a memory card into your DJI Mini 3 Pro and ensure that all your aerial footage is securely saved. Remember to regularly transfer the files from the memory card to a computer or external storage to free up space for future flights.
Extending the Landing Gear
When preparing for takeoff and landing with your DJI Mini 3 Pro, it’s important to extend the landing gear to ensure a safe and stable landing. Follow the steps below to extend the landing gear:
- Inspect the landing gear: Before extending the landing gear, visually inspect it for any damage or debris. Ensure that the landing gear is clean and free from any obstructions that could interfere with its movement.
- Locate the landing gear switches: On the bottom of the DJI Mini 3 Pro, you will find two switches on either side. These switches control the landing gear extension.
- Power on the DJI Mini 3 Pro: Turn on the drone by pressing the power button on the battery. Wait for the drone and the remote controller to establish a stable connection.
- Activate the landing gear switches: To extend the landing gear, simultaneously slide both switches towards the outer edge of the drone. You should see and hear the landing gear slowly extending downwards.
- Check the landing gear position: Once the landing gear is fully extended, visually confirm that it is securely in place and properly aligned. The landing gear should be level and stable.
- Preparing for landing: When preparing to land, ensure that the landing area is free from obstacles and suitable for a safe landing. Confirm that the extended landing gear has enough clearance for a smooth touchdown.
- Retracting the landing gear after landing: After landing, slide both switches on the bottom of the drone towards the center to retract the landing gear. Make sure the landing gear is fully retracted before storing or transporting the drone.
By following these steps, you can easily extend and retract the landing gear of your DJI Mini 3 Pro. This ensures a safe and secure landing, allowing you to capture breathtaking footage and enjoy hassle-free flights.
Attaching the Propellers
Properly attaching the propellers to your DJI Mini 3 Pro is essential for safe and stable flights. Follow the steps below to ensure that the propellers are securely attached:
- Inspect the propellers: Before attaching the propellers, carefully inspect them for any signs of damage, such as cracks or deformation. If any damage is found, do not use the propellers and replace them with new ones.
- Identify the propeller types: The DJI Mini 3 Pro comes with two types of propellers, labeled “A” and “B”. Each propeller has a specific direction of rotation indicated by an arrow on the blade. Take note of the propeller type and rotation direction.
- Locate the motor shafts: On each motor of the DJI Mini 3 Pro, you will find a threaded motor shaft. These shafts are where the propellers will be attached.
- Attach the propellers: Align the propeller labeled “A” with the motor shaft also marked “A”. Hold the propeller from the center hub and gently push it onto the motor shaft. Rotate the propeller clockwise until you feel and hear a click, indicating a secure attachment. Repeat this process for the remaining propellers.
- Tighten the propellers: After attaching all the propellers, use the included propeller wrench (if provided) or your fingers to tighten them further. Ensure that the propellers are snugly attached but avoid over-tightening to prevent damage.
- Check propeller rotation direction: Before taking flight, confirm that the propellers are correctly installed and rotating in the proper direction. The propellers labeled “A” should be spinning counterclockwise, while the propellers labeled “B” should be spinning clockwise.
- Perform a visual inspection: Double-check that all propellers are secure and properly attached before powering on the DJI Mini 3 Pro. Look for any loose or misaligned propellers and address any issues before taking off.
By following these steps, you can confidently attach the propellers to your DJI Mini 3 Pro. This ensures optimal performance and stability during your flights, allowing you to capture stunning aerial footage with ease.
Powering On the DJI Mini 3 Pro
Before you can take to the skies with your DJI Mini 3 Pro, you’ll need to power it on. Follow the steps below to ensure a successful power-up:
- Prepare the drone: Ensure that the DJI Mini 3 Pro is in an open and clear area, away from any obstacles or people. This will prevent any potential accidents during the power-up process.
- Inspect the battery: Check the battery to make sure it is properly inserted and securely attached to the DJI Mini 3 Pro. Ensure that the battery is fully charged for optimal performance.
- Turn on the remote controller: Before powering on the drone, turn on the remote controller by pressing and holding the power button until the LED lights up. This establishes a connection between the remote controller and the drone.
- Power on the DJI Mini 3 Pro: To power on the drone, press the power button located on the battery. Hold the button for a few seconds, and you will see the LED lights on the drone start to flash.
- Wait for initialization: After powering on the DJI Mini 3 Pro, allow it a few moments to initialize. During this time, the drone will perform a self-check and establish a stable connection with the remote controller.
- Confirm connection status: Once the initialization process is complete, ensure that the remote controller and drone are successfully connected. Check the LED lights on both devices to ensure they are solid and not blinking rapidly.
- Perform control checks: Before takeoff, perform control checks to ensure that all flight controls, including the joysticks and buttons on the remote controller, are responsive and functioning properly.
- Monitor battery level: Keep an eye on the battery level indicator on the remote controller or the DJI Fly app to ensure that you have sufficient power for your intended flight. If the battery level is low, consider recharging or replacing the battery before taking off.
By following these steps, you can safely power on your DJI Mini 3 Pro and prepare for your exciting flying adventures. Always remember to adhere to safety guidelines and regulations while operating the drone.
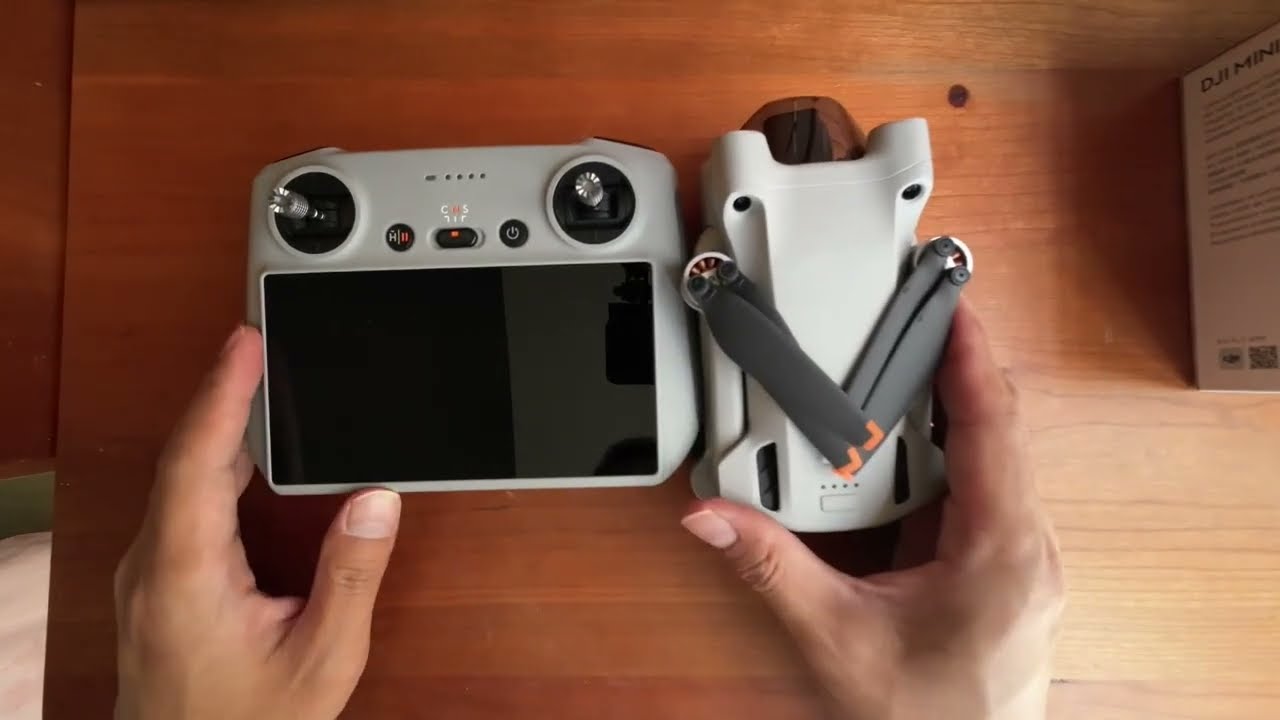
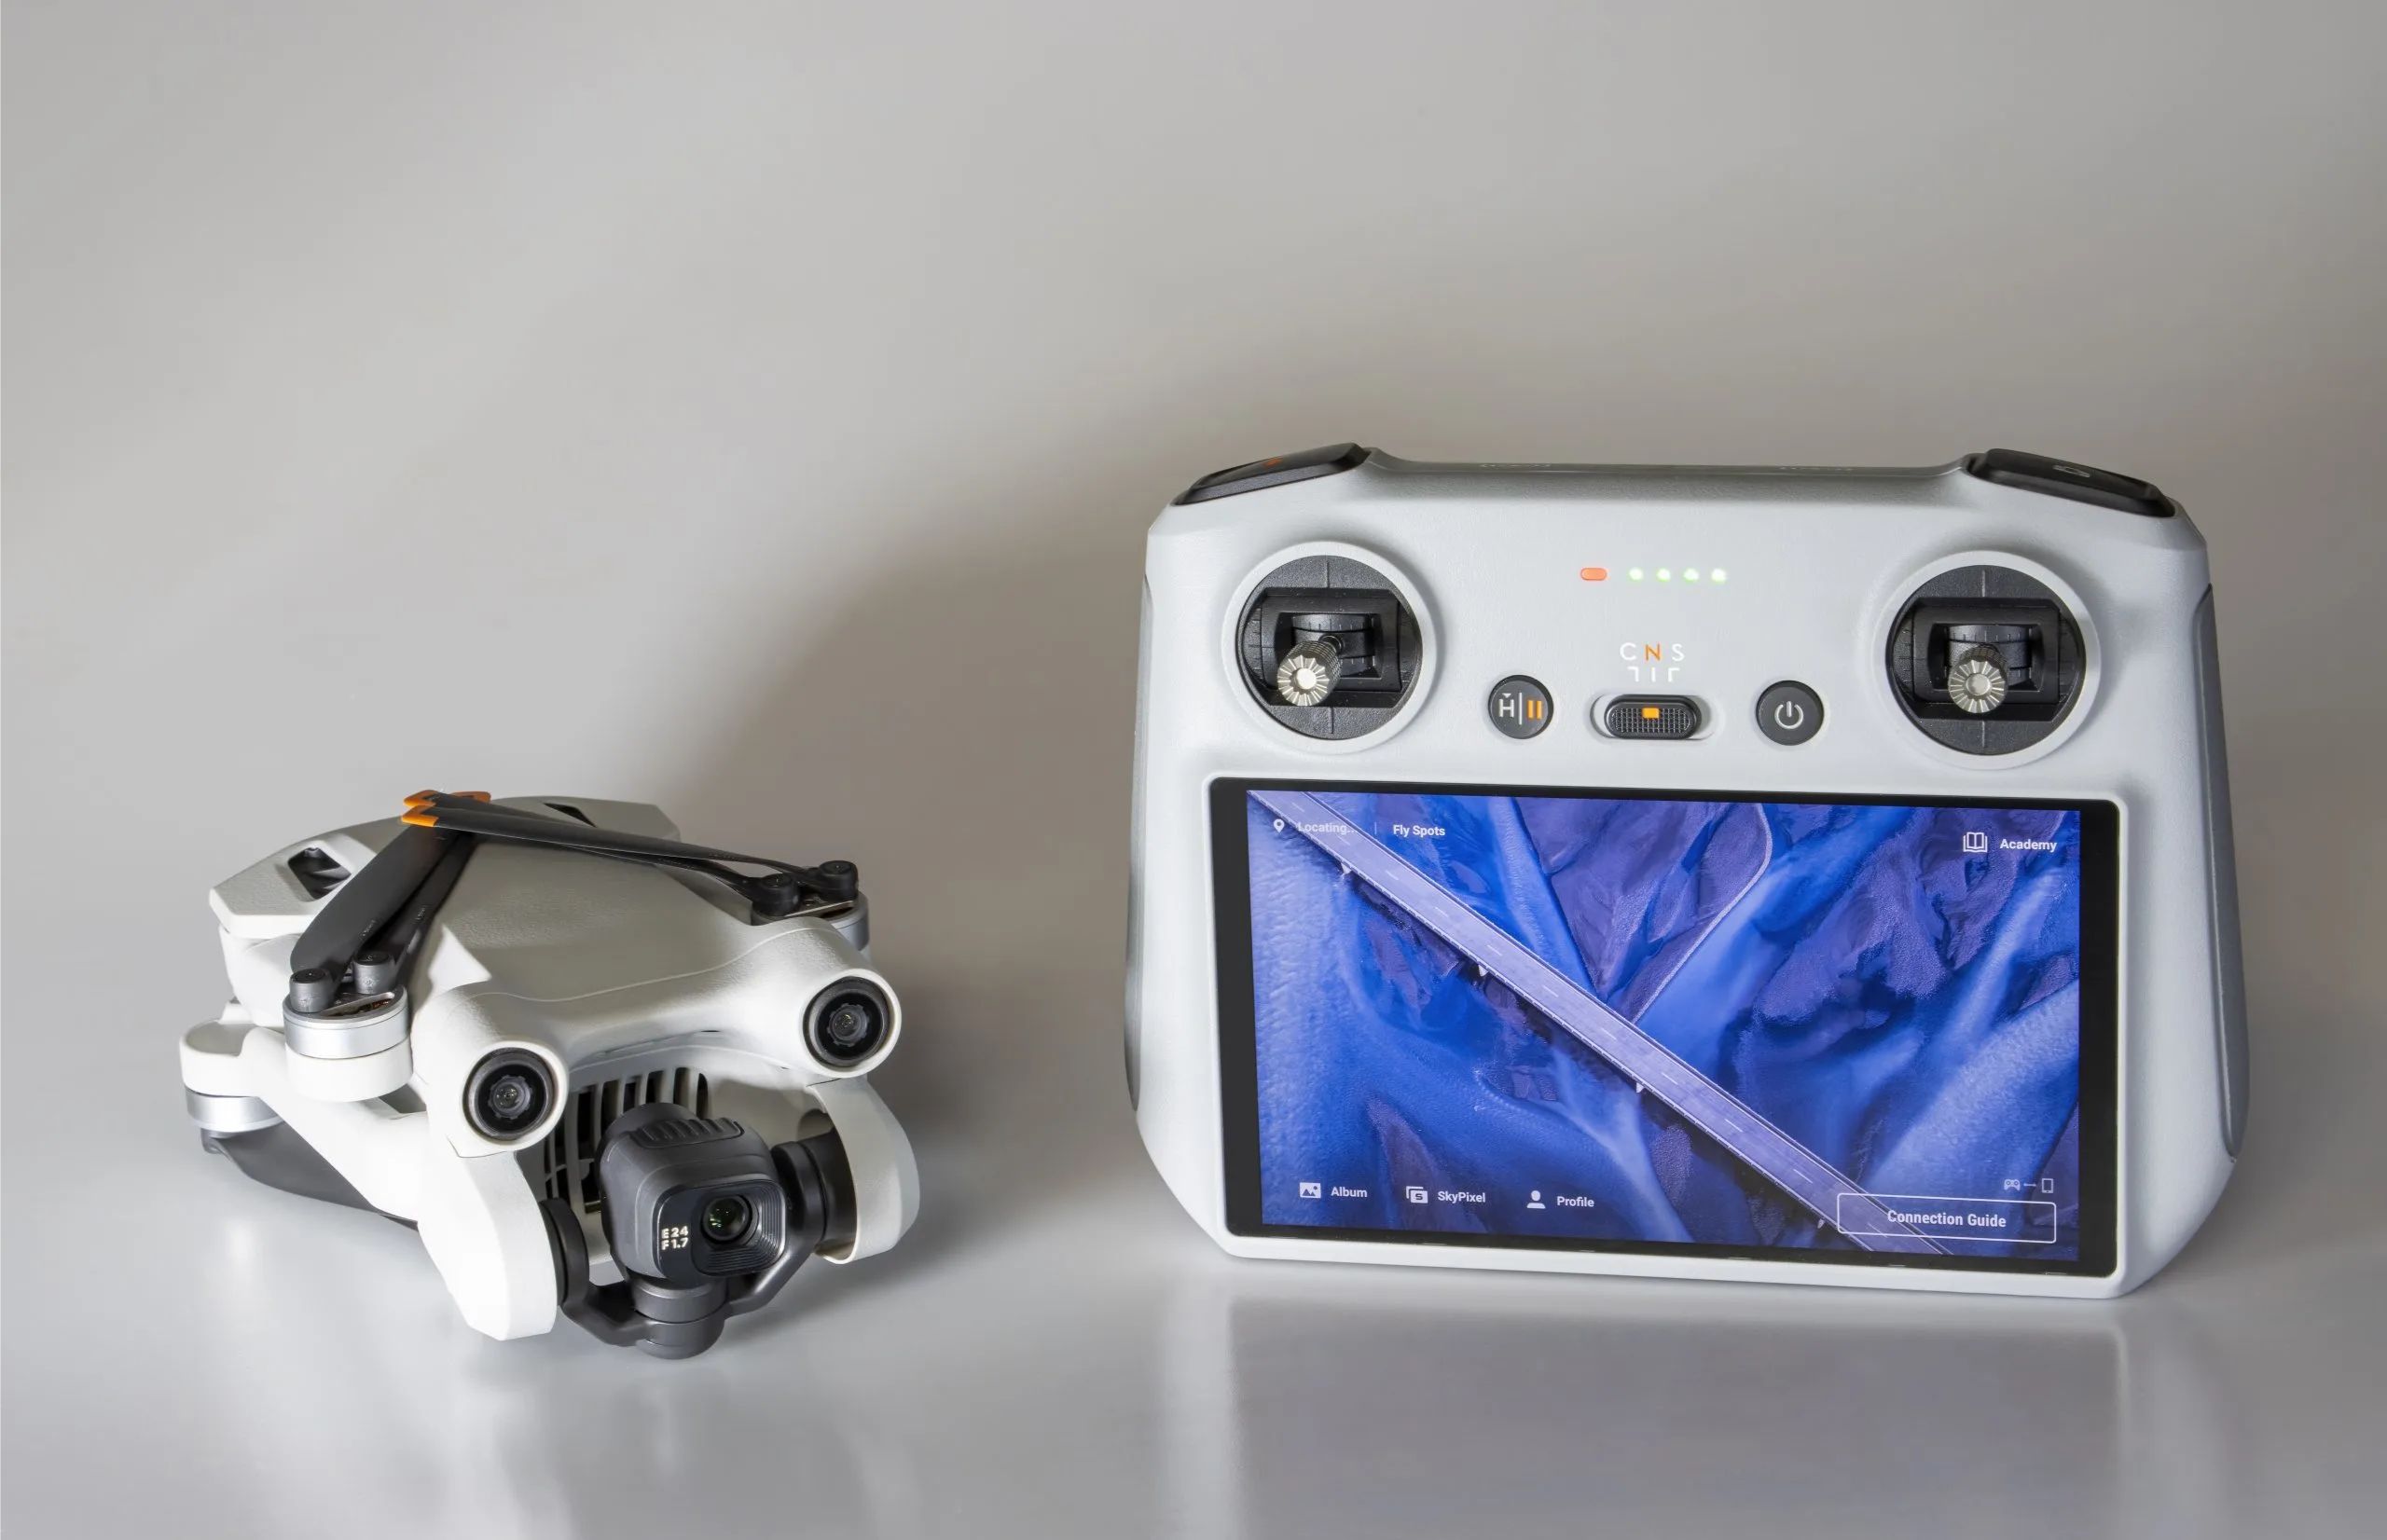
Linking the DJI Mini 3 Pro with the Remote Control
Linking the DJI Mini 3 Pro with the remote control is a crucial step before taking flight. Follow the steps below to establish a strong and stable connection between the drone and the remote control:
- Power on the DJI Mini 3 Pro: Ensure that the drone is powered on by pressing the power button on the battery. Wait for the LED lights on the drone to start flashing, indicating that it is ready for linking.
- Turn on the remote control: Press and hold the power button on the remote control until the LED lights up, indicating that it is powered on and ready for linking.
- Open the DJI Fly app: Launch the DJI Fly app on your smartphone or tablet. Ensure that your mobile device is connected to the internet and that Bluetooth and location services are enabled.
- Connect the remote control to your mobile device: Use the USB cable provided to connect your mobile device to the remote control. Plug one end of the cable into the port on the bottom of the remote control and the other end into your device’s charging port.
- Activate the linking process: Within the DJI Fly app, follow the on-screen prompts to activate the linking process. You may need to grant necessary permissions to establish the connection between the remote control and the DJI Mini 3 Pro.
- Confirm the link: Once the linking process is initiated, both the remote control and the drone will start searching for each other. Wait for the LED lights on both devices to turn solid, indicating that the link has been successfully established.
- Verify the connection: To ensure a stable connection, check the DJI Fly app or the remote control’s status display to confirm that the remote control is connected to the drone. You should see live telemetry data and camera footage if applicable.
- Perform a control test: Before launching the DJI Mini 3 Pro, perform a control test to ensure that all flight controls, including the joysticks and buttons on the remote control, are responsive and functioning properly.
By following these steps, you can successfully link the DJI Mini 3 Pro with the remote control and enjoy a reliable and responsive control experience. Always ensure that the link is established before each flight for a safe and enjoyable flying experience.
Calibrating the Compass
Calibrating the compass is an important step to ensure accurate navigation and stable flight performance with your DJI Mini 3 Pro. Follow the steps below to calibrate the compass:
- Choose an open and interference-free area: Find a location that is away from any metal objects, magnets, or electromagnetic interference. It’s best to perform the compass calibration outdoors in an open area.
- Power on the DJI Mini 3 Pro: Turn on the drone by pressing the power button on the battery. Wait for the drone to complete its initialization process and ensure that it is connected to the remote control.
- Open the DJI Fly app: Launch the DJI Fly app on your smartphone or tablet. Make sure your mobile device is connected to the remote control and that you have a stable connection.
- Access the compass calibration: Within the DJI Fly app, navigate to the settings or aircraft control section, and look for the option to calibrate the compass. Select this option to begin the calibration process.
- Follow on-screen instructions: The DJI Fly app will provide step-by-step instructions for the compass calibration process. Typically, you will be prompted to rotate the DJI Mini 3 Pro horizontally and vertically in a specific pattern to calibrate the compass.
- Rotate the drone as instructed: Hold the drone in your hand, parallel to the ground, and rotate it horizontally following the on-screen instructions. Then, rotate it vertically to complete the calibration process.
- Confirm successful calibration: Once the calibration process is complete, the DJI Fly app will display a message indicating successful calibration. You may also see a notification or indicator on the remote control or drone confirming the completed calibration.
- Perform a test flight: After calibrating the compass, it is recommended to perform a test flight in a safe and open area. This allows you to verify that the navigation and flight performance are stable and accurate.
By following these steps, you can successfully calibrate the compass on your DJI Mini 3 Pro. This ensures precise navigation and reliable flight performance, enhancing your overall flying experience.
Updating the Firmware
Regularly updating the firmware on your DJI Mini 3 Pro is essential to ensure optimal performance, add new features, and address any known issues. Follow the steps below to update the firmware on your drone:
- Connect to the DJI Fly app: Ensure that your smartphone or tablet is connected to the DJI Fly app. Ensure that you have a stable internet connection to download the latest firmware update.
- Check for firmware updates: Within the DJI Fly app, navigate to the settings or aircraft control section. Look for the option to check for firmware updates and select it. The app will check for the latest firmware version available for your DJI Mini 3 Pro.
- Download the firmware: If a new firmware version is available, the DJI Fly app will prompt you to download it. Make sure you have sufficient storage space on your mobile device to accommodate the firmware update.
- Prepare the drone and remote control: Ensure that the DJI Mini 3 Pro and the remote control are powered on and connected. The devices should be within close proximity and have a stable connection before proceeding with the firmware update.
- Initiate the firmware update: Follow the on-screen instructions within the DJI Fly app to start the firmware update process. The app will guide you through the steps, which may include confirming the update, accepting terms and conditions, and granting necessary permissions.
- Wait for the update to complete: During the updating process, ensure that both the drone and the remote control remain powered on and connected. Avoid interrupting the update or turning off the devices until the update is complete.
- Verify the firmware version: After the firmware update is successfully completed, double-check the version number displayed in the DJI Fly app. Ensure that it matches the latest firmware version specified by DJI.
- Perform a test flight: After updating the firmware, it is recommended to perform a test flight in a safe and open area. This allows you to verify that the drone’s performance has improved and that any issues addressed by the update have been resolved.
By regularly updating the firmware of your DJI Mini 3 Pro, you can ensure that your drone is equipped with the latest features and enhancements for an optimal flying experience. Stay up to date with firmware updates to maximize the performance and functionality of your drone.
Navigating the DJI Fly App
The DJI Fly app is an essential tool for controlling, monitoring, and accessing various features and settings of your DJI Mini 3 Pro. Understanding how to navigate the app is key to maximizing your drone’s capabilities. Here’s a guide on navigating the DJI Fly app:
- Home screen: Upon launching the app, you will be greeted with the home screen. This screen provides quick access to essential information, including battery level, signal strength, and GPS status. It also displays a live view of the drone’s camera feed.
- Main menu: Located at the top left or right corner of the screen, the main menu icon allows you to access a variety of settings and options within the app. Tap on this icon to expand the menu and explore different sections of the app.
- Capture modes: The DJI Fly app offers various capture modes, such as Photo, Video, QuickShots, and more. These modes allow you to capture different types of content, including panoramas, time-lapses, and cinematic shots. Select the desired capture mode by tapping on the corresponding icon.
- Flight modes: The app provides different flight modes to cater to your specific needs and preferences. These modes may include Normal Mode, Sport Mode, and Tripod Mode. Select the appropriate flight mode based on your desired flying style and maneuverability.
- Settings: Access the settings menu to customize various aspects of the app and drone. This includes options to adjust camera settings, change flight parameters, and modify control preferences. Explore the settings to personalize your drone experience.
- Flight telemetry: The DJI Fly app provides real-time flight telemetry data, such as altitude, speed, distance, and battery level. This information helps you monitor and optimize your flight performance while ensuring the safety and well-being of your drone.
- Flight logs and media library: The app keeps track of detailed flight logs and organizes your captured media, including photos and videos. Accessing the media library allows you to review, share, and manage your content directly from the app.
- Tutorials and guides: The DJI Fly app offers tutorials and guides to help you navigate its features and to enhance your skills and knowledge as a drone pilot. Take advantage of these resources to learn more about your DJI Mini 3 Pro’s capabilities and how to make the most of them.
By familiarizing yourself with the different sections and features of the DJI Fly app, you can confidently control and navigate your DJI Mini 3 Pro. Take the time to explore the app’s functionalities and settings to achieve the best possible flying experience.
Performing the Pre-flight Checklist
Performing a pre-flight checklist is a crucial step to ensure the safe and successful operation of your DJI Mini 3 Pro. By following a checklist, you can minimize the risk of accidents, ensure proper functionality, and maximize the enjoyment of your flights. Here’s a pre-flight checklist to guide you:
- Check the weather conditions: Ensure that weather conditions are suitable for flying. Avoid strong winds, rain, or other adverse weather conditions that may pose a risk to the drone’s stability or flight performance.
- Inspect the drone: Examine the DJI Mini 3 Pro for any visible damage or loose parts. Check the propellers, landing gear, gimbal, and other components to ensure they are securely attached and in good working condition.
- Check the battery: Verify that the battery is properly inserted and adequately charged. Ensure that the battery is free from any damage or signs of wear. Check the battery level to confirm sufficient power for your intended flight.
- Review flight regulations: Familiarize yourself with the local flight regulations and restrictions in your area. Ensure that you are aware of any airspace limitations, no-fly zones, and specific rules that apply to drone operations in your location.
- Ensure GPS signal: Confirm that the DJI Mini 3 Pro has a stable GPS signal before taking off. This will ensure accurate position tracking, flight assistance features, and a safe Return-to-Home function.
- Clear the takeoff area: Ensure that the area where you plan to take off is clear of obstacles, people, and other potential hazards. Look out for trees, power lines, buildings, and other objects that could interfere with the drone’s flight path.
- Calibrate the compass: If necessary, calibrate the compass by following the instructions provided in the DJI Fly app. This will ensure accurate navigation and stable flight performance.
- Check the remote control: Confirm that the remote control is fully charged. Check the controller’s connectivity to the drone and ensure that the joysticks, buttons, and switches are functioning properly.
- Verify camera settings: If you plan to capture photos or videos, review and adjust the camera settings within the DJI Fly app. Check the resolution, frame rate, exposure, and other parameters to ensure optimal results for your intended shots.
- Confirm memory card: Ensure that a compatible and properly formatted memory card is inserted into the DJI Mini 3 Pro. This will allow you to save captured photos and videos without any issues.
- Perform a pre-flight test: Before taking off, perform a short test flight in a safe and open area. Check the responsiveness of the controls, stability of the drone, and functionality of the camera to ensure everything is working as expected.
- Observe flying etiquette and safety: Lastly, remember to observe flying etiquette and safety protocols. Respect privacy, avoid flying over crowds, and be considerate of others in the vicinity. Always prioritize safety and adhere to local regulations and guidelines.
By diligently following this pre-flight checklist before each flight, you can ensure a safe and enjoyable experience with your DJI Mini 3 Pro. Taking the time to perform these checks will help mitigate risks and maximize the overall quality of your flights.
Taking off with the DJI Mini 3 Pro
Once you have completed the necessary pre-flight preparations and ensured that all systems are functioning properly, it’s time to take off with your DJI Mini 3 Pro. Follow these steps to ensure a smooth and successful takeoff:
- Find an open and suitable takeoff area: Locate a spacious and clear area for takeoff. Make sure the area is free from obstacles, people, and any potential hazards that could interfere with the flight.
- Power on the DJI Mini 3 Pro: Ensure that the drone is powered on by pressing the power button on the battery. Wait for the LED lights on the drone to initialize, indicating that it is ready for flight.
- Ensure proper GPS signal: Confirm that the DJI Mini 3 Pro has acquired a stable GPS signal. This signal is crucial for accurate positioning and flight stability, especially when using features such as Return-to-Home.
- Position the drone: Place the DJI Mini 3 Pro on a level surface, ensuring it is centered within the takeoff area. Keep a safe distance from any potential obstructions or obstacles.
- Double-check flight controls: Confirm that the flight controls on the remote controller are functioning properly. Test the movement of the drone’s rotors, gimbal, and camera to ensure smooth operation.
- Arm the motors: To arm the motors, follow the instructions provided by the DJI Fly app or the remote controller. This typically involves a specific sequence of stick movements or button presses to activate the propellers.
- Takeoff slowly and steadily: Gradually increase the throttle on the remote controller to lift the DJI Mini 3 Pro off the ground. Ascend slowly and steadily, maintaining control and monitoring the drone’s response throughout the ascent.
- Monitor flight parameters: Keep an eye on the DJI Fly app or the remote controller to monitor important flight parameters such as altitude, speed, and battery level. Make adjustments as necessary to ensure a comfortable and controlled flight.
- Fly within visual line of sight: Always maintain visual contact with the DJI Mini 3 Pro during flight. Avoid flying too far or out of sight, as this may increase the risk of accidents or loss of control.
- Observe flying regulations: Adhere to local flying regulations and guidelines. Respect any airspace limitations, adhere to altitude restrictions, and obey any airspace restrictions in your area.
- Enjoy the flight: Once the DJI Mini 3 Pro is in the air, enjoy the experience of flying and exploring the surroundings from a unique perspective. Capture stunning photos and videos, and have fun maneuvering the drone within the limits of safe and responsible piloting.
- Plan for a safe landing: While flying, continuously monitor the battery level and plan for a safe landing once it reaches a low level. Find a suitable landing area, ensure a stable approach, and carefully descend the DJI Mini 3 Pro until it safely touches the ground.
By following these steps, you can confidently take off with your DJI Mini 3 Pro and experience the thrill of flying. Remember to prioritize safety, comply with local regulations, and enjoy the drone responsibly for a memorable and enjoyable flight.