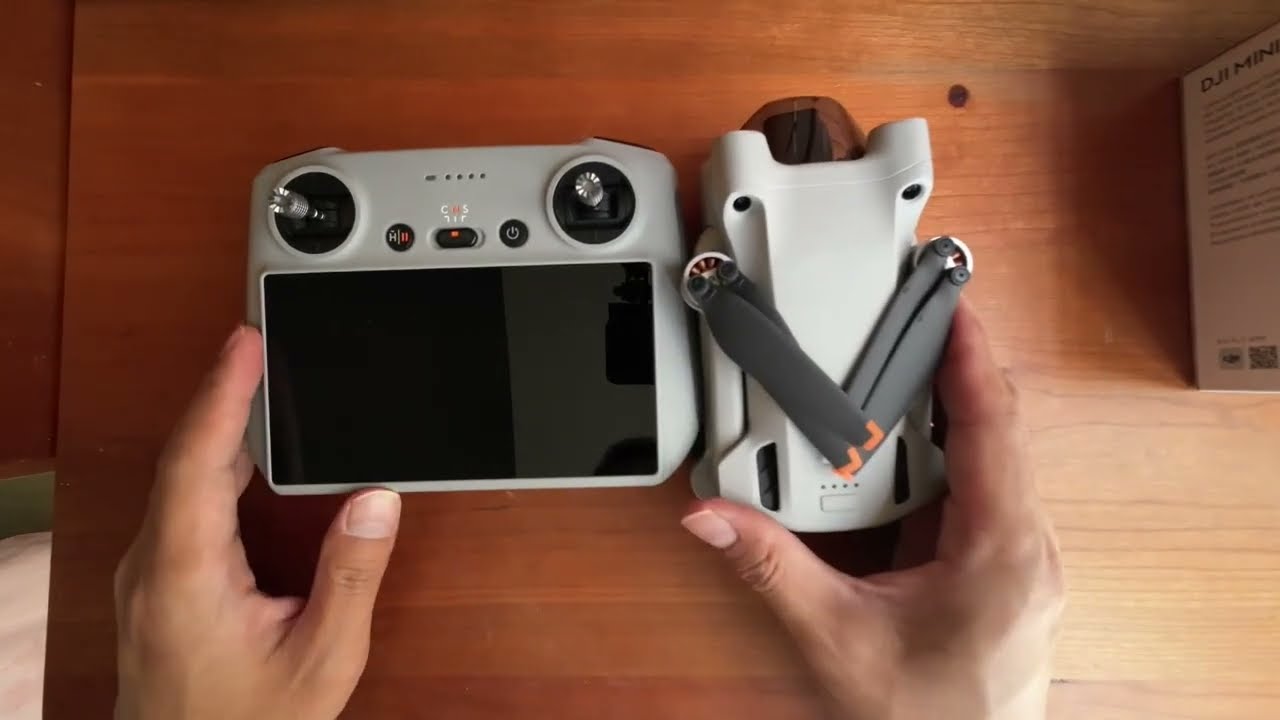
Introduction
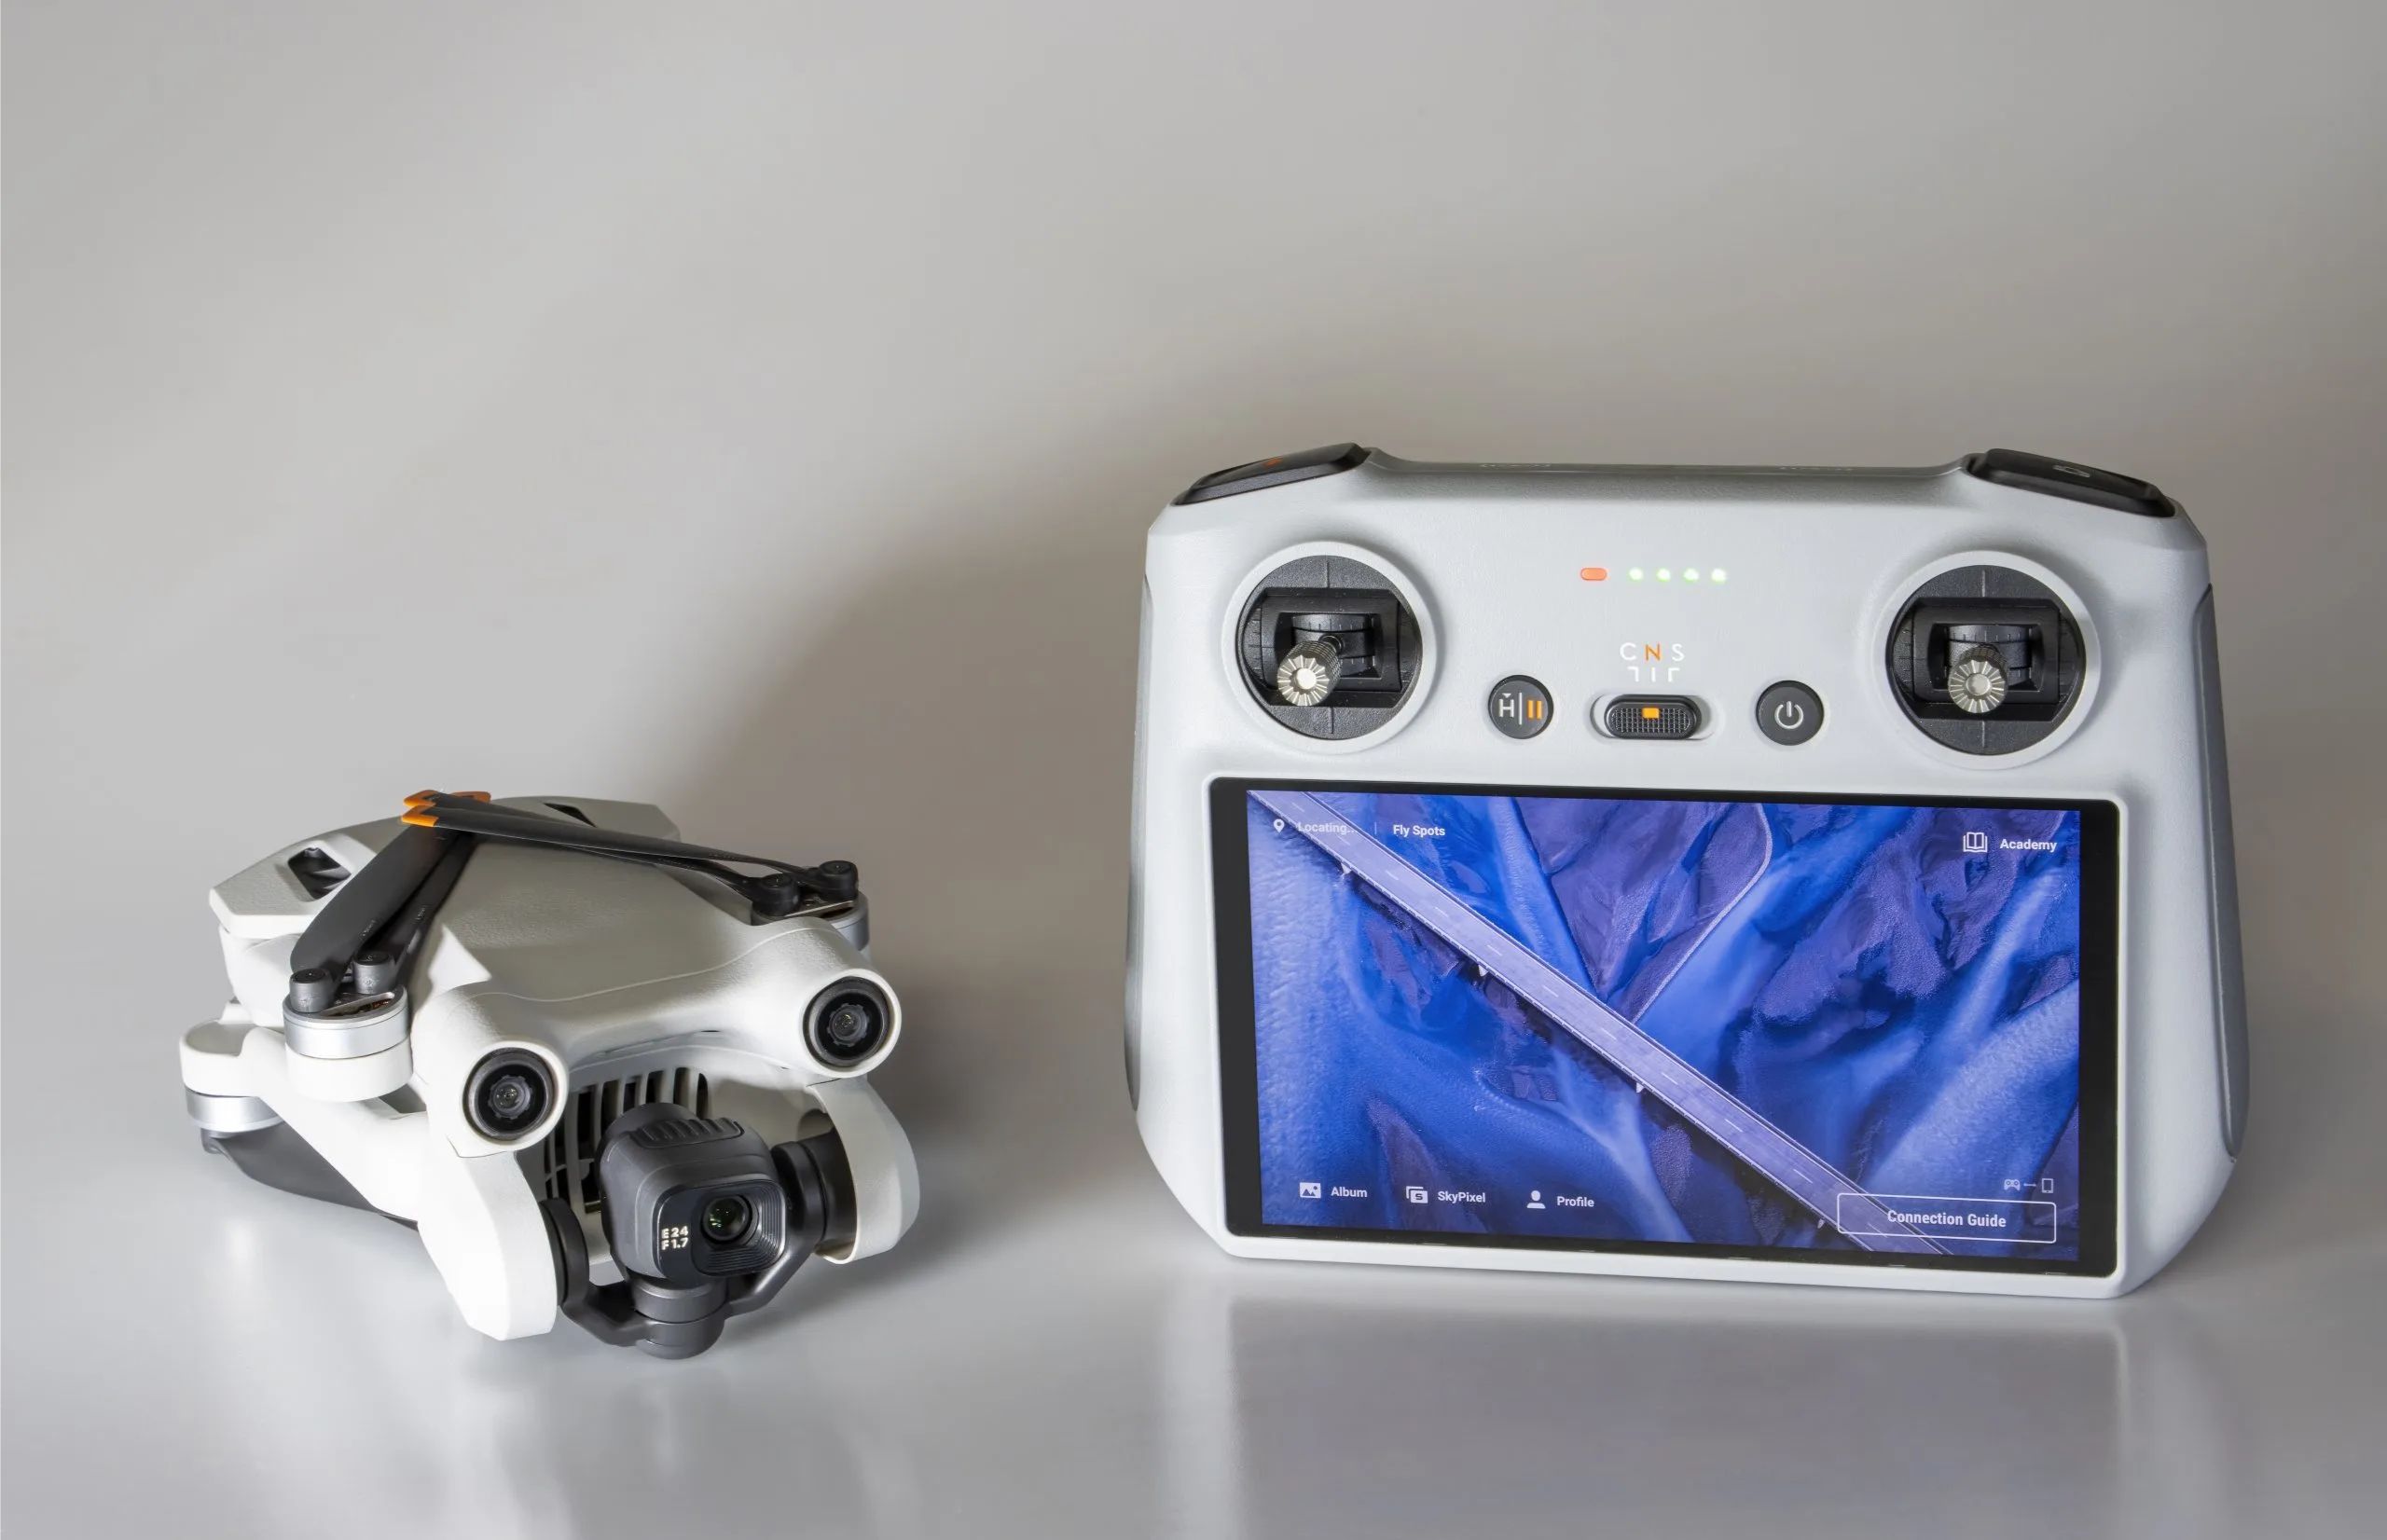
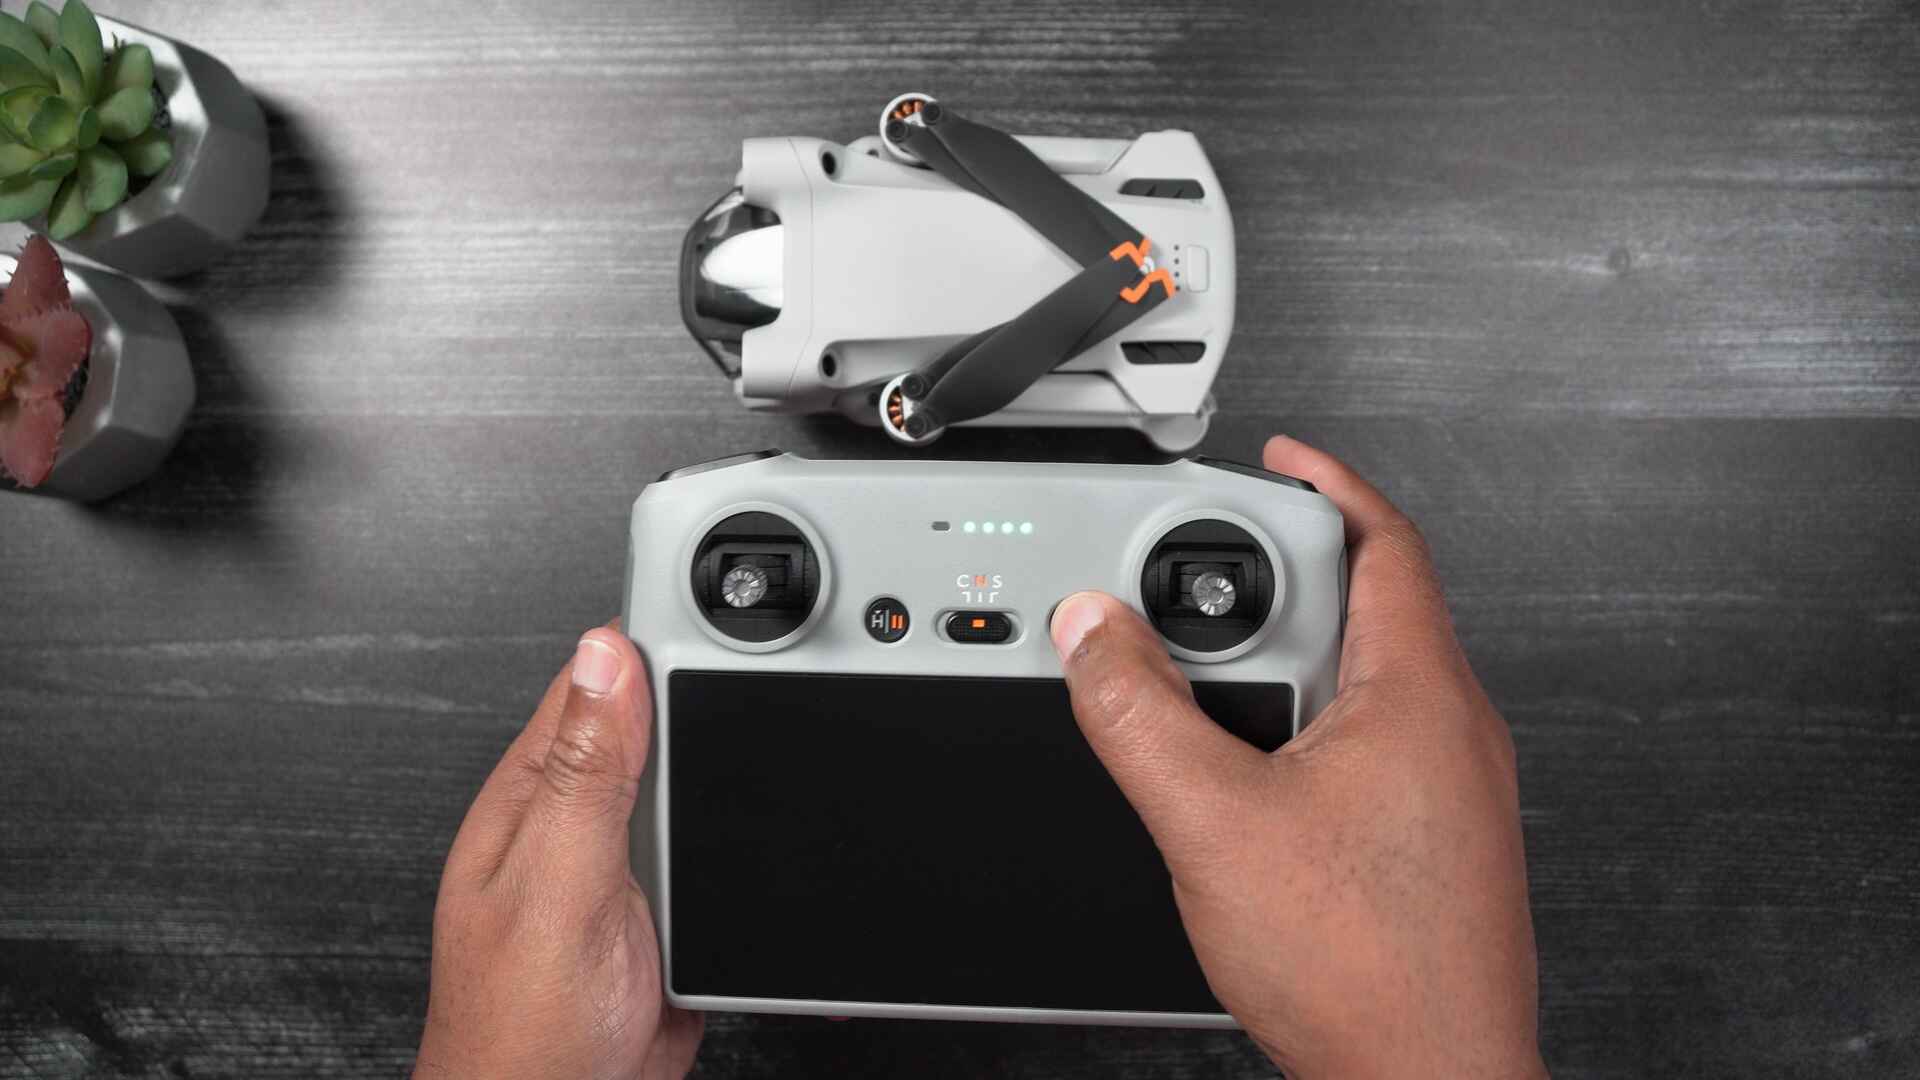
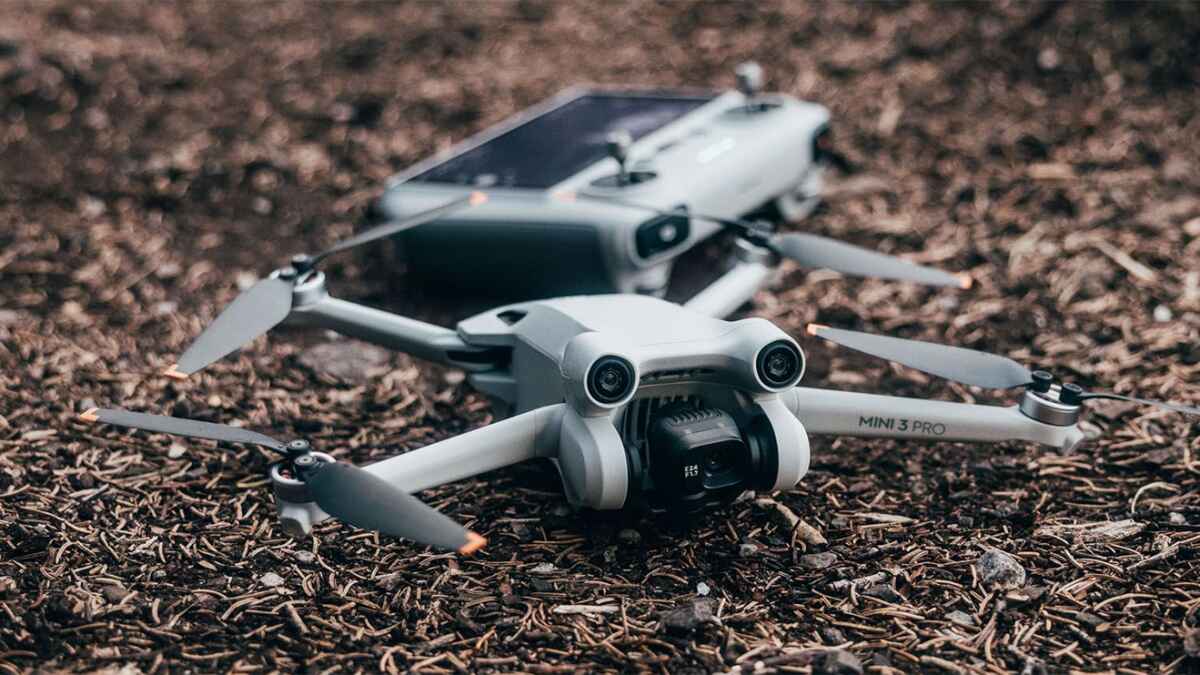
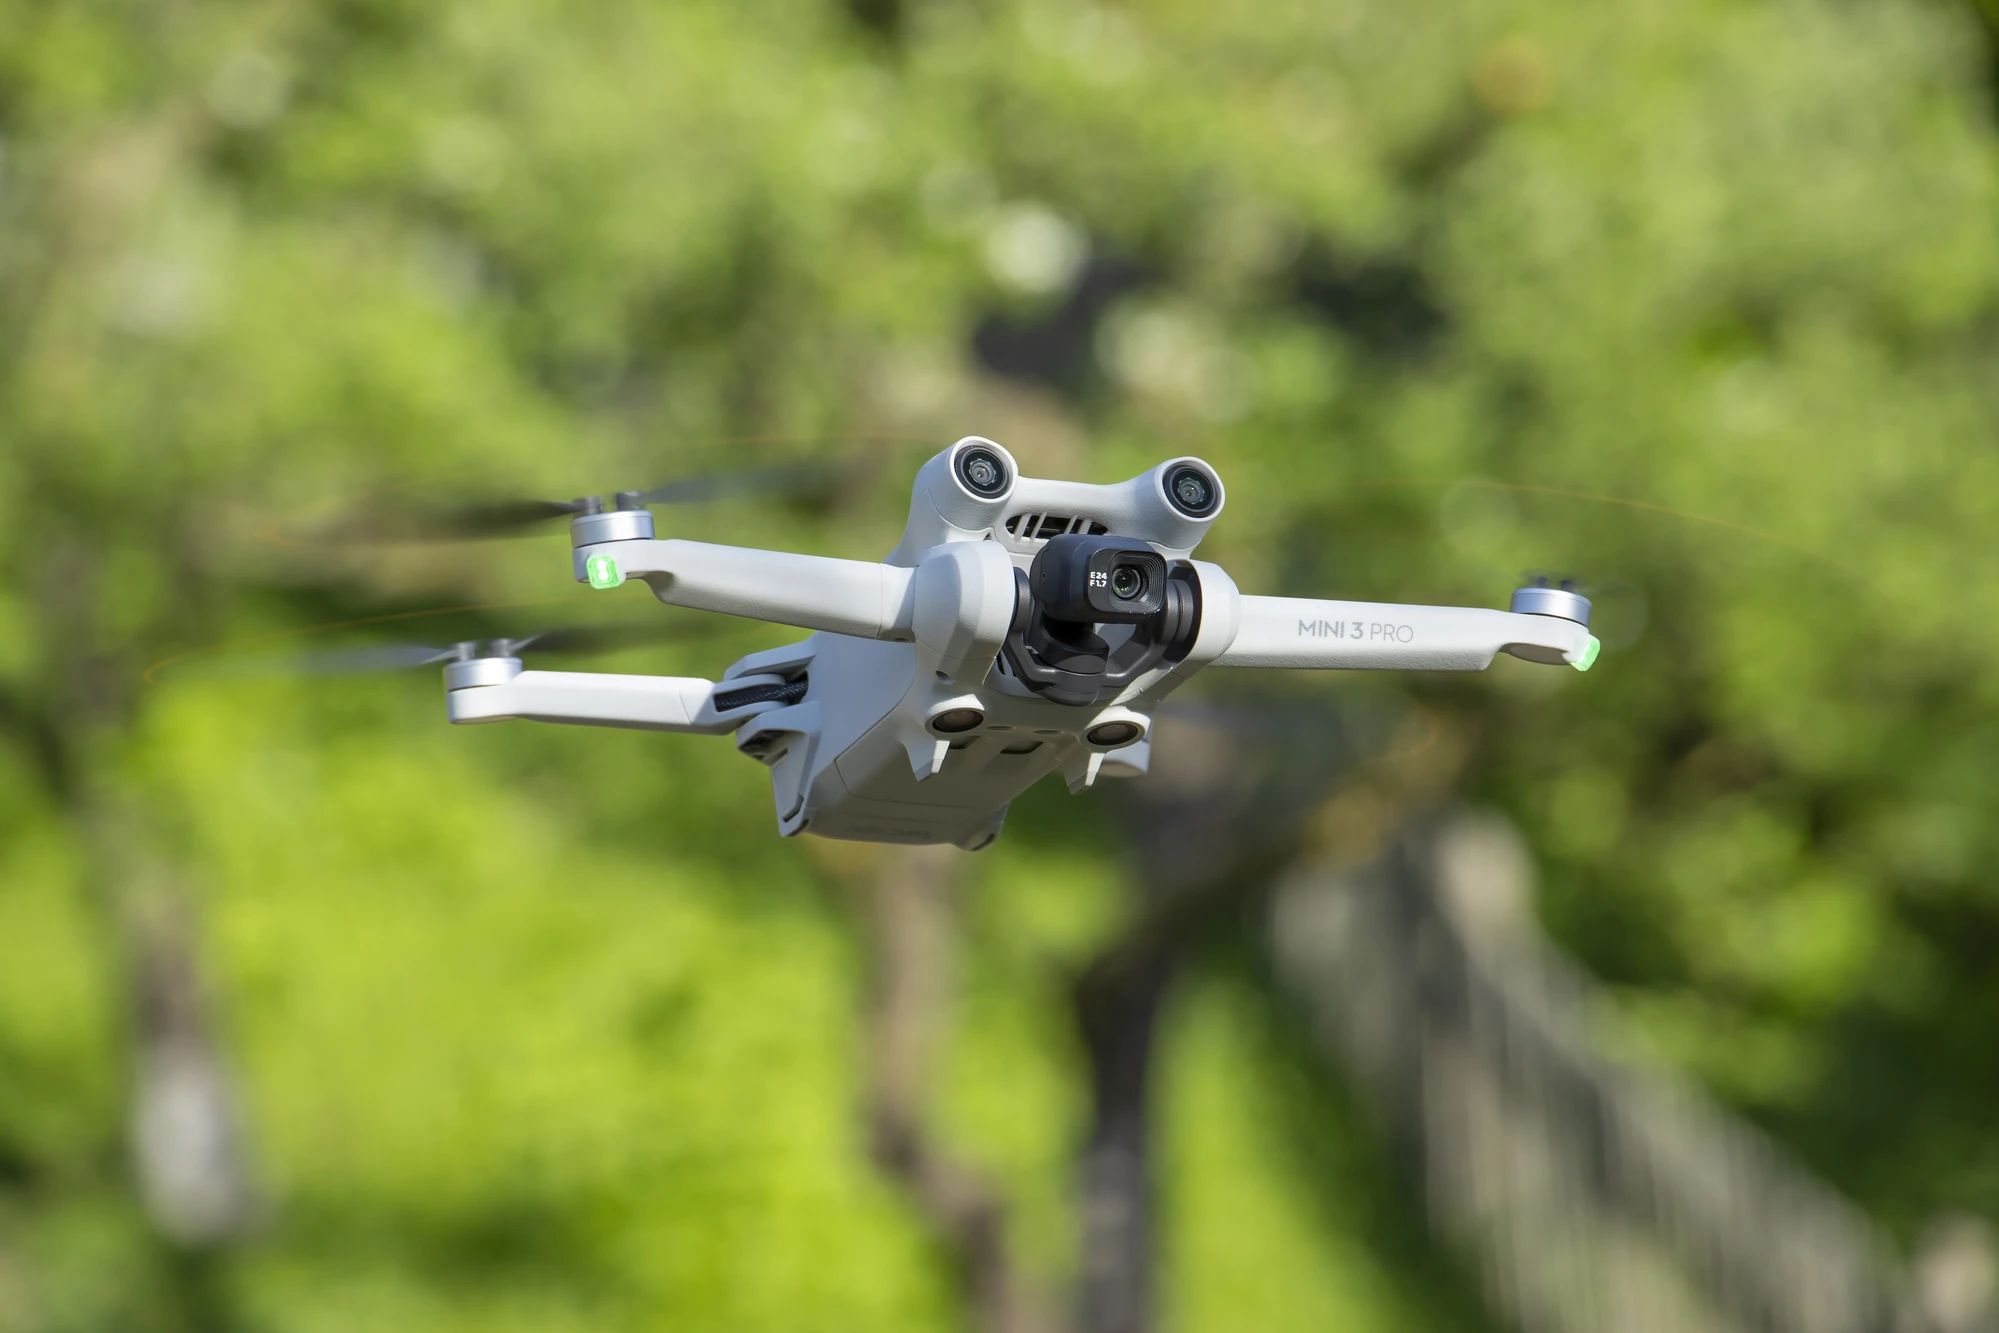
Welcome to the world of aerial photography and videography with the DJI Mini 3 Pro! This compact and powerful drone is equipped with advanced features that will take your creative pursuits to new heights. To ensure that your DJI Mini 3 Pro is up-to-date with the latest features and improvements, it is essential to regularly update its firmware.
Updating the firmware of your DJI Mini 3 Pro is a straightforward process that can be done with the help of DJI Assistant 2, a desktop application provided by DJI. In this guide, we will take you through the step-by-step process of updating your DJI Mini 3 Pro firmware, ensuring that you have all the necessary tools and information to successfully complete the update.
Before we dive into the details, it is important to note that firmware updates are crucial for the optimal functioning of your DJI Mini 3 Pro. These updates often include bug fixes, performance enhancements, and new features that enhance the overall flight experience. By keeping your drone’s firmware up-to-date, you can take full advantage of its capabilities and stay ahead of the curve in the ever-evolving drone technology.
It is recommended to perform firmware updates regularly to stay current with the latest developments in drone software. With each update, you can expect improved stability, enhanced flight performance, and access to new features that expand the creative possibilities of your DJI Mini 3 Pro. So let’s get started and ensure your drone is always up to date!
Step 1: Prepare for the Update
Before diving into the firmware update process, it is crucial to ensure that you have everything you need to proceed smoothly. By following these preparations, you can minimize any potential issues and make the update process seamless and efficient.
1.1 Check the Battery Level: Begin by checking the battery level of your DJI Mini 3 Pro. It is crucial to have a fully charged battery or a battery with sufficient charge to complete the update process without interruption.
1.2 Backup Data: It is always a good practice to back up any important data stored on your DJI Mini 3 Pro before proceeding with a firmware update. This includes any flight logs, custom settings, or other user data that you may have on the drone. While firmware updates rarely cause data loss, it is better to be safe than sorry.
1.3 Stable Internet Connection: Ensure that your computer has a stable internet connection. A reliable internet connection is crucial for downloading the firmware update and any necessary software during the process.
1.4 Disable Anti-virus Software: Temporarily disable any anti-virus software or firewalls on your computer. Some antivirus programs may interfere with the firmware update process, causing errors or blocking necessary connections. By disabling them temporarily, you can avoid potential issues.
1.5 Clear Storage Space: Verify that you have sufficient free storage space on your computer’s hard drive. The firmware update requires space to download and install the necessary files. Clearing up unnecessary files or transferring them to an external storage device can help ensure a smooth update process.
1.6 Familiarize Yourself: Take a moment to familiarize yourself with the update process by reviewing the DJI Mini 3 Pro user manual or any related resources provided by DJI. Understanding the steps involved will give you confidence and help you navigate through the update process with ease.
By preparing in advance and following these steps, you can ensure a smooth and hassle-free firmware update for your DJI Mini 3 Pro. Now that you’re ready to proceed, let’s move on to the next step of the update process.
Step 2: Download the Firmware Update
Once you have prepared for the firmware update, the next step is to download the latest firmware update for your DJI Mini 3 Pro. DJI regularly releases firmware updates to introduce new features and enhance the performance and stability of the drone.
2.1 Visit the DJI Website: Start by visiting the official DJI website (www.dji.com) and navigate to the support section. Look for the downloads page or firmware updates section specific to the DJI Mini 3 Pro. Here, you will find the latest firmware version available for download.
2.2 Check Compatibility: Ensure that the firmware update you are downloading is compatible with your DJI Mini 3 Pro. DJI provides specific firmware updates for each drone model, so make sure you select the correct version to avoid any compatibility issues.
2.3 Download the Firmware Update: Locate the firmware update for your DJI Mini 3 Pro and click on the download button. The firmware update file will be in a compressed format (usually a .zip file). Save the file to a convenient location on your computer’s hard drive.
2.4 Extract the Firmware Update: Once the firmware update file has finished downloading, extract its contents using a file compression tool like WinRAR or 7-Zip. This will create a folder with the extracted files necessary for the firmware update.
2.5 Verify the Integrity: Before proceeding further, verify the integrity of the downloaded firmware update files. Check for any file corruption or missing files that may have occurred during the download process. It is essential to have a complete and intact firmware update file for a successful update.
2.6 Prepare the Firmware Update Files: Ensure that the extracted firmware update files are organized and easily accessible. You may also want to create a backup of these files on an external storage device for future reference.
By following these steps, you can successfully download the latest firmware update for your DJI Mini 3 Pro. With the firmware update files ready, we can now proceed to the next step of the update process.
Step 3: Install the DJI Assistant 2
In order to proceed with the firmware update for your DJI Mini 3 Pro, you will need to install the DJI Assistant 2 software on your computer. DJI Assistant 2 is a desktop application provided by DJI that allows you to manage and update the firmware of your drone.
3.1 Obtain DJI Assistant 2: Visit the DJI website (www.dji.com) and navigate to the support section. Look for the downloads page or software section, where you will find the DJI Assistant 2 software specific to your operating system (Windows or macOS).
3.2 Download the DJI Assistant 2: Click on the download button to begin downloading the DJI Assistant 2 software. Save the installer file to a location on your computer where you can easily access it.
3.3 Run the Installer: Locate the downloaded DJI Assistant 2 installer file and double-click on it to run the installation process. Follow the on-screen instructions to proceed with the installation. Accept any terms and conditions or prompts that may appear during the installation.
3.4 Complete the Installation: Once the installation process is complete, you will have DJI Assistant 2 installed on your computer. You can typically find the application in your computer’s applications or programs folder.
3.5 Launch DJI Assistant 2: Open the DJI Assistant 2 application by double-clicking on its icon. If prompted, grant any necessary permissions or allow the application to make changes to your computer.
3.6 Connect DJI Mini 3 Pro: Before proceeding further, ensure that your DJI Mini 3 Pro is powered on and connected to your computer using a USB cable. The DJI Assistant 2 software should recognize the drone and establish a connection.
3.7 Verify Connection: Once connected, you will see the DJI Mini 3 Pro listed within the DJI Assistant 2 interface. This indicates that the software has successfully established a connection with your drone.
By following these steps, you can easily install the DJI Assistant 2 software on your computer. With the software installed and the drone connected, we can move on to the next step of the firmware update process.
Step 4: Connect DJI Mini 3 Pro to the Computer
Now that you have installed the DJI Assistant 2 software, it is time to connect your DJI Mini 3 Pro drone to your computer. This connection is essential for the firmware update process and allows you to manage and update the drone’s firmware using the DJI Assistant 2 application.
4.1 Power On the Drone: Ensure that your DJI Mini 3 Pro drone is powered on by pressing the power button located on the drone itself. Wait for the drone’s indicator lights to stabilize, indicating that it is ready for operation.
4.2 Obtain the USB Cable: Locate the USB cable that came with your DJI Mini 3 Pro drone. This is the cable that will be used to establish a connection between the drone and your computer.
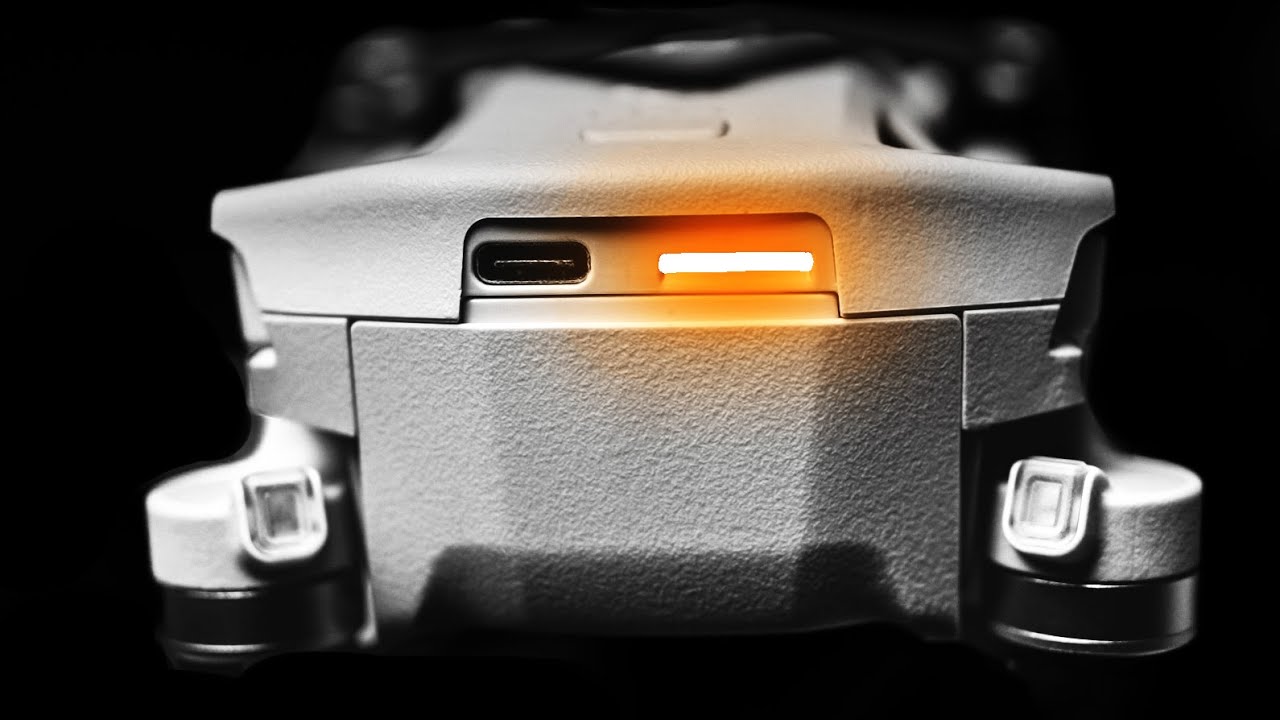
4.3 Connect the USB Cable: Connect one end of the USB cable to the micro-USB port on the DJI Mini 3 Pro drone. Insert the cable firmly but gently to ensure a secure connection. On the other end of the cable, connect the USB-A port to an available USB port on your computer.
4.4 Recognize the Connection: Once the DJI Mini 3 Pro is connected to your computer, the DJI Assistant 2 software should recognize the drone and establish a connection. This connection allows you to communicate with the drone and perform firmware updates.
4.5 Verify the Connection: Open the DJI Assistant 2 application on your computer and look for the DJI Mini 3 Pro to be listed as a connected device. This indicates that the connection has been successfully established between the drone and the computer.
4.6 Troubleshooting: If the DJI Assistant 2 software does not recognize the DJI Mini 3 Pro drone, try the following troubleshooting steps: ensure that the USB cable is securely connected, restart the DJI Assistant 2 application, and restart your computer. If the issue persists, refer to the DJI support documentation or contact their support team for further assistance.
By connecting your DJI Mini 3 Pro to your computer, you are ready to manage the firmware of your drone using the DJI Assistant 2 software. Now that the connection has been established, we can move on to the next step of the firmware update process.
Step 5: Open DJI Assistant 2
With your DJI Mini 3 Pro drone connected to your computer, it’s time to open the DJI Assistant 2 software. DJI Assistant 2 is the tool you will use to manage and update the firmware of your drone. In this step, we will guide you through the process of opening the DJI Assistant 2 application.
5.1 Locate the DJI Assistant 2 Icon: Look for the DJI Assistant 2 icon on your computer’s desktop or in the list of installed applications. The icon is usually represented by the DJI logo or the name “DJI Assistant 2”. Double-click on the icon to launch the application.
5.2 Grant Necessary Permissions (if applicable): Depending on your computer’s security settings, you may be prompted to grant necessary permissions to the DJI Assistant 2 application. Allow the application to make changes to your computer, grant any required permissions, or enter your administrator password if prompted.
5.3 DJI Assistant 2 Interface: Once the DJI Assistant 2 application is launched, you will see its interface on your screen. The interface may vary slightly depending on the version of DJI Assistant 2 you have installed, but you should see options to manage and update your DJI Mini 3 Pro drone.
5.4 Verify Connection: Within the DJI Assistant 2 interface, you should see the DJI Mini 3 Pro listed as a connected device. This indicates that the software has successfully established a connection with your drone. If you don’t see your drone listed, refer to the previous steps to troubleshoot the connection.
5.5 Familiarize Yourself: Take a moment to explore the different options and features available in the DJI Assistant 2 software. Familiarize yourself with the interface and understand how to navigate through the different settings and options. This will help you during the firmware update process.
5.6 Be Cautious: While using the DJI Assistant 2 software, it’s essential to exercise caution and avoid making any unintended changes to the drone’s settings. Only proceed with the firmware update and any other changes if you are confident in what you are doing.
By opening the DJI Assistant 2 software, you are now ready to manage and update the firmware of your DJI Mini 3 Pro drone. With the software interface in front of you, we can move on to the next step of the firmware update process.
Step 6: Check for Available Updates
Once you have opened the DJI Assistant 2 software and established a connection with your DJI Mini 3 Pro drone, it’s time to check for any available firmware updates. DJI regularly releases updates to enhance the performance, stability, and features of their drones. Follow the steps below to check for and download any available updates:
6.1 Select the DJI Mini 3 Pro: Within the DJI Assistant 2 software interface, locate and select the DJI Mini 3 Pro from the list of connected devices. This ensures that you are managing the firmware specifically for your drone model.
6.2 Navigate to the “Firmware Update” Section: Look for a tab or section labeled “Firmware Update” within the DJI Assistant 2 software. Click on this tab to access the firmware update settings for your DJI Mini 3 Pro.
6.3 Check for Firmware Updates: Within the “Firmware Update” section, click on the “Check for Updates” or similar button. The DJI Assistant 2 software will now communicate with DJI’s servers to check for any available firmware updates for your DJI Mini 3 Pro.
6.4 Review Available Updates: After checking for updates, the DJI Assistant 2 software will display a list of available firmware updates for your DJI Mini 3 Pro. Pay attention to the version numbers, release notes, and size of each update to understand the changes and improvements it brings.
6.5 Select the Desired Firmware Update: If there are multiple firmware updates available, select the version you want to install by clicking on it. Make sure to read the release notes and understand the changes before proceeding. If there’s only one firmware update available, skip this step.
6.6 Start the Download: Once you have selected the desired firmware update, click on the “Download” or similar button to start the download process. The DJI Assistant 2 software will begin downloading the firmware update package onto your computer.
6.7 Monitor the Download Progress: During the download process, keep an eye on the progress bar or indicator within the DJI Assistant 2 software. Wait for the download to complete before proceeding to the next steps.
6.8 Verify the Downloaded File: After the download is complete, the DJI Assistant 2 software will verify the integrity of the downloaded firmware update package. This step confirms that the downloaded file is complete and free from any errors.
By following these steps, you can easily check for available firmware updates for your DJI Mini 3 Pro using the DJI Assistant 2 software. With the updates downloaded and verified, we can now move on to the next step and start the firmware update process.
Step 7: Start the Update Process
Once you have downloaded the firmware update for your DJI Mini 3 Pro and verified its integrity, it’s time to start the update process. Follow these steps to begin updating the firmware of your drone using the DJI Assistant 2 software:
7.1 Prepare the DJI Mini 3 Pro: Ensure that your DJI Mini 3 Pro drone is powered on and connected to your computer via the USB cable. Double-check that the connection is stable and that the DJI Assistant 2 software recognizes the drone.
7.2 Locate the Firmware Update Section: Within the DJI Assistant 2 software, navigate to the firmware update section or tab. This is where you will initiate the update process for your DJI Mini 3 Pro.
7.3 Select the Firmware Update Package: In the firmware update section, click on the “Select Firmware” or similar button. Browse your computer for the downloaded firmware update package and select it to proceed with the update.
7.4 Start the Firmware Update: Once you have selected the firmware update package, click on the “Start Update” or similar button in the DJI Assistant 2 software. This will initiate the firmware update process for your DJI Mini 3 Pro.
7.5 Follow On-Screen Instructions: While the firmware update is in progress, carefully follow any on-screen instructions provided by the DJI Assistant 2 software. These instructions may include specific actions to be taken by you or reminders for the update process.
7.6 Do Not Disconnect the Drone: It is crucial to keep the DJI Mini 3 Pro drone connected to your computer via the USB cable throughout the entire update process. Avoid disconnecting the drone or interrupting the update, as this can lead to update failures or other issues.
7.7 Monitor the Update Progress: Keep an eye on the DJI Assistant 2 software to monitor the progress of the firmware update. You may see a progress bar, percentage indicator, or other visual cues that show the update’s current status.
7.8 Wait for the Update to Complete: Patience is key during the firmware update process. Depending on the size of the update and your computer’s performance, it may take some time to complete. Avoid interfering with the process and wait for the update to finish.
7.9 Update Successful: Once the firmware update is complete, the DJI Assistant 2 software will display a success message or notification. This indicates that the firmware has been successfully updated on your DJI Mini 3 Pro drone.
By following these steps, you can easily start the firmware update process for your DJI Mini 3 Pro. With the update in progress, we move on to the next step, waiting for the update to finish.
Step 8: Wait for the Update to Finish
After initiating the firmware update process for your DJI Mini 3 Pro in the DJI Assistant 2 software, it’s important to exercise patience and allow the update to complete. During this step, you need to wait for the update process to finish without interfering with the drone or the software. Here are some important things to keep in mind:
8.1 Monitor the Progress: As the firmware update is being applied to your DJI Mini 3 Pro, keep an eye on the DJI Assistant 2 software to monitor the progress. You may see a progress bar, percentage indicator, or other visual cues that indicate the update’s current status.
8.2 Avoid Disconnecting the Drone: It is crucial to keep the DJI Mini 3 Pro drone connected to your computer via the USB cable throughout the entire update process. Disconnecting the drone prematurely can lead to update failures or other issues. Exercise caution and resist the temptation to disconnect the drone.
8.3 Do Not Interfere: While the update is in progress, it is important not to interfere with the drone or the DJI Assistant 2 software. Avoid interacting with the drone’s controls, shutting down the computer, or interrupting any processes related to the update. Allow the software to proceed with the update uninterrupted.
8.4 Be Patient: The duration of the firmware update process depends on factors such as the size of the update, your computer’s performance, and the speed of your internet connection. It is normal for the update to take some time. Exercise patience and trust the process.
8.5 Avoid Power Interruptions: To prevent any issues during the firmware update, ensure that your computer and drone are connected to a stable power source. Sudden power interruptions can disrupt the update process and potentially cause problems. Make sure you have a reliable power supply throughout the update.
8.6 Follow Any Additional Instructions: In some cases, the DJI Assistant 2 software may provide additional instructions or prompts during the update process. If you encounter any such instructions, carefully read and follow them to ensure a smooth and successful update.
By patiently waiting for the firmware update to finish and following these guidelines, you can ensure that the update process goes smoothly and reduces the risk of any issues or problems. Once the update has successfully completed, it’s time to proceed to the next step of restarting your DJI Mini 3 Pro drone.
Step 9: Restart DJI Mini 3 Pro
After the firmware update process for your DJI Mini 3 Pro is complete, it is important to restart the drone. Restarting the drone ensures that the updated firmware is fully applied and allows the drone’s systems to recalibrate and sync with the new firmware. Follow these steps to restart your DJI Mini 3 Pro:
9.1 Disconnect the USB Cable: Carefully disconnect the USB cable that connects your DJI Mini 3 Pro to your computer. Gently remove the cable from both the drone and the computer’s USB port.
9.2 Power off the Drone: Press and hold the power button on the DJI Mini 3 Pro drone until the indicator lights turn off, indicating that the drone is powered off. This ensures a complete shutdown of the drone’s systems.
9.3 Wait for a Few Seconds: Allow a brief pause of a few seconds before proceeding to the next step. This short break gives the drone’s internal systems time to fully shut down and reset.
9.4 Power on the Drone: Press and hold the power button once again to power on your DJI Mini 3 Pro drone. You should see the indicator lights illuminate, signaling that the drone is powering up.
9.5 Observe the Startup Sequence: As the drone powers on, observe the startup sequence, paying attention to any abnormal behavior or error messages. The drone’s systems will initialize and calibrate with the updated firmware.
9.6 Verify the Updated Firmware: After the restart, check the DJI Assistant 2 software to confirm that the firmware update process was successful. The software should indicate that your DJI Mini 3 Pro drone is running the latest firmware version.
9.7 Test the Drone: To ensure that everything is functioning properly, perform a test flight with your DJI Mini 3 Pro drone. Take it for a short flight, test its various features, and verify that there are no issues or abnormalities with the updated firmware.
9.8 Reconfigure Settings (if necessary): In some cases, firmware updates may reset certain settings on the drone. If you had customized any settings or preferences, take the time to reconfigure them according to your preferences.
By following these steps and restarting your DJI Mini 3 Pro drone, you confirm that the firmware update has been successfully applied and that the drone is now running the latest firmware version. With your updated drone ready to take flight, you’re all set to enjoy the enhanced features and improved performance that the firmware update brings.
Conclusion
Updating the firmware of your DJI Mini 3 Pro is a crucial step in ensuring optimal performance, stability, and access to the latest features. By following the step-by-step guide outlined in this article, you can confidently navigate the firmware update process and keep your drone up to date.
In this guide, we started by emphasizing the importance of firmware updates for the DJI Mini 3 Pro. These updates not only fix bugs and improve performance but also introduce new features that expand the creative possibilities of your drone. By regularly updating the firmware, you can take full advantage of these advancements and stay ahead in the ever-evolving world of drone technology.
We explored each step in detail, from preparing for the update and downloading the firmware update package to installing the DJI Assistant 2 software, connecting the drone to the computer, and checking for available updates. We emphasized the need for patience during the update process and highlighted the significance of restarting the drone after the firmware has been successfully updated.
By following the steps provided, you can ensure a smooth and successful firmware update process for your DJI Mini 3 Pro. Remember to exercise caution, maintain a stable connection, and carefully follow the on-screen instructions provided by the DJI Assistant 2 software.
With each firmware update, you not only enhance the performance and stability of your DJI Mini 3 Pro drone but also unlock new possibilities and creative opportunities. So, take the time to keep your drone’s firmware up to date and continue exploring the skies with confidence and an expanded range of features.
By staying up to date with the firmware updates for your DJI Mini 3 Pro, you can ensure that your drone is always ready to deliver outstanding aerial photography and videography experiences. Happy flying!


