Introduction
Welcome to our guide on how to transfer files from the DJI Mini 3 Pro! If you’re a proud owner of this incredible drone, you might have captured some amazing aerial footage or stunning photographs. Now, you’re probably wondering how to transfer those files from your DJI Mini 3 Pro to your computer.
Transferring files from your drone to your computer is an essential step in the post-production process. Whether you’re a professional photographer or an enthusiast looking to edit and share your drone footage, this guide will walk you through the steps to successfully transfer your files.
The DJI Mini 3 Pro is equipped with impressive storage capabilities, allowing you to capture high-quality videos and images. However, it’s important to remember that your drone’s storage is limited, and it’s crucial to transfer your files to free up space for future flights. By transferring your files, you not only ensure the longevity of your drone’s storage but also give yourself the opportunity to edit and enhance your content.
In this guide, we’ll cover the step-by-step process of transferring files from your DJI Mini 3 Pro to your computer. We’ll provide clear instructions, valuable tips, and important reminders to ensure a smooth and efficient transfer process. So, let’s get started and dive into the world of file transfer!
Step 1: Prepare Your DJI Mini 3 Pro
Before we begin the file transfer process, it’s important to ensure that your DJI Mini 3 Pro is properly prepared. Follow these steps to get your drone ready:
- Charge the Battery: Start by charging the battery of your DJI Mini 3 Pro. Connecting to your computer for file transfer requires a charged battery.
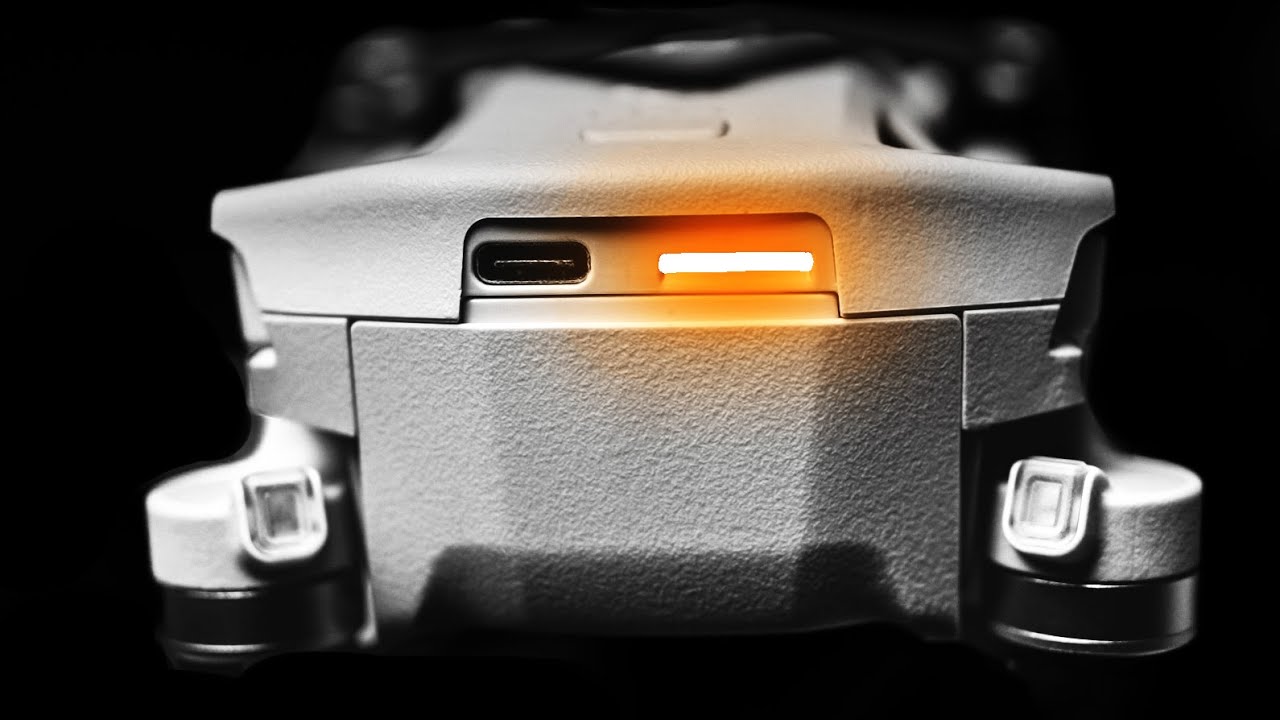
- Turn on the Drone: Press the power button on your DJI Mini 3 Pro to turn it on. Wait for the drone’s indicator lights to signal that it’s powered up and ready to connect.
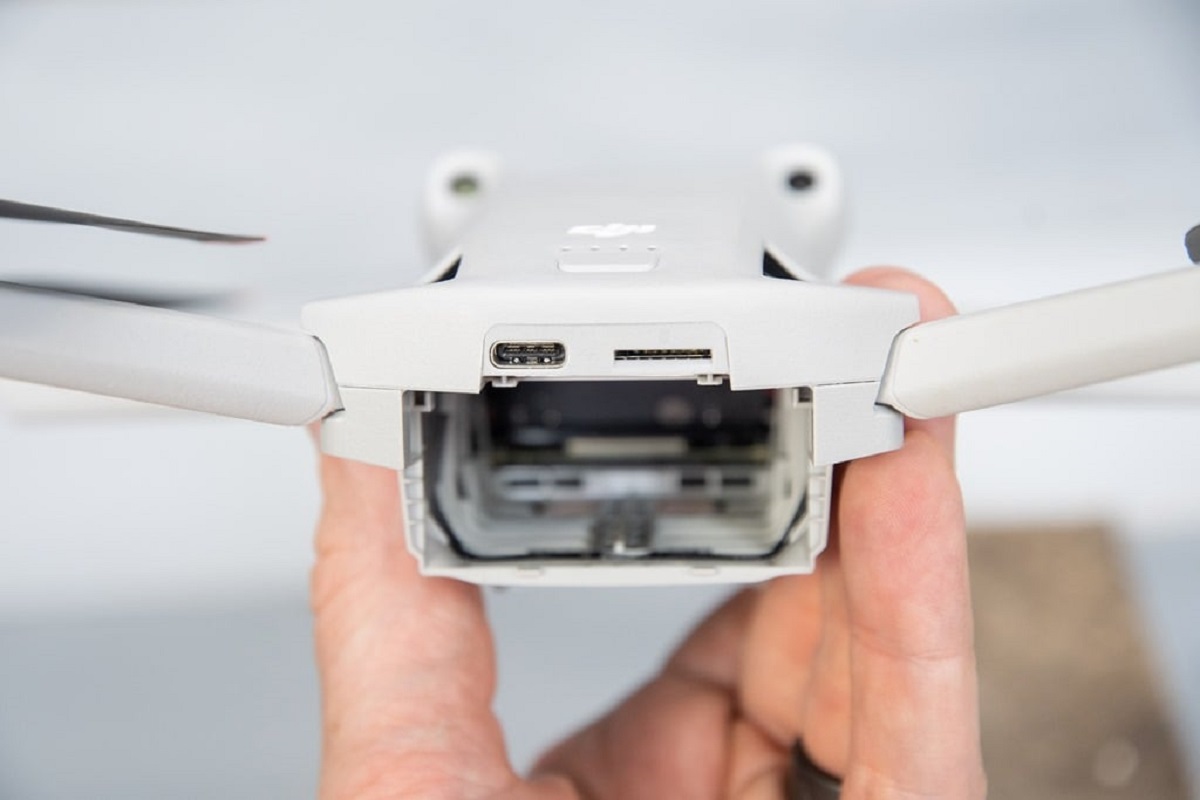
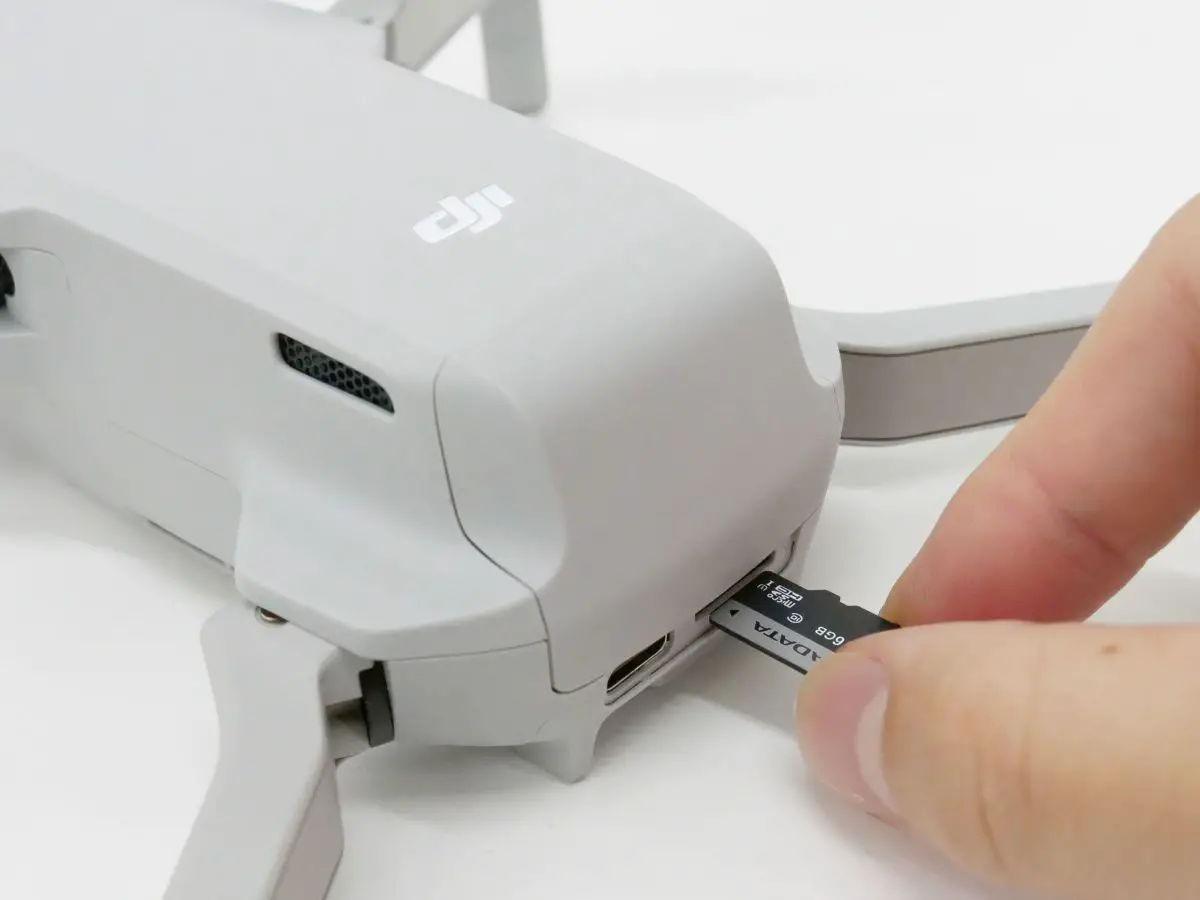
- Check the Memory Card: Ensure that your DJI Mini 3 Pro has a memory card inserted with sufficient storage space for the files you wish to transfer. A high-capacity memory card is recommended to store large files, such as high-resolution videos.
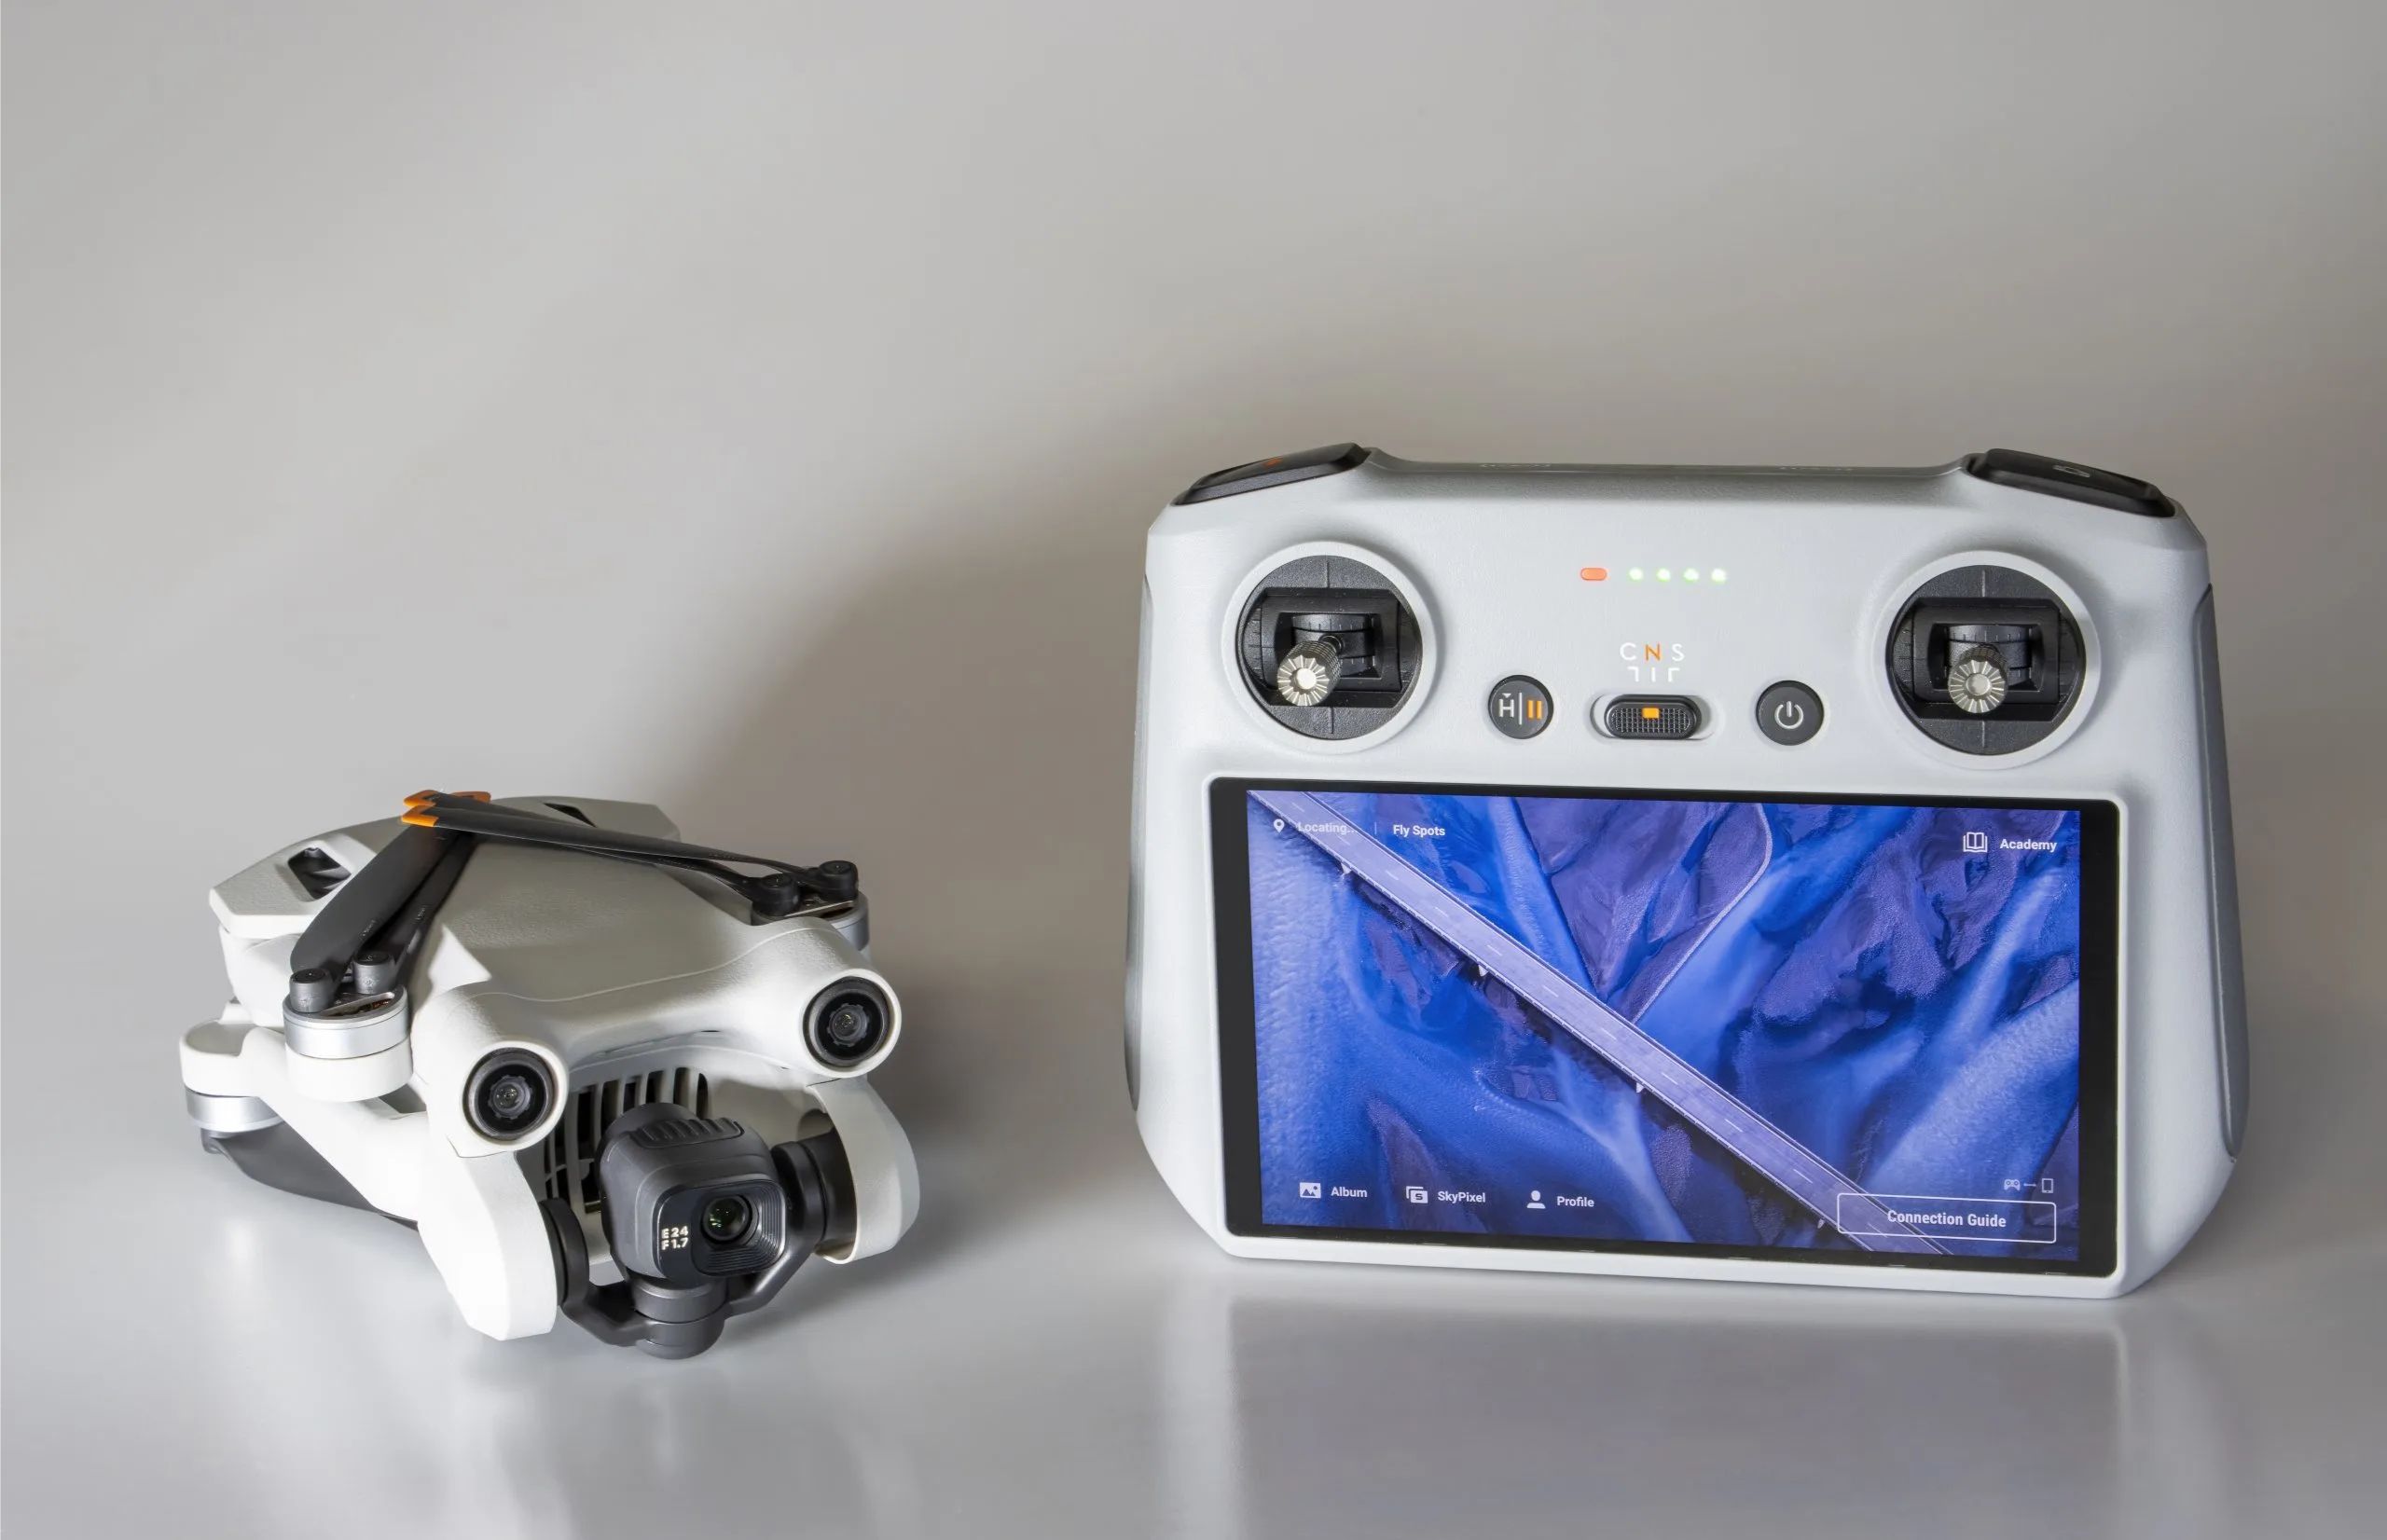
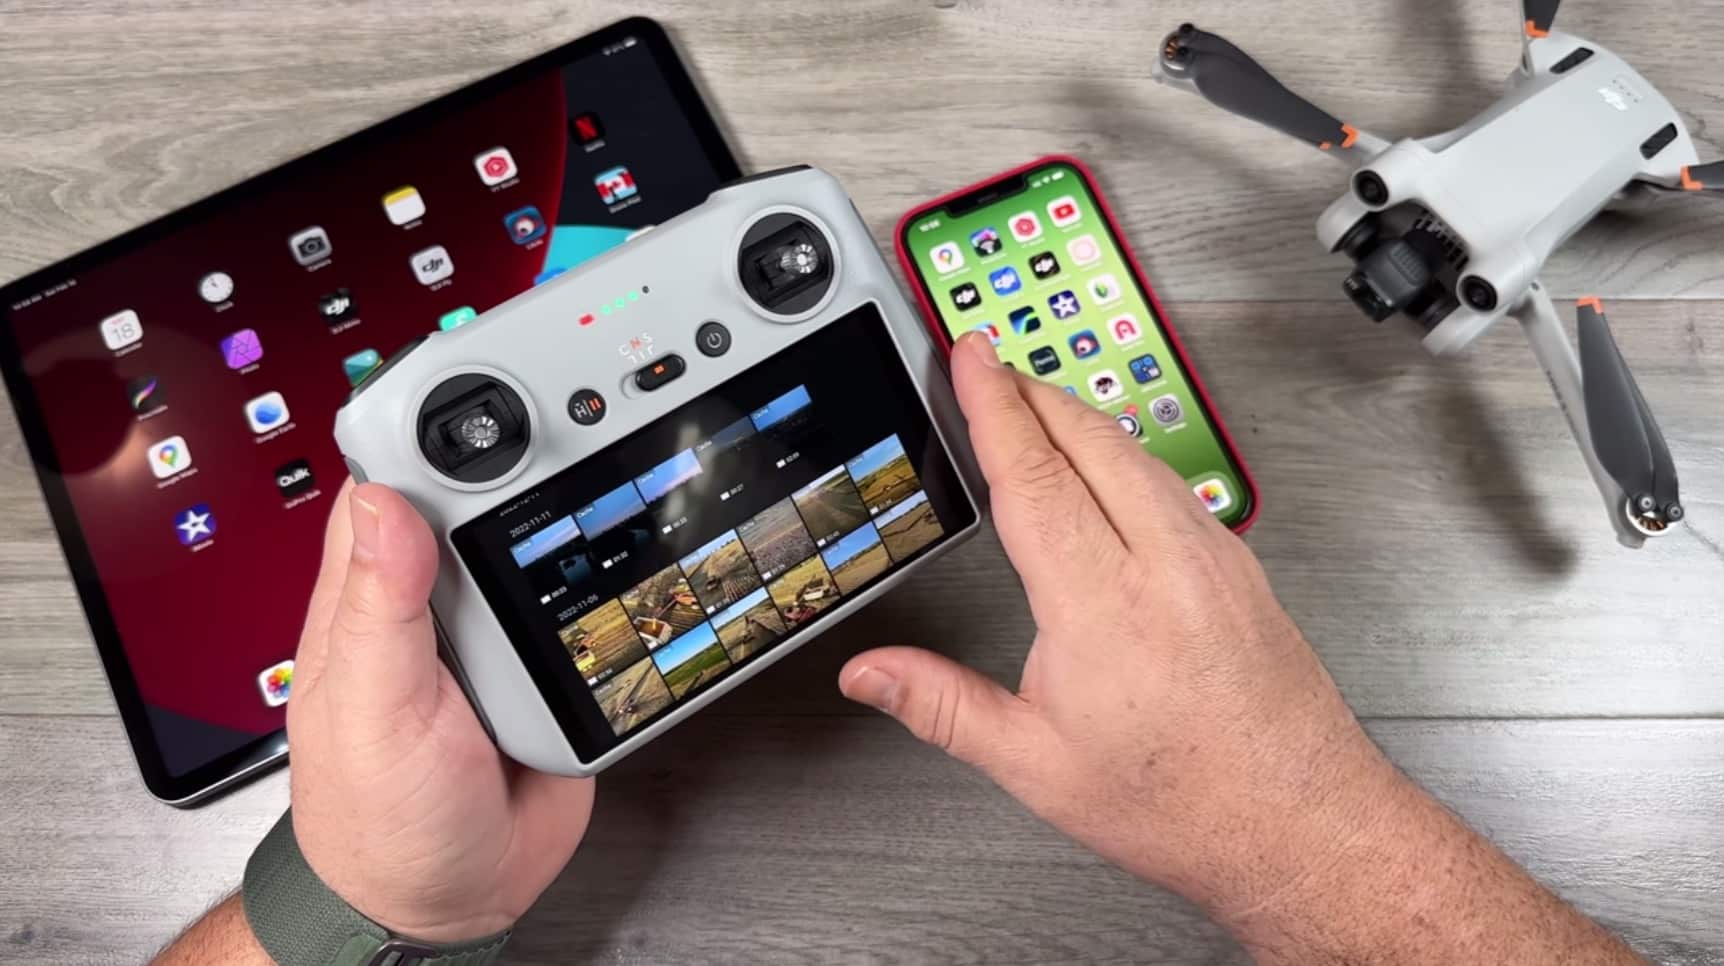
- Connect the Controller: Connect your DJI Mini 3 Pro’s controller to your mobile device or tablet using the provided USB cable or wireless connection. This will allow you to control the drone and access its settings during the transfer process.
- Update Firmware: It’s essential to keep your DJI Mini 3 Pro’s firmware up to date. Ensure that you have the latest firmware installed by connecting the drone to the DJI Fly app and checking for any available updates.
By following these simple preparation steps, you’ll have your DJI Mini 3 Pro ready to go and ensure a successful file transfer process in the following steps. Now, let’s move on to the next step and connect your drone to your computer.
Step 2: Connect Your DJI Mini 3 Pro to Your Computer
Now that your DJI Mini 3 Pro is prepared, it’s time to connect it to your computer. Here’s how you can establish a connection:
- USB Cable Connection: Locate the USB port on your DJI Mini 3 Pro and connect one end of the USB cable to it. Then, connect the other end of the cable to an available USB port on your computer.
- Wireless Connection: Alternatively, if your DJI Mini 3 Pro supports wireless connectivity, you can establish a connection by following the instructions provided in the user manual. This wireless connection option eliminates the need for a physical USB cable.
- Wait for Device Recognition: Once you’ve connected your DJI Mini 3 Pro to your computer, give it a moment to be recognized by the operating system. Your computer should automatically detect the drone as a removable storage device.
It’s worth mentioning that some computers might require additional drivers or software to be installed for proper recognition of your DJI Mini 3 Pro. If this is the case, visit the DJI website or refer to the user manual to download and install any necessary drivers or software.
With the connection established, you’re now ready to access the storage of your DJI Mini 3 Pro and begin the file transfer process. In the next step, we’ll explore how to access the drone’s storage.
Step 3: Access the DJI Mini 3 Pro’s Storage
After connecting your DJI Mini 3 Pro to your computer, it’s time to access its storage and view the files you want to transfer. Follow these steps to access the drone’s storage:
- Open File Explorer (Windows) or Finder (Mac): Depending on your computer’s operating system, open the appropriate file management program. On Windows, open File Explorer by pressing Windows key + E. On Mac, open Finder by clicking on the Finder icon in the dock.
- Locate the DJI Mini 3 Pro: In the file management program, you should see a list of available drives and devices. Look for the DJI Mini 3 Pro or a similar name. It will be listed as a removable storage device.
- Double-click to Open: Double-click on the DJI Mini 3 Pro icon to open it and access its contents. You should now see the folders and files stored on your drone’s memory card.
Once you’ve accessed the DJI Mini 3 Pro’s storage, you’ll have a clear overview of the files present on the drone. In the next step, we’ll cover how to select and copy the files you want to transfer.
Step 4: Select and Copy Files from DJI Mini 3 Pro
With the DJI Mini 3 Pro’s storage accessed on your computer, it’s time to select and copy the files you want to transfer. Follow these steps to complete this process:
- Browse the Files: Take a moment to browse through the folders and files on your DJI Mini 3 Pro. You’ll typically find separate folders for photos and videos.
- Select the Files: Identify the specific files you want to transfer and select them by clicking on them. To select multiple files at once, hold down the Ctrl key (Windows) or Command key (Mac) while clicking on each file.
- Copy the Files: Once the desired files are selected, right-click on one of the selected files and choose “Copy.” Alternatively, you can use the Ctrl + C (Windows) or Command + C (Mac) keyboard shortcuts.
- Select the Destination Folder: Navigate to the destination folder on your computer where you want to copy the files. You can create a new folder if desired.
- Paste the Files: Right-click in the destination folder and choose “Paste.” Alternatively, use the Ctrl + V (Windows) or Command + V (Mac) keyboard shortcuts to paste the files from your DJI Mini 3 Pro to your computer.
It’s important to note that depending on the size and quantity of the files you’re transferring, the process may take some time. Be patient and avoid interrupting the copy process to ensure all files are transferred successfully.
Once the files are copied to your computer, you’re one step closer to editing or sharing your DJI Mini 3 Pro’s content. In the next step, we’ll discuss how to safely disconnect your drone from your computer.
Step 5: Paste the Files to Your Local Computer
After selecting and copying the files from your DJI Mini 3 Pro, it’s time to paste them to your local computer. By following these steps, you’ll ensure a smooth transfer of the files:
- Navigate to the Destination Folder: Open the destination folder on your local computer where you want to paste the copied files. This could be a specific folder for drone footage or a directory of your choice.
- Right-Click and Choose “Paste”: Right-click anywhere inside the destination folder and select “Paste”. Alternatively, you can use the Ctrl + V (Windows) or Command + V (Mac) keyboard shortcuts to paste the files.
- Monitor the File Transfer: Depending on the file size and the number of files being transferred, the process may take some time. It’s important to monitor the progress and ensure that all files are successfully pasted.
- Verify the File Integrity: Once the file transfer is complete, it’s recommended to verify the integrity of the transferred files. Check that they are playable or viewable without any errors or corruptions.
It’s important to give the file transfer process adequate time to complete, especially when dealing with large or numerous files. Interrupting the process prematurely can lead to incomplete or corrupted files.
Once the files are successfully pasted to your local computer, you’re now ready to access, edit, and share your DJI Mini 3 Pro’s content. In the next step, we’ll cover how to safely disconnect your drone from your computer.
Step 6: Safely Disconnect Your DJI Mini 3 Pro
After completing the file transfer process, it’s essential to safely disconnect your DJI Mini 3 Pro from your computer to prevent any potential data loss or damage to your drone. Follow these steps to disconnect your drone:
- Close File Explorer or Finder: Ensure that you have closed the file management program (File Explorer or Finder) that was used to access your DJI Mini 3 Pro’s storage.
- Eject the DJI Mini 3 Pro: Locate the DJI Mini 3 Pro icon in your computer’s file management program. Right-click on the icon and select “Eject” or “Safely Remove” to safely disconnect the drone from your computer.
- Wait for Confirmation: Once you have ejected the DJI Mini 3 Pro, wait for a confirmation message to appear on your computer’s screen. This message will indicate that it is safe to disconnect the drone.
- Disconnect the USB Cable: If you connected your DJI Mini 3 Pro using a USB cable, gently unplug the cable from both the drone and your computer’s USB port.
By following these steps, you will ensure that all data transfer processes have been completed and that your DJI Mini 3 Pro is safely disconnected from your computer.
Now that you’ve successfully transferred your files and safely disconnected your drone, you can remove the memory card from the DJI Mini 3 Pro, insert it back into the drone, and start your next exhilarating aerial adventure!
Conclusion
Transferring files from your DJI Mini 3 Pro to your computer is a crucial step in managing and editing your aerial footage and photographs. With the step-by-step guide provided, you can easily and safely transfer your files to your local computer.
By preparing your DJI Mini 3 Pro, connecting it to your computer, accessing its storage, selecting and copying files, pasting them to your local computer, and safely disconnecting the drone, you can ensure a smooth and efficient file transfer process.
Remember to charge your DJI Mini 3 Pro’s battery and keep its firmware up to date to ensure optimal performance. Take the time to browse through your drone’s files and select the ones you want to transfer. Be patient during the file transfer process, especially when dealing with larger files or multiple files.
Once the files are safely transferred to your local computer, you have the freedom to edit, enhance, and share your DJI Mini 3 Pro’s captivating content. Whether you’re a professional photographer, a videographer, or a hobbyist, this guide has equipped you with the knowledge to unlock the full potential of your DJI Mini 3 Pro.
Now, it’s time to get creative and showcase the stunning aerial footage and photographs you captured with your DJI Mini 3 Pro. Happy flying and happy editing!