Introduction
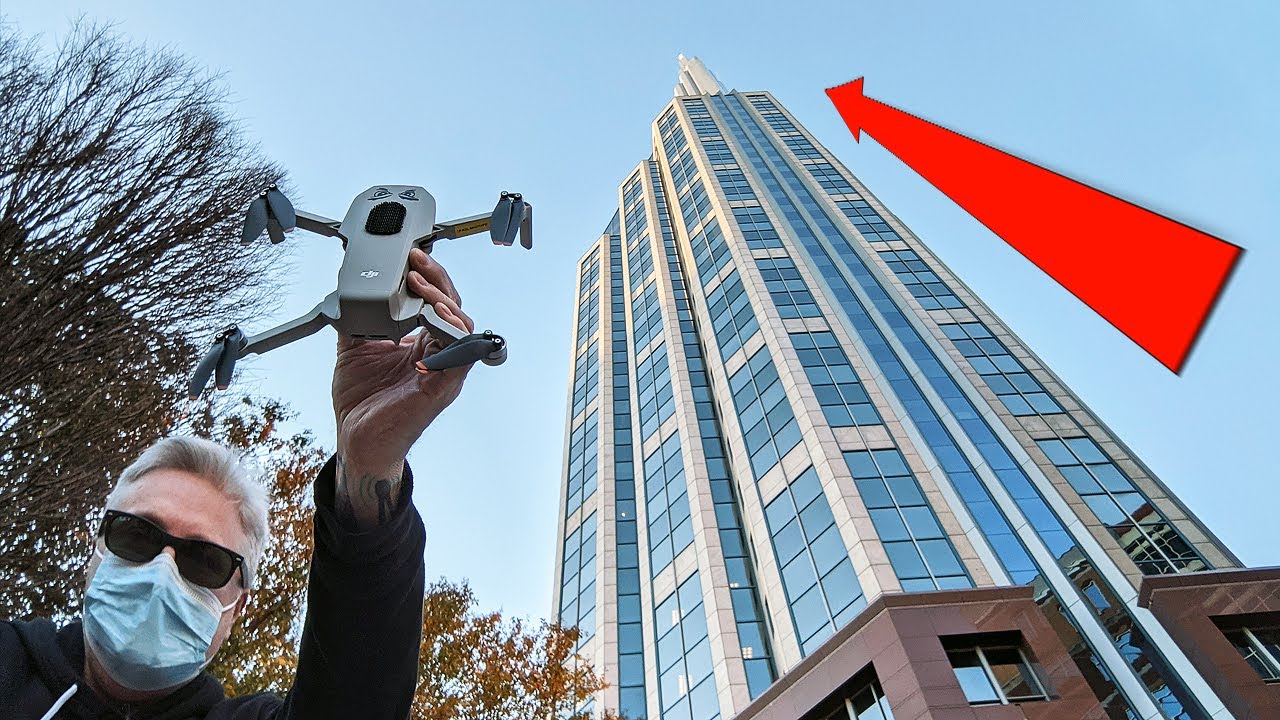
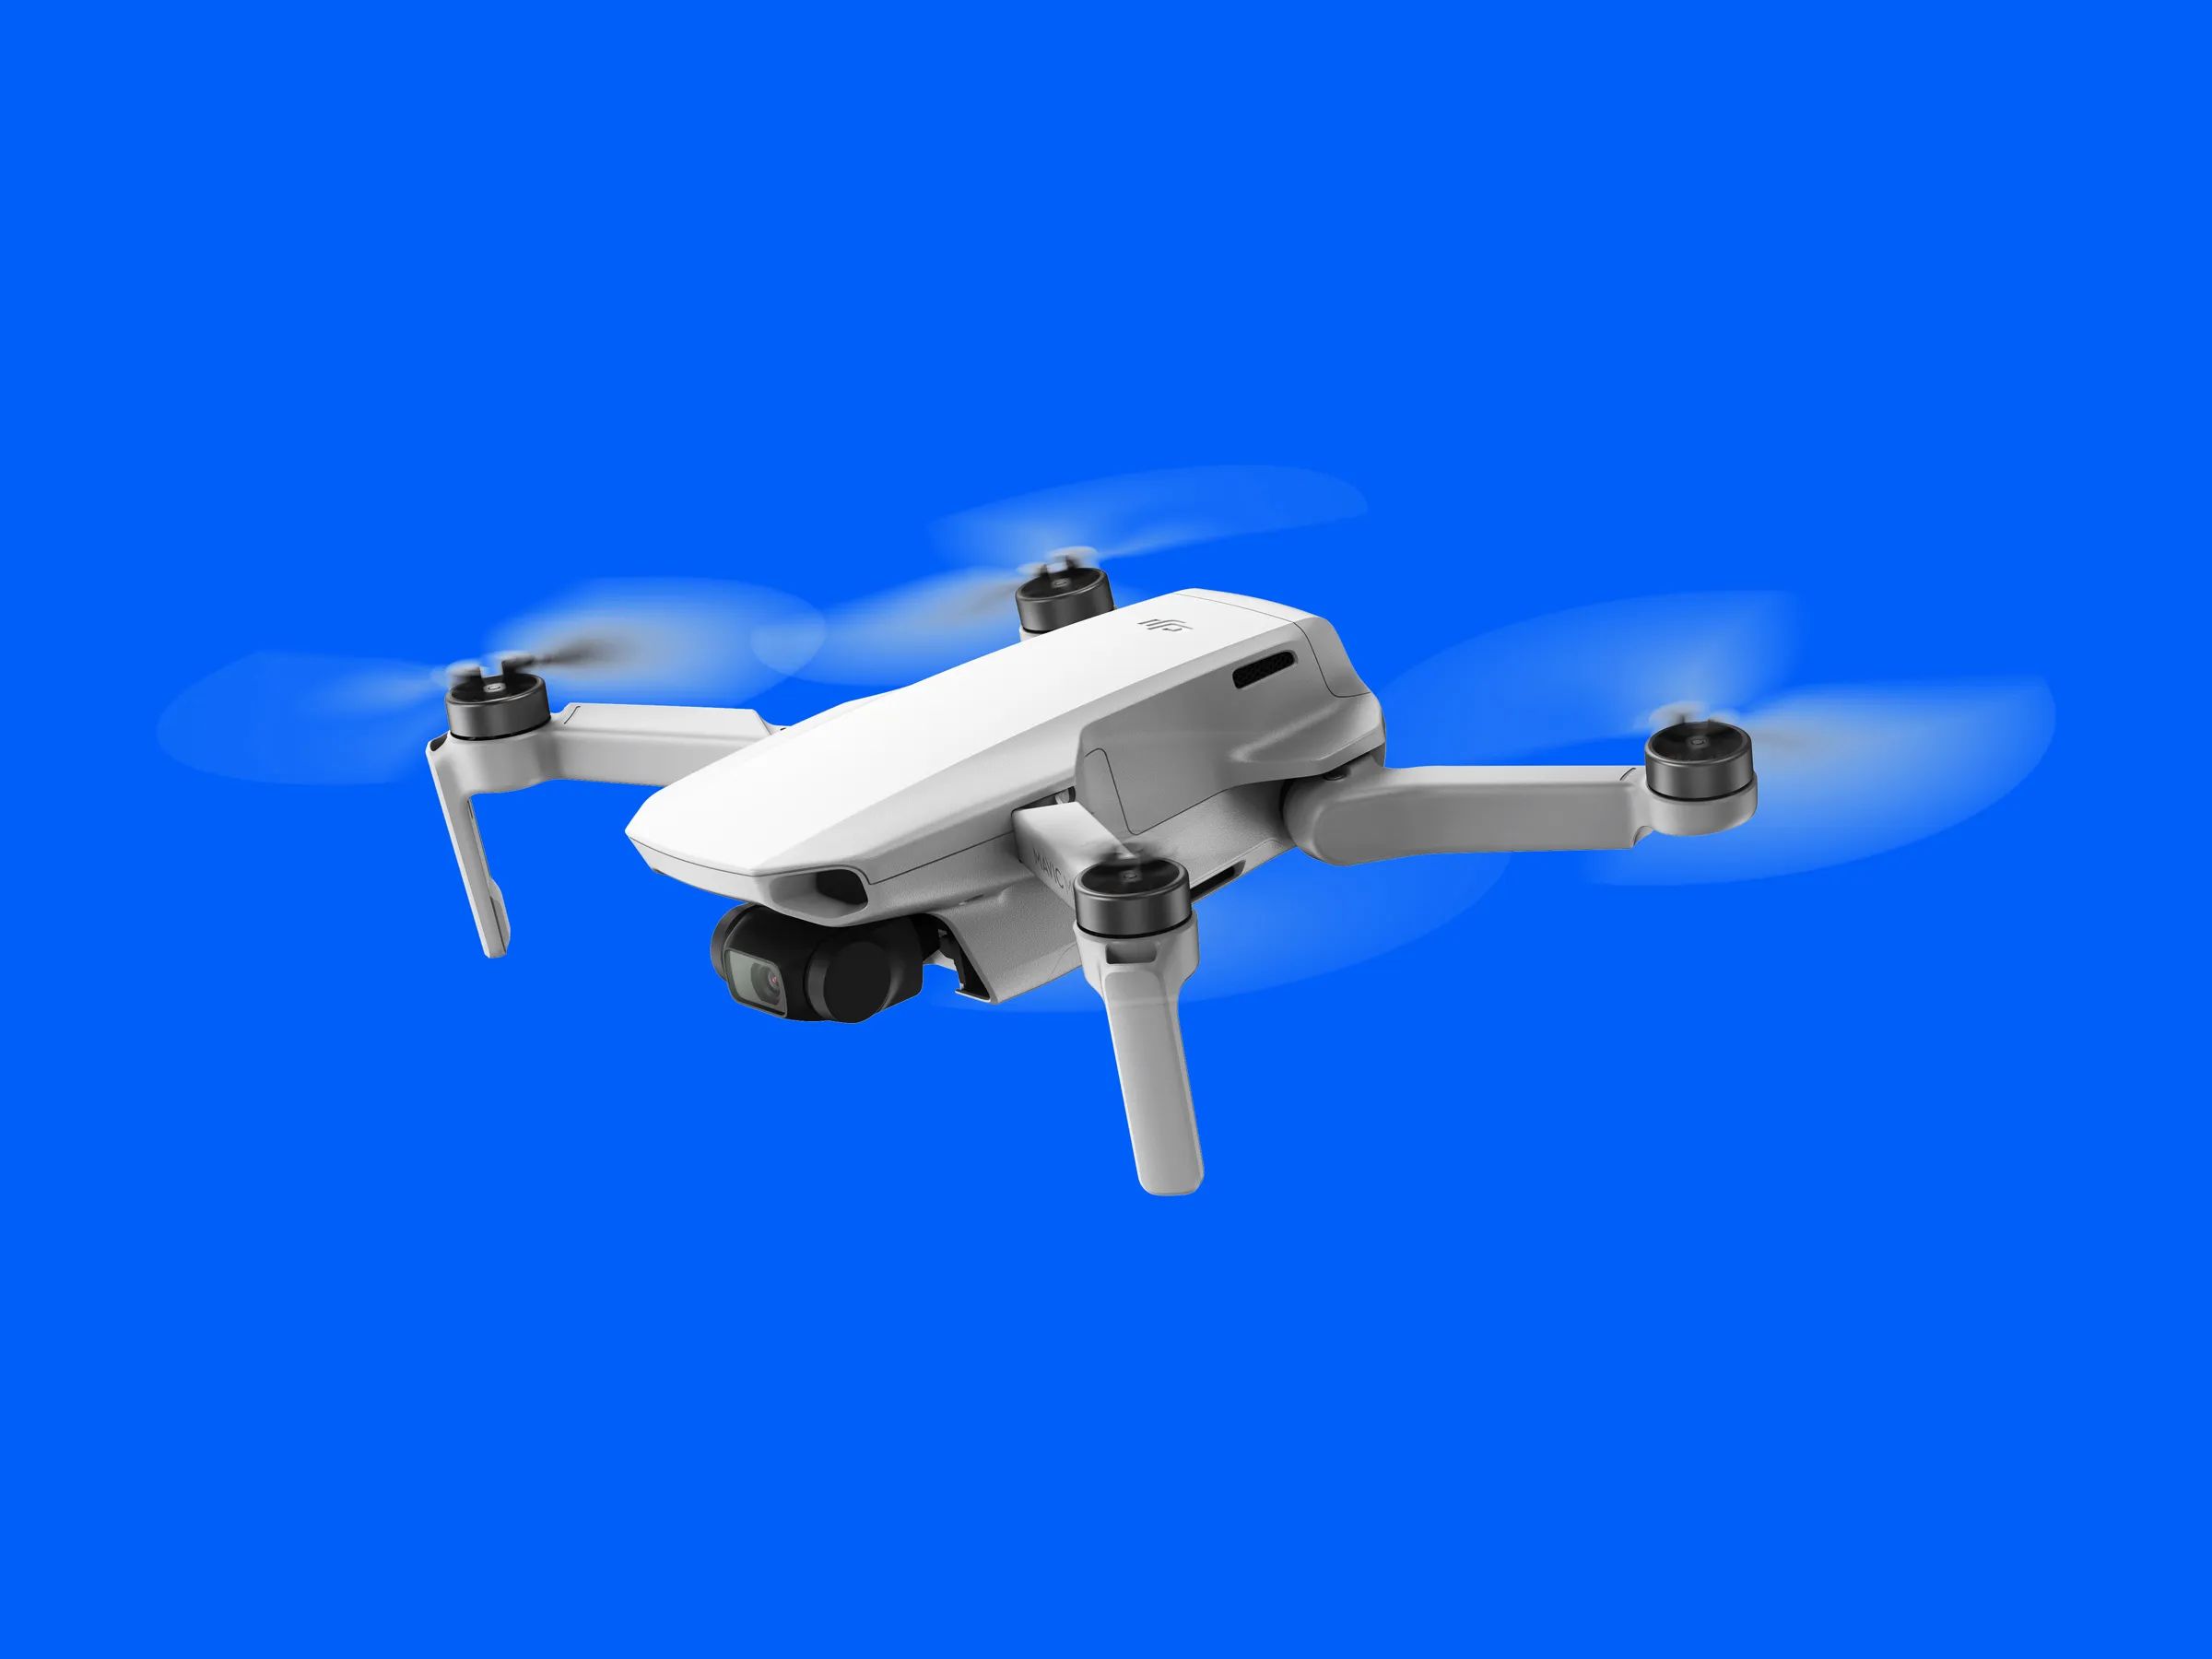
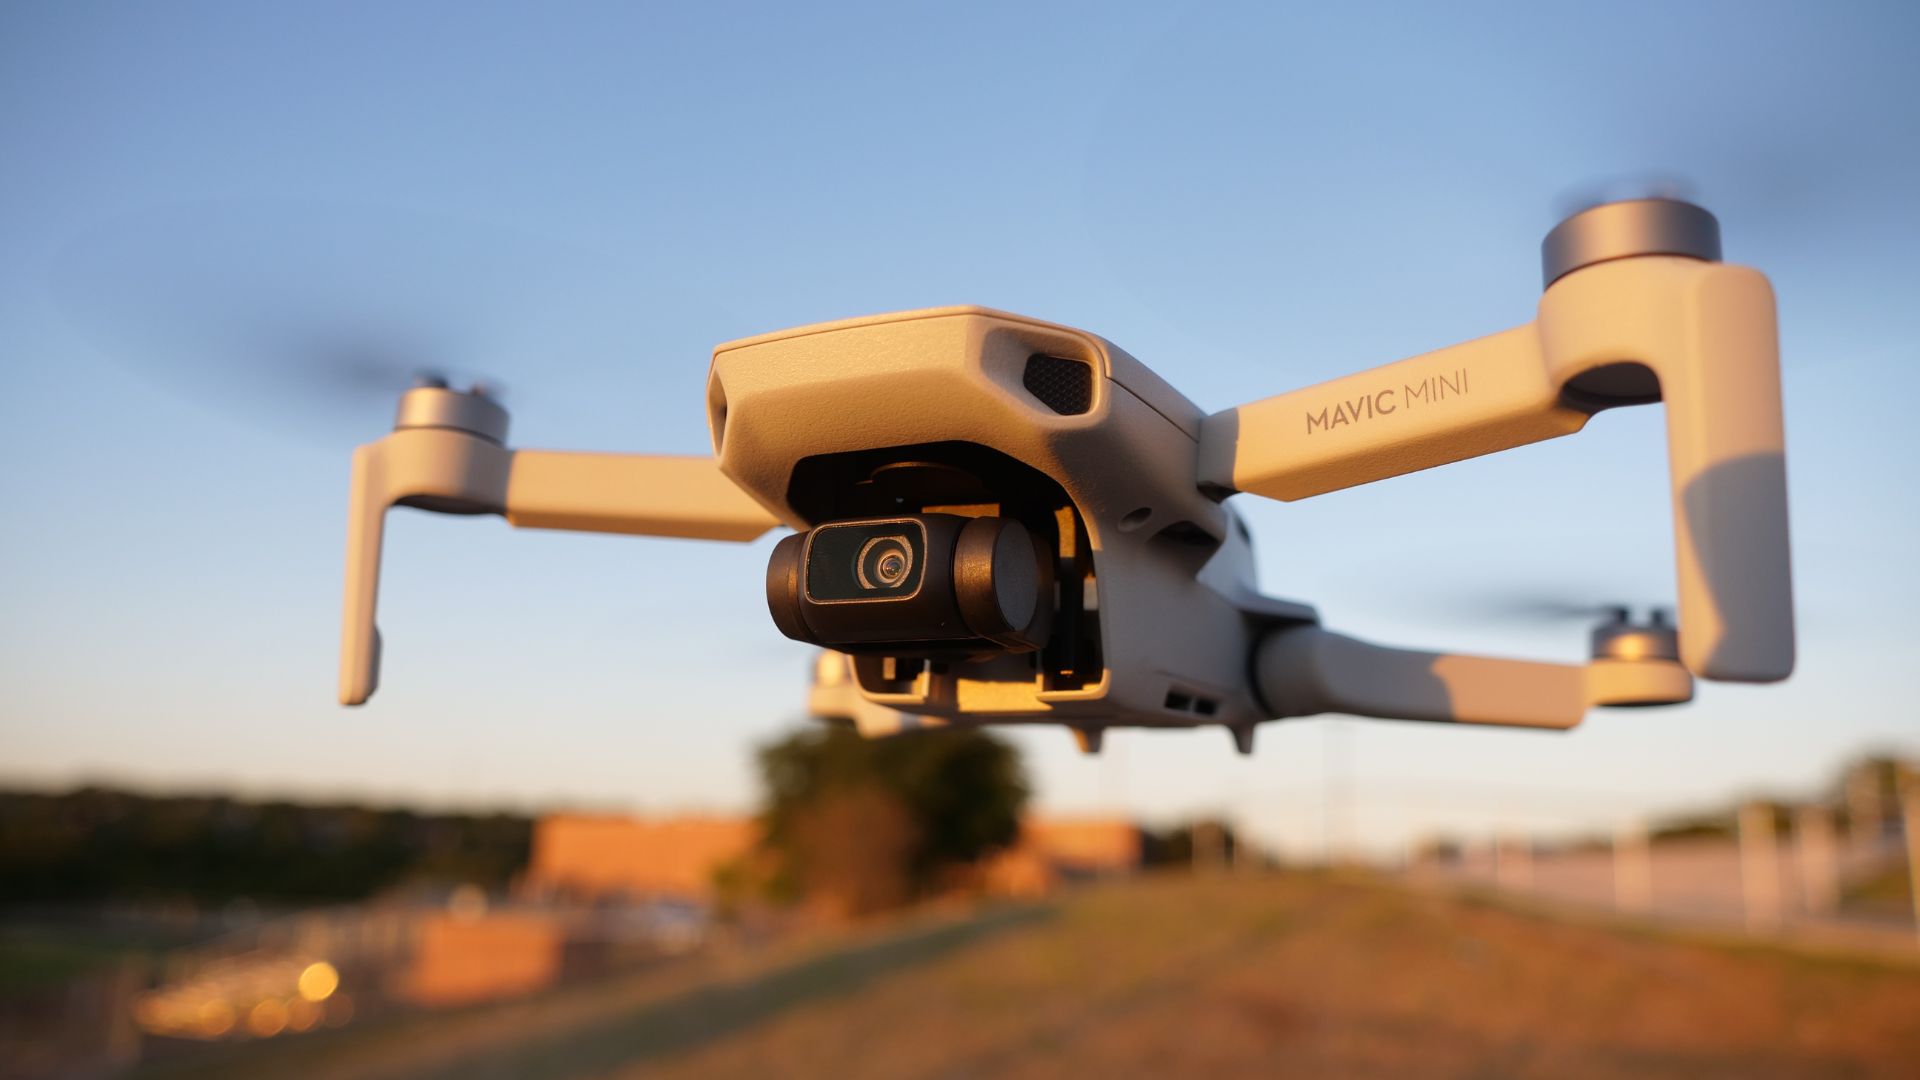
Welcome to the world of aerial photography and videography with the DJI Mavic Mini! This compact and lightweight drone is packed with powerful features that will take your flying experience to new heights. Whether you are a beginner or an experienced pilot, connecting the DJI Mavic Mini is a crucial step before taking it for a spin.
In this guide, we will walk you through the process of connecting your DJI Mavic Mini so that you can start capturing stunning footage. But before we dive into the step-by-step instructions, let’s take a moment to talk about the importance of following proper procedures when connecting your drone.
Connecting your DJI Mavic Mini correctly ensures a safe and stable flight, as well as seamless communication between the drone, remote controller, and your mobile device. Taking the time to go through each step will give you the confidence and peace of mind to fly your drone responsibly.
Additionally, it is crucial to familiarize yourself with the user manual provided by DJI. The manual contains detailed instructions specific to your DJI Mavic Mini model and should be referenced whenever you have a question or need clarification.
Now that we have established the importance of proper connectivity and reference materials, let’s jump into the step-by-step process of connecting your DJI Mavic Mini. By the end of this guide, you will have a fully connected and ready-to-fly drone at your disposal, opening up endless possibilities for capturing breathtaking aerial imagery.
Before You Start
Before you get started with connecting your DJI Mavic Mini, it’s important to take a few precautions and ensure that you have all the necessary equipment. Here are a few things to consider before connecting your drone:
- Check for Firmware Updates: Visit the official DJI website or use the DJI Fly app to check for any firmware updates for your DJI Mavic Mini. Firmware updates often include important software improvements and bug fixes, so staying up to date will ensure optimal performance.
- Choose a Suitable Flying Location: Select an open and safe area to fly your drone. Avoid flying near airports, crowded areas, or restricted airspace. Also, be aware of any local regulations regarding drone usage in your area.
- Check the Weather Conditions: Before connecting your DJI Mavic Mini, it’s essential to assess the weather conditions. Avoid flying in strong winds, rain, or foggy conditions, as these can affect the stability and safety of your flight.
- Inspect Your Drone: Before every flight, thoroughly inspect your DJI Mavic Mini for any visible damage or loose parts. Check the propellers, motors, and body for any signs of wear or damage. If you notice any issues, refrain from flying until the necessary repairs or replacements are made.
- Charge the Batteries: Ensure that both the drone battery and the remote controller are fully charged. A fully charged battery will give you more flight time and prevent any sudden loss of power during flight.
- Use the Correct Mobile Device: To connect your DJI Mavic Mini, you will need a compatible mobile device. Check the DJI website for a list of devices that are supported by the DJI Fly app. Make sure your mobile device meets the specifications required for a smooth and seamless connection.
By taking these necessary precautions and ensuring that you have everything in order, you will have a safe and enjoyable flight experience with your DJI Mavic Mini.
Step 1: Charging the Batteries
Before connecting your DJI Mavic Mini, it’s crucial to start by charging the batteries. The drone itself and the remote controller both require their respective batteries to be fully charged for optimal performance. Follow these steps to ensure your batteries are ready:
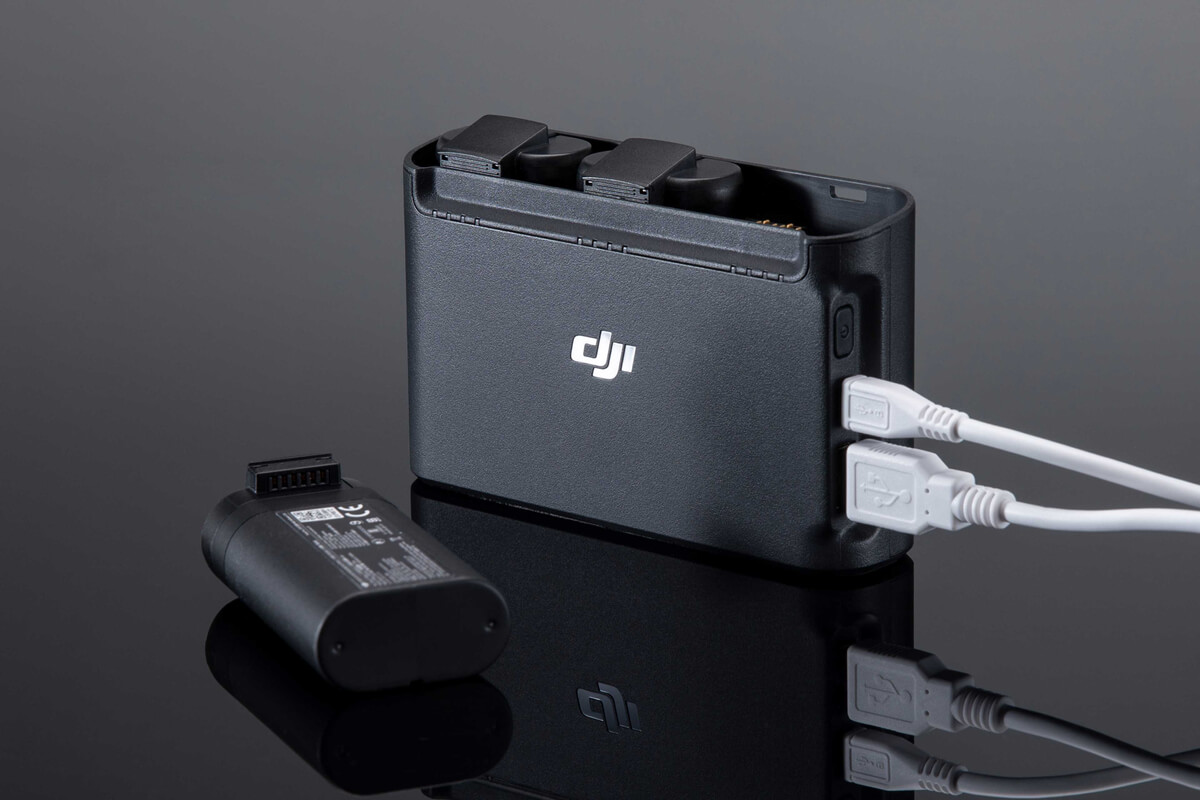
- Drone Battery: Start by locating the battery compartment on the DJI Mavic Mini. Carefully insert the battery into the designated slot, ensuring proper alignment. Connect the battery to the charger using the provided USB cable, and then plug the charger into a power source. The LED lights on the charger will indicate the charging progress. Allow the battery to charge fully, which typically takes about 90 minutes.
- Remote Controller Battery: The remote controller of the DJI Mavic Mini also requires a charged battery for proper connectivity. Locate the battery compartment on the back of the remote controller. Open it and insert the battery, making sure the connectors align correctly. Connect the remote controller to the charger using the provided USB cable, and then plug the charger into a power source. The LED lights on the charger will indicate the charging progress. It takes about 60 minutes to fully charge the remote controller battery.
While waiting for the batteries to charge, it’s a good idea to familiarize yourself with the DJI Fly app. You can download it from the App Store or Google Play Store. The DJI Fly app allows you to connect to your drone, access various flight modes, and view live video feed from the camera.
Once both batteries are fully charged, you can proceed to the next step of connecting your DJI Mavic Mini.
Step 2: Installing the Propellers
After charging the batteries, the next step in connecting your DJI Mavic Mini is to install the propellers. The propellers are essential for generating lift and ensuring proper flight stability. Here’s how you can install the propellers correctly:
- Identify the Correct Propellers: The DJI Mavic Mini comes with two types of propellers: clockwise (CW) and counterclockwise (CCW). Each propeller has a label indicating its rotation direction. Make sure to match the correct propellers to the corresponding motors.
- Prepare the Motors: Start by unfolding the arms of the DJI Mavic Mini to reveal the motors. Hold the drone securely to prevent it from accidentally tipping over or falling during the propeller installation process.
- Attach the Propellers: Take a CW propeller and align it with the CW motor, making sure the propeller’s mounting hole matches the motor’s spindle. Gently push the propeller down onto the spindle until it locks into place. Repeat this process for the remaining CW propeller. Next, take a CCW propeller and align it with the CCW motor, then repeat the process to attach the remaining CCW propeller.
- Ensure Secure Attachment: After installing all the propellers, double-check to ensure that they are securely attached. Give each propeller a gentle tug to make sure it doesn’t come off easily. If any propeller feels loose, remove and reinstall it properly.
It’s important to note that the DJI Mavic Mini propellers are marked with “R” or “L” to indicate whether they should be used for the right or left side of the drone. Make sure to install them on the correct sides.
With the propellers successfully installed, your DJI Mavic Mini is one step closer to being fully connected. Now, let’s move on to the next step: inserting the microSD card.
Step 3: Inserting the microSD Card
Among the essential components of your DJI Mavic Mini is the microSD card, which is used to store your captured photos and videos. Before connecting your drone, you’ll need to insert a microSD card into the designated slot. Follow these steps to insert the microSD card:
- Locate the microSD Card Slot: The microSD card slot on the DJI Mavic Mini is located on the side of the drone. Gently open the protective cover to reveal the slot.
- Prepare the microSD Card: Ensure that you have a compatible microSD card ready. Generally, the DJI Mavic Mini supports microSD cards with a capacity of up to 256GB. Before inserting the card, check that it is formatted correctly and has enough free space for capturing footage.
- Insert the microSD Card: Take the microSD card and carefully insert it into the designated microSD card slot. Make sure to align the card with the slot and push it in until it is securely seated. It should easily slide into place without any force. Close the protective cover once the microSD card is inserted.
- Format the microSD Card (Optional): For optimal performance, it is recommended to format the microSD card using the DJI Fly app. This will ensure that the card is properly configured for use with the DJI Mavic Mini. Open the DJI Fly app, access the Settings menu, and navigate to the Storage section. From there, you can select the microSD card and format it with a few simple taps.
With the microSD card successfully inserted, your DJI Mavic Mini is now ready to store your incredible aerial footage. In the next step, we will guide you through connecting the remote controller to your mobile device.
Step 4: Connecting the Remote Controller
Connecting the remote controller is a crucial step in the process of setting up your DJI Mavic Mini. The remote controller allows you to control the drone’s flight and access various flight modes. To connect the remote controller, follow these steps:
- Power On the Remote Controller: Start by turning on the remote controller. Press and hold the power button located on the top until the LED indicators light up, indicating that it is ready for pairing.
- Activate the Drone: Power on the DJI Mavic Mini by pressing and holding the battery button on the aircraft for a few seconds. The battery LED lights will start to illuminate, indicating that the drone is powering up.
- Paring Mode: Once the Mavic Mini is powered on, quickly press the power button again on the remote controller and release it. This action will put the remote controller into pairing mode, indicated by the LED lights flashing rapidly.
- Linking the Remote Controller and the Drone: To establish a connection between the remote controller and the drone, press and hold the aircraft power button until you hear a series of beeps. The LED lights on both the drone and the remote controller will flash rapidly and then stabilize once the connection is established.
It’s important to note that the remote controller and the drone should be within close proximity during the pairing process. Also, make sure that there are no other wireless devices interfering with the connection.
With the remote controller successfully connected, we’re one step closer to a fully functional DJI Mavic Mini. In the next step, we will guide you through the process of connecting the drone to your mobile device.
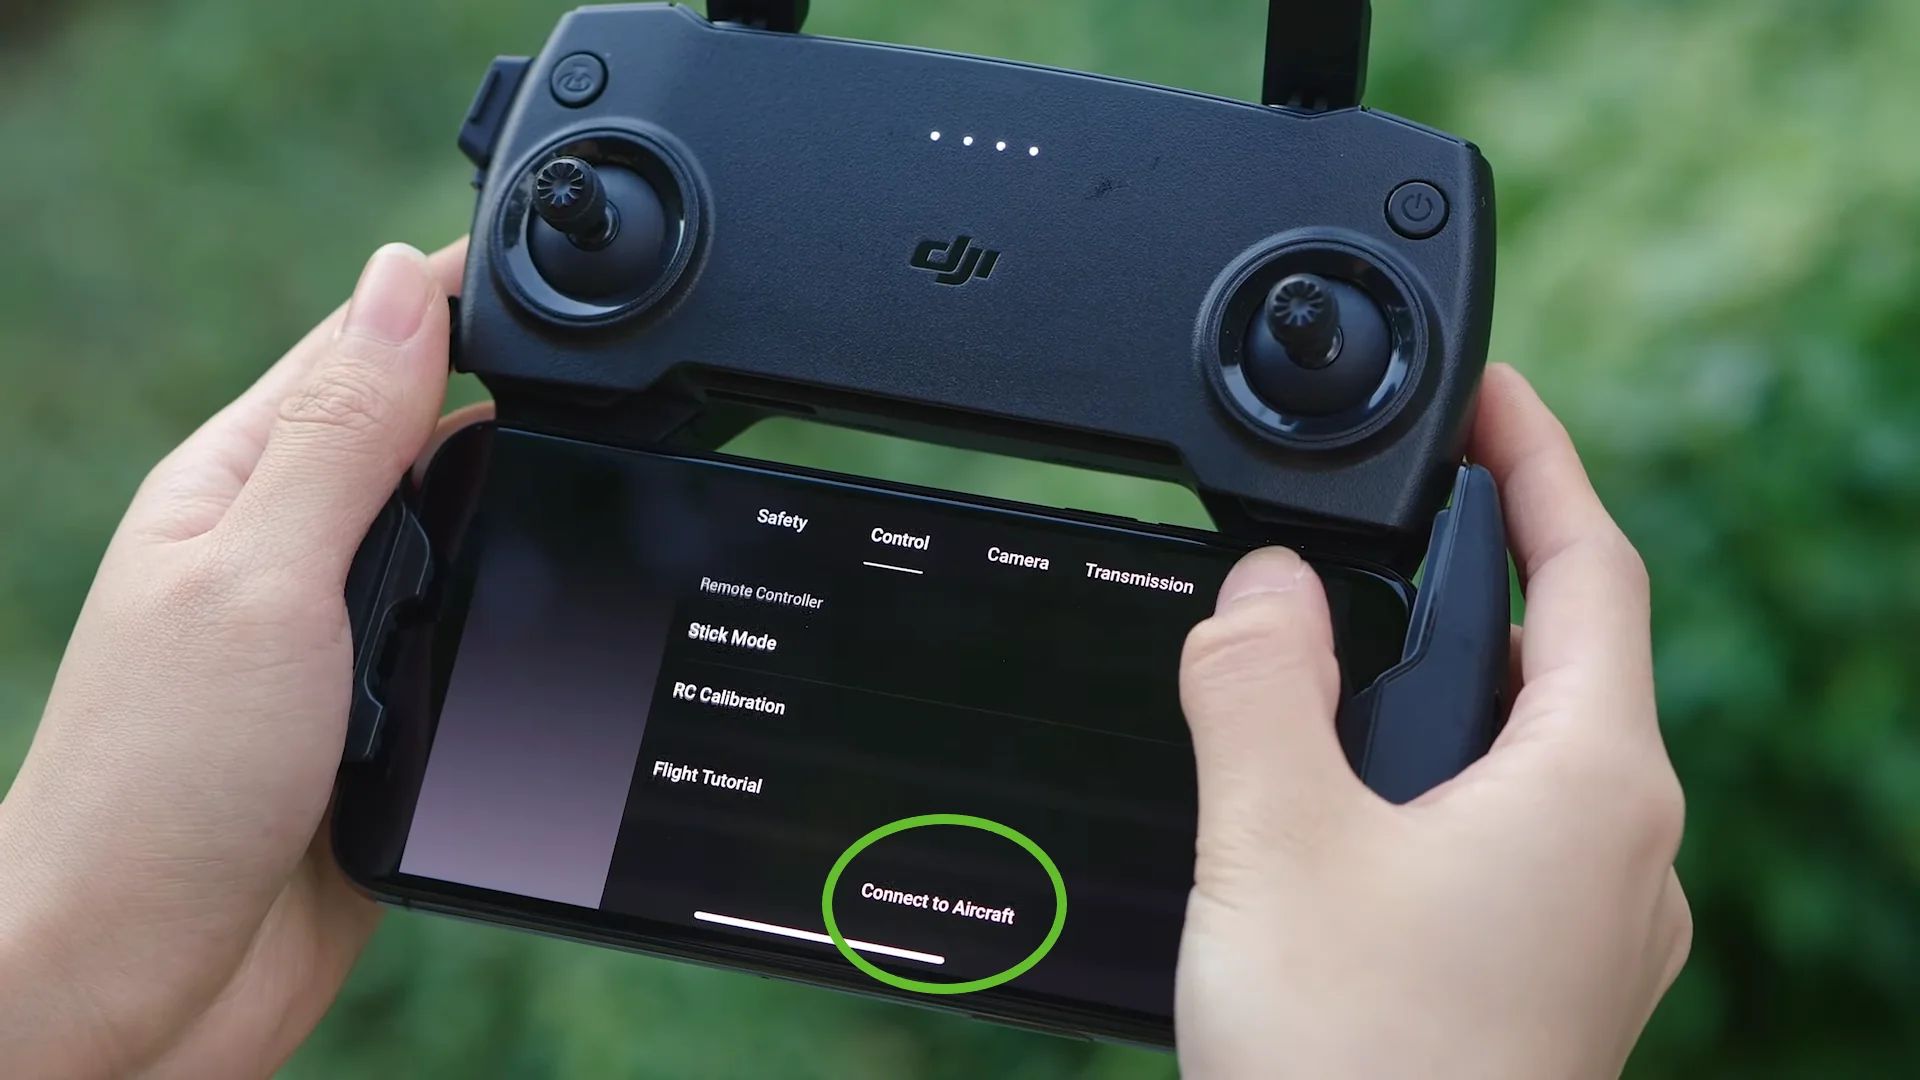
Step 5: Connecting to Your Mobile Device
Connecting your DJI Mavic Mini to your mobile device is essential for accessing the DJI Fly app, which allows you to control and customize the drone’s settings, view live video feed, and access advanced flight modes. Here’s how you can connect your drone to your mobile device:
- Download and Install the DJI Fly App: Visit the App Store or Google Play Store and search for the DJI Fly app. Download and install the app on your mobile device.
- Power on the Drone: Press and hold the power button on the DJI Mavic Mini until it powers on. You should hear a series of beeps, indicating that the drone is ready for connection.
- Enable Wi-Fi on Your Mobile Device: Go to the settings of your mobile device and enable Wi-Fi. Make sure it is connected to a stable and reliable network.
- Open the DJI Fly App: Launch the DJI Fly app on your mobile device. The app will automatically search for the DJI Mavic Mini and display a prompt to connect.
- Connect to the Drone: Follow the on-screen instructions in the DJI Fly app to connect to your DJI Mavic Mini. This usually involves selecting your drone from the list of available devices and inputting the correct password if prompted.
Once the connection is established, you will have full control and access to the features and settings of your DJI Mavic Mini through the DJI Fly app on your mobile device. You can now navigate through the different functions of the app and customize your drone’s settings according to your preferences.
Now that your drone is connected to your mobile device, it’s time to power on the DJI Mavic Mini. In the next step, we will guide you through this process to ensure a successful startup.
Step 6: Powering On the DJI Mavic Mini
Powering on your DJI Mavic Mini is a straightforward process that involves a few simple steps. Here’s how you can power on your drone:
- Verify the Battery Level: Before powering on the DJI Mavic Mini, double-check that the battery is fully charged. This ensures that you have sufficient power for your flight and prevents any unexpected shutdowns during operation.
- Ensure a Stable Surface: Find a flat and stable surface to place your DJI Mavic Mini. This minimizes the risk of the drone tipping over or getting damaged during startup.
- Press and Hold the Battery Button: Locate the battery button on the aircraft and press and hold it for a few seconds. The LED lights on the drone will illuminate sequentially to indicate that the drone is powering on.
- Wait for Startup Initialization: After pressing the battery button, wait patiently as the DJI Mavic Mini goes through the initialization process. This includes the calibration of sensors and the establishment of connections with the remote controller and mobile device.
- Check the Drone Status: Once the initialization is complete, the drone’s LED lights will stabilize and indicate its status. A solid green light usually indicates that everything is in order and the drone is ready for flight.
It’s crucial to ensure that you power on the DJI Mavic Mini in a safe and controlled environment. Avoid starting the drone in crowded or confined spaces, and always keep a safe distance from people, animals, and objects during startup.
With your DJI Mavic Mini successfully powered on, we’re almost ready to take to the skies. The next step will guide you through the process of linking the remote controller and the drone for seamless communication.
Step 7: Linking the Remote Controller and the Drone
Linking the remote controller and the drone is the final step to establish a successful connection between the two devices. Properly linking them ensures smooth communication and allows you to control the DJI Mavic Mini effectively. To link the remote controller and the drone, follow these steps:
- Bring the Remote Controller and Drone Close Together: Ensure that the remote controller and the drone are within close proximity of each other, ideally within one meter.
- Power On the Remote Controller: Press and hold the power button on the remote controller to turn it on. The LED indicators on the remote controller will illuminate, indicating that it is ready for connection.
- Power On the DJI Mavic Mini: Press and hold the battery button on the drone to power it on. Wait for the LED lights on the drone to stabilize, indicating that it is in a ready state.
- Press the Linking Button: On the remote controller, locate the linking button. It is usually found on the side or underneath the controller. Press and hold the linking button until the status LED on the remote controller starts to flash rapidly.
- Link the Drone: On the DJI Mavic Mini, press and hold the linking button (usually located on the side or underneath the aircraft) until you hear a series of beeps. The LED lights on both the remote controller and the drone will flash rapidly and then stabilize to indicate a successful connection.
It’s important to note that the linking process may take a few seconds, and the LED lights on both devices will provide visual cues to determine the status of the connection. Ensure that there are no other nearby devices interfering with the signal.
With the remote controller and the drone successfully linked, you now have full control over your DJI Mavic Mini. It’s time to take to the skies and explore the incredible possibilities of aerial photography and videography!
Conclusion
Congratulations! You have successfully connected your DJI Mavic Mini and are now ready to embark on an exciting journey of aerial exploration and creativity. By following the step-by-step instructions in this guide, you have ensured a safe and seamless connection between the drone, remote controller, and your mobile device.
Remember, before you start flying your DJI Mavic Mini, it’s important to familiarize yourself with the user manual provided by DJI. The manual contains detailed information specific to your drone model, including important safety guidelines, flight modes, and troubleshooting tips. Refer to the manual whenever you have questions or need further guidance.
As you begin your aerial adventures, always prioritize safety. Follow local regulations and guidelines for drone usage in your area, and be aware of any restricted airspace. Fly in open areas away from people, buildings, and power lines. Maintain a line of sight with your drone and avoid flying in inclement weather conditions.
Additionally, continue to familiarize yourself with the DJI Fly app, which provides access to advanced flight modes, camera settings, and real-time video feed. Experiment with different flight modes and camera angles to capture stunning aerial footage and photographs.
Keep in mind that practice makes perfect. The more you fly and gain experience, the better you will become at controlling your DJI Mavic Mini. Gradually test out the various features and explore the creative possibilities that aerial photography and videography offer.
Always stay up-to-date with firmware updates for your DJI Mavic Mini. These updates often introduce new features, performance improvements, and bug fixes, enhancing your overall flying experience.
Finally, remember to respect the privacy of others and the environment. Fly responsibly and considerately, avoiding any actions that could infringe upon the privacy or safety of others.
With dedication, practice, and creativity, your DJI Mavic Mini will undoubtedly become a valuable tool for capturing breathtaking aerial moments. So go out, spread your wings, and enjoy the wonders of flight!