Introduction
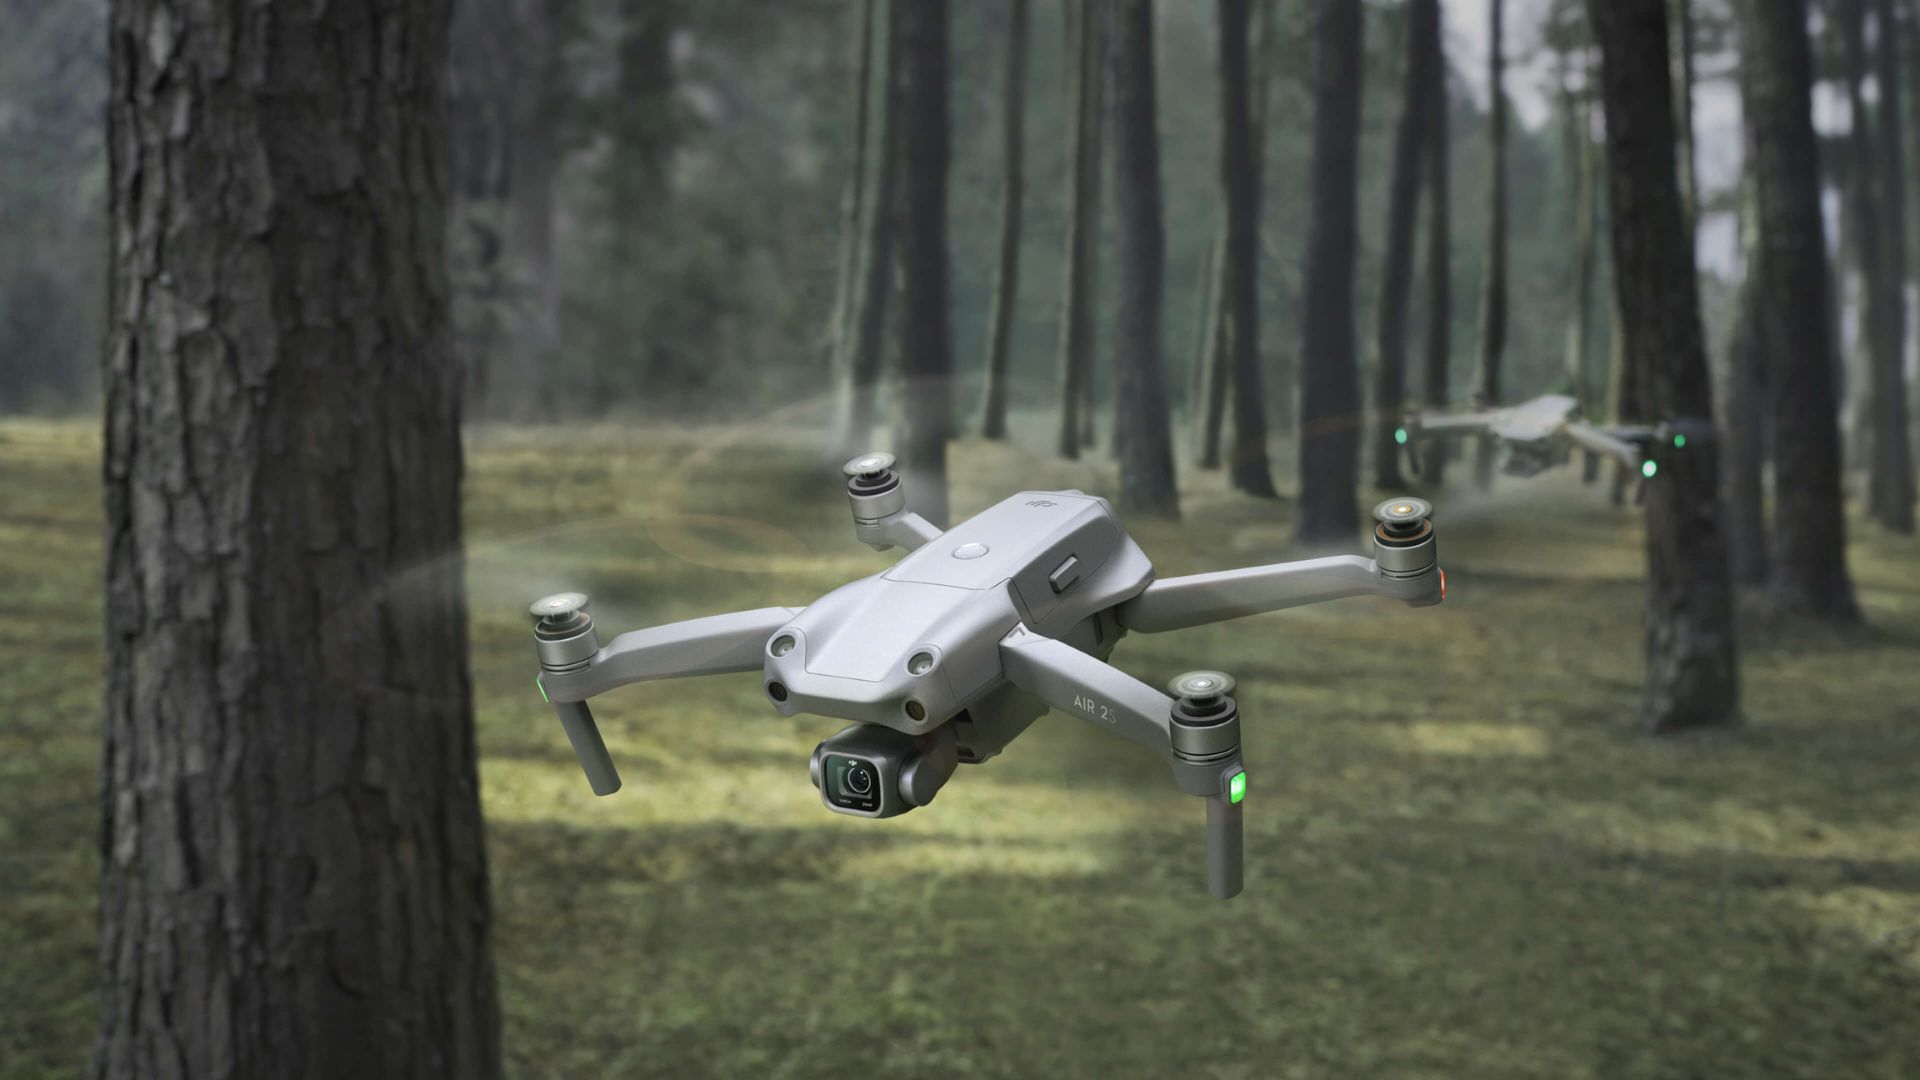
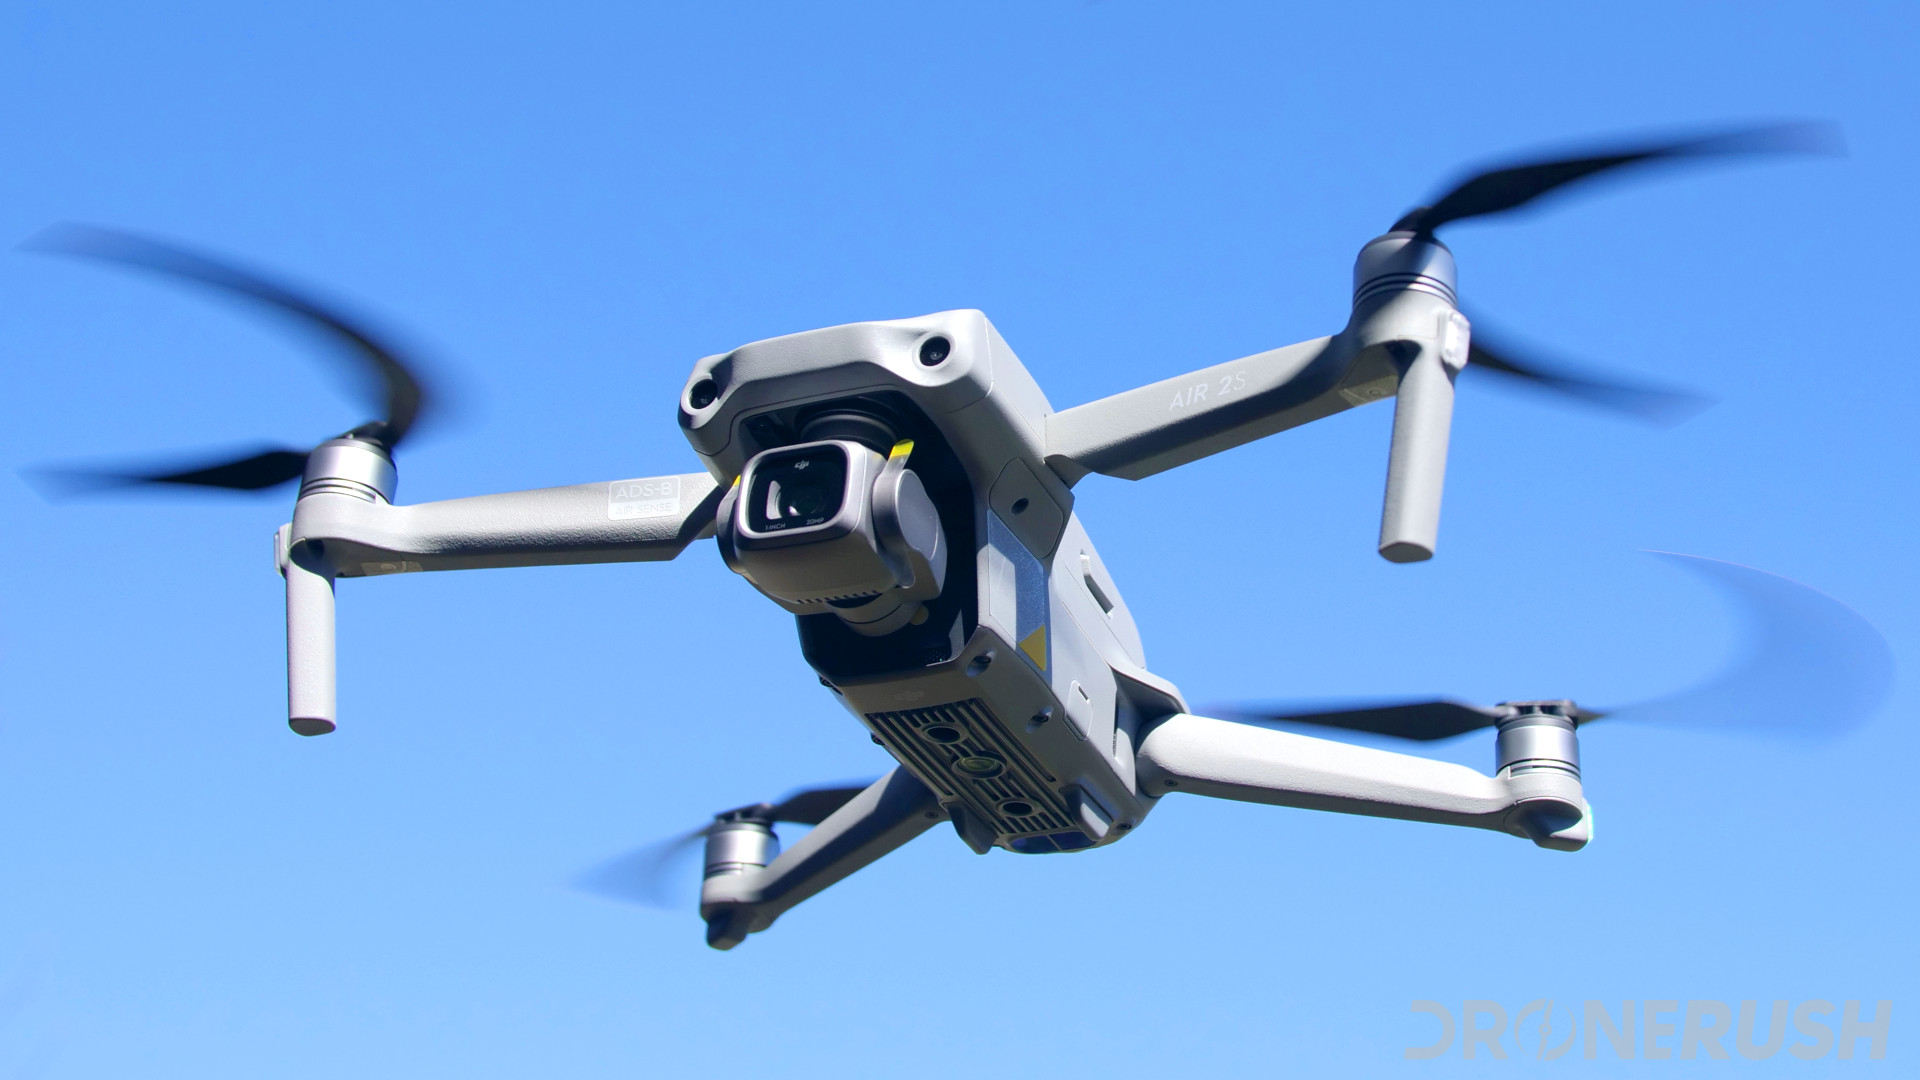
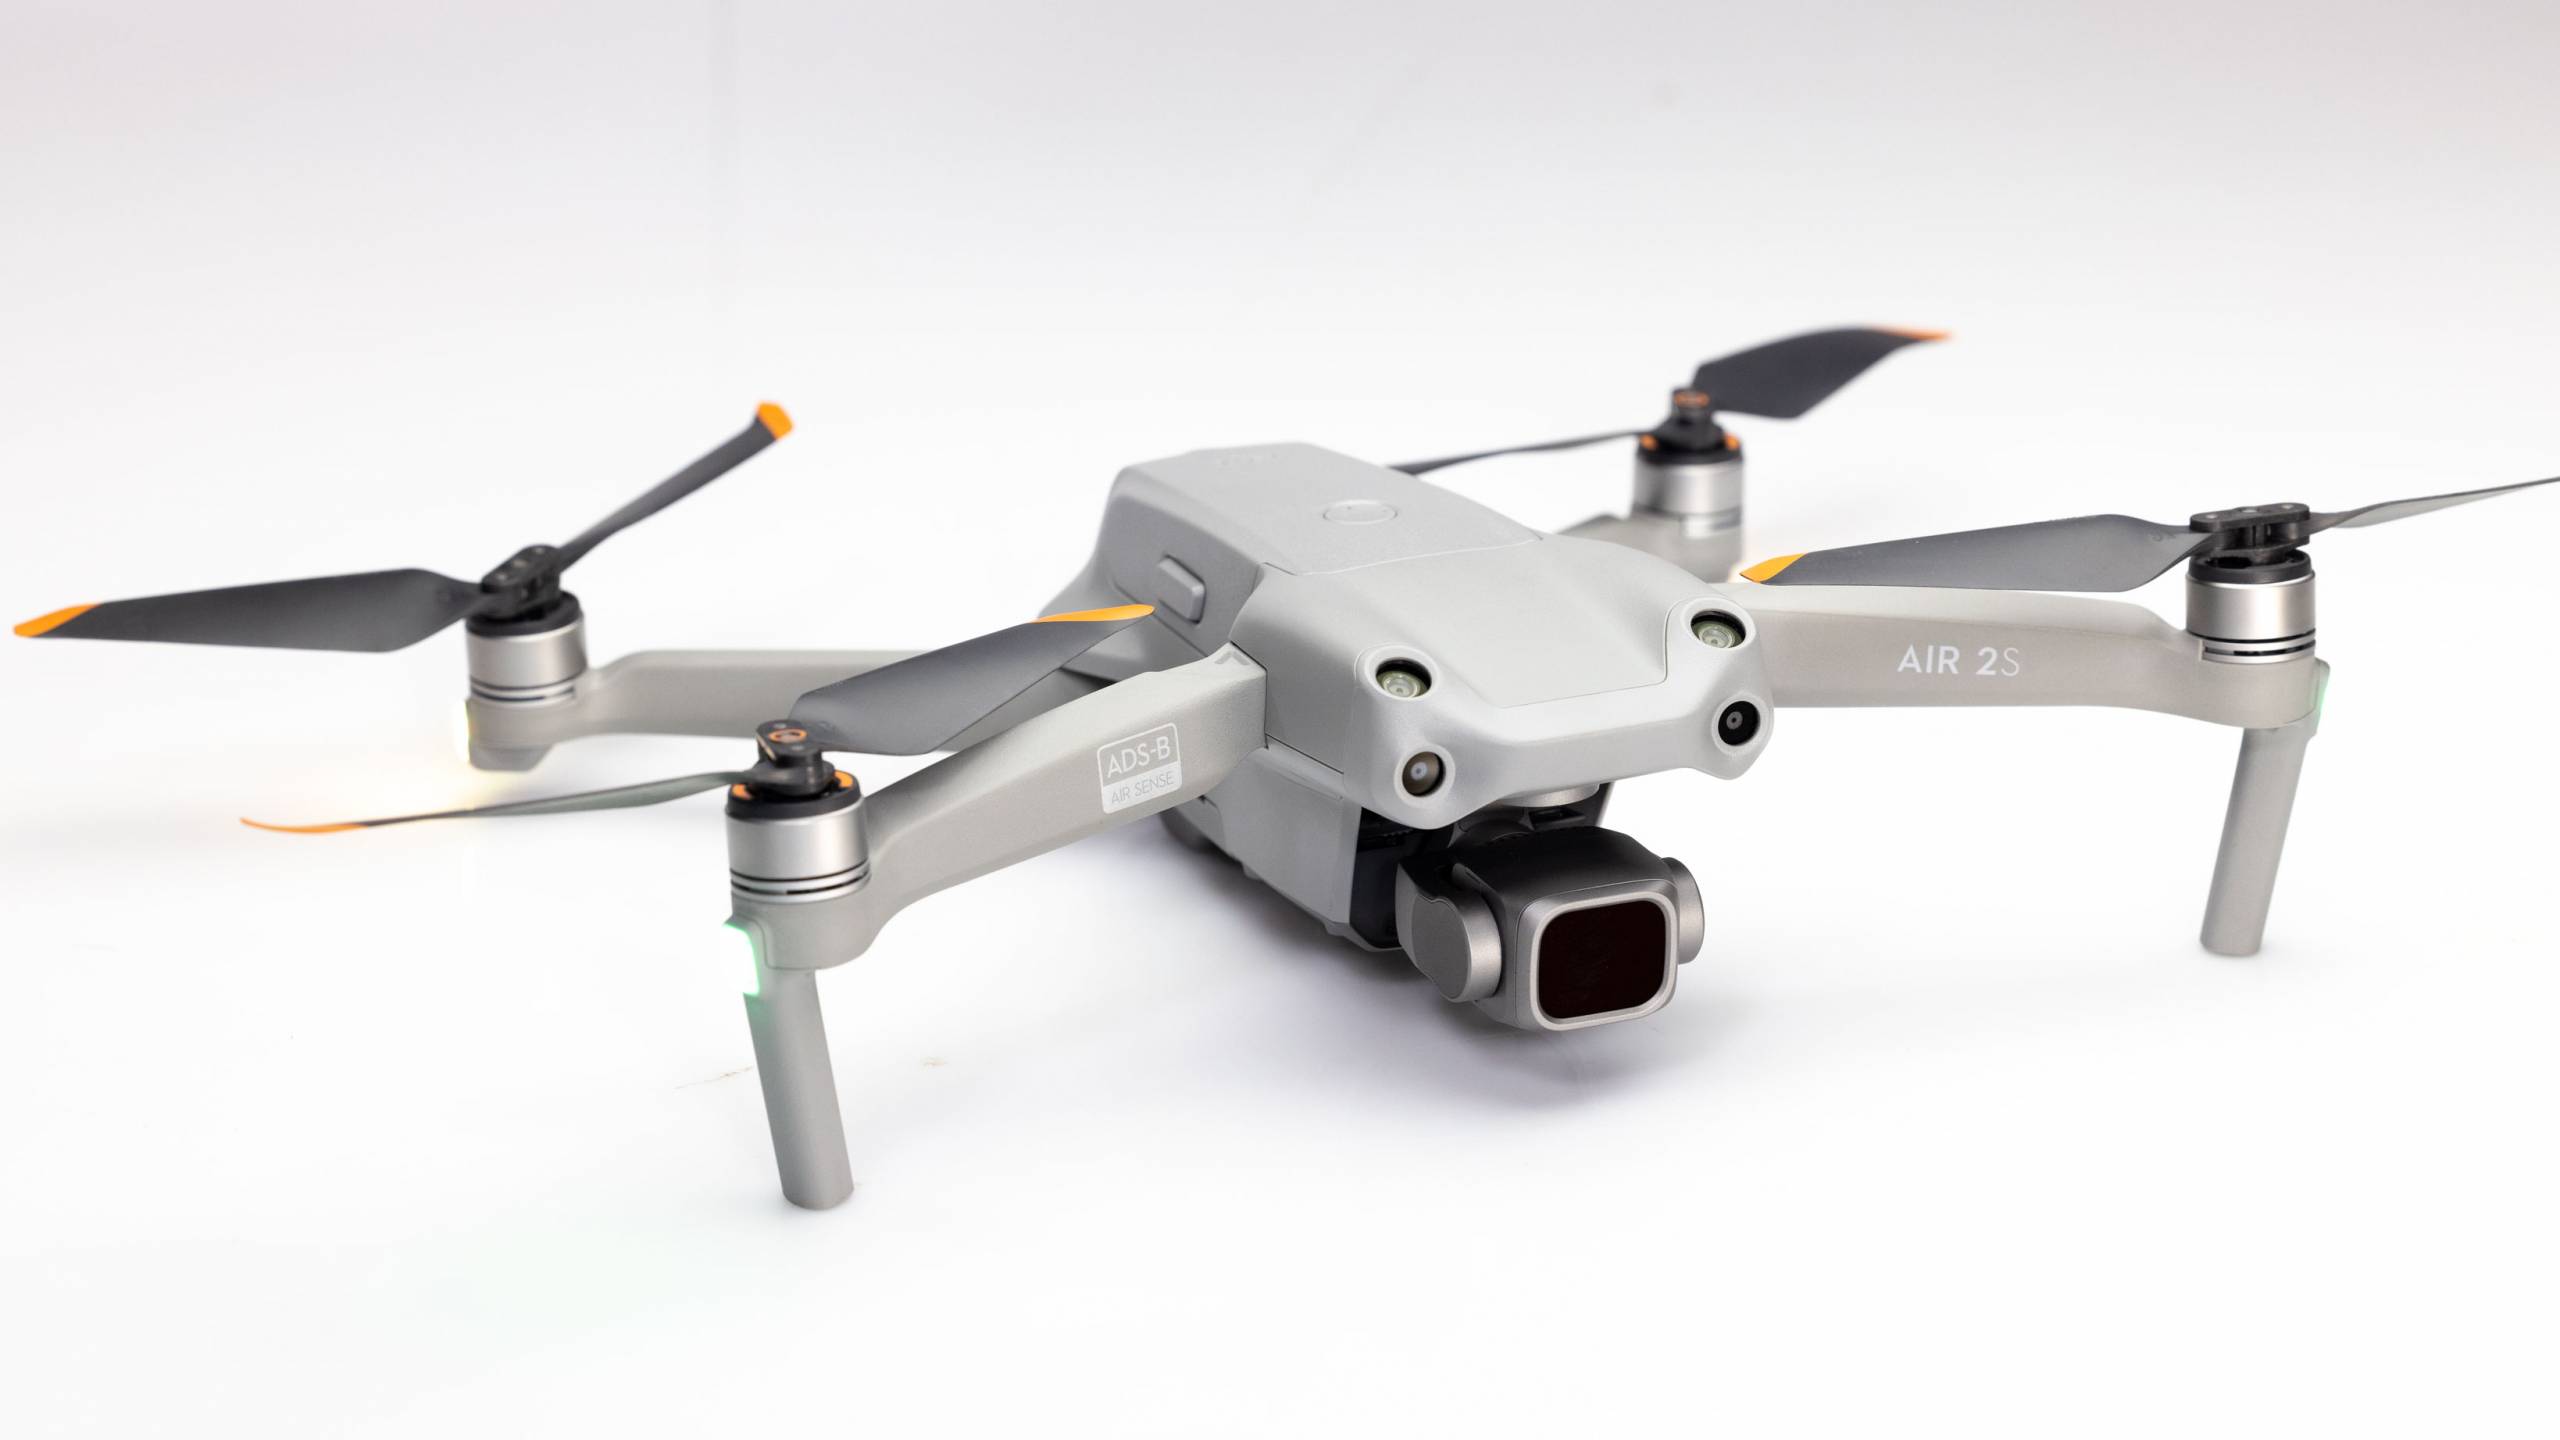
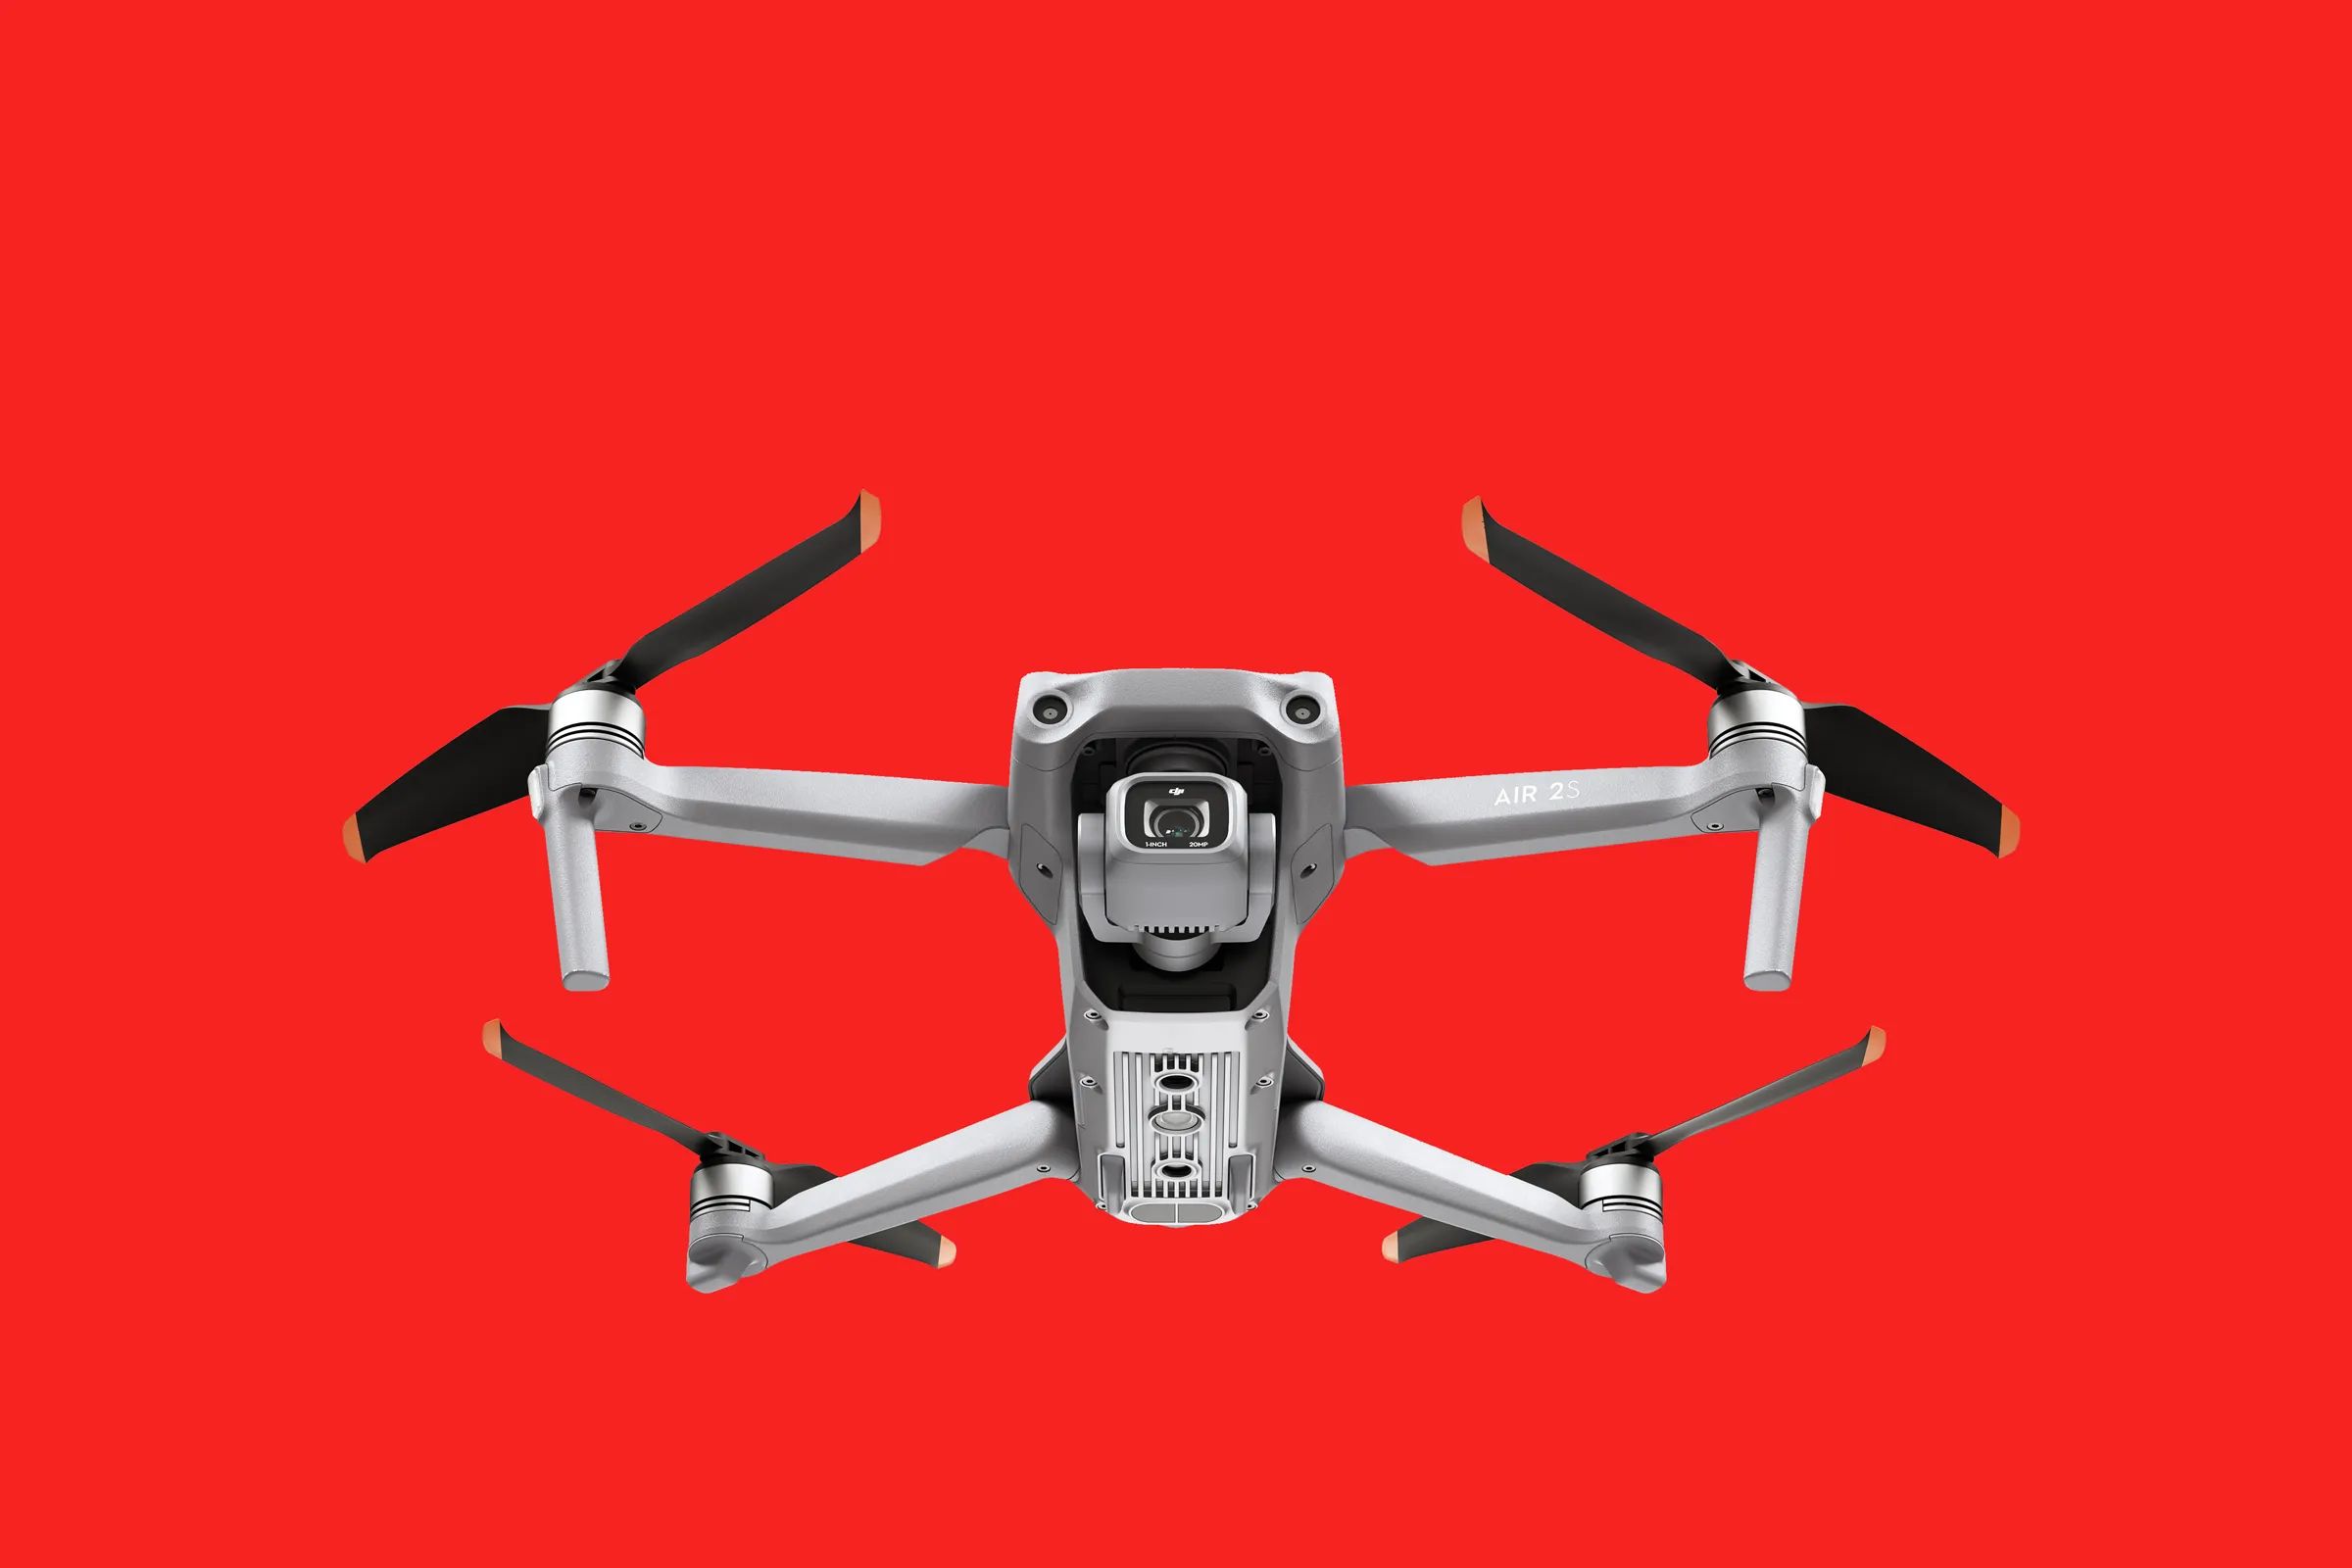
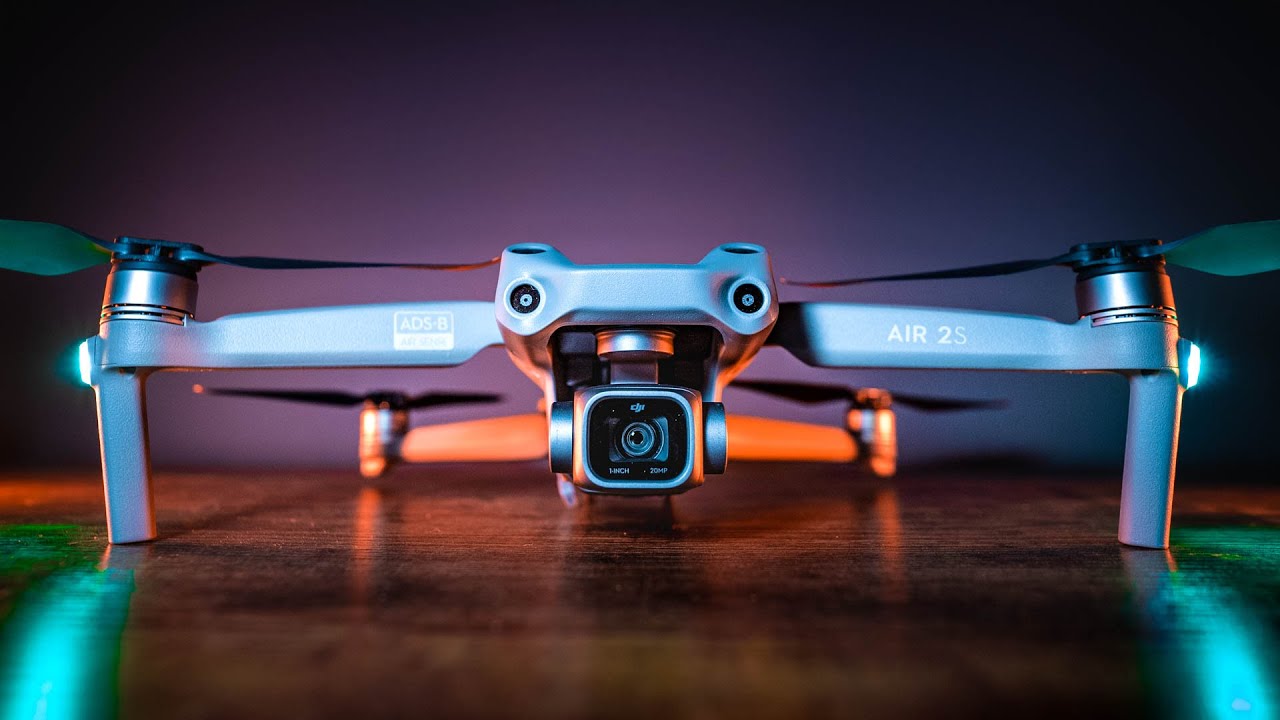
So, you’ve just purchased the DJI Air 2S, one of the most advanced drones on the market. Congratulations! Whether you’re a professional filmmaker or an avid hobbyist, this drone is packed with features that will take your aerial photography and videography to new heights.
The DJI Air 2S boasts a powerful camera, capable of capturing stunning 20-megapixel photos and recording 5.4K videos. With its obstacle avoidance sensors, intelligent flight modes, and impressive flight time, this drone offers a seamless and intuitive flying experience.
But before you can start exploring the skies, you need to go through the setup process. Connecting the DJI Air 2S to your mobile device and understanding its various features can seem daunting at first, but don’t worry – we’ve got you covered. In this guide, we will walk you through the step-by-step process of connecting your DJI Air 2S and getting it ready for takeoff.
From powering on the drone to calibrating the compass and updating the firmware, each step is crucial to ensure your DJI Air 2S functions optimally. Additionally, we will explore the DJI Fly app, which acts as the control center for your drone, allowing you to access camera settings, flight modes, and more.
So, grab your DJI Air 2S, power it on, and let’s dive into the exciting world of aerial photography and videography!
Step 1: Powering on the DJI Air 2S
Before you can start flying your DJI Air 2S, the first step is to power it on. Here’s how:
- Locate the power button on the DJI Air 2S. It is usually located on the top or side of the drone body.
- Press and hold the power button for a few seconds until the LED lights on the drone start to blink or the DJI logo appears on the screen if you have an optional remote controller with a built-in screen.
- Release the power button once the LED lights stabilize or the DJI logo appears on the screen. This indicates that the DJI Air 2S is powered on and ready for further setup.
It is essential to ensure that the DJI Air 2S is on a flat surface during the power-on process to avoid any interference with the internal sensors. This will help the drone initialize and establish a stable connection with the GPS satellites.
Once the DJI Air 2S is powered on, you will hear a series of beeps, and the drone’s status lights will indicate its readiness. It’s important to note that the specific status lights and indications may vary slightly depending on the firmware version of your drone.
By following these simple steps, you have successfully powered on your DJI Air 2S, and it’s ready for the next stage of setup.
Step 2: Installing the DJI Fly App
To unlock the full potential of your DJI Air 2S and access its advanced features, you need to install the DJI Fly app on your mobile device. Here’s how:
- Open the App Store (for iOS) or Google Play Store (for Android) on your mobile device.
- Search for “DJI Fly” in the search bar of the app store.
- Once you find the DJI Fly app in the search results, tap on the “Install” button (for iOS) or “Get” button (for Android) to download and install the app.
- Wait for the app to finish installing on your device. It may take a few moments depending on your internet connection speed.
- Once the installation is complete, locate the DJI Fly app icon on your device’s home screen and tap on it to launch the app.
It’s important to note that the DJI Fly app is designed specifically for DJI drones and provides an intuitive interface for controlling and monitoring your DJI Air 2S. It offers a range of features such as flight settings, camera controls, intelligent flight modes, and access to firmware updates.
Make sure to connect your mobile device to the internet before launching the DJI Fly app for the first time. This will allow the app to download any necessary updates and ensure compatibility with your DJI Air 2S.
Once the DJI Fly app is installed and ready to go, you’re just one step closer to experiencing the incredible capabilities of your DJI Air 2S.
Step 3: Connecting your Mobile Device to the DJI Air 2S
Now that you have installed the DJI Fly app on your mobile device, it’s time to establish a connection between your device and the DJI Air 2S. Follow these steps to connect your mobile device:
- Launch the DJI Fly app on your mobile device by tapping on the app icon.
- If prompted, allow the app to access your device’s location, camera, and microphone. These permissions are necessary for the proper functioning of the app and to provide you with an immersive flying experience.
- Power on the DJI Air 2S by following the instructions outlined in Step 1.
- On the DJI Fly app’s home screen, you will see the “Connect” button. Tap on it to initiate the connection process.
- The app will search for nearby DJI drones. Once it detects the DJI Air 2S, tap on its name in the list of available devices.
- Follow the on-screen instructions to establish a connection between your mobile device and the DJI Air 2S. This typically involves selecting your drone’s Wi-Fi network and entering the Wi-Fi password if required.
After a successful connection, you will see a live video feed from the DJI Air 2S camera on your mobile device’s screen. You can now access various flight settings, camera controls, and intelligent flight modes through the DJI Fly app.
It’s important to ensure a stable connection between your mobile device and the DJI Air 2S throughout your flight. Avoid moving too far away from the drone or obstructing the Wi-Fi signal with physical barriers.
By completing this step, you have successfully connected your mobile device to the DJI Air 2S, unlocking a world of possibilities for aerial photography and videography.
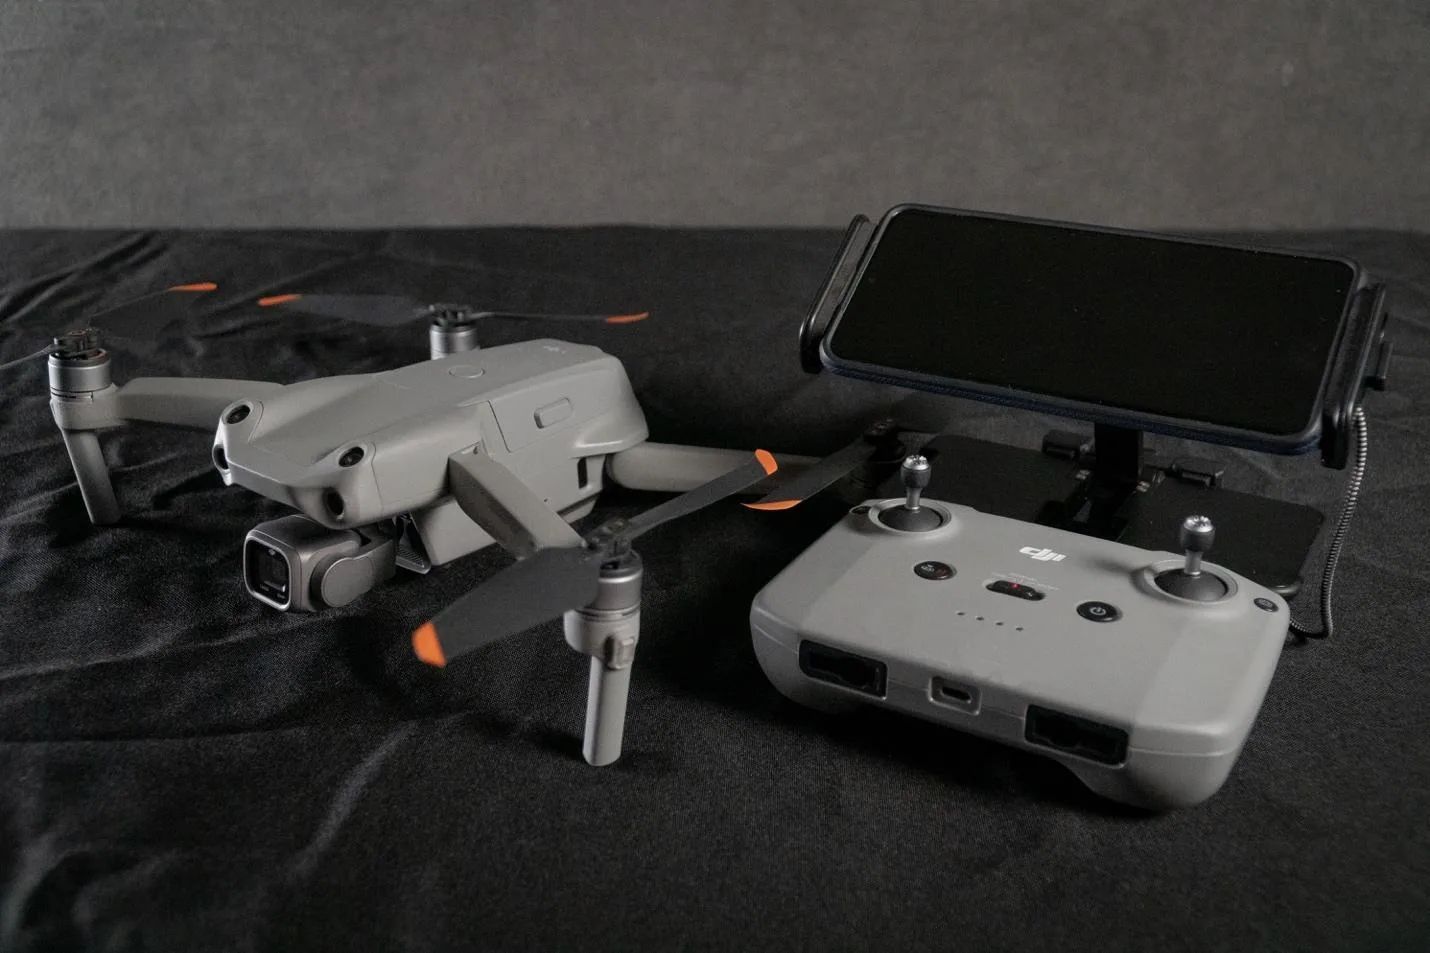
Step 4: Linking the DJI Air 2S Remote Controller
Once you have connected your mobile device to the DJI Air 2S, the next step is to link the remote controller to the drone. Follow these simple steps to establish a connection:
- Ensure that both your DJI Air 2S and the remote controller are powered on.
- Open the DJI Fly app on your mobile device.
- Connect your mobile device to the DJI Air 2S by following the instructions in Step 3.
- On the DJI Fly app’s home screen, you will see a prompt to link the remote controller. Tap on the “Link Remote Controller” button.
- Now, locate the linking button on the DJI Air 2S remote controller. It is usually found on the side or front of the controller.
- Press and hold the linking button until the status light on the remote controller starts blinking rapidly.
- On the DJI Fly app, you will see a message indicating that the remote controller has been detected. Tap on the “Confirm” button to establish the connection.
Once the connection is established, the status light on the remote controller will become solid, indicating that it is linked to the DJI Air 2S.
The remote controller plays a crucial role in controlling the flight and camera functions of the DJI Air 2S. It provides a physical interface for precise maneuvering and capturing breathtaking shots.
It’s essential to ensure that the remote controller is fully charged before each flight to avoid any interruptions. Additionally, make sure to keep the remote controller within range of the drone for a stable connection.
By completing this step, you have successfully linked the DJI Air 2S remote controller to your drone, allowing for seamless control during your flights.
Step 5: Setting up the DJI Air 2S Ready to Fly
With your DJI Air 2S connected to your mobile device and the remote controller linked, it’s time to ensure that the drone is properly set up and ready to take flight. Follow these steps:
- Find a suitable location for takeoff. Look for an open area with minimal obstacles and a flat surface. Avoid flying near airports, crowded areas, or restricted airspace.
- Ensure that the propellers are securely attached to the drone. Gently push and twist each propeller to confirm that they are properly locked in place.
- Check the battery level of both the drone and the remote controller. It’s crucial to have sufficient battery life for a safe and successful flight.
- Verify that the memory card is inserted into the DJI Air 2S camera. This will allow you to capture photos and record videos during your flight.
- Inspect the DJI Air 2S for any visible signs of damage or wear. Check the motors, propellers, and the overall structure of the drone. If you notice any issues, refrain from flying and consult the user manual or contact DJI for assistance.
- Ensure that the DJI Air 2S is in a stable, level position on the ground. This is important for the calibration process and for accurate flight performance.
By following these steps, you have ensured that your DJI Air 2S is set up properly and ready for takeoff. However, it’s important to note that setting up the drone is just the beginning – before every flight, make sure to perform additional checks, such as calibrating the compass and updating the firmware, to ensure a smooth and safe flying experience.
Now that your DJI Air 2S is ready to fly, let’s move on to the next steps to enhance your aerial photography and videography skills.
Step 6: Calibrating the DJI Air 2S Compass
The compass calibration process is crucial for accurate flight performance and navigation. It ensures that the DJI Air 2S has precise heading information and can properly maintain its position during flight. Follow these steps to calibrate the compass:
- Choose an open area with minimal metal objects, electromagnetic interference, and magnetic sources. Avoid concrete or metal surfaces, as they can affect the compass calibration process.
- Power on the DJI Air 2S and the remote controller, following the steps mentioned in earlier sections.
- Open the DJI Fly app on your mobile device.
- Ensure that the drone is set up on a flat surface, away from any potential obstacles.
- In the DJI Fly app, tap on the “Settings” icon. It is usually represented by a gear or cogwheel symbol.
- Under the “Settings” menu, select “Safety” or “Flight Safety.”
- Look for an option labeled “Compass” or “Calibrate Compass.” Tap on it to initiate the calibration process.
- Follow the on-screen instructions provided by the DJI Fly app. These instructions may vary based on the firmware version of your DJI Air 2S.
- Typically, the process involves rotating the drone horizontally and vertically in a specific pattern. Pay attention to the app’s prompts and perform the required rotations as accurately as possible.
- Once the calibration is complete, you will receive a confirmation message on the DJI Fly app.
It’s important to calibrate the compass whenever you fly in a new location or if you notice any abnormal flight behavior. By doing so, you ensure that your DJI Air 2S has accurate compass data, improving its flight stability and reliability.
Remember, a properly calibrated compass is vital for a safe and enjoyable flying experience. Take the time to perform this step, and you’ll be ready to navigate the skies confidently with your DJI Air 2S.
Step 7: Updating Firmware on the DJI Air 2S
Keeping the firmware of your DJI Air 2S up to date is vital for optimal performance and functionality. DJI regularly releases firmware updates that introduce new features, enhance flight stability, and address any known issues. Follow these steps to update the firmware on your DJI Air 2S:
- Ensure that your DJI Air 2S drone, remote controller, and mobile device are all fully charged. This will prevent any interruptions during the firmware update process.
- Connect your mobile device to the DJI Air 2S by following the steps outlined in Step 3.
- Launch the DJI Fly app on your mobile device.
- On the DJI Fly app’s home screen, check the top right corner for a notification badge indicating available firmware updates. If there is a notification, tap on it to access the firmware update page. If there is no notification, you can manually check for updates by going to the app’s settings menu.
- Review the details of the available firmware update, including any new features or bug fixes that it provides. It is recommended to read the release notes before proceeding with the update.
- Tap on the “Update Now” or “Download” button to start the firmware update process. Make sure that you have a stable internet connection to download the firmware package.
- Wait for the firmware update to download and install on your DJI Air 2S. This process may take a few minutes, depending on the size of the update and the speed of your internet connection.
- Once the firmware update is complete, restart the DJI Air 2S drone and the DJI Fly app to ensure that the new firmware is fully implemented.
- Verify that the firmware update was successful by checking the DJI Fly app’s settings menu or the firmware version displayed on the home screen. It should match the latest firmware version provided by DJI.
Regularly updating the firmware of your DJI Air 2S is essential to ensure that you have access to the latest features and improvements. It also helps to maintain compatibility with the DJI Fly app and any future updates or enhancements.
By following these steps, you can easily update the firmware on your DJI Air 2S and continue enjoying a seamless and optimized flying experience.
Step 8: Accessing Camera and Flight Settings in the DJI Fly App
The DJI Fly app provides you with easy access to a wide range of camera and flight settings of your DJI Air 2S drone. By familiarizing yourself with these settings, you can customize your flight experience and capture stunning aerial photographs and videos. Here’s how you can access the camera and flight settings in the DJI Fly app:
- Launch the DJI Fly app on your mobile device and connect it to the DJI Air 2S drone by following the steps outlined in Step 3.
- Once connected, you will be directed to the app’s home screen. Here, you can see important flight information such as battery level, GPS signal strength, and more.
- To access camera settings, tap on the camera icon typically located at the top or bottom of the screen. This will open up a new menu that allows you to control various camera parameters.
- Within the camera settings menu, you can adjust settings such as resolution, frame rate, exposure, white balance, and color profiles. You can also enable features like HDR mode, Hyperlapse, and more.
- To access flight settings, tap on the gear or cogwheel icon usually found at the top or bottom of the screen. This will take you to the app’s settings menu.
- Within the flight settings menu, you can customize parameters like flight limitations, intelligent flight modes, control sensitivity, and more. Make sure to explore these settings to enhance your flight experience and tailor it to your preferences.
- While accessing camera and flight settings, take some time to familiarize yourself with the other features available in the DJI Fly app, such as live view, flight telemetry, and flight logs. These features provide valuable information and insights to help you make the most of your DJI Air 2S.
By accessing and adjusting camera and flight settings in the DJI Fly app, you can unleash the full potential of your DJI Air 2S. Experiment with different settings and modes to capture breathtaking aerial footage and unlock creative possibilities during your flights.
Remember to always fly responsibly and follow local regulations when using your DJI Air 2S.
Step 9: Understanding the DJI Air 2S Flight Modes
The DJI Air 2S comes equipped with a variety of intelligent flight modes that can help you capture cinematic shots, automate flight maneuvers, and enhance your overall flying experience. Understanding these flight modes will allow you to explore and utilize the full potential of your DJI Air 2S. Here’s an overview of some of the key flight modes:
- SmartPhoto: This mode utilizes advanced scene recognition algorithms to automatically capture the best possible shot. The DJI Air 2S analyzes the scene and adjusts parameters such as exposure, color, and contrast to deliver stunning, professional-looking photos.
- ActiveTrack 4.0: This mode allows you to select a subject on the screen, such as a person or a moving object, and the DJI Air 2S will automatically track it while maintaining a safe distance. This is perfect for capturing dynamic action shots or creating impressive follow-me style videos.
- Point of Interest (POI): With this mode, you can select a point of interest on the screen, and the DJI Air 2S will fly in a circular path around it, capturing a unique perspective of the subject. You can adjust the altitude, radius, and speed to customize the shot.
- Waypoints: This mode allows you to plan a flight path by selecting multiple waypoints on the screen. The DJI Air 2S will then automatically fly along the specified route, allowing you to focus on capturing photos or videos without worrying about manual control.
- QuickShots: This mode offers a selection of pre-programmed flight and camera movements that enable you to create impressive aerial shots with just a few taps. You can choose from modes such as Dronie, Rocket, Circle, Helix, and Boomerang, each offering a different type of aerial maneuver.
- Asteroid and Hyperlapse: These modes allow you to capture time-lapse videos with unique creative perspectives. In Asteroid mode, the DJI Air 2S ascends while capturing a spherical panoramic video, creating a mesmerizing asteroid-like effect. In Hyperlapse mode, the drone flies along a designated path while capturing a time-lapse video, creating stunning visual storytelling.
To access and activate these flight modes, navigate to the DJI Fly app and select the corresponding mode from the menu. Make sure to familiarize yourself with the specific features, settings, and limitations of each mode by referring to the user manual or DJI’s online resources.
Understanding and utilizing these intelligent flight modes will take your aerial photography and videography to new heights, allowing you to unleash your creativity and capture breathtaking shots with ease.
Step 10: Taking off and Flying the DJI Air 2S
Now that you have completed the setup process and familiarized yourself with the various features and flight modes of the DJI Air 2S, it’s time to take off and start exploring the skies. Follow these steps to safely and confidently fly your DJI Air 2S:
- Choose a suitable location for takeoff – an open area with sufficient space and minimal obstructions.
- Ensure that the DJI Air 2S, remote controller, and mobile device are all powered on and connected, as described in the previous steps.
- Check the battery level of both the drone and the remote controller to ensure they have sufficient charge for the desired flight duration.
- Perform a final visual inspection of the DJI Air 2S to ensure there are no visible signs of damage or wear.
- Position the drone on a flat surface, away from any potential obstacles, and make sure that the propellers are securely attached.
- On the DJI Fly app, tap on the “Takeoff” or “Fly” button. This will initiate the motors and prepare the DJI Air 2S for flight.
- Once the DJI Air 2S is airborne, use the remote controller’s joysticks to control its movement. The left joystick controls altitude and rotation, while the right joystick controls forward, backward, left, and right movement.
- Practice flying in open areas away from people, buildings, and other aircraft. Start with gentle movements and gradually increase your flight skills as you become more comfortable with the controls.
- Keep an eye on the battery level of the DJI Air 2S and return to a safe landing spot when the battery is running low.
- When you’re ready to land, slowly descend the DJI Air 2S and guide it to the designated landing spot. Use the joysticks to control the landing process smoothly.
Always follow local regulations and guidelines when flying your DJI Air 2S. Respect the privacy of others and avoid flying in restricted or no-fly zones. It’s also essential to stay aware of your surroundings and be prepared for unexpected weather changes.
By following these steps and practicing responsible and safe flying, you can fully enjoy the capabilities of your DJI Air 2S and capture incredible aerial footage.
Conclusion
Congratulations on completing the setup and familiarizing yourself with the DJI Air 2S! You are now equipped to embark on breathtaking aerial adventures and capture stunning photos and videos from new perspectives. By following the step-by-step process outlined in this guide, you have successfully powered on the DJI Air 2S, installed the DJI Fly app, connected your mobile device and remote controller, calibrated the compass, updated the firmware, accessed camera and flight settings, understood the various flight modes, and learned how to take off and fly the drone.
Remember, safety is of utmost importance when flying your DJI Air 2S. Always adhere to local regulations, fly in open areas away from obstacles, and maintain a safe distance from people and property. Regularly check the battery level of both the drone and remote controller, and ensure they are fully charged before each flight.
Continue to explore your DJI Air 2S’s capabilities and experiment with different camera settings, flight modes, and shooting techniques. Use the intelligent flight modes to capture unique and creative shots effortlessly. Moreover, stay updated with the latest firmware releases from DJI to benefit from new features, enhancements, and bug fixes.
Capture the world from above and unleash your creativity with the DJI Air 2S. Take advantage of its powerful camera, sophisticated flight controls, and intelligent flight modes to capture awe-inspiring moments. Whether you’re an experienced aerial photographer or just starting with drones, the DJI Air 2S is your gateway to endless creative possibilities.
Remember to have fun and share your amazing aerial images and videos with friends and fellow drone enthusiasts. Happy flying!