Introduction
Welcome to our guide on how to update the firmware of your DJI Avata. Firmware updates are crucial to ensure that your Avata operates smoothly and efficiently, and that you have access to the latest features and performance enhancements provided by DJI. In this guide, we will walk you through the step-by-step process of updating the firmware of your DJI Avata, ensuring that you have the most up-to-date software version installed.
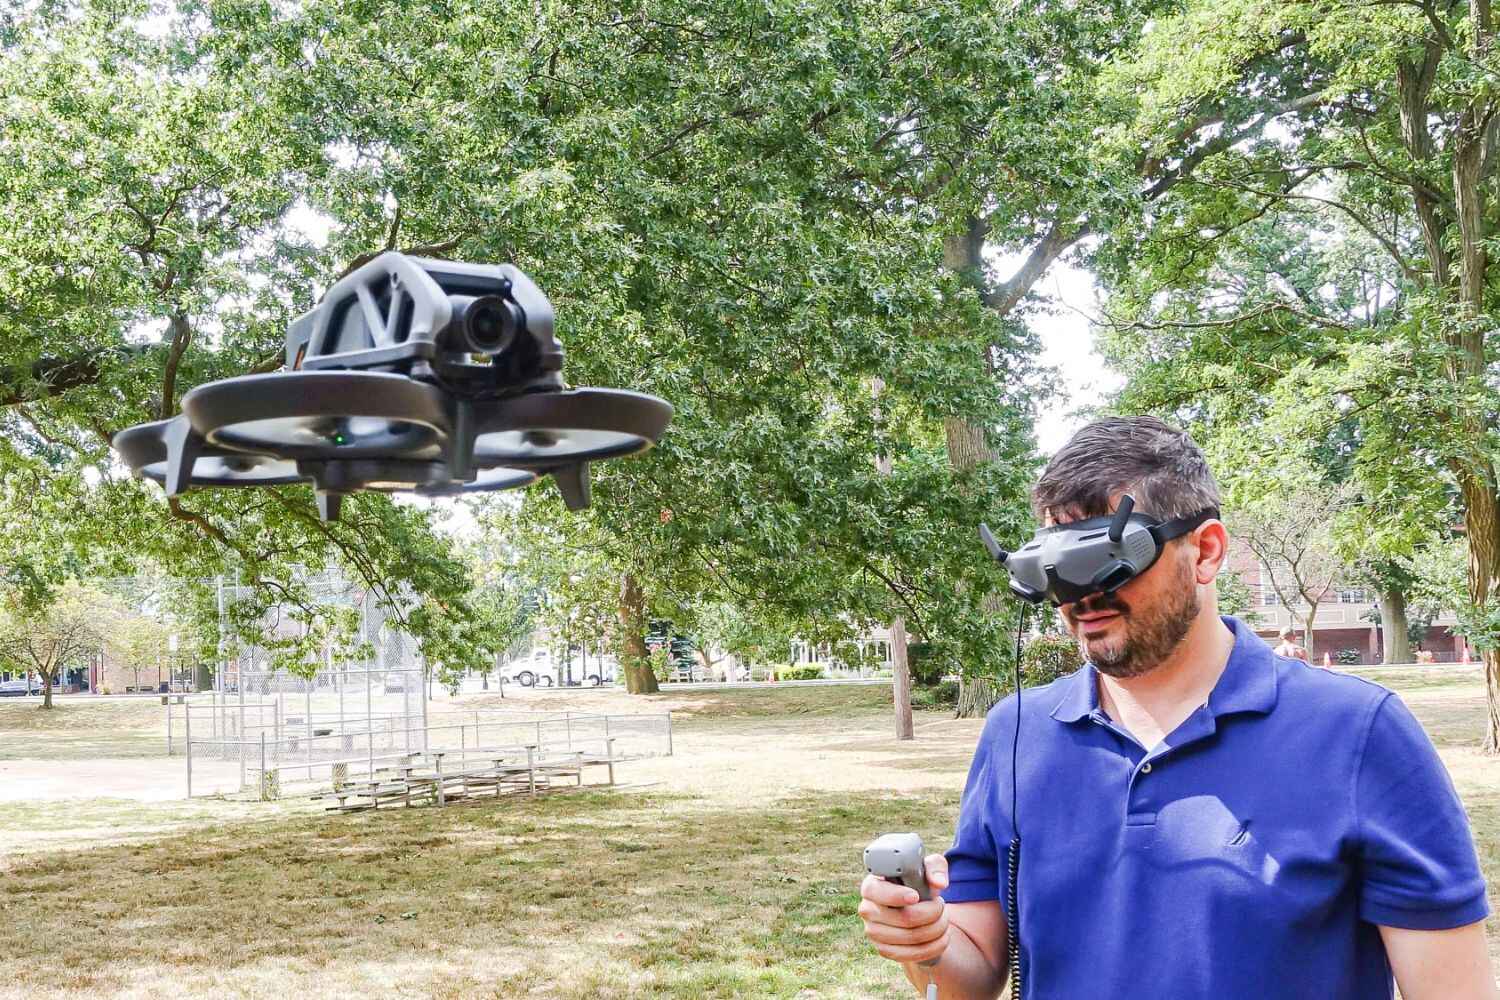
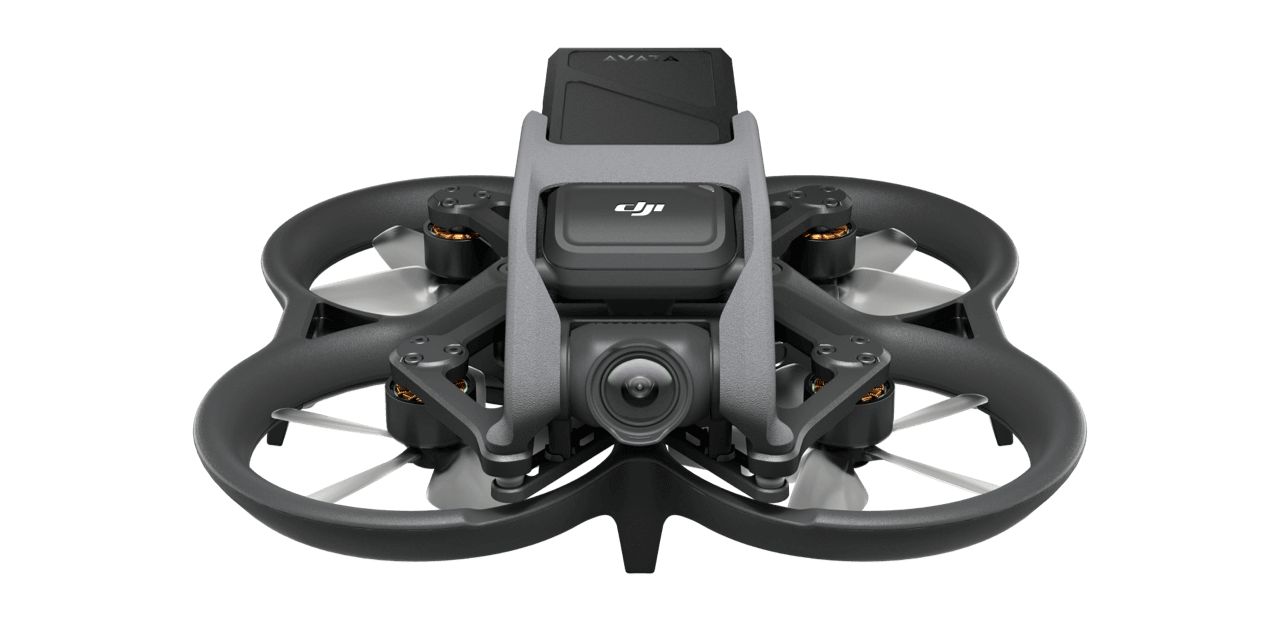
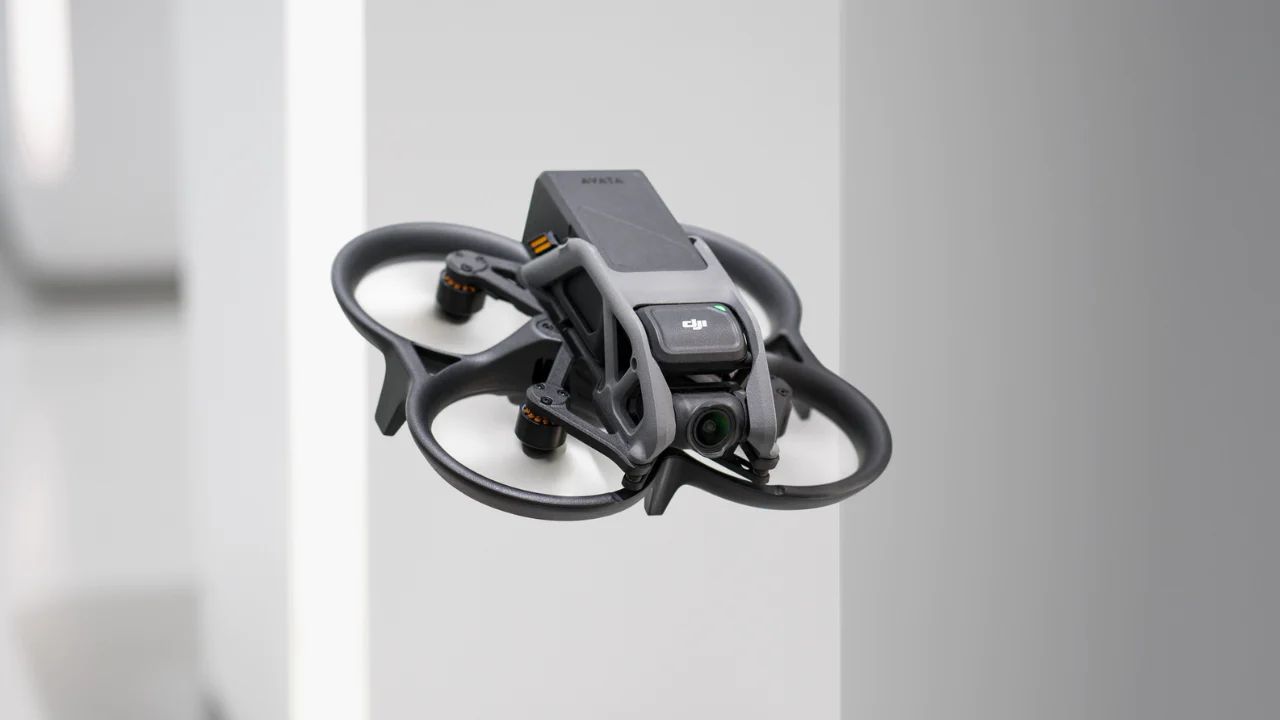
DJI Avata is a professional-grade drone that is widely used by photographers, videographers, and drone enthusiasts. It boasts advanced flight capabilities, a high-resolution camera, and a range of intelligent features. However, to keep your Avata functioning optimally, it is essential to regularly update its firmware. Firmware updates often include bug fixes, security patches, and performance improvements, ensuring that your drone remains stable and reliable.
Updating the firmware of your DJI Avata may seem like a daunting task, especially for beginners. However, with the right guidance and instructions, it becomes a straightforward process. This guide aims to simplify the updating process for you, providing detailed steps to follow and ensuring a successful firmware update.
Before we dive into the steps, it is important to note that updating the firmware of your Avata requires a few prerequisites. These include a computer with an internet connection, the DJI Assistant 2 software, and a USB cable to connect your Avata to the computer. Additionally, make sure your Avata’s battery is sufficiently charged to avoid any interruptions during the update process.
Now that we have covered the essentials, let’s move on to the step-by-step process of updating the firmware of your DJI Avata. Following these steps will ensure that your drone stays up-to-date and performs at its best.
Requirements
Before you begin the firmware update process for your DJI Avata, there are a few essential requirements that you need to fulfill. These requirements will ensure a smooth and successful update, minimizing the risk of any issues or complications.
1. Computer with internet connection: You will need a computer to download the necessary software and firmware update files. Ensure that your computer is connected to the internet for a smooth downloading process.
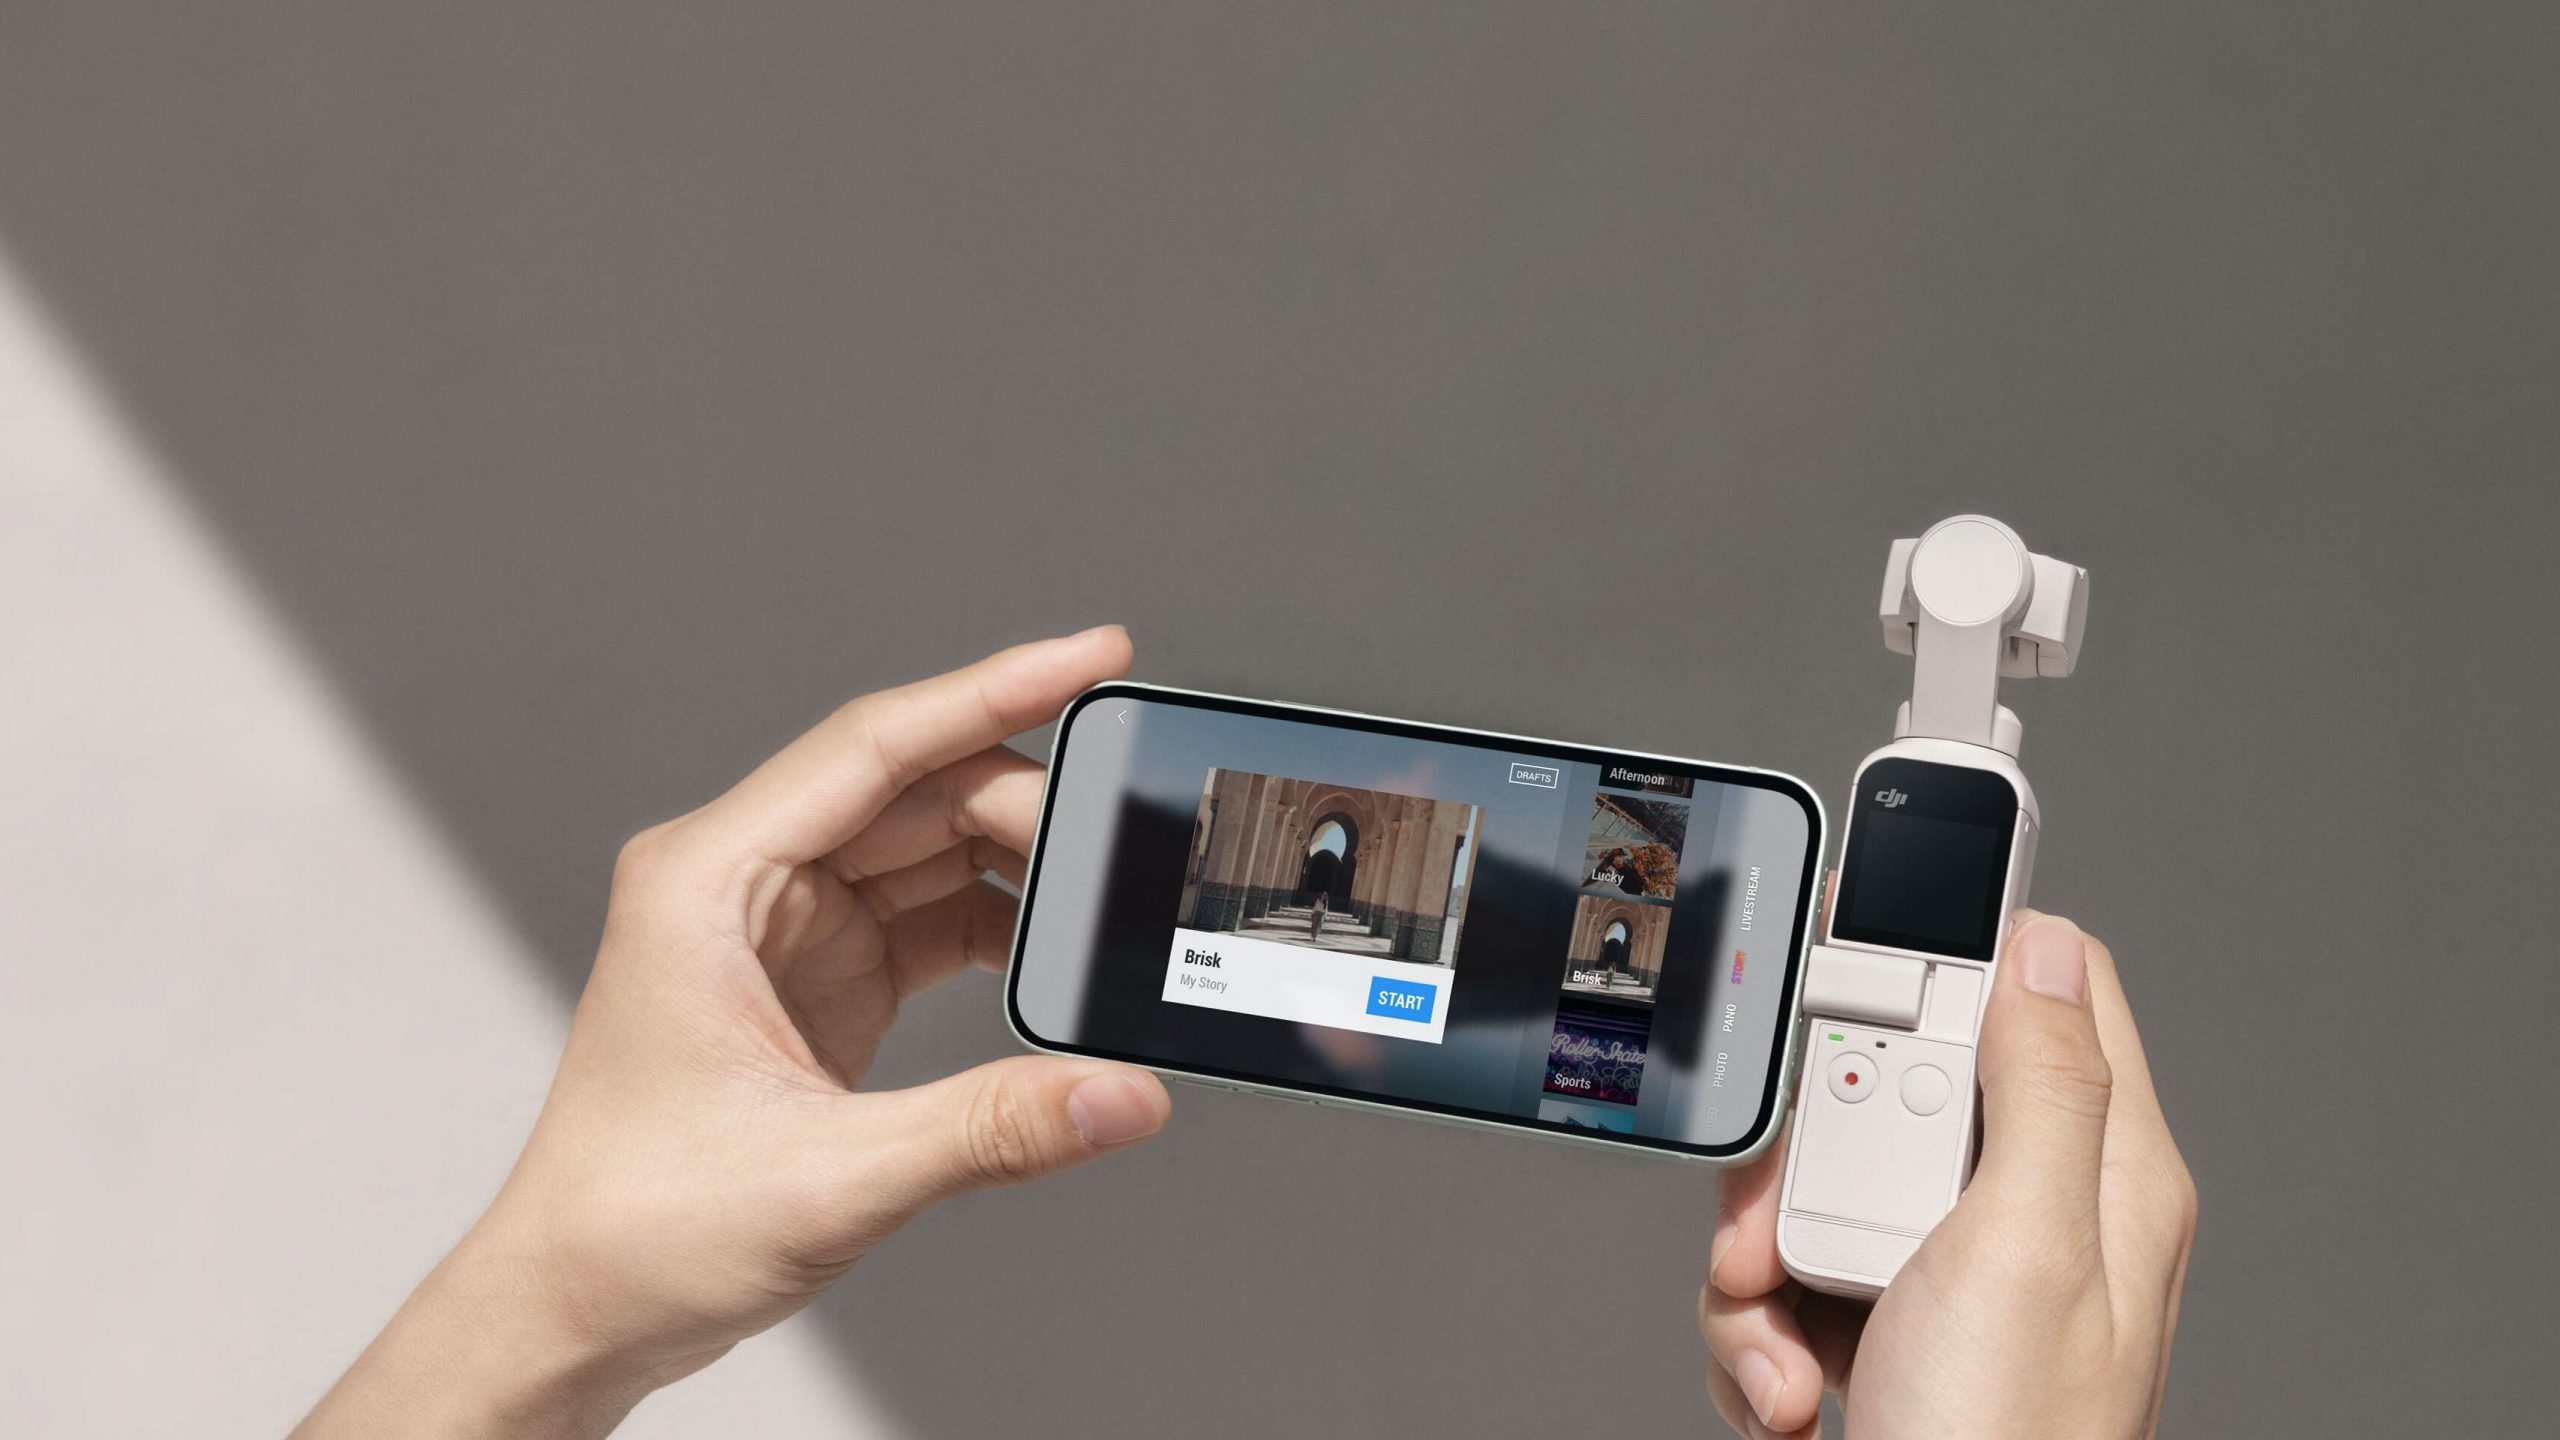
2. DJI Assistant 2 software: The DJI Assistant 2 software is a vital tool for updating the firmware of your DJI Avata. It allows you to connect to your Avata and install the firmware updates. Make sure you have the latest version of the DJI Assistant 2 software installed on your computer.
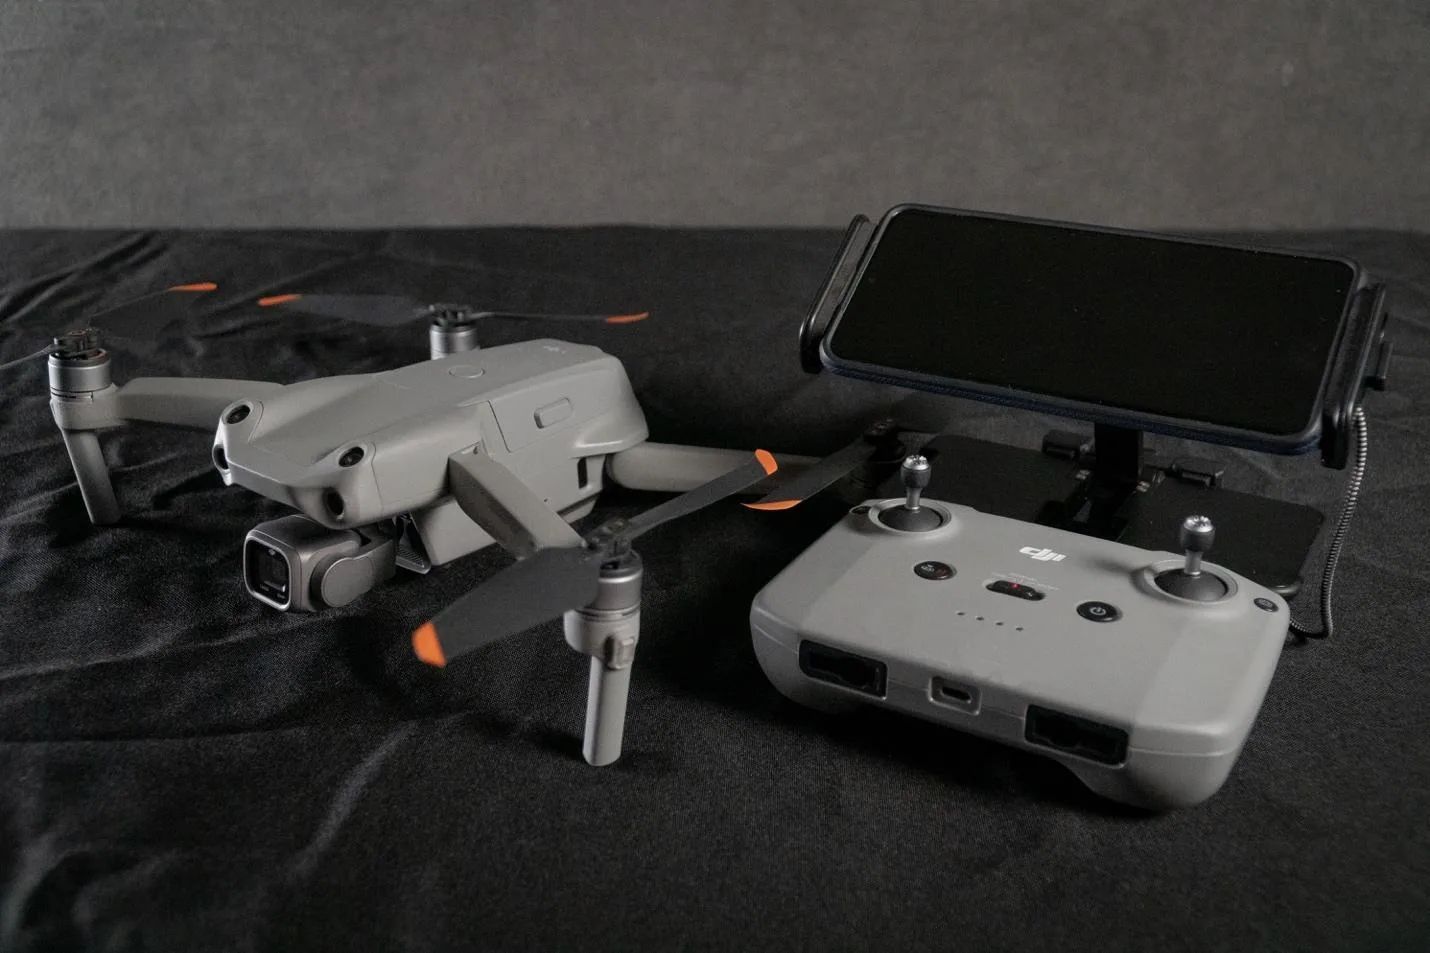
3. DJI Avata and USB cable: Naturally, you will need your DJI Avata drone and a USB cable to establish a connection between the drone and your computer. Ensure that the USB cable is in good condition to prevent any communication errors during the firmware update process.
4. Sufficient battery charge: Before initiating the firmware update, make sure that your DJI Avata’s battery is sufficiently charged. Firmware updates can take some time, and it’s important to have enough battery power to avoid any interruptions during the process.
5. Stable internet connection: A stable and reliable internet connection is crucial for a successful firmware update. It ensures that you can download the necessary files without any interruptions or errors. If your internet connection is prone to instability, consider using a wired connection for a more reliable download.
By ensuring that you meet these requirements, you will be well-prepared to update the firmware of your DJI Avata. Following the upcoming steps, you will be guided through the entire process, ensuring that your drone is up-to-date with the latest firmware version and ready for your next flight.
Step 1: Connecting the DJI Avata to the Computer
The first step in updating the firmware of your DJI Avata is to establish a connection between the Avata drone and your computer. This connection is necessary to transfer the firmware update files and communicate with the DJI Assistant 2 software. Follow the steps below to ensure a successful connection:
- Ensure that your DJI Avata is powered off. This will prevent any potential issues during the connection process.
- Using a USB cable, connect your DJI Avata to your computer. Plug one end of the USB cable into the appropriate port on your computer, and the other end into the USB port on the side of the Avata.
- Once connected, power on your DJI Avata. Wait for a few seconds to allow the computer to recognize the Avata and establish a connection.
- Launch the DJI Assistant 2 software on your computer. If you haven’t already installed it, you can download it from the DJI website and follow the installation instructions.
- In the DJI Assistant 2 software, navigate to the “Device” section or any relevant section that allows you to connect your DJI Avata.
- Click on the “Connect” button or any similar option to establish the connection between your Avata and the DJI Assistant 2 software. You may need to wait for a few seconds for the software to detect and connect to your Avata.
- Once the connection is established, you will see a confirmation message or an indication that your DJI Avata is successfully connected to the DJI Assistant 2 software.
Connecting your DJI Avata to the computer is a crucial step in the firmware update process. It enables the transfer of firmware update files and facilitates communication between your Avata and the DJI Assistant 2 software. By following the steps outlined above, you have successfully established a connection, and you are now ready to proceed to the next step: downloading the firmware update files.
Step 2: Downloading the Firmware Update
After successfully connecting your DJI Avata to the computer, the next step is to download the firmware update files. These files contain the latest version of the firmware that you will install on your Avata. Follow the steps below to download the firmware update:
- Open the DJI Assistant 2 software on your computer if it’s not already open from the previous step.
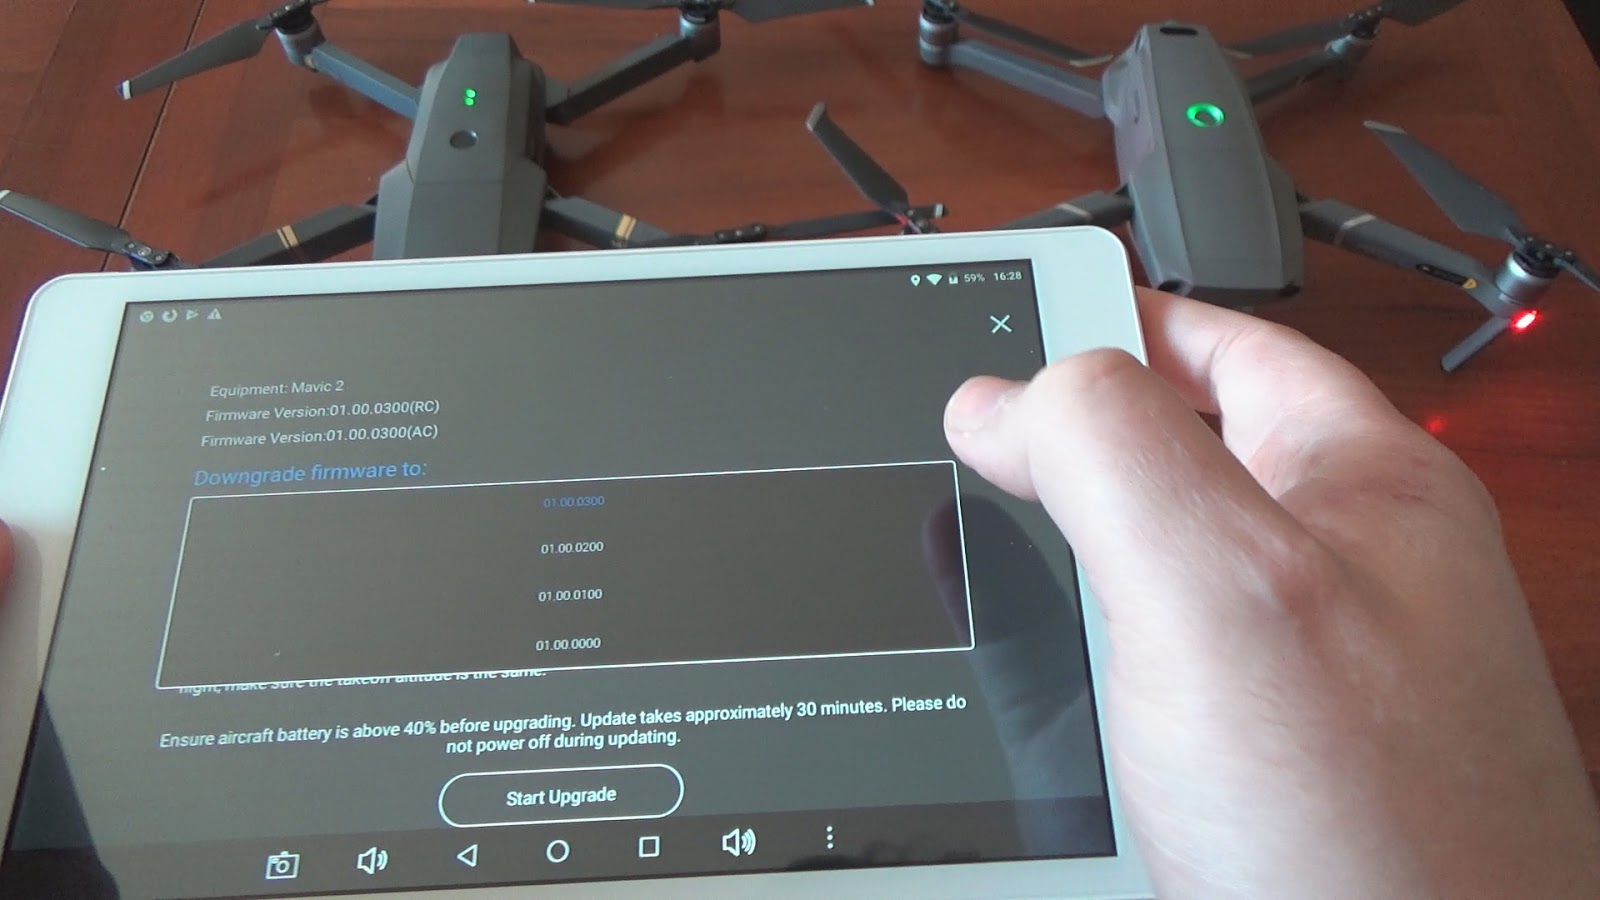
- Navigate to the “Firmware Update” or a similar section within the DJI Assistant 2 software. This section is where you can download and install firmware updates for your DJI Avata.
- Check for any available firmware updates for your Avata by clicking on the “Check for Updates” or a similar button. The software will communicate with DJI servers to retrieve the latest firmware update files.
- If a new firmware update is available, the DJI Assistant 2 software will display the details of the update, including the version number and any new features or improvements it provides.
- Review the firmware update details to ensure that it is compatible with your DJI Avata and aligns with your requirements.
- Click on the “Download” or a similar button to start the firmware update download process. The DJI Assistant 2 software will begin downloading the necessary files to update your Avata’s firmware.
- Wait for the download to complete. The duration of the download may vary depending on the size of the firmware update and the speed of your internet connection.
- Once the download is complete, you will be ready to proceed to the next step: installing the DJI Assistant 2 software.
Downloading the firmware update is an important step in keeping your DJI Avata up to date. By following the steps outlined above, you have successfully downloaded the latest firmware update files for your drone. These files will be used in the next step to install the updated firmware on your Avata and unlock its new features and improvements.
Step 3: Installing the DJI Assistant 2 Software
Once you have successfully downloaded the firmware update files for your DJI Avata, the next step is to install the DJI Assistant 2 software on your computer. This software is crucial for managing and updating your Avata’s firmware. Follow the steps below to install the DJI Assistant 2 software:
- Locate the downloaded DJI Assistant 2 software installation file on your computer. It is typically saved in the default downloads folder or the location you specified during the download process.
- Double-click on the installation file to initiate the installation process. You may be prompted to grant administrative permissions or confirm your acceptance of the software’s terms and conditions.
- Follow the on-screen instructions provided by the installation wizard to complete the installation process. This may include selecting the installation location, choosing additional options, and agreeing to the software’s license agreement.
- Wait for the installation to complete. This may take a few minutes depending on your computer’s speed and performance.
- Once the installation is finished, launch the DJI Assistant 2 software by locating and clicking on its icon in the start menu or desktop shortcut.
- Ensure that your DJI Avata is still connected to the computer via the USB cable.
By following these steps, you have successfully installed the DJI Assistant 2 software on your computer. This software will now act as a bridge between your computer and your DJI Avata, allowing you to manage and update the firmware of your drone. You are now ready to proceed to the next step: updating the firmware of your DJI Avata.
Step 4: Updating the Firmware
Now that you have successfully installed the DJI Assistant 2 software and have your DJI Avata connected to your computer, it’s time to proceed with updating the firmware. Follow the steps below to ensure a smooth firmware update process:
- Launch the DJI Assistant 2 software on your computer if it’s not already open.
- In the software’s main interface, locate and click on the “Firmware Update” or a similar option. This will take you to the section where you can update the firmware of your DJI Avata.
- The DJI Assistant 2 software will automatically detect the connected DJI Avata and display its information, including the current firmware version and any available updates.
- Review the firmware update details to ensure that it is the correct version and aligns with your requirements. Make sure to read any release notes or documentation provided by DJI to understand the changes and improvements introduced in the firmware update.
- Click on the “Update” or a similar button to begin the firmware update process for your DJI Avata.
- The software will display a progress bar or status indicator to show the update process. It may take several minutes for the update to complete. During this time, it is crucial to keep your DJI Avata and computer connected and avoid any interruptions or disconnections.
- Once the firmware update is finished, the software will display a notification or confirmation message indicating the successful update.
- Disconnect your DJI Avata from the computer by safely removing the USB cable.
By following these steps, you have successfully updated the firmware of your DJI Avata using the DJI Assistant 2 software. Your Avata is now equipped with the latest firmware version, providing improved performance, stability, and new features. It is essential to regularly check for firmware updates and keep your drone up to date to ensure the best possible flying experience.
Step 5: Verifying the Firmware Update
After updating the firmware of your DJI Avata, it is crucial to verify that the update was successful and that your drone is running on the latest firmware version. Follow the steps below to verify the firmware update:
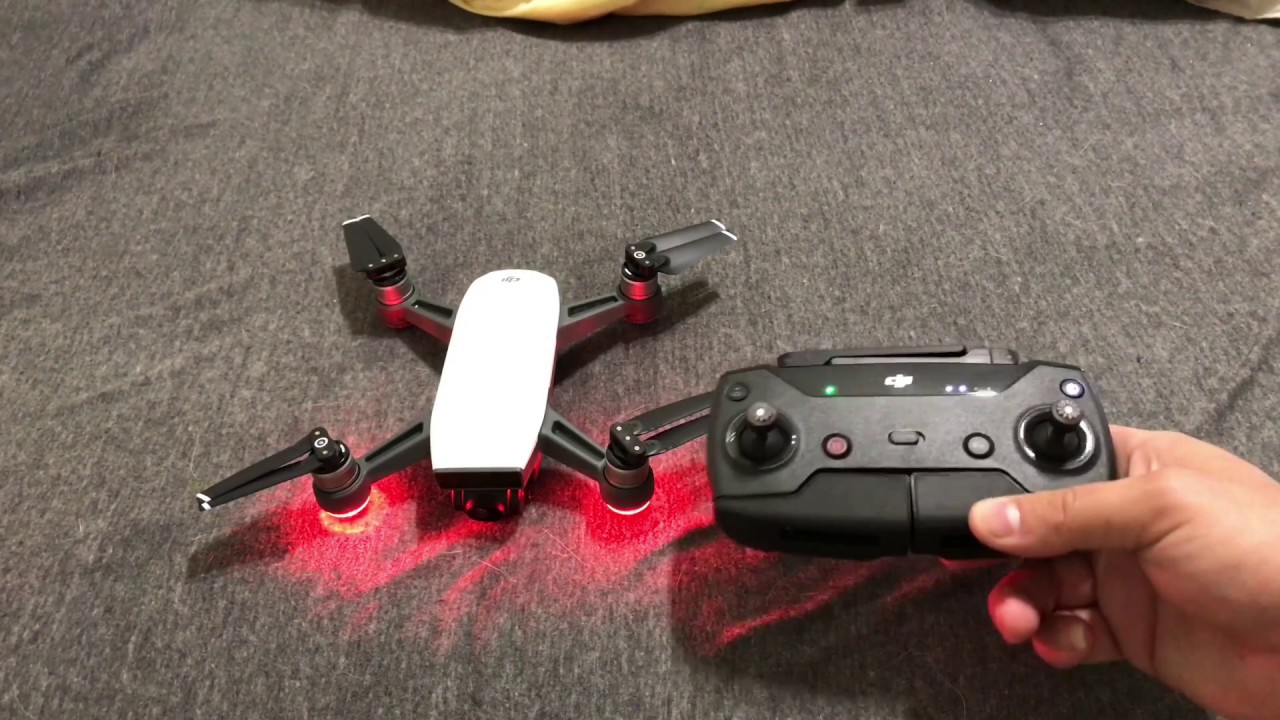
- Power on your DJI Avata and ensure that it is in a stable and safe location.
- Launch the DJI Assistant 2 software on your computer.
- Connect your DJI Avata to the computer using the USB cable.
- In the DJI Assistant 2 software, navigate to the “Firmware Update” or a similar section, as in the previous steps.
- The software should display the current firmware version of your Avata. Make sure that it matches the version number of the firmware update you installed.
- If the firmware version matches, it indicates that the update was successful, and your DJI Avata is now running on the latest firmware.
- To further verify the firmware update, you can perform a test flight with your Avata. Observe its performance, stability, and any new features or improvements introduced in the firmware update.
- Ensure that all drone functions are working properly, including camera controls, flight modes, and intelligent features.
- If you notice any issues or abnormalities after the firmware update, it is recommended to contact DJI support for assistance.
By following these steps, you have successfully verified that the firmware update for your DJI Avata was successful. Your drone is now operating on the latest firmware version, ensuring optimal performance and access to new features. Regularly checking and verifying firmware updates is essential to ensure that your DJI Avata remains up to date and performs at its best.
Conclusion
Congratulations! You have successfully updated the firmware of your DJI Avata, ensuring that your drone operates at its best and takes advantage of the latest features and improvements. Updating the firmware is an essential maintenance task that should be performed regularly to keep your DJI Avata in optimal condition.
In this guide, we walked you through the step-by-step process of updating the firmware of your DJI Avata. We covered the prerequisites, including the requirements for your computer, the DJI Assistant 2 software, and a stable internet connection. We explained how to connect your DJI Avata to the computer, download the firmware update files, install the DJI Assistant 2 software, update the firmware, and verify the update.
By following these steps, you can ensure that your DJI Avata remains up to date and functions reliably. Firmware updates often include bug fixes, security patches, improved performance, and new features, all of which enhance your flying experience with the DJI Avata.
As a responsible drone owner, it is important to regularly check for firmware updates and keep your DJI Avata’s software up to date. Staying current with firmware updates ensures that you have access to the latest advancements in drone technology and helps maintain the overall health and performance of your DJI Avata.
Remember to always follow DJI’s instructions and guidelines when updating firmware and operating your drone. If you encounter any issues during the firmware update process or require further assistance, don’t hesitate to reach out to DJI support for help.
Enjoy your updated DJI Avata and take to the skies with confidence, knowing that your drone is equipped with the latest firmware version!