Introduction
Charging your DJI Avata is an essential task to ensure that you can fly your drone for extended periods without interruption. In this guide, we will take you through the step-by-step process of charging your DJI Avata drone. Whether you are a beginner or an experienced drone pilot, this article will provide you with all the necessary information to safely and efficiently charge your DJI Avata.
The DJI Avata is equipped with a rechargeable battery that can be charged using the provided charger and a power source. Before diving into the charging process, it is essential to check the battery level of your Avata to determine whether it needs to be charged. This will help you avoid any unexpected power loss during your flight.
Once you have confirmed the battery level, the next step is to detach the Avata from the aircraft. This ensures that you have easy access to the battery for charging. Connecting the charger to the battery is the next step in the charging process. This can be done by plugging in the charger’s cable into the designated charging port on the Avata.
Now, it’s time to connect the charger to a power source. Locate a reliable power source, such as a wall outlet or a power bank, and plug in the charger. The charger will have indicator lights to show the charging status, which we will discuss later in this guide.
The charging time for the Avata battery can vary depending on various factors, such as the battery level before charging and the power source’s output. It is important to be patient and allow enough time for the battery to charge fully. Once the charging is complete, you can disconnect the charger from the power source and proceed to reconnect the Avata to the aircraft.
In this guide, we will provide you with detailed instructions and tips to ensure a smooth charging process for your DJI Avata. Let’s dive in and get your Avata ready for your next flight adventure!
Check Battery Level
Before you begin the charging process, it is crucial to check the battery level of your DJI Avata. This will help you determine whether the battery needs to be charged or if it still has enough power for your intended flight.
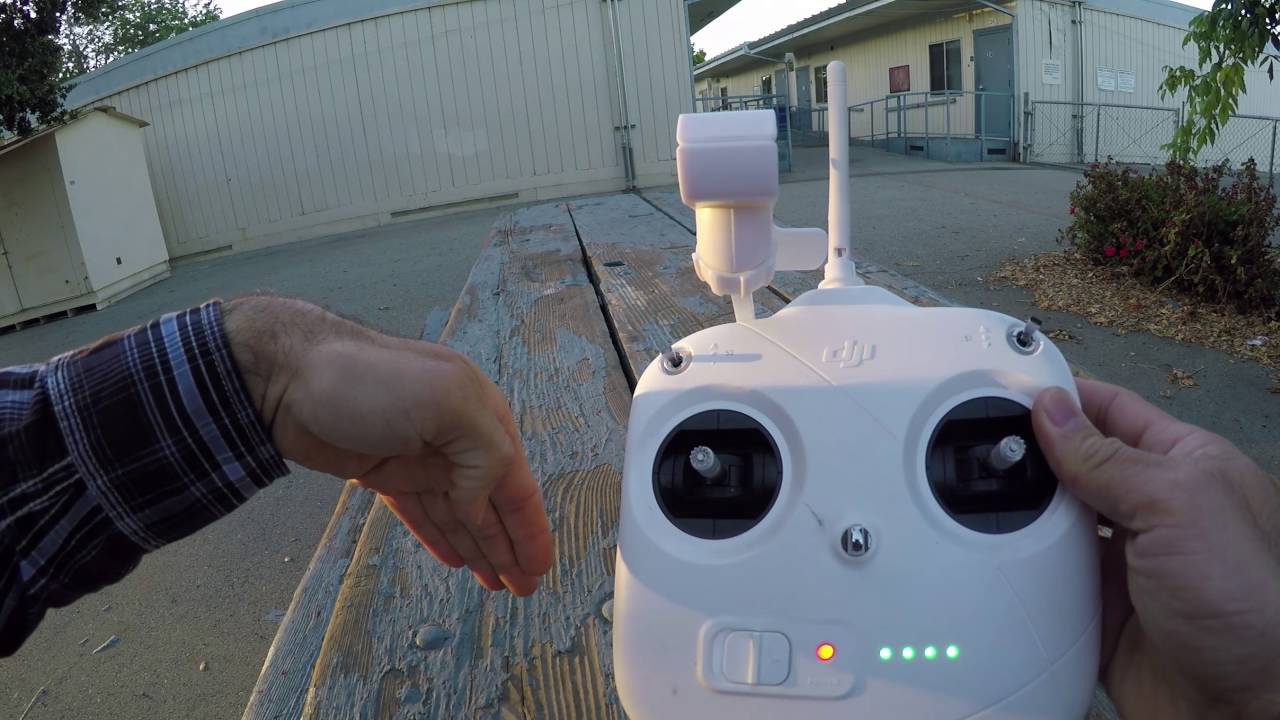
To check the battery level, power on your Avata drone by pressing the power button located on the battery. Once the Avata is powered on, you can check the battery level by either using the DJI Fly app or looking at the LED indicator lights on the battery itself.
If you prefer to use the DJI Fly app, make sure your smartphone or tablet is connected to the Avata’s remote controller. Open the DJI Fly app and select your the Avata drone from the list of connected devices. Once connected, you will be able to see the battery level displayed on the app’s main screen.
If you prefer to check the battery level directly on the Avata, look at the LED indicator lights located on the battery itself. These lights provide a quick visual representation of the battery’s remaining power. The number of lit LEDs corresponds to the battery level – more lit LEDs indicate a higher battery level.
It is important to note that you should not start a flight with a critically low battery level. Flying with low battery power can pose a risk of the drone losing power and crashing. Therefore, if the battery level is below the recommended minimum for safe flight, it is essential to charge your Avata before taking it to the skies.
By checking the battery level before charging, you can ensure that you are only charging when necessary, prolonging the lifespan of your Avata’s battery and optimizing its performance during flight. Now that you have confirmed the battery level, let’s move on to the next step of the charging process.
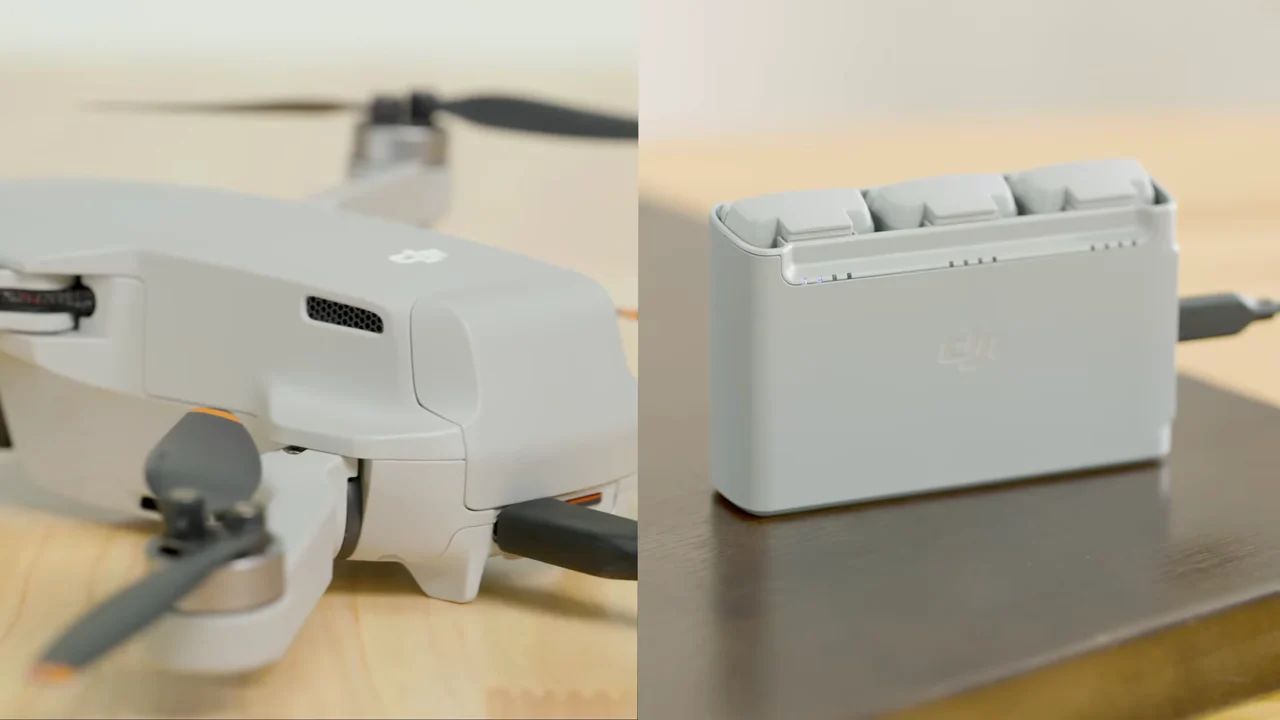
Detach Avata from the Aircraft
Before you can begin the charging process for your DJI Avata, it is important to detach the drone from the aircraft. This step allows easy access to the Avata’s battery for charging purposes.
To detach the Avata from the aircraft, follow these simple steps:
- Power off the Avata by pressing and holding the power button located on the battery. Make sure the LED indicator lights turn off, indicating that the drone is powered off.
- Locate the release mechanism or locking mechanism on the Avata and the aircraft. This can vary depending on the specific model of your drone, so consult the user manual if you are unsure.
- Press or unlock the release mechanism to disengage the Avata from the aircraft. Gently pull up on the Avata to separate it from the aircraft body. Take care to handle the Avata with caution to avoid any accidental damage or mishandling.
- Once the Avata is detached, you will have clear access to the battery. Take a moment to inspect the battery and ensure there are no visible signs of damage or wear. If you notice any issues, such as swelling or damage to the battery, it is recommended to contact DJI Support for further assistance.
Detaching the Avata from the aircraft is an important step in the charging process as it allows for safe and convenient access to the battery. By carefully following the steps outlined above, you can ensure that the Avata is detached successfully and ready for the next step of the charging process.
Now that you have detached the Avata from the aircraft, let’s move on to the next step – connecting the charger to the battery.
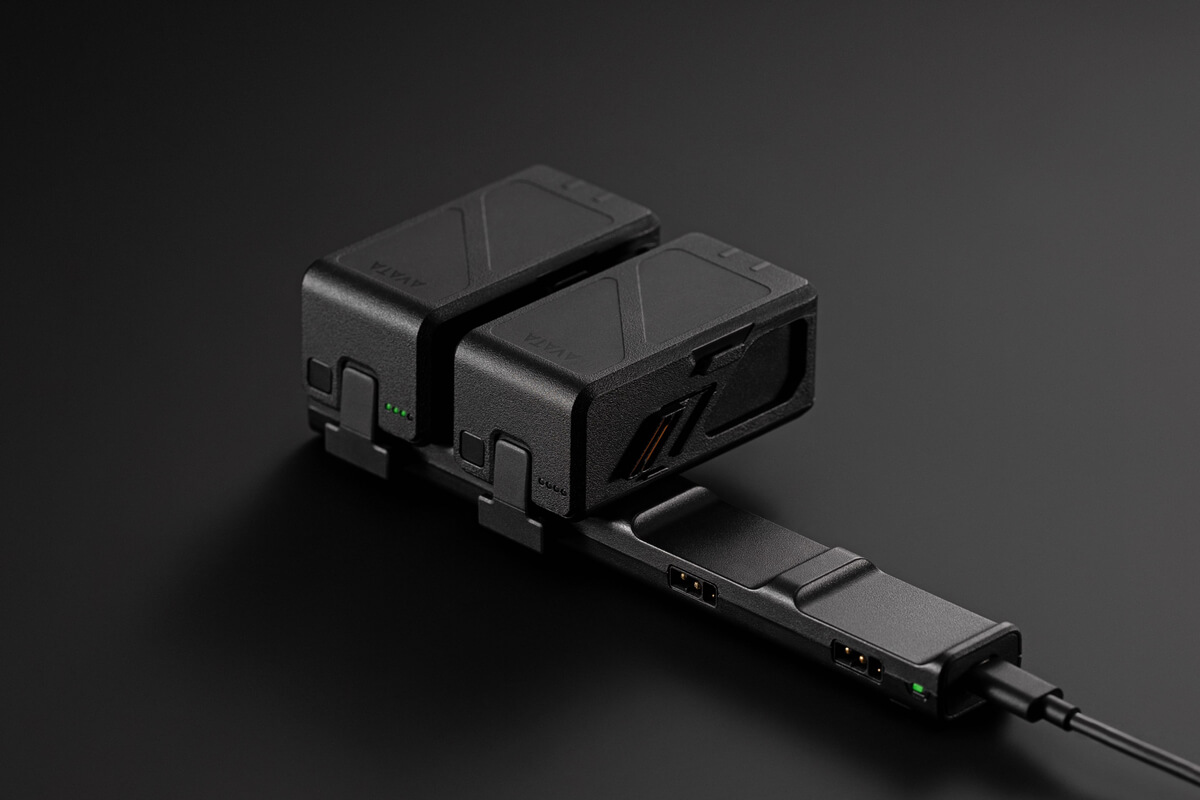
Connect Charger to the Battery
Now that you have detached the DJI Avata from the aircraft, it’s time to connect the charger to the Avata’s battery. This step is essential for charging the battery and ensuring that it is juiced up for your next flight.
Follow these steps to connect the charger to the Avata’s battery:
- Locate the charging port on the DJI Avata battery. This port is usually located on the side or underside of the battery.
- Take the charger cable that came with your DJI Avata and plug the appropriate end into the charging port of the battery. Make sure the cable is firmly inserted to ensure a secure connection.
- Ensure that the other end of the charger cable is not plugged into a power source at this point. We will cover the power connection in the next section.
- Once the charger cable is securely connected to the Avata’s battery, double-check to make sure there is no visible damage to the cable or the battery port. Any signs of damage may require you to contact DJI Support for further assistance.
Connecting the charger to the Avata’s battery is a simple yet crucial step in the charging process. It establishes the connection necessary for the battery to receive power and recharge. Take care to handle the charger cable and the battery with caution to avoid any accidental damage.
Now that you have successfully connected the charger to the Avata’s battery, let’s move on to the next step – connecting the charger to a power source.
Connect Charger to a Power Source
After successfully connecting the charger to the DJI Avata’s battery, the next step is to connect the charger to a power source. This will provide the necessary electricity to charge the Avata’s battery and ensure it is ready for your next flight.
Follow these steps to connect the charger to a power source:
- Locate a reliable power source, such as a wall outlet or a power bank. Ensure that the power source is in good working condition and provides a stable electricity supply.
- Take the other end of the charger cable and plug it into the power source. Depending on the charger model, you may need to use an adapter or an extension cord to connect the charger to the power source.
- Ensure that the charger is securely plugged into the power source. Double-check for any loose connections or visual signs of damage.
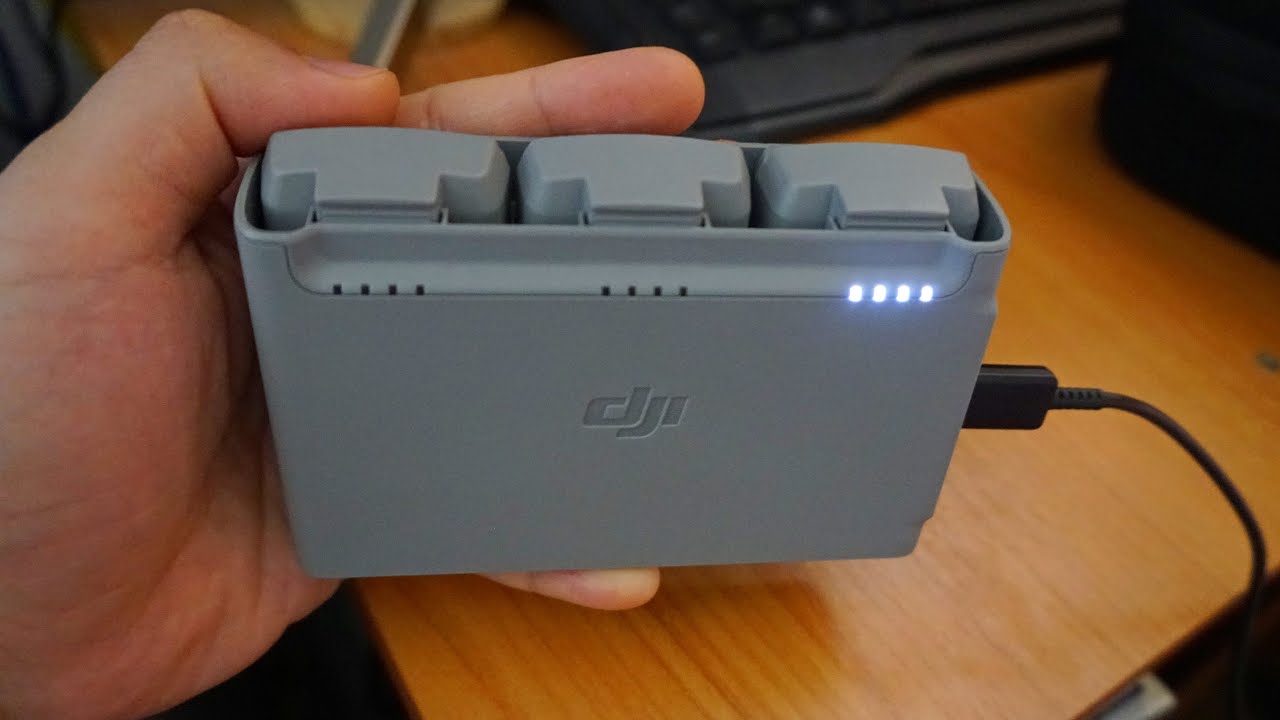
- Once the charger is connected to the power source, you should see indicator lights or LEDs on the charger itself. These lights provide information about the charging status, which we will cover in the next section.
Connecting the charger to a reliable power source is crucial to ensure a steady flow of electricity and a safe charging process. It is recommended to avoid using faulty power sources or using power sources with insufficient capacity to provide the required electricity.
Take a moment to ensure that the charger is securely connected to the power source and there are no visible signs of damage. This will help maintain a stable charging process and protect both the charger and the Avata’s battery from any potential harm.
Now that you have successfully connected the charger to a power source, let’s move on to the next section – understanding the charging indicator lights.
Charging Indicator Lights
When charging your DJI Avata’s battery, it’s important to understand the meaning and significance of the charging indicator lights on the charger. These lights provide valuable information about the charging status and can help ensure a successful charging process.
The charger typically comes equipped with one or more indicator lights that serve different purposes. Here are some common charging indicator lights and what they signify:
- Power On Indicator: This light indicates that the charger is receiving power from the connected power source. It confirms that the charger is properly connected to the power supply.
- Charging Indicator: This light turns on when the charger is actively charging the Avata’s battery. It indicates that the battery is receiving a charge and the charging process is underway.
- Charge Complete Indicator: This light illuminates when the Avata’s battery is fully charged. It indicates that the charging process is complete, and the battery is ready to be disconnected from the charger.
- Error Indicator: In the event of any issues or errors during the charging process, an error indicator light may turn on. This indicates a problem with the charger or the Avata’s battery, and further troubleshooting may be required.
It’s important to pay attention to the charging indicator lights throughout the charging process. This will allow you to monitor the progress and ensure that the battery is being charged correctly. If you notice any unusual or unexpected behavior with the indicator lights, consult the user manual or contact DJI Support for assistance.
Remember that the charging time can vary depending on various factors, such as the battery level before charging and the power source’s output. It is normal for the charging indicator lights to stay on for an extended period during the charging process. Be patient and allow enough time for the battery to charge fully.
Now that you have a better understanding of the charging indicator lights, let’s move on to the next section – the estimated charging time for your DJI Avata’s battery.
Charging Time
The charging time for your DJI Avata’s battery can vary depending on several factors, including the battery level before charging and the power source’s output. It is crucial to have a good estimation of the charging time to plan your drone activities accordingly and ensure that the battery is fully charged before your next flight.
While the exact charging time will differ for each individual situation, DJI provides an estimate of the charging time for the Avata battery. On average, it takes approximately X hours to fully charge the battery using a standard charger and power source.
It’s important to note that charging times may be longer if the battery level is significantly depleted or if you are using a power source with a lower output. Additionally, using third-party chargers or power sources that do not meet the recommended specifications may also affect charging times.
During the charging process, you can refer to the charging indicator lights on the charger to monitor the progress. The charging indicator light on the charger will be illuminated while the battery is being charged. Once the battery is fully charged, the charge complete indicator light will turn on.
It is crucial to avoid disconnecting the charger prematurely before the battery is fully charged. This will ensure that the battery reaches its maximum capacity, providing optimal performance and flight time.
If you find that the charging time is consistently longer than expected or if you experience any difficulties during the charging process, it is recommended to contact DJI Support for assistance. They can help troubleshoot any issues and provide further guidance based on your specific situation.
Now that you have an idea of the estimated charging time for your DJI Avata’s battery, let’s move on to the next section – disconnecting the charger from the power source.
Disconnect Charger from Power Source
After the DJI Avata’s battery has been fully charged, it is important to disconnect the charger from the power source to ensure safety and conserve energy. Whether you have been charging the battery for the recommended amount of time or have determined that it is sufficiently charged, follow these steps to safely disconnect the charger:
- Double-check that the charging indicator lights on the charger have indicated a full charge or that you have charged the battery for the appropriate amount of time.
- Once you are confident that the battery is fully charged, reach for the charger’s plug or AC adapter.
- Gently and firmly pull the charger’s plug or adapter out of the power source. Be careful not to tug on the cord itself, as this could damage it.
- Inspect the charger’s plug and cord for any signs of damage, such as fraying or exposed wires. If you notice any damage, discontinue use and contact DJI Support for further assistance.
- Store the charger in a safe and dry location when not in use, taking care to prevent it from being damaged or coming into contact with liquid or extreme temperatures.
By following these steps, you can safely disconnect the charger from the power source, minimizing any potential risks and ensuring the longevity of the charger. Proper maintenance and care of the charger are important to ensure its effectiveness and long-term functionality.
Now that you have disconnected the charger from the power source, let’s move on to the final section – reconnecting the DJI Avata to the aircraft.
Reconnect Avata to the Aircraft
Once you have successfully charged the DJI Avata’s battery and disconnected the charger, it’s time to reconnect the Avata to the aircraft. This step will ensure that your drone is ready for your next flight adventure.
To reconnect the Avata to the aircraft, follow these steps:
- Ensure that both the Avata and the aircraft are powered off. This will prevent any accidental engagement of the drone while reconnection.
- Position the Avata above the aircraft’s body, aligning the corresponding connectors or locking mechanisms.
- Gently and securely press down on the Avata to engage the connectors or locking mechanisms. Ensure that the Avata is properly aligned and seated on the aircraft.
- Once the Avata is properly attached to the aircraft, power on both the drone and the remote controller.
- Perform a quick system check to confirm that the Avata is connected and functioning correctly. Ensure that all systems, including the camera and flight controls, are functioning properly.
It’s essential to ensure that the Avata is securely reconnected to the aircraft before attempting to fly. Double-check the connection and perform a thorough system check to address any issues or abnormalities before taking off.
If you encounter any difficulties or if the Avata does not connect properly to the aircraft, consult the user manual or reach out to DJI Support for assistance. They can provide troubleshooting steps to help you resolve any connectivity issues.
With the Avata successfully reconnected to the aircraft, you are now ready for your next flight adventure! Remember to always follow the manufacturer’s guidelines and local regulations when flying your DJI Avata.
Conclusion
Charging your DJI Avata is a straightforward process that ensures you have a fully powered drone for your next flight. By following the steps outlined in this guide, you can safely and effectively charge your Avata’s battery.
We began by checking the battery level of the Avata to determine if it needs to be charged. Then, we learned how to detach the Avata from the aircraft, giving us easy access to the battery for charging. Connecting the charger to the battery and subsequently connecting the charger to a reliable power source were the next steps.
We also discussed the significance of the charging indicator lights, which provide valuable information about the charging status. Understanding the estimated charging time allowed us to plan our drone activities accordingly, while disconnecting the charger from the power source ensured safety and energy conservation.
Finally, we covered the process of reconnecting the Avata to the aircraft, ensuring a secure connection before powering on both the drone and the remote controller. By following these steps, we can confidently prepare our DJI Avata for our next flight adventure.
Remember to always consult the user manual provided by DJI and adhere to local regulations when flying your drone. Regularly check your Avata’s battery level and charge it as needed to ensure optimal performance during your flights.
Thank you for reading this guide, and we hope it has been helpful in guiding you through the process of charging your DJI Avata. Fly safely and enjoy your drone flying experience!