Introduction
Welcome to the world of aerial photography and videography with the DJI Phantom 3 Standard! Whether you are a seasoned pro or a complete beginner, activating your DJI Phantom 3 Standard is the first step towards unlocking its full potential. This guide will walk you through the process, ensuring a smooth and hassle-free activation.
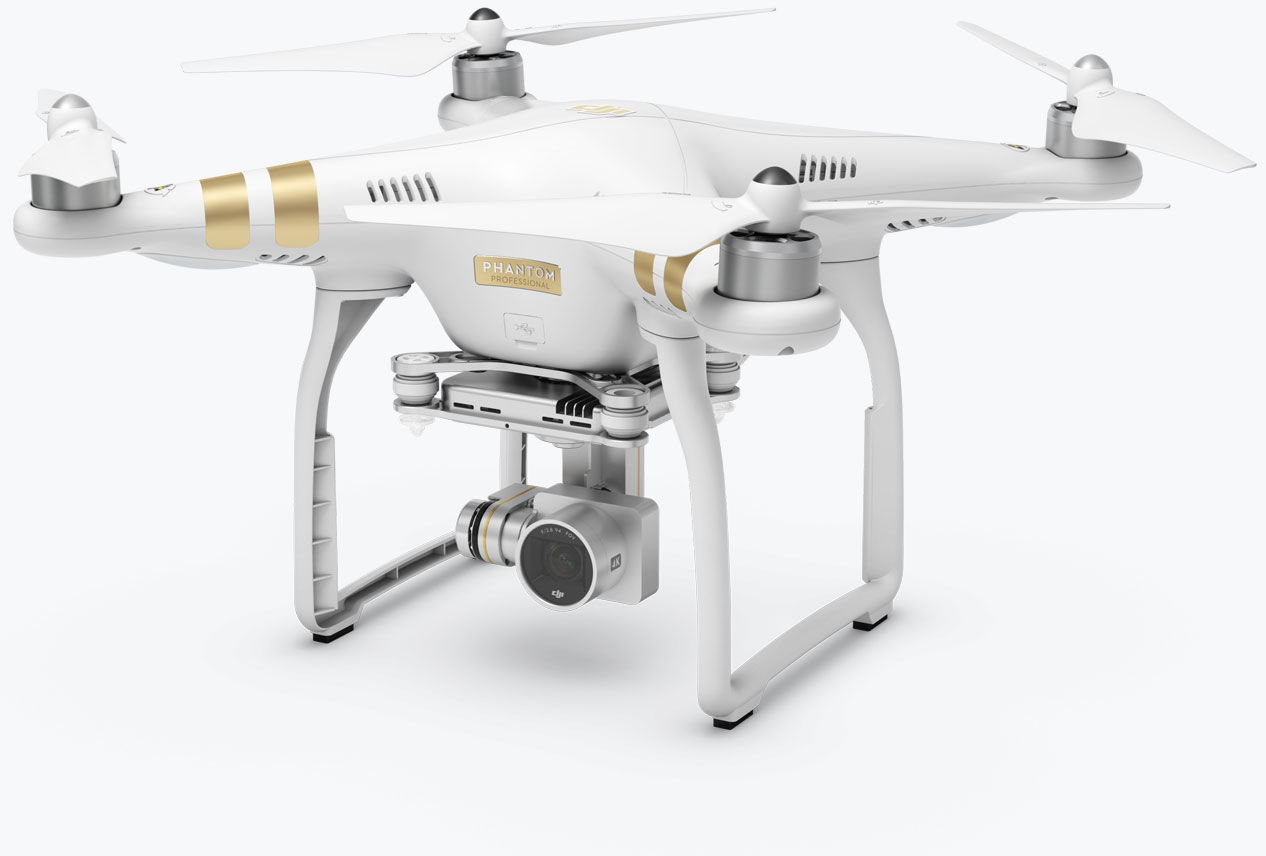
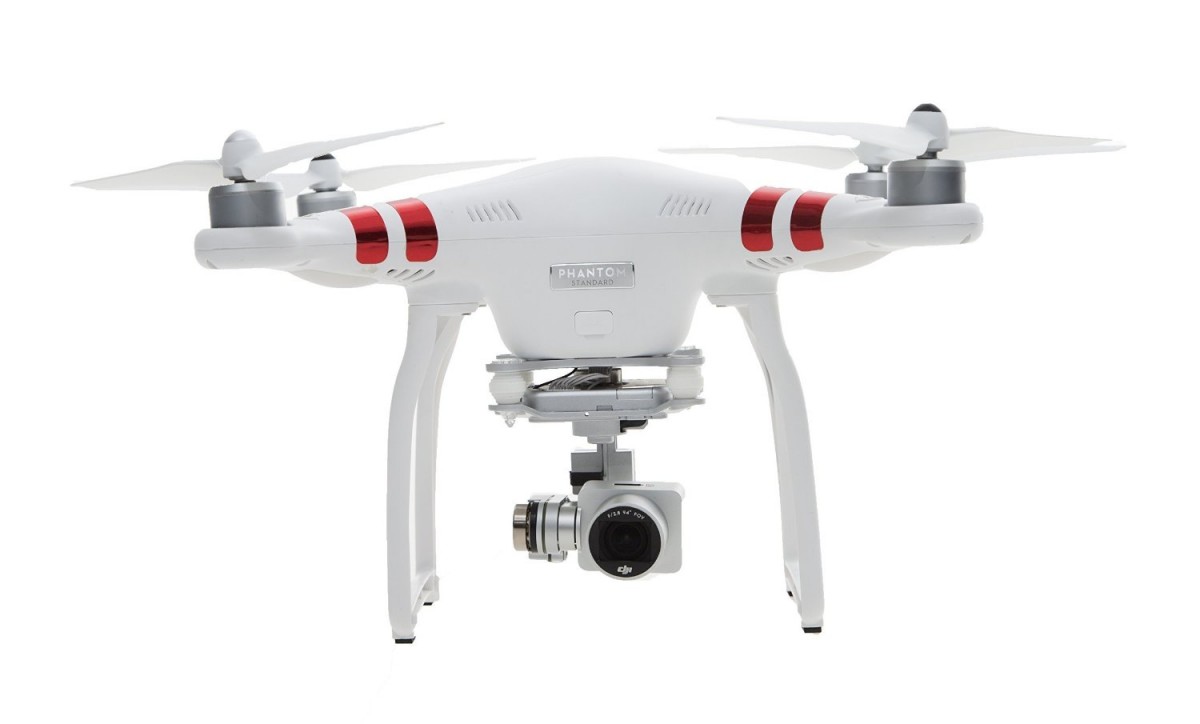
The DJI Phantom 3 Standard is a reliable and feature-packed drone that offers stunning image and video quality. It comes equipped with a 2.7K camera, a stable flight controller system, and GPS positioning, making it perfect for capturing breathtaking aerial shots. However, before you can take to the skies, you need to activate your drone to unlock all of its functions.
Activating your DJI Phantom 3 Standard involves a few simple steps, including unboxing, charging the battery, downloading the necessary app, and syncing the remote controller. By following this step-by-step guide, you will be up and flying in no time.
It is important to note that proper activation ensures compliance with local regulations and helps DJI in maintaining a safe and secure flying environment. The process also allows you to access firmware updates, flight logs, and other important features that enhance the overall flying experience.
So, without further ado, let’s get started and bring your DJI Phantom 3 Standard to life!
Step 1: Unboxing the DJI Phantom 3 Standard
Before you can activate your DJI Phantom 3 Standard, the first step is to unbox your drone. This exciting process allows you to get acquainted with the components and accessories that come with your new device.
When you open the box, you will find the DJI Phantom 3 Standard drone itself, the remote controller, a battery charger, a set of propellers, a micro USB cable, and documentation such as user manuals and safety guidelines. Take a moment to carefully unpack each item and familiarize yourself with them.
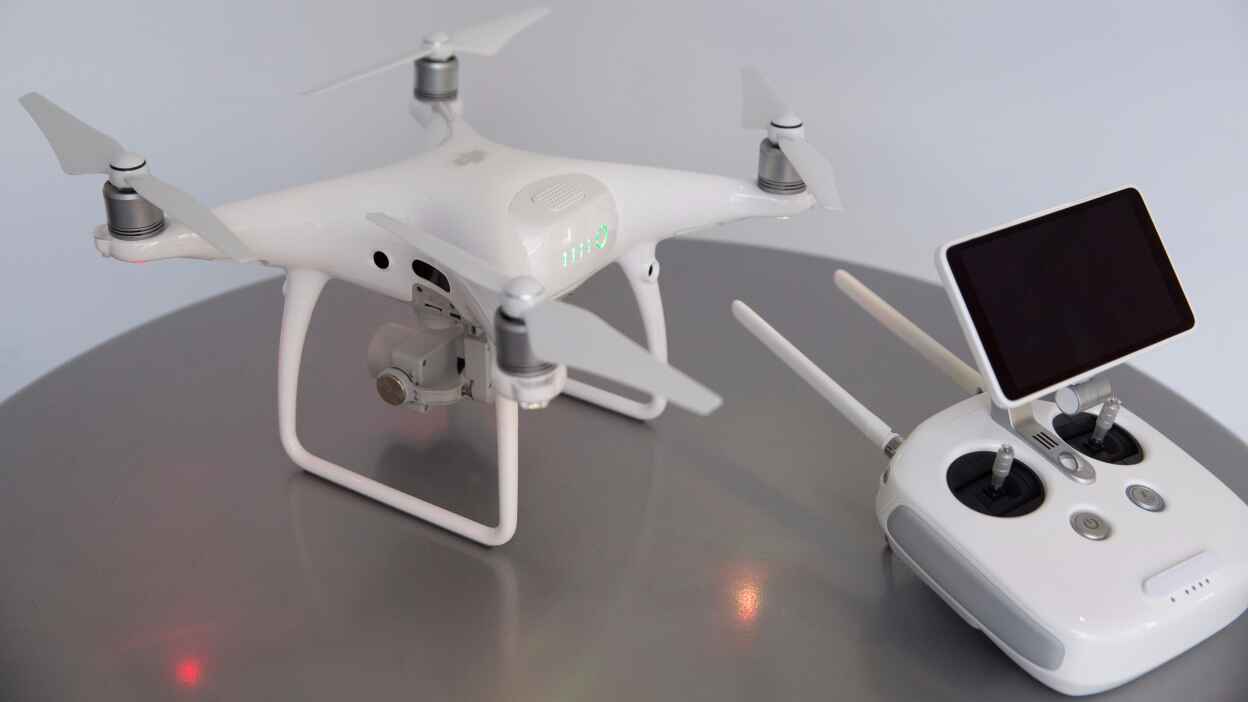
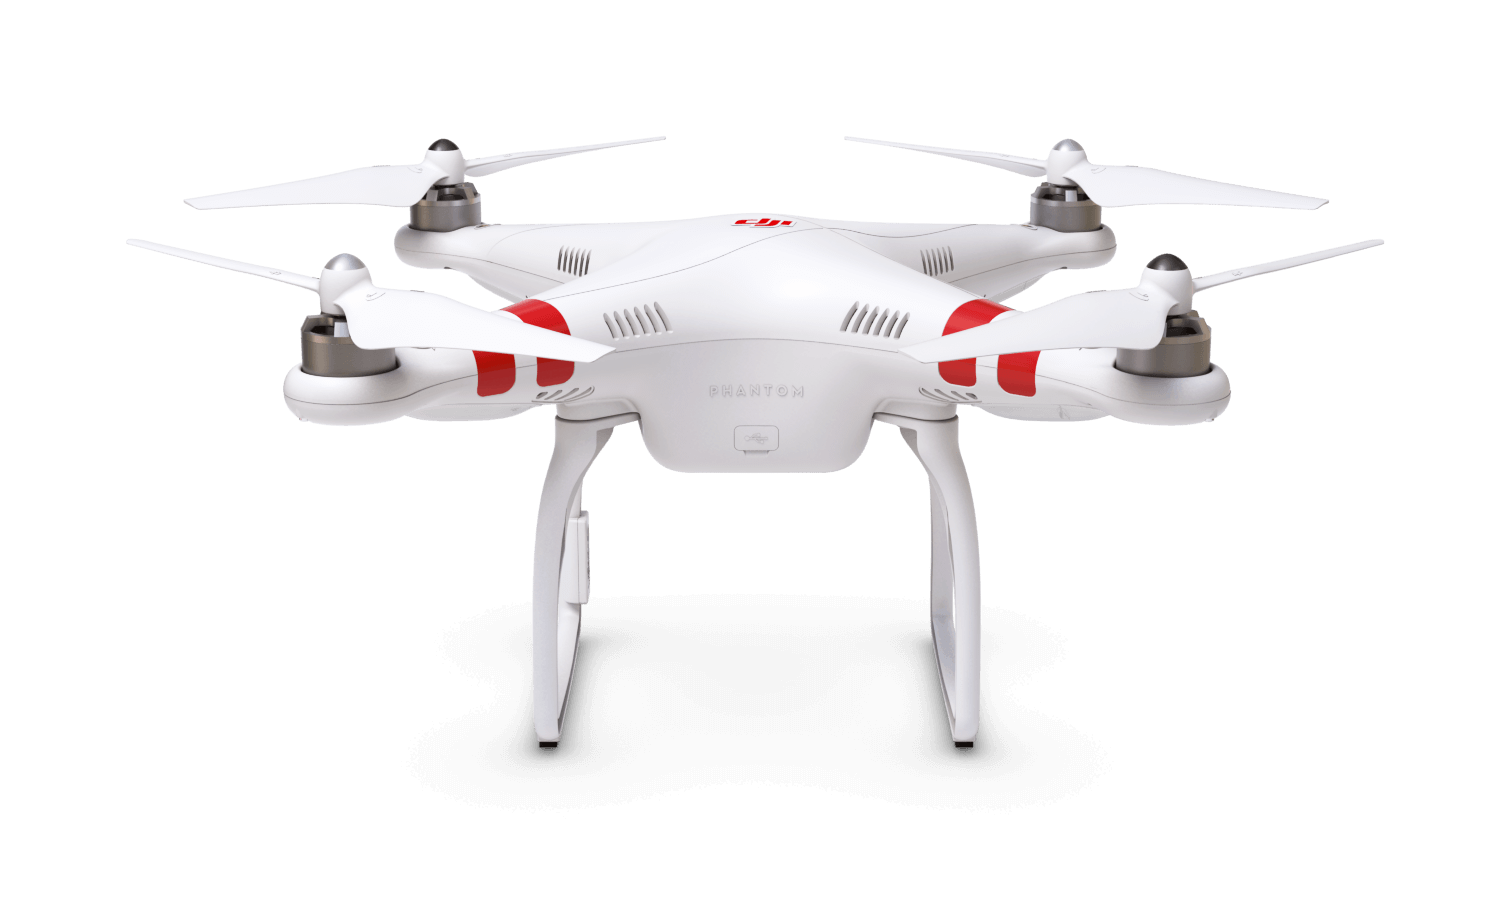
The DJI Phantom 3 Standard has a sleek and compact design, with a sturdy build that ensures durability during flights. The remote controller comes with a phone holder, allowing you to securely attach your mobile device for a convenient and immersive flying experience.
Make sure to inspect each component for any signs of damage or defects. DJI takes great care in packaging their products, but it’s always a good idea to verify that everything is in pristine condition before proceeding.
Once you have ensured that all components are in perfect order, it’s time to move on to the next step: installing the propellers. As an essential part of your drone, the propellers require proper installation for safe and stable flights.
Note: It is important to read the user manual and follow DJI’s guidelines for safe flying practices. This includes understanding the regulations and restrictions in your area and maintaining a responsible approach to aerial photography and videography.
Now that you have successfully unboxed your DJI Phantom 3 Standard, let’s move on to the next step: installing the propellers and preparing your drone for activation.
Step 2: Installing the Propellers
Installing the propellers correctly is crucial for maintaining stable flights with your DJI Phantom 3 Standard. In this step, we will guide you through the process of safely attaching the propellers to your drone.
Before you begin, make sure that your drone is powered off and that you have a clear and unobstructed workspace. This will help prevent any accidents or damage during the installation process.
Start by locating the propellers in your DJI Phantom 3 Standard package. You will find a set of four propellers, two labeled “A” and two labeled “B.” Each propeller is specifically designed to fit either the clockwise (CW) or counterclockwise (CCW) motor.
To install the propellers correctly, follow these steps:
- Hold the drone securely and identify the motor where you want to install the propeller. The motor should have a corresponding label on it.
- Take the propeller labeled “A” and align it with the motor shaft. The propeller has a threaded end that will screw onto the motor shaft.
- Gently press the propeller onto the motor shaft and rotate it clockwise until it tightens. Ensure that it is securely fastened, but be cautious not to overtighten it.
- Repeat the process for the other propellers, using the labeled “B” propellers on the corresponding motors.
It’s important to note that the propellers should rotate freely and without any obstruction. Check that there are no loose or damaged propellers and that they are securely attached before proceeding.
Ensuring the correct installation of the propellers is vital for the safety and stability of your flights. Properly installed propellers will provide a balanced and efficient flying experience while minimizing the risk of accidents or damage to your DJI Phantom 3 Standard.
Now that the propellers are installed, it’s time to move on to the next step: charging the battery and preparing for your first flight.
Step 3: Charging the Battery
Before you can take to the skies with your DJI Phantom 3 Standard, it’s important to ensure that the battery is fully charged. In this step, we will guide you through the process of charging the battery for optimal flight performance.
Included in your DJI Phantom 3 Standard package is a battery charger specifically designed for the drone’s battery. The charger has a built-in safety feature that prevents overcharging and ensures a safe and efficient charging process.
To charge the battery, follow these steps:
- Locate the battery charger and the power cable in your package. Connect the power cable to the charger and plug it into a power outlet.
- Insert the battery into the charging port on the charger. The charger will indicate that the charging process has started, usually through a LED light or an indicator on the charger itself.
- Monitor the charging process. The DJI Phantom 3 Standard battery typically takes around 1 to 1.5 hours to fully charge. It’s important not to leave the battery unattended during charging and to avoid charging it for an extended period of time, as this can negatively impact its lifespan.
- Once the battery is fully charged, unplug the charger from the power outlet and remove the battery from the charging port. The LED light or indicator on the charger will usually turn green to indicate that the charging process is complete.
It’s important to use the provided charger and power cable to ensure proper charging and to avoid using third-party chargers or cables, as they may not be compatible and can pose a safety risk.
Properly charging your DJI Phantom 3 Standard battery ensures optimal flight performance and extends the battery’s overall lifespan. It’s recommended to always start your flights with a fully charged battery to maximize flight time and minimize the risk of unexpected power loss during flight.
Now that your battery is fully charged, it’s time to move on to the next step: inserting the battery into your DJI Phantom 3 Standard and preparing for activation.
Step 4: Inserting the Fully Charged Battery
Now that you have a fully charged battery for your DJI Phantom 3 Standard, it’s time to insert it into the drone. In this step, we will guide you through the process of safely inserting the battery to prepare for activation and your first flight.
Before proceeding, ensure that your drone is powered off and that the propellers are securely fastened. This will help prevent any accidental engagement of the motors, ensuring your safety during the battery insertion process.
To insert the fully charged battery, follow these steps:
- Locate the battery compartment on the underside of your DJI Phantom 3 Standard.
- Hold the drone securely with one hand, and with your other hand, hold the battery in a horizontal position.
- Align the metal contacts on the battery with the corresponding contacts in the battery compartment. The battery should slide smoothly into place.
- Push the battery gently until you hear a click, indicating that it has been securely inserted. Ensure that the battery is snug and properly seated in the compartment.
It’s important to note that the DJI Phantom 3 Standard has a battery release latch located next to the battery compartment. This latch ensures that the battery remains securely in place during flight. Take a moment to verify that the latch is engaged and holding the battery firmly.
By following these steps, you have successfully inserted the fully charged battery into your DJI Phantom 3 Standard. The battery provides the power necessary for your drone to fly and operate its various functions.
Now that the battery is inserted, it’s time to move on to the next step: downloading and installing the DJI GO app, which will allow you to control and interact with your drone using your mobile device.
Step 5: Downloading and Installing the DJI GO App
The DJI GO app is an essential companion for controlling and navigating your DJI Phantom 3 Standard. In this step, we will guide you through the process of downloading and installing the DJI GO app on your mobile device.
The DJI GO app is available for both iOS and Android devices. To download and install the app, follow these steps:
- Open the App Store (iOS) or Google Play Store (Android) on your mobile device.
- Search for “DJI GO” in the search bar of the respective app store.
- Look for the official DJI GO app, developed by DJI Technology Co. Ltd.
- Tap on the app to open its description page.
- Click on the “Install” or “Get” button to start the download and installation process. Depending on your internet connection, this may take a few minutes.
- Once the app is downloaded and installed, locate its icon on your home screen or app drawer and tap on it to launch the DJI GO app.
It’s important to note that the DJI GO app requires certain permissions to function properly. When prompted, grant the necessary permissions, such as access to your device’s camera, location, and storage. These permissions allow the app to utilize the full range of features and functionalities of your DJI Phantom 3 Standard.
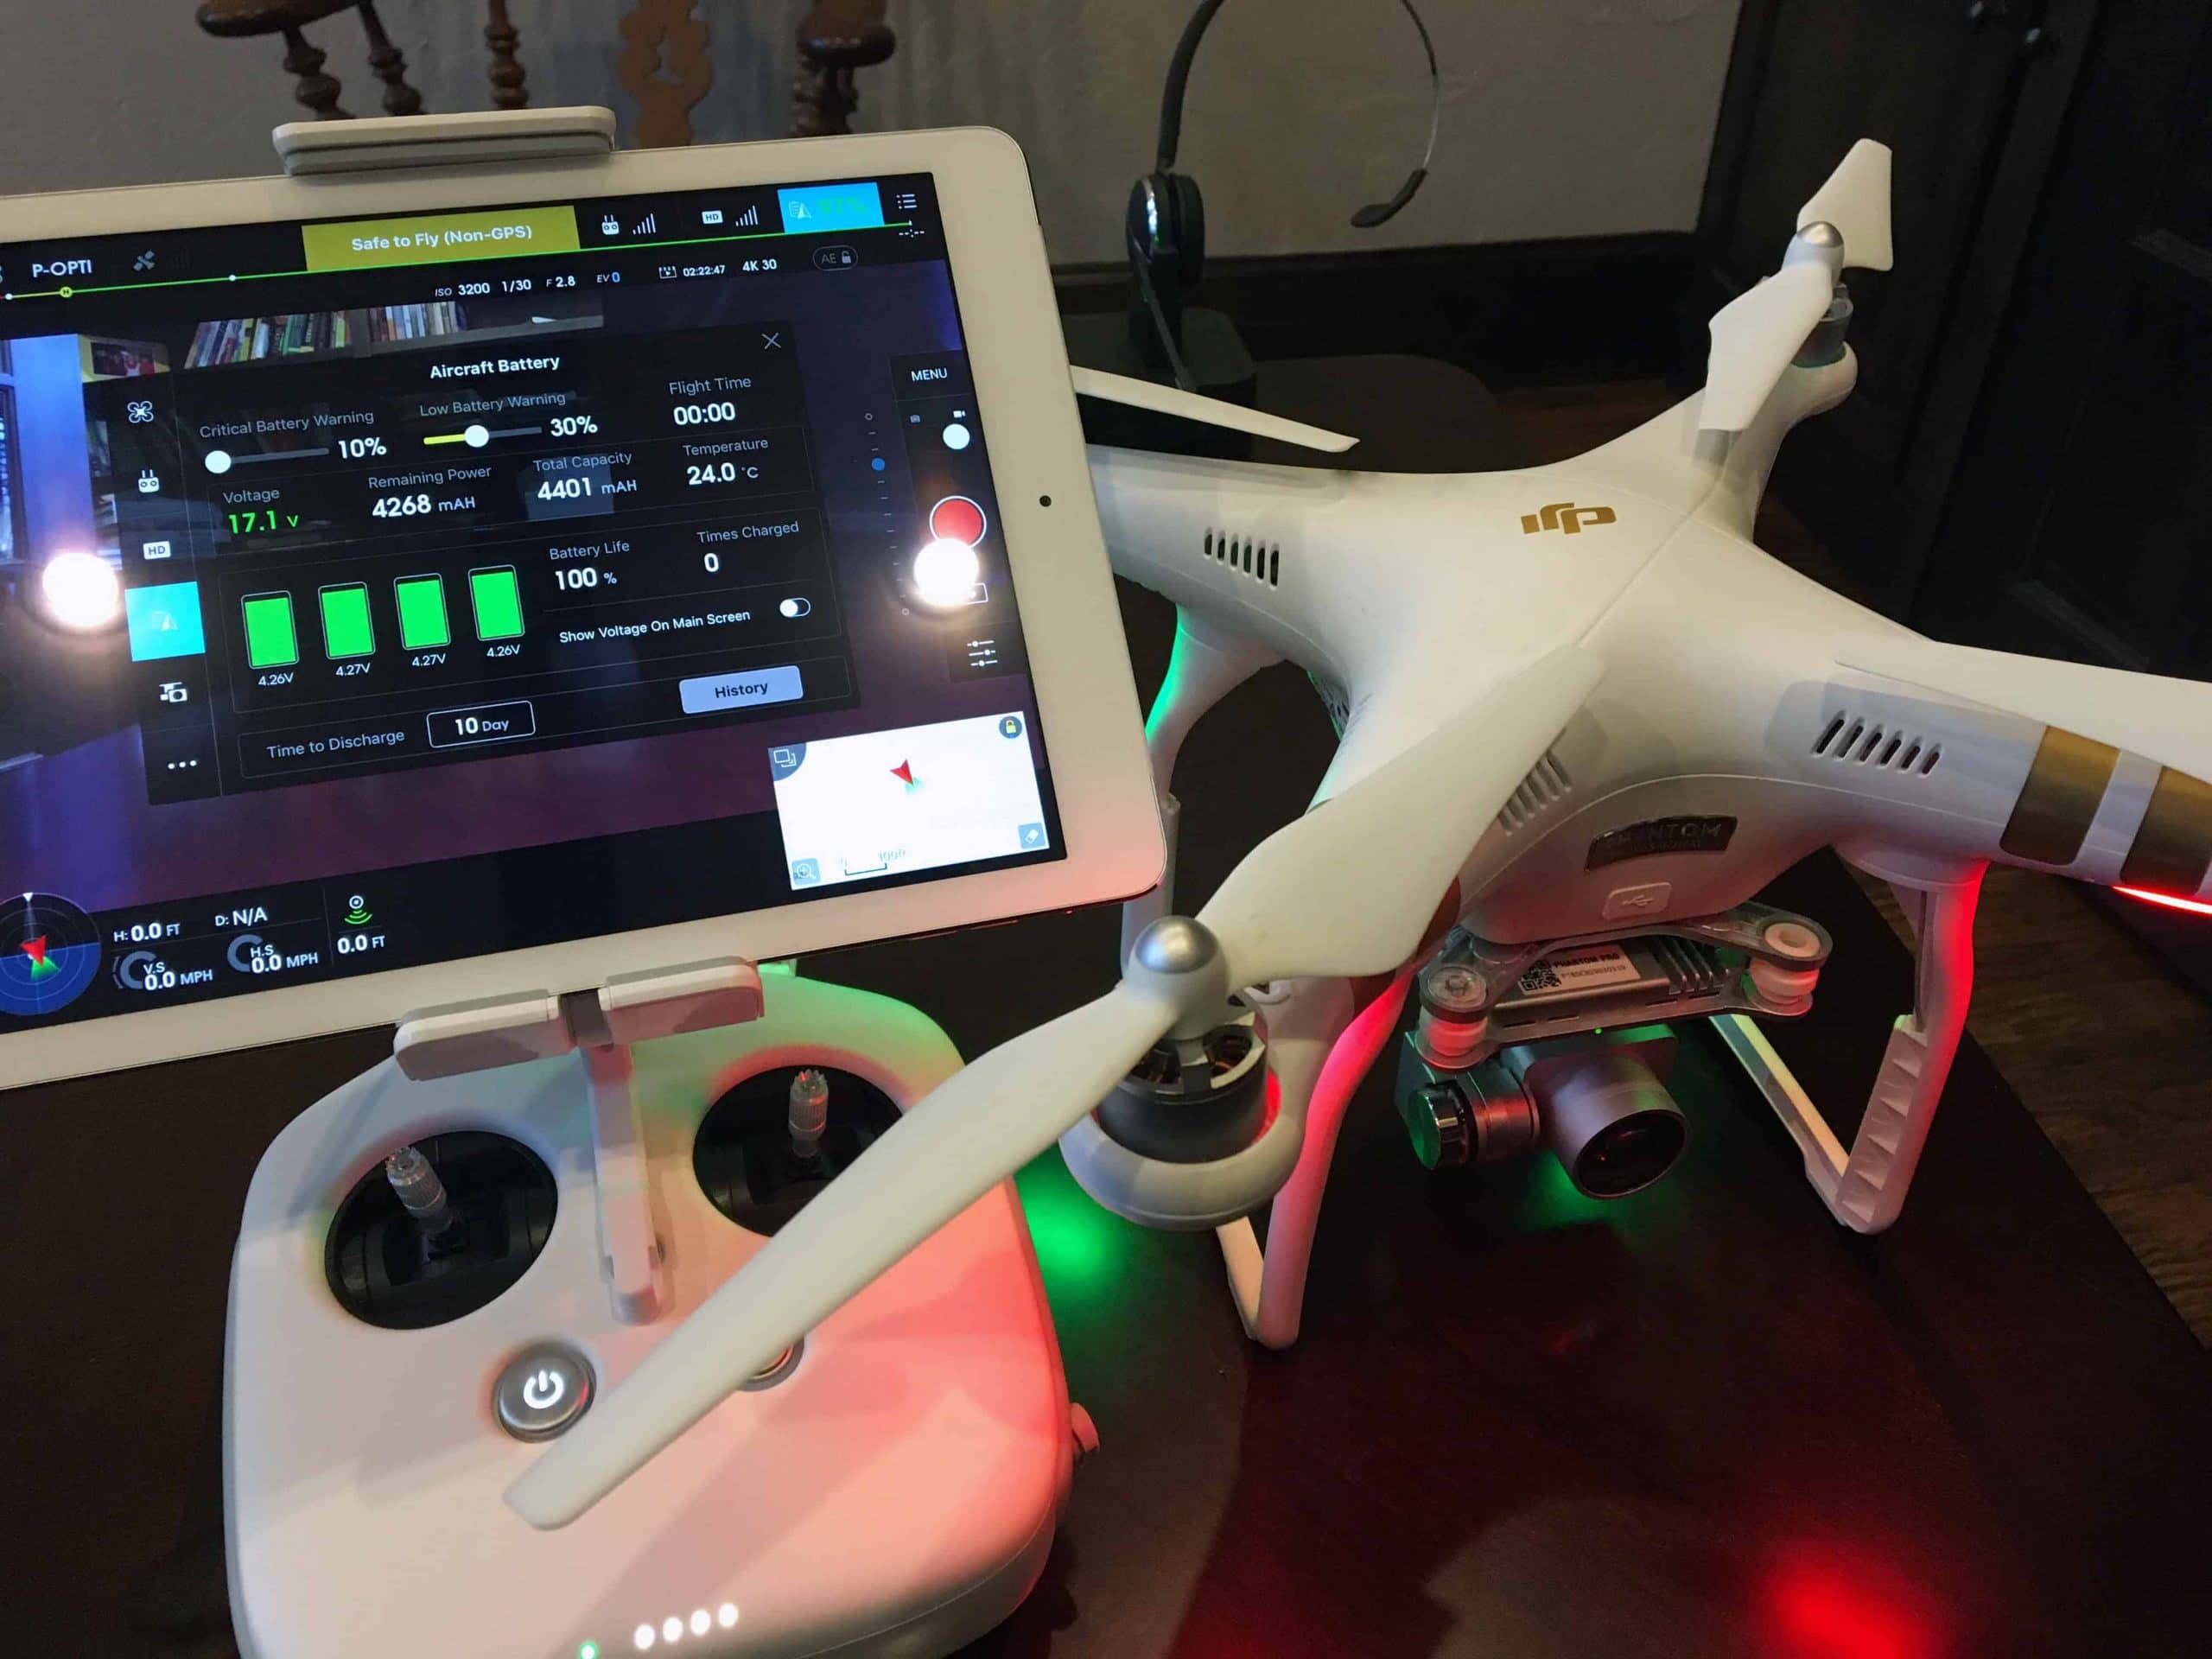
The DJI GO app provides a user-friendly interface that allows you to control and interact with your drone, access live camera feed, view flight telemetry, adjust settings, and perform various flight maneuvers. It also provides access to firmware updates, flight logs, and tutorials to help you get the most out of your DJI Phantom 3 Standard.
Now that you have downloaded and installed the DJI GO app, it’s time to move on to the next step: connecting the remote controller to your mobile device for seamless control and navigation of your drone.
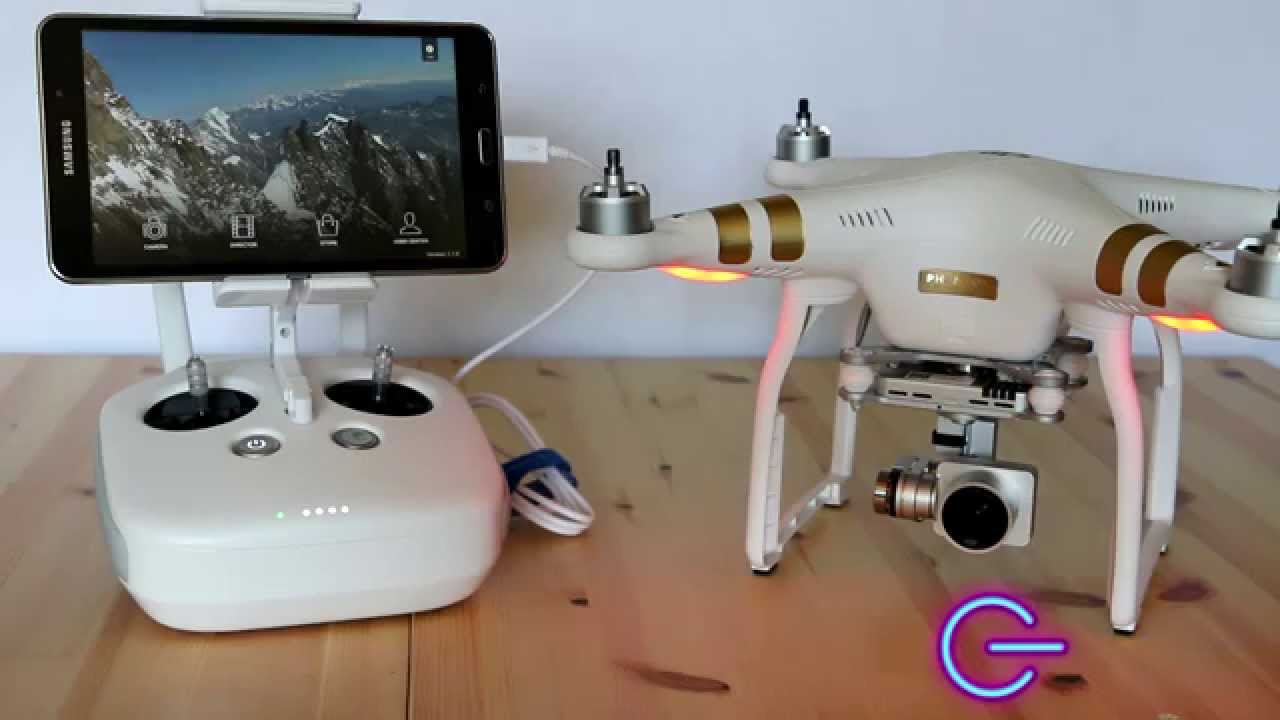
Step 6: Connecting the Remote Controller to the Mobile Device
Connecting the remote controller of your DJI Phantom 3 Standard to your mobile device is a crucial step in enabling seamless control and interaction with your drone. In this step, we will guide you through the process of establishing a connection between the remote controller and your mobile device.
Ensure that your DJI Phantom 3 Standard is powered off and that both the remote controller and your mobile device are in close proximity to each other. Follow these steps to establish the connection:
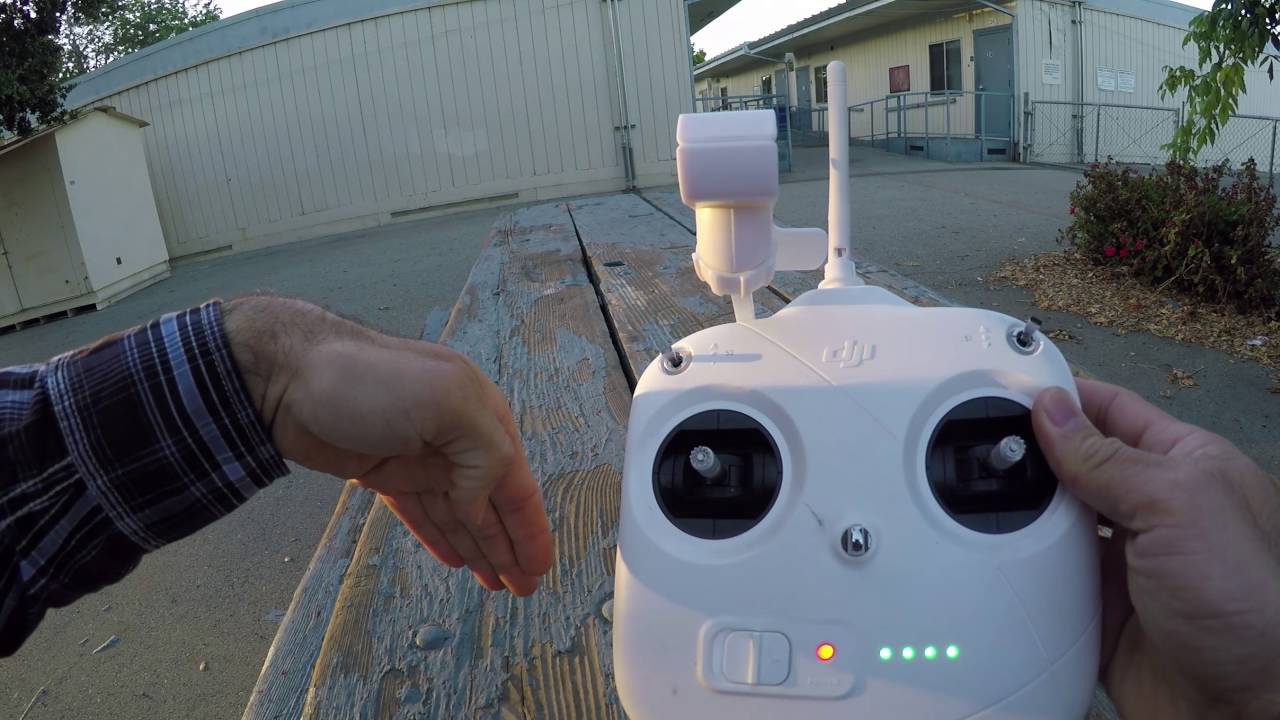
- Power on your remote controller by pressing the power button located on the top.
- Unlock your mobile device and navigate to the home screen.
- Launch the DJI GO app that you previously downloaded and installed.
- Connect your mobile device to the remote controller’s USB port using the provided micro USB cable or the appropriate cable for your device.
- Once connected, the DJI GO app should recognize the remote controller and establish a connection automatically.
During the connection process, you may be prompted to select your DJI Phantom 3 Standard from a list of available drones. Choose your drone model to ensure a proper connection.
Once the connection is established, you will have full control over your drone through the DJI GO app. You will be able to view live camera feed, access flight telemetry, adjust camera settings, and more.
It’s important to note that a stable and secure connection between the remote controller and your mobile device is essential for a smooth and reliable flight experience. Ensure that the cable is securely connected, and the mobile device is positioned securely in the controller’s phone holder.
Now that your remote controller is connected to your mobile device, it’s time to move on to the next step: activating your DJI Phantom 3 Standard to unlock its full potential.
Step 7: Activating the DJI Phantom 3 Standard
Activating your DJI Phantom 3 Standard is a crucial step that allows you to unlock all the features and functionalities of your drone. In this step, we will guide you through the process of activating your drone to get it ready for flight.
Ensure that your DJI Phantom 3 Standard is powered on and that your mobile device is connected to the remote controller through the DJI GO app. Follow these steps to activate your drone:
- Launch the DJI GO app on your mobile device.
- You will be prompted to log in to your DJI account or create a new account. If you already have a DJI account, enter your credentials. Otherwise, follow the prompts to create a new account.
- Once logged in, select the “Phantom 3 Standard” option from the list of available drones.
- Follow the on-screen instructions to activate your drone. This may include entering the serial number of your DJI Phantom 3 Standard, verifying your contact information, and accepting the terms and conditions.
- When prompted, connect your drone to a Wi-Fi network. This allows the activation process to be completed successfully.
- Wait for the activation process to complete. This may take a few moments, so be patient and ensure that your drone and mobile device remain connected.
During the activation process, it’s important to have a stable internet connection and a clear line of sight to GPS satellites. This helps ensure the accuracy of your drone’s positioning and enhances the overall flying experience.
Once the activation process is complete, you will have full access to all the features and functionalities of your DJI Phantom 3 Standard. You can now proceed to the next step to complete the setup and calibration process.
Now that your DJI Phantom 3 Standard is activated, it’s time to move on to the next step: calibrating the compass for accurate and stable flights.
Step 8: Completing the Activation Process
After activating your DJI Phantom 3 Standard, there are a few final steps to complete the setup process and ensure a smooth flying experience. In this step, we will guide you through the necessary actions to complete the activation process.
Once your drone is activated, follow these steps:
- Confirm that your DJI Phantom 3 Standard is connected to a stable Wi-Fi network.
- Open the DJI GO app on your mobile device.
- Take a moment to familiarize yourself with the app’s user interface and available features.
- Perform a quick systems check by verifying that the battery level is sufficient for flight and that the GPS signal is strong.
- Check for any available firmware updates. It’s important to keep your drone’s firmware up to date to enhance performance and address any potential issues.
- Ensure that the remote controller and your mobile device are still connected and communicating properly.
By completing these final steps, you are ensuring that your DJI Phantom 3 Standard is ready for flight and that you have access to all the latest updates and features.
Before flying your drone, it’s important to familiarize yourself with the safety guidelines and local regulations for drone operation in your area. This includes understanding any restrictions on flight altitude, flying in restricted areas, and respecting the privacy and safety of others.
Remember to always fly responsibly and maintain a clear line of sight with your drone. Regularly check the condition of your drone, including the propellers, battery, and connectivity, before each flight session.
Now that you have completed the activation process, it’s time to move on to the next step: calibrating the compass for accurate and stable flights.
Step 9: Calibrating the Compass
Calibrating the compass of your DJI Phantom 3 Standard is an essential step to ensure accurate and stable flight performance. In this step, we will guide you through the process of compass calibration for optimal flying experience.
Here are the steps to calibrate the compass:
- Find an open area free from any sources of magnetic interference, such as metal objects, power lines, or electronic devices.
- Power on your DJI Phantom 3 Standard and wait for it to complete its startup sequence.
- Launch the DJI GO app on your mobile device and ensure that it is connected to the drone’s remote controller.
- Go to the app’s main menu and select “Tools” or “Settings,” depending on the app version.
- Locate the compass calibration option and follow the on-screen instructions. Usually, this involves rotating the drone along each axis, following the prompts on the screen.
- Ensure that you rotate the drone smoothly and steadily for accurate calibration. Make sure to follow the prompts thoroughly until the process is complete.
- Once the compass calibration is successful, the DJI GO app will display a confirmation message.
Compass calibration is crucial for accurate flight control and navigation. It allows the drone to have a more precise understanding of its orientation relative to the Earth’s magnetic field, minimizing any potential errors or disruptions during flight.
It’s essential to recalibrate the compass whenever you change your flying location significantly or if you experience any issues with GPS positioning or flight stability.
By successfully calibrating the compass, you have taken a crucial step towards ensuring a stable and reliable flight experience with your DJI Phantom 3 Standard.
Now that the compass is calibrated, it’s time to move on to the final step: updating the DJI Phantom 3 Standard firmware for optimal performance and safety.
Step 10: Updating the DJI Phantom 3 Standard Firmware
Updating the firmware of your DJI Phantom 3 Standard is important to ensure optimal performance, improved features, and enhanced safety. In this step, we will guide you through the process of updating the firmware for your drone.
DJI regularly releases firmware updates to address any known issues, provide new features, and enhance the overall functionality of the DJI Phantom 3 Standard. Here’s how you can update the firmware:
- Ensure that your DJI Phantom 3 Standard is fully charged and powered on.
- Connect your mobile device to the remote controller using the cable provided.
- Launch the DJI GO app and ensure that it is connected to your drone’s remote controller.
- Go to the app’s main menu and navigate to the “Settings” or “Tools” section.
- Look for the “Firmware Update” or “System Update” option and select it.
- Follow the on-screen instructions to initiate the firmware update.
- Ensure that your mobile device has a stable internet connection throughout the update process.
- Wait for the update to download and install. This process may take several minutes, so remain patient and avoid interrupting the update.
- Once the update is complete, your DJI Phantom 3 Standard will restart automatically.
It’s important to note that during the firmware update process, it is recommended to keep your drone connected to a reliable power source and avoid turning it off or disconnecting it from the remote controller.
Regularly updating the firmware of your DJI Phantom 3 Standard ensures that you have access to the latest improvements, new features, and bug fixes. It also helps in maintaining the highest level of security and safety during flight.
Now that you have successfully updated the firmware of your DJI Phantom 3 Standard, you are ready to enjoy all the benefits and enhancements that come with the latest software version.
Congratulations! You have completed all the necessary steps to activate, set up, and prepare your DJI Phantom 3 Standard for an incredible flying experience. Remember to always prioritize safety, follow local regulations, and enjoy exploring the skies with your drone!
Conclusion
Congratulations! You have successfully activated and set up your DJI Phantom 3 Standard for an exciting drone flying experience. By following the step-by-step guide outlined in this article, you have unboxed your drone, installed the propellers, charged the battery, downloaded and installed the DJI GO app, connected the remote controller to your mobile device, activated the drone, calibrated the compass, and updated the firmware.
With your DJI Phantom 3 Standard activated, you now have access to a range of incredible features and functionalities. The high-quality 2.7K camera, stable flight controller system, and GPS positioning will allow you to capture stunning aerial shots and videos effortlessly.
Remember to always fly responsibly and adhere to local regulations and safety guidelines. Be cautious of your surroundings, maintain a clear line of sight with your drone, and respect the privacy of others.
Regularly check for firmware updates to ensure that your DJI Phantom 3 Standard is equipped with the latest improvements, features, and security enhancements. These updates not only enhance the performance of your drone but also provide a safer and more enjoyable flying experience.
Take some time to further explore the DJI GO app and familiarize yourself with its various features. The app offers a wealth of information, including live camera feed, flight telemetry, settings adjustments, and flight logs. It also provides access to tutorials and resources to help you maximize your DJI Phantom 3 Standard’s capabilities.
Remember, practicing safe and responsible flying is key to enjoying your DJI Phantom 3 Standard to the fullest. Regularly perform pre-flight checks, ensure your batteries are fully charged, and fly in suitable weather conditions.
Now, it’s time to spread your wings and embark on aerial adventures with your DJI Phantom 3 Standard! Capture breathtaking photos and videos, explore new horizons, and let your creativity soar.
Happy flying!