Checking the Contents of the Box
Before you start assembling your DJI Phantom 4 drone, it is important to ensure that you have received all the necessary components in the box. This will not only help you avoid any delays in assembly but also provide a sense of excitement as you unbox your new gadget. Here’s a detailed list of items you should find in the DJI Phantom 4 package:
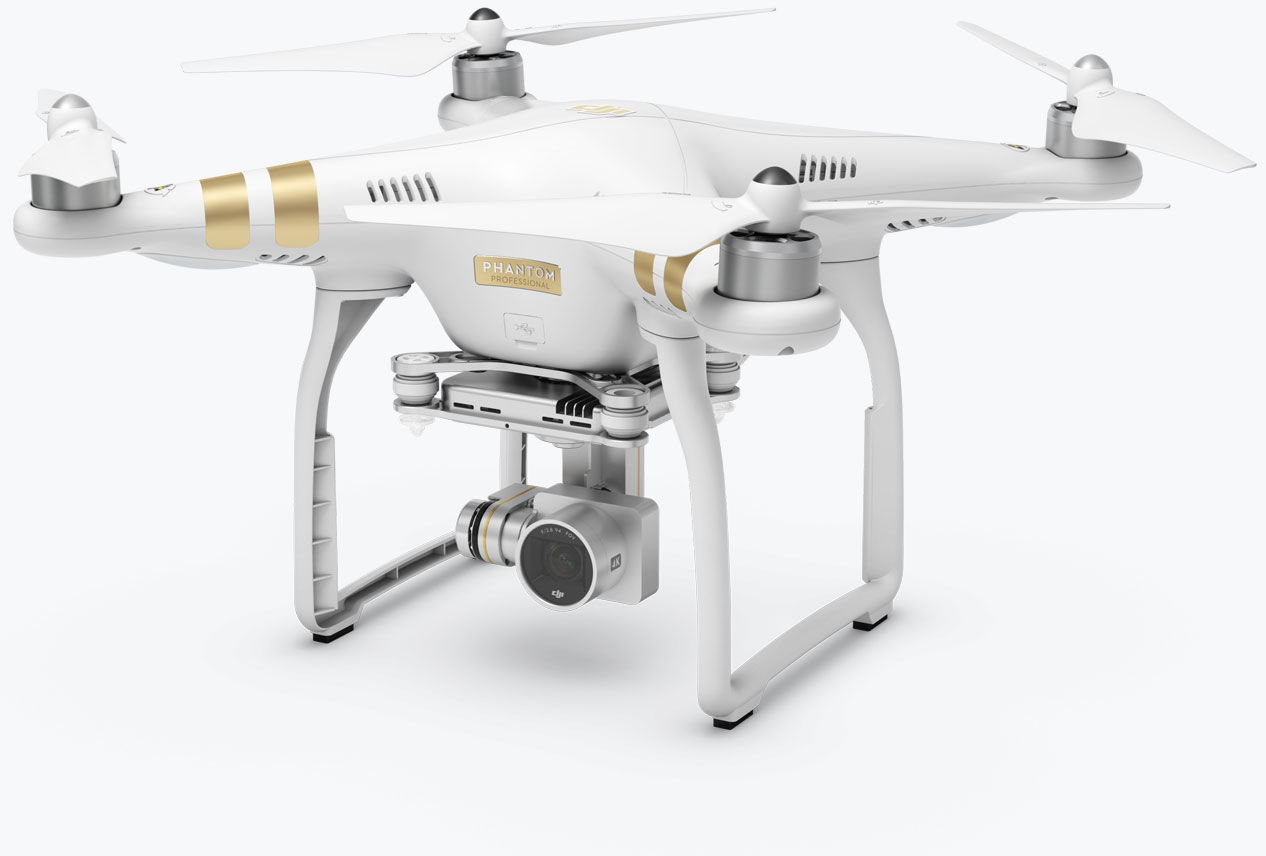
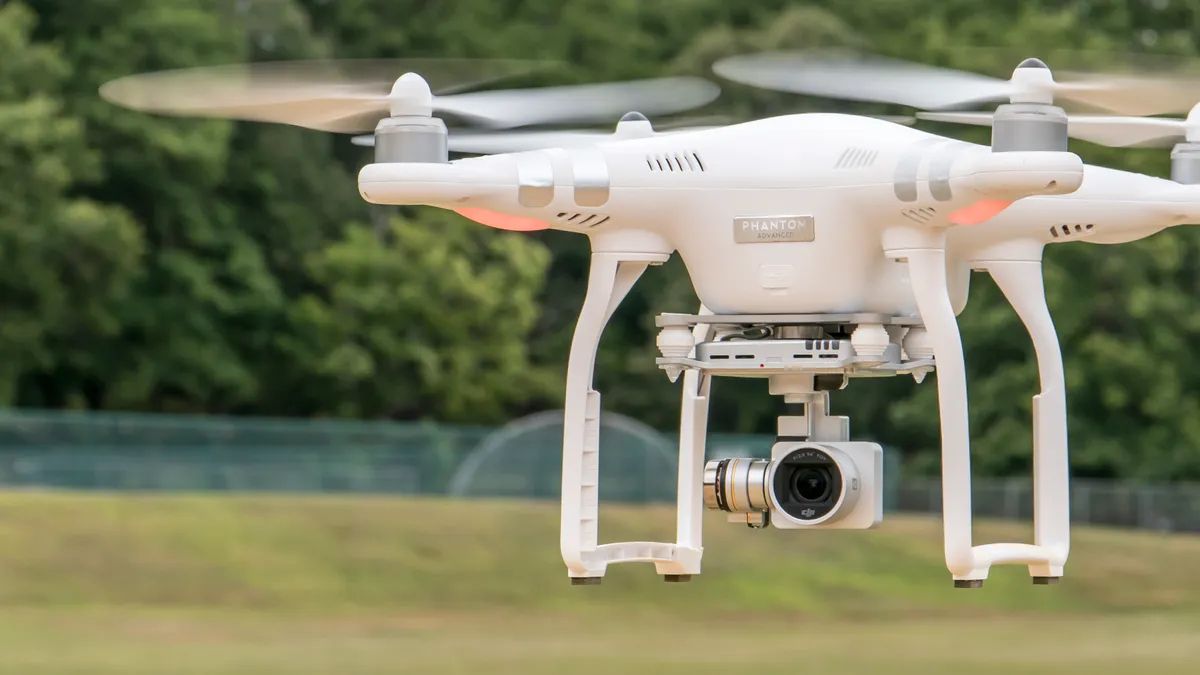
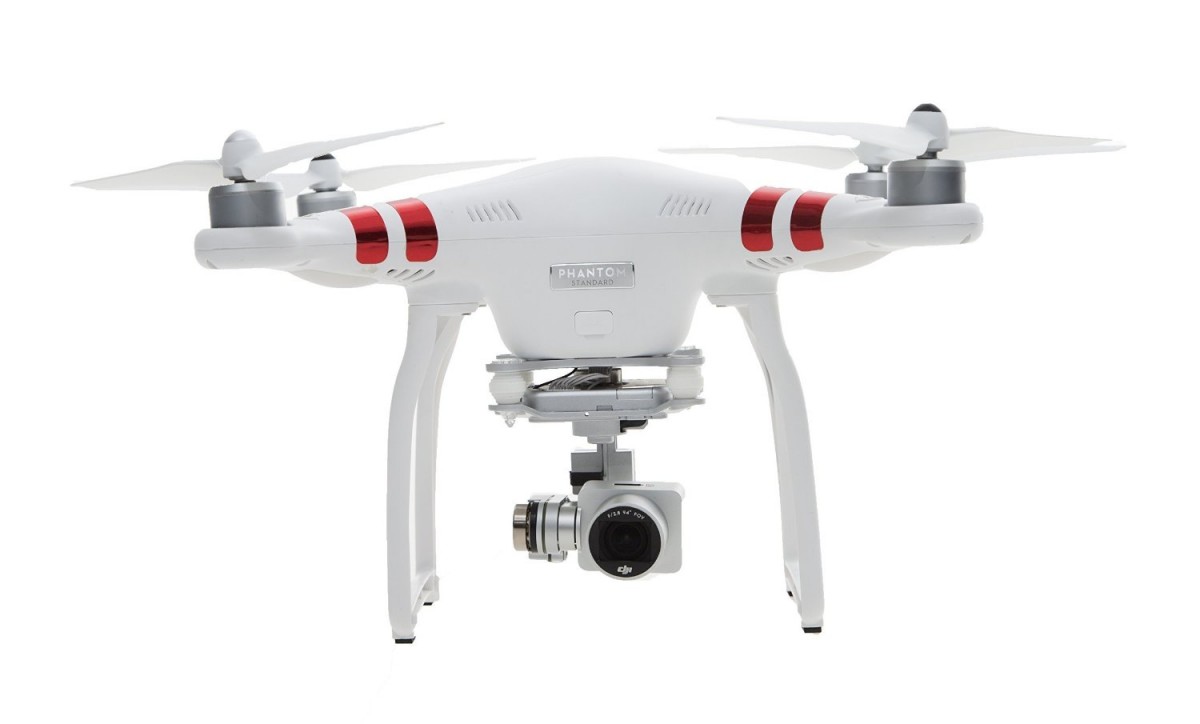
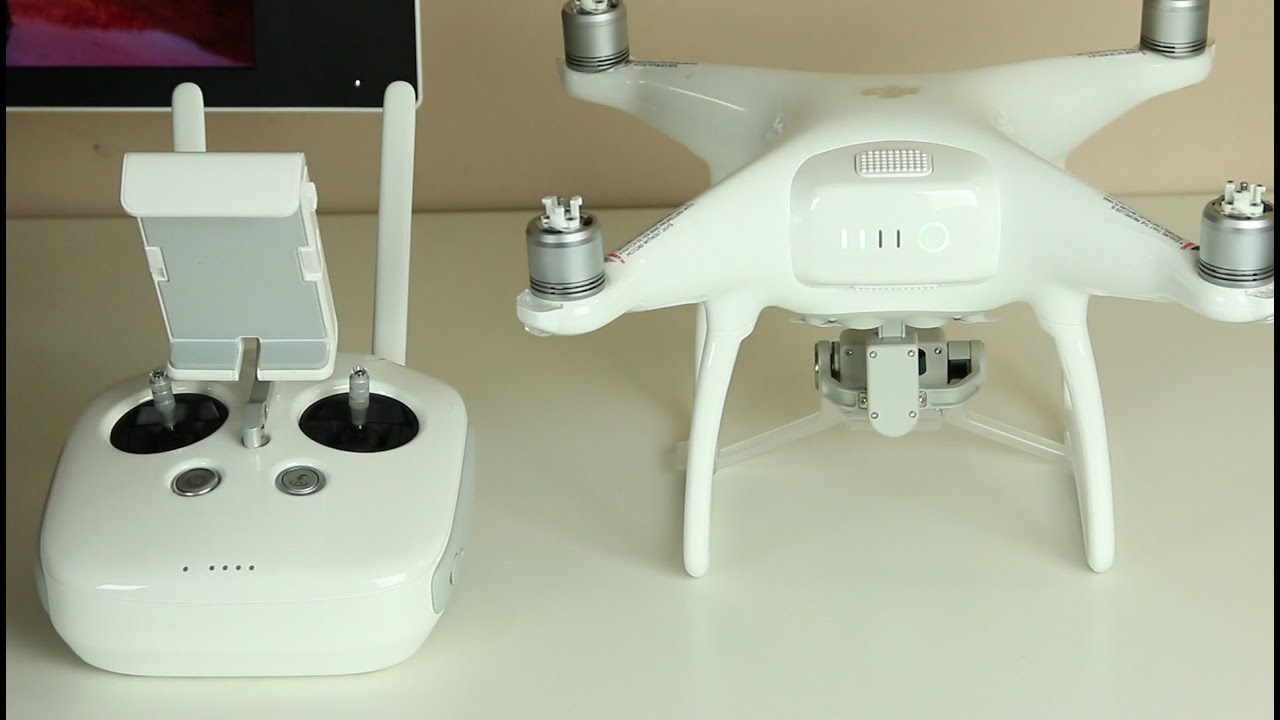
- The DJI Phantom 4 Drone: This is the main component of the package and includes the body of the drone with the camera and propellers.
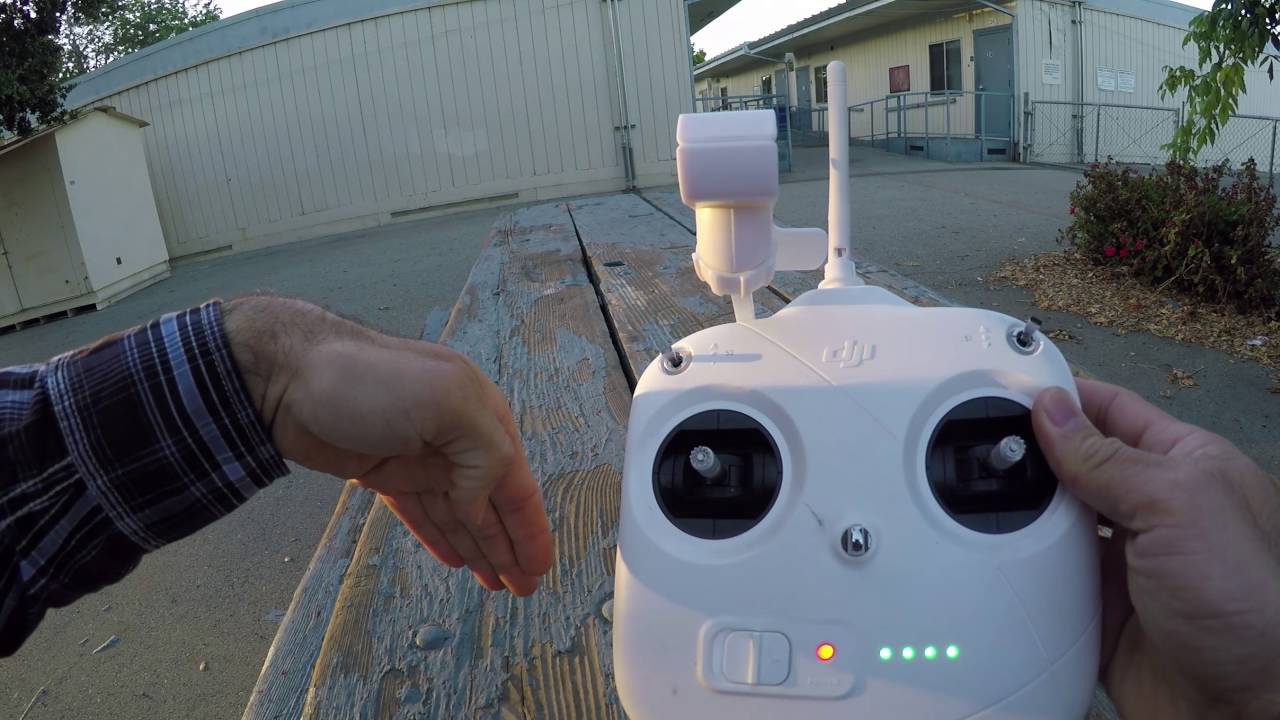
- Remote Controller: The remote controller is responsible for piloting the drone and controlling various features. It typically comes with a built-in screen or a mounting bracket for your smartphone or tablet.
- Battery: The DJI Phantom 4 package usually includes one or more intelligent flight batteries. These batteries provide the power required for the drone to fly and can be easily inserted and removed from the drone.
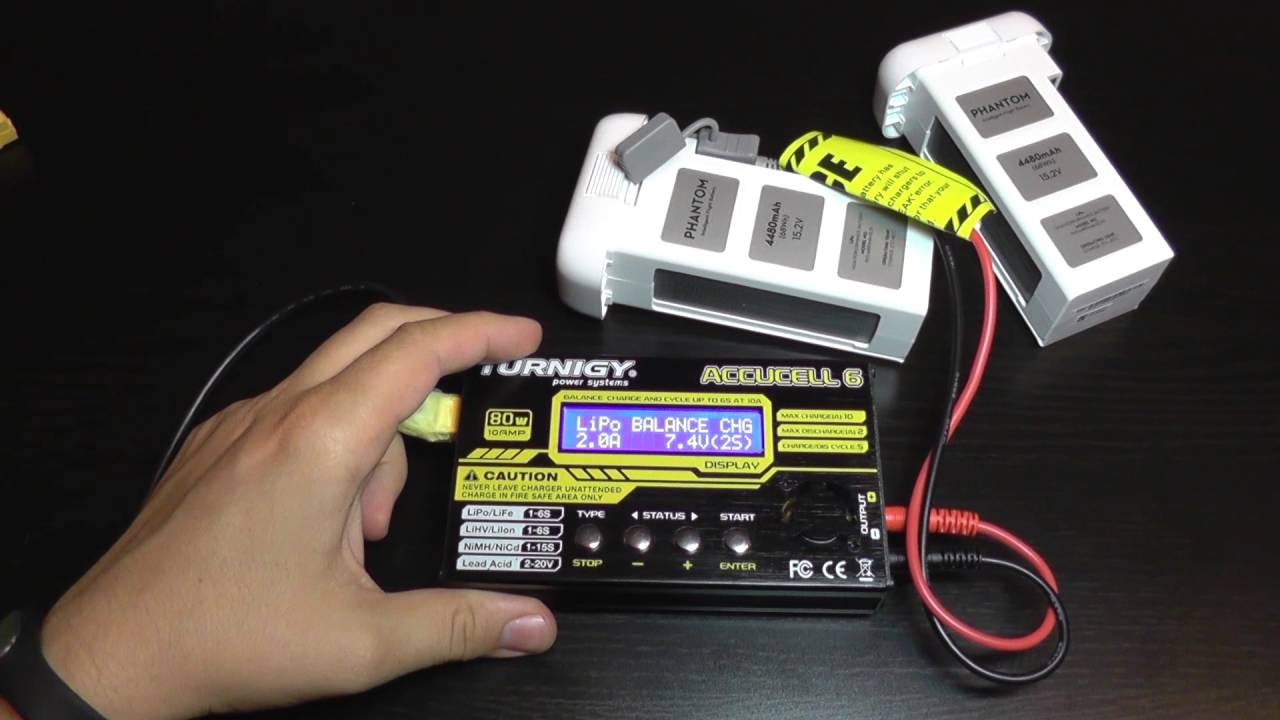
- Battery Charger: To ensure your drone is always ready for flight, a battery charger is provided to recharge the flight batteries. Ensure that the charger is included in the package.
- Power Cable: The power cable is used to connect the battery charger to a power source. It is important to check if this cable is provided in the package.
- Propellers: The propellers are an essential part of the DJI Phantom 4 drone. Make sure that you have received a complete set of propellers, including both clockwise and counterclockwise rotating propellers.
- USB Cable: The USB cable is used to connect your mobile device to the drone’s remote controller. It allows you to transfer data and enables the use of different mobile apps for enhanced flight control and drone settings.
- Documentation and Accessories: The package should also include important documents like user manuals, quick start guides, and safety guidelines. Additionally, you might find accessories like propeller guards, landing gear, or a microSD card for storing your aerial footage.
Make sure to carefully inspect the contents of the box and ensure that everything mentioned above is included. If you notice any missing items or if anything appears to be damaged, it is advisable to contact the retailer or DJI’s customer support immediately for assistance. Having all the necessary components is crucial for a smooth assembly and a great flying experience with your DJI Phantom 4 drone.
Assembling the DJI Phantom 4
Once you have confirmed that all the components are present, it’s time to assemble your DJI Phantom 4 drone. Follow these steps to ensure a proper and safe assembly process:
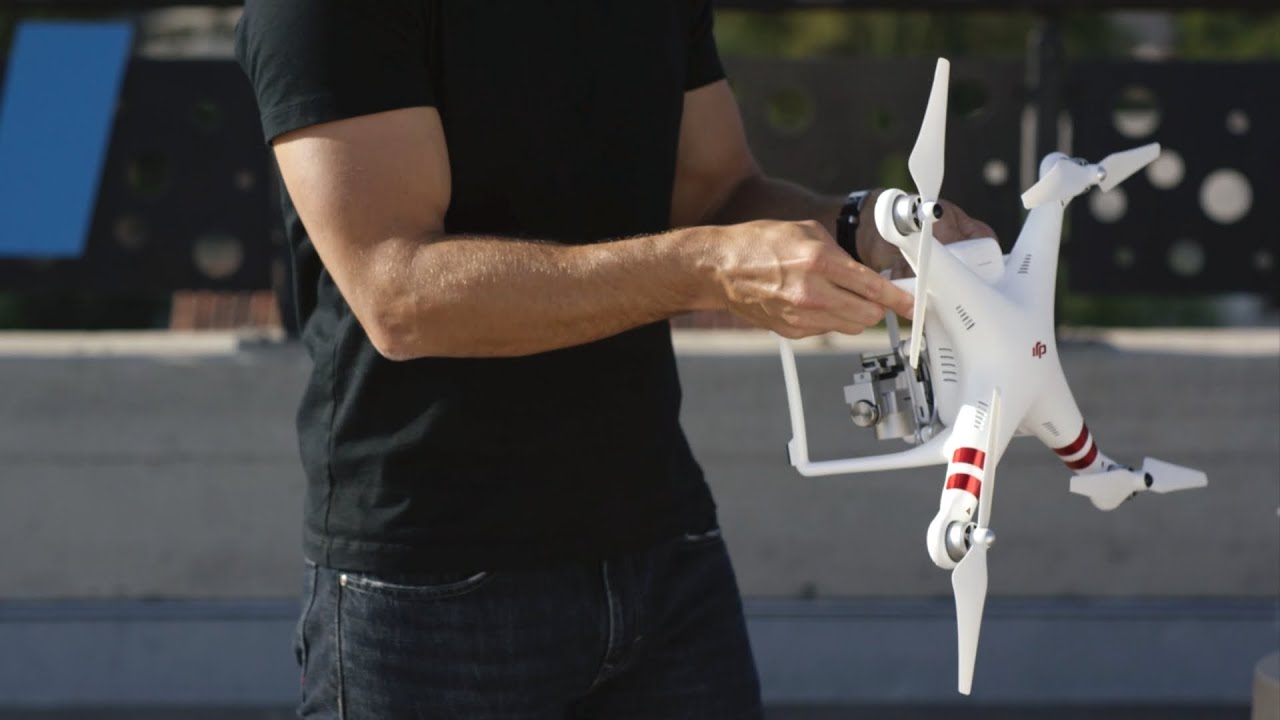
- Attach the Propellers: Start by attaching the propellers to the motors on the DJI Phantom 4 drone. Each propeller is marked with a “C” or “CC” for clockwise or counterclockwise rotation. Match the propellers with the corresponding motor and securely screw them in place.
- Insert the Battery: Open the battery compartment on the drone and insert the fully charged battery. Ensure that it is securely connected and locked into place. Pay attention to any indicators that show the battery is properly installed.
- Mount the Mobile Device: If you intend to use your smartphone or tablet as a monitor for the drone’s camera view, mount it onto the remote controller using the provided holder or bracket. Make sure your device is firmly in place and the connection ports are accessible.
- Power on the Drone: Turn on the DJI Phantom 4 drone by pressing and holding the power button until the indicators light up. Wait for the drone to initialize and calibrate its systems. This may take a few moments.
- Create a Wi-Fi Connection: Activate the Wi-Fi on your mobile device and connect to the Wi-Fi network transmitted by the drone. This connection will allow you to communicate with the drone and access its features through the DJI GO App.
- Launch the DJI GO App: Open the DJI GO App on your mobile device. If it is your first time using the app, you may need to create an account and complete any necessary setup procedures. Follow the on-screen instructions to connect the app to your drone.
- Calibrate the Compass: Before taking off, it’s important to calibrate the compass on the DJI Phantom 4 to ensure accurate navigation and flight stability. Follow the instructions provided in the app to perform the compass calibration process.
- Perform a Test Flight: Once all the above steps are completed, you are ready for your maiden flight. Take your time to familiarize yourself with the drone’s controls and features. Start with basic maneuvers and gradually explore more advanced flight modes as you gain experience and confidence.
Remember, safety is paramount when assembling and flying your DJI Phantom 4 drone. Always read and follow the manufacturer’s instructions and safety guidelines to ensure a smooth and enjoyable flight experience.
Installing the DJI GO App
In order to fully utilize the features and capabilities of your DJI Phantom 4 drone, you’ll need to install the DJI GO app on your mobile device. The DJI GO app is available for both iOS and Android platforms. Follow these steps to install the app:
- Open the App Store or Google Play Store: On your mobile device, navigate to the App Store (for iOS) or Google Play Store (for Android).
- Search for DJI GO: In the search bar, type “DJI GO” and tap the search button.
- Select the DJI GO App: From the search results, select the official DJI GO app developed by DJI Technology Co., Ltd.
- Download and Install the App: Tap the “Download” or “Install” button to begin the installation process. Depending on your internet connection speed, the app may take a few moments to download and install.
- Launch the DJI GO App: Once the installation is complete, tap the app icon to launch DJI GO.
- Create an Account (if required): If prompted, create a DJI account or log in with your existing account credentials. This will enable you to access additional features and sync your drone’s flight data.
- Connect to the DJI Phantom 4: Follow the on-screen instructions to connect the DJI GO app to your DJI Phantom 4 drone. This typically involves activating the Wi-Fi on your mobile device and connecting to the Wi-Fi network broadcasted by the drone.
- Update Firmware (if required): If there are any available firmware updates for your DJI Phantom 4 drone, the app will notify you. It is crucial to keep your drone’s firmware up to date to ensure optimal performance and access to the latest features.
Once the DJI GO app is installed and connected to your DJI Phantom 4 drone, you will have access to a wide range of features and settings. These include live video streaming, flight telemetry, intelligent flight modes, camera controls, and more. Take some time to explore the app’s interface and familiarize yourself with its functionalities to make the most of your flying experience.
Remember to check for app updates regularly to ensure that you have the latest version installed, as DJI regularly releases new features and improvements to enhance the user experience and overall performance of the app.
Powering up the DJI Phantom 4
Before taking flight with your DJI Phantom 4 drone, it is important to properly power it up. Follow these steps to ensure a safe and successful power-up process:
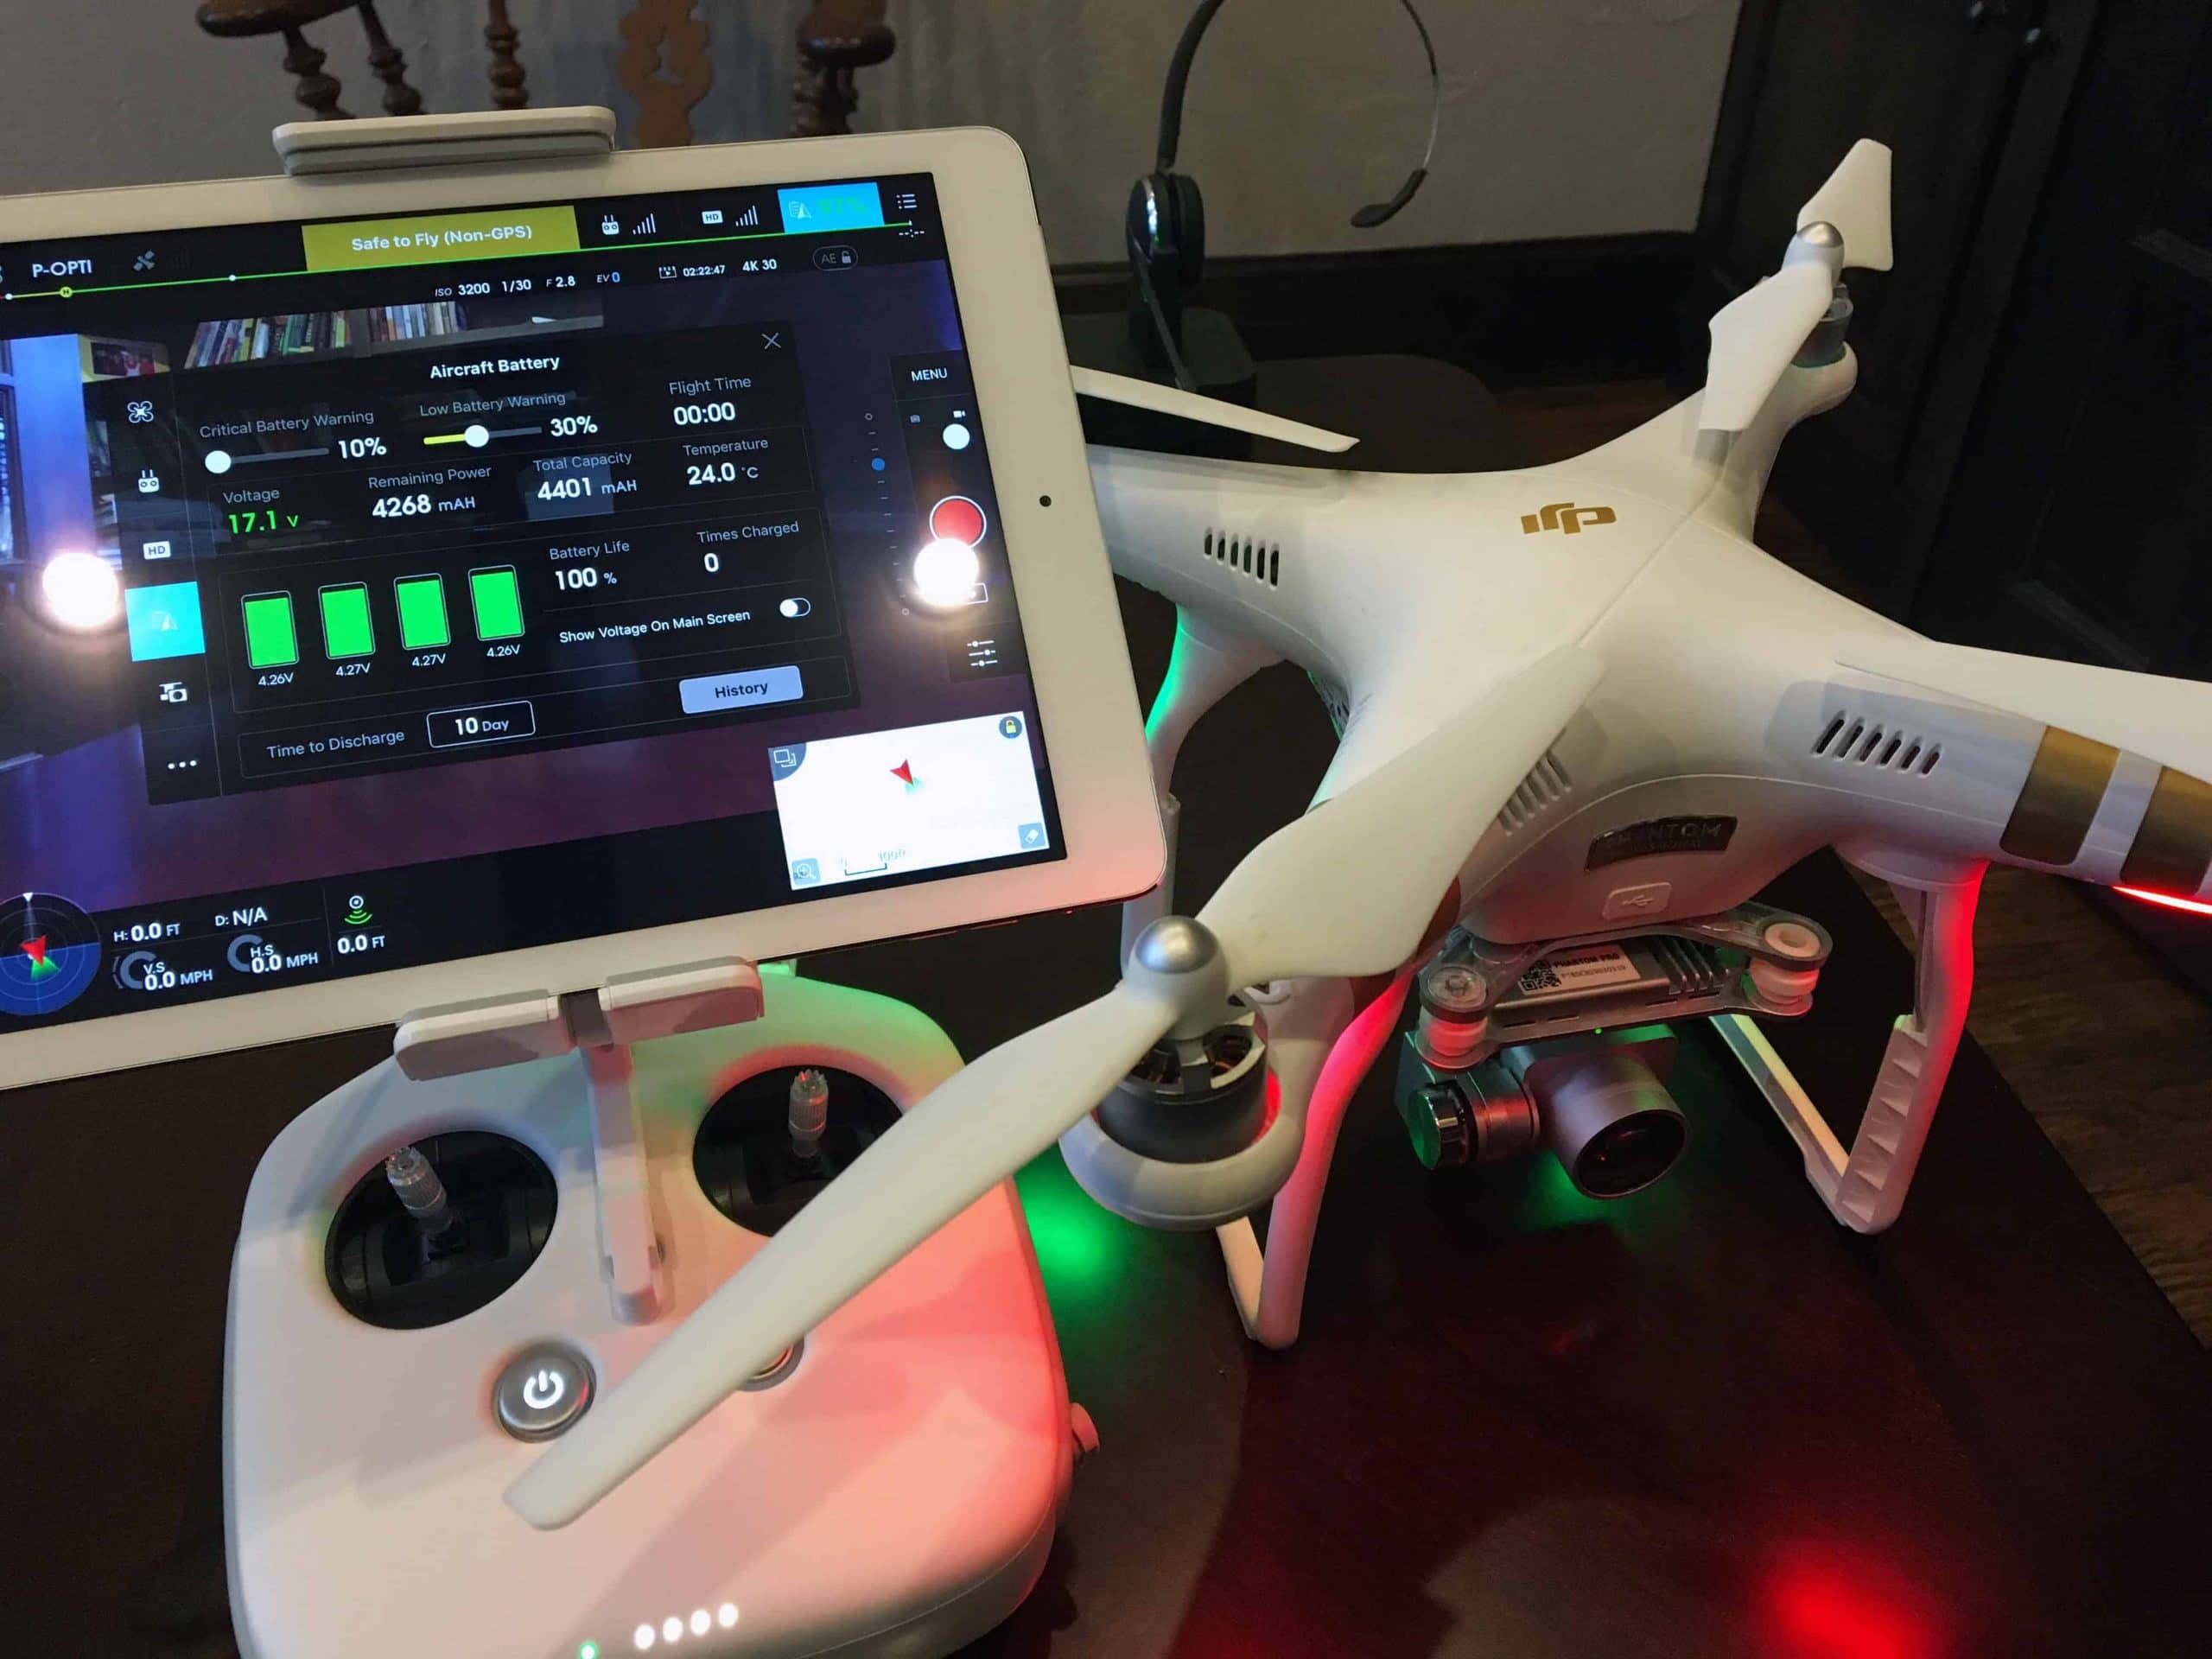
- Check the Battery Level: Before powering up your DJI Phantom 4, ensure that the battery level is adequate for flight. Ideally, the battery should be fully charged to maximize flight time.
- Insert the Battery: Locate the battery compartment on the drone’s body. Insert the fully charged intelligent flight battery into the compartment, making sure it fits snugly.
- Secure the Battery: Ensure that the battery is securely latched in place. This will prevent any accidental disconnections during flight.
- Power Button: Locate the power button on the DJI Phantom 4, typically found on the top or side of the drone’s body.
- Press and Hold: Press and hold the power button until the drone’s indicators light up. This signals that the drone is powering on.
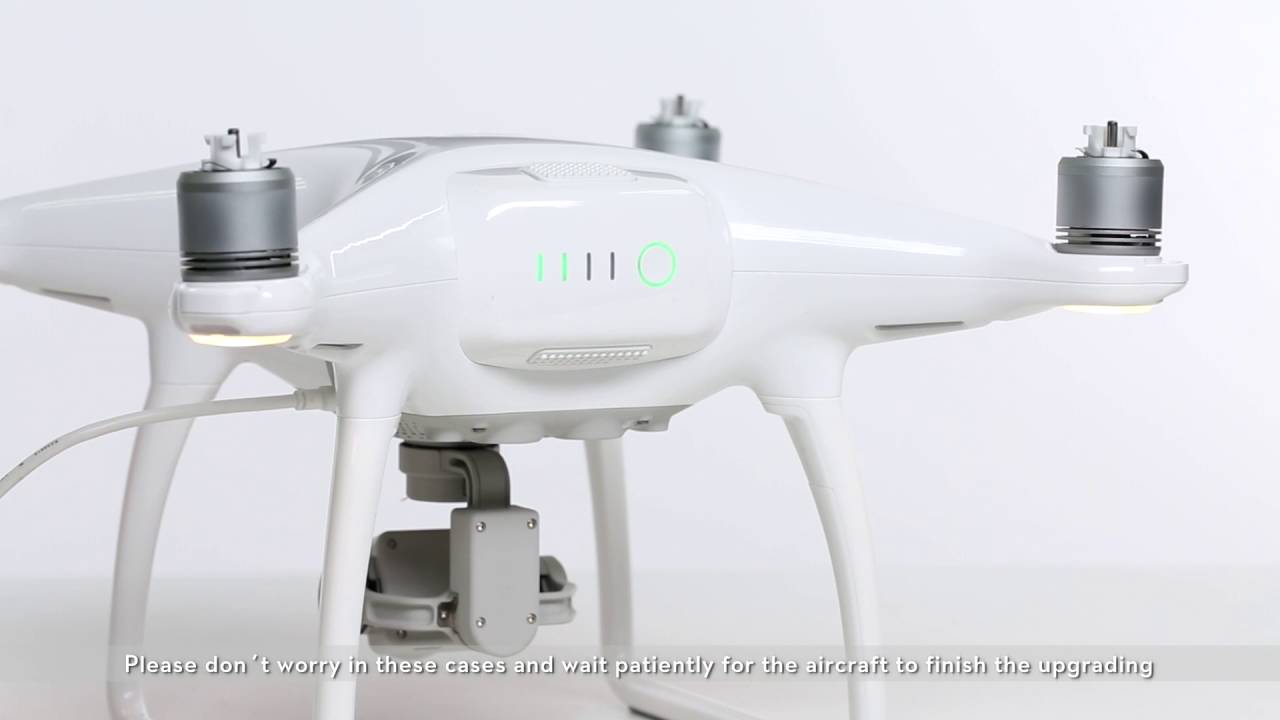
- Observe the Drone’s Initialization: Once powered on, the DJI Phantom 4 will go through an initialization process. During this time, the drone’s systems, including the camera and gimbal, will calibrate and prepare for flight.
- Monitor the Drone’s Status: Pay attention to the drone’s indicators and listen for any prompts or beeps emitted by the drone. These can indicate various statuses, such as satellite acquisition, sensor calibration, and Wi-Fi connectivity.
- Confirm Ready for Flight: Once the initialization process is complete, the DJI Phantom 4 is ready for flight. Ensure that the drone is stable and all indicators are showing normal operation before taking off.
It is important to note that in certain cases, such as firmware updates or changes in flight locations, the DJI Phantom 4 may require additional calibration or setup procedures. Always refer to the user manual or the DJI GO app for any specific instructions before powering up and flying your drone.
By following these steps, you can power up your DJI Phantom 4 drone safely and efficiently, ready to embark on your next flight adventure.
Connecting to the DJI Phantom 4’s Wi-Fi Network
The DJI Phantom 4 drone creates its own Wi-Fi network that allows you to connect your mobile device and establish a communication link with the drone. Follow these steps to connect to the DJI Phantom 4’s Wi-Fi network:
- Power on the DJI Phantom 4: Ensure that the drone is powered on and the indicators on the drone are displaying normal operation.
- Enable Wi-Fi on your Mobile Device: Go to the settings of your mobile device and enable Wi-Fi connectivity.
- Scan for Available Wi-Fi Networks: In the Wi-Fi settings of your mobile device, search for available networks. Look for the network name that corresponds to your DJI Phantom 4 drone. The network name typically starts with “Phantom” or “DJI” followed by a series of numbers and letters.
- Select the DJI Phantom 4’s Wi-Fi Network: From the list of available networks, tap on the network name associated with your DJI Phantom 4 drone. This will initiate the connection process.
- Enter the Wi-Fi Password (if prompted): In some cases, when connecting to the DJI Phantom 4’s Wi-Fi network for the first time or after a reset, you may be prompted to enter a password. Refer to the user manual or the label on the drone’s body for the default Wi-Fi password. Enter the password to proceed with the connection.
- Wait for the Connection: Once you have selected the DJI Phantom 4’s Wi-Fi network and entered the password (if required), your mobile device will attempt to establish a connection with the drone. This may take a few moments as the devices sync.
- Verify the Connection: Once the connection is established, your mobile device will display a confirmation message or an indicator that it is connected to the DJI Phantom 4’s Wi-Fi network.
Once connected to the DJI Phantom 4’s Wi-Fi network, you will be able to use the DJI GO app or other compatible apps to control the drone, access real-time video feeds, adjust camera settings, and more. Keep in mind that the range of the Wi-Fi connection may vary depending on environmental factors, interference, and the capabilities of your mobile device.
It is important to note that connecting to the DJI Phantom 4’s Wi-Fi network will temporarily disconnect your mobile device from your regular Wi-Fi network. When you are done using the drone, remember to reconnect your mobile device to your preferred network.
By following these steps, you can easily connect your mobile device to the DJI Phantom 4’s Wi-Fi network and enjoy a seamless and immersive drone flying experience.
Using the DJI GO App to Connect
The DJI GO app is a powerful tool that allows you to fully control and manage your DJI Phantom 4 drone. It provides an intuitive interface, real-time video streaming, flight telemetry, camera controls, intelligent flight modes, and much more. Here’s how you can use the DJI GO app to connect with your DJI Phantom 4:
- Launch the DJI GO App: Ensure that your mobile device is connected to the DJI Phantom 4’s Wi-Fi network. Open the DJI GO app on your mobile device.
- Create or Log into Your DJI Account: If it’s your first time using the app, you may need to create a DJI account. Simply follow the on-screen instructions to create an account or log into your existing account.
- Connect to the Drone: Once you’re in the app, tap on the “Connect” or “Connect to Aircraft” button. This will initiate the connection process between the app and your DJI Phantom 4 drone.
- Choose Your Drone Model: If you have multiple DJI drones registered under your account, the app will present you with a list of available drone models. Select the DJI Phantom 4 from the list.
- Wait for the Connection: The app will now attempt to establish a connection with your DJI Phantom 4 drone. This may take a few moments as the app syncs with the drone’s systems.
- Confirm Connection: Once the connection is established, the DJI GO app will display a confirmation message or indicator that it is connected to your DJI Phantom 4 drone.
- Access Drone Controls and Settings: With the DJI GO app successfully connected to your DJI Phantom 4, you will have access to a wide range of controls and settings. You can view and change camera settings, adjust flight parameters, plan flight routes, and more.
- Enjoy the Features: Explore the various features and intelligent flight modes available in the DJI GO app. These include QuickShot modes, ActiveTrack, TapFly, and more. Experiment with different settings and functionalities to enhance your aerial photography and videography experience.
The DJI GO app is continually updated with new features and improvements, so it’s important to keep the app up to date. Check for any available app updates regularly to ensure that you have access to the latest features and optimizations.
By following these steps, you can easily connect your DJI Phantom 4 drone to the DJI GO app and unlock a world of possibilities in controlling and enhancing your drone flying experience.
Troubleshooting Connectivity Issues
While connecting your DJI Phantom 4 drone to the DJI GO app is usually a straightforward process, there may be instances where you encounter connectivity issues. Here are some troubleshooting tips to help resolve common connectivity problems:
- Check Wi-Fi Signal Strength: Ensure that you are in an area with a strong Wi-Fi signal. If the signal is weak or if you are too far away from the drone, it can lead to connection issues. Try moving closer to the drone or find a location with a stronger Wi-Fi signal.
- Restart Drone and Mobile Device: Sometimes, a simple restart can resolve connectivity issues. Turn off both your DJI Phantom 4 drone and your mobile device, then power them back on and attempt to connect again.
- Reset Wi-Fi Settings: If you are experiencing persistent connection problems, try resetting the Wi-Fi settings on your mobile device and then reconnect to the DJI Phantom 4’s Wi-Fi network.
- Check for Firmware Updates: Ensure that both the drone and the DJI GO app are running the latest firmware versions. Outdated firmware can sometimes cause compatibility issues. Check for any available updates for both the drone and the app, and install them if necessary.
- Reset Wi-Fi Password: If you have changed the default Wi-Fi password on your DJI Phantom 4, double-check that you are entering the correct password when connecting to the drone’s Wi-Fi network. If you have forgotten the password, refer to the user manual or contact DJI support for assistance.
- Avoid Interference: Ensure that there are no other devices or networks in close proximity that may interfere with the Wi-Fi signal. This includes other drones, wireless routers, or any other sources of radio frequency interference.
- Reinstall the DJI GO App: If all else fails, try uninstalling and reinstalling the DJI GO app on your mobile device. This can help resolve any software-related issues that may be affecting the connection.
If you have followed these troubleshooting steps and are still experiencing connectivity problems, it is recommended to reach out to DJI’s customer support for further assistance. They have a dedicated support team that can help diagnose and resolve more complex connectivity issues.
Remember, a stable and reliable connection between your DJI Phantom 4 drone and the DJI GO app is crucial for a smooth and enjoyable flying experience. By troubleshooting connectivity issues, you can ensure that you stay connected and take full advantage of the features and functionalities offered by your DJI Phantom 4 drone.
Connecting to a Remote Controller (Optional)
While the DJI Phantom 4 drone can be operated solely through the DJI GO app on your mobile device, you also have the option to connect a remote controller for a more conventional and tactile flying experience. Here’s how you can connect your DJI Phantom 4 drone to a remote controller:
- Power on the Drone: Ensure that the DJI Phantom 4 drone is powered on and the indicators on the drone are displaying normal operation.
- Power on the Remote Controller: Turn on the remote controller by pressing and holding the power button. Wait for the controller to initialize.
- Connect the Mobile Device: Use the provided USB cable to connect your mobile device to the remote controller. The USB port is usually located on the side or bottom of the controller. Make sure the connection is secure.
- Launch the DJI GO App: With the remote controller powered on and the mobile device connected, open the DJI GO app on your mobile device.
- Connect to the Drone: In the DJI GO app, tap on the “Connect” or “Connect to Aircraft” button to establish a connection between the app, the remote controller, and the drone.
- Choose Remote Controller Mode: Once connected, the DJI GO app will prompt you to select the remote controller mode. You can choose between “Aircraft Mode” (using the remote controller as the primary control method) or “Camera Mode” (using the mobile device as the primary control method with the remote controller serving as a secondary control interface).
- Verify the Connection: Once the connection is established, the DJI GO app will display a confirmation message or indicator that it is connected to the remote controller.
- Test the Remote Controller: After connecting the remote controller, ensure that all controls and buttons are functioning properly. Test the joysticks, buttons, and switches to ensure they are responsive and in good working condition.
Connecting a remote controller to your DJI Phantom 4 drone provides a physical interface for precise flight control and a more immersive flying experience. It allows for better maneuverability, especially in situations where precise control is required.
Remember, when using a remote controller, it is important to familiarize yourself with its controls and functions before taking off. Refer to the user manual for detailed instructions on how to use the remote controller and understand its various features.
Note that the DJI Phantom 4 can be operated with or without a remote controller, and the choice depends on your personal preference and the specific requirements of your flight mission.
By following these steps, you can easily connect your DJI Phantom 4 drone to a remote controller, enhancing your control over the drone and providing a more immersive and traditional flying experience.
Conclusion
Connecting to and setting up your DJI Phantom 4 drone is an exciting process that opens up a world of aerial photography and exploration. By following the steps outlined in this guide, you can ensure a smooth and successful setup experience.
First, checking the contents of the box is essential to make sure you have received all the necessary components for assembly. Assembling the drone correctly is crucial for safe and optimal performance.
Installing the DJI GO app on your mobile device allows you to fully control and manage your drone, providing access to a wide range of features and settings.
Powering up the DJI Phantom 4 involves inserting the battery, toggling the power button, and observing the initialization process. Connecting to the drone’s Wi-Fi network is necessary to establish a communication link with the DJI GO app.
Once connected, you can use the DJI GO app to control the drone, access live video feeds, adjust camera settings, and enjoy a variety of intelligent flight modes and features.
In the event of connectivity issues, troubleshooting steps such as checking Wi-Fi signal strength, restarting devices, updating firmware, and avoiding interference can help resolve the problem.
If desired, you can connect a remote controller to your DJI Phantom 4 for a more tactile flying experience, gaining more control over the drone’s movements.
In conclusion, with proper installation, connection, and setup, you can unleash the full potential of your DJI Phantom 4 drone, capturing stunning aerial photos and videos while enjoying a thrilling flight experience.