Introduction
Welcome to the exciting world of DJI, a leading technology company that specializes in aerial photography and videography equipment. Whether you’re a professional photographer, a drone enthusiast, or simply someone who wants to capture stunning aerial shots, creating a DJI account is the first step towards unlocking a host of features and benefits.
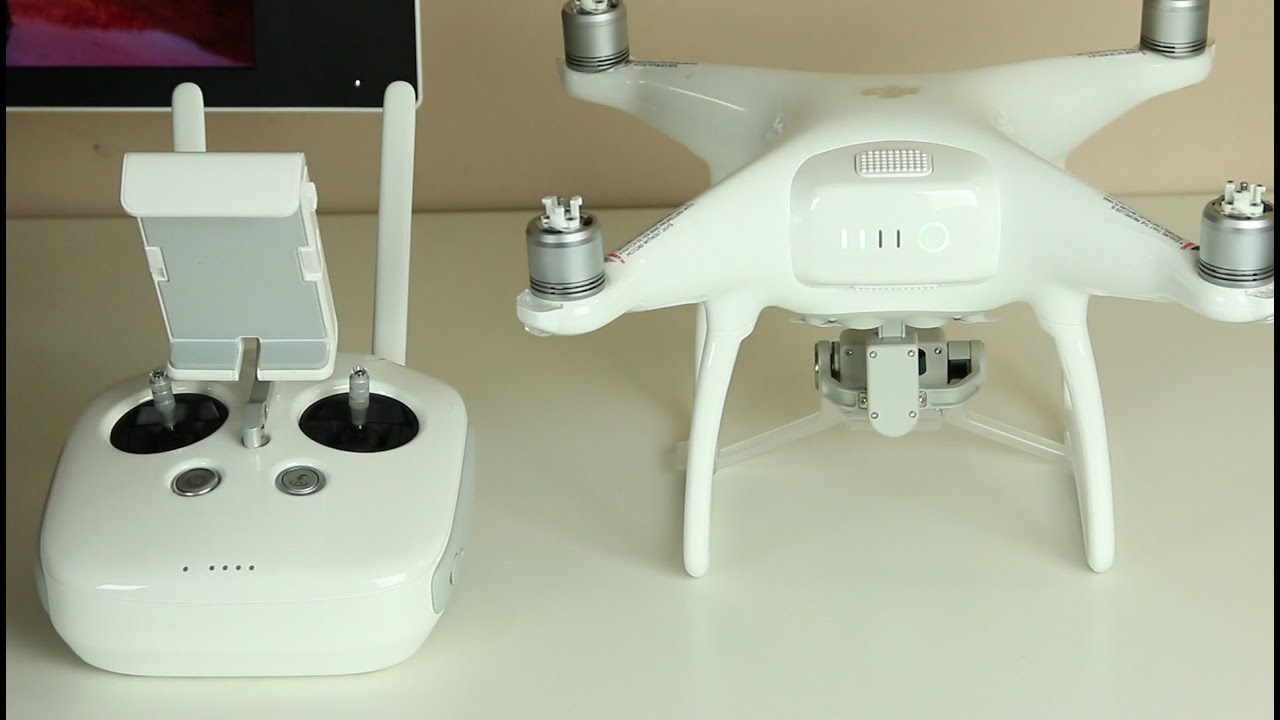
By creating a DJI account, you gain access to a wide range of services, including firmware updates, flight records, online forums, and personalized support. With an account, you can also connect and manage your DJI devices, such as drones and gimbals, in one centralized location.
In this article, we will guide you through the process of creating a DJI account, step-by-step. We’ll cover everything from filling out the registration form to customizing your account settings and connecting your DJI devices. Whether you’re a complete beginner or an experienced DJI user, this article will provide you with the necessary information to get started.
Creating a DJI account is quick and easy, and it opens up a world of possibilities for your aerial photography and videography endeavors. So, without further ado, let’s dive into the step-by-step guide on how to create a DJI account.
Creating a DJI Account
Creating a DJI account is the first step towards accessing the full range of features and benefits offered by DJI. Whether you’re a professional or a hobbyist, having a DJI account allows you to take advantage of firmware updates, personalized support, and various online resources.
To start the process of creating a DJI account, visit the DJI website and click on the “Sign Up” or “Create Account” button. This will redirect you to the registration page where you will need to provide some basic information.
When creating your DJI account, it’s important to use a valid email address as it will be used for account verification and communication purposes. Additionally, choose a strong password that includes a combination of letters, numbers, and special characters to ensure the security of your account.
Once you have filled out the registration form with your email address and password, click on the “Sign Up” button to proceed. You will receive a verification email at the provided email address. Open the email and click on the verification link within to confirm your email address and activate your DJI account.
It is important to note that creating a DJI account is free of charge. However, some premium features and accessories may require additional purchases or subscriptions.
By creating a DJI account, you’ll gain access to the DJI ecosystem, where you can register your DJI products, access firmware updates, engage with other DJI users in the community forums, and benefit from personalized support. Your DJI account will also be linked to the DJI Go app, which is the primary interface for flying DJI drones and controlling other DJI devices.
Now that you know the importance and benefits of creating a DJI account, it’s time to dive deeper into the step-by-step guide on how to create your account and make the most out of your DJI experience.
Step-by-step Guide on Creating a DJI Account
Creating a DJI account is a straightforward process that involves a few simple steps. Follow the guide below to create your DJI account hassle-free:
- Visit the DJI website: Open your preferred web browser and go to the official DJI website.
- Click on “Sign Up” or “Create Account”: Look for the “Sign Up” or “Create Account” button on the DJI homepage and click on it. This will direct you to the registration page.
- Fill out the registration form: On the registration page, you will need to provide some basic information. Enter your email address, choose a strong password, and agree to the terms and conditions.
- Click on “Sign Up”: Once you have filled out the registration form, click on the “Sign Up” button to create your account.
- Verify your email address: Check your inbox for a verification email from DJI. Open the email and click on the verification link to confirm your email address. If you don’t see the email in your inbox, check your spam or junk folder.
- Login to your DJI account: After verifying your email address, return to the DJI website and click on “Login.” Enter your email and password to log in to your newly created DJI account.
Congratulations! You have successfully created your DJI account. Now you have access to a wide range of DJI services and features.
Once logged in, you can explore your account settings and customize them according to your preferences. You can also connect your DJI devices to your account and manage them effortlessly.
Keep in mind that it’s important to keep your DJI account information secure. Be mindful of phishing attempts and make sure to choose a strong, unique password.
Now that you have created your DJI account, let’s explore the next steps in customizing your account settings and connecting your DJI devices for a seamless flying experience.
Filling Out the Registration Form
When creating a DJI account, you will need to fill out a registration form with your basic information. The registration form ensures that your account is properly set up and linked to your email address. Follow the steps below to successfully fill out the DJI registration form:
- Visit the DJI website: Open your web browser and go to the official DJI website.
- Click on “Sign Up” or “Create Account”: Look for the “Sign Up” or “Create Account” button on the DJI homepage and click on it.
- Enter your email address: In the registration form, enter a valid email address that you have access to. This will be used for account verification and communication purposes.
- Create a strong password: Choose a unique password that includes a combination of letters, numbers, and special characters. A strong password ensures the security of your DJI account.
- Agree to the terms and conditions: Read through the DJI terms and conditions and check the box to indicate that you agree to them.
- Click on “Sign Up” or “Create Account”: Once you have filled out the registration form, click on the “Sign Up” or “Create Account” button to proceed.
By following these steps, you will have successfully filled out the DJI registration form. It is important to provide accurate information to ensure a smooth account creation process.
After completing the registration form, you will receive a verification email at the email address you provided. Check your inbox and click on the verification link to confirm your email address and activate your DJI account.
If you do not receive the verification email, check your spam or junk folder as it may have been filtered there. If you continue to experience issues, you can contact DJI customer support for assistance.
With the registration form filled out and your email address verified, you are now ready to log in and explore the exciting features and benefits of your DJI account.
Next, we will guide you through the process of verifying your email address and setting up two-factor authentication for enhanced account security.
Verifying Your Email Address
After filling out the registration form and creating your DJI account, it’s crucial to verify your email address to ensure the security and authenticity of your account. DJI utilizes email verification as a standard practice to validate user information and prevent unauthorized access. Follow the steps below to easily verify your email address:
- Check your inbox: Once you have completed the registration process, check the email address that you used to create your DJI account. You should receive an email from DJI titled “Verify Your Email Address” or a similar subject line.
- Open the verification email: Open the email and look for a button or link that says “Verify Email” or something similar. Clicking on this link will redirect you to a verification page.
- Confirm your email address: On the verification page, you’ll typically see a message confirming that your email address has been successfully verified, or you may be prompted to enter your DJI account credentials again to complete the verification process.
Verifying your email address is an essential step as it helps secure your DJI account and ensures that you receive important account-related information, such as security notifications and product updates.
If you do not see the verification email in your inbox, check your spam or junk folder as it may have been mistakenly filtered there. It’s also a good idea to add the DJI email address to your contacts or safe senders list to avoid future delivery issues.
If you encounter any issues with verifying your email address, you can contact DJI customer support for assistance. They will guide you through the process and help resolve any problems you may face.
Once you have successfully verified your email address, you can proceed to the next step of securing your DJI account by setting up two-factor authentication, which adds an extra layer of protection to your account.
Now that your email address is verified, you can rest assured that your DJI account is set up securely. Let’s move on to the next section to learn about setting up two-factor authentication for added account protection.
Setting Up Two-Factor Authentication
Two-factor authentication (2FA) is a valuable security feature that adds an extra layer of protection to your DJI account. By enabling 2FA, you ensure that only authorized users can access your account, even if someone manages to obtain your password. Follow the steps below to set up two-factor authentication for your DJI account:
- Login to your DJI account: Go to the DJI website and enter your registered email address and password to log in to your account.
- Access account security settings: Once logged in, navigate to your account settings. Look for the “Security” or “Account Security” section, where you can manage your account’s security features.
- Enable two-factor authentication: In the account security settings section, you should find an option to enable two-factor authentication. Click on this option to begin the setup process.
- Choose your preferred verification method: DJI offers various 2FA methods, including SMS authentication and app-based authentication. Select the method that best suits your preferences and follow the on-screen instructions to set it up.
- Verify your chosen method: Depending on the 2FA method you chose, you will need to verify your identity. This may involve entering a verification code sent to your phone via SMS or scanning a QR code with an authentication app.
Once you have successfully set up two-factor authentication, you will be prompted to enter a verification code each time you log in to your DJI account. This code will be sent to your chosen verification method, adding an extra layer of security to your account.
Two-factor authentication helps protect your DJI account from unauthorized access, safeguarding your personal information, flight records, and connected devices. It is highly recommended to enable this security feature to ensure the integrity of your account.
If you ever need to disable or change your two-factor authentication settings, you can do so within your DJI account settings. Simply navigate to the account security section, locate the 2FA options, and make the necessary adjustments.
With two-factor authentication in place, you can confidently manage your DJI account knowing that your information is well-protected. Let’s move on to the next section to learn about customizing your account settings for a personalized experience.
Customizing Your Account Settings
Once you have created your DJI account and completed the necessary steps for security, it’s time to customize your account settings to tailor the experience to your preferences. DJI provides various options to personalize your account and optimize your usage. Here are some key settings you can customize:
- Profile information: Update your profile with relevant details such as your name, location, and a bio. This helps other DJI users get to know you better and fosters a sense of community.
- Communication preferences: Customize how DJI communicates with you by selecting your preferred language, email notification settings, and subscription preferences for newsletters and promotional content.
- Privacy settings: Set your privacy preferences to control who can view your flight records, share your content, and send you friend requests within the DJI community.
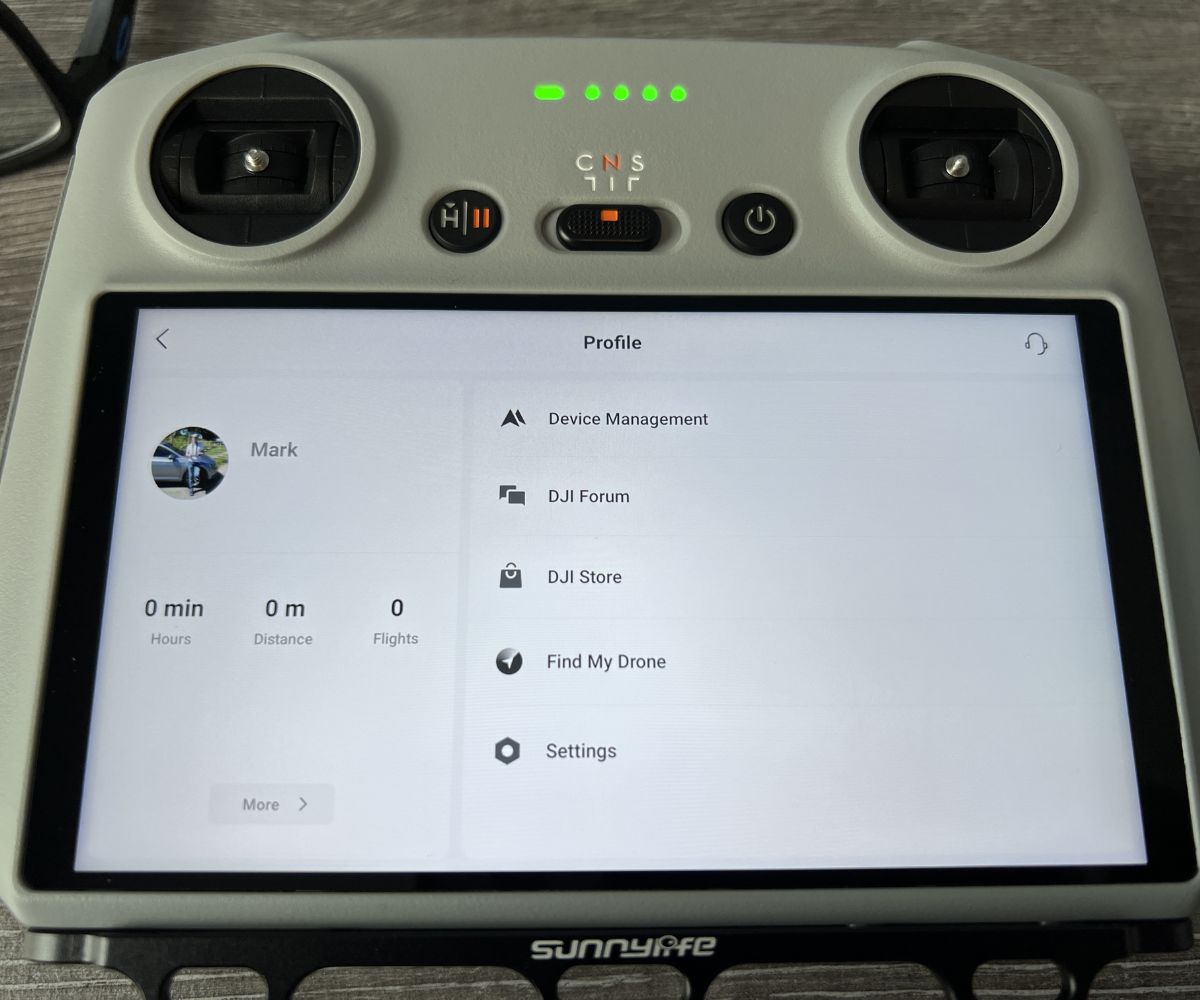
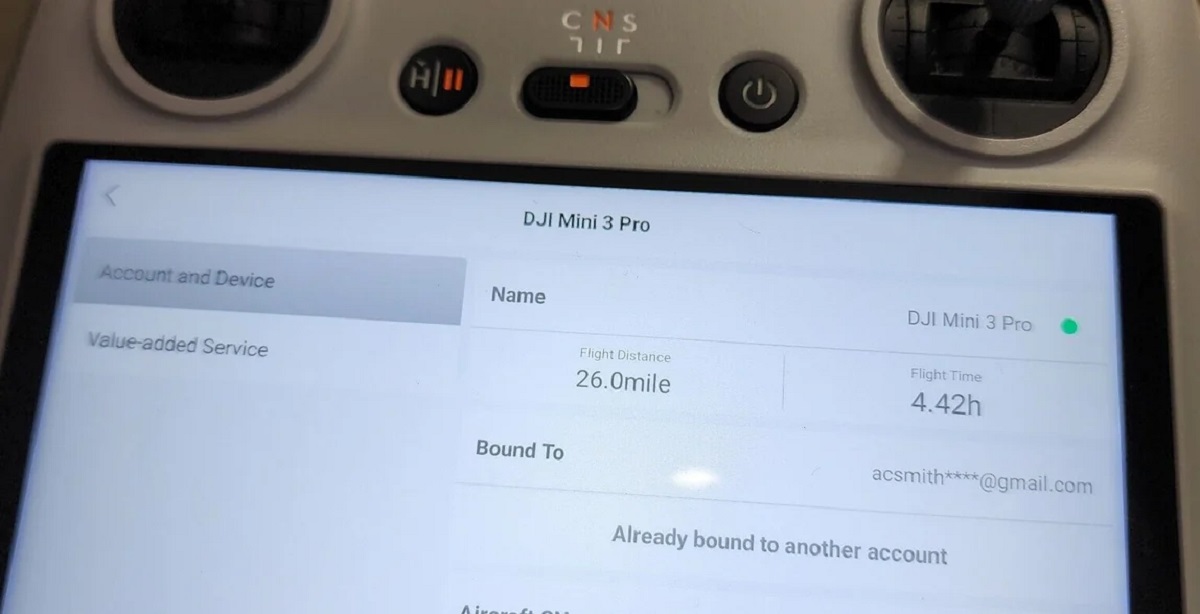
- Device management: Connect and manage your DJI devices in the device management section. This allows you to keep track of firmware updates, flight logs, and other device-related information.
- Linked apps and services: DJI offers integration with various third-party apps and services. Explore the linked apps section to connect your DJI account with other platforms to enhance your workflow.
- Payment settings: If you plan on making purchases through the DJI website, you can manage your payment settings, including adding or removing payment methods and updating billing information.
By customizing your DJI account settings, you can tailor your experience to suit your needs and preferences. It’s worth taking the time to explore and adjust these settings to optimize your DJI account usage.
Remember to regularly review and update your account settings based on your changing requirements. This ensures that your DJI account remains up to date and in line with your preferences.
Furthermore, DJI may introduce new features and settings over time. Stay informed about updates by checking the DJI website or subscribing to their newsletters to make the most out of your DJI account.
Now that you have personalized your DJI account settings, it’s time to connect your DJI devices to your account for seamless integration and device management. Let’s proceed to the next section to learn how to connect your DJI devices.
Connecting Your DJI Devices to Your Account
One of the main benefits of having a DJI account is the ability to connect and manage your DJI devices in one centralized location. By connecting your DJI devices to your account, you can gain access to enhanced features, firmware updates, flight logs, and much more. Here’s a step-by-step guide on how to connect your DJI devices to your account:
- Login to your DJI account: Visit the DJI website and enter your registered email address and password to log into your account.
- Connect your device: Make sure your DJI device (such as a drone or gimbal) is powered on and nearby. For drones, check that the remote controller is also turned on and properly connected.
- Go to device management: Navigate to the device management section of your DJI account. Look for the “Device” or “Device Management” tab, usually located in the account settings area.
- Follow the on-screen instructions: Once in the device management section, you will see a prompt or a button to connect a new device. Click on it and follow the on-screen instructions to connect your DJI device.
- Verify the connection: After following the instructions, your DJI device should be successfully connected to your account. You may need to confirm the connection by accepting a prompt on your device’s screen or by entering a verification code on the DJI website.
Once your device is successfully connected to your DJI account, you’ll be able to access various features and benefits. You can view and analyze flight records, perform firmware updates, and even control certain functions of your device through the DJI website or the DJI Go app.
Connecting your DJI devices to your account provides a seamless user experience and simplifies the management of multiple devices. You can easily switch between devices, access personalized settings, and keep track of important device-related information from one central location.
If you encounter any issues while connecting your DJI device, refer to the device’s user manual or reach out to DJI customer support for assistance. They will guide you through the troubleshooting process to ensure a successful connection.
Now that your DJI devices are connected to your account, you’re all set to start exploring the full potential of your devices and making the most out of your DJI account.
Next, let’s dive into a troubleshooting guide and frequently asked questions to address any concerns or difficulties you may encounter along the way.
Troubleshooting and FAQ
While creating and managing your DJI account is usually a smooth process, you might encounter some issues or have questions along the way. Here are some common troubleshooting tips and frequently asked questions to help you resolve any difficulties:
Troubleshooting:
- If you are having trouble creating a DJI account, double-check that you have entered your email address correctly and that your password meets the required criteria.
- If you don’t receive the verification email, check your spam or junk folder. If it’s not there, try requesting a new verification email or contacting DJI customer support for further assistance.
- If you encounter difficulties while setting up two-factor authentication, ensure that you have a reliable internet connection and follow the instructions carefully. If the issue persists, reach out to DJI customer support for guidance.
- If your DJI device is not connecting to your account, make sure your device is powered on and in close proximity to your computer or mobile device. Refer to the user manual for specific instructions on how to connect your device.
Frequently Asked Questions:
- Is creating a DJI account free? Yes, creating a DJI account is free of charge.
- Can I use my DJI account on multiple devices? Yes, you can log in to your DJI account from multiple devices and access your account information and connected devices from each of them.
- Can I change the email address associated with my DJI account? Yes, you can change the email address associated with your DJI account by going to your account settings and following the instructions for updating your email.
- What should I do if I forgot my DJI account password? Click on the “Forgot Password” link on the DJI login page and follow the instructions to reset your password. You may need access to your email associated with the account to complete the password reset process.
If you have any other technical issues or questions regarding your DJI account, it is recommended to reach out to DJI’s customer support. Their knowledgeable team will be able to assist you and provide the necessary guidance to resolve your concerns.
By troubleshooting any issues and staying informed with the FAQ, you can overcome any obstacles that may arise during the setup and management of your DJI account.
Now that you have a comprehensive understanding of how to create and customize your DJI account, as well as troubleshoot common issues, you are ready to embark on your DJI journey with confidence!
Conclusion
Creating a DJI account opens up a world of opportunities for drone enthusiasts, photographers, and videographers. By following the step-by-step guide provided in this article, you can successfully create your DJI account, verify your email address, set up two-factor authentication, customize your account settings, and connect your DJI devices, all while troubleshooting any potential issues along the way.
Your DJI account gives you access to a range of features, including firmware updates, flight records, personalized support, and a community of like-minded individuals. By customizing your account settings, you can tailor your DJI experience to suit your preferences and seamlessly manage your devices.
Remember to keep your account information secure and regularly review and update your settings as needed. If you encounter any difficulties, DJI’s customer support is there to assist you.
Whether you’re a professional capturing stunning aerial shots or a hobbyist exploring the wonders of flight, your DJI account enhances your experience and facilitates your journey in the world of aerial photography and videography.
So, what are you waiting for? Create your DJI account, connect your devices, and soar to new heights with DJI!