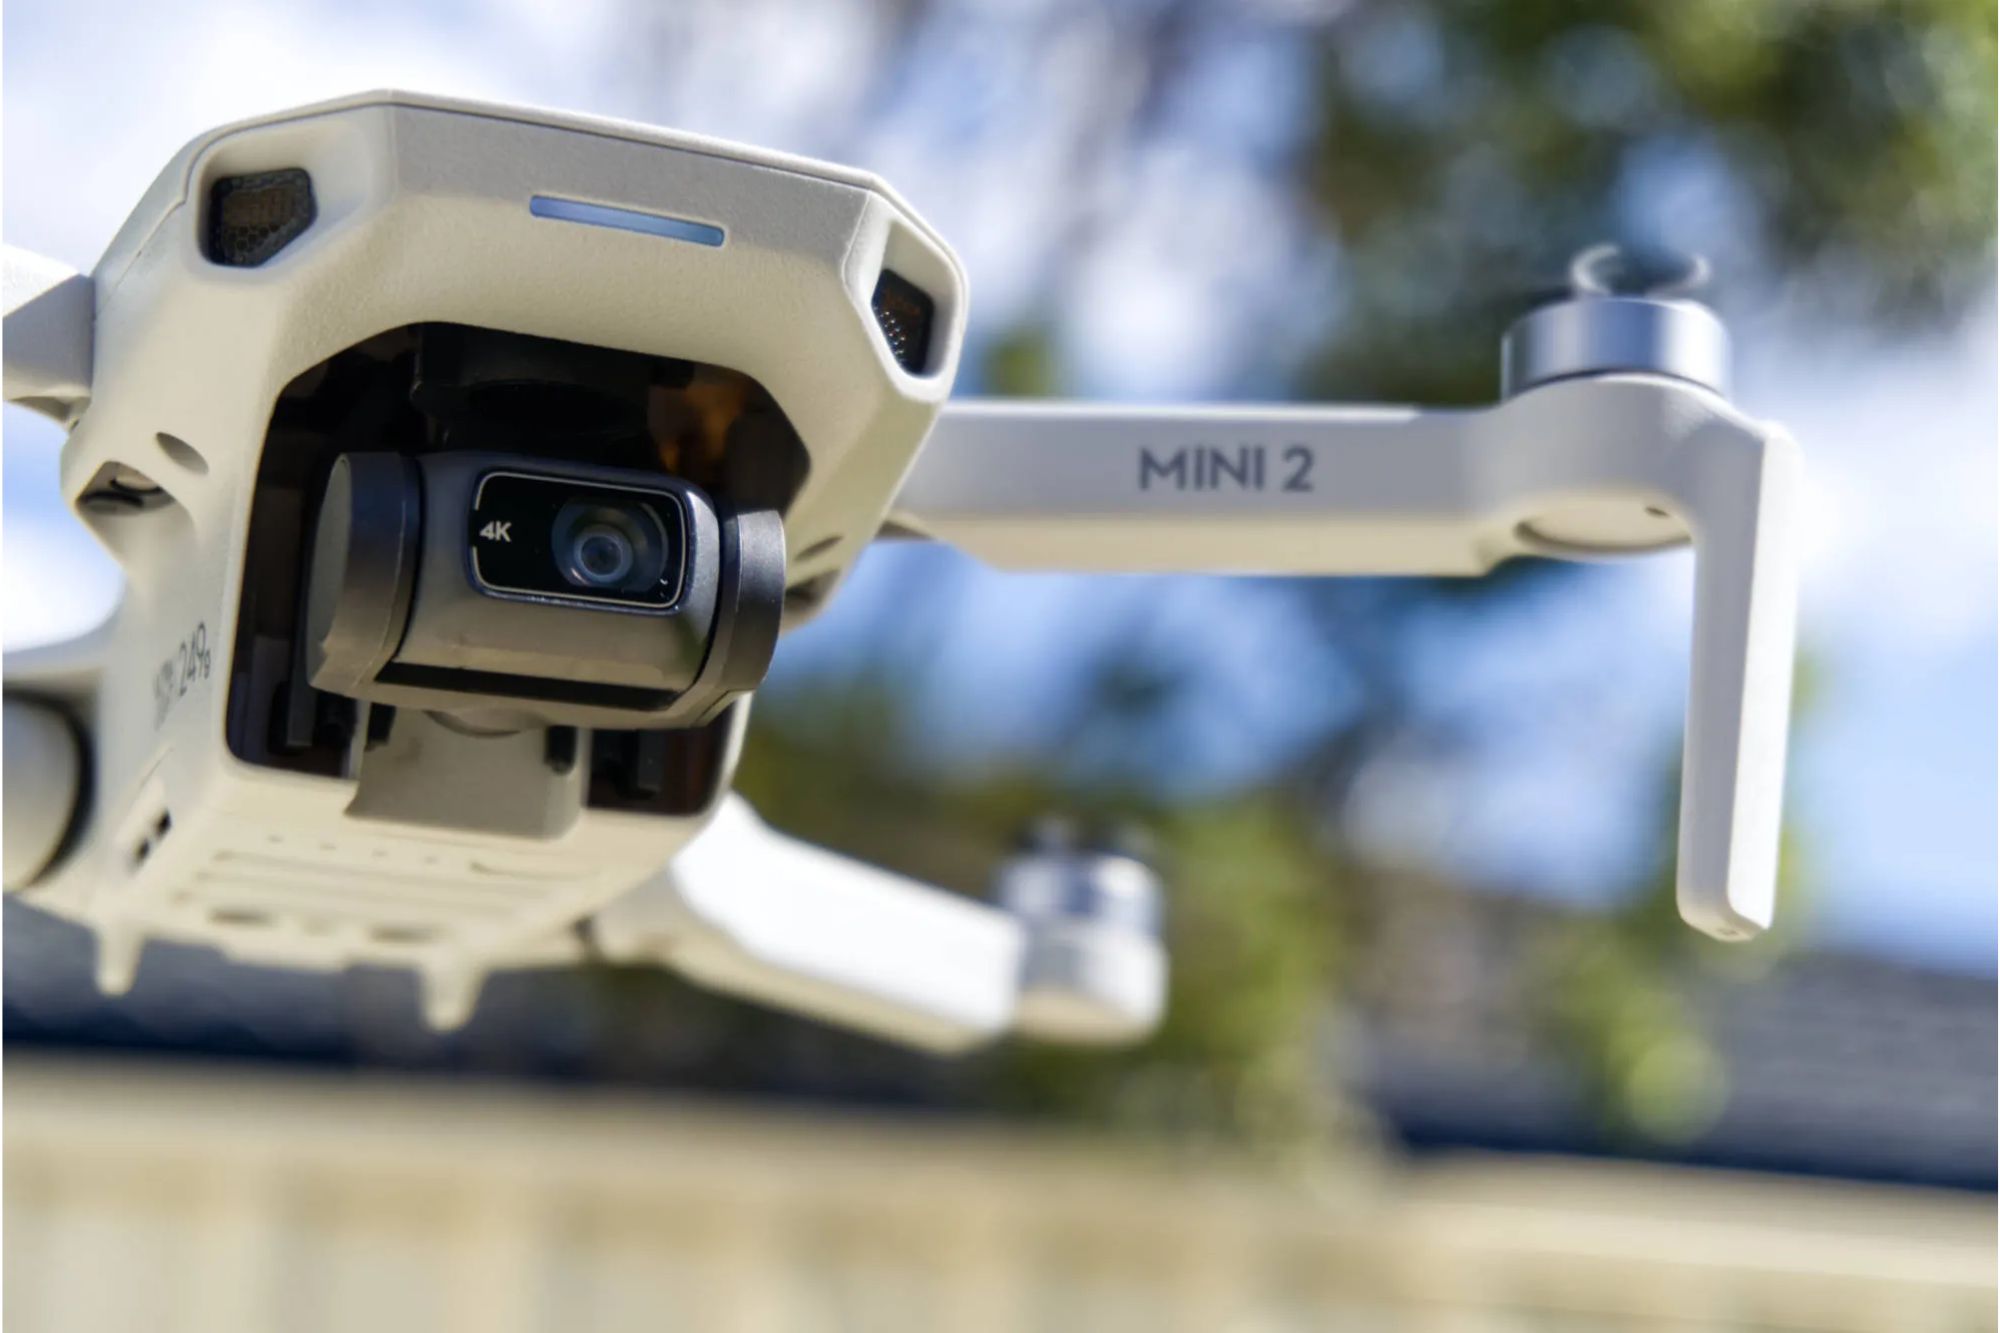
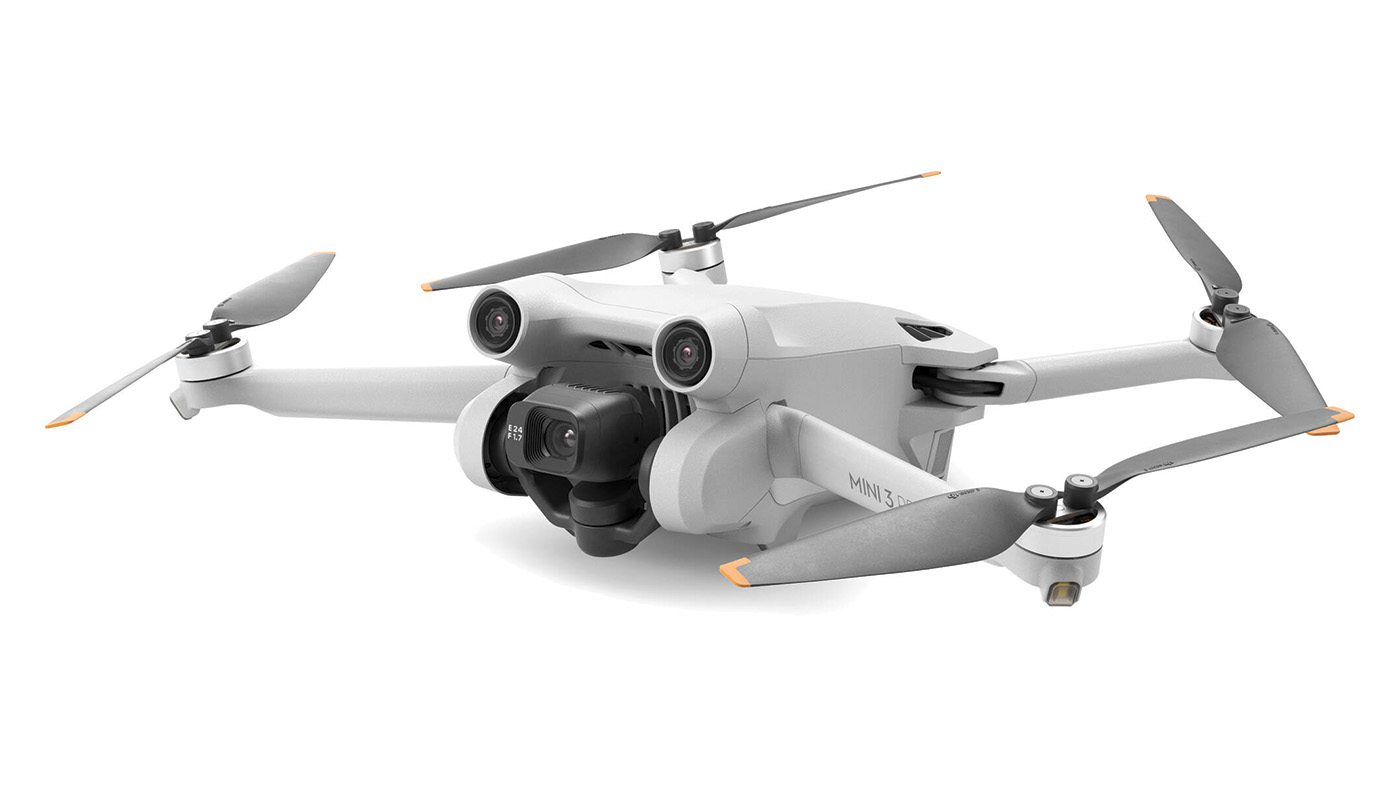
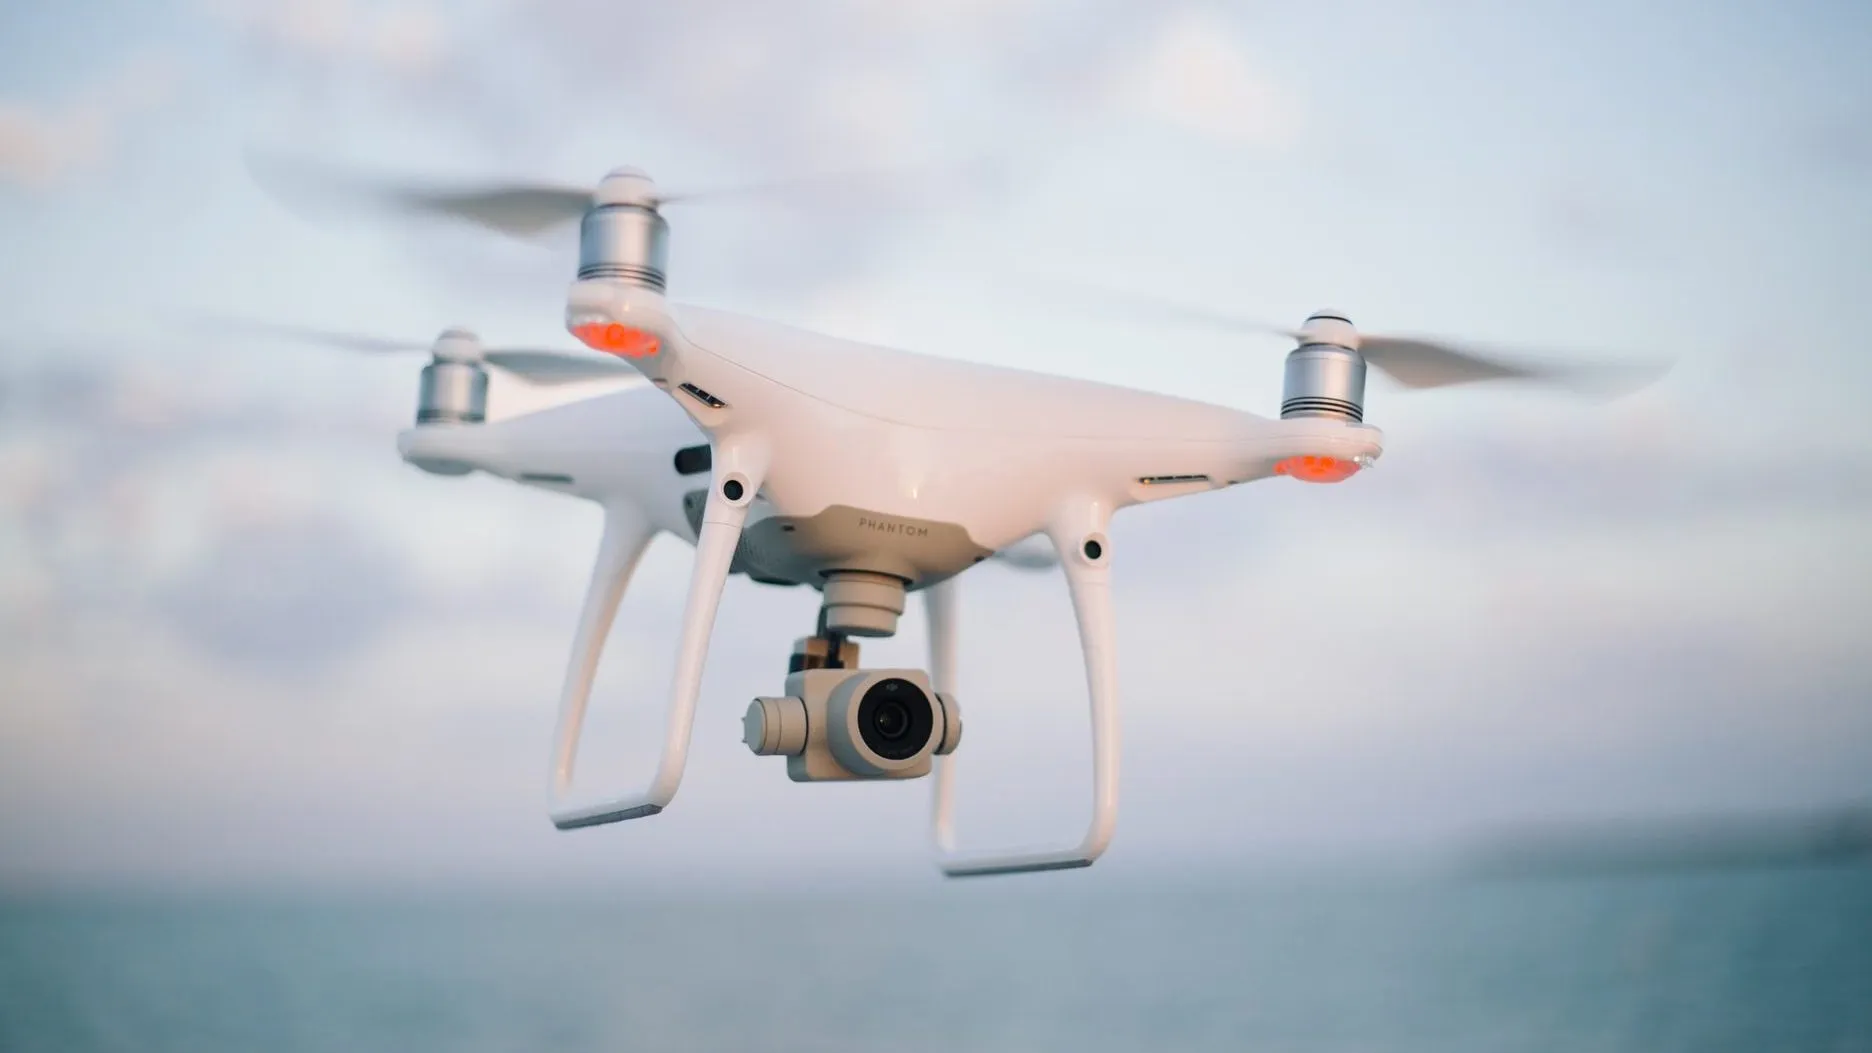
Overview of DJI Mini 2 Registration Process
Registering your DJI Mini 2 is an essential step to ensure compliance with aviation laws and regulations, as well as maximizing the features and functionality of your drone. The registration process involves a few simple steps that can be completed through the DJI Fly app. In this article, we will guide you through the process of registering your DJI Mini 2, from creating a DJI account to verifying successful registration.
To begin, you will need to create a DJI account if you don’t already have one. This can be done easily on the DJI website or through the DJI Fly app. Once you have your account set up, the next step is to install the DJI Fly app on your mobile device. This app will serve as the primary hub for controlling your DJI Mini 2 and completing the registration process.
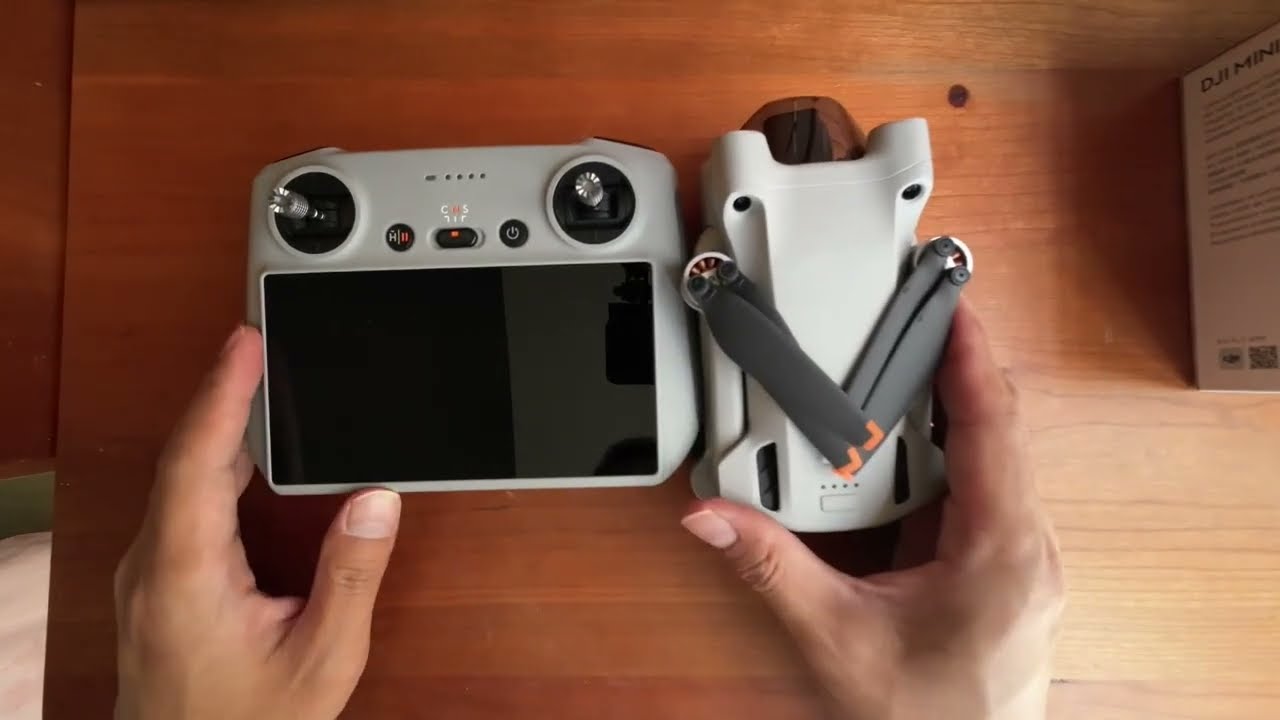
After installing the app, power on your DJI Mini 2 by pressing and holding the power button until you hear a chime. Make sure that the drone is placed on a flat surface and that the propellers are securely attached. Once the drone is powered on, open the DJI Fly app and follow the on-screen instructions to connect your mobile device to the drone’s Wi-Fi network.
Once the connection is established, you will be prompted to set up your DJI Mini 2. This involves naming your drone, selecting your preferred measurement units, and agreeing to the terms and conditions. Make sure to carefully read and understand the terms before proceeding.
Now that your DJI Mini 2 is set up, it’s time to register it. In the DJI Fly app, navigate to the “My Account” section and select “Register Aircraft.” You will need to provide some information, such as your drone’s serial number and the location where you will be operating it. Follow the prompts to complete the registration process.
Once you have submitted the registration details, you will receive a confirmation message. It is important to wait for this confirmation before proceeding. Afterward, you may be required to provide additional information or documents depending on the regulations in your area. Make sure to comply with all local laws and regulations to ensure a safe and legal operation of your DJI Mini 2.
Finally, you can verify the successful registration of your DJI Mini 2 by checking the status in the DJI Fly app. Navigate to the “My Account” section, select “Manage Aircraft,” and you should see your registered drone listed. This confirms that your DJI Mini 2 is properly registered and ready to be enjoyed.
Step 1: Creating a DJI Account
Before you can register your DJI Mini 2, you will need to create a DJI account if you don’t already have one. This account will serve as your gateway to accessing the various features and services provided by DJI. Here’s a step-by-step guide on how to create a DJI account.
- Open your preferred web browser and navigate to the DJI website. Look for the “Sign In” or “Register” button located in the top-right corner of the page and click on it.
- On the registration page, you will be presented with two options: “Register with email” or “Register with mobile.” Choose your preferred option and enter the necessary details, such as your email address or mobile number. Make sure to choose a strong password and follow any additional instructions provided.
- After entering your personal information, you may be prompted to verify your email address or mobile number. DJI will typically send a verification code to the email address or phone number you provided. Simply follow the instructions in the verification email or SMS to complete the verification process.
- Once your account is verified, you will be asked to provide some additional details, such as your name and country of residence. Fill in the required information accurately and click “Next” to proceed.
- At this point, you may be presented with the option to sign up for DJI newsletters and updates. It’s up to you whether you want to receive these communications or not. You can always change your preferences later in your account settings.
- Finally, review the DJI Terms of Service and Privacy Policy. It’s important to understand and agree to these terms before proceeding. Once you’ve read and accepted the terms, click on the “Register” or “Create Account” button to complete the account creation process.
Congratulations! You have now successfully created a DJI account. This account will not only allow you to register your DJI Mini 2 but also provide access to a range of features and services offered by DJI, such as firmware updates, customer support, and online communities. Remember to keep your account login information secure and easily accessible for future use.
Step 2: Installing the DJI Fly App
To register your DJI Mini 2 and unlock its full potential, you will need to install the DJI Fly app on your mobile device. The app acts as a control center, providing you with a range of features and settings to enhance your flying experience. Here’s a step-by-step guide on how to install the DJI Fly app.
- Open the app store on your mobile device. If you’re using an iOS device, such as an iPhone or iPad, open the App Store. For Android users, open the Google Play Store.
- In the search bar, type “DJI Fly” and tap on the search result that matches the official DJI Fly app developed by DJI Technology Co., Ltd.
- Once you’re on the app page, read the app description, reviews, and ratings to ensure that it meets your requirements. DJI Fly app is specifically designed for DJI Mini 2, so make sure you’re downloading the correct app.
- If you’re using an iOS device, tap on the “Get” or “Download” button, and if prompted, enter your Apple ID and password to authorize the download. For Android users, tap on the “Install” button and follow any additional prompts that may appear.
- After the installation is complete, locate the DJI Fly app icon on your home screen or app drawer and tap on it to launch the app.
- On the initial screen, you may be prompted to log in to your DJI account. Enter your account credentials and tap “Log In” to proceed. If you don’t have a DJI account yet, follow our previous guide on creating a DJI account.
- Once logged in, the app will guide you through the necessary steps to establish a connection between your DJI Mini 2 and your mobile device. This typically involves turning on the DJI Mini 2 and enabling Wi-Fi on your mobile device to connect to the drone’s network.
- Follow the on-screen instructions provided by the app to complete the connection process. Once the connection is established, you will have full access to the features and functionalities of the DJI Fly app, allowing you to control your DJI Mini 2 and perform tasks such as flight planning, camera settings, and more.
With the DJI Fly app installed on your mobile device, you’re one step closer to unlocking the full potential of your DJI Mini 2. This intuitive app provides you with a user-friendly interface and comprehensive controls, making it easy to navigate and control your drone. Make sure to keep the app updated to benefit from the latest features and improvements.
Step 3: Powering on the DJI Mini 2
Now that you have installed the DJI Fly app on your mobile device, it’s time to power on your DJI Mini 2 drone. Powering on the drone is a simple process, but it’s important to ensure that you follow the correct steps to avoid any issues. Here’s a step-by-step guide on how to power on your DJI Mini 2.
- Locate the power button on your DJI Mini 2 drone. The power button is usually located on the top or side of the drone, depending on the model.
- Before pressing the power button, make sure the drone is placed on a flat and stable surface. This ensures that the drone remains steady during the power-on process.
- Press and hold the power button until you hear a series of beeps or see the LED lights on the drone start to flash. This indicates that the drone is powering on.
- Once the drone is powered on, you may hear a chime or see the LED lights stabilize. This means that the drone has completed the power-on process and is ready to be connected to your mobile device.
- If your DJI Mini 2 drone has propellers, make sure they are securely attached before flying. Improperly attached propellers can lead to flight instability or even accidents. Follow the instructions provided by DJI to attach the propellers correctly.
- With the DJI Mini 2 powered on and propellers securely attached, you’re now ready to proceed to the next step, which is connecting the drone to your mobile device using the DJI Fly app.
Powering on your DJI Mini 2 is a crucial step before you can start enjoying the experience of flying and capturing stunning aerial shots. By following the steps outlined above, you ensure a safe and smooth power-on process. Always be mindful of your surroundings and adhere to safe flying practices when operating your DJI Mini 2.
Step 4: Connecting the DJI Mini 2 to Your Mobile Device
Once you have powered on your DJI Mini 2 drone, the next step is to establish a connection between the drone and your mobile device. This connection allows you to control the drone using the DJI Fly app and access its various features and settings. Here’s a step-by-step guide on how to connect the DJI Mini 2 to your mobile device.
- Open the DJI Fly app on your mobile device. If you haven’t installed the app yet, refer back to the previous section for instructions on how to install it.
- Make sure Wi-Fi is enabled on your mobile device. You can usually do this by swiping down from the top of your screen and tapping the Wi-Fi icon.
- On the app’s home screen, you will see a prompt to connect to the DJI Mini 2. Tap on the “Connect” or “Go Fly” button to initiate the connection process.
- A list of available Wi-Fi networks will appear. Look for the network name that corresponds to your DJI Mini 2 drone and tap on it to connect.
- After selecting the drone’s Wi-Fi network, your mobile device will establish a connection with the DJI Mini 2. This process may take a few seconds, depending on your device and network conditions. Be patient and wait for the connection to be established.
- Once the connection is established, the DJI Fly app will display a live video feed from the drone’s camera, along with various flight modes and settings. You are now ready to take control of your DJI Mini 2.
- It’s important to ensure that the connection between your mobile device and the DJI Mini 2 remains stable throughout your flight. Avoid flying in areas with strong Wi-Fi interference, such as near crowded Wi-Fi networks or power lines.
Congratulations! You have successfully connected your DJI Mini 2 to your mobile device. This connection allows you to control the drone, view the live video feed, and access the various features and settings offered by the DJI Fly app. Make sure to double-check the connection before taking flight and always prioritize safety and adherence to local regulations.
Step 5: Setting up the DJI Mini 2
Now that you have successfully connected your DJI Mini 2 drone to your mobile device, it’s time to set up the drone before taking it for a flight. The setup process involves a few essential configurations and adjustments to ensure optimal performance and safety. Here’s a step-by-step guide on how to set up your DJI Mini 2.
- On the DJI Fly app’s home screen, you will see a prompt to set up your DJI Mini 2. Tap on the “Set Up” or “Start Setup” button to begin.
- First, you will be prompted to give your drone a name. Choose a unique and easily identifiable name for your DJI Mini 2. This will help you distinguish it from other drones and devices in case you’re flying in a crowded area.
- Next, you will have the option to select your preferred measurement units. Choose between metric units (meters, kilometers) or imperial units (feet, miles) based on your personal preference or the appropriate units used in your location.
- The app will also ask for your permission to collect flight data. This data helps DJI improve their products and enhance the user experience. You can choose to enable or disable this feature based on your preference.
- At this stage, you will be presented with a summary of the settings you have chosen. Review the details to ensure accuracy, and if necessary, make any adjustments by tapping on the respective settings.
- Finally, before proceeding, you will need to agree to the DJI Terms and Conditions. Take the time to read these terms thoroughly and only proceed if you agree and understand the obligations and responsibilities outlined.
By completing the setup process, you have customized your DJI Mini 2 to your preferences and ensured that it is ready for a safe and enjoyable flight. Remember to familiarize yourself with the drone’s features and functionalities before taking it for a flight. Refer to the user manual and the DJI Fly app for further guidance on the available flight modes, camera settings, and other useful features.
Step 6: Registering the DJI Mini 2
Registering your DJI Mini 2 is an important step to ensure compliance with aviation regulations and to enjoy the full range of features and capabilities of your drone. By registering your drone, you contribute to safe skies and responsible drone operation. Here’s a step-by-step guide on how to register your DJI Mini 2.
- Open the DJI Fly app on your mobile device and log in to your DJI account. If you don’t have a DJI account yet, refer to our previous section on creating a DJI account.
- Once logged in, navigate to the “My Account” section in the app. This is usually represented by an icon or a menu option located at the bottom or top of the screen.
- In the “My Account” section, you will find an option labeled “Register Aircraft” or a similar phrase. Tap on this option to begin the drone registration process.
- You will be asked to provide information about your DJI Mini 2, such as its serial number. The serial number can usually be found on the drone’s body or packaging. Enter the required details accurately.
- Additionally, you may be asked to provide the location where you will be operating your drone. This information helps authorities track and manage drone flights in your area. Make sure to provide the correct and updated location details.
- Follow the on-screen prompts to review and confirm the registration information you have provided. Double-check for any errors and make corrections if necessary.
- After confirming the registration details, submit the information by tapping on the appropriate button or option. The app may display a confirmation message or provide further instructions regarding the registration process.
By completing the registration process, you have ensured that your DJI Mini 2 is registered and compliant with aviation regulations. This registration process varies depending on your location and the applicable laws and regulations. In some cases, you may be required to provide additional information or undergo further verification processes. Make sure to familiarize yourself with and adhere to the specific requirements and regulations in your area to ensure a safe and legal operation of your DJI Mini 2.
Step 7: Completing the Registration Process
After providing the necessary information and submitting your DJI Mini 2 registration details, there are a few additional steps to complete the registration process. These steps may vary depending on your location and the applicable regulations. Let’s take a look at how to complete the registration process for your DJI Mini 2.
- After submitting your registration information in the DJI Fly app, you may receive a confirmation message indicating that your registration request has been received. Take note of this confirmation message as it serves as proof of your registration.
- Depending on the regulations in your area, you may be required to provide additional information or documents to complete the registration process. Examples of additional information may include your contact details or your Remote Pilot Certificate.
- Ensure that you comply with all local laws and regulations relating to drone operation. Some areas require you to obtain permissions or authorizations before flying your DJI Mini 2 in specific locations.
- Take note of any registration numbers or identifiers assigned to your DJI Mini 2. These may need to be prominently displayed on your drone as required by local regulations.
- Stay informed about any updates or changes to the registration requirements in your area. Regulations surrounding drone operations are subject to change, so it’s important to stay up-to-date with any new rules or guidelines issued by relevant authorities.
- Keep a record of your DJI Mini 2 registration details, including any certificates or documents related to your drone. These records will serve as proof of compliance in case of any inspections or inquiries.
Completing the registration process for your DJI Mini 2 ensures that you are operating your drone legally and responsibly. By adhering to the registration requirements and complying with local laws, you contribute to the safe integration of drones into the airspace and help protect the privacy and safety of those around you. Remember to always stay informed about the regulations in your area and fly your DJI Mini 2 responsibly and respectfully.
Step 8: Verifying Successful DJI Mini 2 Registration
Once you have completed the registration process for your DJI Mini 2 drone, it’s important to verify that the registration was successful. Verifying the successful registration ensures that you are operating your drone in compliance with regulations and gives you peace of mind. Here’s a step-by-step guide on how to verify the successful registration of your DJI Mini 2.
- Open the DJI Fly app on your mobile device and log in to your DJI account if you haven’t done so already.
- Navigate to the “My Account” section within the app. Look for an icon or menu option that represents your account information.
- In the “My Account” section, you will find an option labeled “Manage Aircraft” or a similar phrase. Tap on this option to view your registered drone.
- If your DJI Mini 2 is successfully registered, it should be listed in the “Manage Aircraft” section of the app. Look for the name or identification of your DJI Mini 2 to verify its presence.
- Double-check the details of your registered drone, such as the serial number or any other unique identifiers. Ensure that the information matches the details you provided during the registration process.
- If you’re able to see your DJI Mini 2 listed in the “Manage Aircraft” section with accurate details, you can be confident that the registration process was successful.
- If you encounter any issues or discrepancies, such as not seeing your drone listed or incorrect registration details, verify that you have followed all the registration steps correctly. If the issue persists, contact DJI customer support for assistance.
Verifying the successful registration of your DJI Mini 2 is crucial to ensure compliance with regulations and to have a hassle-free flying experience. By confirming your registration status, you can fly your drone with confidence and peace of mind, knowing that you are adhering to the necessary requirements. Remember to keep a record of your registration details for future reference and stay up-to-date with any changes or updates to the registration process in your area.
Conclusion
Registering your DJI Mini 2 is an essential step in ensuring compliance with aviation regulations and unlocking the full potential of your drone. By following the step-by-step guide provided in this article, you can easily navigate through the registration process and enjoy a safe and responsible flying experience. Remember, compliance with local laws and regulations is paramount to ensure the safety of yourself, others, and the airspace.
Creating a DJI account, installing the DJI Fly app, powering on the DJI Mini 2, connecting it to your mobile device, setting it up, registering it, completing the registration process, and verifying the successful registration are the key steps to adhere to. Each step is designed to guide you through the process seamlessly, giving you the confidence to fly your DJI Mini 2 within legal and ethical boundaries.
Keep in mind that regulations and requirements may vary depending on your location. It’s crucial to stay informed and updated on the specific rules and regulations in your area to ensure a safe and enjoyable drone flying experience.
By properly registering your DJI Mini 2 and operating it responsibly, you contribute to the overall safety and acceptance of drones in society. Remember to respect the privacy and safety of others, fly in designated areas, and always follow best practices for drone operation.
So go ahead, register your DJI Mini 2, and embark on exciting aerial adventures while embracing the thrilling world of drone flying!


