Introduction
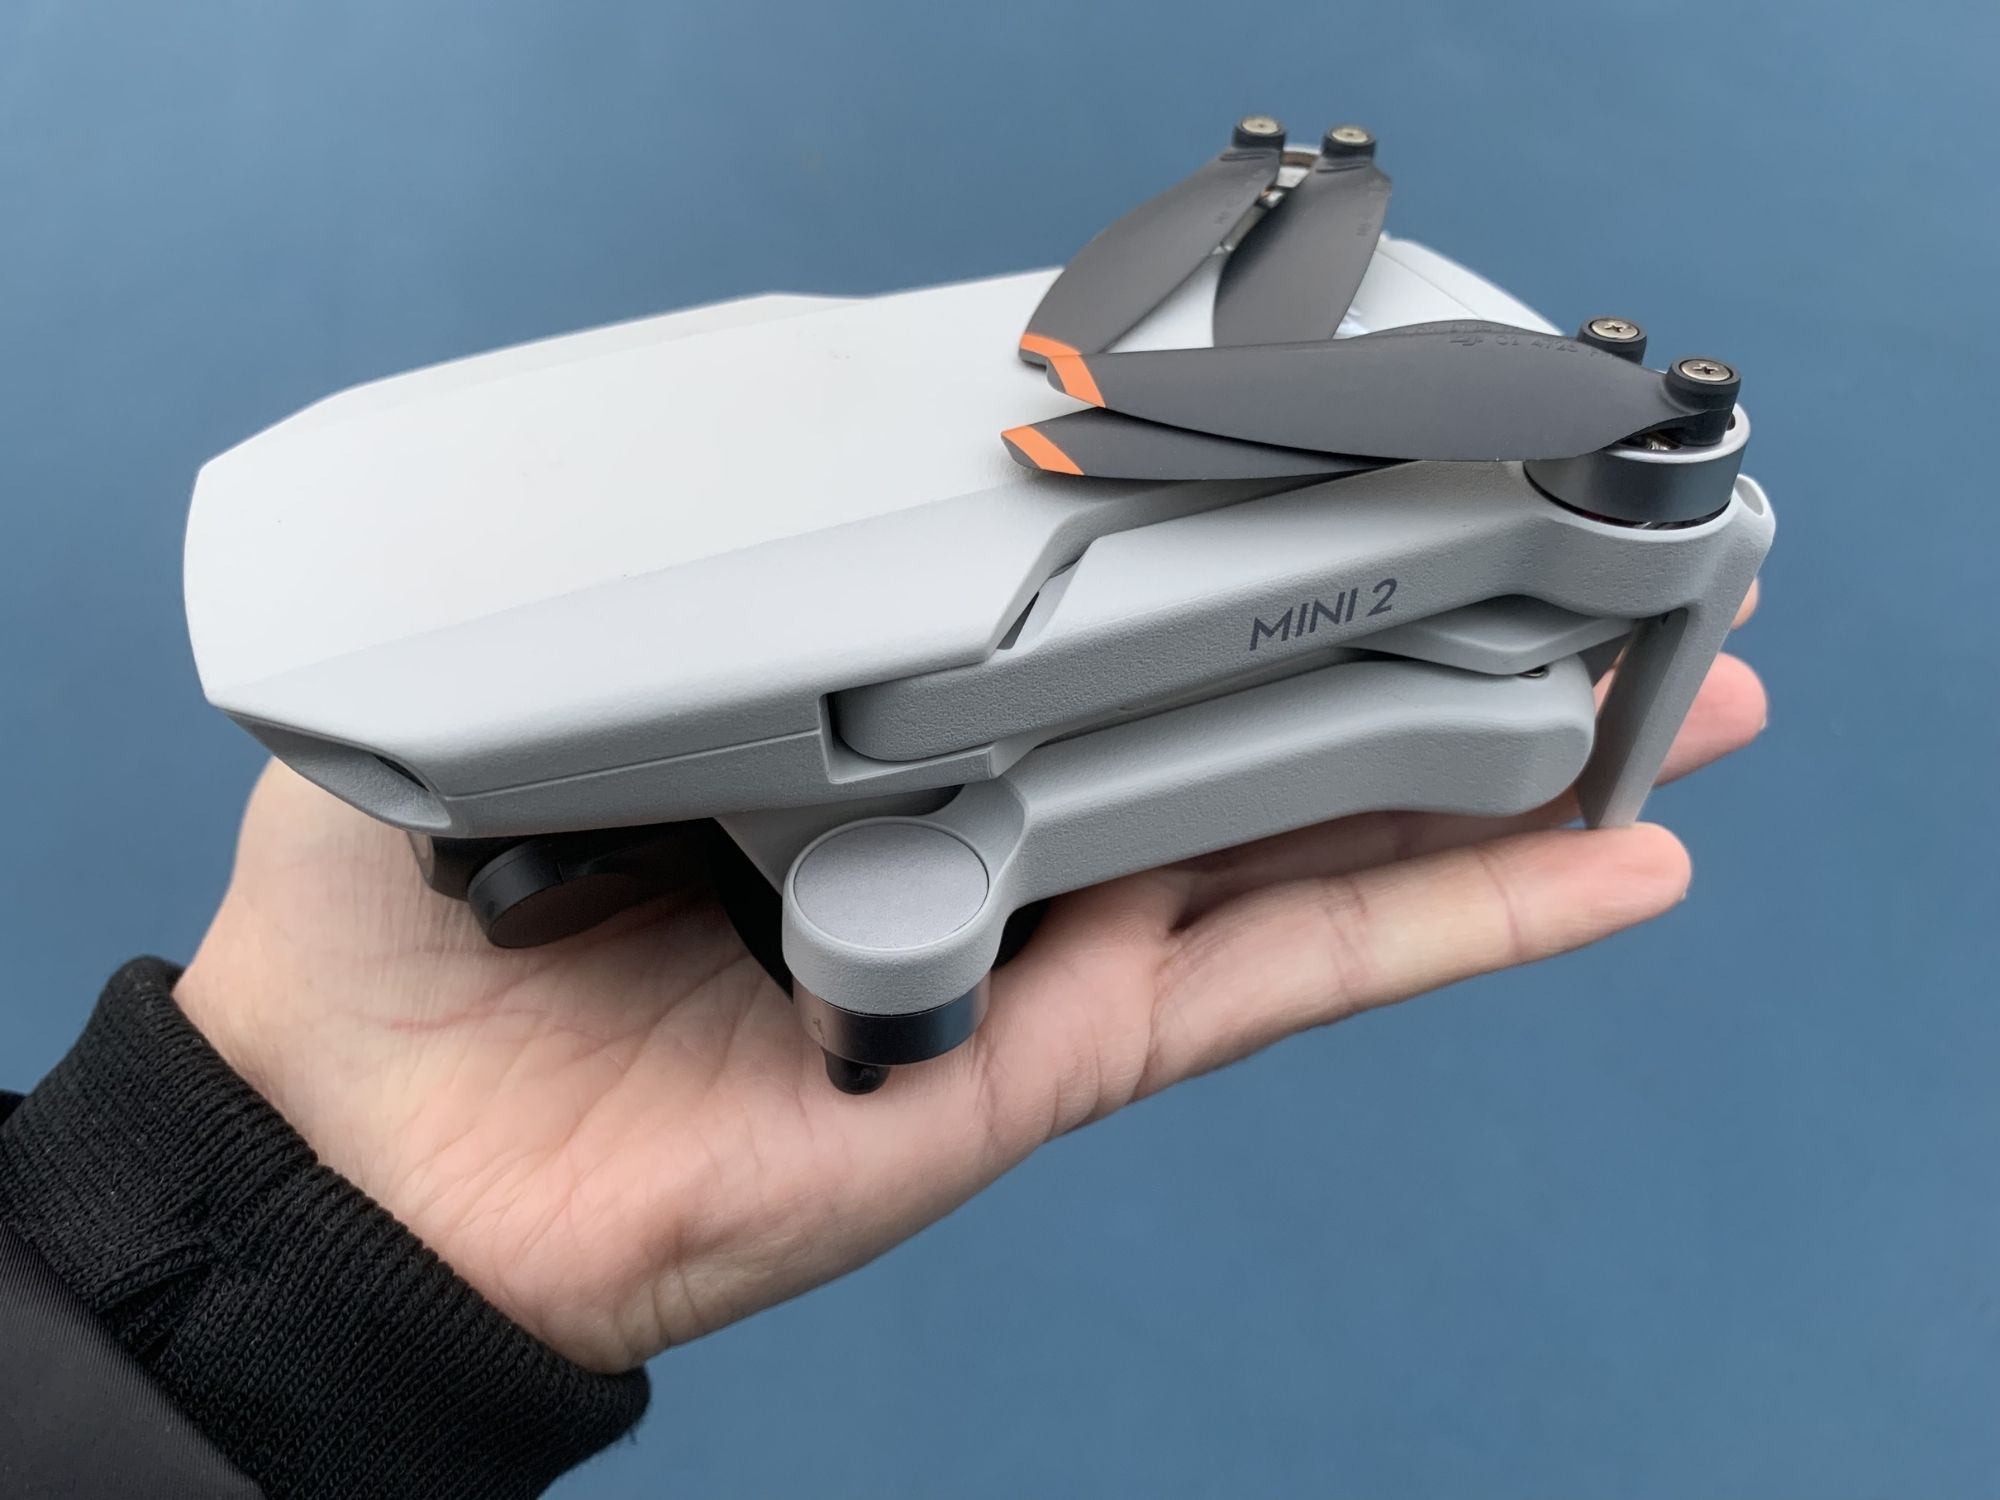
Welcome to our guide on how to downgrade DJI Mini 2 firmware. DJI Mini 2 is a popular drone among aerial photography enthusiasts for its compact size, advanced features, and high-quality imagery. Firmware updates are essential to ensure optimal performance and to access the latest features. However, there may be instances where you may want to downgrade the firmware due to compatibility issues, stability concerns, or personal preference.
Downgrading the firmware on the DJI Mini 2 can be a relatively straightforward process when done correctly. In this guide, we will walk you through the steps required to safely downgrade the firmware on your DJI Mini 2. We will provide detailed instructions and tips to help you navigate through the process with ease.
Please note that downgrading the firmware should only be done if you have a specific reason to do so. It is generally recommended to keep your drone’s firmware up to date to benefit from improved performance, enhanced features, and bug fixes. However, in certain scenarios, such as experiencing compatibility issues with third-party accessories or noticing stability problems with the latest firmware, downgrading may be a viable solution.
Before proceeding with the downgrade, it is crucial to understand the risks involved. Downgrading the firmware can potentially introduce new issues or limit the drone’s functionality. It is important to carefully evaluate your situation and determine if downgrading is the best course of action for your specific needs.
In the following sections, we will provide step-by-step instructions and precautions to ensure a smooth and successful firmware downgrade process. It is recommended to read through the entire guide before proceeding to familiarize yourself with the steps involved and to ensure you have all the necessary tools and resources.
Preparing for the Downgrade
Before starting the firmware downgrade process for your DJI Mini 2, there are a few essential steps you need to take to ensure a successful downgrade. These preparations will help minimize the risk of encountering any issues during the process. Let’s dive into the necessary preparations:
- Backup Files: It is crucial to back up any important files stored on your DJI Mini 2 before proceeding with the firmware downgrade. This includes photos, videos, flight logs, and any other data you want to preserve. Connect your drone to your computer and copy all the files to a separate location to avoid losing any valuable data.
- Battery Level: Ensure that your DJI Mini 2 has a fully charged battery or a battery with sufficient charge to complete the downgrade process. A low battery level may interrupt the firmware installation and potentially cause issues. It is recommended to have at least 50% battery life to be on the safe side.
- Stable Internet Connection: You will need a stable and reliable internet connection during the firmware downgrade process. Having a stable connection ensures that the necessary files are downloaded correctly and that the downgrade process runs smoothly without any interruptions.
- Disable Anti-Virus and Firewall: To prevent any interference during the firmware downgrade, it is advisable to temporarily disable your computer’s anti-virus software and firewall. These security measures can sometimes block the installation process, so disabling them temporarily will eliminate any potential conflicts.
- Check System Requirements: Ensure that your computer meets the minimum system requirements for the DJI Assistant 2 software. The DJI Assistant 2 is a crucial tool for the firmware downgrade process. Check the official DJI website for the recommended system specifications to ensure compatibility.
By following these preparations, you will minimize the risk of running into any issues during the firmware downgrade process. Backup your files, charge your battery, ensure a stable internet connection, disable security software temporarily, and confirm the system requirements before proceeding.
Downloading the Older Firmware Version
Once you have completed the necessary preparations, the next step in downgrading the firmware of your DJI Mini 2 is to obtain the older firmware version that you want to install. Here’s how you can download the older firmware version:
- Visit the DJI Website: Go to the official DJI website and navigate to the DJI Mini 2 support page. Look for the “Downloads” or “Firmware” section.
- Check Firmware History: In the firmware section, you will find a list of available firmware versions. Take note of the version number and release date of the firmware that you want to downgrade to.
- Download the Firmware: Look for the corresponding firmware version that matches the one you want to install. Click on the download link to begin downloading the firmware file to your computer.
- Save the Firmware File: Once the firmware file is downloaded, save it in a location on your computer where you can easily access it. It is recommended to create a specific folder for firmware files to keep them organized.
It’s important to note that DJI periodically releases updates to their firmware to improve performance, add features, and fix bugs. Therefore, it is essential to choose an older firmware version that is compatible with your specific needs and requirements. Be sure to check the release notes and firmware history to determine which version is compatible with your specific situation.
By following these steps, you will be able to download the older firmware version you wish to install on your DJI Mini 2. Once the firmware file is saved on your computer, you can proceed to the next steps in the firmware downgrade process.
Connecting the DJI Mini 2 to Your Computer
Now that you have downloaded the older firmware version for your DJI Mini 2, the next step is to connect your drone to your computer. This connection is necessary to initiate the firmware downgrade process. Here’s how you can connect your DJI Mini 2 to your computer:
- Power Off Your Drone: Make sure your DJI Mini 2 is powered off before connecting it to your computer. This step ensures a safe and stable connection.
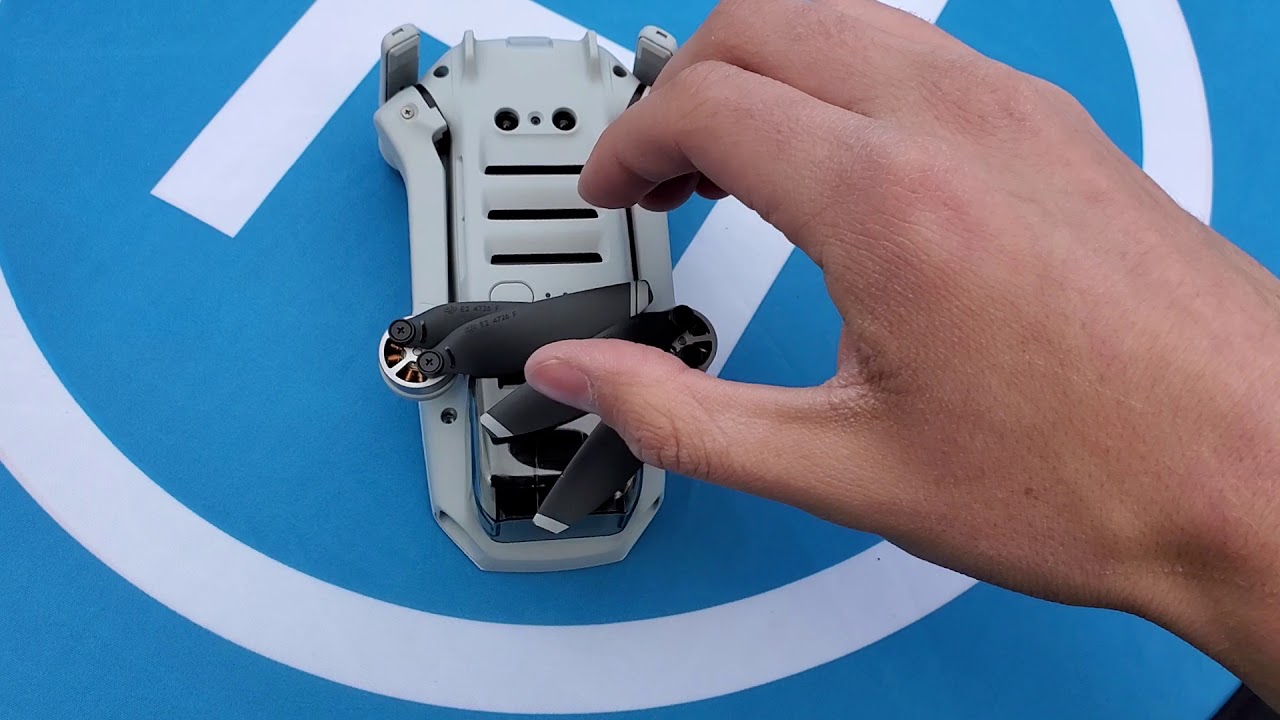
- Locate the USB Port: On the drone’s body, locate the USB port, which is usually found underneath a rubber cover. Carefully remove the cover to reveal the USB port.
- Use a USB Cable: Connect one end of a USB cable to the USB port on your DJI Mini 2. Take the other end of the cable and connect it to an available USB port on your computer.
- Turn on Your Drone: Once the DJI Mini 2 is connected to your computer, power it on by pressing and holding the power button until the LED lights illuminate. The drone should now be in a ready-to-connect state.
- Wait for Device Recognition: Your computer should detect the DJI Mini 2 as a connected device. Wait for a few moments as the computer recognizes the drone and establishes a connection.
It’s important to ensure that you are using a high-quality USB cable capable of data transfer to establish a reliable connection between your DJI Mini 2 and your computer. Additionally, make sure that your computer has the necessary USB drivers installed to recognize the connected device.
By following these steps, you will be able to connect your DJI Mini 2 to your computer in preparation for the firmware downgrade process. Once the connection is established, you can proceed to the next steps to initiate the firmware update mode and begin the downgrade process.
Putting the DJI Mini 2 into Firmware Update Mode
In order to downgrade the firmware of your DJI Mini 2, you need to put the drone into firmware update mode. This mode allows the firmware on the drone to be updated or downgraded. Follow these steps to enter firmware update mode:
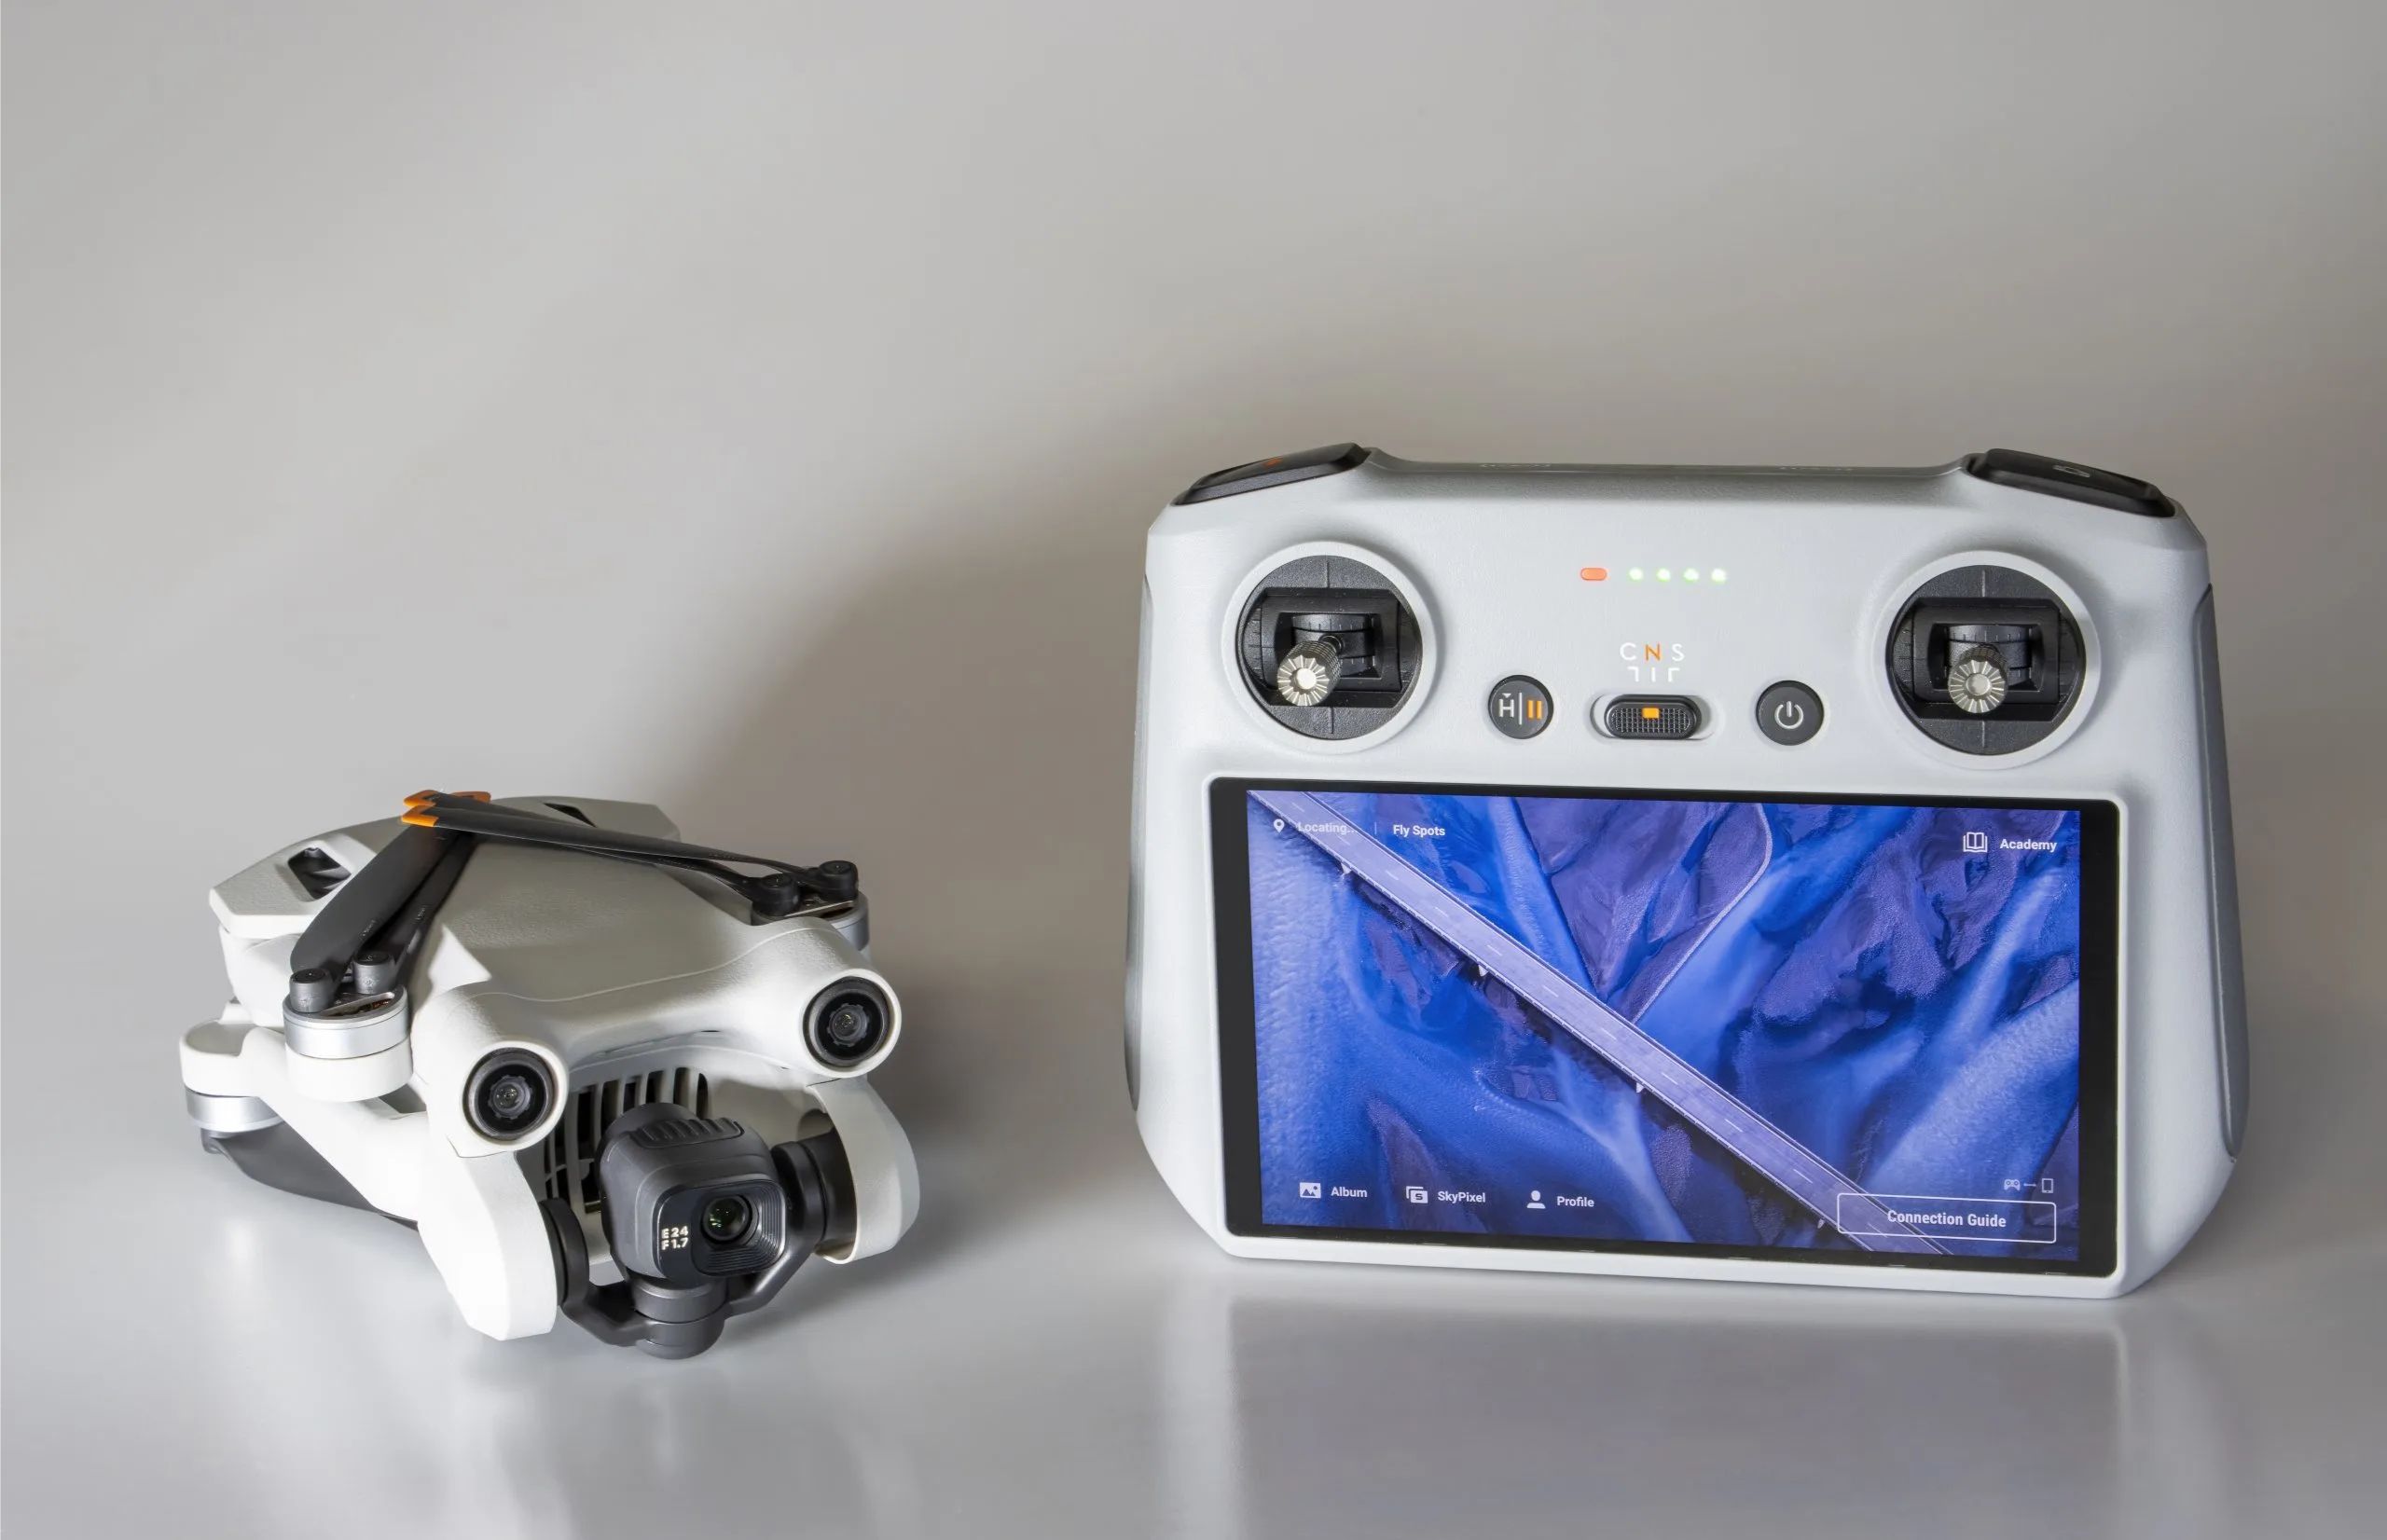
- Launch DJI Assistant 2: Open the DJI Assistant 2 software on your computer. If you haven’t installed it, you can download it from the DJI website and follow the installation instructions.
- Connect the DJI Mini 2 to Your Computer: Ensure that your DJI Mini 2 is connected to your computer via the USB cable as described in the previous section.
- Power On the DJI Mini 2: Press the power button on your DJI Mini 2 to power it on. Make sure it remains connected to the computer throughout the process.
- Select Your Device: In the DJI Assistant 2 software, you should see a list of connected devices. Select your DJI Mini 2 from the list to establish a connection.
- Navigate to Device Information: Once connected, navigate to the “Device Information” section in the DJI Assistant 2 software. This section will display the current firmware version installed on your DJI Mini 2.
- Enable Firmware Update Mode: To enter firmware update mode, look for the option to enable it in the DJI Assistant 2 software. The specific location and wording may vary depending on the software version, but it is usually found in the device information section. Follow the on-screen prompts to enable firmware update mode.
Once you have successfully enabled firmware update mode, your DJI Mini 2 will be ready to receive the downgraded firmware. The drone will remain in this mode until the firmware downgrade process is completed.
It’s important to note that during the firmware update mode, the DJI Mini 2 will not be available for flight. Ensure that you do not disturb or disrupt the connection between the drone and the computer during the downgrade process to avoid any issues.
Now that you have entered firmware update mode on your DJI Mini 2, you can proceed to the next section to learn how to use the DJI Assistant 2 software to downgrade the firmware.
Using DJI Assistant 2 to Downgrade the Firmware
Once your DJI Mini 2 is in firmware update mode, you can proceed with using the DJI Assistant 2 software to downgrade the firmware. The DJI Assistant 2 provides a user-friendly interface that allows you to easily manage and update the firmware on your drone. Follow these steps to downgrade the firmware using DJI Assistant 2:
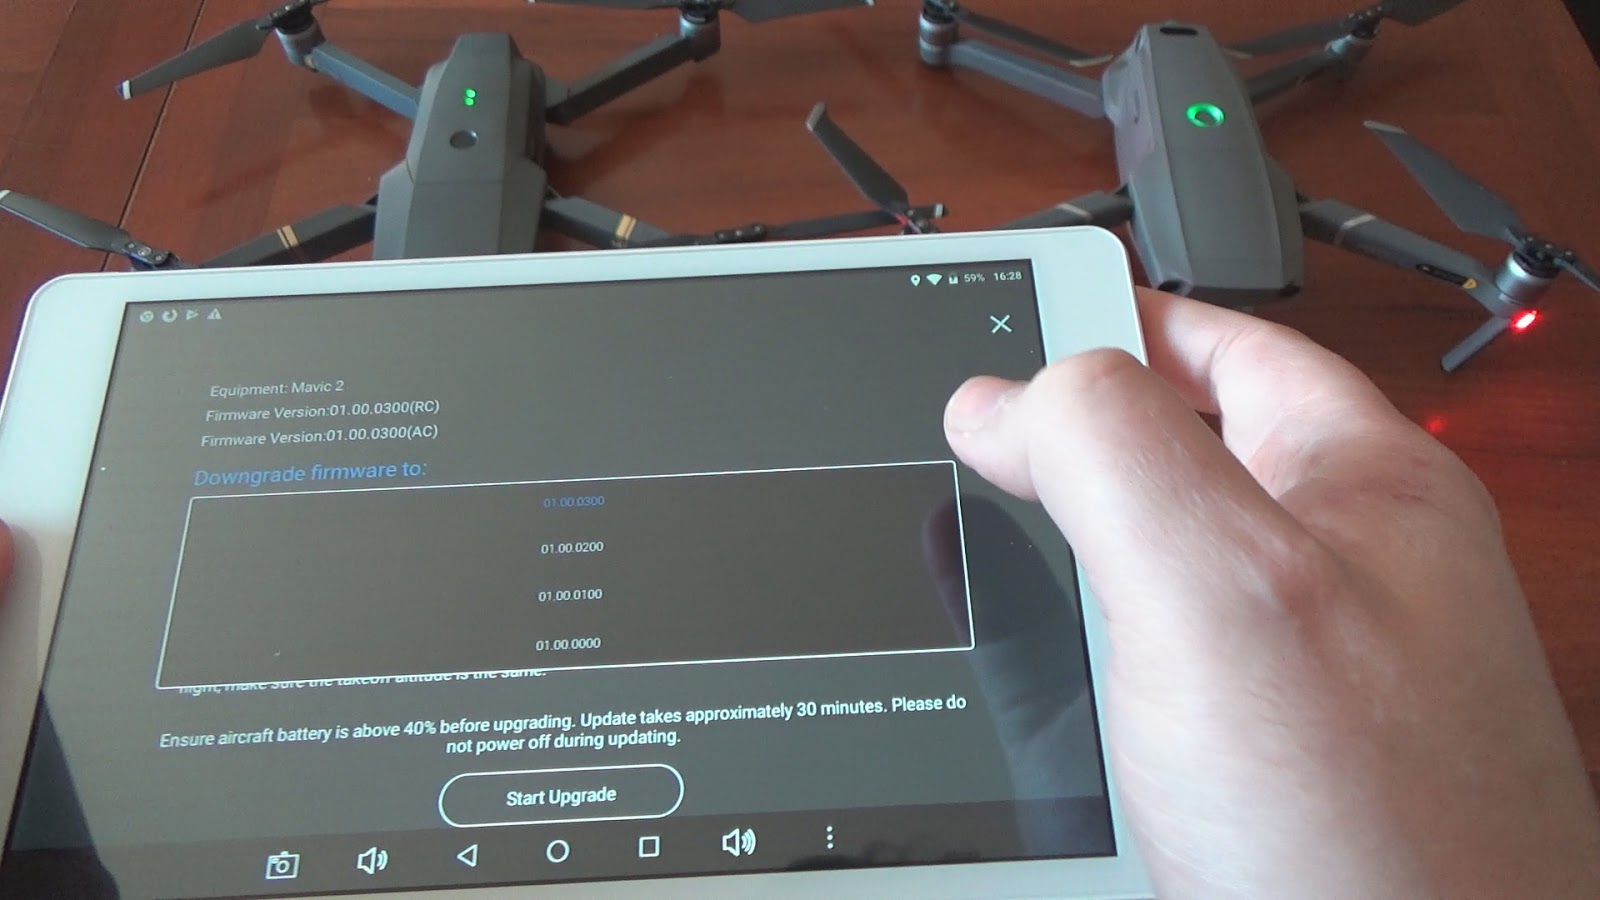
- Select the Firmware: In the DJI Assistant 2 software, navigate to the “Firmware Update” or “Firmware Upgrade” section. Look for the option to select the firmware file you previously downloaded. Browse your computer and locate the firmware file, then select it.
- Verify the Firmware: After selecting the firmware file, the DJI Assistant 2 will automatically verify the file to ensure its compatibility and integrity. Wait for the verification process to complete before proceeding.
- Start the Downgrade: Once the firmware file is verified, click on the “Start Update” or “Start Upgrade” button in the DJI Assistant 2 software. This will initiate the firmware downgrade process.
- Follow On-Screen Prompts: During the firmware downgrade process, the DJI Assistant 2 software will display on-screen prompts and progress indicators. Follow these instructions carefully and allow the software to complete the downgrade process.
- Wait for Completion: The firmware downgrade process may take some time to complete, depending on the size of the firmware file and the speed of your computer. Be patient and avoid interrupting the process to ensure a successful downgrade.
- Confirm Downgrade: Once the firmware downgrade process is complete, the DJI Assistant 2 software will display a confirmation message. Double-check the firmware version displayed on your DJI Mini 2 to verify that the downgrade was successful.
It’s important to note that once the firmware downgrade is complete, it may not be possible to revert to the latest version without performing a separate firmware update. Therefore, it is recommended to only downgrade the firmware if you have a specific reason to do so.
By following these steps and using the DJI Assistant 2 software, you can easily downgrade the firmware on your DJI Mini 2. Once the downgrade is complete, you can proceed to the next steps to ensure the compatibility and functionality of the downgraded firmware.
Checking Firmware Versions and Compatibility
After downgrading the firmware of your DJI Mini 2, it is important to double-check the firmware versions and ensure that the downgrade was successful. Additionally, it is crucial to verify the compatibility of the downgraded firmware with your drone’s hardware and any accessories you may use. Here are the steps to check firmware versions and compatibility:
- Access Device Information: Launch the DJI Assistant 2 software and connect your DJI Mini 2 to your computer following the steps mentioned earlier. Navigate to the “Device Information” section in the software.
- Verify Firmware Version: In the “Device Information” section, you should see the firmware version displayed for your DJI Mini 2. Compare this version with the older firmware version you intended to downgrade to. Ensure that the displayed firmware version matches the downgraded firmware version.
- Check Release Notes: Review the release notes or documentation for the downgraded firmware version to understand its features, improvements, and any known issues. This will provide valuable information to determine if the downgraded firmware meets your requirements.
- Confirm Compatibility: Verify that the downgraded firmware is compatible with your DJI Mini 2 and any third-party accessories you may use. Check for any compatibility notes or warnings provided by DJI to ensure that the downgraded firmware does not cause any issues or limitations with your drone’s hardware or accessories.
- Perform Functionality Tests: After confirming the firmware version and compatibility, it is recommended to perform functionality tests on your DJI Mini 2. Test various features, such as camera functionality, flight stability, GPS accuracy, and any other functions important to your specific needs. This will help ensure that the downgraded firmware is functioning properly and meets your expectations.
By carefully checking the firmware versions, verifying compatibility, and performing functionality tests, you can ensure that the downgraded firmware is successfully installed on your DJI Mini 2 and functioning as intended.
It’s important to note that firmware updates and downgrades can sometimes introduce unforeseen issues. If you encounter any unexpected problems or limitations with the downgraded firmware, consider updating to the latest firmware or seeking assistance from DJI’s support channels to address the issues.
Now that you have confirmed the firmware versions and checked compatibility, you can continue using your DJI Mini 2 with the downgraded firmware installed.
Safely Disconnecting the DJI Mini 2 from Your Computer
Once you have completed the firmware downgrade process and have confirmed the compatibility and functionality of the downgraded firmware on your DJI Mini 2, it is important to safely disconnect the drone from your computer. Safely disconnecting ensures that all data is properly saved, and that there is no risk of damaging the drone or interfering with its firmware. Follow these steps to safely disconnect your DJI Mini 2 from your computer:
- Quit the DJI Assistant 2 Software: Before disconnecting your DJI Mini 2, make sure to close the DJI Assistant 2 software on your computer. This ensures that all processes are successfully completed and no active connections remain.
- Eject the Device: In your computer’s file explorer (such as Windows Explorer or Finder), locate the connected DJI Mini 2. Right-click on it or use the appropriate eject/undock option to safely eject the device. This ensures that any pending read/write operations are completed and that all data is properly saved.
- Power Off the DJI Mini 2: Press and hold the power button on your DJI Mini 2 until the LED lights turn off. This safely powers off the drone and prepares it for disconnection.
- Disconnect the USB Cable: Gently disconnect the USB cable from both your DJI Mini 2 and your computer. Take care not to apply excessive force or damage the USB port on the drone or the computer.
It’s important to follow these steps to avoid any data corruption, damage to the drone or computer, or interference with the firmware. Taking the time to safely disconnect your DJI Mini 2 ensures a smooth transition from the firmware downgrade process back to normal operation.
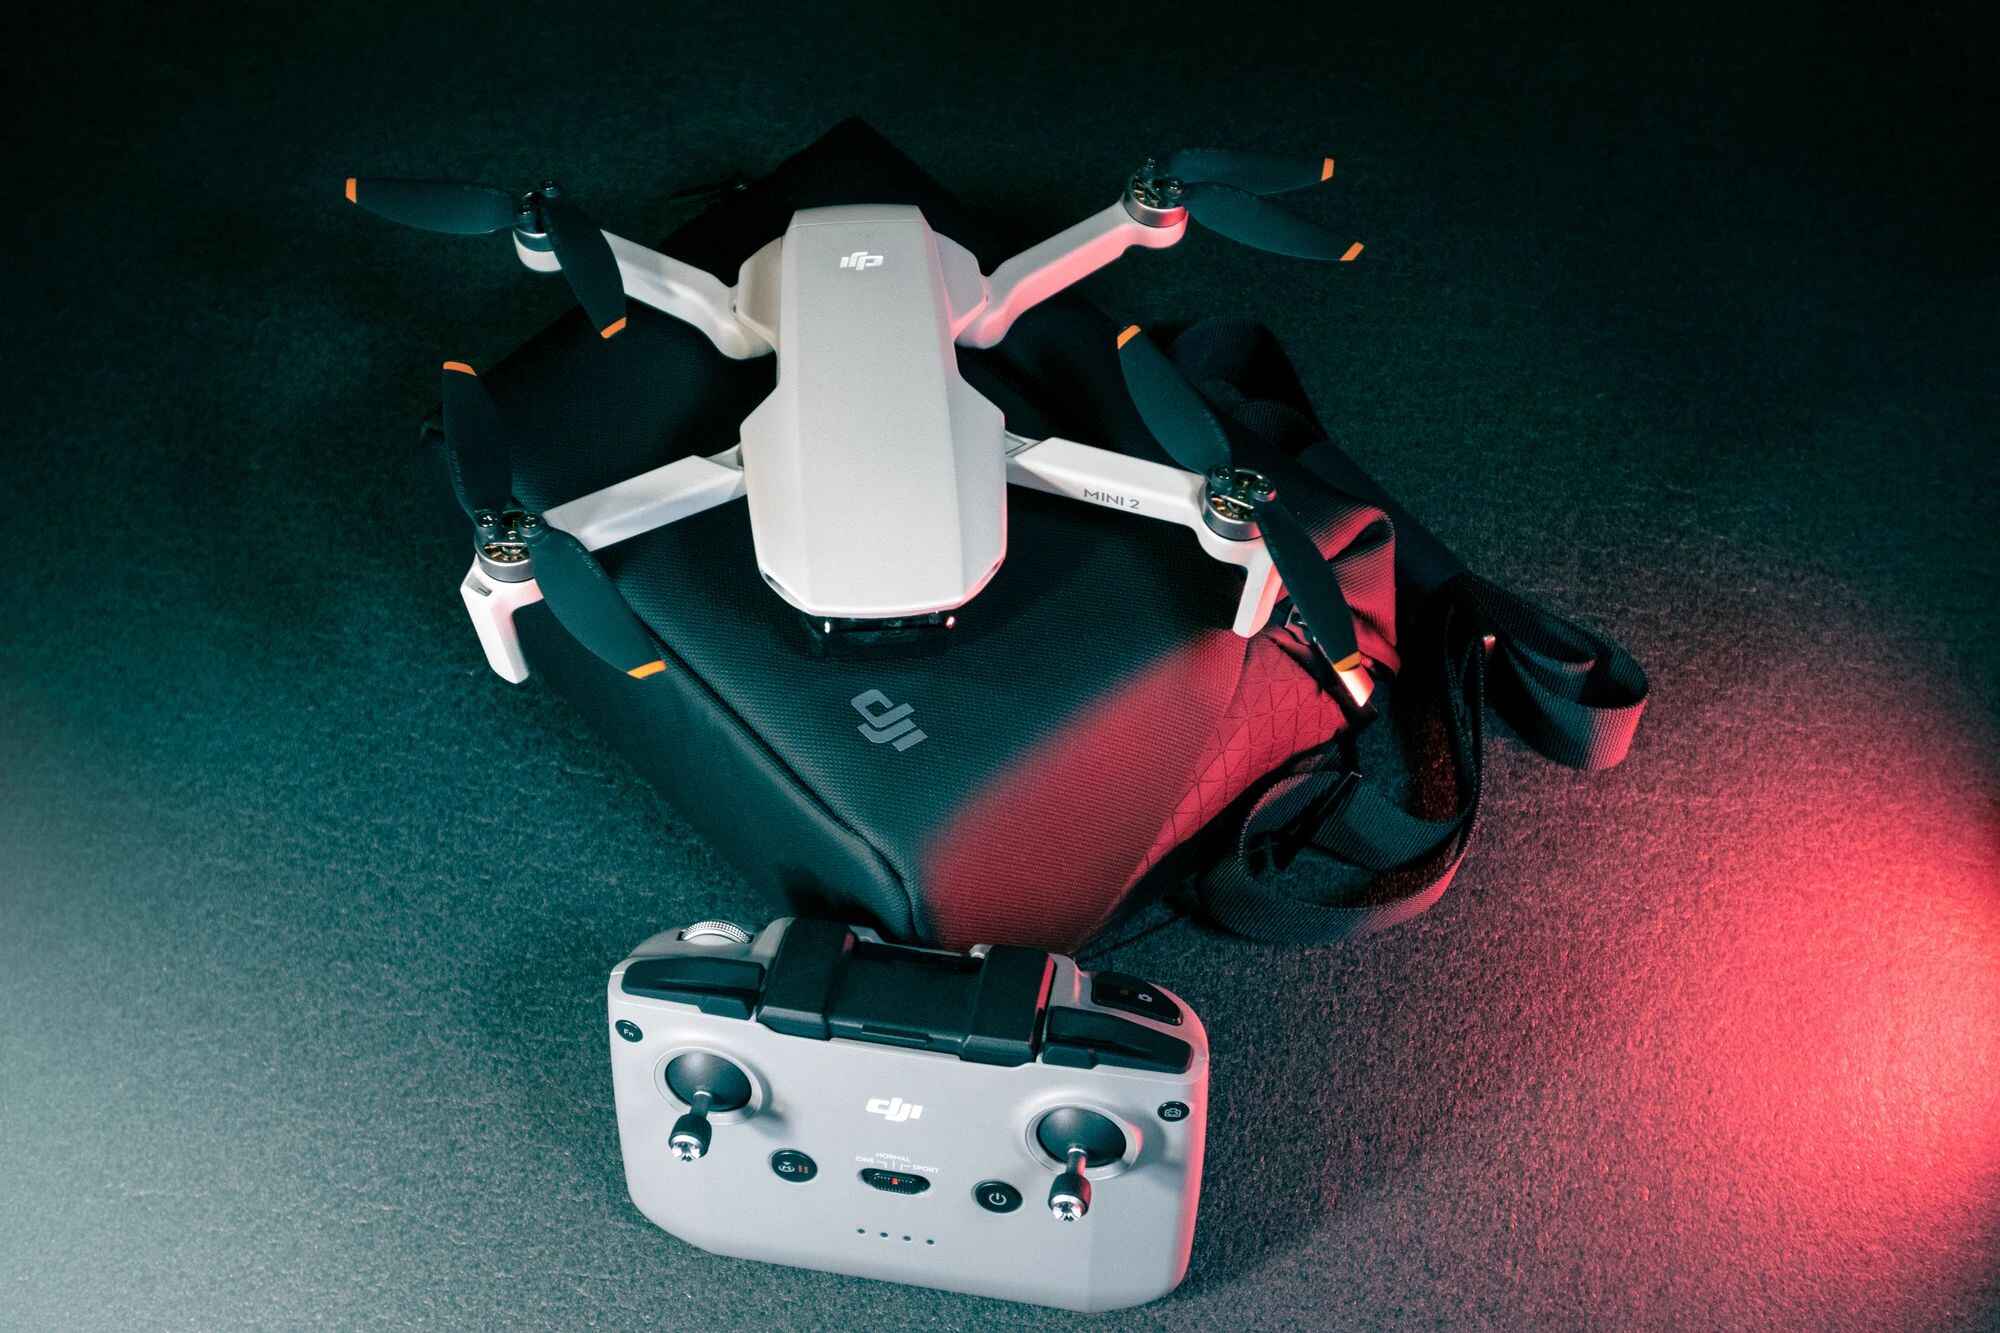
After safely disconnecting your DJI Mini 2, you can prepare it for your next flight. Make sure the battery is adequately charged, the propellers are securely attached, and all accessories are properly installed. Enjoy exploring the skies with your DJI Mini 2, now equipped with the downgraded firmware.
Completing the Firmware Downgrade Process
Once you have successfully downgraded the firmware of your DJI Mini 2 and have safely disconnected it from your computer, it is important to complete the final steps of the firmware downgrade process. These steps will ensure that the firmware downgrade is fully implemented and that your drone is ready for use. Follow these guidelines to complete the firmware downgrade process:
- Power On the DJI Mini 2: Press the power button on your DJI Mini 2 to turn it on. Confirm that the LED lights illuminate and that the drone successfully powers up.
- Calibrate Sensors: After powering on the drone, it is recommended to calibrate the sensors, such as the compass and IMU (Inertial Measurement Unit). This step ensures accurate flight performance and stability. Refer to the DJI Mini 2 manual or online resources for instructions on sensor calibration.
- Configure Settings: Access the settings menu on your DJI Mini 2 to customize various parameters according to your preferences. Double-check that all settings are properly adjusted, including camera settings, flight modes, and geofencing restrictions.
- Perform a Test Flight: Before using your DJI Mini 2 for any critical purposes, it is recommended to perform a test flight in a safe and open area. During the test flight, observe and evaluate the performance of the drone, including its flight stability, maneuverability, and camera functionality. Pay close attention to any potential issues or abnormalities.
- Monitor Performance: After completing the test flight, continue monitoring the performance of your DJI Mini 2 during subsequent flights. Be attentive to any unexpected behavior or performance issues that may arise. If you encounter any problems or concerns, consult the official DJI support channels for assistance.
Completing these steps ensures that the firmware downgrade process is fully implemented and that your DJI Mini 2 is ready for use with the downgraded firmware. It is important to regularly check for any firmware updates released by DJI to stay up to date with performance improvements, bug fixes, and new features for your drone.
Remember to fly your DJI Mini 2 responsibly, adhering to local laws and regulations, maintaining a safe distance from people and property, and respecting privacy. Enjoy the exciting world of aerial photography and exploration with your DJI Mini 2!
Testing the Downgraded Firmware
After completing the firmware downgrade process on your DJI Mini 2, it is crucial to thoroughly test the downgraded firmware to ensure its performance and functionality. Proper testing will help you determine if the downgraded firmware meets your expectations and addresses any compatibility or stability issues you may have experienced. Here are some steps to effectively test the downgraded firmware:
- Flight Performance: Take your DJI Mini 2 for a flight and assess its overall flight performance. Pay attention to factors such as stability, responsiveness, and maneuverability. Check if the downgraded firmware delivers the desired flight experience and if it resolves any previous issues you encountered.
- Camera Functionality: Test the camera functions of your DJI Mini 2, including capturing photos and recording videos. Verify if the downgraded firmware supports all camera features and settings while producing high-quality imagery.
- Autonomous Flight Modes: If your DJI Mini 2 offers autonomous flight modes such as ActiveTrack or QuickShots, test these features with the downgraded firmware to ensure they operate correctly. Confirm that the drone maintains stable flight and accurately follows subjects or performs pre-programmed flight patterns.
- GPS and Navigation: Evaluate the effectiveness of GPS positioning and navigation capabilities with the downgraded firmware. Check if the drone accurately registers its location, follows waypoints, and maintains a stable hover.
- Battery Efficiency: Observe how the downgraded firmware affects the battery life and power management of your DJI Mini 2. Assess if there are any noticeable improvements or changes in the drone’s energy consumption.
- Usability and Interface: Evaluate the user interface and usability of the DJI Mini 2 with the downgraded firmware. Confirm that all menu options, settings, and controls are accessible and functional.
While testing the downgraded firmware, take note of any issues, improvements, or changes you observe. Document your findings and compare them with your expectations and previous experiences with the drone. This feedback will help you assess the effectiveness of the firmware downgrade and its impact on your DJI Mini 2’s performance.
If you encounter any unexpected issues or notice a significant decrease in performance or functionality with the downgraded firmware, consider reverting to the original firmware or contacting DJI support for assistance.
By thoroughly testing the downgraded firmware, you can ensure that your DJI Mini 2 is operating optimally with the chosen firmware version and that it successfully addresses any concerns or compatibility issues you had with the previous firmware.
Troubleshooting Common Issues
While downgrading the firmware of your DJI Mini 2, you may encounter some common issues that can hinder the process or affect the performance of your drone. It’s important to be aware of these issues and have some troubleshooting strategies in place to address them. Here are some common problems you may encounter and their potential solutions:
- Connection Issues: If you experience difficulties connecting your DJI Mini 2 to the DJI Assistant 2 software, ensure that both the drone and the computer are properly powered on. Double-check all cable connections and ensure that you are using a compatible USB cable. Try connecting to a different USB port or restarting your computer if the issue persists.
- Firmware Verification Failure: If the DJI Assistant 2 software fails to verify the downloaded firmware, double-check that you have downloaded the correct firmware version for your DJI Mini 2 model. Verify that the downloaded file is not corrupted. If the issue persists, try redownloading the firmware and repeating the verification process.
- Failed Firmware Update: If the firmware downgrade process fails to complete or encounters an error, ensure that you have followed all the necessary steps correctly. Restart both your DJI Mini 2 and your computer, then try initiating the firmware update again. If the issue persists, consult the official DJI support channels for further guidance.
- Incompatibility with Accessories: If you notice that the downgraded firmware is not compatible with certain accessories or third-party add-ons, consult the documentation or support resources for those accessories. Check for any firmware updates or compatibility notes provided by the manufacturers. Consider reaching out to DJI support for assistance in resolving compatibility issues.
- Performance Issues: If you experience performance issues with the downgraded firmware, such as reduced flight stability or camera malfunctions, check if there are any firmware updates specific to those components. Ensure that the downgraded firmware version is suitable for your drone model and hardware specifications. Consider updating to a different firmware version if necessary.
If you encounter any other issues or problems that are not addressed here, it is recommended to consult the DJI support channels, such as online forums, support articles, or contacting their customer support directly. They can provide specific guidance and troubleshooting instructions tailored to your situation.
Remember to exercise caution and follow official guidelines when attempting any troubleshooting processes. Mishandling firmware updates or other technical procedures can result in permanent damage to your DJI Mini 2 or void your warranty.
By being aware of these common issues and their potential solutions, you can effectively troubleshoot and address any problems that may arise during the firmware downgrade process for your DJI Mini 2.
Conclusion
Congratulations on successfully completing the firmware downgrade process for your DJI Mini 2! By following the steps outlined in this guide and taking necessary precautions, you have downgraded the firmware to an older version that better meets your needs and resolves any compatibility or stability issues you may have encountered.
Throughout the process, you learned how to prepare for the downgrade, download the older firmware version, connect your DJI Mini 2 to your computer, enter firmware update mode, and use DJI Assistant 2 to downgrade the firmware. You also learned about the importance of checking firmware versions and compatibility, safely disconnecting the drone from your computer, completing the firmware downgrade process, testing the downgraded firmware, and troubleshooting common issues that may arise.
While downgrading firmware can be a beneficial solution in certain situations, it’s essential to carefully evaluate your specific needs and the potential risks involved. Always be mindful of the latest firmware updates and consider updating to newer versions if they offer bug fixes, performance enhancements, or new features that may enhance your drone’s capabilities.
Lastly, remember to fly your DJI Mini 2 responsibly, adhere to local regulations, and prioritize safety at all times. Enjoy exploring the skies and capturing stunning aerial footage with your DJI Mini 2!