Introduction
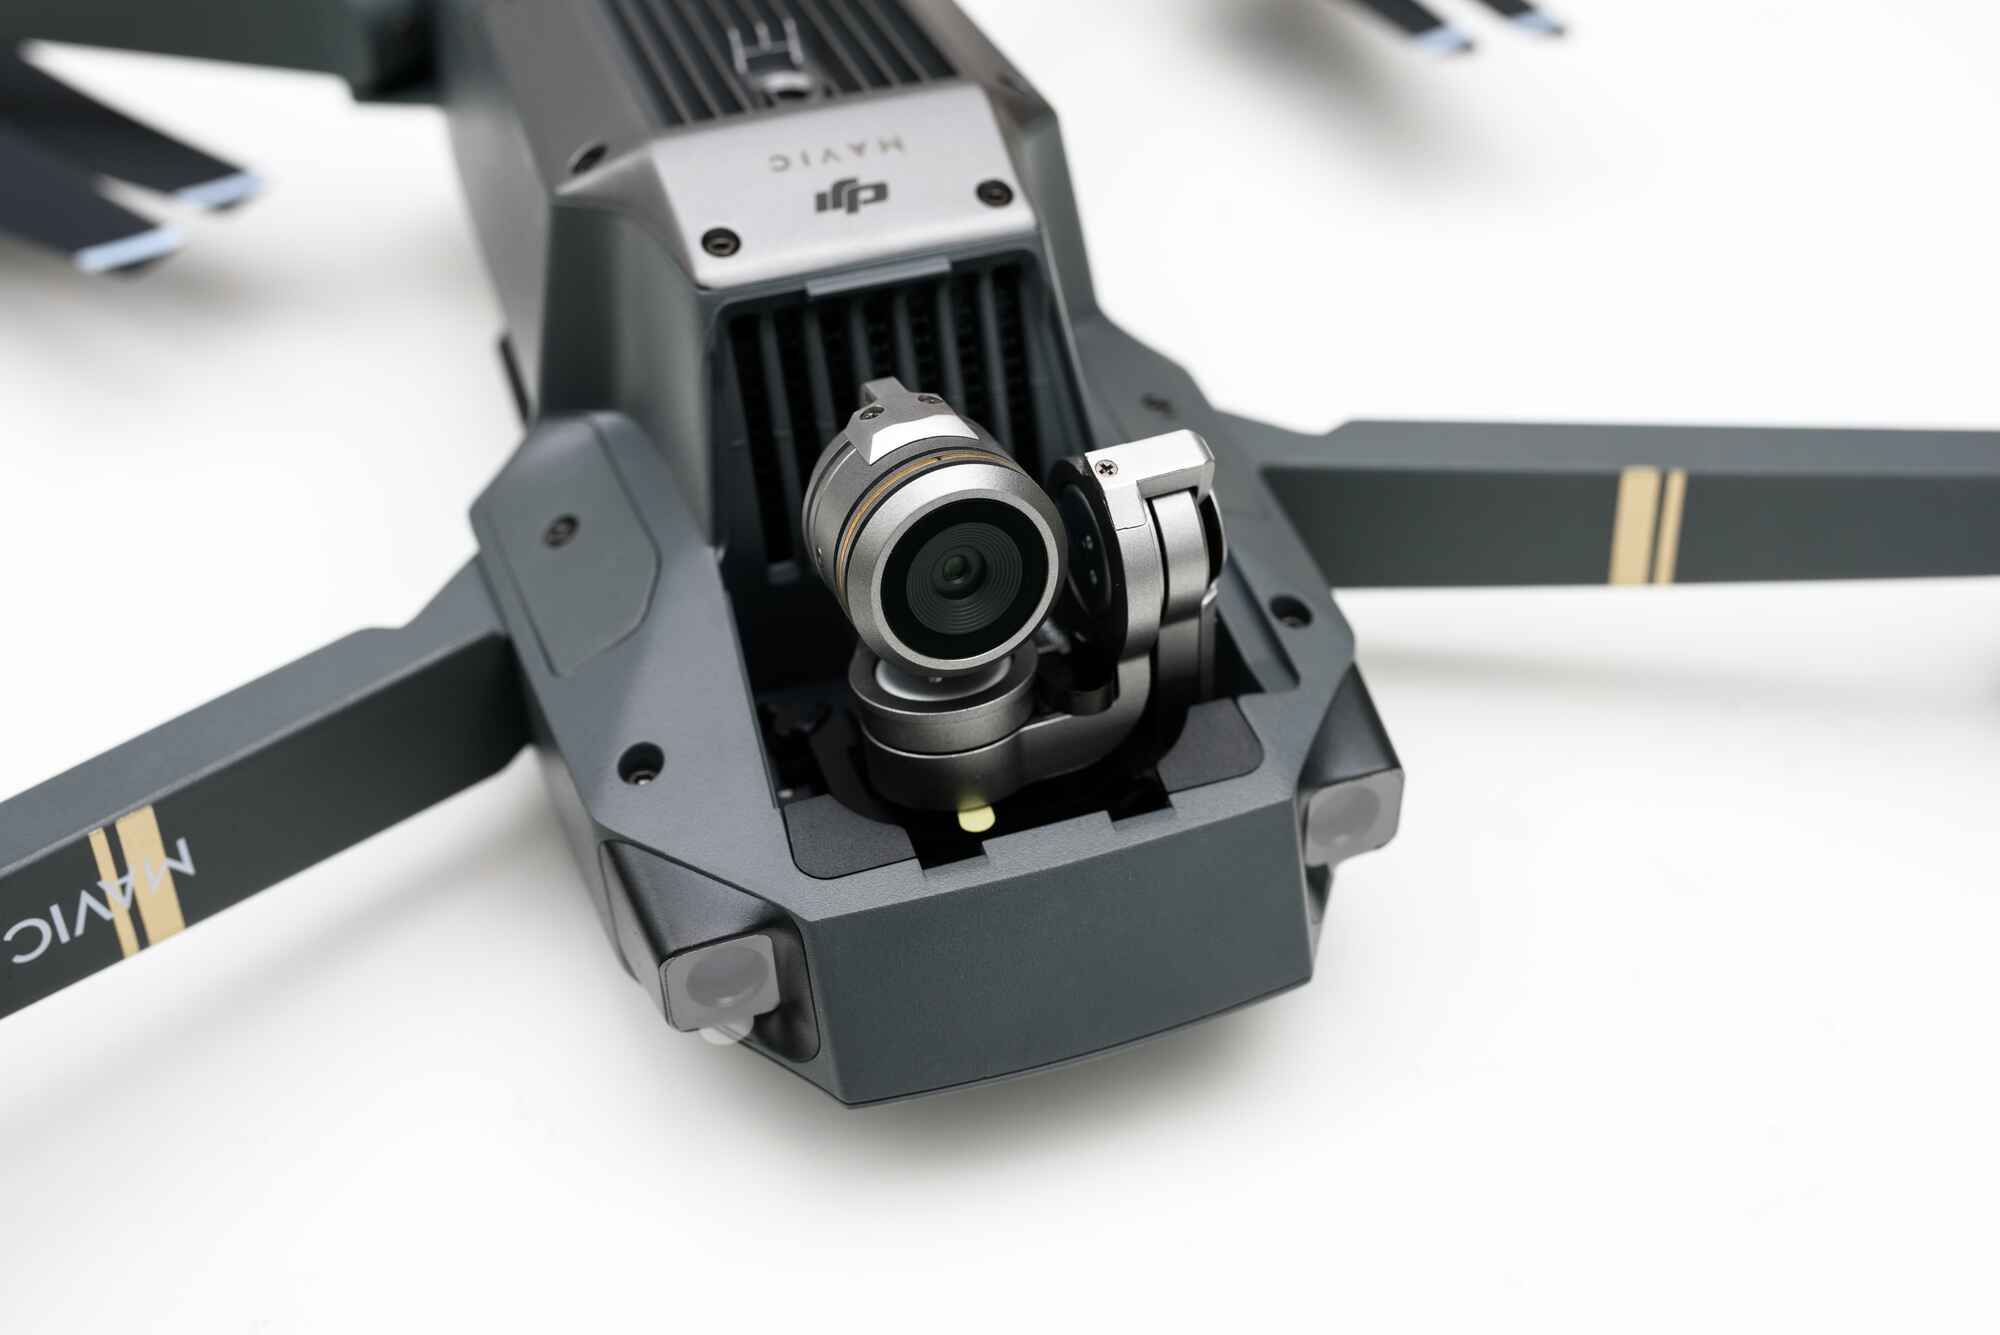
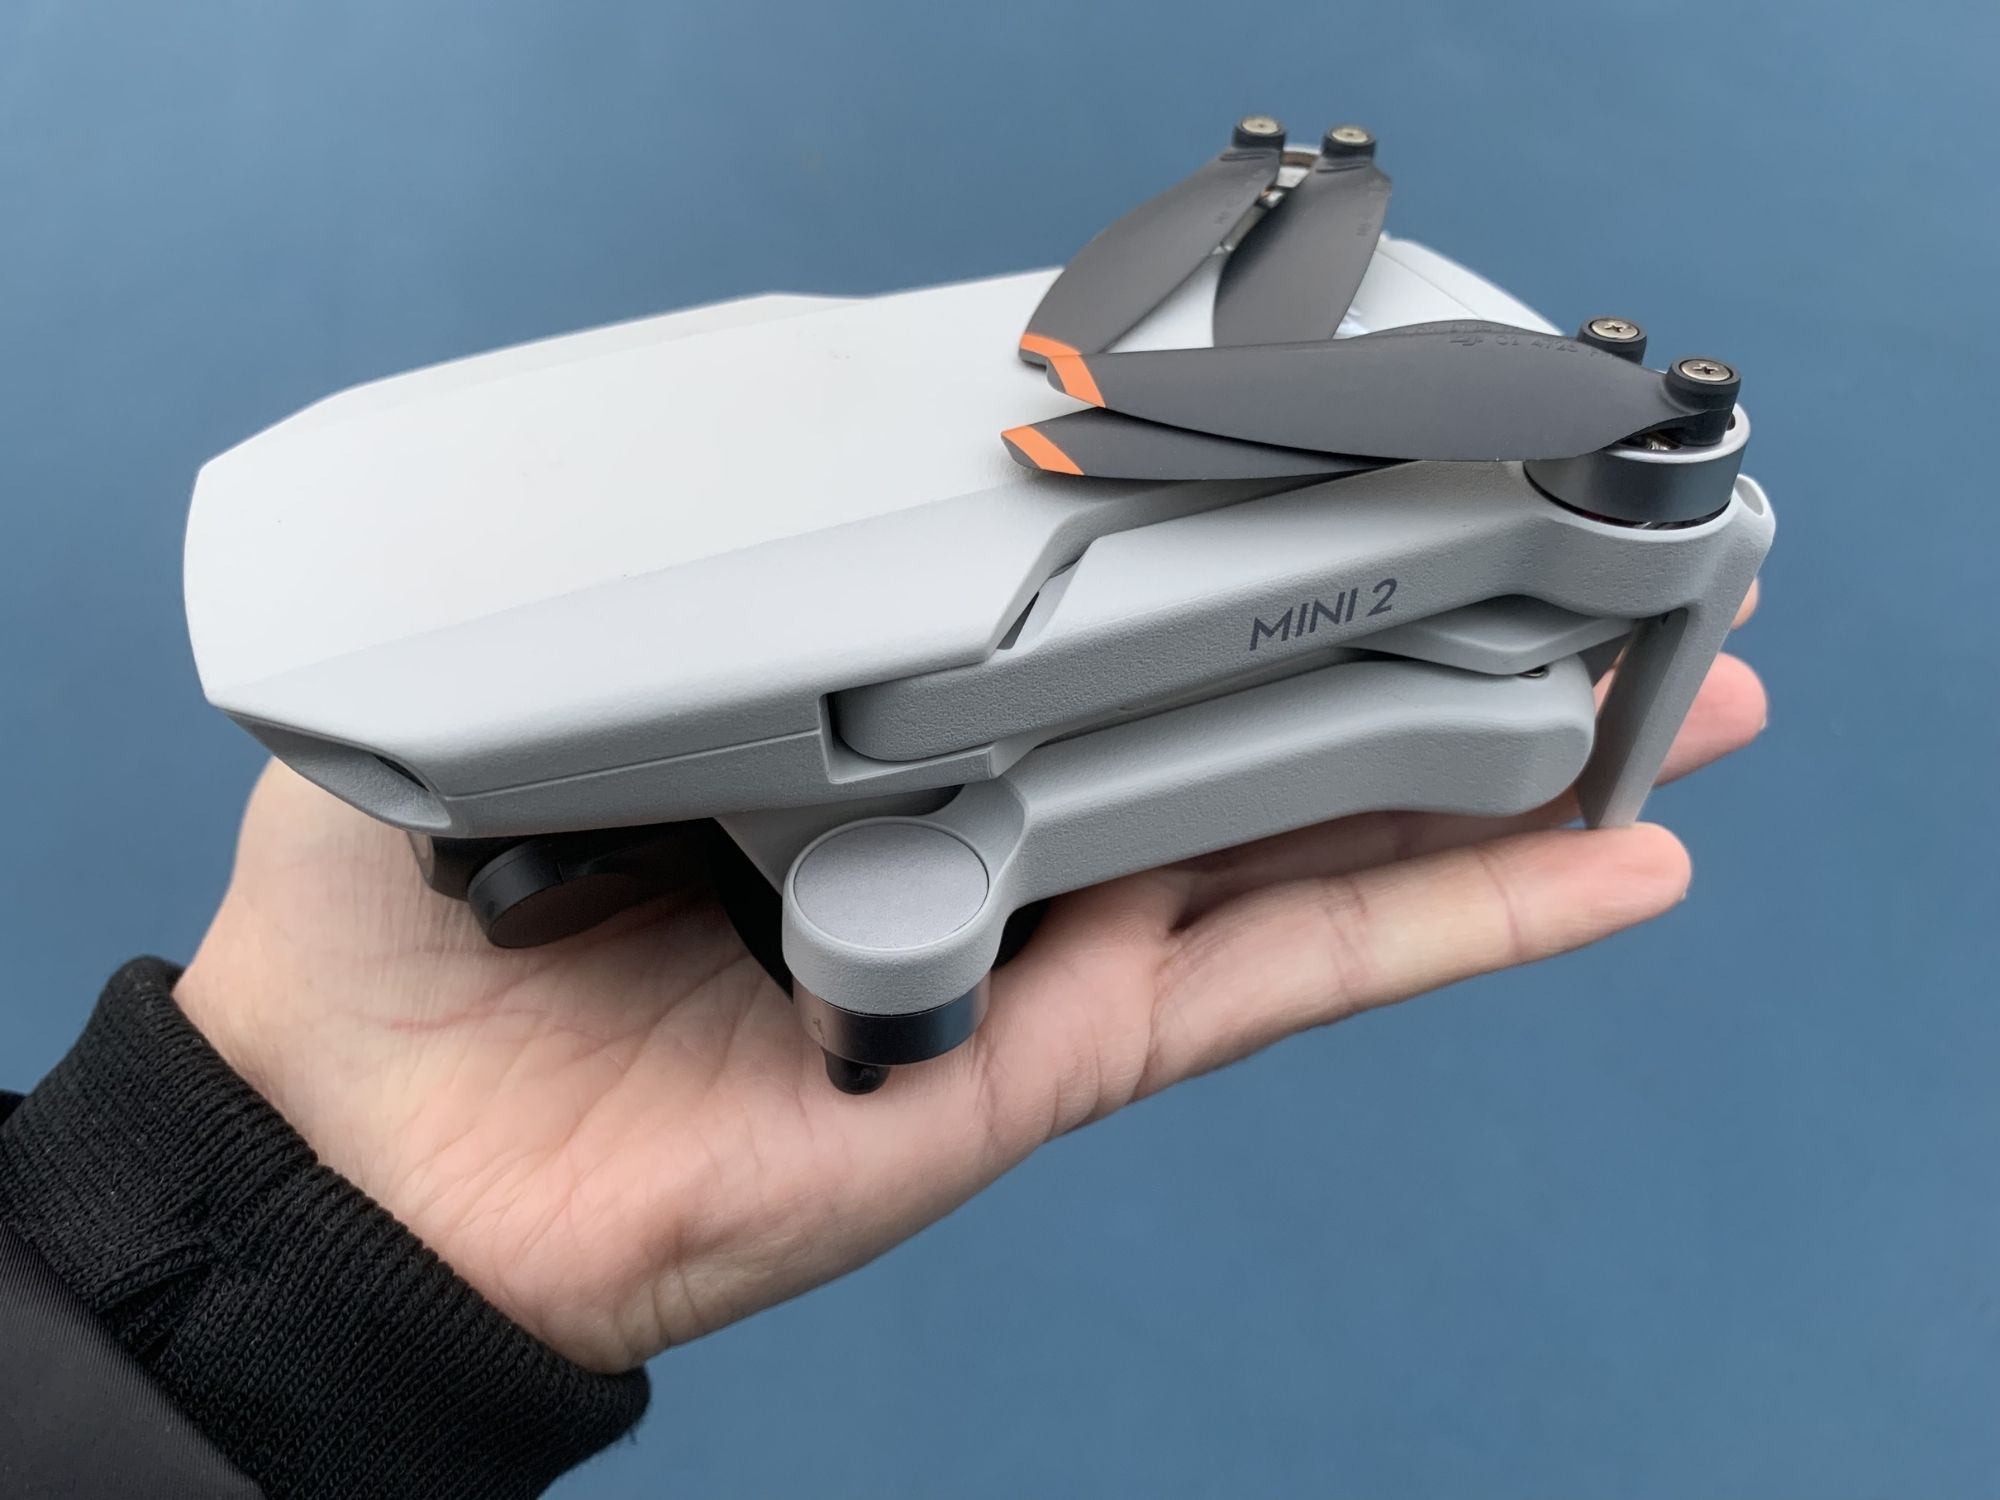
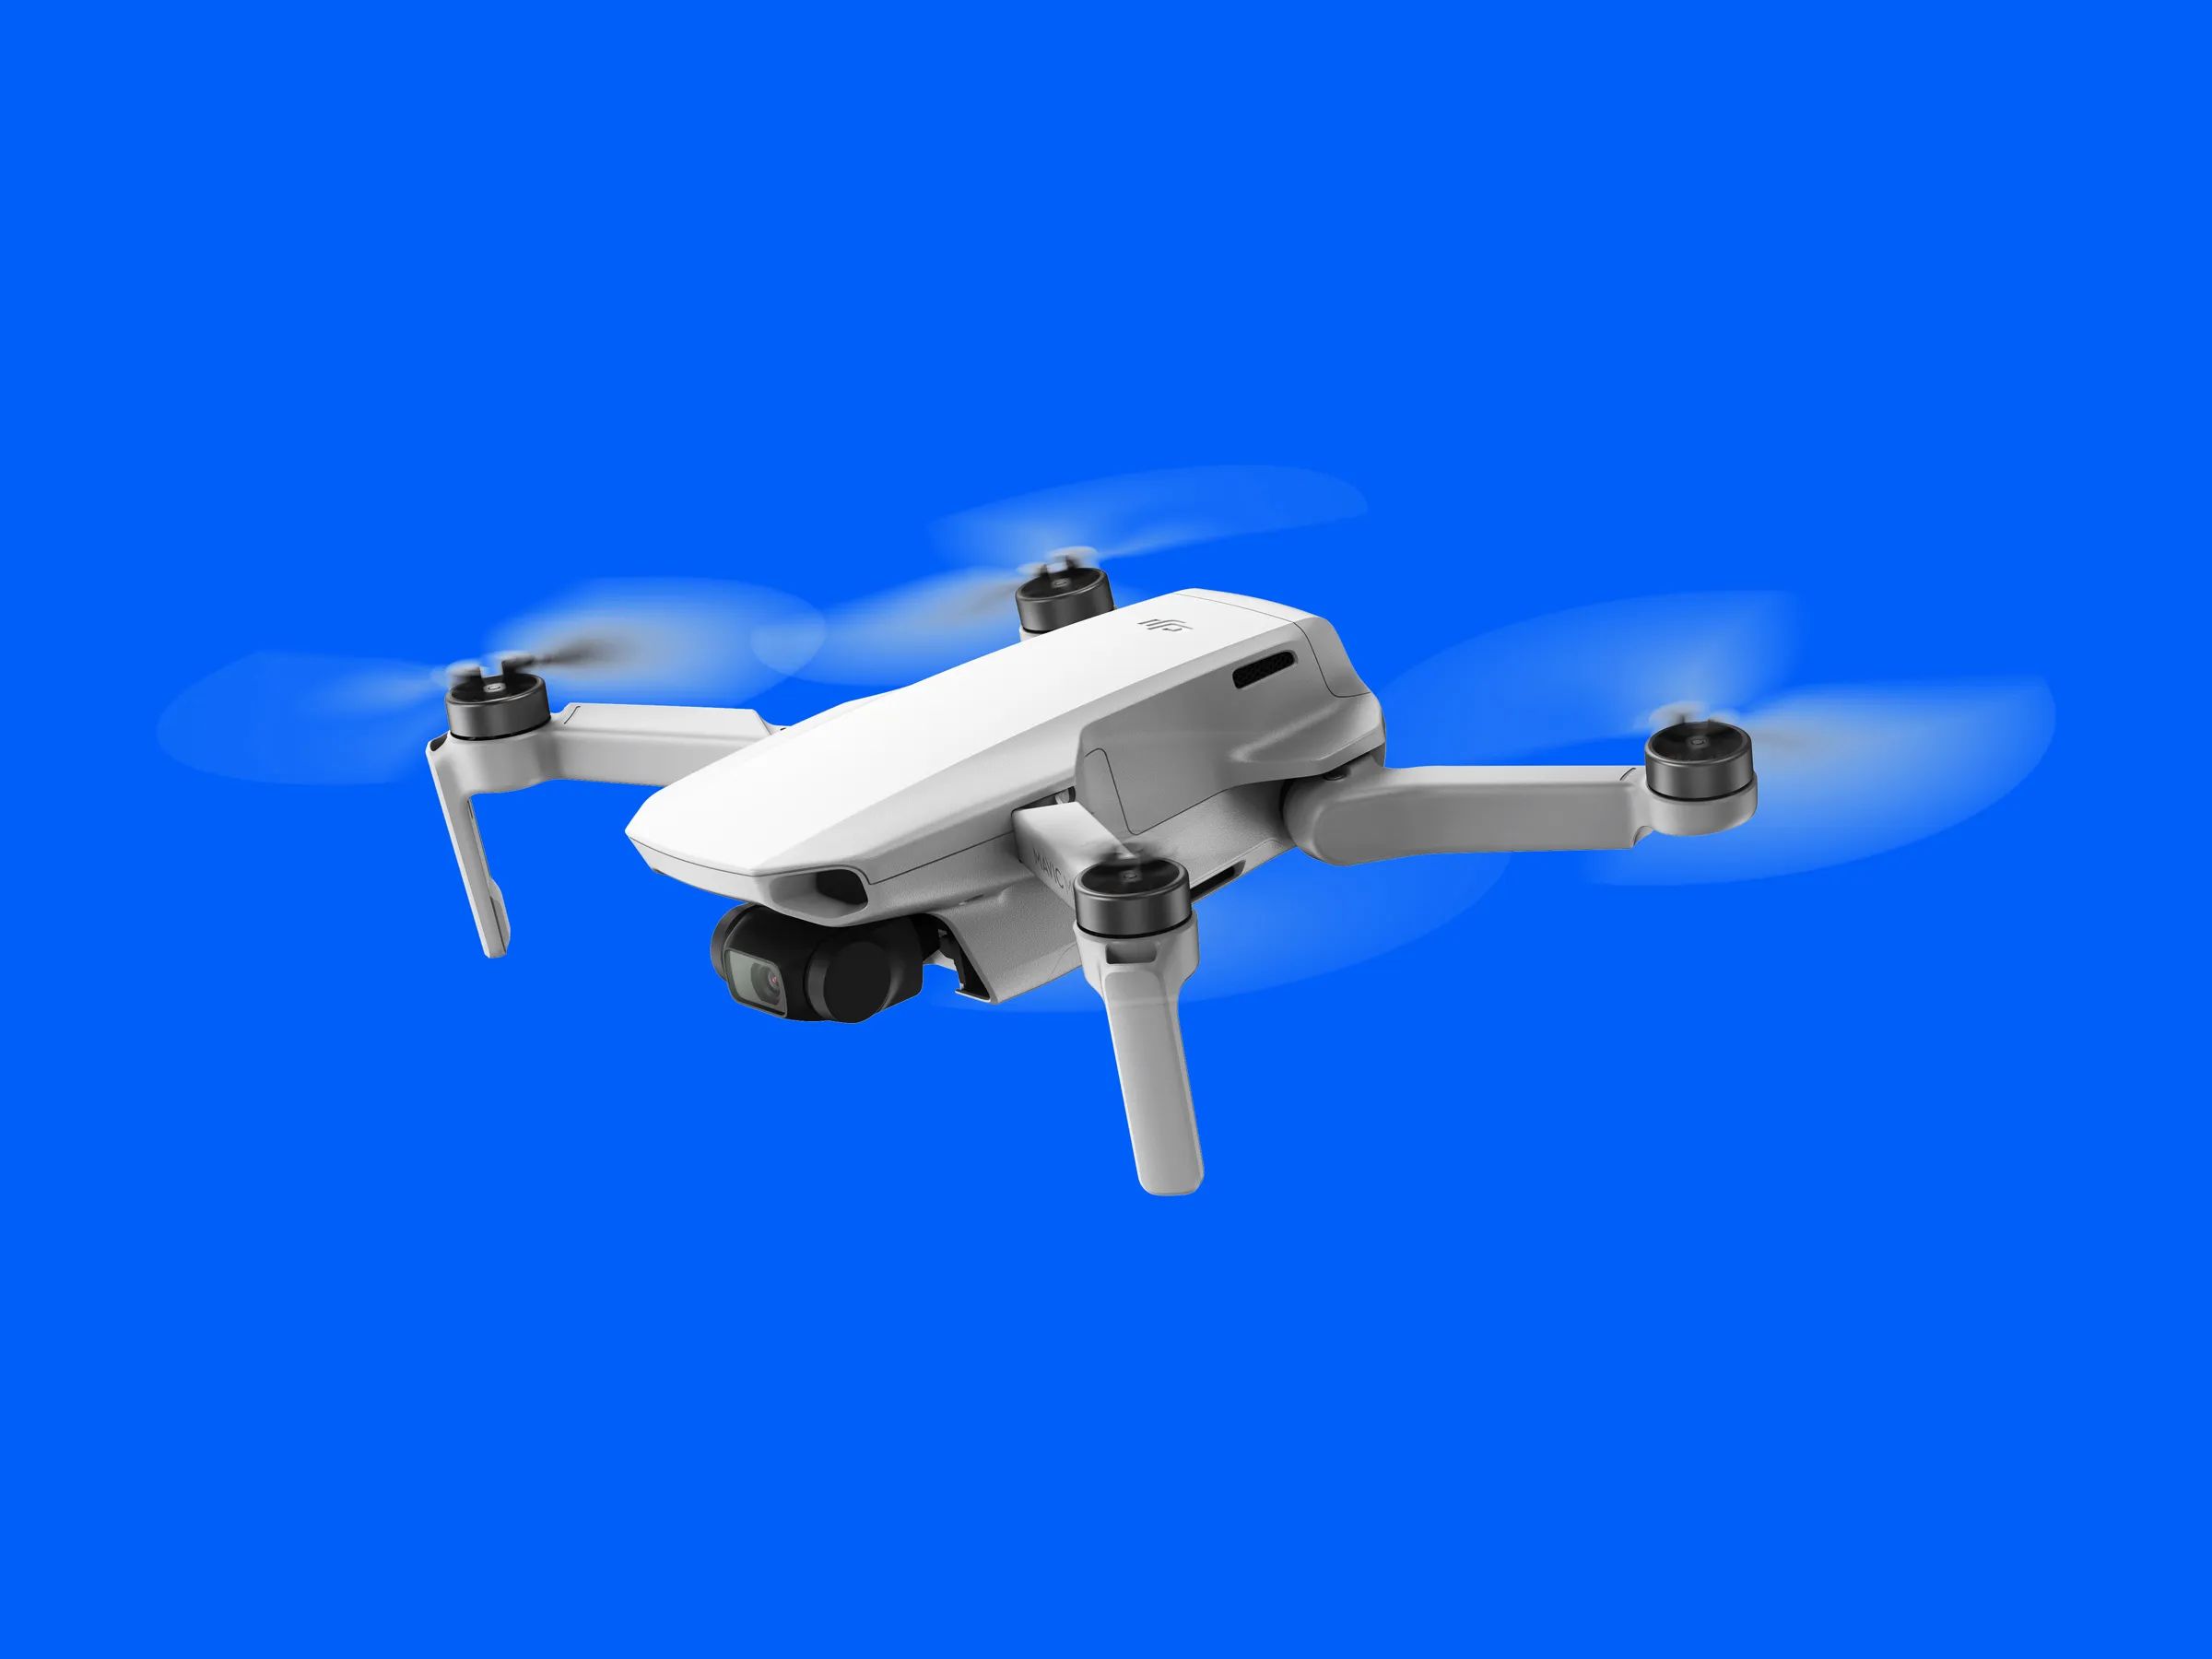
The DJI Mini 2 is a compact and powerful drone that offers incredible aerial photography and videography capabilities. Equipped with a three-axis gimbal, the DJI Mini 2 ensures smooth and stable footage even in challenging conditions. However, like any electronic device, the gimbal may require calibration from time to time to maintain its optimal performance.
Calibrating the gimbal of your DJI Mini 2 is a simple process that helps to ensure accurate stabilization and image quality. By following the correct calibration procedure, you can enhance the overall flying experience and capture breathtaking shots.
In this guide, we will take you through the step-by-step process of calibrating the gimbal on your DJI Mini 2. Whether you are a professional aerial photographer or a hobbyist, this guide will help you achieve the best results from your drone.
Before we proceed with the calibration process, it’s important to note that the DJI Mini 2 should be on a flat, stable surface during the calibration to avoid any interference or imbalance.
Now, let’s dive into the simple steps to calibrate the gimbal on your DJI Mini 2.
Step 1: Check for Software Updates
Before starting the gimbal calibration process, it is recommended to ensure that your DJI Mini 2’s firmware and software are up to date. DJI often releases firmware updates that include performance improvements and bug fixes, so it’s essential to have the latest updates installed.
To check for software updates, follow these steps:
- Power on your DJI Mini 2 and connect it to your mobile device.
- Launch the DJI Fly app on your mobile device.
- Make sure your mobile device is connected to the internet.
- In the app, tap on the three dots in the top right corner to access the settings menu.
- Scroll down the settings menu and tap on “About” or “About Aircraft.”
- Look for the “Firmware Version” or “Software Version” option and tap on it.
- The app will check for any available updates. If an update is available, follow the on-screen instructions to download and install it.
- Once the update is installed, restart your DJI Mini 2 and the DJI Fly app.
By ensuring that your DJI Mini 2 is running on the latest software, you can take advantage of the latest features and improvements, which can enhance the performance of the gimbal and overall flight experience.
Step 2: Remove any Accessories or Attachments
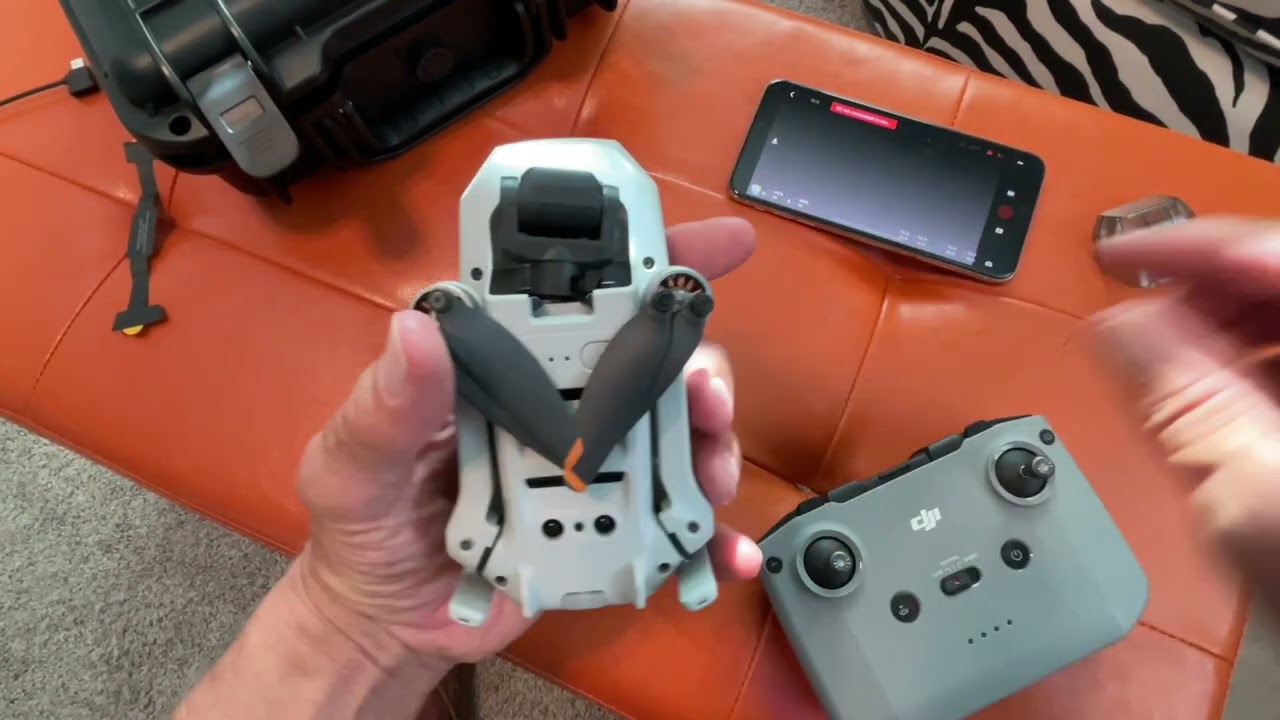
Before proceeding with the gimbal calibration process, it’s crucial to remove any accessories or attachments from your DJI Mini 2. This includes propeller guards, lens filters, or any other external accessories that are not part of the original drone package.
Removing the accessories ensures that the calibration process is performed accurately, as these additional attachments can interfere with the gimbal’s movement and calibration process.
To remove the accessories or attachments:
- Turn off your DJI Mini 2 and disconnect it from your mobile device.
- Carefully inspect the drone and identify any attached accessories.
- Gently remove the propeller guards, lens filters, or any other external attachments by following the instructions provided by the manufacturer.
- Once all accessories are removed, visually check and ensure that there are no remaining obstructions around the gimbal area.
By removing any additional accessories or attachments, you allow the gimbal to calibrate properly without any interference, ensuring accurate stabilization and optimal performance during flight.
Step 3: Power on the DJI Mini 2
After removing any accessories or attachments, the next step in calibrating the gimbal on your DJI Mini 2 is to power on the drone.
To power on your DJI Mini 2:
- Ensure that the battery of your DJI Mini 2 is fully charged.
- Place the drone on a flat and stable surface.
- Press and hold the power button located on the top of the drone.
- Release the power button once the lights on the aircraft start flashing, indicating that it is powered on.
Once the DJI Mini 2 is powered on, it will go through a quick initialization process. During this time, it’s important to avoid moving or shaking the drone to prevent any disruption to the calibration process.
Make sure to have your mobile device connected to the DJI Fly app and wait for the app to establish a stable connection with the drone. This connection allows you to control the gimbal movements and monitor the calibration process in real-time.
Now that your DJI Mini 2 is powered on and connected to the app let’s move on to the next step to enter the calibration menu.
Step 4: Enter Calibration Menu
Once your DJI Mini 2 is powered on and connected to the DJI Fly app, the next step is to enter the calibration menu.
To access the calibration menu:
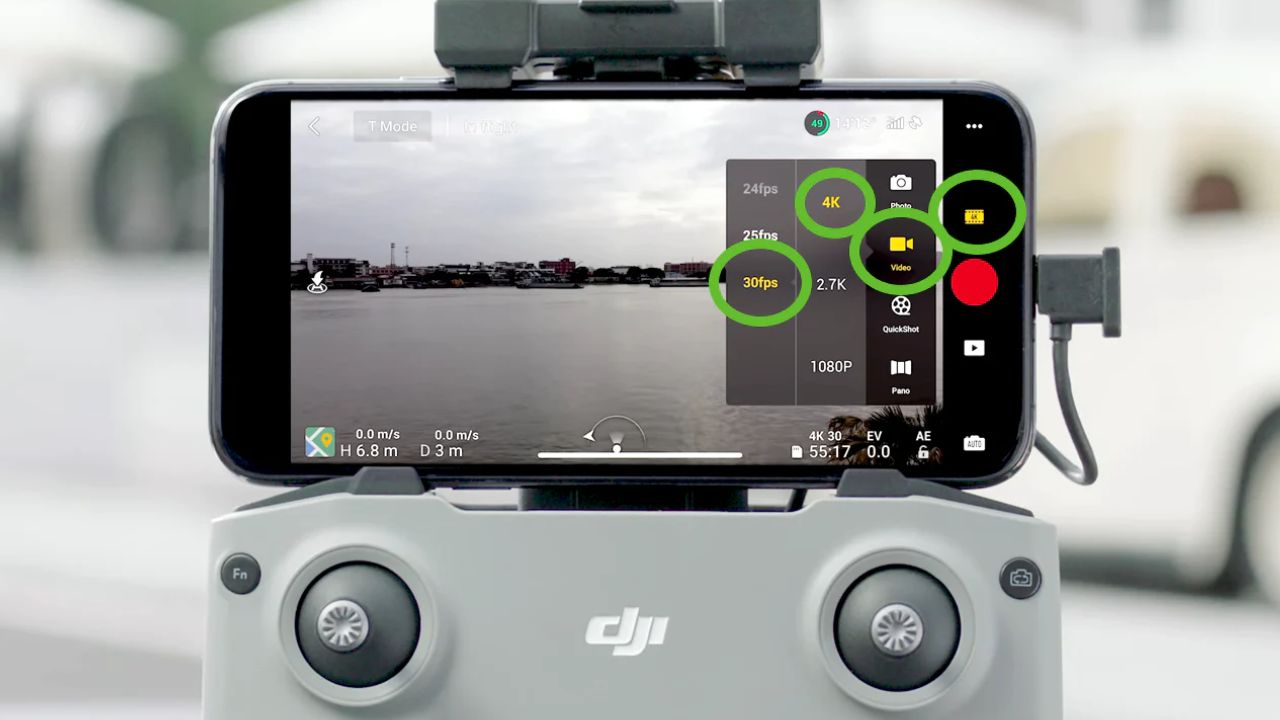
- Open the DJI Fly app on your mobile device.
- Ensure that your DJI Mini 2 is connected to the app and the connection is stable.
- Tap on the icon or option that allows you to access the drone settings.
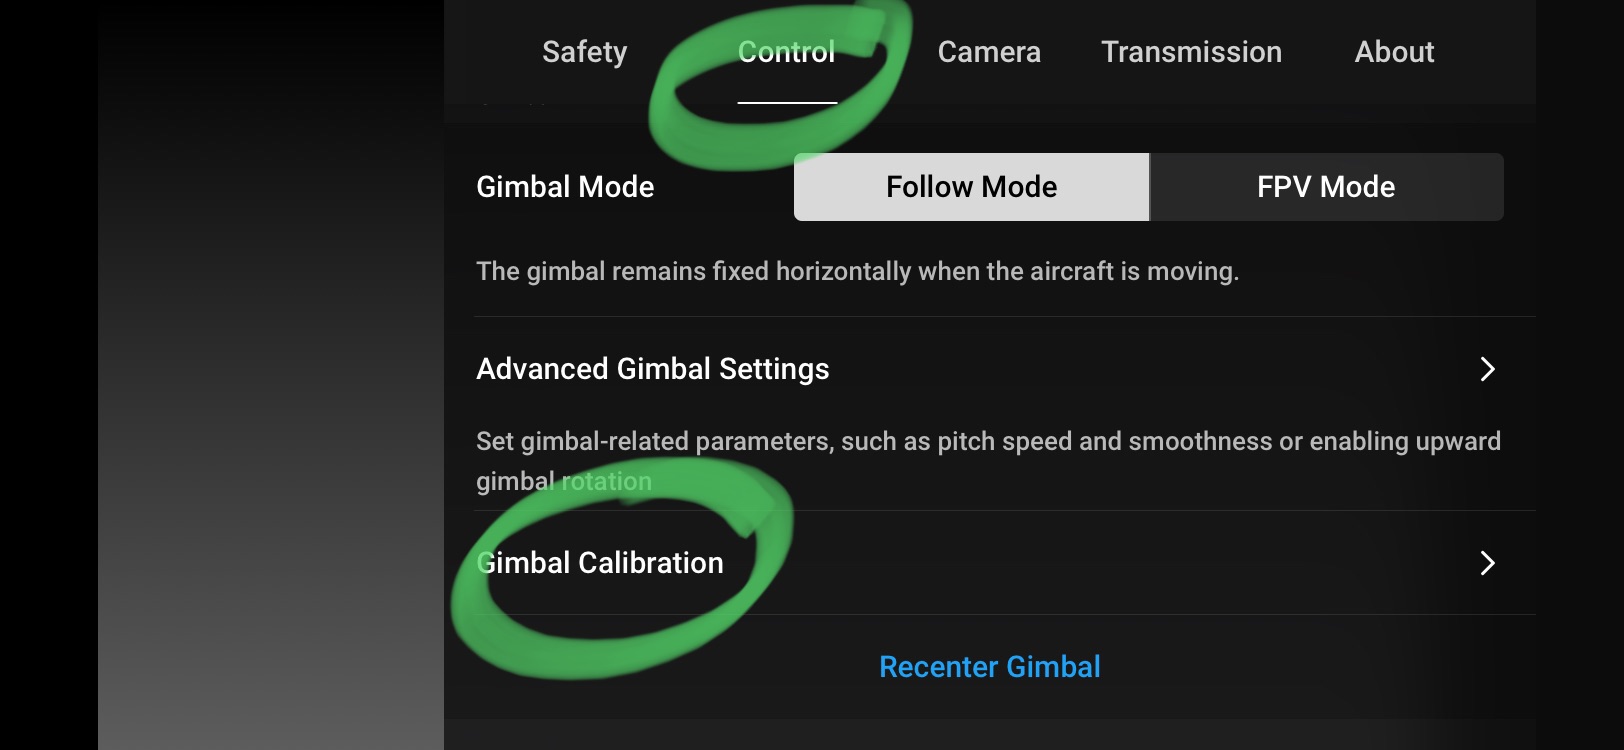
- Look for the “Calibration” or “Gimbal” option in the settings menu.
- Tap on the “Calibration” or “Gimbal” option to enter the calibration menu.
Once inside the calibration menu, you will have access to various options and settings related to the gimbal. These settings may include options to calibrate the horizon, reset the gimbal position, or perform advanced calibrations if necessary.
It’s important to follow the instructions provided within the calibration menu carefully. Each drone model may have slightly different options and settings, so be sure to consult the DJI Mini 2 user manual or online resources if you need further guidance.
Entering the calibration menu allows you to proceed with the gimbal calibration process and ensure that the unit is properly calibrated for accurate stabilization and optimal performance during flight.
Step 5: Calibrate the Gimbal
Now that you have entered the calibration menu on your DJI Mini 2, it’s time to proceed with calibrating the gimbal. The calibration process will ensure that the gimbal is properly aligned and balanced, allowing for stable and smooth footage during flight.
Follow these steps to calibrate the gimbal:
- Ensure that the DJI Mini 2 is placed on a flat and stable surface.
- In the calibration menu, select the option to start the gimbal calibration process.
- Follow the on-screen instructions provided by the app to initiate the calibration.
- During the calibration process, the gimbal will move to different positions automatically. It’s crucial not to touch or interfere with the gimbal movement.
- Allow the calibration process to complete without any interruptions.
It’s important to note that the calibration process may take a few minutes to complete. It’s recommended to have patience and allow the drone to perform the necessary movements and adjustments during this time.
While the gimbal is being calibrated, it’s best to avoid any external disturbances, such as wind or vibrations, which could affect the calibration accuracy. Ensure that the device and drone are stable during the process.
Once the calibration is completed, the gimbal will return to the default position, indicating that it is now properly calibrated and ready for use.
Calibrating the gimbal on your DJI Mini 2 is an essential step to ensure optimal stabilization and smooth footage capture during flight. By following these steps, you can maintain the performance and functionality of your drone’s gimbal, resulting in stunning aerial photography and videography.
Step 6: Confirm Calibration
After calibrating the gimbal on your DJI Mini 2, it’s crucial to confirm that the calibration was successful. This step will allow you to verify that the gimbal is functioning correctly and prepared for use.
Follow these steps to confirm the gimbal calibration:
- Ensure that the DJI Mini 2 is still on a flat and stable surface.
- Exit the calibration menu and return to the main app interface.
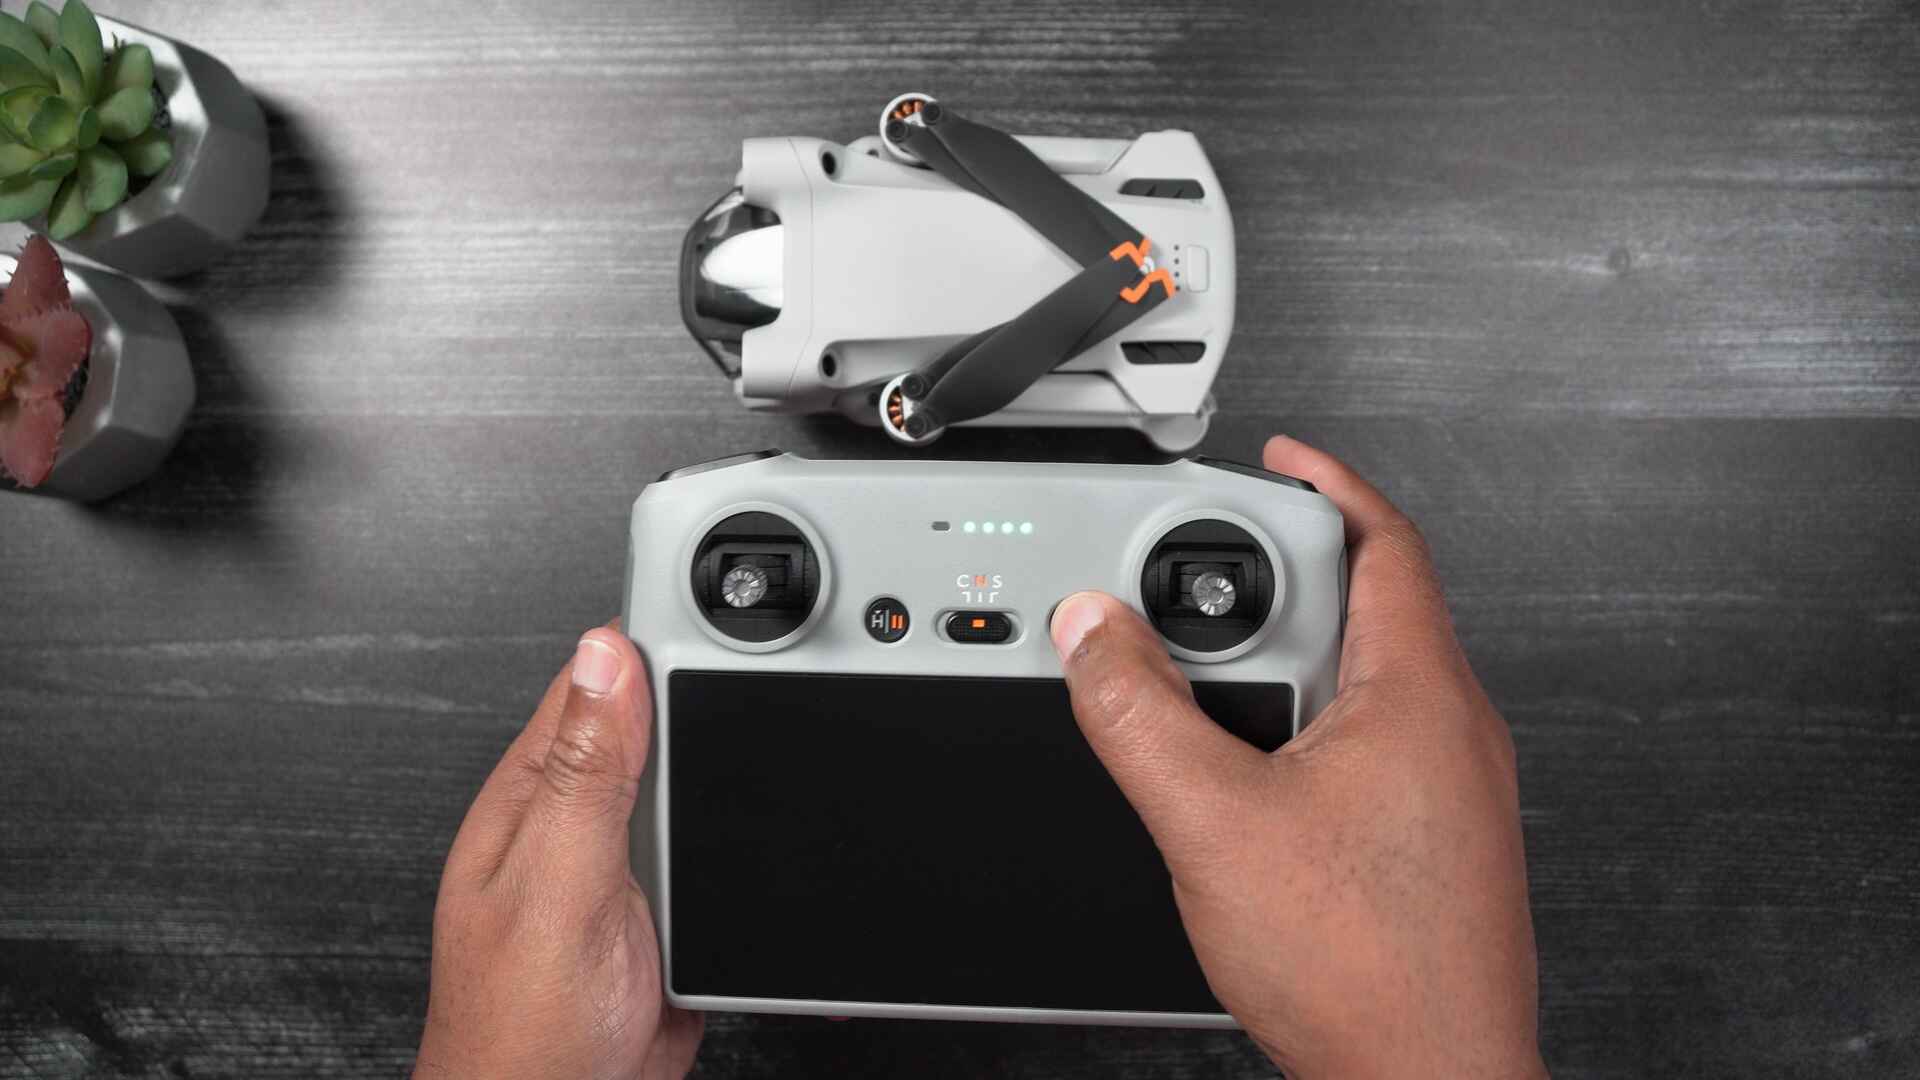
- Power on the remote controller and establish a stable connection with the drone.
- Double-check that the gimbal is in its default position and appears stable.
- Take off with your DJI Mini 2 and start flying in a controlled and open space.
- Monitor the gimbal’s performance during flight, paying attention to any abnormal vibrations or erratic movements.
- Capture some test footage or photos to assess the stability and smoothness of the gimbal.
By conducting a test flight and observing the gimbal’s behavior, you can confirm that the calibration was successful. If you notice any issues or abnormalities with the gimbal, it may be necessary to repeat the calibration process or seek further assistance from DJI customer support.
Confirming the calibration is an essential step to ensure that the gimbal is working correctly and providing steady footage during flight. It allows you to have confidence in the performance of your DJI Mini 2 and ensures the best possible results when capturing aerial shots.
Step 7: Power off the DJI Mini 2
After confirming the successful calibration of the gimbal on your DJI Mini 2, it’s time to power off the drone. Properly shutting down the drone helps preserve its battery life and ensures safe handling and storage.
Follow these steps to power off your DJI Mini 2:
- Ensure that the drone is landed on a flat and stable surface.
- Slowly bring down the throttle stick on the remote controller to land the drone.
- Once the drone is safely landed, ensure that both the throttle stick and remote controller inputs are in their neutral positions.
- Press and hold the power button located on the top of the drone.
- Continue holding the power button until the indicator lights turn off, indicating that the drone is powered off.
- Disconnect the drone from the remote controller if they are still connected.
- Store the DJI Mini 2 in a safe and dry place, protecting it from any potential damage or environmental elements.
Powering off the DJI Mini 2 properly not only helps conserve the battery but also ensures the safety of the drone and its components. It’s important to handle the drone with care during power-off to avoid any accidental damage.
Following these steps will ensure that your DJI Mini 2 is powered off correctly after the gimbal calibration, preserving its battery and extending the overall lifespan of the drone.
Conclusion
The process of calibrating the gimbal on your DJI Mini 2 is a crucial step in ensuring optimal performance, stabilization, and smooth footage during flight. By following the steps outlined in this guide, you can successfully calibrate the gimbal and enhance your overall aerial photography and videography experience.
Starting with checking for software updates, removing any accessories or attachments, and powering on the DJI Mini 2, you lay the foundation for a successful calibration process. Entering the calibration menu allows you to access the necessary settings and options to calibrate the gimbal effectively.
Once inside the calibration menu, you can proceed with the calibration process by following the on-screen instructions. Allowing the gimbal to move and make necessary adjustments without interference is essential for accurate calibration.
After successfully calibrating the gimbal, it’s important to confirm the calibration by conducting a test flight and observing the gimbal’s performance. This step ensures that the calibration was successful and that the gimbal is functioning correctly.
Finally, power off the DJI Mini 2 properly to conserve battery life and ensure safe handling and storage.
By following these steps, you can maintain the optimal performance and functionality of the gimbal on your DJI Mini 2, ultimately enhancing your overall drone flying and aerial imaging experience.