Introduction
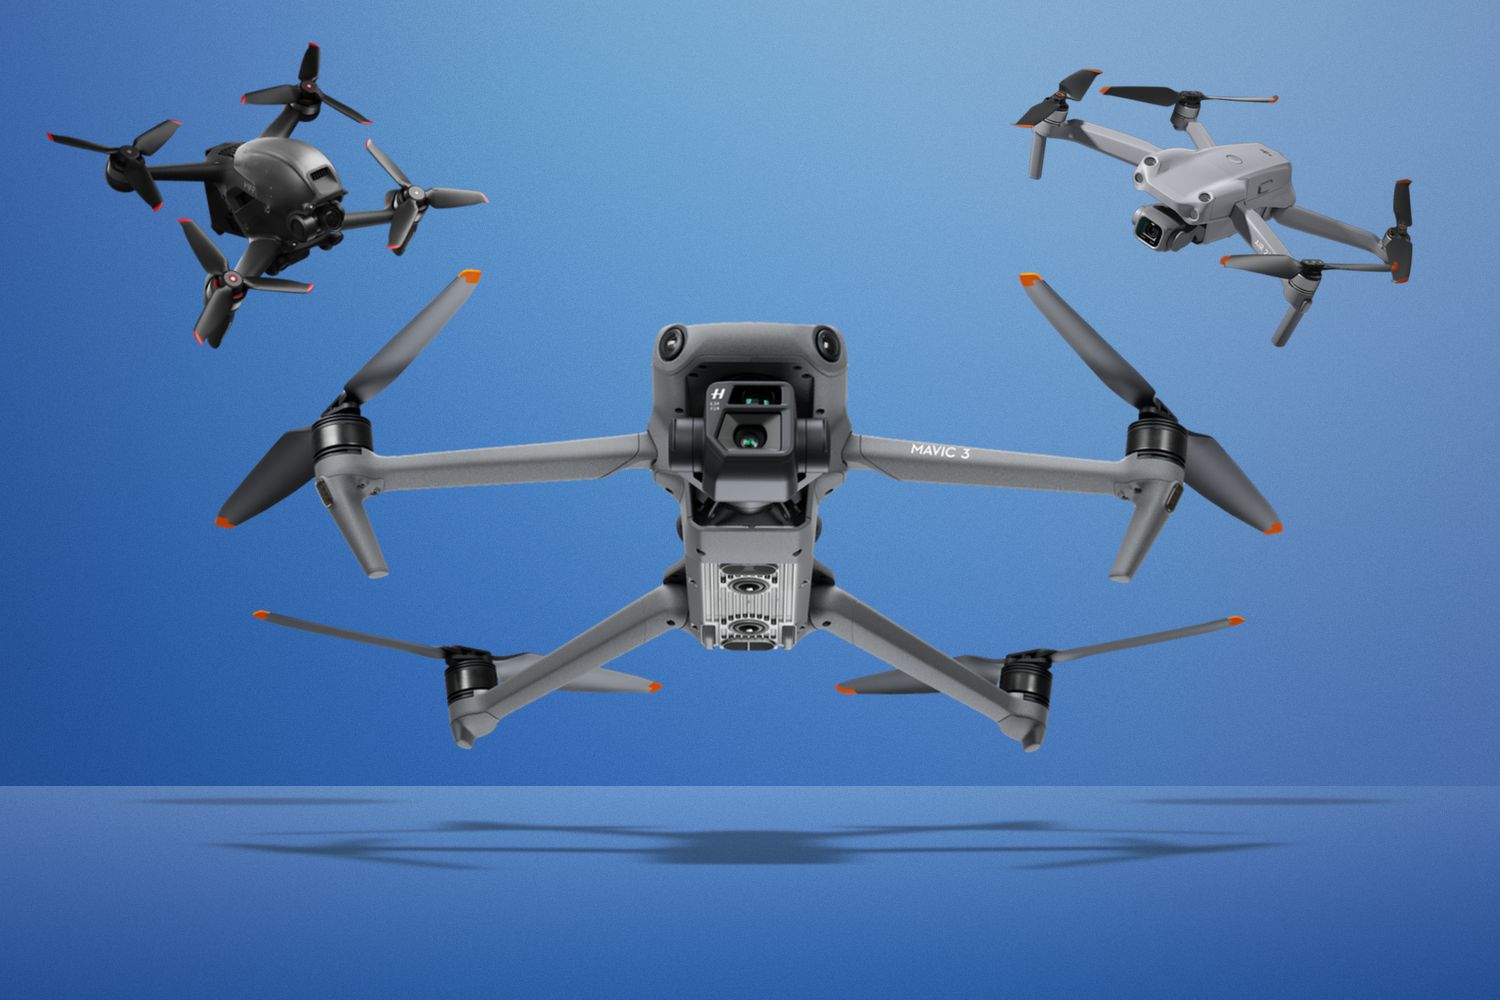
Welcome to the world of aerial videography with the DJI Mini 2! Whether you’re a professional filmmaker, an amateur enthusiast, or simply someone looking to capture breathtaking videos from above, the DJI Mini 2 is a powerful and versatile tool that can help you achieve your creative vision. With its compact size, impressive flight capabilities, and high-quality camera, the Mini 2 opens up a whole new realm of possibilities for videography.
In this guide, we will take you through the process of recording video on the DJI Mini 2, providing you with essential tips and techniques to help you maximize your footage. From getting started with the Mini 2 to editing and sharing your videos, we’ve got you covered.
Recording video with the DJI Mini 2 allows you to capture stunning cinematic shots from a unique perspective. Whether you’re shooting breathtaking landscapes, action-packed sports footage, or documenting special events, the Mini 2’s advanced features and easy-to-use interface make it an ideal choice for both beginners and experienced drone pilots.
Throughout this guide, we will explore different recording modes, camera settings, and techniques to enhance the quality of your videos. We’ll also delve into the various intelligent flight modes that can add creativity and dynamism to your footage. Additionally, we’ll provide troubleshooting tips to help you overcome common recording issues and ensure a smooth experience.
By the end of this guide, you’ll have a solid understanding of how to effectively record video on the DJI Mini 2, enabling you to capture stunning aerial footage and unleash your creativity. So, let’s dive in and discover the endless possibilities that await you with the DJI Mini 2!
Getting started with the DJI Mini 2
Before you start recording video with the DJI Mini 2, it’s essential to familiarize yourself with the drone and its controls. Here are the steps to get started:
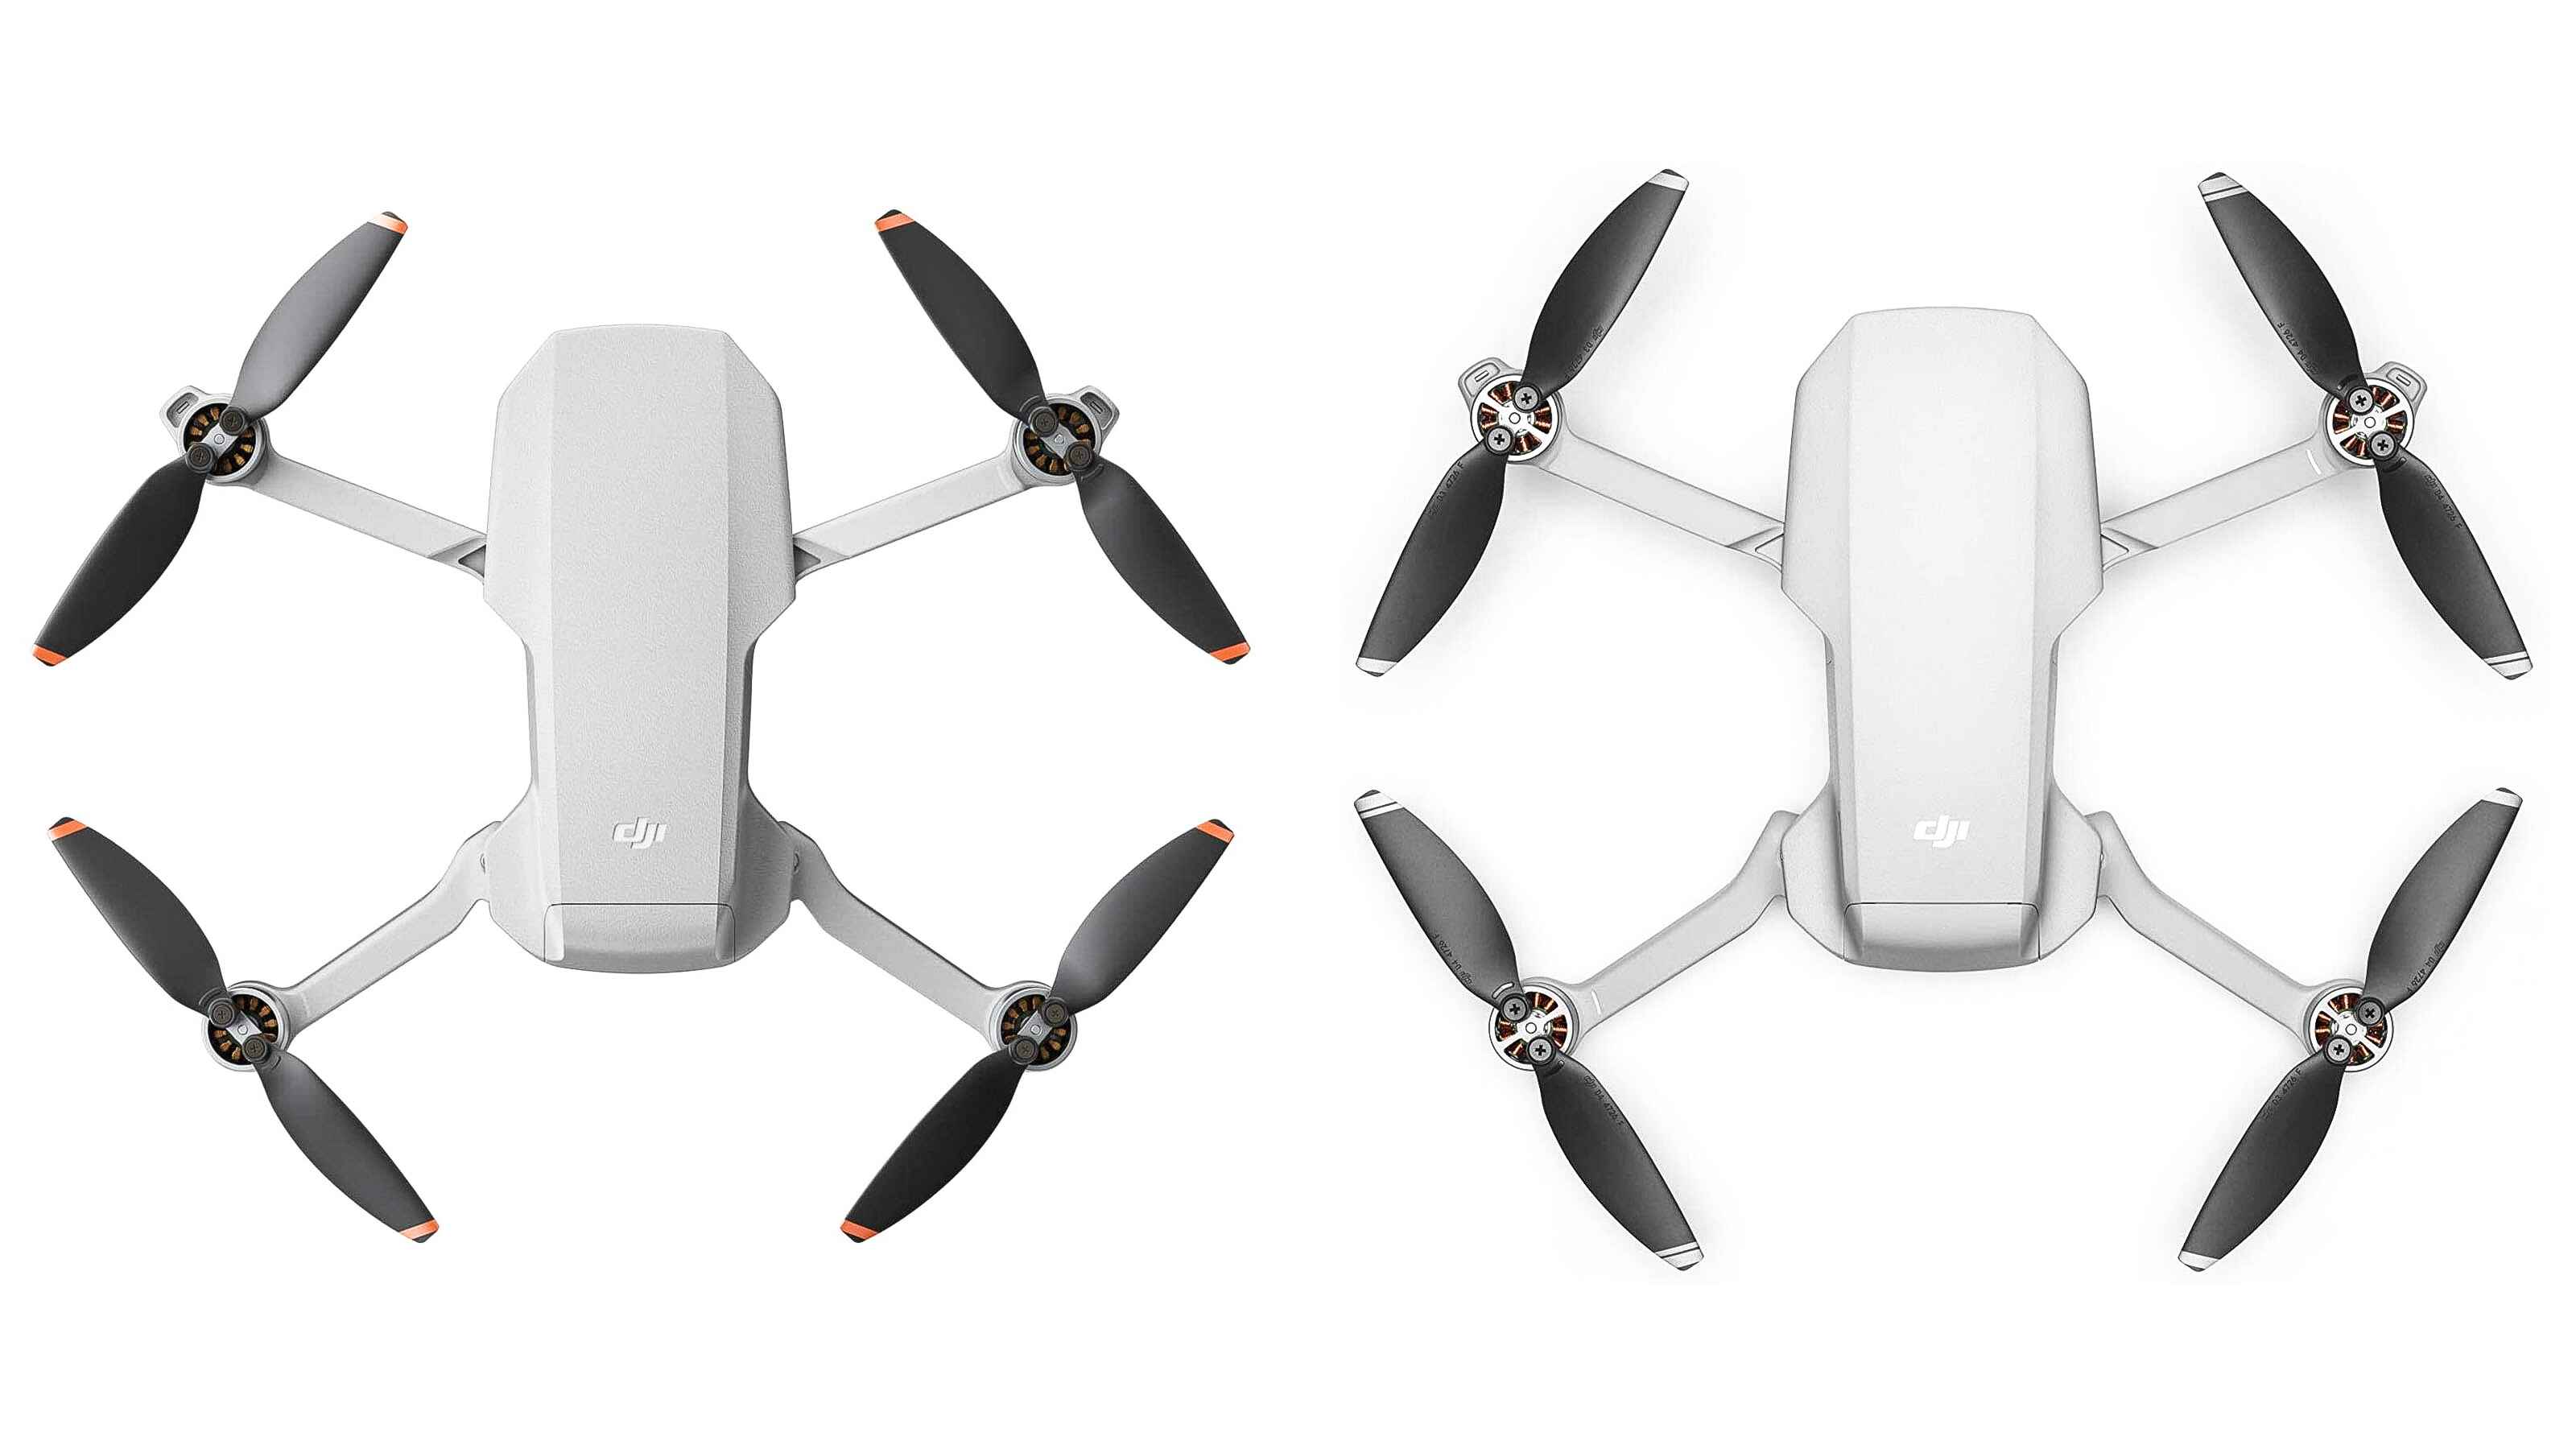
1. Unboxing and assembly: Begin by unboxing the DJI Mini 2 and ensure that all the components are present. Carefully follow the instructions to assemble the drone, attaching the propellers securely and inserting the battery.
2. Charging the battery: Connect the battery to the charger and ensure it is fully charged before your first flight. A fully charged battery will provide you with ample recording time.
3. Installing the DJI Fly app: Download and install the DJI Fly app on your smartphone or tablet. This app will serve as your control center for operating the DJI Mini 2 and accessing its features.
4. Connecting your mobile device: Open the DJI Fly app and connect your mobile device to the controller using the provided USB cable. Follow the on-screen prompts to establish a stable connection.
5. Updating firmware: Ensure both the DJI Mini 2 and the controller have the latest firmware updates. Check for updates in the DJI Fly app and follow the instructions to update if needed. This ensures optimal performance and access to the latest features.
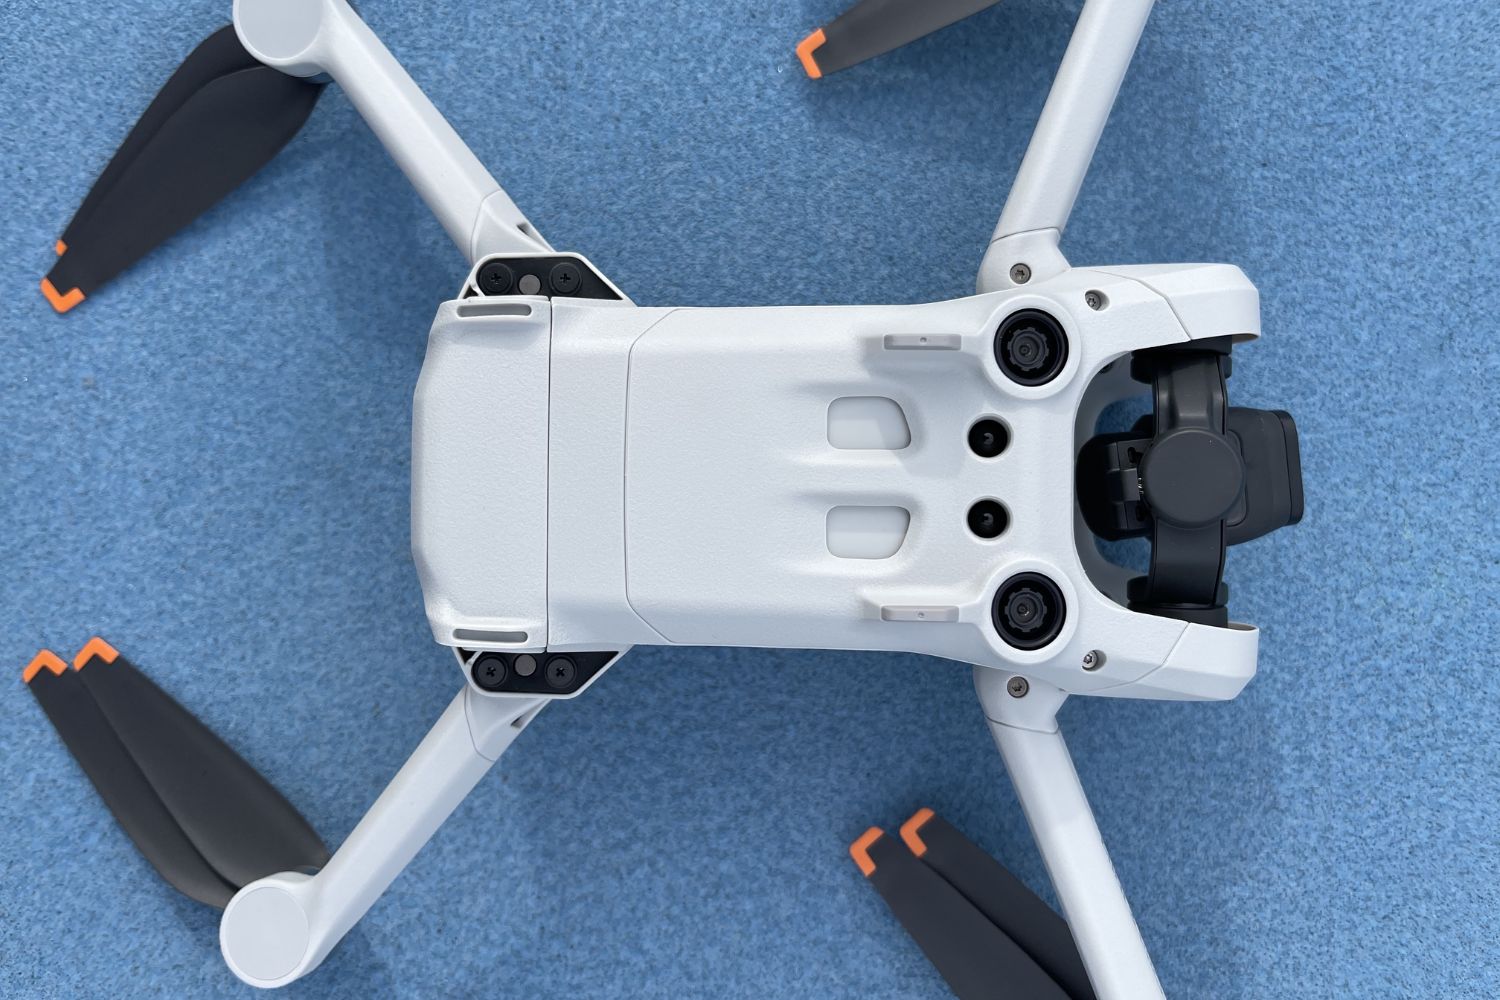
6. Understanding the controller: Take some time to familiarize yourself with the layout and functions of the controller. The controller features joysticks for precise flight control, buttons for taking photos and recording videos, and a mount to hold your mobile device.
7. Pre-flight checklist: Before each flight, perform a pre-flight checklist to ensure everything is in working order. Check the battery level, propeller tightness, GPS signal, and clear any obstacles that may interfere with the flight.
Once you have completed these steps, you are ready to take to the skies and start recording video with the DJI Mini 2. Remember to always fly responsibly and in compliance with local regulations. In the next section, we will explore the different recording modes available on the DJI Mini 2, allowing you to unleash your creativity and capture stunning footage.
Understanding the different recording modes
The DJI Mini 2 offers a variety of recording modes that cater to different shooting scenarios and creative preferences. Understanding these modes will enable you to capture the perfect footage for your needs. Let’s explore the different recording modes available:
1. Normal Mode: This is the standard mode for recording video with the DJI Mini 2. It provides a balanced combination of stability, control, and image quality. In Normal Mode, you have full control over the drone’s movements, allowing you to capture smooth and cinematic footage.
2. QuickShot Modes: QuickShot modes are automated flight modes that allow the Mini 2 to capture stunning shots with minimal effort. These modes include Dronie, Helix, Rocket, Circle, and Boomerang. Each mode creates a pre-defined flight path and captures dynamic shots from various angles. Experimenting with QuickShot modes can add excitement and a professional touch to your videos.
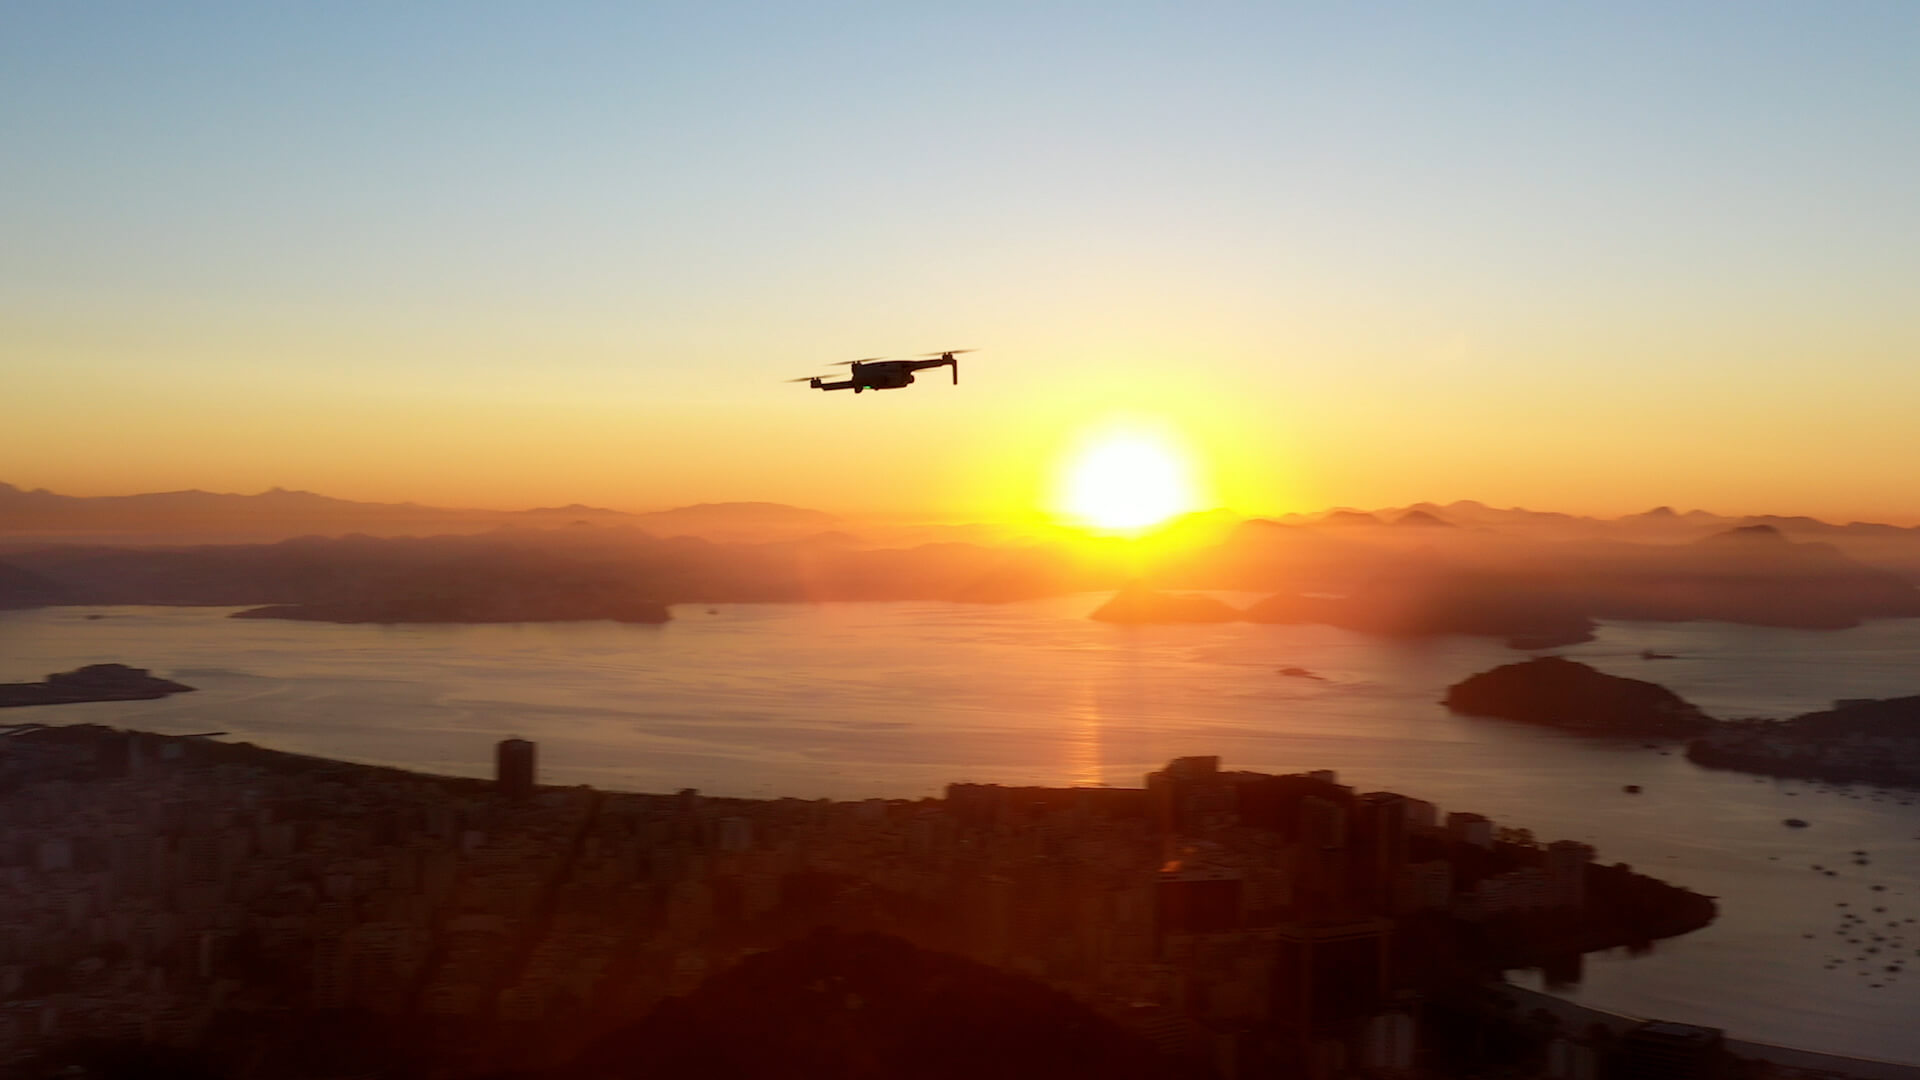
3. Hyperlapse Mode: Hyperlapse is a time-lapse recording mode that combines movement with time-lapse photography. The DJI Mini 2 automatically flies along a set route while capturing photos at specific intervals. The resulting footage showcases the passage of time in a visually captivating way, perfect for capturing the beauty of sunsets, cityscapes, and other time-sensitive subjects.
4. Cinematic Mode: Cinematic Mode is designed to capture smooth and cinematic footage. It slows down the drone’s movements, creating elegant and graceful shots. This mode is particularly useful when filming scenic landscapes, architecture, or any subject that requires a slower pace.
5. Manual Mode: Manual Mode provides full control over the drone’s flight and camera settings. It is ideal for more experienced pilots who want complete creative freedom. In Manual Mode, you can customize the drone’s speed, altitude, and camera settings to your specific preferences, allowing for more advanced and personalized shots.
Each recording mode offers unique capabilities and creativity options. Experimenting with different modes will allow you to discover your own style and capture stunning videos. In the next section, we will delve into setting up the camera for optimal video recording, ensuring that you get the best possible footage with the DJI Mini 2.
Setting up the camera for optimal video recording
When it comes to recording video with the DJI Mini 2, setting up the camera correctly is crucial for achieving optimal results. Here are some key steps to ensure you get the best video quality:
1. Camera angle: Adjusting the camera angle is vital for capturing the perfect shot. The DJI Mini 2 allows you to tilt the camera up and down remotely. Experiment with different angles to frame your subject and capture the desired perspective. Consider the rule of thirds and try to balance the composition by placing points of interest off-center.
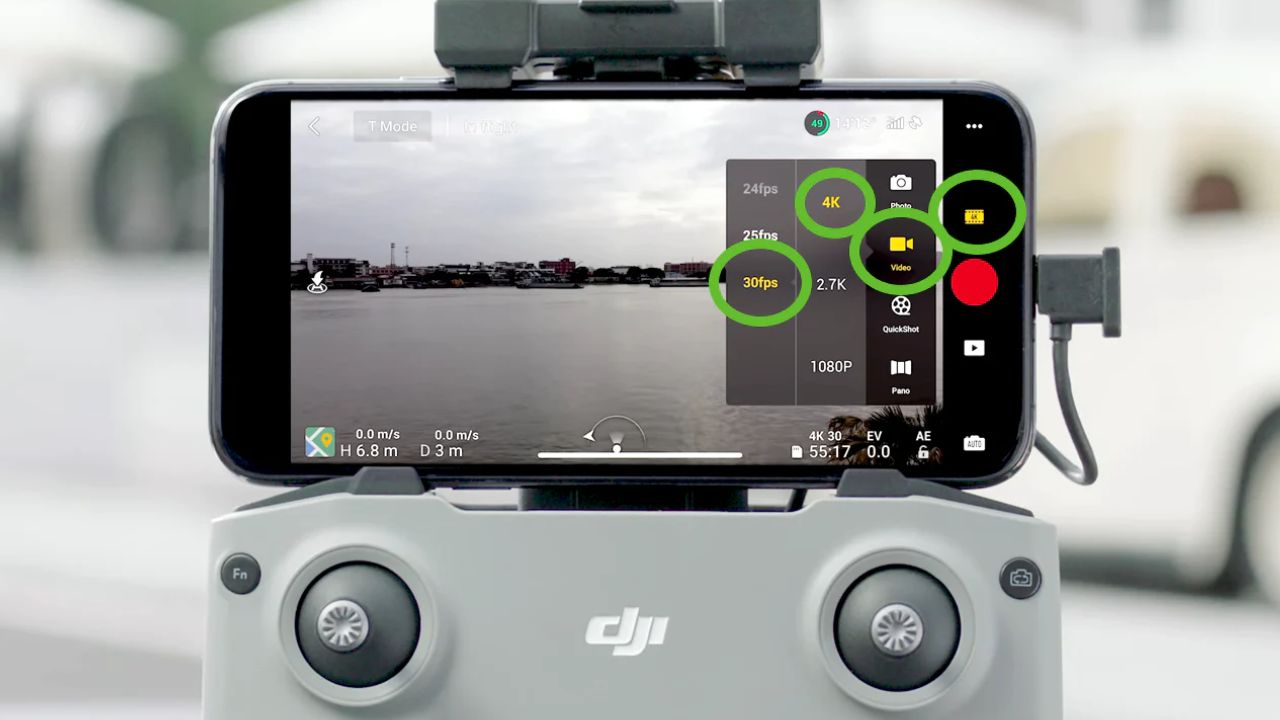
2. Video resolution and frame rate: The DJI Mini 2 provides different video resolution options, ranging from 720p to 4K. Higher resolution settings offer more detail but require more storage space. Choose a resolution that suits your needs and the intended platform for your video. Additionally, select an appropriate frame rate based on the motion in your shot. Higher frame rates like 60 fps are ideal for capturing fast-paced action, while lower frame rates like 24 fps create a more cinematic look.
3. White balance: White balance settings ensure accurate color representation in your videos. The DJI Mini 2 provides several preset white balance options, such as Sunny, Cloudy, Fluorescent, and more. Choose the appropriate setting based on the lighting conditions of your environment, or manually adjust the white balance for precise color reproduction.
4. Exposure settings: Proper exposure is essential for well-lit and balanced videos. The DJI Mini 2 offers a few exposure modes, including Auto, Manual, and Shutter Priority. In Auto mode, the camera adjusts the exposure settings automatically. In Manual mode, you have full control over the exposure settings, including aperture, shutter speed, and ISO. Experiment with different exposure settings to achieve the desired lighting for your shots.
5. ND filters: Neutral Density (ND) filters are accessories that can improve video quality by reducing the amount of light entering the camera. They are particularly useful in bright and sunny conditions, preventing overexposed footage and creating a more cinematic look. Consider using ND filters for outdoor shoots to enhance the overall video quality.
By following these steps and customizing the camera settings to your preferences, you can ensure that the DJI Mini 2 captures high-quality and visually appealing video footage. In the next section, we will explore additional tips for capturing smooth and stable footage, allowing you to elevate the quality of your videos even further.
Adjusting camera settings for best results
When it comes to capturing exceptional video footage with the DJI Mini 2, adjusting the camera settings can make a significant difference in the final results. Here are some key camera settings to consider for achieving the best possible video quality:
1. Contrast, saturation, and sharpness: These settings allow you to fine-tune the overall look of your video. Adjusting the contrast can add depth and richness to your footage, while increasing saturation can make colors pop. Sharpness settings control the level of detail and clarity in your videos. Experiment with these settings to find the balance that suits your desired visual style.
2. ActiveTrack and Follow Me: These intelligent flight modes utilize the Mini 2’s tracking capabilities and enable the drone to track and follow a specific subject. When recording videos, consider using these modes to capture dynamic shots of moving subjects while maintaining a steady and focused frame. This is particularly useful for capturing action sequences or vlogs on the go.
3. Exposure lock and focus lock: Utilizing the exposure lock and focus lock features can help you maintain consistent exposure and focus throughout a scene. By locking the exposure and focus settings on a specific subject or area, you can ensure that the lighting and sharpness remain constant, even if the lighting conditions change or the camera adjusts its focus.
4. Color profiles: The DJI Mini 2 offers different color profiles, such as D-Cinelike and D-Log, which are designed to preserve more dynamic range and allow for greater flexibility in post-processing. These profiles are particularly useful if you plan to color-grade your footage, as they provide a flat and neutral starting point, giving you more control over the final look of your videos.
5. Gridlines and safe zones: Utilizing the gridlines and safe zone settings on the DJI Mini 2 can help you achieve well-balanced and properly framed shots. The gridlines assist in composing your shots using the rule of thirds or other compositional techniques, while the safe zone settings help you ensure that important elements are well within the frame and not cut off.
By adjusting these camera settings according to your shooting requirements and creative vision, you can elevate the quality of your video footage with the DJI Mini 2. In the next section, we will delve into tips for capturing smooth and stable footage, ensuring that your videos are visually appealing and professional-looking.
Tips for capturing smooth and stable footage
One of the keys to capturing professional-looking videos with the DJI Mini 2 is ensuring that your footage is smooth and stable. Here are some tips to help you achieve smooth and stable video footage:
1. Use cinematic movements: Instead of making abrupt or jerky movements with the drone, focus on smooth and gradual movements. This can be achieved by gently controlling the joysticks and avoiding sudden changes in direction. Smooth movements add a cinematic quality to your videos and make them more visually pleasing to the viewer.
2. Optimize the flight speed: Adjusting the flight speed of the drone can significantly impact the smoothness of your footage. Slower flight speeds generally result in smoother shots, especially when filming in tight or confined spaces. Experiment with different flight speeds to find the optimal balance between smoothness and capturing the desired action.
3. Utilize the gimbal’s stabilization: The DJI Mini 2 is equipped with a 3-axis gimbal that helps stabilize the camera during flight. Ensure that the gimbal is calibrated and functioning properly before each flight to maximize its stabilizing effect. This will help reduce unwanted vibrations and ensure smoother footage.
4. Avoid windy conditions: Windy conditions can make it challenging to maintain stability while flying the DJI Mini 2. Whenever possible, choose calm and wind-free days for recording your videos. This will help minimize the effects of wind disturbance on the drone’s flight and result in smoother footage.
5. Plan your shots in advance: Before taking flight, plan your shots and visualize the end result you want to achieve. This includes considering the composition, camera angles, and movements you want to capture. Having a clear plan in mind will help you execute smoother shots and achieve better overall footage.
6. Use post-processing stabilization: If you encounter slight vibrations or shakiness in your footage, you can use video editing software to apply additional stabilization. Many editing programs offer tools and features that can help smooth out footage and improve its overall stability. However, it’s always best to aim for the smoothest footage possible during the recording phase.
By implementing these tips and techniques, you can capture smooth and stable footage with the DJI Mini 2, elevating the overall quality of your videos. In the next section, we will explore how to use the intelligent flight modes of the Mini 2 to add creativity and variety to your video shots.
Using intelligent flight modes for creative video shots
The DJI Mini 2 comes equipped with intelligent flight modes that can help you unleash your creativity and capture unique and dynamic video shots. These modes automate certain flight patterns and maneuvers, allowing you to capture stunning footage with ease. Here are some intelligent flight modes you can use:
1. ActiveTrack: ActiveTrack allows the Mini 2 to track and follow a specific subject, keeping it in frame as it moves. This mode is great for capturing action shots or filming yourself in motion. Simply select the subject on the DJI Fly app, and the Mini 2 will autonomously track and follow it, ensuring smooth and focused footage.
2. Waypoints: Waypoints mode allows you to pre-plan a flight path for the Mini 2 to follow. Select various waypoints on the map in the DJI Fly app, and the drone will fly along the designated points, capturing footage along the way. This mode is ideal for capturing cinematic aerial shots of landscapes or creating time-lapse sequences as the drone moves from one waypoint to another.
3. Point of Interest (POI): Point of Interest mode enables the Mini 2 to circle around a specific point or object of interest, capturing dynamic and visually appealing footage. Simply select the point of interest on the app, and the Mini 2 will autonomously orbit around it at a designated radius. This mode adds a captivating perspective to your videos and is particularly useful for showcasing architectural structures or capturing sweeping panoramic shots.
4. Dronie: Dronie mode is perfect for capturing dramatic and cinematic shots where the drone flies backward and away from the subject while maintaining focus on it. This mode is often used to create stunning reveal shots or add excitement to your videos by showcasing the surroundings as the drone gains altitude.
5. Helix: Helix mode enables the Mini 2 to spiral and ascend around a subject in a smooth and controlled manner. This mode creates visually stunning shots as the drone gradually moves away from the subject while maintaining a central focus. It is particularly useful for capturing dramatic and dynamic shots of landscapes or buildings.
By utilizing these intelligent flight modes, you can add creativity and variety to your video shots, elevating the visual storytelling in your footage. However, it’s important to familiarize yourself with these modes and practice using them in open spaces to ensure safe and controlled flights. In the next section, we will explore how to edit and share your video footage captured with the DJI Mini 2.
Editing and sharing your video footage
Once you have captured stunning video footage with the DJI Mini 2, it’s time to bring your creative vision to life through editing and sharing. Here are some steps to help you with the process:
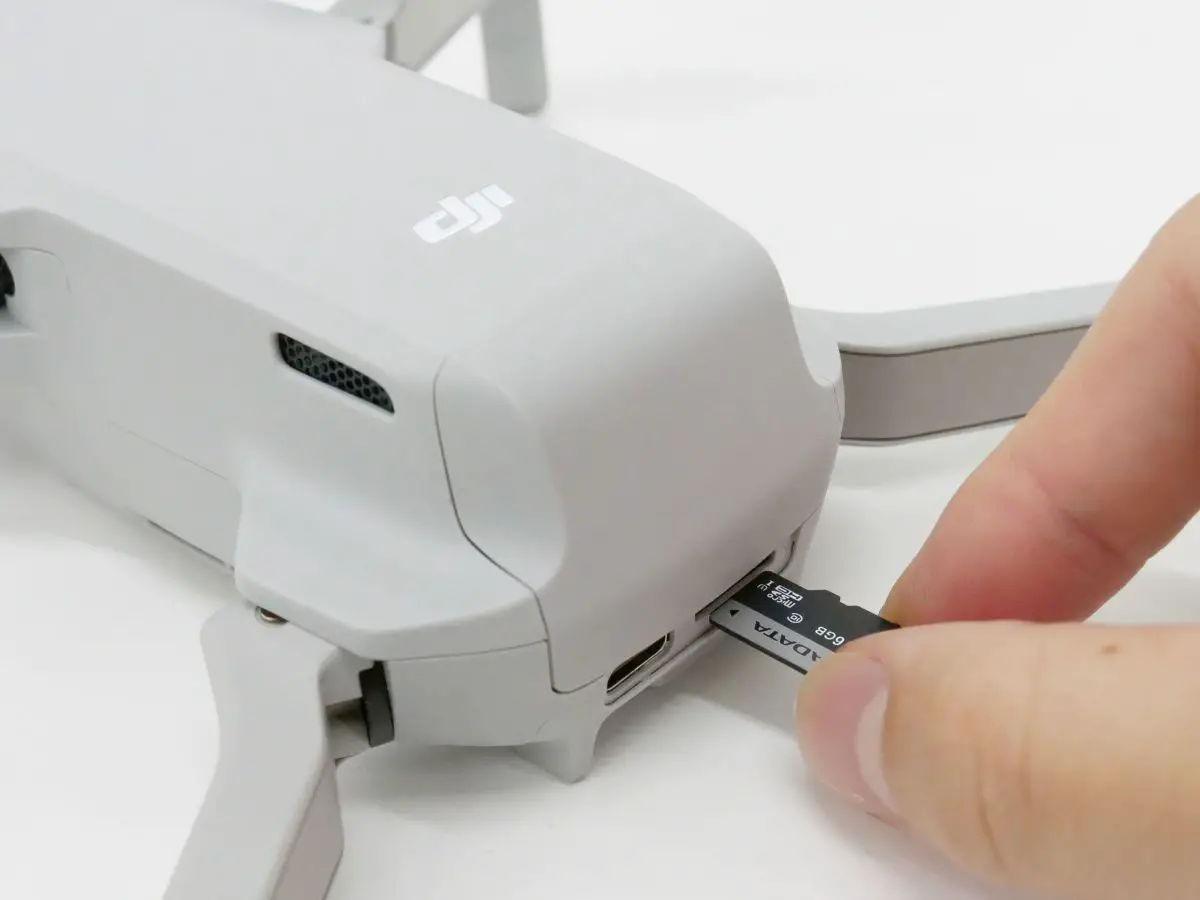
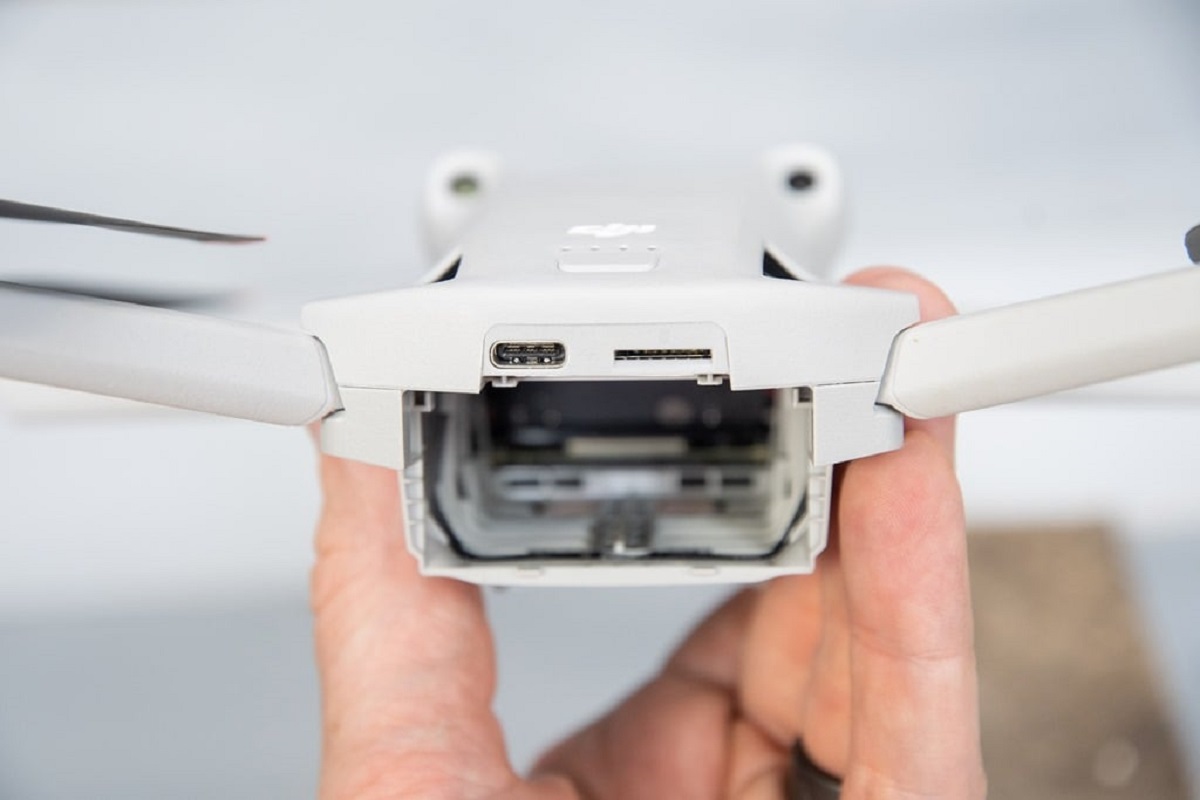
1. Transfer footage: Connect the MicroSD card from the Mini 2 to your computer or use the DJI Fly app to transfer the footage to your mobile device. Ensure that you have enough storage space to accommodate the files.
2. Choose editing software: Select a video editing software that suits your needs and skill level. There are many options available, ranging from beginner-friendly apps to professional-grade software. Look for features that allow you to trim clips, add transitions, apply color grading, and enhance the overall visual quality of your footage.
3. Review footage: Before you start editing, carefully review your footage to identify the best shots and moments to include in your final video. Delete any unwanted or redundant clips to streamline the editing process.
4. Edit and enhance: Start editing your footage by importing it into your chosen editing software. Trim clips, arrange the sequence, and add transitions to create a smooth flow between scenes. Enhance the visual quality by adjusting colors, exposure, and contrast. Consider adding background music, text overlays, and other creative elements to enhance the overall impact of your video.
5. Export and save: Once you are satisfied with your edits, export the final video in a suitable format and resolution. Consider the platform on which you plan to share the video and export accordingly. Save a high-quality version of the video for your records.
6. Share your video: Finally, it’s time to share your masterpiece with the world. Upload your video to popular video sharing platforms like YouTube, Vimeo, or social media platforms. Consider adding relevant tags, descriptions, and thumbnails to attract viewers. You can also share your video with friends, family, or clients through direct file transfers or cloud storage services.
Remember, the editing process is where you can truly unleash your creativity and storytelling skills. Experiment with different techniques, transitions, and effects to personalize your video and make it stand out. Regularly practice and seek feedback to continuously improve your editing skills.
With these steps, you can edit and share your video footage captured with the DJI Mini 2, showcasing your creativity and storytelling abilities. In the final section, we will address common recording issues and provide troubleshooting tips to help you overcome them.
Troubleshooting common recording issues
While using the DJI Mini 2 to record video, you may encounter some common issues that can affect your footage. Here are some troubleshooting tips to help you overcome these challenges:
1. Shaky footage: If your footage appears shaky or unstable, ensure that the gimbal is properly calibrated and the drone is flying in suitable weather conditions. Avoid flying in windy environments and activate the Mini 2’s built-in stabilization features, such as RockSteady or electronic image stabilization (EIS), if available.
2. Overexposed or underexposed shots: To avoid overexposed or underexposed shots, adjust the exposure settings of the camera manually or use the auto exposure mode to let the Mini 2 determine the optimal settings. Consider using ND filters in bright lighting conditions to control the amount of light entering the camera and ensure well-balanced exposure.
3. Flickering or banding: Flickering or banding in your footage can occur when filming under certain artificial lighting conditions, such as fluorescent or LED lights that have a different refresh rate than the camera’s settings. To reduce or eliminate flickering, adjust the camera’s shutter speed or choose a different lighting environment if possible.
4. Low video resolution: If your recorded videos have lower resolution than expected, double-check the camera settings to ensure that you have selected the desired video resolution. Additionally, confirm that your MicroSD card has sufficient storage space to accommodate the chosen resolution. If necessary, format the SD card or replace it with a higher-capacity option.
5. Audio quality issues: If you are experiencing audio issues such as poor sound quality or unwanted noise in your recordings, ensure that the microphone is not obstructed and is properly positioned. Consider using an external microphone for better audio capture and monitor audio levels to avoid distortion or clipping.
6. GPS signal loss: GPS signal loss can disrupt the stability and control of the drone, affecting the quality of your footage. When facing GPS signal issues, ensure that you are flying in an open area with a clear view of the sky. Avoid flying near tall buildings or areas with heavy interference. If needed, recalibrate the compass and restart both the drone and the controller to establish a stable GPS connection.
If you continue to experience issues with your recordings, consult the DJI Mini 2’s user manual for specific troubleshooting steps or reach out to DJI customer support for further assistance. Regularly updating the firmware of the Mini 2, controller, and app can also help resolve potential software-related issues.
By following these troubleshooting tips, you can overcome common recording issues and ensure that your video footage with the DJI Mini 2 is of the highest quality. Now, let’s wrap up this guide and see the endless possibilities that await as you embark on your aerial videography journey!
Conclusion
Recording video with the DJI Mini 2 opens up a world of creative possibilities and allows you to capture stunning aerial footage from a unique perspective. By following the steps outlined in this guide, you can maximize your recording experience and achieve professional-looking results.
We began by getting started with the DJI Mini 2, familiarizing ourselves with the drone and its controls. Understanding the different recording modes then allowed us to explore various ways to capture footage for different scenarios and creative preferences.
We learned how to set up the camera for optimal video recording, adjusting settings such as camera angle, resolution, white balance, and exposure to ensure the best video quality. By following these steps, you can capture breathtaking footage with the Mini 2.
Additionally, we discussed tips for capturing smooth and stable footage, including using cinematic movements, optimizing flight speed, and utilizing the gimbal’s stabilization. These techniques are essential in achieving professional and visually stunning results.
We also explored the intelligent flight modes of the DJI Mini 2, allowing for creative and dynamic shots that can elevate your videos to new heights. By utilizing features like ActiveTrack, Waypoints, and Point of Interest, you can capture unique perspectives and add excitement to your footage.
Editing and sharing your video footage is the final step in the process. We discussed transferring the footage, choosing editing software, reviewing and editing the footage, and finally, sharing your videos with the world. The editing process allows you to add your personal touch and enhance the overall quality of your videos.
Lastly, we addressed common recording issues and provided troubleshooting tips to overcome them. By following these guidelines, you can troubleshoot and overcome challenges that may arise during your recording sessions.
Now armed with the knowledge and understanding of recording video with the DJI Mini 2, it’s time to let your creativity soar. Experiment, practice, and continue to refine your skills to capture breathtaking footage that tells your unique story.
So, what are you waiting for? Grab your DJI Mini 2, take to the skies, and start recording amazing videos that will leave a lasting impression. Happy flying and happy recording!