Introduction
Welcome to this guide on how to charge your DJI Mini 2 drone! As a proud owner of this compact and powerful drone, ensuring that your battery is properly charged is crucial for a seamless flying experience. In this article, we will explore different charging methods and provide you with valuable tips to help you optimize your charging process and extend the lifespan of your battery.
The DJI Mini 2 comes with an intelligent flight battery that is both lightweight and durable, allowing you to enjoy longer flight times. Depending on your charging preferences and the available equipment, you can choose between various charging methods such as using a USB-C cable, a battery charging hub, a charging base, or even a power bank.
Properly charging your DJI Mini 2’s battery is essential not only for maximizing flight time but also for maintaining the overall health of the battery. By following the correct charging procedures and adhering to some essential battery maintenance tips, you can ensure that your drone is always ready to take flight when you need it.
In the following sections, we will discuss each charging method in detail, providing you with step-by-step instructions and important considerations. Whether you’re a seasoned drone pilot or a beginner just getting started with your DJI Mini 2, this comprehensive guide will help you charge your drone effectively and keep it in optimal condition.
So, let’s dive into the world of DJI Mini 2 charging methods and explore the possibilities of ensuring uninterrupted flight time and a long-lasting battery!
Checking the Battery Level
Before you begin the charging process, it’s important to check the battery level of your DJI Mini 2. This allows you to determine how much charge is left and estimate the time required for a full charge.
To check the battery level, follow these steps:
- Turn on your DJI Mini 2 by pressing the power button once and then press it again and hold it for a few seconds until the aircraft powers on.
- Launch the DJI Fly app on your smartphone or tablet and connect it to your drone.
- Once connected, the app will display the battery level on the main screen. You can find it in the top right corner of the app interface.
The battery level will be represented in percentage, giving you a clear indication of how much charge is remaining. It’s advisable to charge your drone when the battery level falls below 20% to ensure you have enough power for your next flight.
Additionally, DJI Mini 2’s intelligent flight battery comes with built-in LED indicators to show the battery status. To check the battery level without using the app, press and release the power button on the battery once. The LED indicators will light up to indicate the current charge level.
Remember, it’s always a good practice to check the battery level before each flight and before initiating the charging process. This allows you to plan your flights and ensure that your DJI Mini 2 is fully charged for your next aerial adventure.
Charging via USB-C Cable
Charging your DJI Mini 2 via USB-C cable is one of the most convenient and straightforward methods. This method allows you to connect your drone directly to a power source such as a computer, wall adapter, or power bank to charge the battery.
To charge your DJI Mini 2 using a USB-C cable, follow these steps:
- Ensure that your DJI Mini 2 is powered off by pressing and holding the power button for a few seconds until all the indicators turn off.
- Locate the USB-C port on the side of the DJI Mini 2 battery. Make sure to remove the battery from the drone before proceeding with the charging process.
- Connect one end of the USB-C cable to the USB-C port on the battery.
- Connect the other end of the USB-C cable to a power source. This can be a computer’s USB port, a wall adapter, or a power bank.
- Once connected, the battery LED indicators will start blinking to indicate that the charging process has begun.
- Allow the battery to charge until the LED indicators turn solid, indicating that the battery is fully charged.
- Disconnect the USB-C cable from the battery and reconnect it to the DJI Mini 2 drone.
- You are now ready to power on your DJI Mini 2 and enjoy your next flight with a fully charged battery!
It’s important to note that when charging your DJI Mini 2 via USB-C cable, make sure to use a high-quality cable and a reliable power source. This helps ensure a stable charging process and prevents any potential damage to the battery or the drone.
Charging via USB-C cable is a convenient option when you have access to a power source, making it ideal for charging at home, in the office, or even on the go using a portable power bank. Always remember to monitor the charging process and disconnect the battery once it’s fully charged to avoid overcharging.
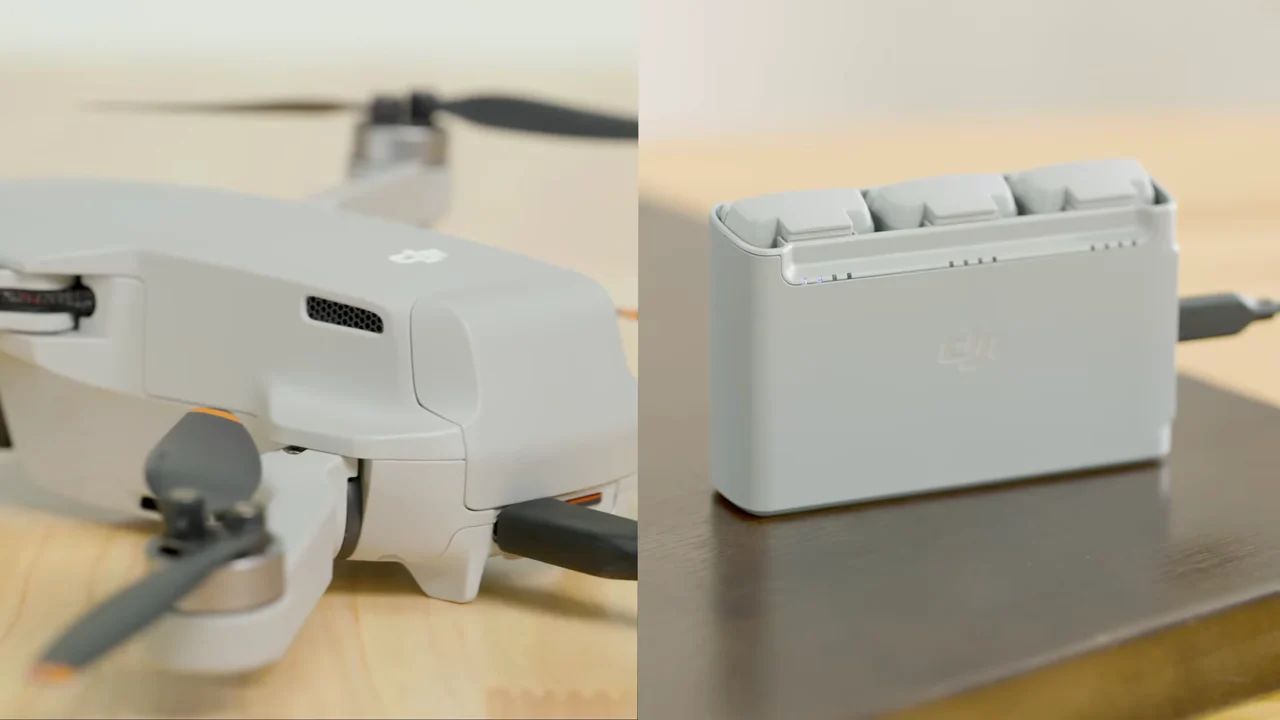
Charging with the Battery Charging Hub
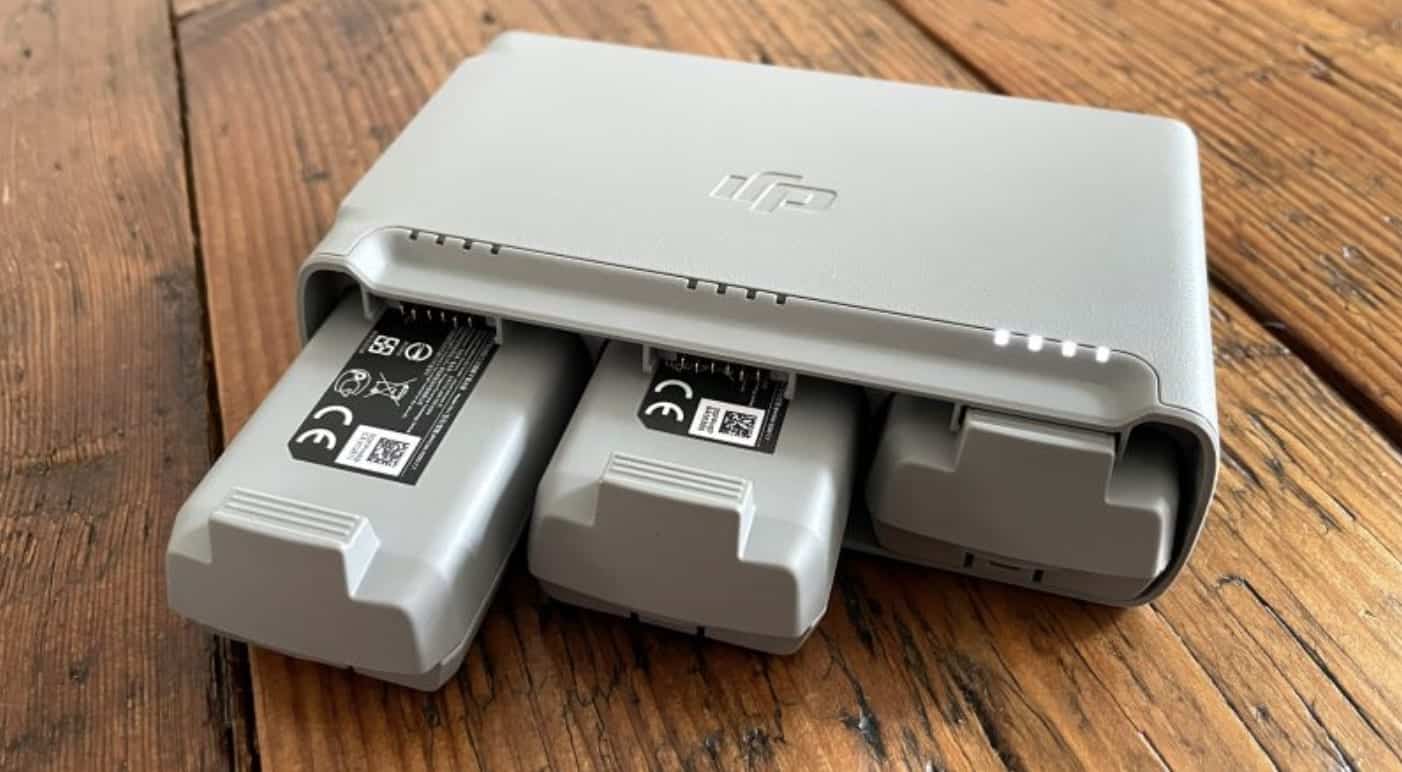
If you have multiple batteries for your DJI Mini 2 and want to charge them simultaneously, the battery charging hub is a convenient solution. The charging hub allows you to charge up to three batteries sequentially, ensuring that you have multiple fully charged batteries for extended flight sessions.
To charge your DJI Mini 2 batteries using the battery charging hub, follow these steps:
- Make sure the battery charging hub is connected to a power source using the included power adapter.
- Insert the batteries into the battery charging hub slots. Pay attention to the correct orientation and ensure a secure connection.
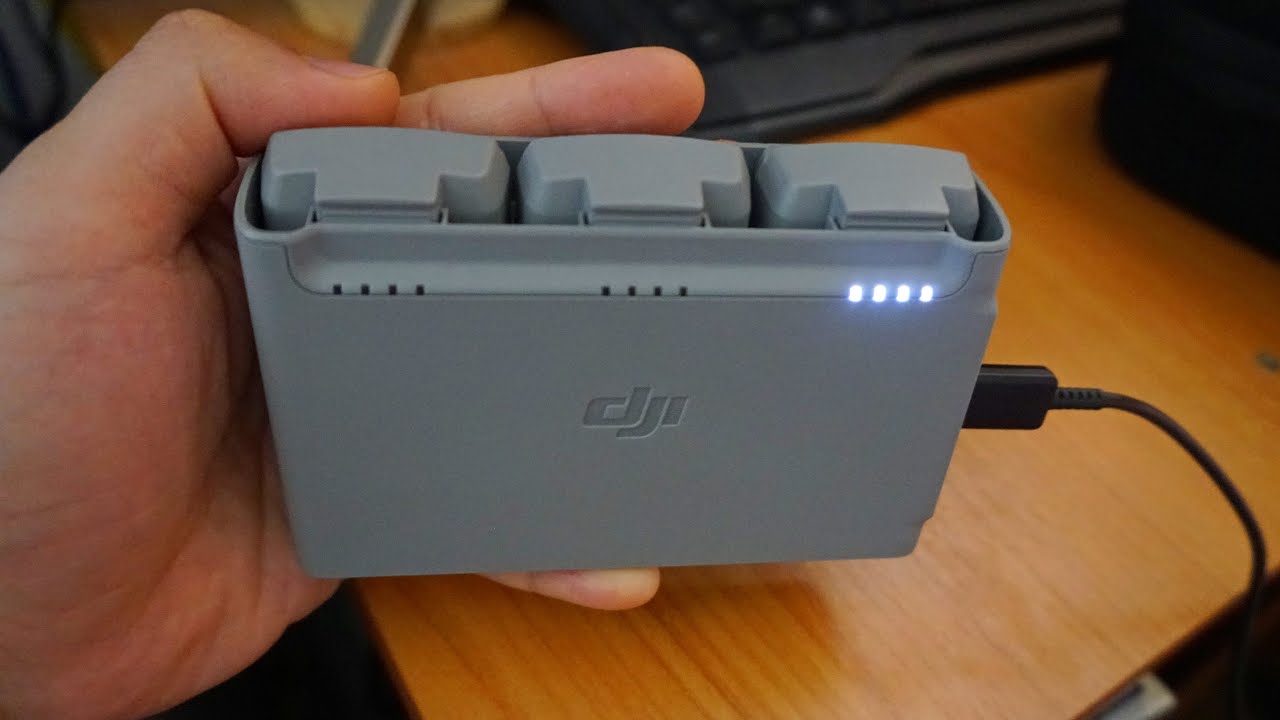
- Once the batteries are inserted, the LED indicators on the charging hub will illuminate, indicating that the charging process has begun.
- Allow the batteries to charge until the LED indicators turn solid green, indicating that the batteries are fully charged.
- Once the batteries are fully charged, remove them from the charging hub.
- You can now insert each fully charged battery into your DJI Mini 2 when needed, ensuring a continuous flying experience.
The battery charging hub automatically charges the batteries in sequence, ensuring that each battery receives the required charge without overloading the hub. This feature provides convenience and peace of mind, knowing that your batteries are being properly charged and ready to use.
It’s worth noting that the battery charging hub prioritizes charging the battery with the highest remaining charge. This means that if you have batteries with different remaining capacities, the charging hub will first charge the battery with the highest remaining charge and then proceed with the other batteries accordingly.
The battery charging hub is an excellent investment for drone enthusiasts who want to maximize their flight time without waiting for individual batteries to charge. It simplifies the charging process and ensures that you always have fully charged batteries on hand for your aerial adventures.
Charging with the Charging Base
The charging base is an optional accessory for the DJI Mini 2 that offers a convenient and stylish way to charge your drone’s battery. The charging base provides a dedicated platform for the battery, allowing you to charge it while keeping your drone safely stored or displayed.
To charge your DJI Mini 2 battery using the charging base, follow these steps:
- Place the charging base on a stable and level surface.
- Position the battery on the charging base, aligning the battery contacts with the charging base connectors.
- The LED indicators on the charging base will illuminate, indicating that the charging process has begun.
- Allow the battery to charge until the LED indicators turn solid green, indicating that the battery is fully charged.
- Once the battery is fully charged, remove it from the charging base.
The charging base provides a secure and stable platform to charge your DJI Mini 2 battery. It not only charges your battery efficiently but also serves as a convenient storage and display stand for your drone when not in use.
The charging base is designed to prevent overcharging by automatically stopping the charging process once the battery reaches full capacity. This protects the battery and optimizes its longevity.
Using the charging base is not only a practical way to charge your DJI Mini 2 battery but also adds an aesthetic touch to your drone setup. It allows you to keep your battery organized and easily accessible while adding a sleek and stylish element to your charging routine.
Whether you’re charging your battery for your next flight adventure or displaying your drone on the charging base as a centerpiece, this charging method offers both functionality and visual appeal.
Charging with a Power Bank
When you’re on the go and don’t have access to a traditional power source, charging your DJI Mini 2 battery with a power bank can be a convenient option. A power bank allows you to charge your drone battery anywhere, giving you the flexibility to extend your flight time even when you’re away from electrical outlets.
To charge your DJI Mini 2 battery using a power bank, follow these steps:
- Ensure that your power bank is fully charged.
- Connect one end of the USB-C cable to the USB-C port on the DJI Mini 2 battery.
- Connect the other end of the USB-C cable to the USB port on the power bank.
- Power on the power bank, if it has a separate power button or switch.
- The battery LED indicators on the DJI Mini 2 battery will start blinking, indicating that the charging process has begun.
- Allow the battery to charge until the LED indicators turn solid, indicating that the battery is fully charged.
- Disconnect the USB-C cable from the power bank and reconnect it to the DJI Mini 2 drone.
- Now you can power on your DJI Mini 2 and enjoy flying with a fully charged battery!
Using a power bank to charge your DJI Mini 2 battery provides convenience and portability. It ensures that you can charge your battery even in remote locations, during outdoor adventures, or when traveling without access to traditional power outlets.
When choosing a power bank, consider its capacity and output power. Opt for a power bank with a higher capacity to ensure that you have enough power to charge your drone battery fully. Additionally, look for a power bank with a USB-C output port that can deliver sufficient power to charge your DJI Mini 2 battery effectively.
Keep in mind that charging your DJI Mini 2 battery with a power bank might take longer compared to other charging methods, depending on the power bank’s capacity and output. Therefore, it’s a good practice to carry a fully charged power bank with you to ensure that you can charge your battery whenever needed.
Charging your DJI Mini 2 battery with a power bank offers flexibility and convenience, allowing you to extend your flight time and capture breathtaking aerial shots, even in remote locations.
Using the DJI Mini 2’s Intelligent Flight Battery
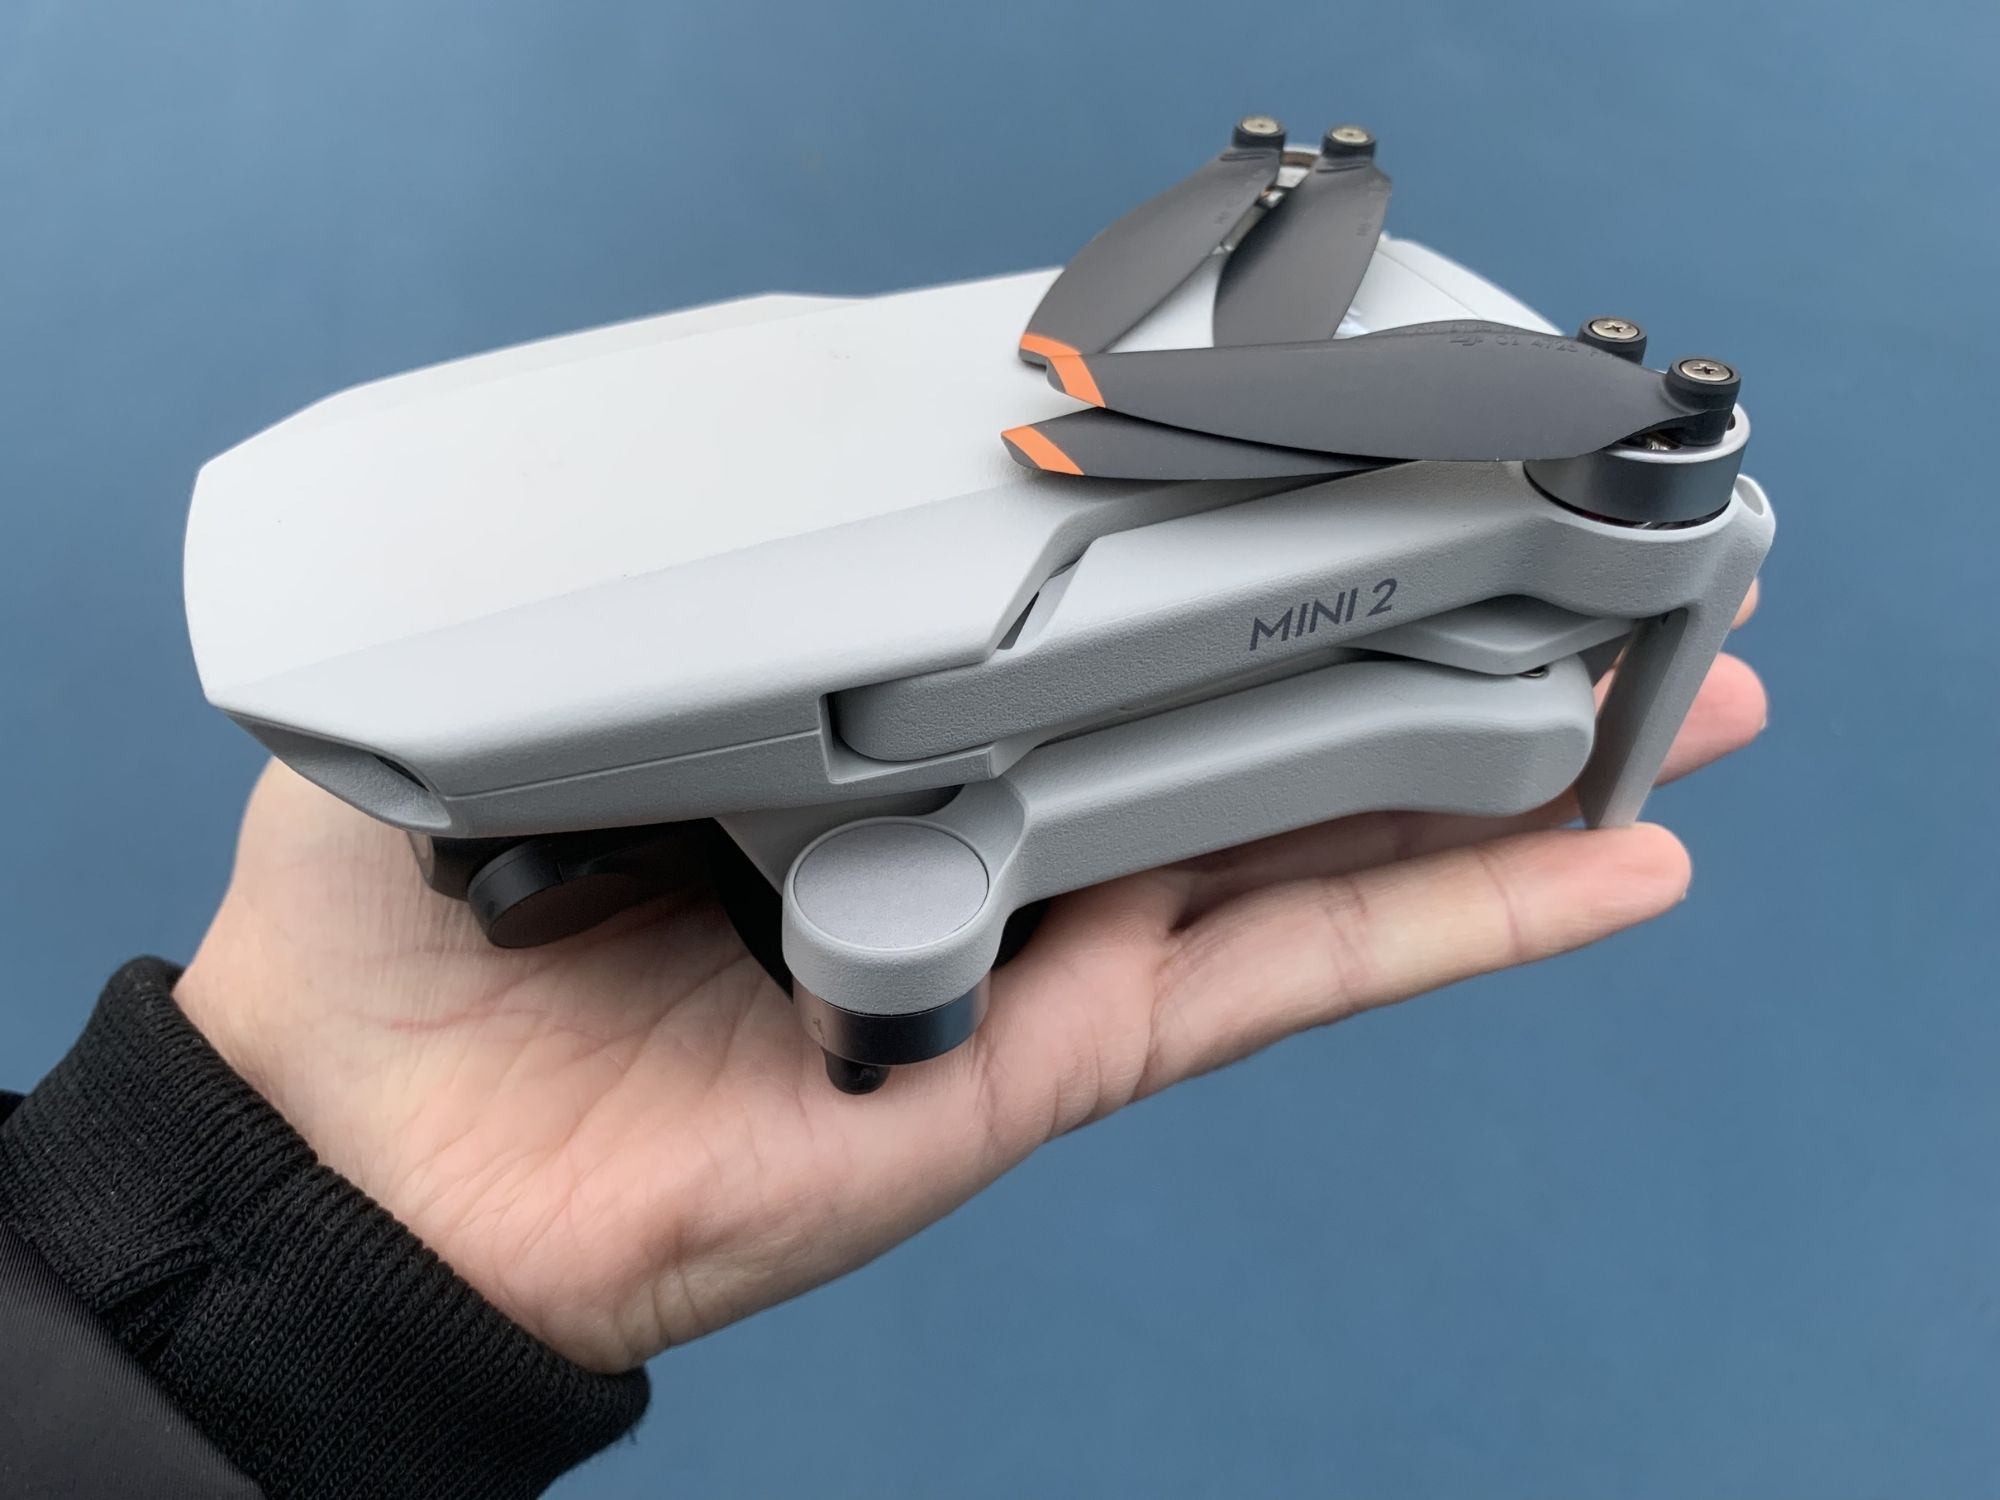
The DJI Mini 2 is equipped with an intelligent flight battery that is designed to provide optimal power and performance for your drone. Understanding how to use and handle the battery properly is essential for safe and efficient operation of your DJI Mini 2.
To use the DJI Mini 2’s intelligent flight battery, follow these guidelines:
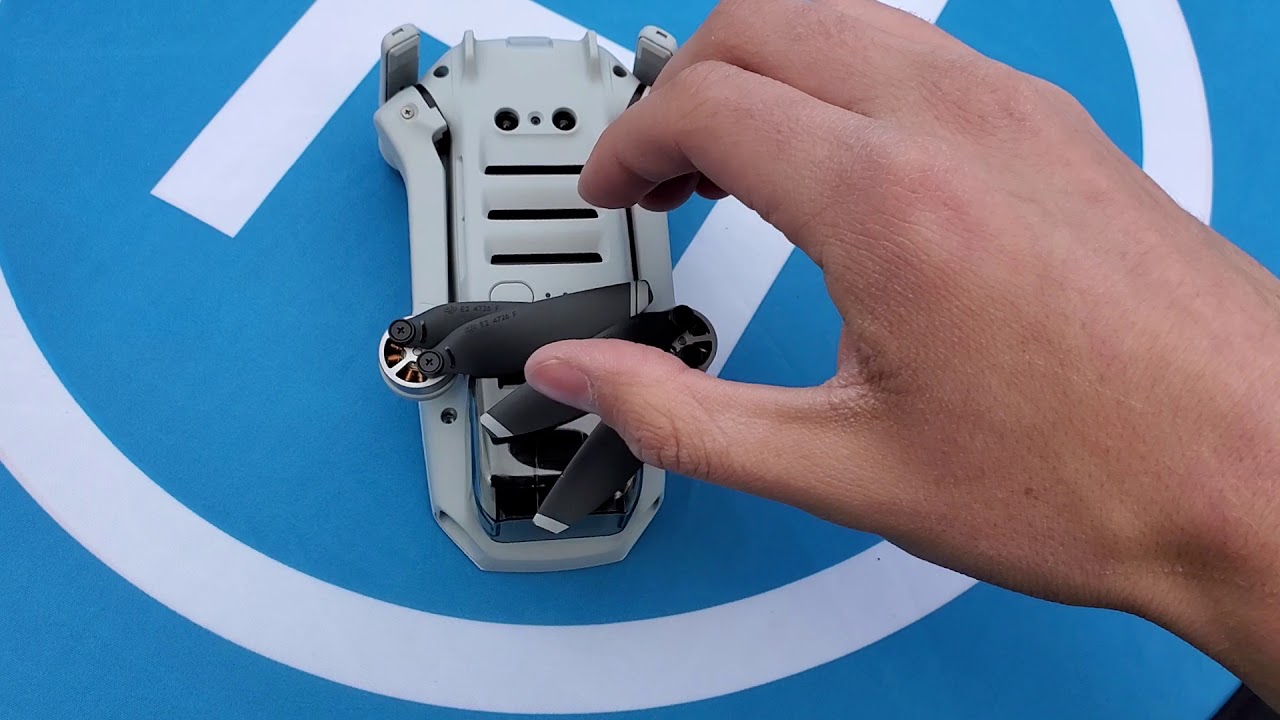
- Before inserting the battery into the drone, ensure that the power switch on the battery is in the off position. This prevents accidental power-ups during the charging or storage process.
- Slide the battery into the battery compartment of the DJI Mini 2 until it clicks into place. Make sure the battery is securely seated in the compartment before proceeding.
- Press and hold the power button on the battery for a few seconds until the battery LED indicators light up. This indicates that the battery is powering on and is ready to be used.
- After using your DJI Mini 2, power off the battery by pressing and holding the power button until the LED indicators turn off.
- When not using the drone for an extended period, it’s recommended to store the battery with a charge level between 40-65%. This helps to maintain the optimal battery health and longevity.
- Store the battery in a cool, dry place away from direct sunlight and extreme temperatures. Avoid exposing the battery to water or humidity.
- Always carry extra fully charged batteries with you when flying your DJI Mini 2. This ensures that you have an extended flight time and allows you to quickly swap out batteries for continuous flying.
- Inspect the battery regularly for any signs of physical damage, swelling, or leakage. If you notice any abnormalities, stop using the battery and contact DJI support for assistance.
By following these guidelines, you can effectively use and maintain the DJI Mini 2’s intelligent flight battery. Taking proper care of the battery ensures its longevity and preserves its performance, allowing you to enjoy extended flights and capture stunning aerial footage.
Remember to always refer to the DJI Mini 2’s user manual and the manufacturer’s guidelines for specific instructions on battery usage and maintenance. This will help you stay informed and ensure that you get the most out of your drone’s battery.
Monitoring the Charging Process
Monitoring the charging process of your DJI Mini 2’s battery is crucial to ensure that it charges properly and to avoid any potential issues. By keeping an eye on the charging progress, you can identify any abnormalities and take necessary actions to rectify them.
Here are a few tips to help you effectively monitor the charging process:
- Keep an eye on the LED indicators on the battery or charging device. The LED indicators provide valuable information about the charging status. Typically, blinking LED lights indicate that the battery is charging, while solid LED lights indicate that the battery is fully charged.
- If your DJI Mini 2 battery comes with a DJI Fly app, use the app to monitor the charging progress. Connect your smartphone or tablet to the drone and open the app. The app will display the battery level and the estimated time remaining for a full charge.
- Periodically check the temperature of the battery during the charging process. If the battery becomes excessively warm or hot to the touch, it may indicate an issue. Immediately disconnect the charging source and allow the battery to cool down before resuming charging.
- Pay attention to any unusual smells or sounds during the charging process. If you notice anything out of the ordinary, stop charging immediately and inspect the battery for any signs of damage or malfunction.
- Regularly inspect the charging cables and connectors for any signs of wear or damage. Damaged cables can affect the charging process and may pose a safety risk. Replace any damaged cables or connectors before continuing to charge your DJI Mini 2 battery.
It’s essential to maintain a safe charging environment by keeping flammable materials away from the charging area and avoiding charging in excessively hot or humid conditions. This helps to prevent any potential damage to the battery and ensures a safe charging process.
By closely monitoring the charging process and being attentive to any signs of irregularities, you can avoid potential problems and ensure that your DJI Mini 2 battery charges efficiently. Regular monitoring helps maintain the battery’s performance, extend its lifespan, and promote safe and trouble-free flying experiences.
Tips for Charging and Battery Maintenance
To ensure that your DJI Mini 2 battery remains in optimal condition and provides reliable performance, here are some valuable tips for charging and battery maintenance:
- Always use genuine DJI Mini 2 batteries and charging accessories. Using third-party batteries and chargers may not only damage the battery but also void any warranties.
- Avoid leaving the battery fully discharged for an extended period. If you’re not planning to use the drone for a while, charge the battery to around 40-65% before storing it.
- Allow the battery to cool down after a flight before initiating the charging process. Charging a hot battery can impact its performance and longevity.
- Keep the battery and charging equipment clean and free from dust, dirt, and debris. Use a soft cloth to wipe down the battery and connectors regularly.
- Avoid overcharging the battery. Once the battery reaches a full charge, disconnect it from the charging source promptly. Overcharging can degrade the battery’s performance and lifespan.
- If you’re storing the battery for an extended period, charge it to around 40-65%. This helps prevent over-discharge and maintains the battery’s health during storage.
- Keep the battery away from extreme temperatures. Avoid charging or storing the battery in excessively hot or cold environments.
- Do not expose the battery to water or other liquids. Keep it dry at all times to prevent damage to the battery and potential safety hazards.
- Regularly update the firmware of your DJI Mini 2 and its accessories. Firmware updates often include battery performance enhancements and safety improvements.
- Inspect the battery regularly for any signs of damage, swelling, or leakage. If you notice any abnormalities, stop using the battery immediately and contact DJI support for assistance.
Following these tips will help you maintain the battery’s performance, extend its lifespan, and ensure safe and reliable operation of your DJI Mini 2. Proper care and maintenance not only enhance your flying experience but also protect your investment in the drone.
Always refer to the DJI Mini 2 user manual for specific instructions on charging, battery maintenance, and safety guidelines. Adhering to the manufacturer’s recommendations will help you optimize the battery’s performance and ensure long-lasting enjoyment of your DJI Mini 2 drone.
Conclusion
Charging your DJI Mini 2 drone is essential for uninterrupted flights and capturing those breathtaking aerial shots. By following the right charging methods and maintaining the battery properly, you can ensure optimal performance and longevity of your drone’s battery.
In this guide, we explored various charging methods, including charging via USB-C cable, using the battery charging hub, utilizing the charging base, and charging with a power bank. Each method has its advantages and is suited for different situations. Whether you’re at home, on the go, or want a stylish display and charging solution, there’s an option for you.
We also discussed the importance of monitoring the charging process, checking the battery level, and practicing battery maintenance. By paying attention to the LED indicators, keeping the battery at an appropriate charge level during storage, and following recommended practices, you can ensure the battery’s overall health and safety.
Additionally, we provided valuable tips such as using genuine DJI Mini 2 batteries, avoiding overcharging, and inspecting the battery for any signs of damage. These tips, along with regular firmware updates and adhering to safety guidelines, will contribute to a smooth and enjoyable flying experience.
Remember to always consult the DJI Mini 2 user manual for specific instructions regarding your battery and follow the manufacturer’s guidelines. This will help you get the most out of your DJI Mini 2 drone and its intelligent flight battery.
Now that you have a comprehensive understanding of how to charge and maintain your DJI Mini 2 battery, you’re ready to embark on exciting aerial adventures. So go ahead, charge up, and take to the skies with your DJI Mini 2 for unforgettable drone experiences!