Introduction
When it comes to aerial photography and videography, the DJI Mini 2 drone is a popular choice among enthusiasts and professionals alike. Packed with advanced features and a compact design, it offers an incredible flying experience. But before taking to the skies, it is essential to ensure that the DJI Mini 2 is fully charged and ready for action.
In this article, we will guide you on how to determine if your DJI Mini 2 is fully charged. We will cover various methods, including checking the LED lights, monitoring the battery icon in the DJI Fly app, and using the battery meter on the remote controller. Additionally, we will provide tips on properly charging your DJI Mini 2 to maximize its battery life and answer some frequently asked questions regarding the battery and charging process.
Whether you are a seasoned pilot or new to the world of drones, knowing when your DJI Mini 2 is fully charged is crucial for a successful and worry-free flight. So, let’s dive into the details and ensure that your DJI Mini 2 is always ready to soar through the skies!
Understanding DJI Mini 2’s Battery Indicator
Before we explore the methods to determine if the DJI Mini 2 is charged, it is important to understand the drone’s battery indicator. The DJI Mini 2 utilizes a combination of LED lights, the DJI Fly app, and the battery meter on the remote controller to provide accurate battery level information. Familiarizing yourself with these indicators will help you keep track of the battery status during your drone flights.
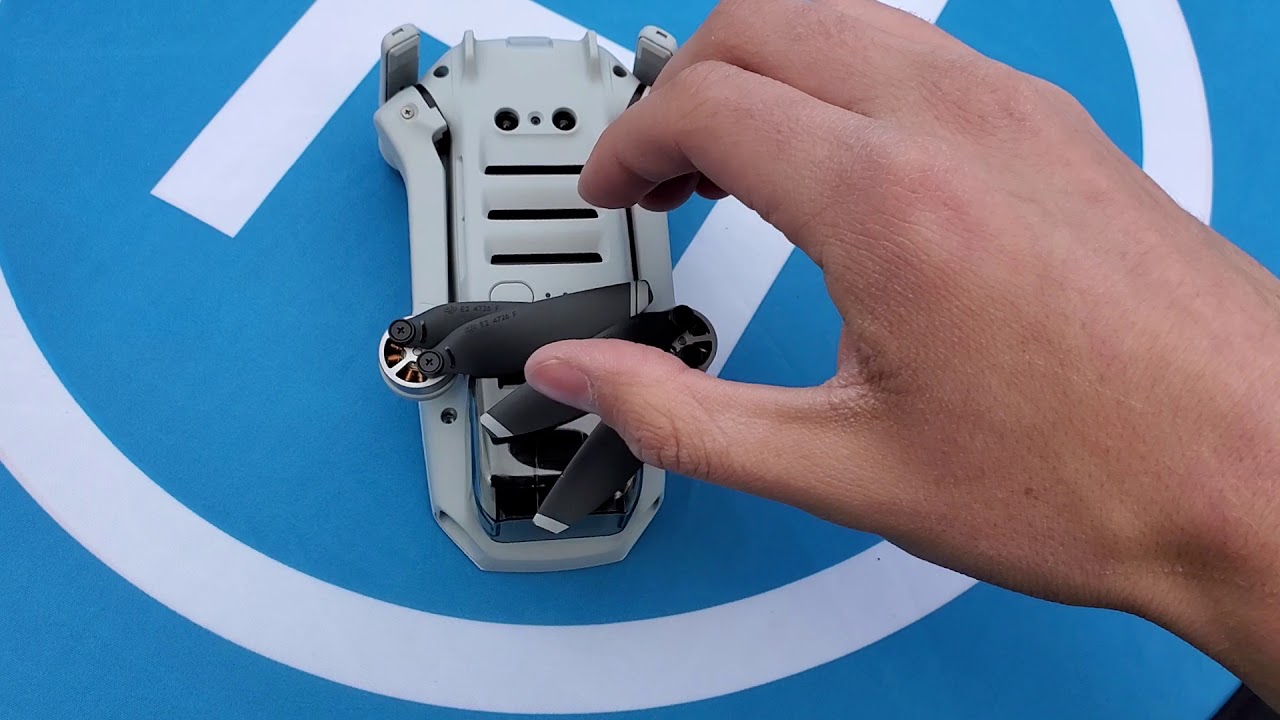
The DJI Mini 2’s battery indicator is located on the top side of the drone’s battery. It consists of four LED lights, each representing approximately 25% of the battery capacity. When the drone is powered off, pressing the power button briefly will show you the current battery level using these LED lights.
Here is a breakdown of the DJI Mini 2’s battery levels indicated by the LED lights:
- Four Solid Green Lights: This indicates that the battery is fully charged, offering approximately 75% to 100% of the total capacity.
- Three Solid Green Lights: When three green lights are displayed, it means the battery is around 50% to 75% charged.
- Two Solid Green Lights: Two solid green lights indicate that the battery is around 25% to 50% charged.
- One Solid Green Light: When only one green light is illuminated, it means the battery is critically low, with approximately 0% to 25% charge remaining. It is advisable to land the drone and charge the battery as soon as possible.
- Flashing Red Light: A flashing red light signifies that the battery level is extremely low, and the drone will automatically land soon. It is crucial to land the drone immediately to prevent a forced landing.
Remember that the LED lights on the DJI Mini 2’s battery provide a quick overview of the current battery level, but for more accurate and detailed information, we will explore additional methods in the following sections.
Checking the LED Lights
One of the simplest ways to determine if your DJI Mini 2 is fully charged is by checking the LED lights on the drone’s battery itself. As mentioned earlier, the LED lights on the battery provide a quick visual indication of the battery’s current level of charge. Here’s how you can check the LED lights:
- Make sure the DJI Mini 2 is powered off and the battery is securely connected to the drone.
- Press the power button briefly on the battery. The LED lights will illuminate to indicate the battery level.
- If all four LED lights are solid green, it means the battery is fully charged, offering approximately 75% to 100% of its total capacity.
- If only three green lights are illuminated, the battery is around 50% to 75% charged.
- If two green lights are displayed, it indicates that the battery is around 25% to 50% charged.
- If only one green light is illuminated, the battery is critically low, with approximately 0% to 25% charge remaining. It is advisable to land the drone and charge the battery as soon as possible.
- If the LED lights are flashing red, it signifies an extremely low battery level, and the drone will automatically initiate a landing. It is crucial to land the drone immediately to prevent a forced landing.
Checking the LED lights on the DJI Mini 2’s battery provides a quick and convenient way to gauge the battery level before or during a flight. However, for more precise and detailed information, we will explore additional methods in the following sections.
Monitoring the Battery Icon in the DJI Fly App
In addition to checking the LED lights on the DJI Mini 2’s battery, another method to determine the battery level is by monitoring the battery icon in the DJI Fly app. The DJI Fly app provides a comprehensive interface that displays real-time information about your drone, including the battery status. Here’s how you can monitor the battery icon in the DJI Fly app:
- Ensure that your DJI Mini 2 is connected to your smartphone or tablet via Wi-Fi or cable, and the DJI Fly app is launched.
- Once you’re in the app, locate the battery icon, usually displayed in the top right or left corner of the screen.
- The battery icon will depict the current battery level using a visual representation, such as a filled battery or a battery with a percentage displayed next to it.
- If the battery icon shows a full battery or a high percentage, it means the battery is fully charged or has a significant amount of charge remaining.
- If the battery icon shows a lower percentage, it indicates that the battery is partially depleted.
- If the battery icon shows a low percentage or a flashing battery icon, it signifies that the battery is critically low, and you should land the drone immediately and recharge the battery.
The battery icon in the DJI Fly app provides a convenient way to monitor the battery level during your drone flights. Make sure to keep an eye on it to ensure you have enough power for your planned flight duration.
Using the Battery Meter on the Remote Controller
In addition to checking the LED lights on the DJI Mini 2’s battery and monitoring the battery icon in the DJI Fly app, you can also utilize the battery meter on the remote controller to determine the battery level. The remote controller provides a convenient way to keep track of your drone’s battery status without having to rely on external devices. Here’s how you can use the battery meter on the remote controller:
- Ensure that your DJI Mini 2 and the remote controller are both powered on and connected.
- Look for the battery meter on the remote controller. It is usually located near the top or bottom of the controller, displaying the current battery level.
- The battery meter may show the battery level using either a visual representation, such as bars or a percentage, or it may even have a combination of both.
- A full battery meter or a high percentage indicates that the battery is fully charged or has a substantial amount of charge remaining.
- If the battery meter indicates a lower level or fewer bars, it suggests that the battery is partially depleted.
- If the battery meter shows a low level or starts flashing, it is a sign that the battery is critically low, and you should land the drone immediately and recharge the battery.
The battery meter on the remote controller provides a quick and easily accessible way to check the drone’s battery level while flying. Always keep an eye on the battery meter to ensure you have enough power for a safe and uninterrupted flight.
Charging the DJI Mini 2 Properly
To ensure the longevity and optimal performance of your DJI Mini 2’s battery, it is crucial to follow proper charging practices. Here are some essential tips for charging your DJI Mini 2:
- Use the included DJI Mini 2 Charger: It is recommended to use the original charger provided by DJI for charging your drone. Using third-party chargers may affect the battery’s performance and lead to potential safety issues.
- Confirm a Stable Power Source: Connect the charger to a stable power source like a wall outlet. Avoid using power banks or portable chargers as they may not provide a consistent and reliable power supply.
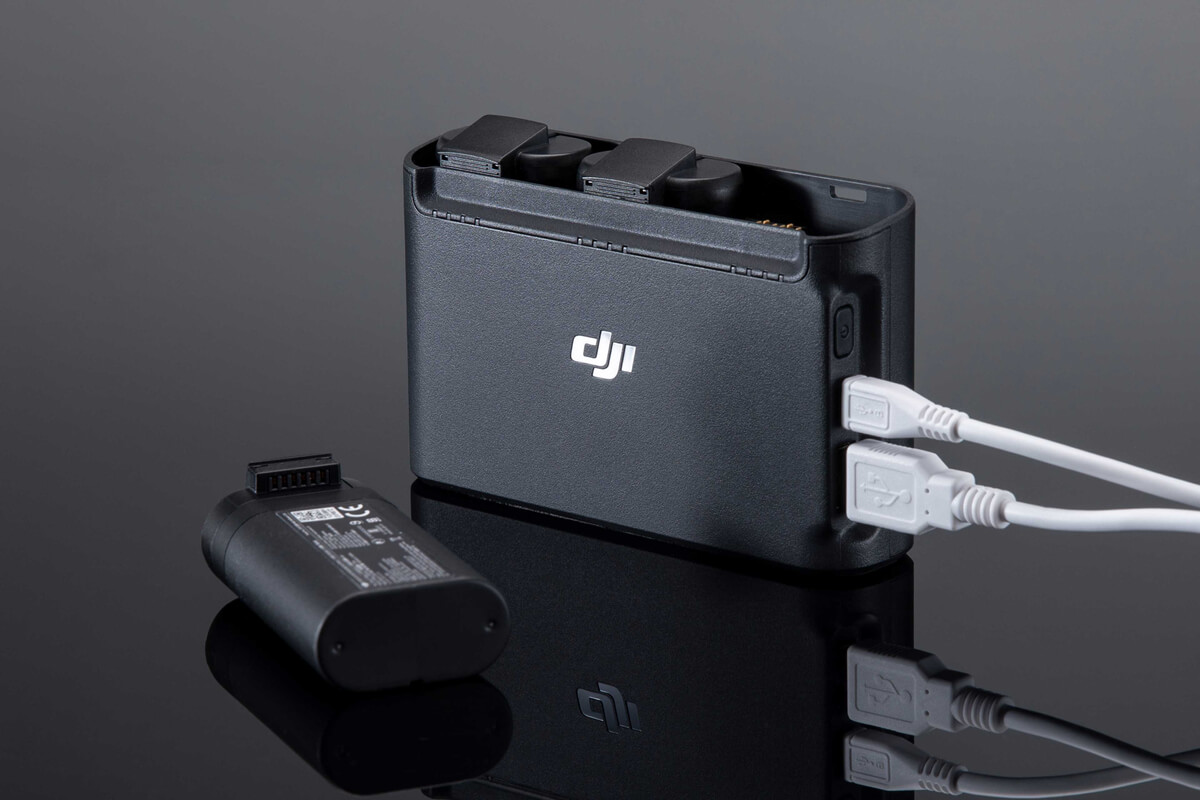
- Connect the Charging Cable Correctly: Plug one end of the charging cable into the charger and the other end into the drone’s battery port. Ensure that the connections are secure and properly aligned.
- Allow Sufficient Charging Time: Leave the drone connected to the charger until the battery is fully charged. It is recommended to charge the battery to its maximum capacity before each flight.
- Avoid Overcharging: Once the battery is fully charged, disconnect it from the charger. Overcharging the battery can damage the cells and reduce its overall lifespan.
- Store Batteries Properly: If you plan on storing your DJI Mini 2 for an extended period, make sure to store the batteries in a cool and dry place, away from direct sunlight and extreme temperatures. Ensure they are at around 50% charge to maintain their health during storage.
- Follow Charging Safety Precautions: It is essential to follow all safety precautions mentioned in the user manual when charging your DJI Mini 2. Avoid charging the battery in flammable environments or leaving it unattended during the charging process.
By adhering to these guidelines, you can ensure that your DJI Mini 2’s battery remains in good condition and provides reliable performance throughout its lifespan.
FAQs about DJI Mini 2’s Battery and Charging Process
Here are some frequently asked questions about the DJI Mini 2’s battery and charging process:
- Q: How long does it take to fully charge the DJI Mini 2 battery?
A: The charging time for the DJI Mini 2 battery will depend on the remaining charge level and the charger used. On average, it takes approximately 90 to 120 minutes to fully charge the battery. - Q: Can I use a power bank to charge the DJI Mini 2?
A: It is not recommended to use a power bank to charge the DJI Mini 2 drone. The power output of most power banks may not be sufficient for efficient and proper charging. It’s best to use the original charger and a stable power source. - Q: Can I charge multiple DJI Mini 2 batteries simultaneously?
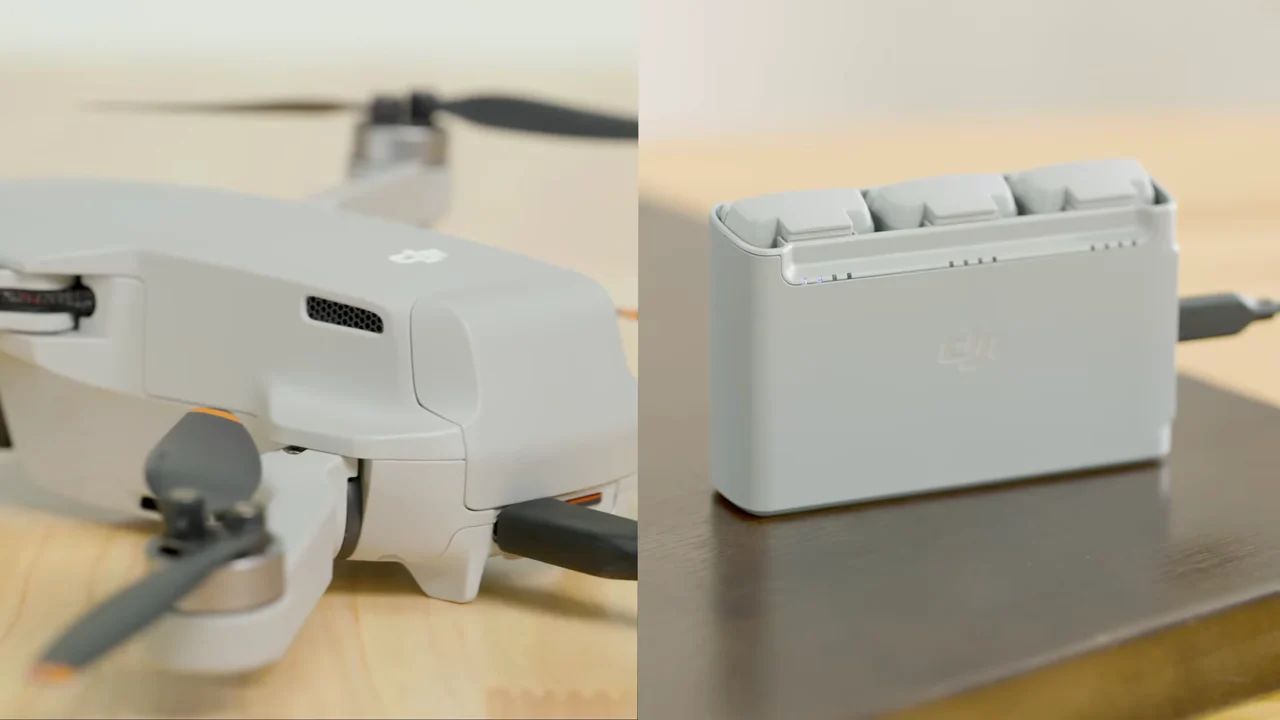
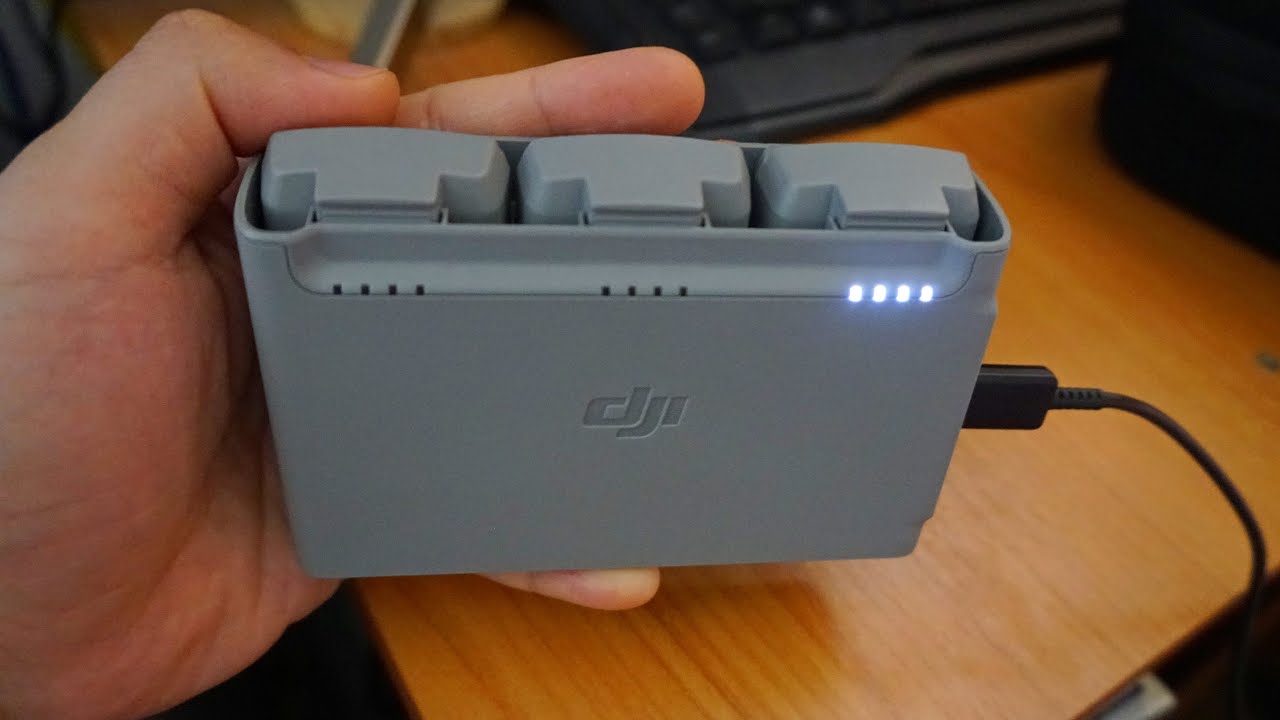
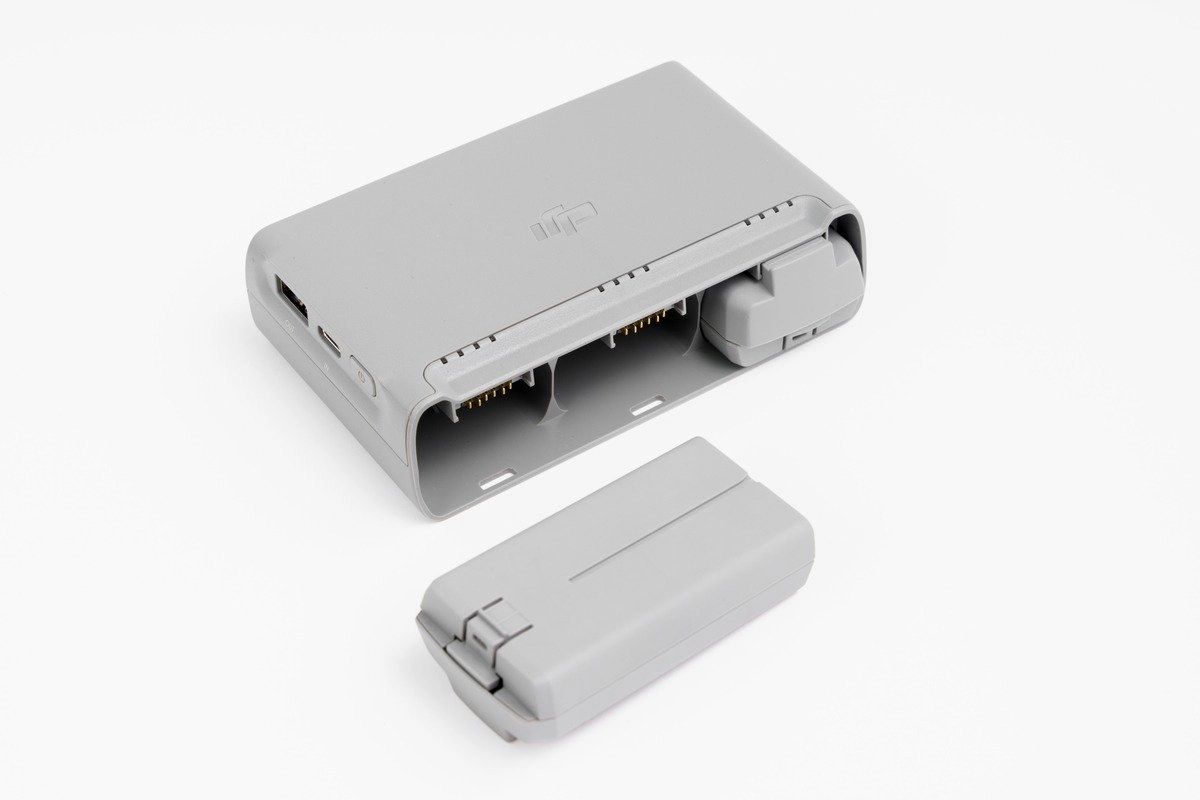
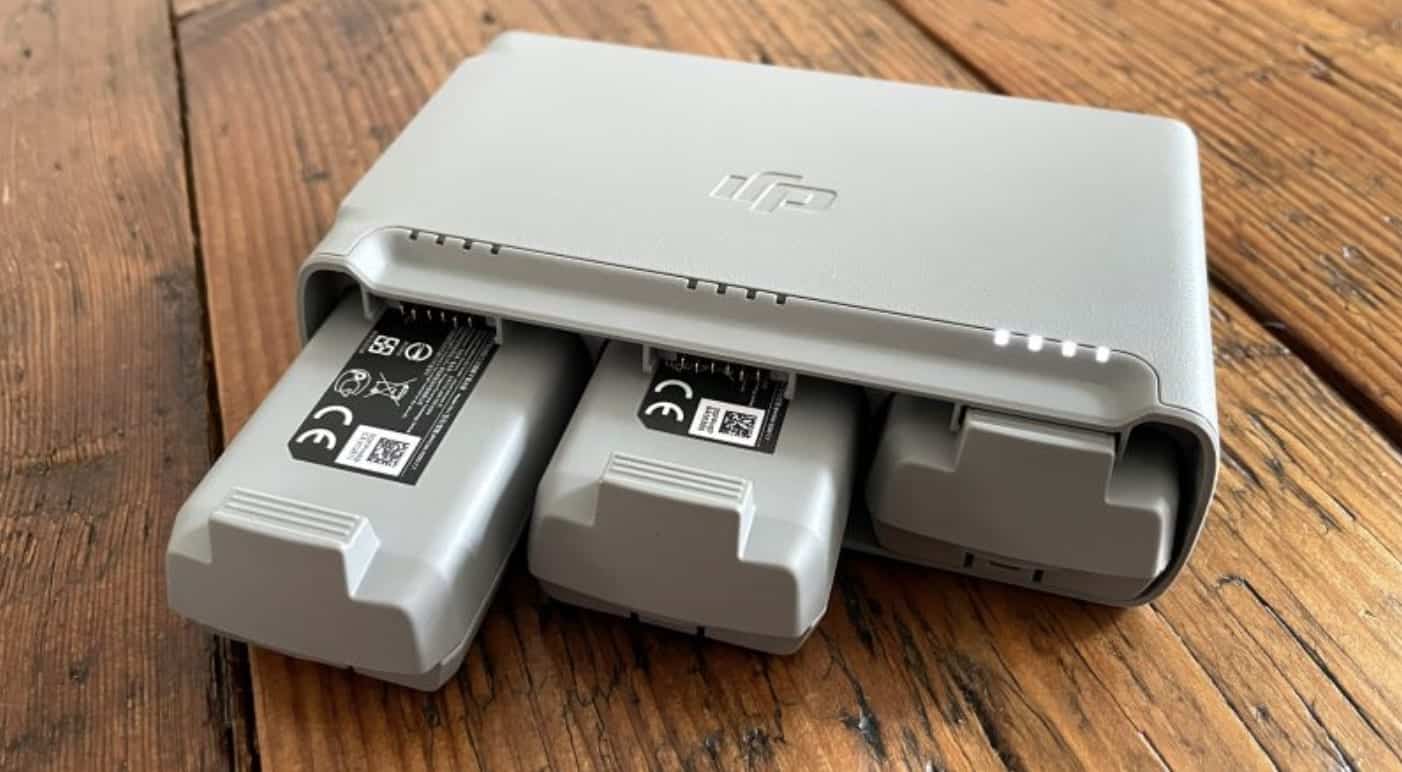
A: Yes, you can charge multiple DJI Mini 2 batteries simultaneously if you have a DJI Mini 2 charging hub. The charging hub allows you to charge up to three batteries consecutively, optimizing your charging efficiency. - Q: What should I do if the DJI Mini 2’s battery drains quickly?
A: If you notice that your DJI Mini 2’s battery is draining quickly, there are a few things you can try. First, calibrate the battery by completely discharging it and then fully charging it. Additionally, make sure that you’re flying in ideal conditions, avoiding extreme temperatures and strong winds that can drain the battery faster. Finally, check for any firmware updates for the drone and the DJI Fly app, as these updates often improve battery performance. - Q: Is it necessary to remove the battery after each flight?
A: It is not necessary to remove the battery after each flight. However, if you’re not planning to fly the drone for an extended period, it is recommended to remove the battery and store it in a cool and dry place, as mentioned earlier.
These FAQs should provide you with valuable insights into the DJI Mini 2’s battery and charging process. Remember to consult the DJI Mini 2 user manual for additional information and guidelines specific to your drone.
Conclusion
Ensuring that your DJI Mini 2 is fully charged before each flight is essential for a smooth and uninterrupted flying experience. By understanding and utilizing the various methods to determine the battery level, such as checking the LED lights on the battery, monitoring the battery icon in the DJI Fly app, and using the battery meter on the remote controller, you can always stay informed about the power status of your drone.
Additionally, following proper charging practices, such as using the original charger, connecting to a stable power source, and avoiding overcharging, will help maintain the longevity and performance of the DJI Mini 2’s battery.
By adhering to these guidelines, you can ensure that your DJI Mini 2 is always ready to take flight whenever you want to capture breathtaking aerial shots and videos.
Remember, if you have specific concerns or questions about your DJI Mini 2’s battery or charging process, it is always best to refer to the user manual provided by DJI or contact their customer support for further assistance.