Introduction
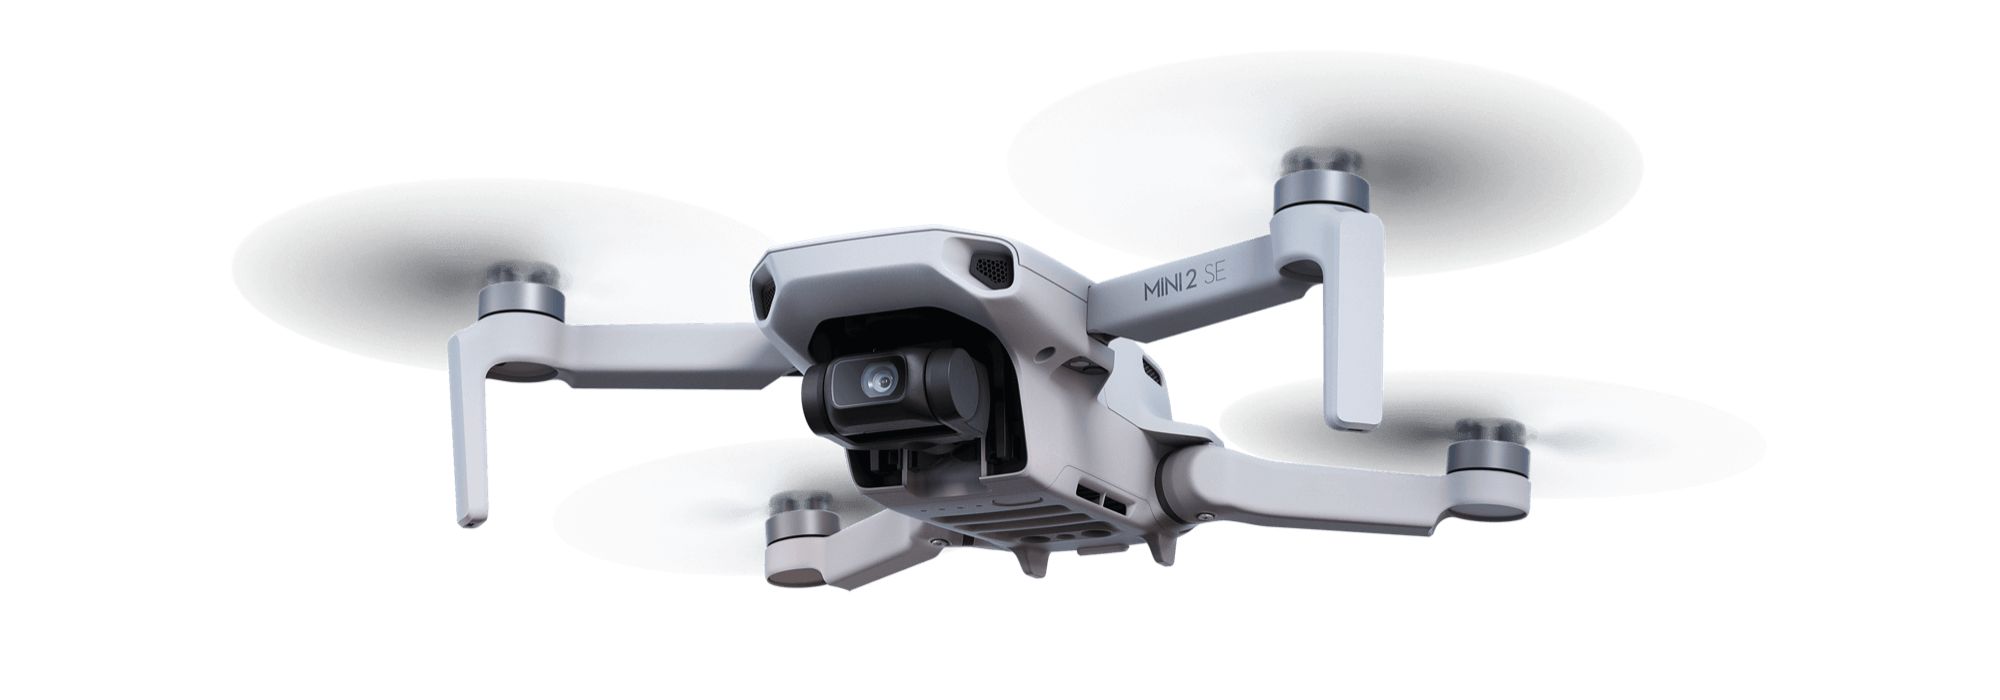
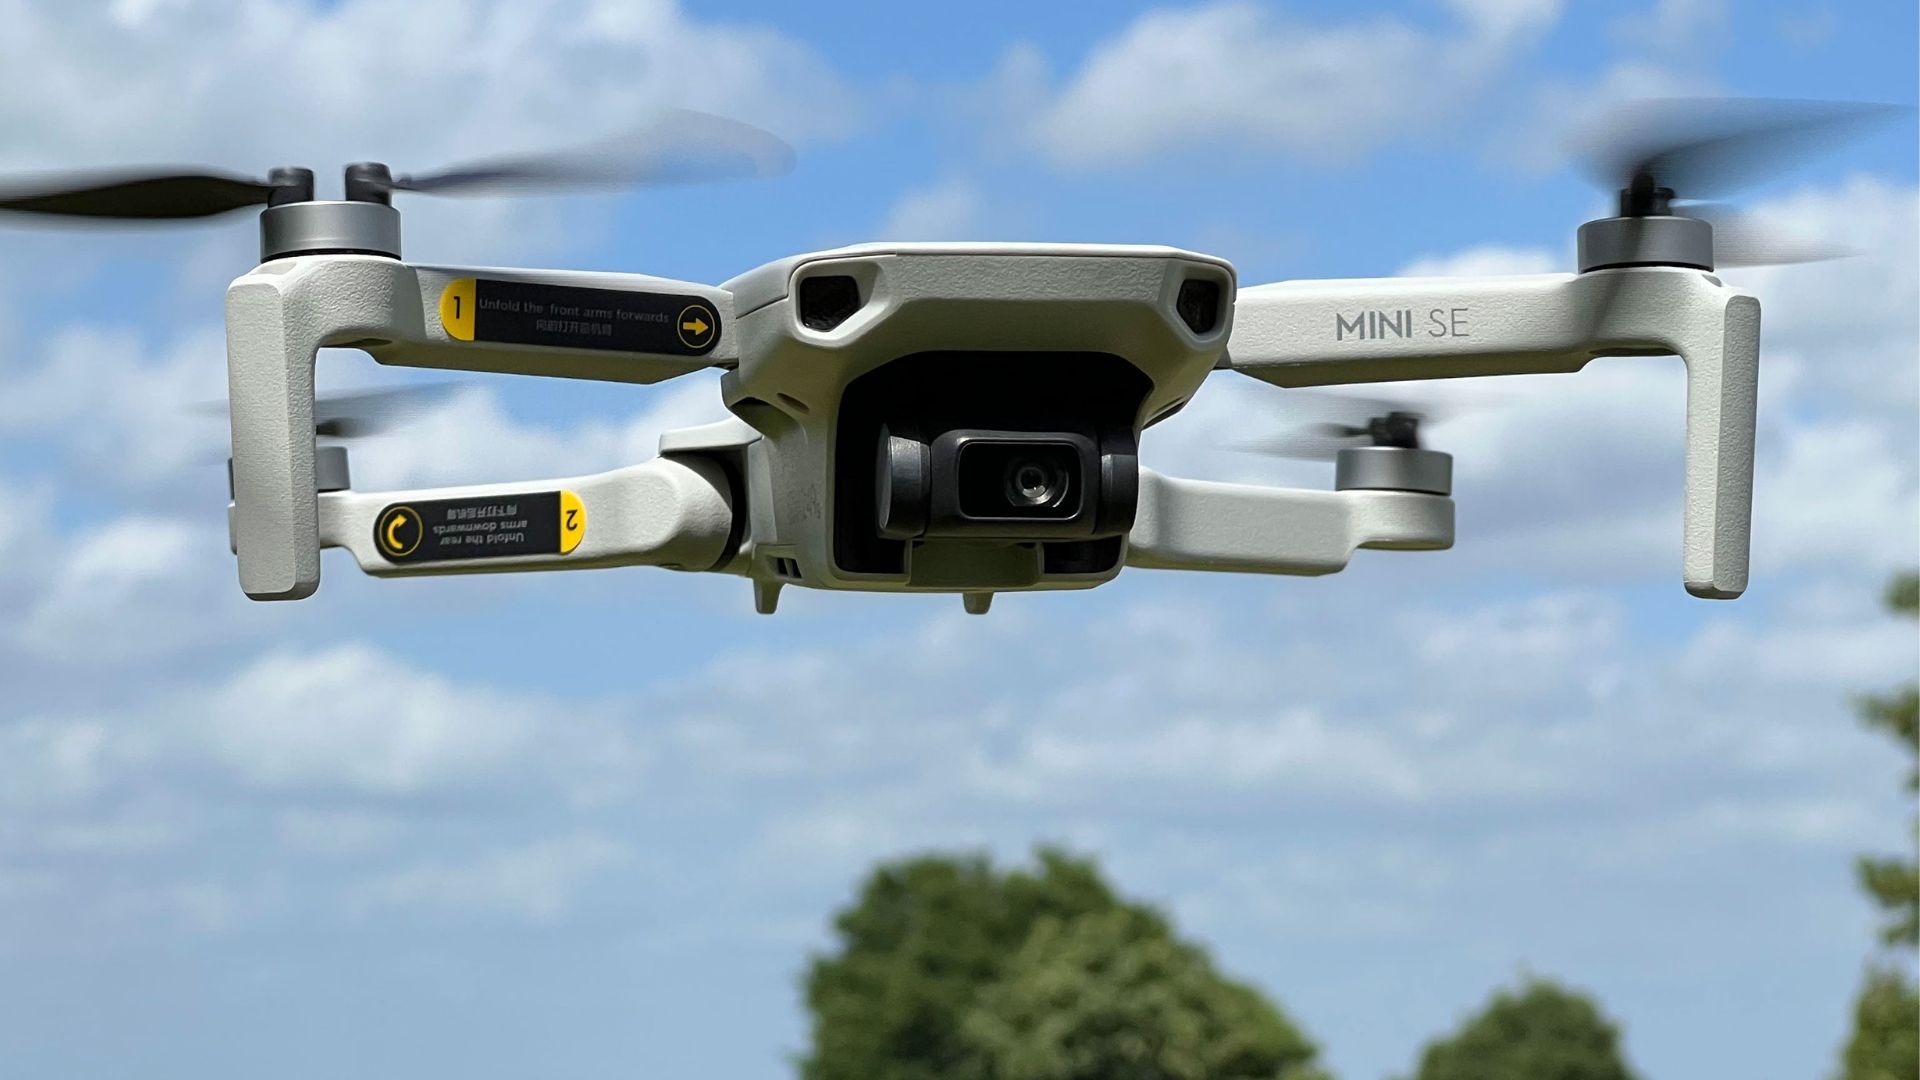
The DJI Mini SE Controller is an essential component for flying and controlling the DJI Mini SE drone. As a responsible drone owner, it’s crucial to ensure that your controller is always charged and ready for your next exciting flying adventure. In this article, we will guide you through the step-by-step process of charging your DJI Mini SE Controller, so you can keep it powered up and ready to go at all times.
Having a fully charged controller is vital to maintain optimal control and stability while piloting your drone. Without a charged controller, you may face sudden power loss mid-flight, putting your drone at risk. By following these simple steps, you can easily charge your DJI Mini SE Controller, giving you peace of mind and the ability to enjoy uninterrupted flying sessions.
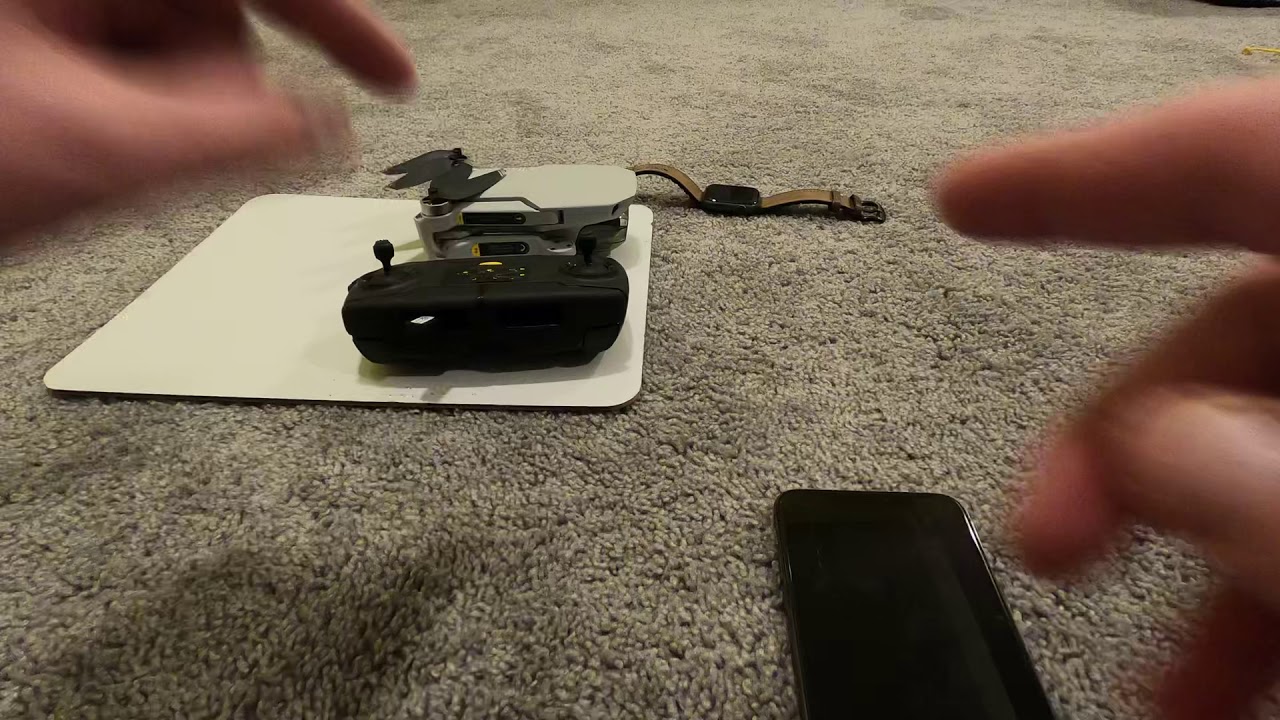
Before diving into the charging process, it’s essential to gather all the necessary equipment. You will need the DJI Mini SE Controller, the charging cable (typically provided with the drone package), and a compatible charger (typically included with the drone as well). Once you have all the required items, you’re ready to begin the charging process.
Charging DJI Mini SE Controller
To charge your DJI Mini SE Controller, follow these simple steps:
- Gather the necessary equipment: Ensure you have the DJI Mini SE Controller, the charging cable, and a compatible charger.
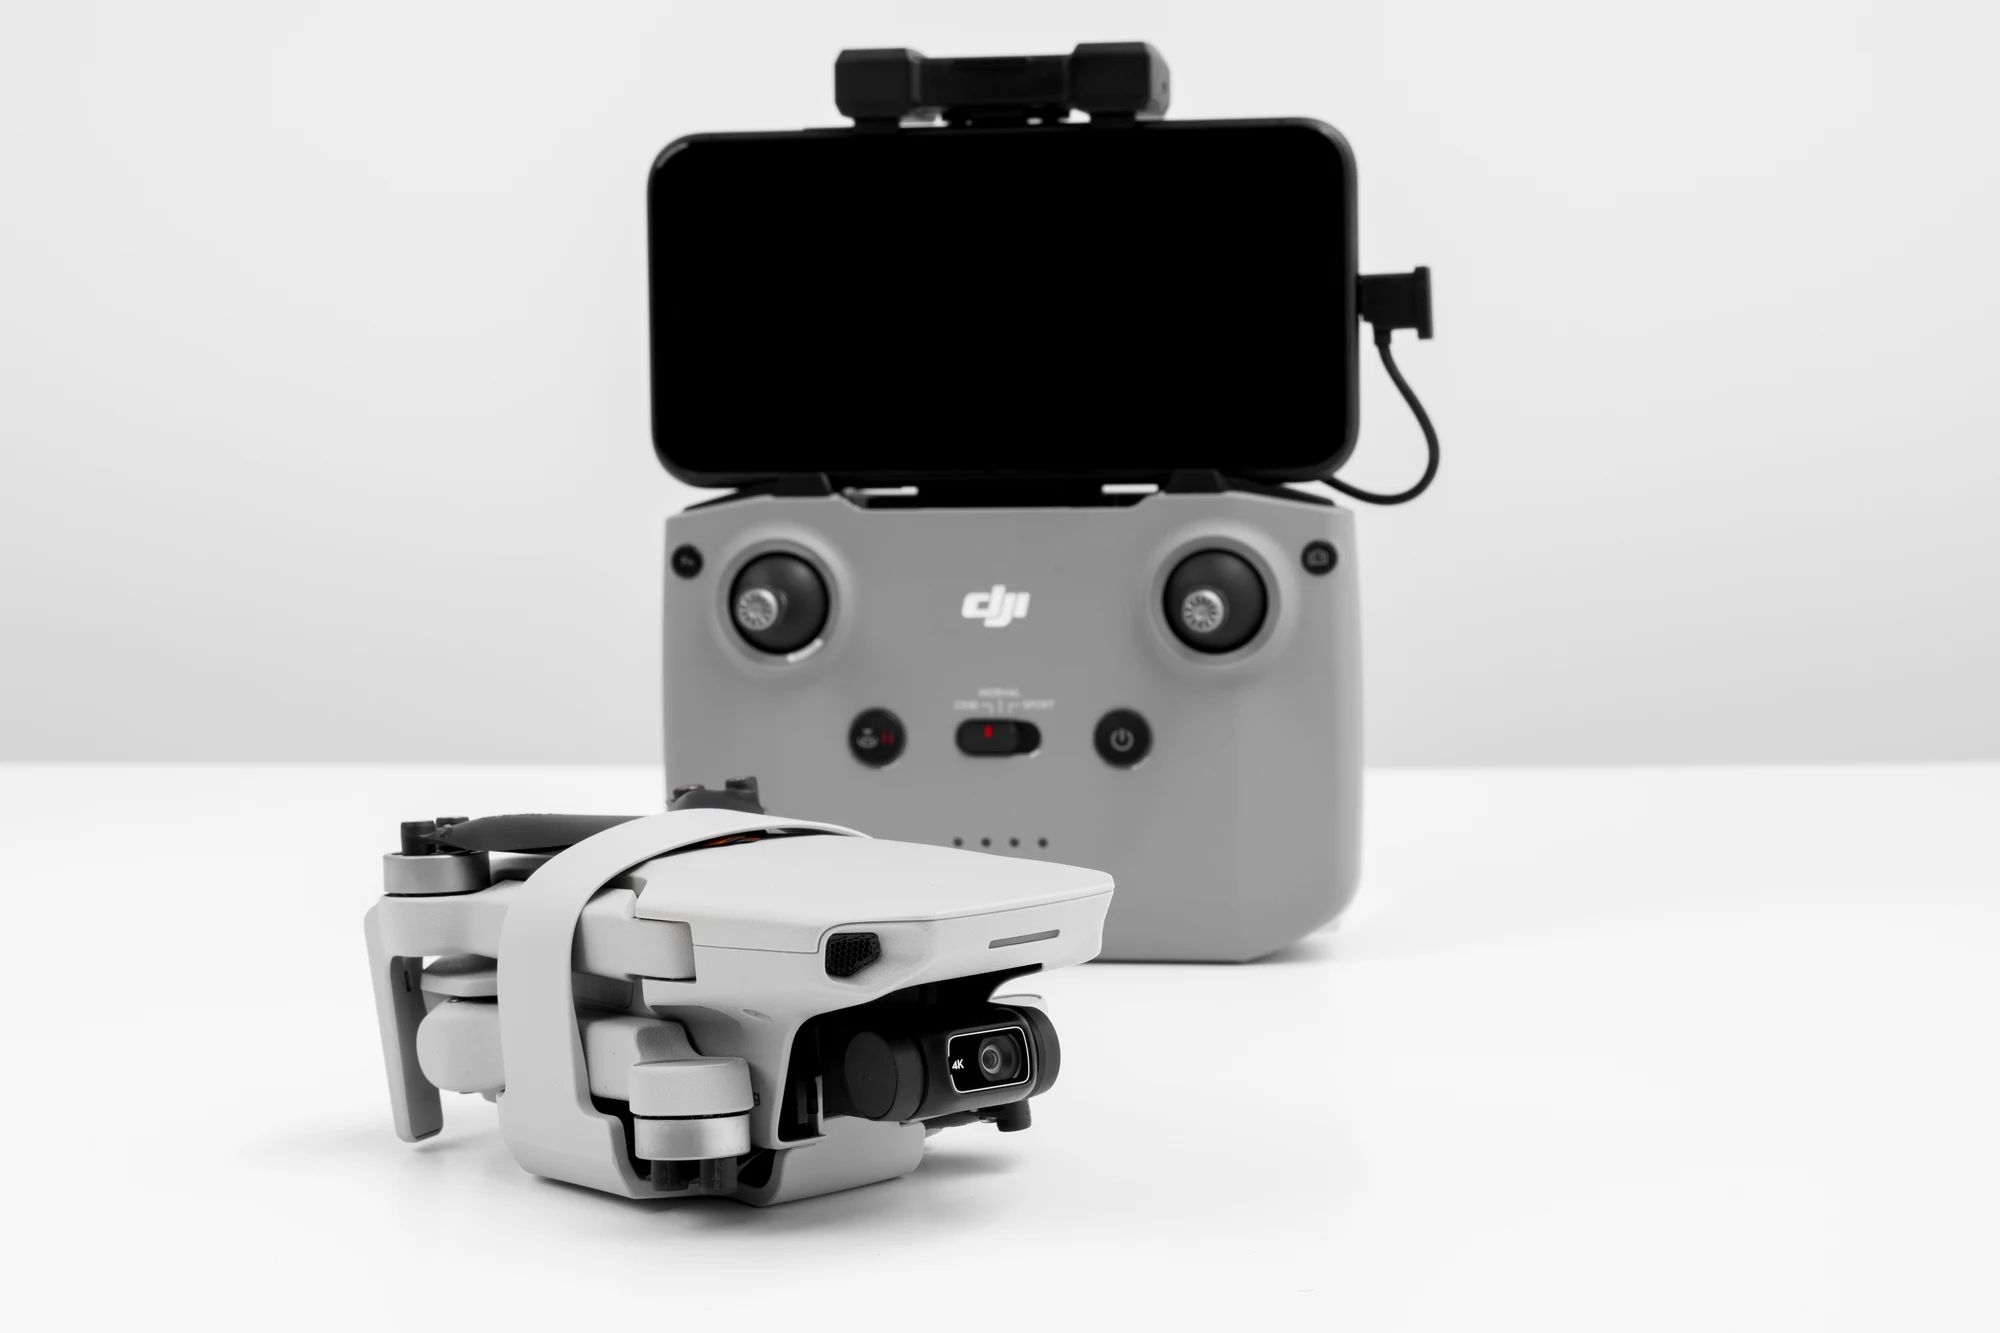
- Connect the charging cable: Locate the charging port on the DJI Mini SE Controller. It is usually located on the bottom or side of the controller. With the charging cable, gently insert the USB connector into the charging port of the controller.
- Plug in the charger: Take the other end of the charging cable and connect it to the charger’s USB port. Ensure that the charger is plugged into a power source or outlet.
- Check the charging status: Once the charging cable is securely connected, you should see a charging indicator light on the controller. The light may be solid or blinking, depending on the charging state. Refer to the controller’s user manual to understand the specific charging indicators.
- Unplug and store the controller: Once the DJI Mini SE Controller is fully charged, unplug the charging cable from both the controller and the charger. Take care to disconnect gently to avoid any damage. Now you can safely store the controller in a suitable location, ready for your next drone flying adventure.
Remember, it’s crucial to allow sufficient time for the DJI Mini SE Controller to charge fully. The charging time may vary depending on the remaining battery level. It is recommended to charge the controller before each flight to ensure optimal performance.
Following these steps will help you maintain a fully charged DJI Mini SE Controller, giving you the confidence to take to the skies and control your drone effortlessly. Always refer to the user manual for any specific instructions or precautions provided by the manufacturer.
With your DJI Mini SE Controller fully charged and in top condition, you’re now ready to embark on thrilling drone flights and capture breathtaking aerial footage!
Step 1: Gather the necessary equipment
Before you begin charging your DJI Mini SE Controller, it’s important to gather all the necessary equipment. This ensures a smooth and efficient charging process. Here’s what you’ll need:
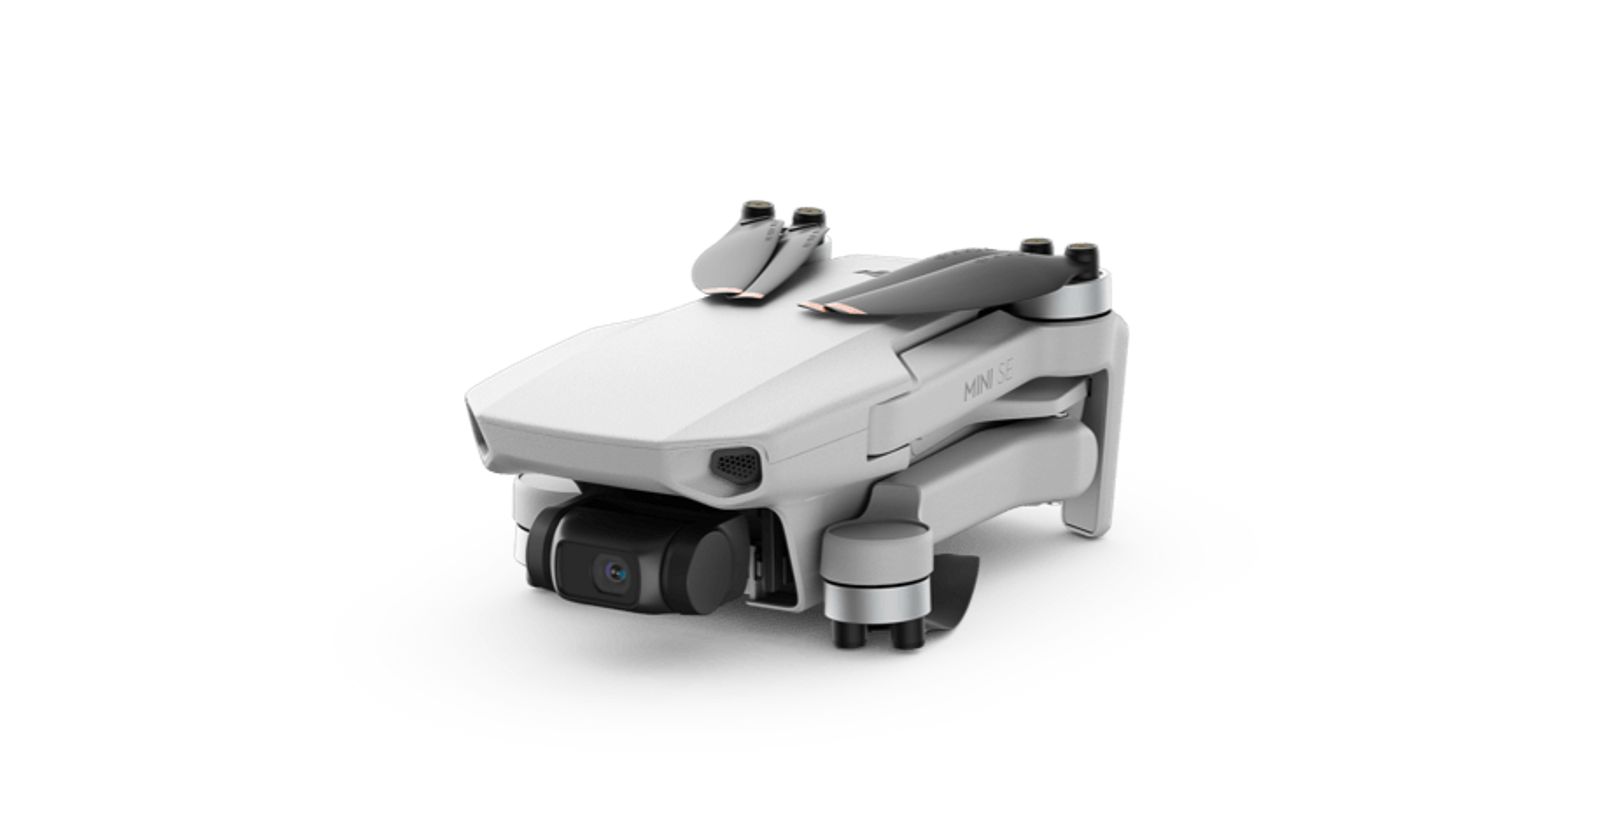
- DJI Mini SE Controller: Make sure you have your DJI Mini SE Controller on hand. It’s the handheld device that allows you to control and navigate your drone.
- Charging cable: Locate the charging cable that came with your DJI Mini SE package. It’s a USB cable with the appropriate connector for your controller.
- Compatible charger: You’ll need a charger that is compatible with your DJI Mini SE Controller. Usually, a charger is included in the drone package. Ensure that it has a USB port to connect the charging cable.
Once you have gathered these three essential items, you’re ready to move on to the next step of the charging process. Having everything prepared beforehand saves time and prevents any interruptions during the charging process.
Step 2: Connect the charging cable
Now that you have gathered all the necessary equipment, it’s time to connect the charging cable to your DJI Mini SE Controller. Follow these simple steps to complete this step:
- Locate the charging port: The charging port on the DJI Mini SE Controller is usually located on the bottom or side of the device. It will be a small opening where the charging cable can be inserted.
- Insert the USB connector: Take the charging cable and gently insert the USB connector into the charging port of the DJI Mini SE Controller. Make sure to align the connector properly with the charging port to avoid any damage.
- Ensure a secure connection: Once the USB connector is inserted, give it a slight push to ensure a secure connection. You should feel it fitting snugly into the charging port. A loose connection may result in slow or incomplete charging.
By following these steps, you have successfully connected the charging cable to your DJI Mini SE Controller. The charging cable serves as the link between the controller and the charger, allowing for the transfer of power to charge the controller’s internal battery. With the cable securely connected, you’re ready to move on to the next step of the charging process.
Step 3: Plug in the charger
After connecting the charging cable to your DJI Mini SE Controller, the next step is to plug in the charger. Follow these simple steps to complete this step:
- Locate a power source: Make sure you have access to a power source or outlet where you can plug in the charger. It’s important to have a reliable power source to ensure a consistent flow of electricity during the charging process.
- Connect the charging cable: Take the other end of the charging cable, which is usually a USB connector, and plug it into a USB port on the charger. Ensure that the USB port matches the shape and size of the connector to ensure a proper fit.
- Plug in the charger: Once the charging cable is securely connected to the charger, plug the charger into the power source or outlet. Make sure the charger is firmly plugged in to avoid any power interruptions during the charging process.
By following these steps, you have successfully plugged in the charger for your DJI Mini SE Controller. The charger will provide the necessary power to charge the controller’s internal battery. Now that the charger is connected, you’re ready to move on to the next step and monitor the charging status of your controller.
Step 4: Check the charging status
Once you have plugged in the charger for your DJI Mini SE Controller, it’s important to monitor the charging status to ensure that the controller is charging properly. Follow these steps to check the charging status:
- Observe the charging indicator: After connecting the charger, your DJI Mini SE Controller should display a charging indicator light. The location and appearance of the indicator light may vary depending on the controller model, so refer to the user manual for specific details.
- Interpret the charging indicator: The charging indicator light may have different colors or patterns to indicate various charging states. For example, a solid red light may indicate that the controller is still charging, while a solid green light may indicate that the controller is fully charged. Refer to the user manual to understand the specific meanings of the charging indicator for your DJI Mini SE Controller.
- Monitor the charging progress: Keep an eye on the charging indicator and observe any changes. If the light is blinking, it may indicate that the controller is in the process of charging. If the light remains steady without any changes, it may indicate that the controller is fully charged.
Checking the charging status is crucial to ensure that your DJI Mini SE Controller is charging properly. This step allows you to keep track of the charging progress and determine when the controller is ready for use. Once the controller is fully charged, you can proceed to the next step of the charging process.
Step 5: Unplug and store the controller
Once your DJI Mini SE Controller has been fully charged, it’s time to unplug it from the charger and properly store it until your next drone flying session. Follow these steps to safely unplug and store your controller:
- Disconnect the charging cable from the controller: Gently remove the charging cable from the charging port of your DJI Mini SE Controller. Be careful not to apply excessive force or pull on the cable, as this could damage the charging port.
- Unplug the charger from the power source: Safely unplug the charger from the power source or outlet. This prevents unnecessary power consumption and reduces the risk of electrical hazards.
- Store the controller in a safe location: Find a suitable storage location for your DJI Mini SE Controller. It’s essential to protect the controller from dust, extreme temperatures, and physical damage. Consider using a protective case or a dedicated storage box to keep the controller secure and in good condition.
By following these steps, you have completed the process of charging your DJI Mini SE Controller and safely storing it until your next flying adventure. Regularly charging and storing the controller properly ensures that it remains in optimal condition for reliable and enjoyable drone flights. Remember to refer to the user manual for any specific storage recommendations provided by the manufacturer.
Conclusion
Charging your DJI Mini SE Controller is a crucial part of being a responsible drone owner. By following the step-by-step guide outlined in this article, you can ensure that your controller is always charged and ready for your next drone adventure.
Throughout the charging process, it’s important to gather all the necessary equipment, including the DJI Mini SE Controller, charging cable, and a compatible charger. Connecting the charging cable to the controller and plugging in the charger allows for a reliable power source to charge the controller’s internal battery.
Checking the charging status is essential to monitor the progress and ensure that the controller is charging properly. By observing the charging indicator light and referring to the user manual, you can understand the different charging states and know when the controller is fully charged.
Once your DJI Mini SE Controller is fully charged, it’s time to safely unplug the charger and store the controller in a suitable location. Protecting it from dust, extreme temperatures, and physical damage maintains its performance and longevity.
Remember, always refer to the user manual provided by DJI for specific instructions and precautions regarding the charging process and storage of your DJI Mini SE Controller.
By following these guidelines, you can keep your DJI Mini SE Controller in optimal condition, ensuring reliable control and enjoyable flying experiences with your drone. Now, with a fully charged controller, you’re ready to take to the skies and capture stunning aerial footage!