Introduction
Welcome to our comprehensive guide on how to charge the DJI Mavic Controller. As a drone enthusiast, you understand the importance of keeping your equipment fully charged and ready to fly at a moment’s notice. The DJI Mavic Controller is a crucial component of your drone setup, allowing you to control and navigate your DJI Mavic drone with precision and ease.
In this guide, we will take you through the process of understanding the intricacies of the DJI Mavic Controller and provide you with a step-by-step guide on how to properly charge it. Whether you are a beginner or a seasoned drone pilot, this guide will ensure that you have a clear understanding of the charging process and give you some essential tips to maximize the battery life of your controller.
Having a fully charged DJI Mavic Controller is essential for a successful and enjoyable flying experience. Imagine being in the middle of an aerial photography session or a thrilling flight and suddenly losing control due to a dead controller battery. It can be frustrating and potentially dangerous if you are unable to bring your drone back home safely.
By following the instructions in this guide, you will have the knowledge and confidence to keep your DJI Mavic Controller fully charged and ready to go whenever you want to take flight. So let’s dive in and explore how you can ensure the longevity and optimal performance of your DJI Mavic Controller!
Understanding the DJI Mavic Controller
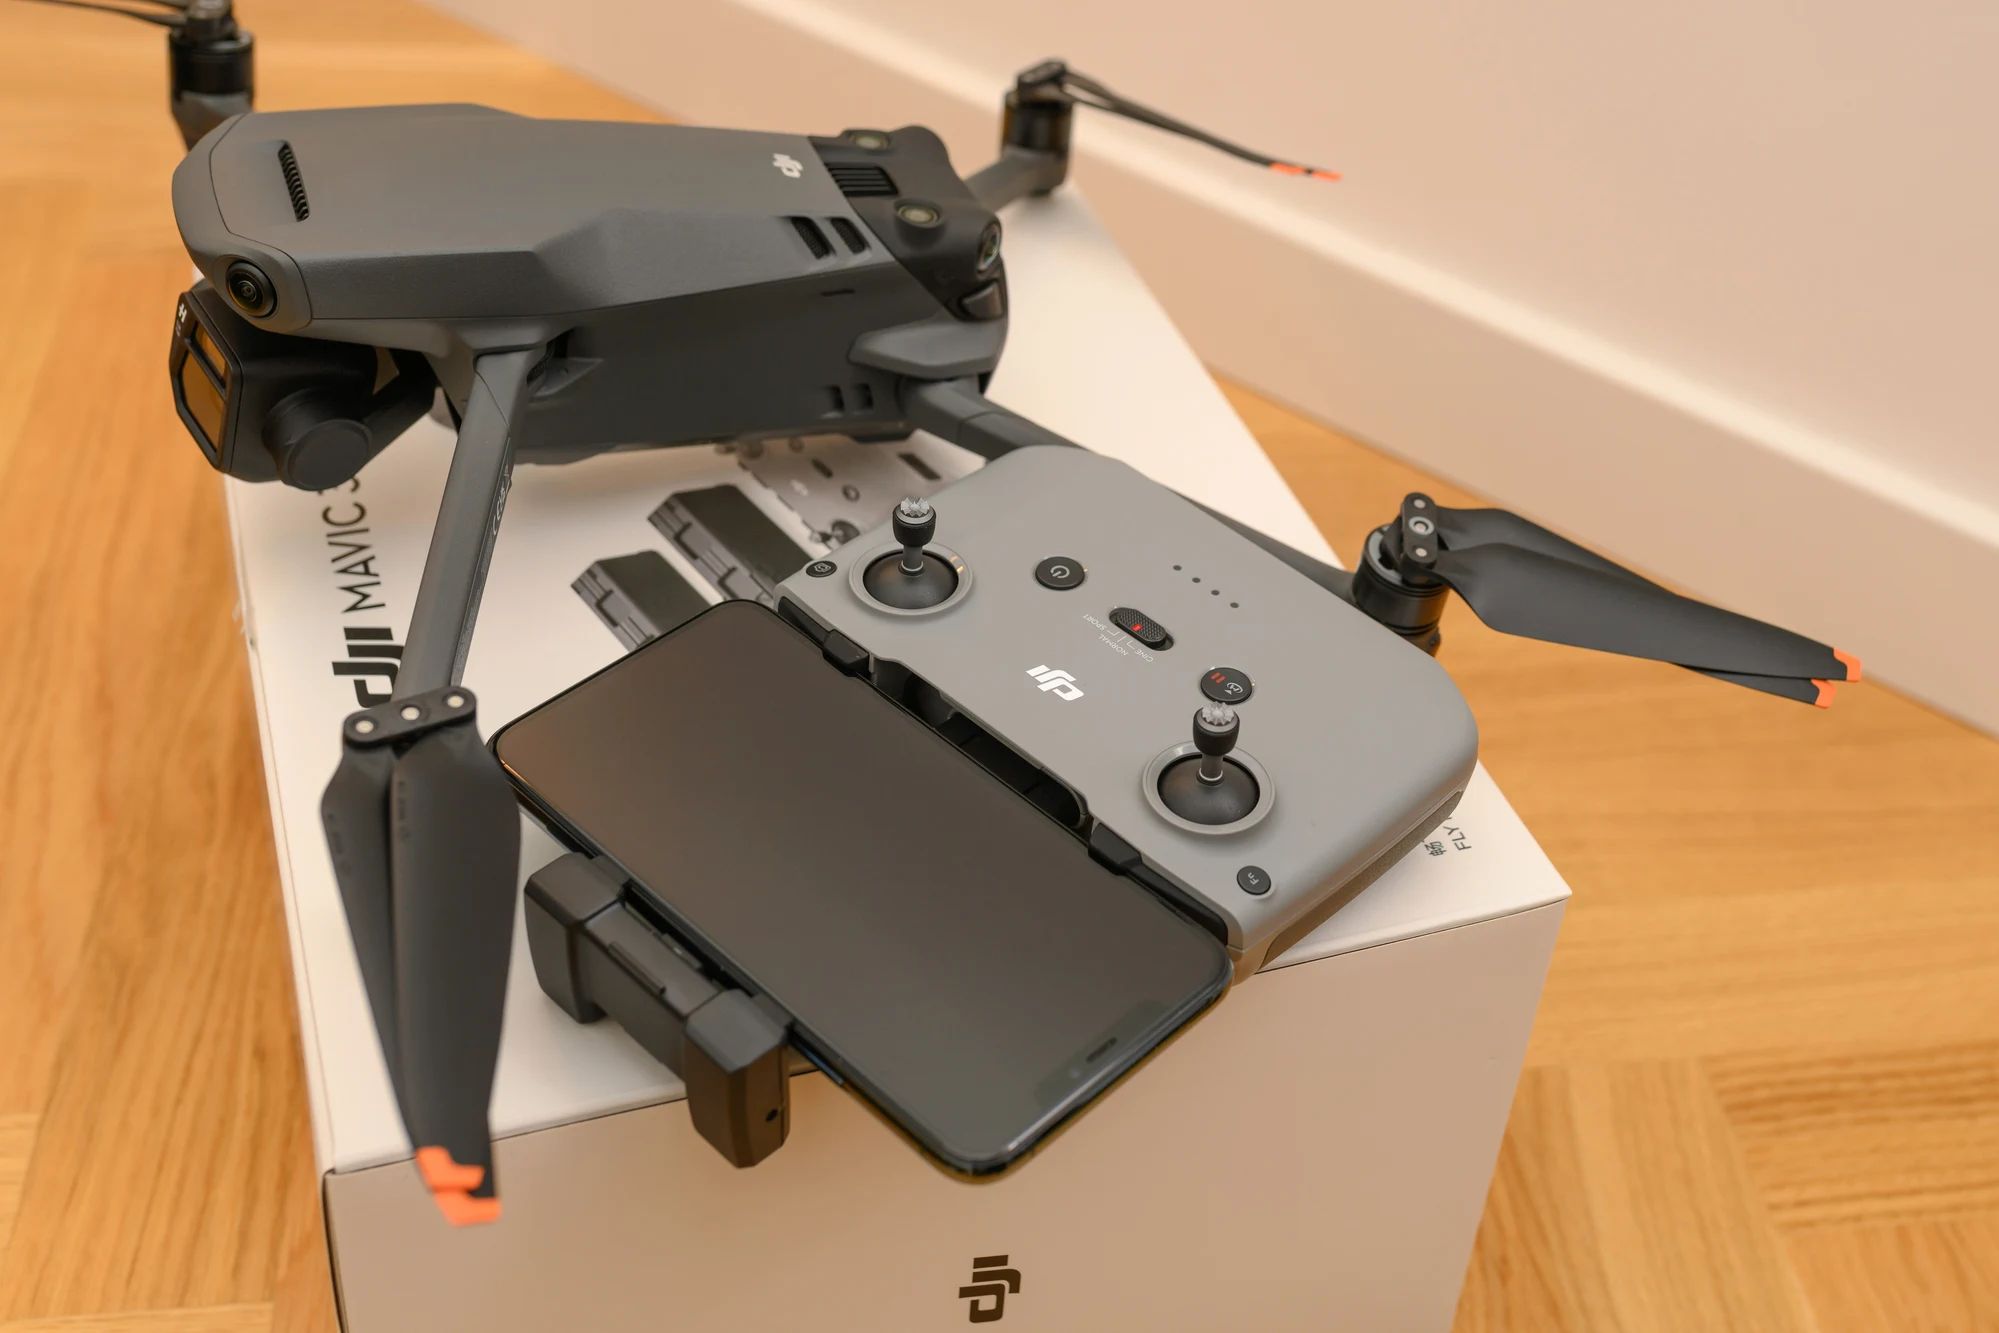
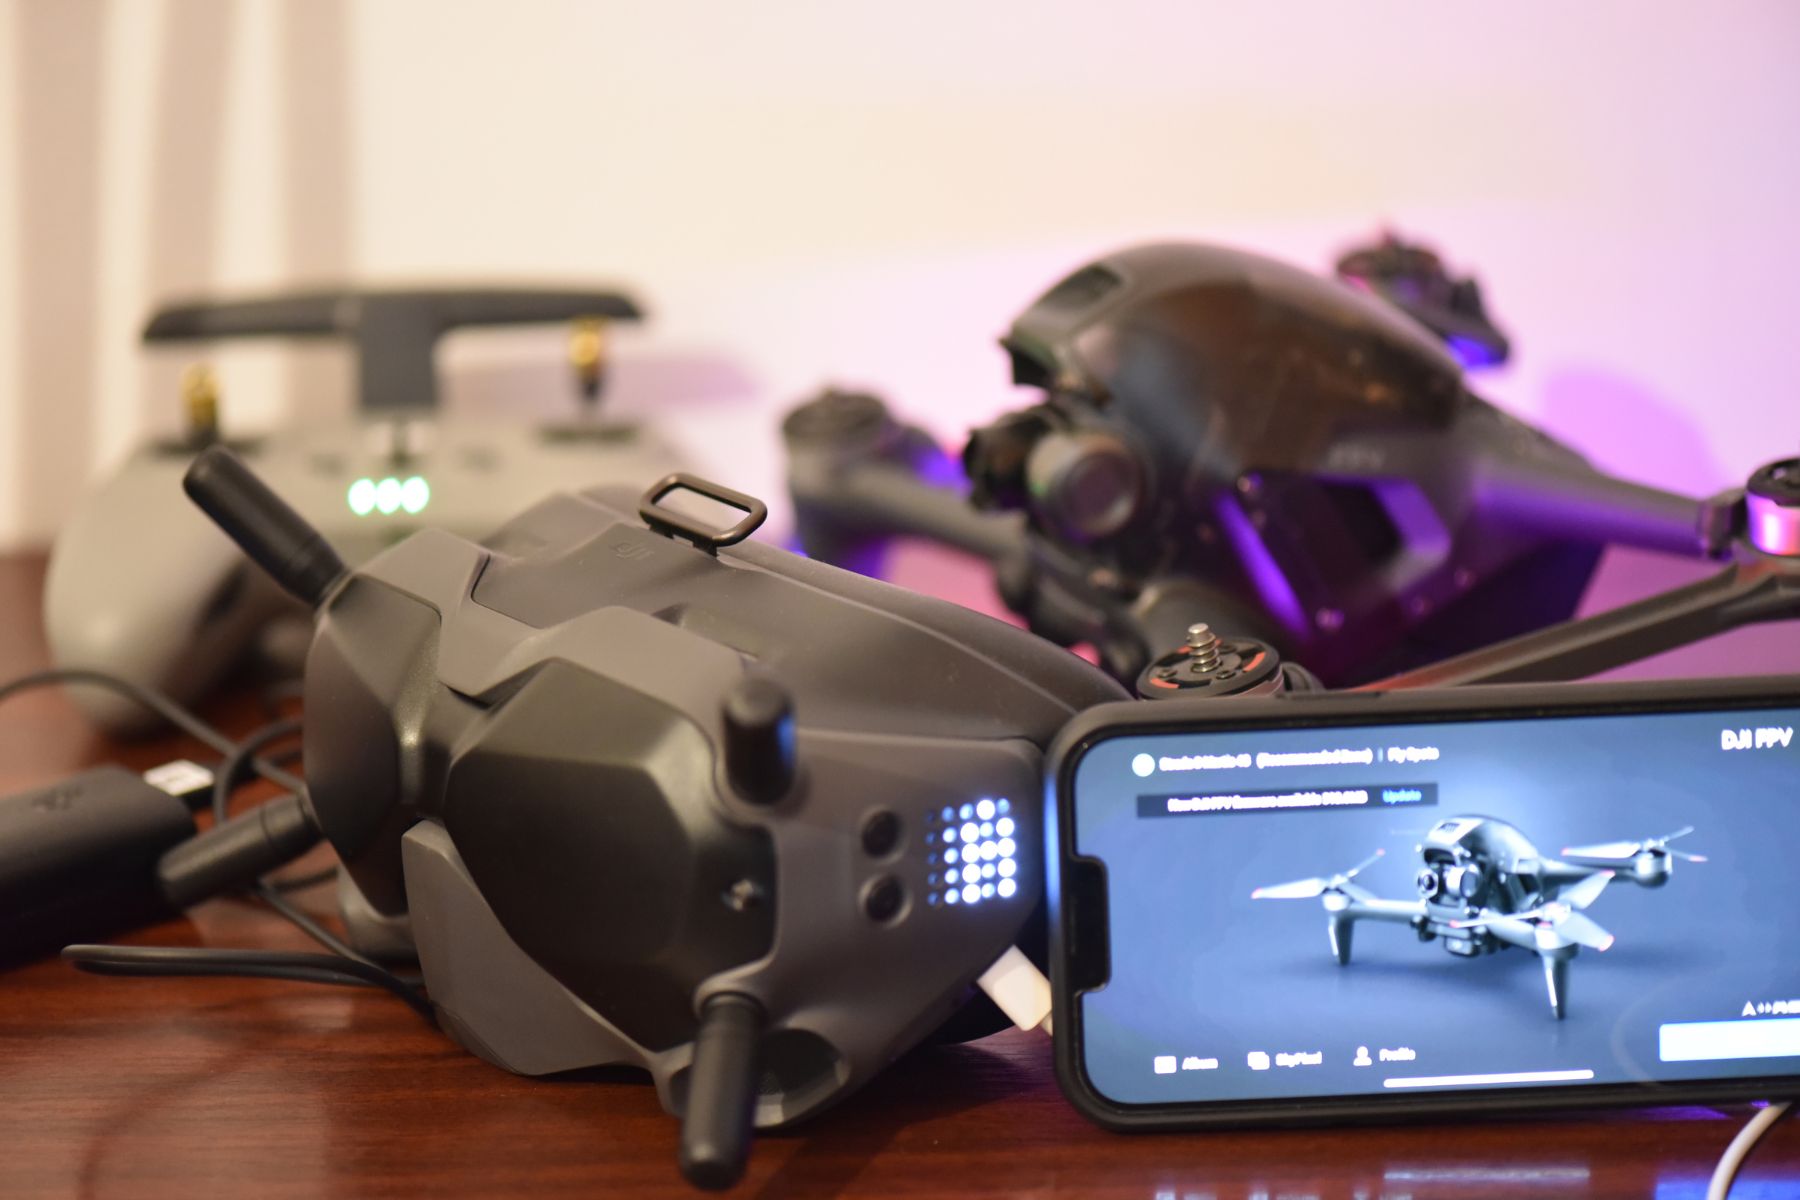
Before we delve into the charging process, let’s take a moment to understand the key features and functions of the DJI Mavic Controller. The DJI Mavic Controller is a handheld device that allows you to wirelessly control your DJI Mavic drone during flights. It is equipped with a range of buttons, sticks, and switches that enable you to maneuver the drone with precision and take stunning aerial shots.
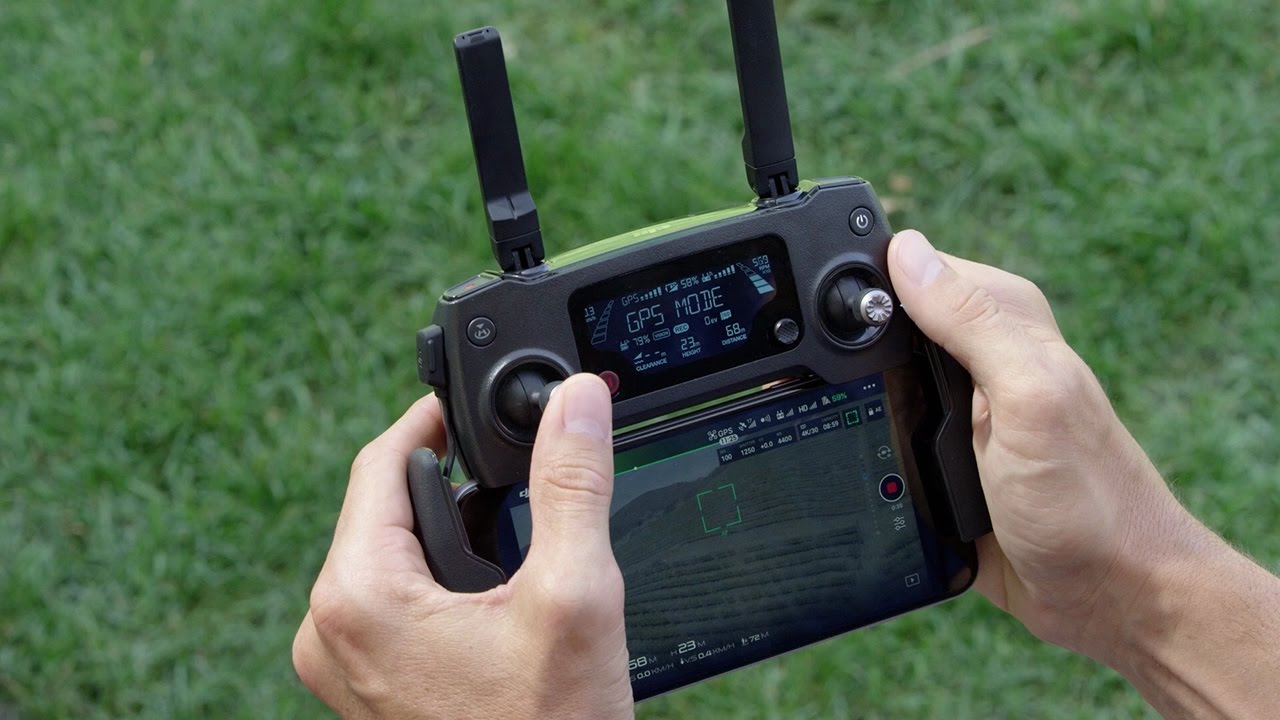
One of the standout features of the DJI Mavic Controller is its compact and ergonomic design. It fits comfortably in the palm of your hand, providing a comfortable grip for extended flying sessions. The controller features a built-in screen that displays real-time telemetry data, allowing you to monitor important flight parameters such as altitude, speed, battery level, and GPS signal strength.
The DJI Mavic Controller utilizes a robust and secure wireless connection to communicate with the Mavic drone. This ensures a reliable connection and minimizes any potential interference from other devices. The controller also has a range of up to 4.3 miles (7 kilometers), enabling you to explore vast areas with confidence while maintaining full control over your drone.
When using the DJI Mavic Controller, you will have access to various flight modes and intelligent features that enhance your flying experience. These include GPS positioning, automatic return to home, intelligent flight modes such as ActiveTrack and Waypoints, and precise control over the drone’s camera settings.
Understanding the layout and functionality of the DJI Mavic Controller is crucial to harnessing the full potential of your drone. Take some time to familiarize yourself with the different buttons and controls, as this will greatly enhance your overall flying experience and ensure that you can operate your drone confidently and safely.
Charging the DJI Mavic Controller
Charging the DJI Mavic Controller is a simple process that ensures your controller always has sufficient power to accompany your drone. The controller uses a built-in rechargeable battery that needs to be periodically charged to maintain optimal performance.
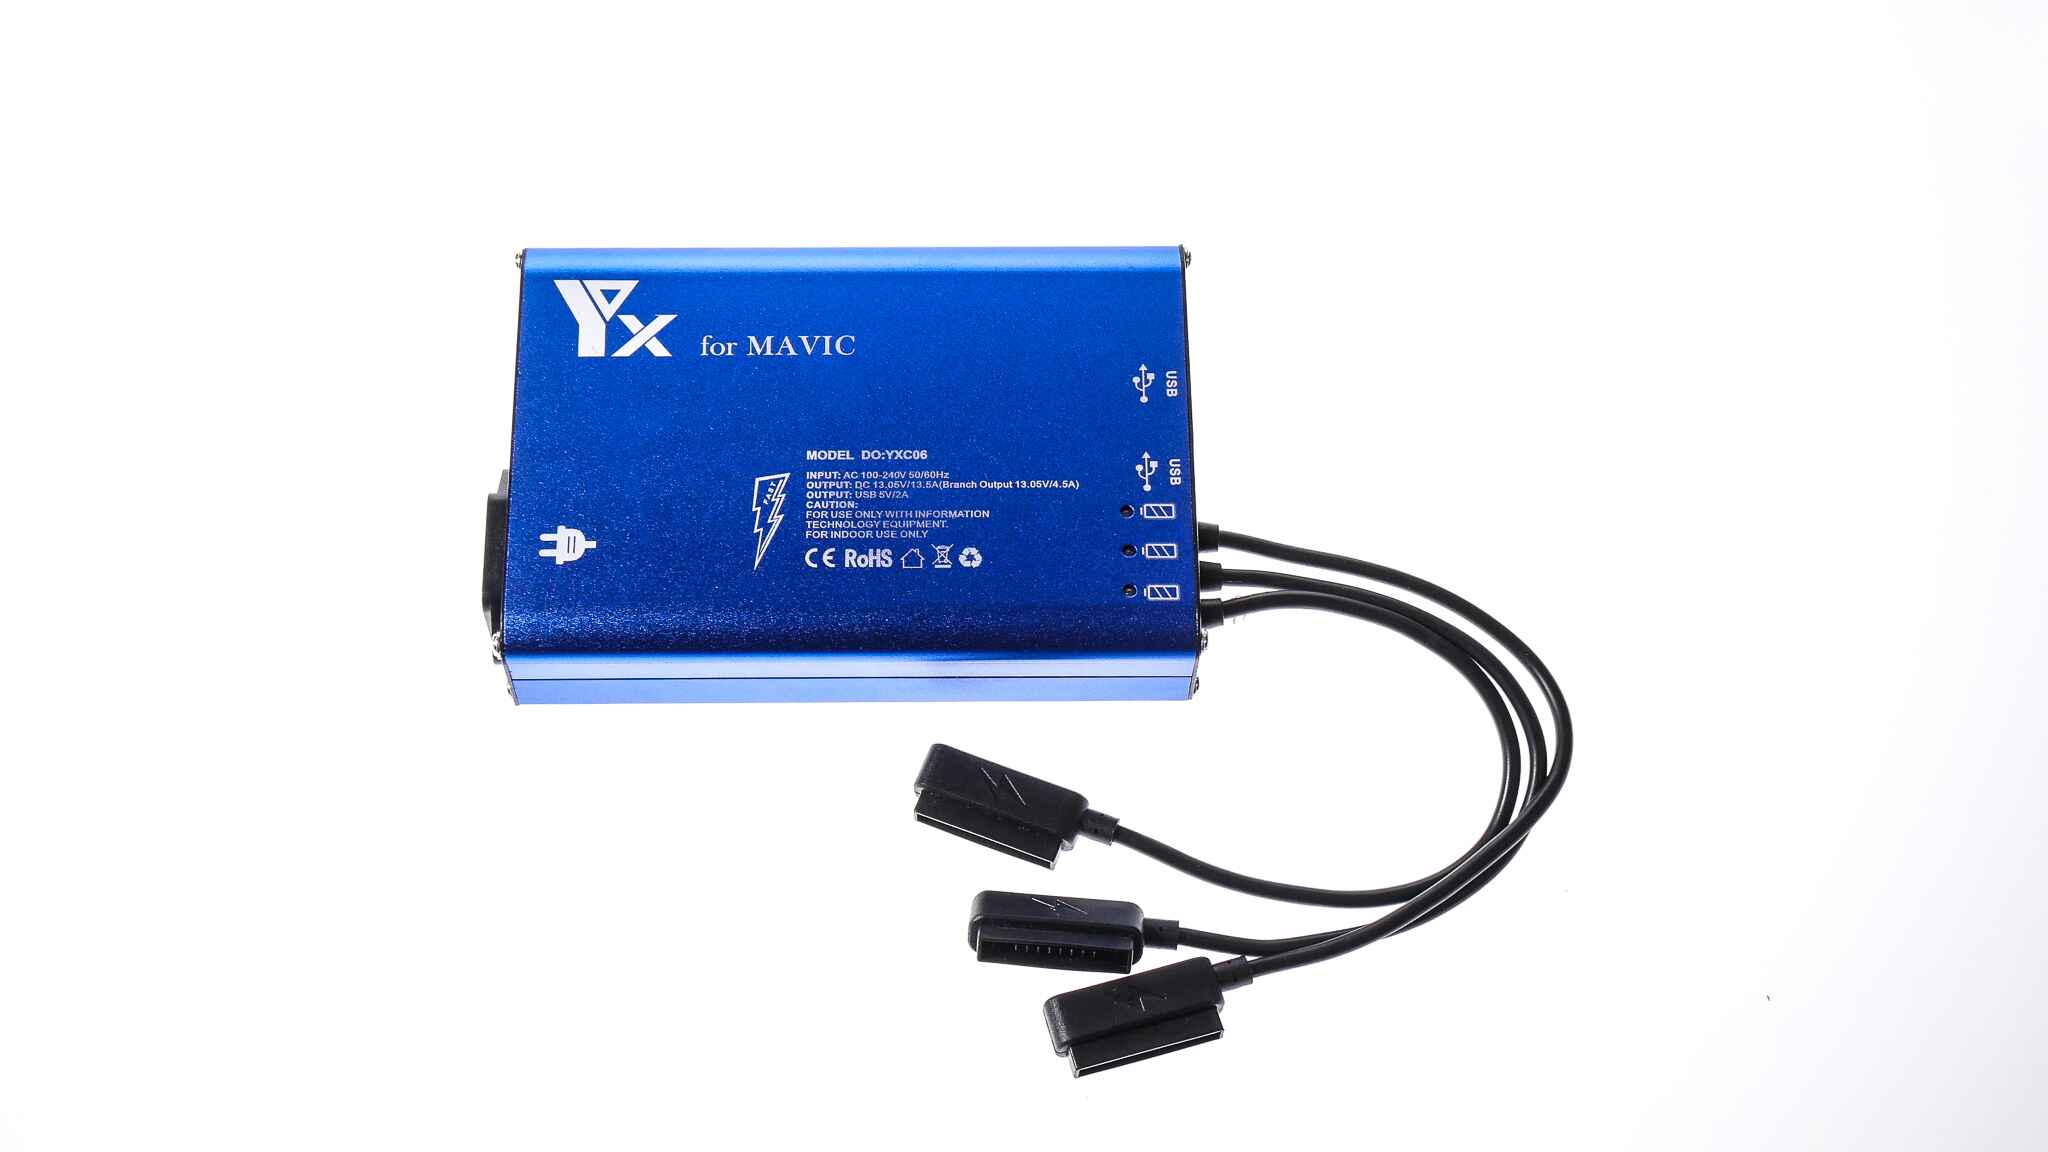
The DJI Mavic Controller can be charged using the provided USB-C cable and a compatible power source. You have the flexibility to charge the controller using a power adapter or by connecting it to a device with a USB port, such as a computer or power bank.
When it comes to the charging time, the DJI Mavic Controller typically takes around 2-3 hours to charge fully, depending on the power source and the remaining battery level. It is recommended to use a high-quality power source and avoid charging the controller in extreme temperatures or unstable environments.
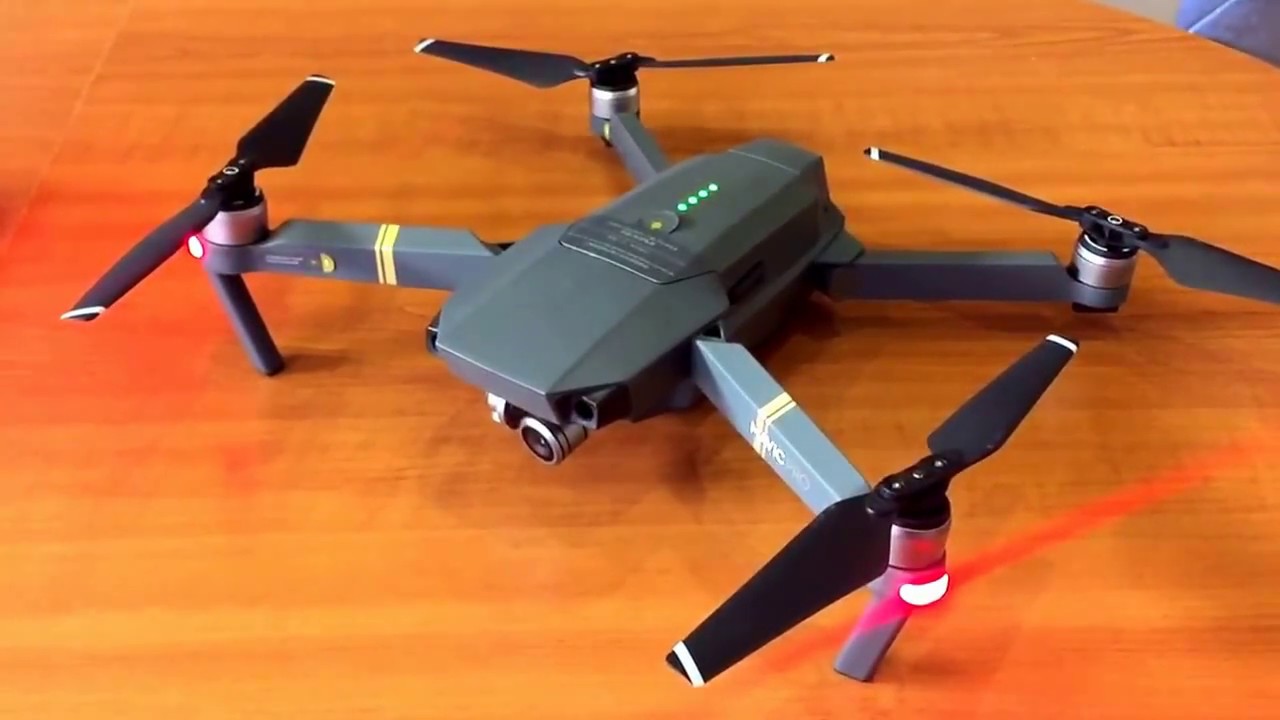
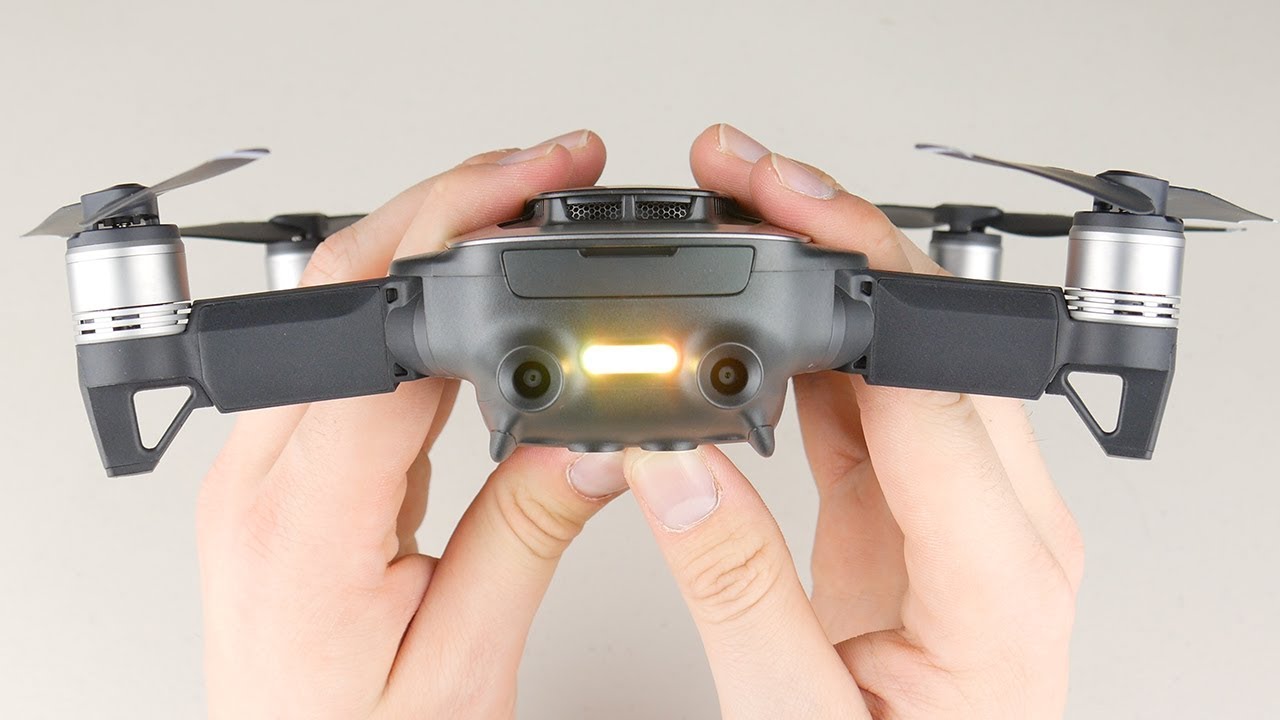
During the charging process, the DJI Mavic Controller’s LED indicator light will illuminate to indicate the charging status. The light will turn solid green once the controller is fully charged, allowing you to disconnect the cable and start using the controller with your drone.
It’s important to note that the DJI Mavic Controller should be charged in a safe, well-ventilated area away from flammable materials or liquids. Additionally, it is advisable to avoid charging the controller overnight or for extended periods as it may lead to battery degradation over time.
Now that we have covered the basics of charging the DJI Mavic Controller, let’s move on to our step-by-step guide to ensure a seamless charging experience. By following these instructions, you can safely and efficiently charge your controller and ensure that it is always ready for your next thrilling flying adventure.
Step-by-Step Guide to Charging the DJI Mavic Controller
Charging your DJI Mavic Controller is a straightforward process. Follow these step-by-step instructions to ensure that your controller is charged properly:
- Locate the USB-C port on the DJI Mavic Controller. It is usually located on the bottom or side of the controller.
- Take the provided USB-C cable and connect one end to the USB-C port on the controller.
- Connect the other end of the USB-C cable to a compatible power source. This can be a power adapter plugged into a wall socket or a device with a USB port, such as a computer or power bank.
- Ensure that the power source is turned on and that the cable is securely connected to both the controller and the power source.
- Once the connection is established, the DJI Mavic Controller’s LED indicator light will illuminate to indicate that it is charging. The light may be solid or blinking, depending on the charging status.
- Allow the DJI Mavic Controller to charge for the recommended duration, which is typically 2-3 hours, or until the LED indicator light turns solid green.
- Once the controller is fully charged, disconnect the USB-C cable from both the controller and the power source.
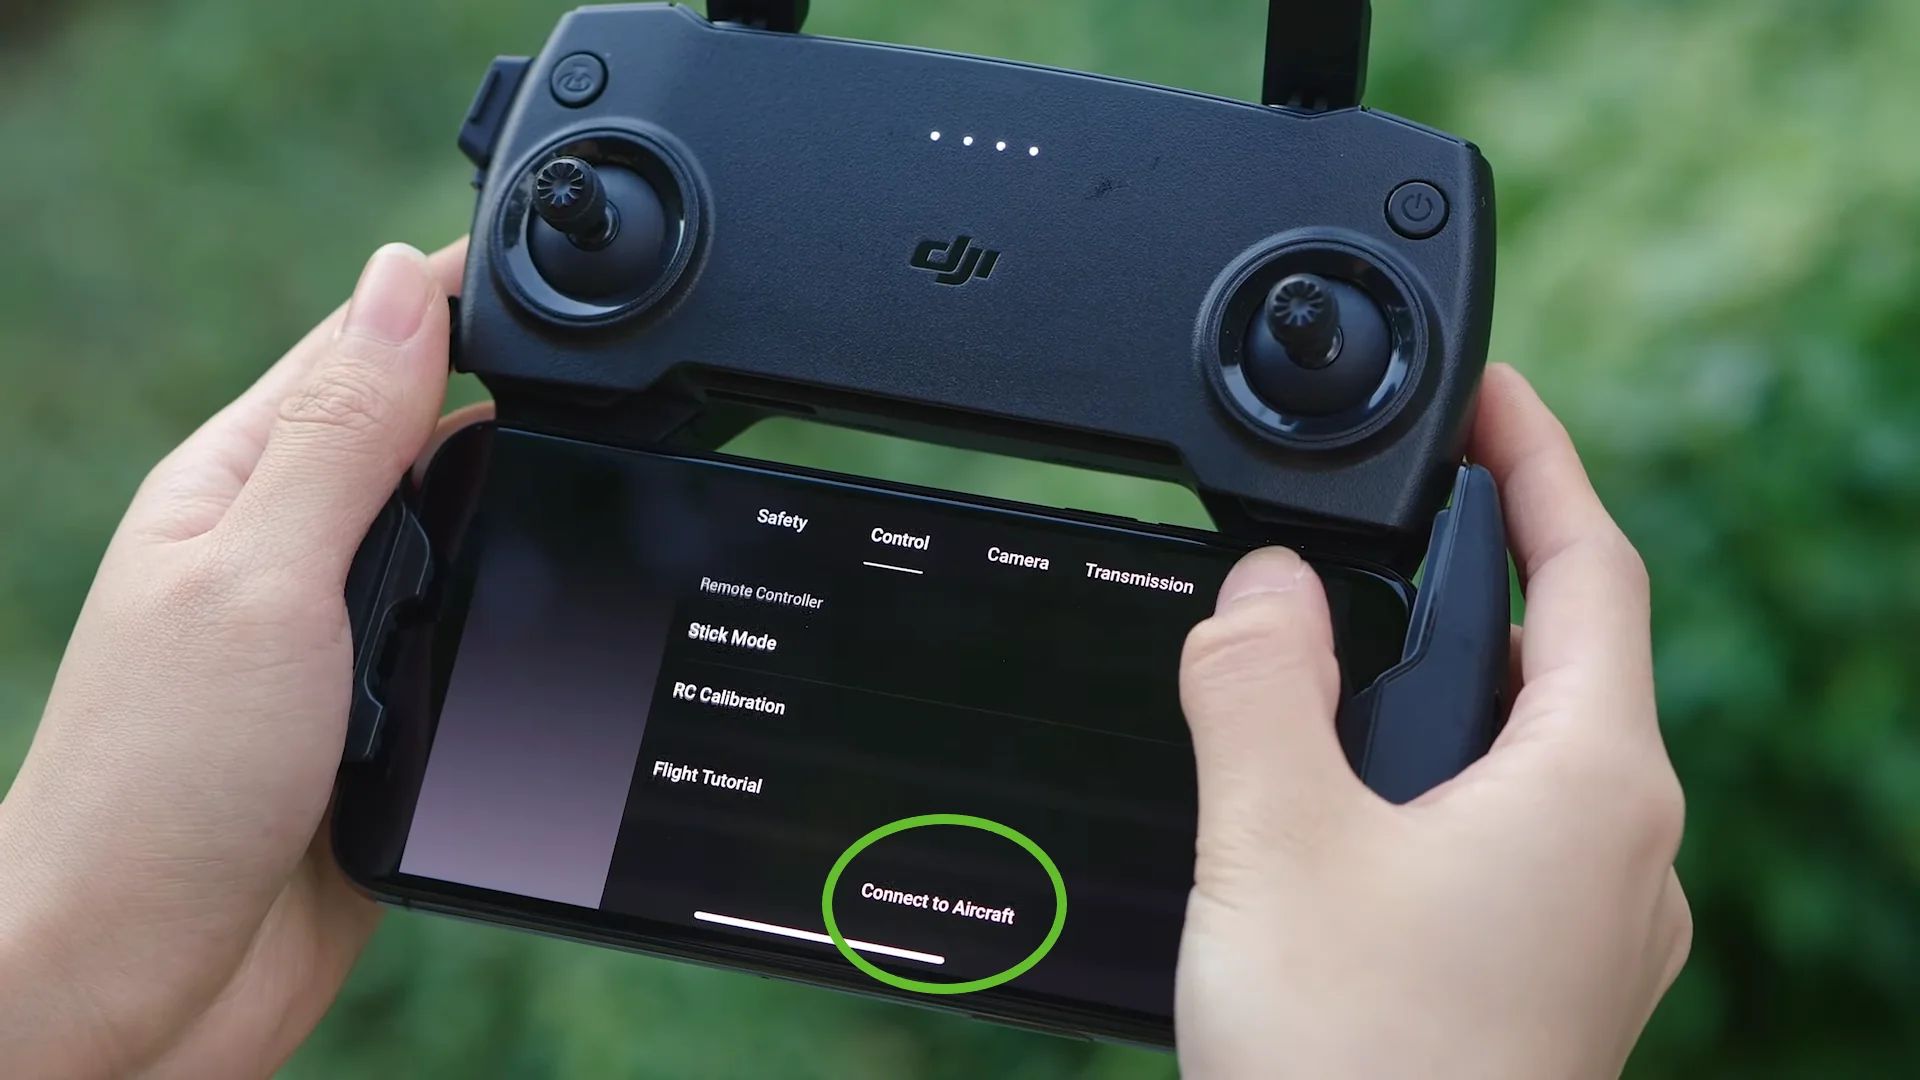
- Your DJI Mavic Controller is now ready to be used. Ensure that you power on the controller and establish a connection with your DJI Mavic drone before taking flight.
Remember, it’s crucial to use a high-quality power source and avoid charging the controller in extreme temperatures or unstable environments. Following these simple steps will help maintain the longevity and optimal performance of your DJI Mavic Controller.
Troubleshooting Charging Issues
While charging your DJI Mavic Controller is typically a smooth process, you may encounter some issues along the way. Here are some common troubleshooting steps to help you resolve any charging problems:
- Ensure that the USB-C cable you are using is in good condition and securely connected to both the controller and the power source. Sometimes, a loose or faulty connection can prevent the controller from charging.
- Check the power source you are using. Make sure it is functioning properly and provides sufficient power output to charge the controller. Trying a different power adapter or USB port can help determine if the power source is the issue.
- Verify that the USB-C port on the DJI Mavic Controller is clean and free from debris. Use a soft, dry cloth or compressed air to gently clean the port if needed. A dirty or obstructed port can disrupt the charging process.
- Try resetting the DJI Mavic Controller by powering it off and then back on after a few seconds. Sometimes, a simple restart can resolve charging-related glitches.
- If none of the above steps resolve the issue, consider updating the firmware of both your DJI Mavic Controller and your drone. Firmware updates often include bug fixes and improvements that can address charging or connectivity problems.
- If you are still facing charging issues, it’s best to contact DJI customer support or consult the user manual for further assistance. They can provide specific troubleshooting steps for your particular controller model and help resolve any underlying technical issues.
Remember, troubleshooting charging issues can require some patience and persistence. By following these steps and seeking out expert support when needed, you can ensure a seamless charging experience for your DJI Mavic Controller.
Tips to Extend Battery Life of the DJI Mavic Controller
Extending the battery life of your DJI Mavic Controller is essential for maximizing your flying time and reducing the frequency of charging. Here are some valuable tips to help you get the most out of your controller’s battery:
- Adjust the screen brightness: Lowering the screen brightness on your controller can significantly impact battery life. Find a comfortable brightness level that allows you to clearly see the display without draining unnecessary power.
- Enable sleep mode: Activating the sleep mode on your DJI Mavic Controller will conserve battery when not in use. It automatically turns off the controller’s screen after a period of inactivity, saving power until you need to use it again.
- Avoid excessive button pressing: Excessive button pressing, especially when not needed, can rapidly drain the battery. Minimize unnecessary button presses and use them only when required to conserve battery life.
- Keep the controller firmware up to date: DJI regularly releases firmware updates for their products, including the Mavic Controller. These updates often optimize battery performance and fix any known issues. Make sure to check for and install the latest firmware updates to get the best out of your controller’s battery life.
- Store the controller properly: When not in use, store your DJI Mavic Controller in a cool and dry place. Avoid subjecting it to extreme temperatures or storing it with a fully depleted battery, as both can negatively affect battery life.
- Use a suitable charging source: To maintain the health of your DJI Mavic Controller’s battery, use a reliable and compatible charging source. High-quality power adapters or USB ports can provide a stable charging current, ensuring the longevity of your battery.
- Avoid overcharging or deep discharging: Overcharging your controller or allowing the battery to fully deplete can shorten its lifespan. Avoid leaving the controller plugged in for extended periods after it reaches 100% charge and try to avoid completely draining the battery before recharging.
- Turn off unnecessary features: When not required, disable features like Wi-Fi, Bluetooth, and GPS on your controller. These features consume additional power and can contribute to quicker battery drain.
By following these tips, you can extend the battery life of your DJI Mavic Controller, ensuring that you can enjoy longer flights and less frequent charging sessions. Remember to strike a balance between performance and battery conservation to optimize your overall flying experience.
Conclusion
Charging your DJI Mavic Controller properly is key to maintaining a smooth and uninterrupted flying experience. We have explored the process of charging the controller, understanding its features, and troubleshooting common issues that may arise. By following the step-by-step guide, you can ensure that your controller stays powered up and ready for your next adventure.
Remember, familiarizing yourself with the layout and functionality of the DJI Mavic Controller is essential for harnessing its full potential. Take the time to understand the buttons, sticks, and switches that allow you to control and navigate your drone with precision.
Moreover, troubleshooting charging issues may sometimes be necessary. The tips provided in this guide can help you overcome any challenges you may encounter during the charging process, ensuring that your controller receives the power it needs.
Lastly, we’ve discussed essential tips to extend the battery life of your DJI Mavic Controller. By implementing these suggestions, such as adjusting screen brightness, enabling sleep mode, and using a suitable charging source, you can make the most of your controller’s battery and enjoy extended flying sessions.
With a fully charged DJI Mavic Controller, you are now equipped to embark on thrilling flights, capture breathtaking aerial shots, and explore new horizons. Remember to prioritize safety, adhere to local regulations, and always fly responsibly.
So, charge up your DJI Mavic Controller, take flight, and let your creativity soar!