Introduction
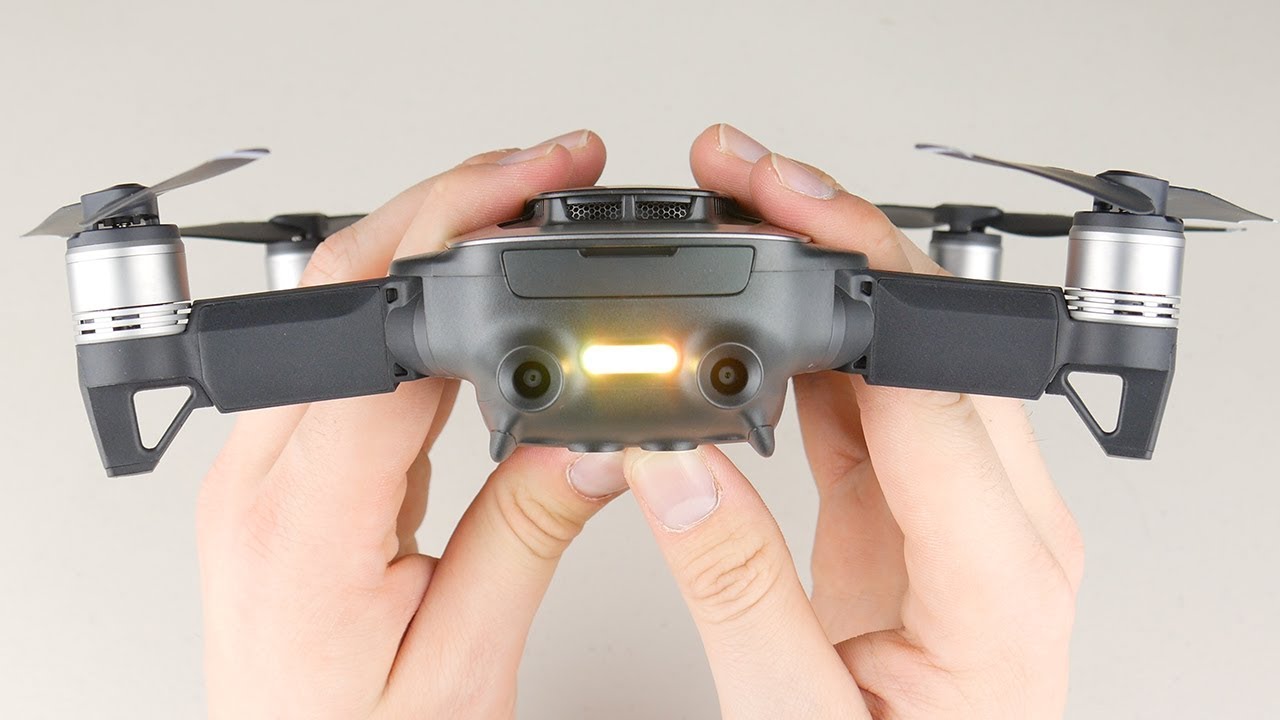
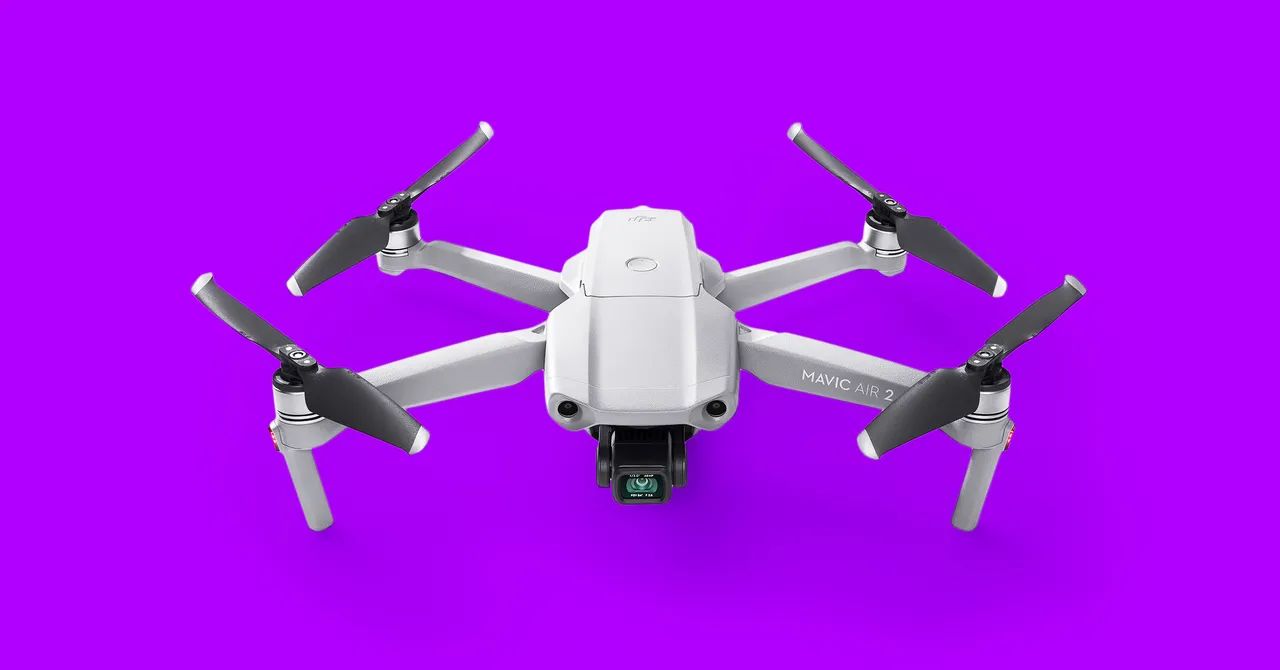
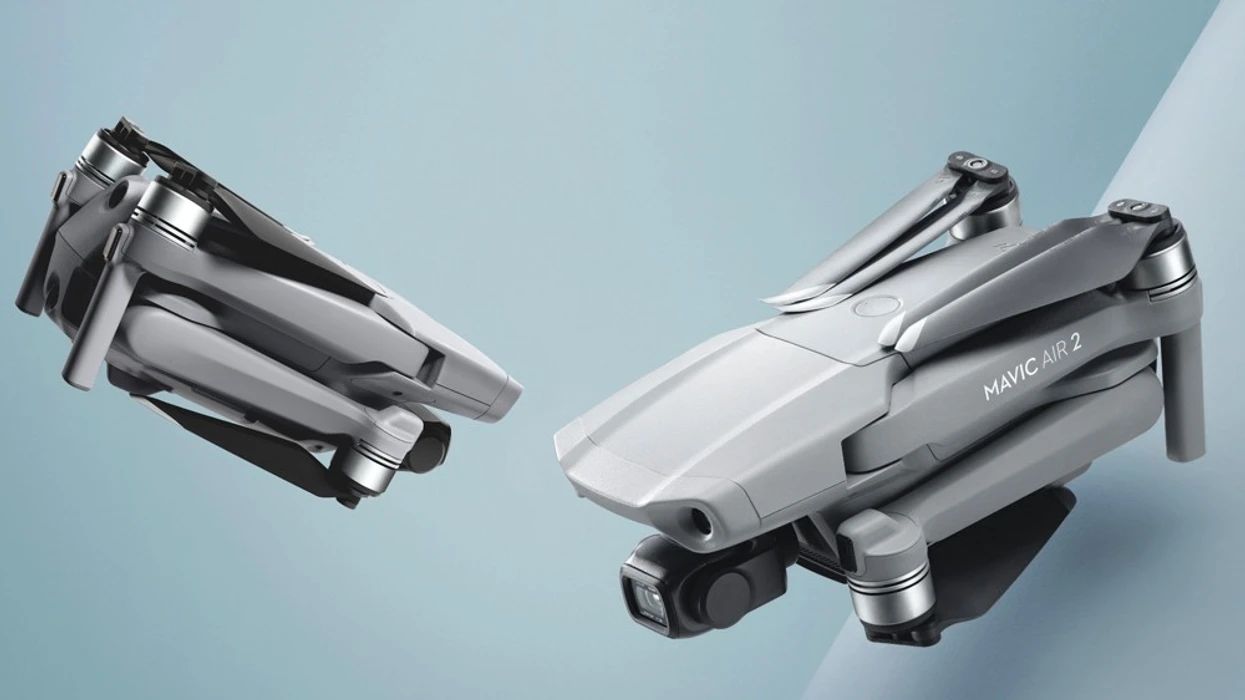
The DJI Mavic Air 2 is a cutting-edge drone that offers exceptional aerial photography and videography capabilities. To ensure optimal performance, it’s important to keep the drone’s firmware up to date. Firmware updates provide bug fixes, performance improvements, and new features that enhance the overall experience of flying and capturing stunning footage with the Mavic Air 2.
Updating the firmware of your DJI Mavic Air 2 might seem like a daunting task, but with the right knowledge and guidance, it can be a seamless process. In this article, we will walk you through the steps to update your Mavic Air 2 firmware. Whether you’re a professional aerial photographer or a hobbyist, following these steps will help you maintain the drone’s reliability and take advantage of the latest features and enhancements provided by DJI.
Before we dive into the update process, it’s essential to understand the importance of firmware updates. DJI regularly releases firmware updates to address any performance issues or bugs that may have been identified since the drone was launched. These updates also introduce new features, safety enhancements, and compatibility improvements. By installing the latest firmware version, you can ensure your Mavic Air 2 is operating at its optimal level, benefiting from enhanced flight stability, improved image quality, and increased functionality.
It’s worth mentioning that firmware updates are not only limited to the drone itself but also extend to the remote controller and intelligent flight batteries. Keeping all components up to date ensures a harmonious synergy between the different parts of the system, delivering a seamless flying experience. So, let’s get started and learn how to update the firmware of your DJI Mavic Air 2.
Step 1: Check the Current Firmware Version
Before you begin the firmware update process, it’s crucial to check the current firmware version of your DJI Mavic Air 2. This step ensures that you’re aware of the existing firmware and can identify if an update is needed.
To check the current firmware version, follow these steps:
- Power on your DJI Mavic Air 2 drone and connect it to the remote controller.
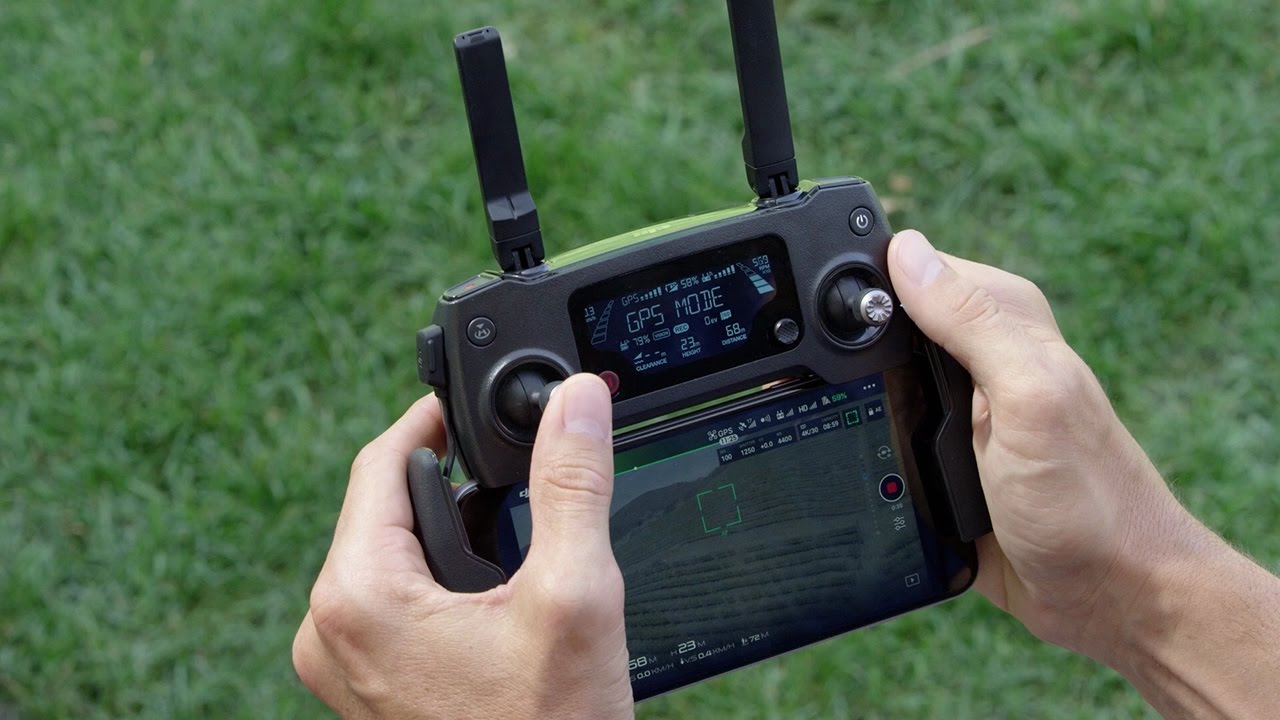
- Launch the DJI Fly app on your smartphone or tablet.
- In the app, tap on the drone icon at the bottom left corner of the screen to access the drone settings.
- In the settings menu, scroll down and tap on “About”.
- Look for the “Firmware Version” or “Version” option, which displays the current firmware version installed on your Mavic Air 2.
- Take note of the firmware version for future reference. This information will help you determine if an update is available and necessary.
It’s essential to keep track of firmware updates as they can bring significant improvements to your drone’s performance and functionality. DJI regularly releases firmware updates that address system enhancements, bug fixes, and new features. Checking your current firmware version ensures that you stay up to date with the latest improvements and have a smoother flying experience with your Mavic Air 2.
Once you have checked your current firmware version, it’s time to move on to the next step: downloading the latest firmware update for your DJI Mavic Air 2 drone.
Step 2: Download the Latest Firmware Update
After checking the current firmware version of your DJI Mavic Air 2 drone, the next step is to download the latest firmware update. DJI regularly releases firmware updates to enhance the performance and add new features to their drones. Here’s how you can download the latest firmware update for your Mavic Air 2:
- Ensure that your smartphone or tablet is connected to the internet.
- Launch the DJI Fly app, which should already be installed on your device.
- Make sure your Mavic Air 2 drone is turned on and the remote controller is connected to your smart device.
- In the DJI Fly app, go to the drone settings by tapping on the drone icon at the bottom left corner of the screen.
- Scroll down and select the “Update Firmware” option.
- The app will automatically check for the latest firmware version available for your Mavic Air 2.
- If a new firmware update is available, the app will display a prompt asking if you want to download and install it.
- Click on “Download Now” to initiate the firmware download.
- Make sure your device has a stable internet connection and wait for the download to complete.
- Once the download is finished, the app will prompt you to install the firmware update.
- Click on “Install Now” to start the installation process.
- Wait patiently as the DJI Fly app installs the firmware update onto your Mavic Air 2 drone.
- Do not power off or disconnect any devices during the firmware installation process.
- Once the firmware installation is complete, the DJI Fly app will notify you, and your Mavic Air 2 will be ready to fly with the latest firmware update installed.
Downloading the latest firmware update for your DJI Mavic Air 2 is essential to ensure optimal performance and take advantage of the latest features offered by DJI. Stay tuned for the next step, where we will guide you through the process of preparing your drone for the firmware update.
Step 3: Prepare the Drone for Updating
Before proceeding with the firmware update on your DJI Mavic Air 2 drone, it’s crucial to prepare the drone and ensure a smooth update process. Follow these steps to prepare your drone for updating:
- Find an open and well-ventilated area to perform the firmware update. Avoid indoor spaces or areas with poor GPS reception.
- Power on your Mavic Air 2 drone and the remote controller, ensuring that both devices are fully charged or have sufficient battery power.
- Connect your smartphone or tablet to the remote controller and launch the DJI Fly app.
- Ensure that your smartphone or tablet is connected to the internet so that the DJI Fly app can communicate with the DJI servers to complete the update process.
- Check if any propellers or other accessories are damaged or in need of replacement. It’s essential to fly with well-maintained and functioning equipment.
- Remove any memory cards or other external storage devices from the drone.
- Inspect the drone for any dirt, debris, or foreign objects. Use a soft cloth or brush to clean the surface of the drone, ensuring that the camera lens is free from smudges or fingerprints.
- Check the storage capacity of your smartphone or tablet. Ensure that you have enough storage space to accommodate the firmware update file.
- Ensure that your drone is in a stable position and avoid any movement during the firmware update process.
- Double-check that the blades and propellers are securely attached to the drone. Loose blades can lead to instability and potential accidents during the update process.
- Disable any anti-virus or firewall software on your smartphone or tablet that may interfere with the firmware update process. This step ensures uninterrupted communication between your device and the drone.
By following these preparation steps, you can ensure that your DJI Mavic Air 2 drone is ready for the firmware update process. Taking the time to properly prepare your drone minimizes the risk of any interruptions or issues during the update, ensuring a successful and smooth firmware installation. Now that you’ve prepared your drone, let’s proceed to the next step, where we will guide you through the actual process of updating the firmware on your Mavic Air 2.
Step 4: Update the Mavic Air 2 Firmware
Now that you have prepared your DJI Mavic Air 2 drone for the firmware update, it’s time to proceed with the actual update process. Follow these steps to update the firmware on your Mavic Air 2:
- Ensure that your Mavic Air 2 drone, remote controller, and smartphone or tablet are turned on and connected as per the previous steps.
- Launch the DJI Fly app on your smartphone or tablet.
- In the app, go to the drone settings by tapping on the drone icon at the bottom left corner of the screen.
- Scroll down and select the “Update Firmware” option.
- The app will automatically detect the firmware update file that you previously downloaded. If not, ensure that the downloaded firmware file is present in the appropriate location on your device.
- Tap on the firmware update file to select it.
- Review the release notes that appear on the screen. It’s essential to understand the changes and improvements introduced in the firmware update.
- If you are satisfied with the release notes, tap on “Update” or “Install” to initiate the firmware update process.
- Wait for the firmware update to complete. The DJI Fly app will display a progress bar indicating the update’s status.
- During the update process, DO NOT power off the Mavic Air 2 drone, disconnect any devices, or interfere with the update in any way. Any interruption could lead to a failed update and potential issues with the drone’s performance.
- Once the firmware update is complete, the DJI Fly app will notify you. You can now disconnect your smartphone or tablet from the remote controller.
- Power off the Mavic Air 2 drone and remote controller.
- Wait for a few seconds and then power on the drone and remote controller again.
- Once the drone and remote controller have successfully powered on, reconnect them to your smartphone or tablet.
- Verify that the firmware version displayed in the DJI Fly app matches the firmware update you installed. This step ensures that the update was successful.
Congratulations! You have successfully updated the firmware on your DJI Mavic Air 2 drone. The latest firmware version brings performance improvements, bug fixes, and new features to enhance your flying experience. Now, let’s move on to the final step, where we will discuss the importance of calibration and perform some final checks before you take off with your updated Mavic Air 2.
Step 5: Calibration and Final Checks
After updating the firmware on your DJI Mavic Air 2 drone, it’s important to perform calibration and final checks to ensure optimal performance and safety. Calibration helps the drone maintain accurate flight characteristics and stabilize its sensors. Follow these steps to calibrate your Mavic Air 2 and perform final checks before taking off:
- Find an open outdoor area with enough space for safe flight.
- Ensure that your Mavic Air 2 drone is powered off before starting the calibration process.
- Power on the drone and remote controller, and connect your smartphone or tablet as per the previous instructions.
- In the DJI Fly app, go to the drone settings by tapping on the drone icon at the bottom left corner of the screen.
- Select the “Calibrate” or “Calibration” option.
- Follow the on-screen instructions to calibrate the compass, IMU (Inertial Measurement Unit), and gimbal.
- Make sure to follow the calibration process accurately and precisely. Improper calibration can lead to inaccurate flight behavior and potential safety risks.
- Once the calibration process is complete, perform a visual inspection of the drone. Check for any loose screws, damaged propellers, or signs of wear and tear.
- Inspect the propellers to ensure they are securely attached and in good condition.
- Check the battery level of both the drone and the remote controller. Ensure they have sufficient charge for your intended flight duration.
- Verify that the GPS signal is strong and sufficient for safe flight. It is indicated by GPS bars in the DJI Fly app.
- Check the camera settings and make any necessary adjustments for your shooting preferences.
- Ensure that you have sufficient storage space on your smartphone or tablet for capturing photos and videos during the flight.
- Double-check that all flight mode settings, such as Beginner Mode or Return-to-Home altitude, are properly configured for your flight requirements.
- Review the DJI Fly app for any important notifications or safety advisories related to your flight location or flight conditions.
By performing the calibration and final checks, you reduce the risk of flight instability or unexpected behavior. Taking these steps helps ensure a safe and successful flight with your updated Mavic Air 2 drone. Now that you have completed all the necessary preparations, you are ready to take to the skies and enjoy the enhanced performance and features that the firmware update has brought to your drone.
Conclusion
Updating the firmware on your DJI Mavic Air 2 drone is essential to enjoy optimal performance, new features, and bug fixes. By following the step-by-step guide provided in this article, you can easily update the firmware of your Mavic Air 2 and keep it up to date with the latest software enhancements from DJI.
We started by checking the current firmware version of the drone to determine if an update is necessary. Then, we guided you through the process of downloading the latest firmware update from the DJI Fly app. After that, we emphasized the importance of preparing your drone for the firmware update, ensuring a smooth and successful installation. Subsequently, we explained how to update the Mavic Air 2 firmware using the DJI Fly app, emphasizing the need to follow the process accurately. Finally, we discussed the significance of calibration and performing final checks before taking off with your updated drone.
Regularly updating the firmware on your DJI Mavic Air 2 drone keeps it in the best operational condition, ensures optimized flight performance, and enhances your overall flying experience. Firmware updates often bring improved flight stability, enhanced camera functions, and safety enhancements. By staying up to date with the latest firmware, you can take full advantage of the advanced capabilities of your Mavic Air 2 drone.
As a responsible drone owner, it’s important to prioritize safety and keep your equipment in top shape. Firmware updates play a crucial role in achieving this. Additionally, ensure you adhere to local regulations and fly responsibly to protect your drone, yourself, and others who may be around during your flights.
With this knowledge, you are now equipped to update the firmware of your DJI Mavic Air 2 drone and unlock its full potential. Enjoy capturing breathtaking aerial footage, exploring new horizons, and pushing the boundaries of creativity with your updated Mavic Air 2 drone.